DIY Reversible Farmhouse Wood Sign (with video)
This post may contain affiliate links. Please read our Disclosure Policy.
A Reversible Farmhouse Wood Sign is the perfect way to add a rustic touch to your home decor and making it reversible saves you space too! Learn how here.
If you have been around for a while, you probably know I love farmhouse style. Even though I don’t have a farmhouse or a house for that matter, I still manage to add small rustic touches to my small apartment. Definitely Farmhouse signs are a great way to start!
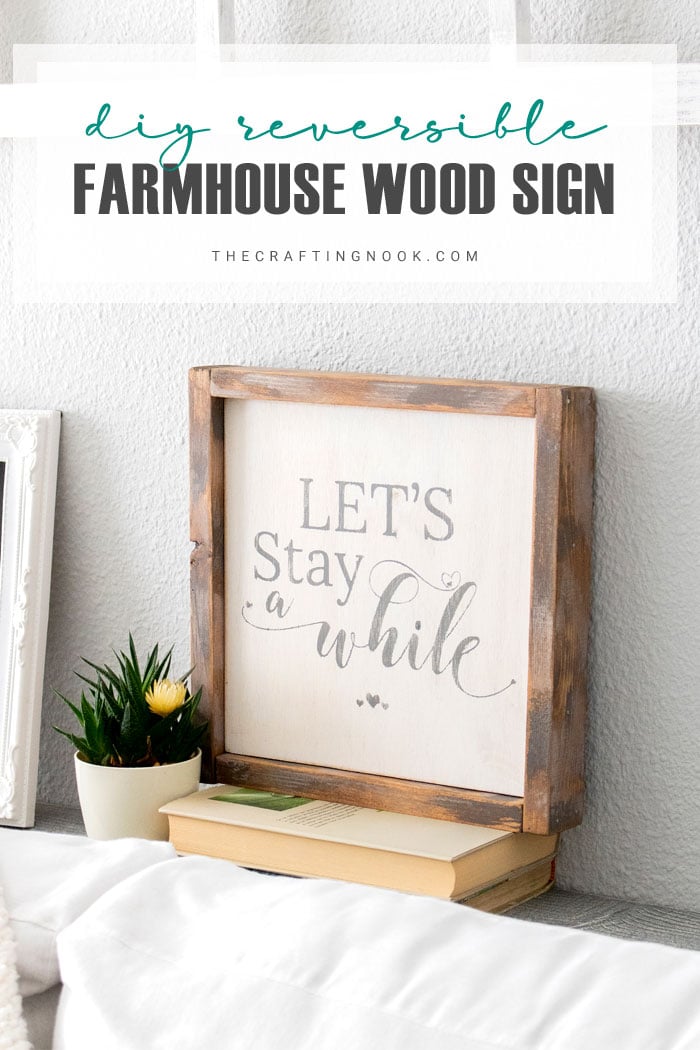
Table of Contents
DIY Reversible Farmhouse Wood Sign Tutorial
After making my Window Frames, and my reversible Christmas/Winter wood sign, I had some wood boards left and wood pieces from other projects. I decided to make this cute Reversible Farmhouse Wood Sign so I can use the side that fits my mood best.
Cool, right?
I was thinking that usually, we have the back of wood signs wasted. Then we make more and more and where do we store all that? Making them reversible we get 2 for the space of 1, right?
I so love how this DIY farmhouse sign turned out and it was SO easy and fun to make. Perfect for seasonal decor this homemade wooden sign will be my best friend.

You can make it with scrap pieces as I did or buy them and still won’t be expensive.
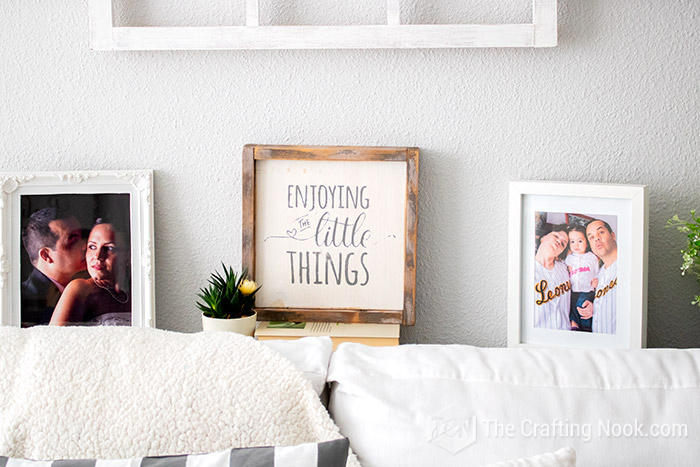
Believe me, you don’t need to be a carpenter or an experienced crafter to make this wood sign. You don’t need to have a cutting machine either. There are plenty of stencils you can buy and there are even ways to transfer your design to the wood without spending more than a bit of ink of your printer.
So this being said, how about we jump right in?
How to Make a Reversible Farmhouse Wood Sign.
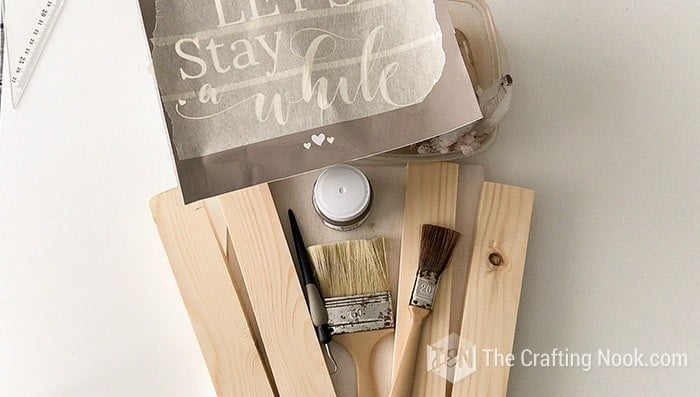
Supplies:
- 2X – 230mm x 45mm x 18mm
- 2X – 266mm x 45mm x 18mm
- 1 wood board 230mm x 230mm x 16mm
- White latex paint
- Grey latex paint
- Wood stain (your favorite color)
- Quote vinyl stencil
- Sandpaper
- Headless nails
- Wood glue
- Brushes
- Plastic plate
- Cotton cloth
Tools:
- Hammer
- Jigsaw (if you are cutting your own boards)
Instructions:
I made this video tutorial for you of my process. But if you are more of a step-by-step written detailed tutorial, just scroll down a little bit and keep reading.
Step 1: White-wash your board
Whitewash your wood sign board (dilute white paint with water 1:1) and sand it.
Sand your wood boards to avoid splinters.
Step 2: Start painting your frame boards
Now, this is a fun part. You want to give your boards that weathered look.
Give your boards rough strokes with your brush using your grey paint on all 4 sides. Don’t worry about where or if it covers. This is absolutely random and imperfect.

Set aside to let it dry.
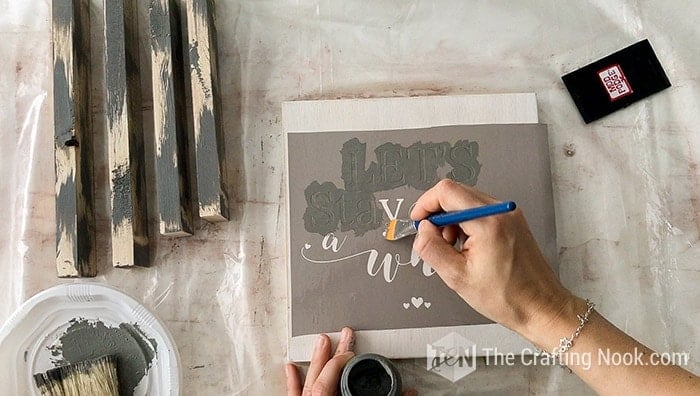
Step 3: Stencil your wood sign
Get your wood sign board. Place your vinyl stencil as centered as you can, rub it well and remove the transfer tape.

Paint your pretty quote and let it dry.
Step 4: Go back to Frame Boards
Go back to your frame boards and now repeat the prices with the white paint. Again, just rough strokes randomly on all 4 sides.
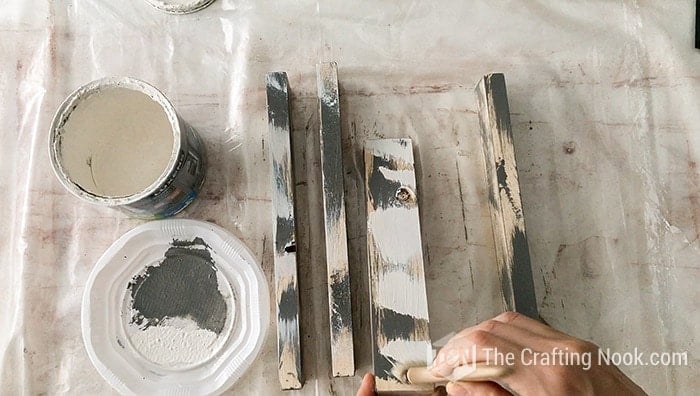
Let it dry again.
Step 5: Peel off the stencils
It’s time to carefully remove the stencil from your wood sign. Peel off the stencil and then remove any small pieces left behind.

There you go!!! SOOO pretty.

Repeat the process with the other side of your wood sign.

Step 6: Sand your Frame Boards
Again, go back to your frame wood boards and sand them. Sand them hard and well. You want to remove as much as possible of the paint. You will see that a lot of the paint got into the wood design and will look like oooold wood.


When finished, clean your wood pieces very well to remove dust.
Step 7: Stain your Frame Boards
Then stain your boards with your favorite stain color, I used walnut.

Apply the stain to all boards and then rub it with a cotton cloth.

Go back to your wood sign and sand off a little bit of your design. Just a little to give it the same old look.

Step 8: Time to Frame your Reversible Farmhouse Wood Sign.
Present all the pieces to make sure everything fits.

Remove the wood sign and glue 2 sides and the base boards.
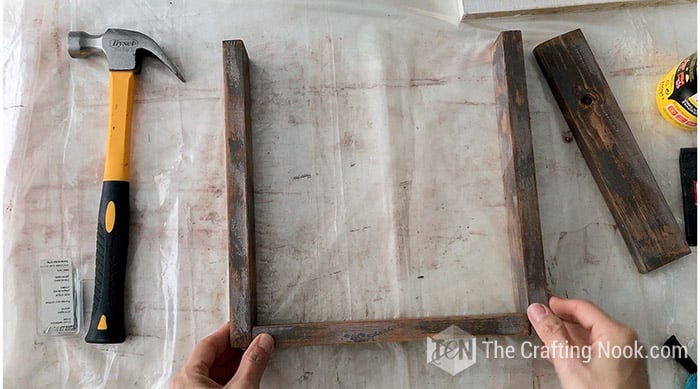
Then nail them together.
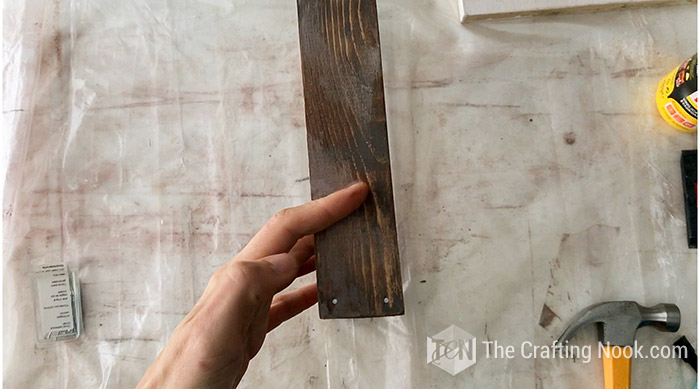
Insert the wood sign as centered as you can inside the frame.

Secure with nails on the sides.
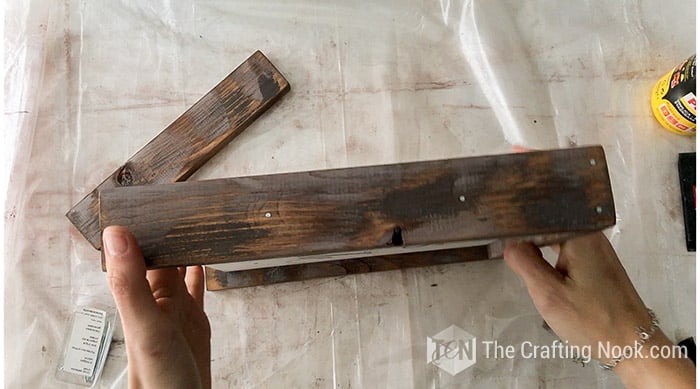
Lastly, put the last side in place and add glue to the ends. Secure with nails.
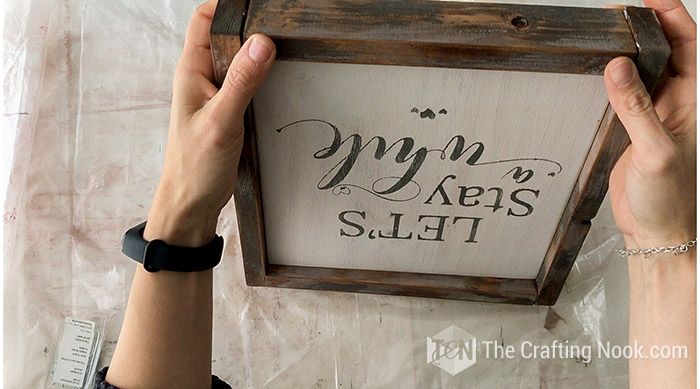
There you go!
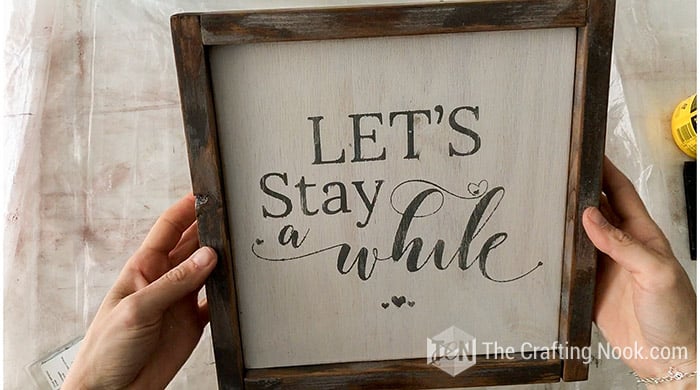
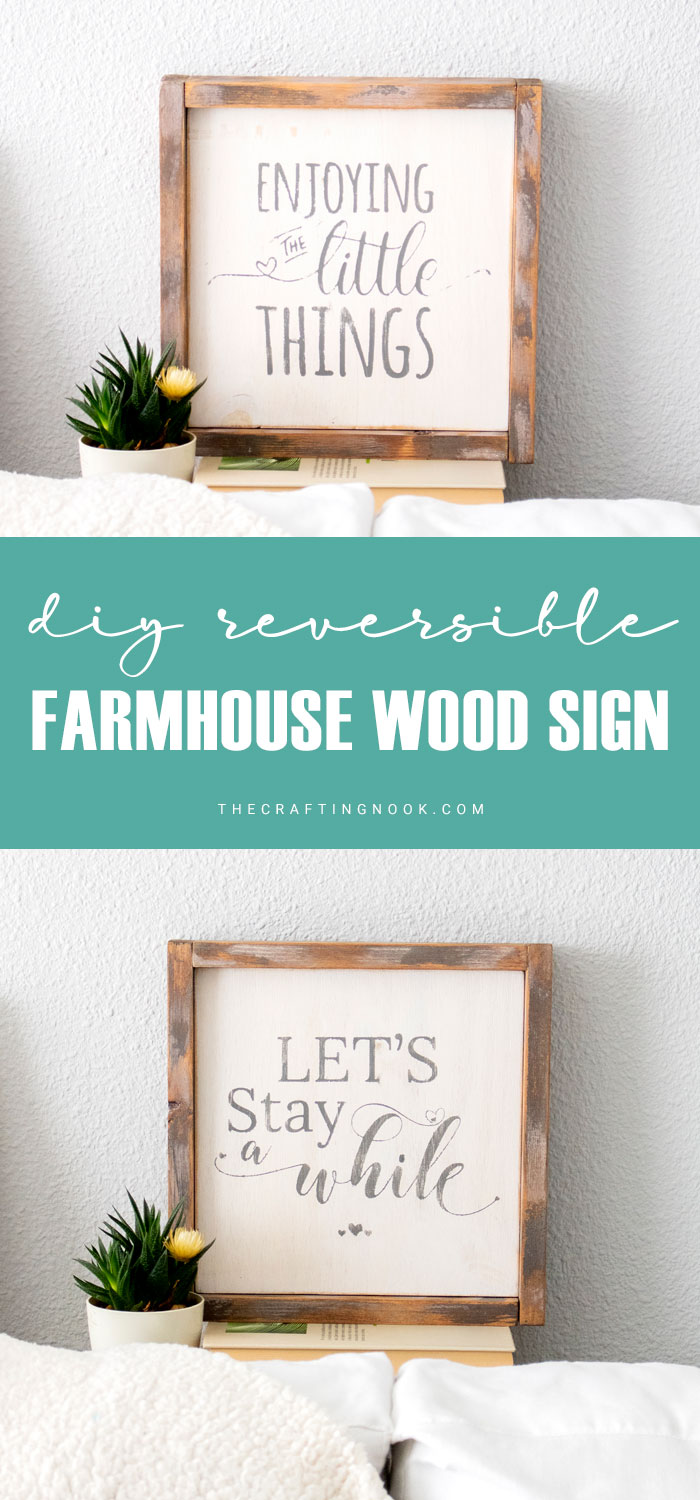
One pretty and Reversible Farmhouse Wood Sign that you can use any time anywhere!

You can make yours using these colors or use your favorite ones. You can make it larger or smaller, imagination is the limit.
What do you think?

Doesn’t it look so pretty?


Crafting Tips
If you cut the stencil with a cutting machine, remember to remove the excess vinyl and transfer your design. Once you’ve cut the vinyl, you’ll want to “weed” the design with your weeding tool, which means removing the negative space to reveal only your letters.
Don’t forget those small spaces inside the letters, especially when working with script fonts. After your design is ready to go, you’ll use transfer tape to “pick up” the letters from the carrier sheet and then place them on your sign.
If you don’t have a cutting machine, you can still make this project using the pencil transfer method or use a sheet of carbon paper.
Print your design on computer paper. Turn the paper over, and scribble pencil marks over the areas where the text is printed. Place the paper on your surface (design facing up) and trace an outline of the printed letters with a pen.
The pencil on the other side will make faint marks on your wood. Remove the paper and fill in the traced letters with a permanent marker, Chalk paint marker, or black paint.
Frequently Asked Questions
You can use wood putty making sure it matches your wood color. You could also Stain the wood sign frames after assembling it so you stain over the wood putty but you need to be careful not to stain the wood sign board.
You can take the files to a shop where they can get them cut for you, or you can buy a stencil that you like instead of using the one in this tutorial.
For the frame, you can use firwood or pinewood, even scraps from pallets. For the wood sign itself, you can use again pinewood, firwood, and even plywood.
More Wood Sign Projects to Try
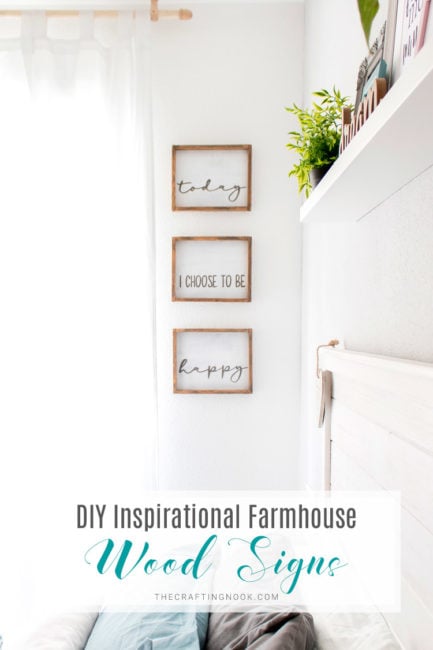
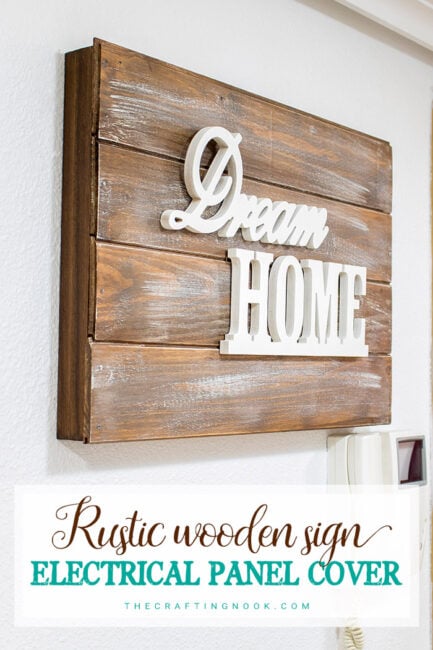
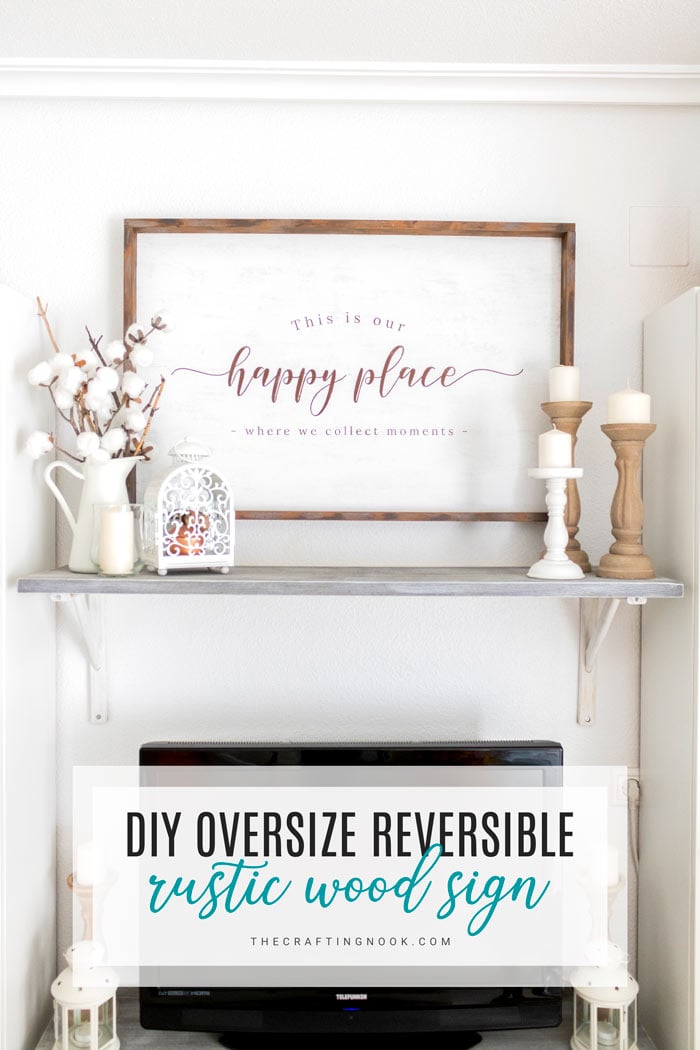
If you enjoyed this cute reversible Farmhouse wood sign, you might also love these other woodworking project ideas too:
✂️ Tutorial

DIY Reversible Farmhouse Wood Sign
Tools
- Hammer
- Jigsaw (if you are cutting your own boards)
Supplies
- 2 X – 230mm x 45mm x 18mm
- 2 X – 266mm x 45mm x 18mm
- 1 wood board 230mm x 230mm x 16mm
- White latex paint
- Grey latex paint
- Wood stain your favorite color
- Quote vinyl stencil
- Sandpaper
- Headless nails
- Wood glue
- Brushes
- Plastic plate
- Cotton cloth
Instructions
STEP 1: WHITE-WASH YOUR BOARD
- Whitewash your wood sign board (dilute white paint with water 1:1) and sand it.
- Sand your wood boards to avoid splinters.
STEP 2: START PAINTING YOUR FRAME BOARDS
- Now, this is a fun part. You want to give your boards that weathered look.
- Give your boards rough strokes with your brush using your grey paint on all 4 sides. Don’t worry about where or if it covers. This is absolutely random and imperfect.
- Set aside to let it dry.
STEP 3: STENCIL YOUR WOOD SIGN
- Get your wood sign board. Place your vinyl stencil as centered as you can, rub it well and remove the transfer tape.
- Paint your pretty quote and let it dry.
STEP 4: GO BACK TO FRAME BOARDS
- Go back to your frame boards and now repeat the prices with the white paint. Again just rough strokes randomly on all 4 sides.
- Let it dry again.
STEP 5: PEEL OFF THE STENCILS
- It’s time to carefully remove the stencil from your wood sign. Peel off the stencil and then remove any small pieces left behind.
- There you go!!! SOOO pretty.
- Repeat the process with the other side of your wood sign.
STEP 6: SAND YOUR FRAME BOARDS
- Again go back to your frame wood boards and sand them. Sand them hard and well. You want to remove as much as possible of the paint. You will see that a lot of the paint got into the wood design and will look like oooold wood.
- When finished, clean your wood pieces very well to remove dust.
STEP 7: STAIN YOUR FRAME BOARDS
- Then stain your boards with your favorite stain color, I used walnut.
- Apply the stain to all boards and then rub it with a cotton cloth.
- Go back to your wood sign and sand off a little bit of your design. Just a little to give it the same old look.
STEP 8: TIME TO FRAME YOUR REVERSIBLE FARMHOUSE WOOD SIGN.
- Present all the pieces to make sure everything fits.
- Remove the wood sign and glue 2 sides and the base boards.
- Then nail them together.
- Insert the wood sign as centered as you can inside the frame.
- Secure with nails on the sides.
- Lastly, put the last side in place and add glue to the ends. Secure with nails.
- There you go! One pretty and Reversible Farmhouse Wood Sign that you can use any time anywhere!
My favorite farmhouse wood projects from my favorite bloggers:
- Long Table Runner Tray Centerpiece by Cassity over at Remodelaholic.
- DIY Farmhouse Wooden Box Centerpiece by Laira over at The Turquoise Home
Share and PIN ME!
Til’ next time…


FREE WORKBOOK
Keeping your Sweet Home Organized
Learn how to create intentional habits and simple routines to Keep Your Home Organized. Plus freebies, printables, exclusive content, and tips.
Disclaimer: By clicking on the “Yes” button above you are giving me your consent to collect and use your information according to the law and My Policy Privacy. Zero Spam I promise!
