DIY Nursery Animal Wall Art Paintings.
Craft some DIY nursery animal wall art paintings for the baby’s room. These cute animal wall art paintings are easy and fun to make with just a few supplies and lots of love. See how to make your own animal nursery art here.
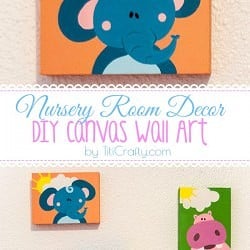
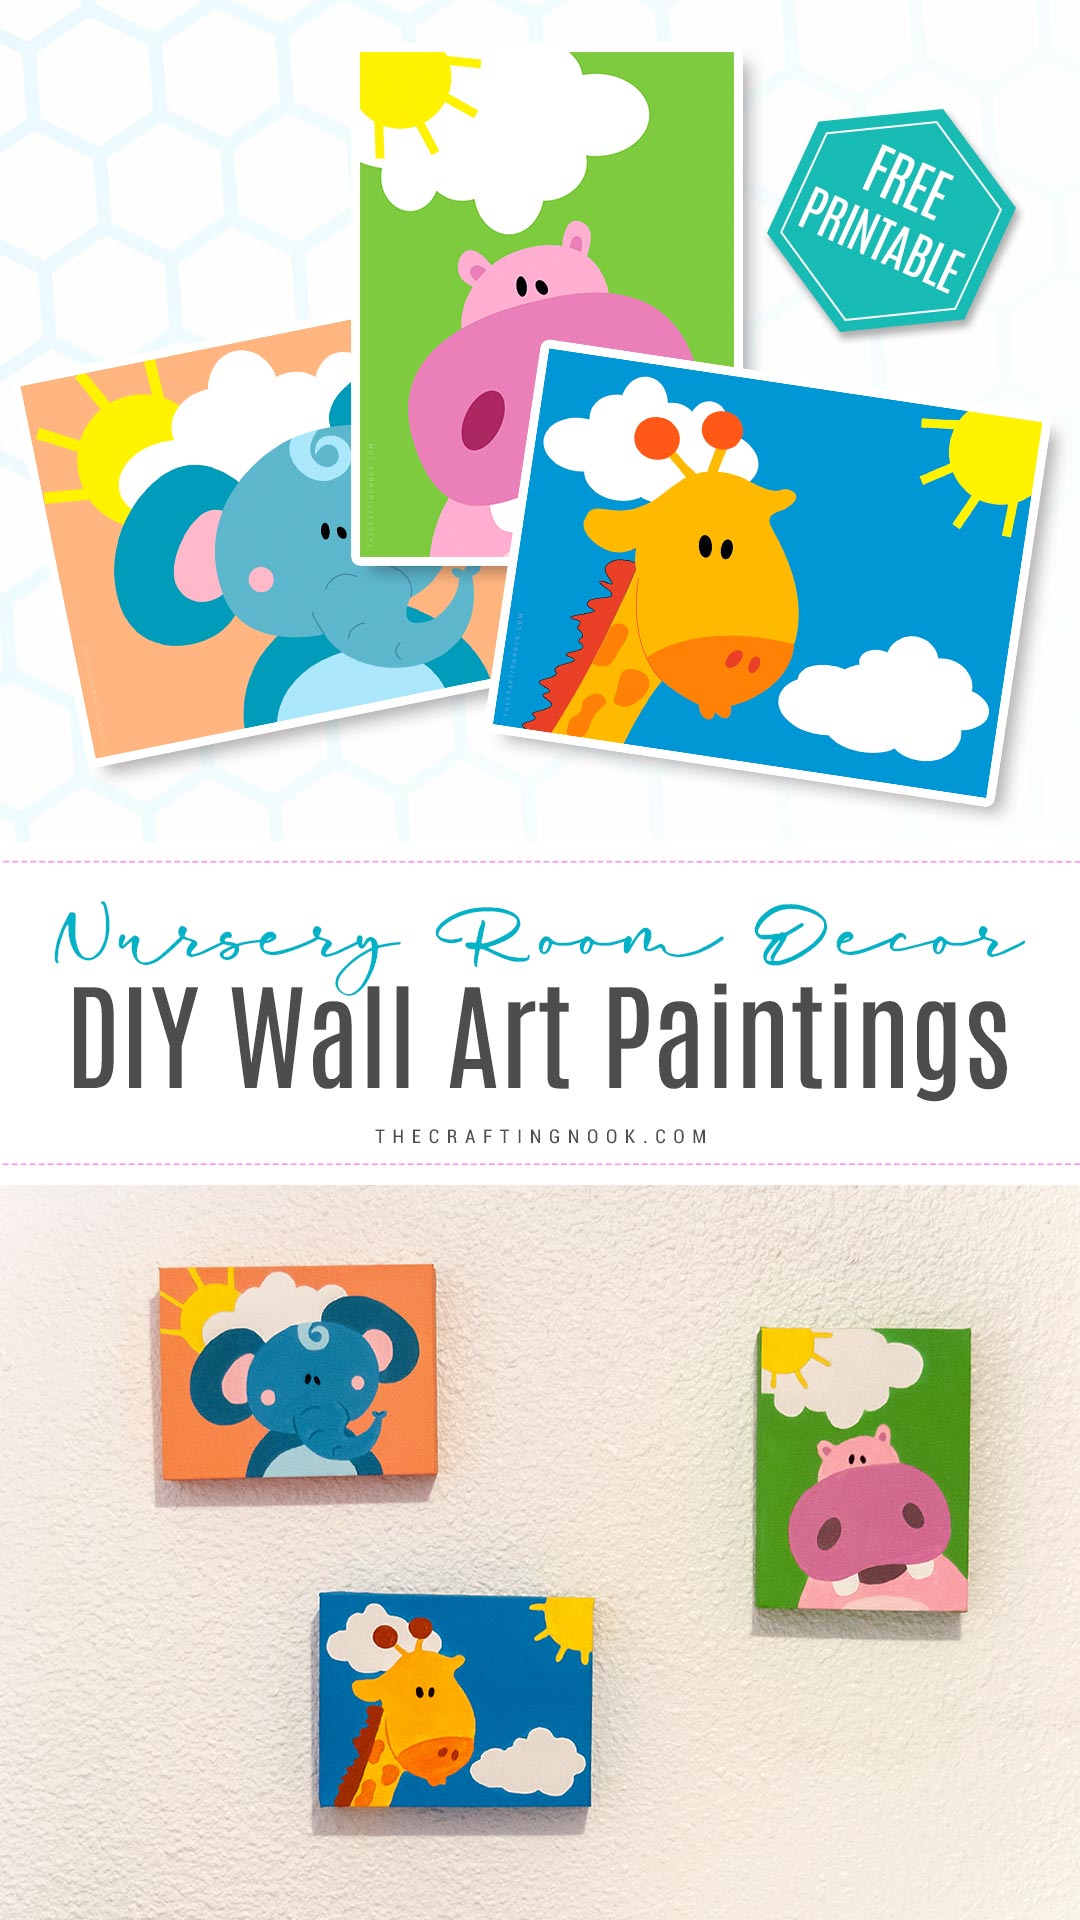
Today I’m sharing a very special craft. This is the very first craft I made for my little girl’s nursery room and she was about 4 months old. I made these cute and colorful canvas wall art paintings with illustrated baby animals.

Table of Contents
Nursery Animal Wall Art Tutorial for ROOM DECOR
First of all, I wanted to apologize because these pics are not very good. These crafty wall arts were made when I wasn’t blogging yet and I just happened to have some pics of the process because I was taking them with my mobile to send them to my mom.
This post may contain affiliate links. Please read our Disclosure Policy.
I just really wanted to share this because it holds a very special meaning!
I wanted to make her bedroom more like a baby’s nursery room, and I had seen these super cute squared wall arts in a store but our financial situation wasn’t good so we couldn’t afford to be buying things other than priority ones.
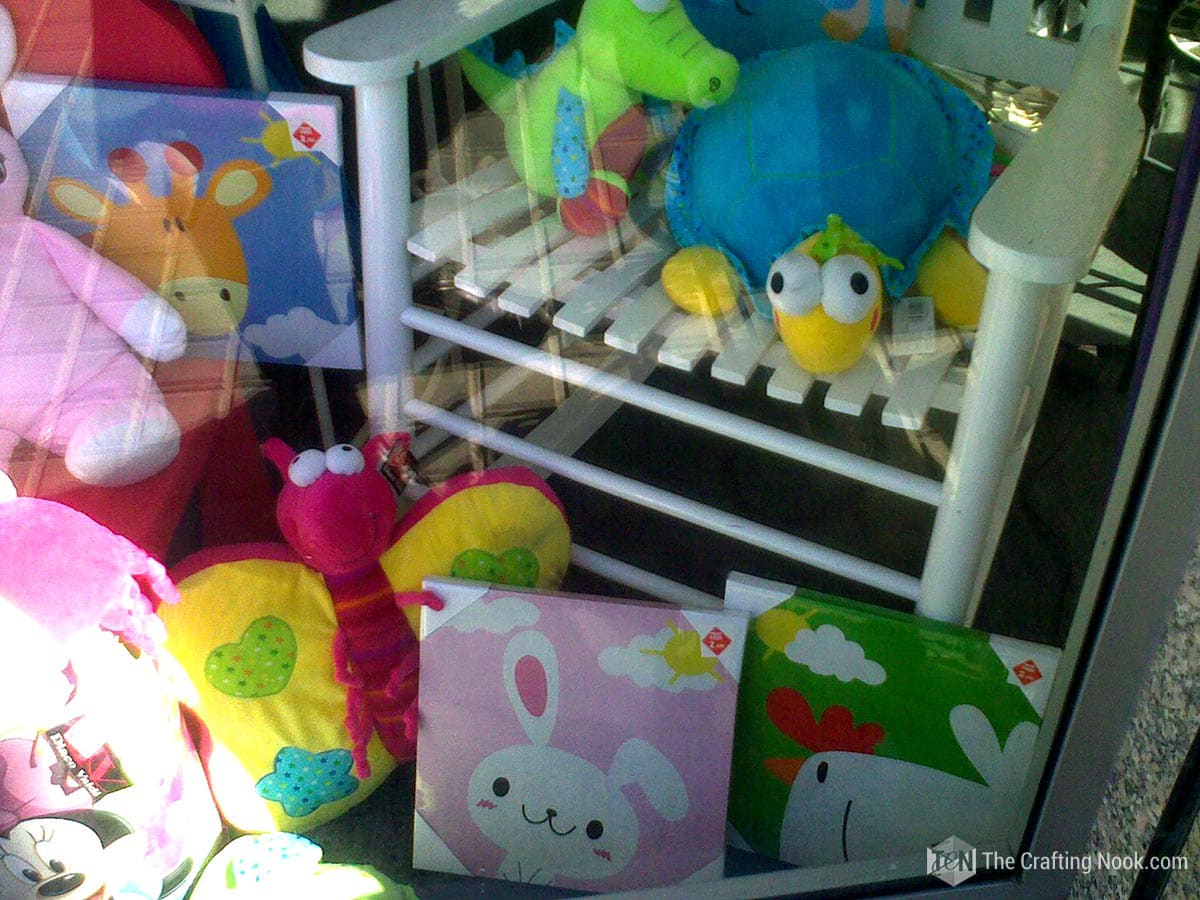
So I thought that maybe I could make them myself which would be even more special.
I had a few paints and I had seen in a Chinese store some canvas for less than 1 Euro (around $1.20). So I made them all 3 for less than 5 Euros because I had to buy some brushes LOL.
Some benefits of DIYing your Nursery Wall Arts
Doing yourself nursery wall art paintings can be a great way to add a personal touch and perfect addition to your baby’s room but they also provide some cool benefits too:
- Cost-effective: they are often a more cost-effective option than purchasing pre-made art. You can use materials that you already have on hand or purchase affordable supplies to create your own artwork.
- Customizable: When you create your own artwork, you have complete control over the design and can customize it to match your child’s room or their interests. You can use specific colors, patterns, and designs to create a unique piece that is tailored to your child.
- Creative expression: DIY projects allow you to express your creativity and have fun while doing it. OMG! I can’t tell you how much I enjoyed every second of it. Painting your own nursery wall art can be a fun and relaxing activity that allows you to unwind and tap into your artistic side.
- Bonding experience: If you have older kids, making nursery wall art paintings can be a great bonding experience. You can involve your child or children in the process and create a special piece together that they can be proud of.
- Sentimental value: DIY projects often hold sentimental value, and this is especially true for nursery wall art. Creating your own artwork for your child’s room can become a cherished memory that you both look back on with fondness. God knows how much I still look at these photos!
- Make great gifts: These are great for baby Shower gifts,
Overall, creating your own nursery wall art paintings can be such a rewarding and enjoyable experience. It allows you to add a personal touch to your kids room, express your creativity, and bond with your child in the process all at once.
How to Make Nursery Animal Wall Art Paintings
You can decorate your own nursery with animal wall art paintings and give your little one a nursery that is uniquely and unequivocally your own. See how to make your own animal nursery art here.
Supplies:
- 3 Canvases
- Acrylic paint colors – I used the basic ones: cyan, magenta, Yellow, and white paint and mixed them to get the colors I wanted
- Brushes
- 6B pencil
- Regular pencil
Tools:
- Printer
Instructions:
- I started by looking for some illustration examples on the Internet so I could get an idea.
- Then I made them using my Adobe Illustrator, you can use your favorite app.
- When I had them done I printed them in the same size as the canvas.

I made 3 wall arts and illustrated a baby elephant, a giraffe, and a cute hippo. But you can go ahead and let your imagination fly, and make a lion, rhino, zebra, tiger, monkeys, kitties, puppies, etc.
If you like my drawings you can get the Free Diy wall art printables {Personal Use Only} right HERE!

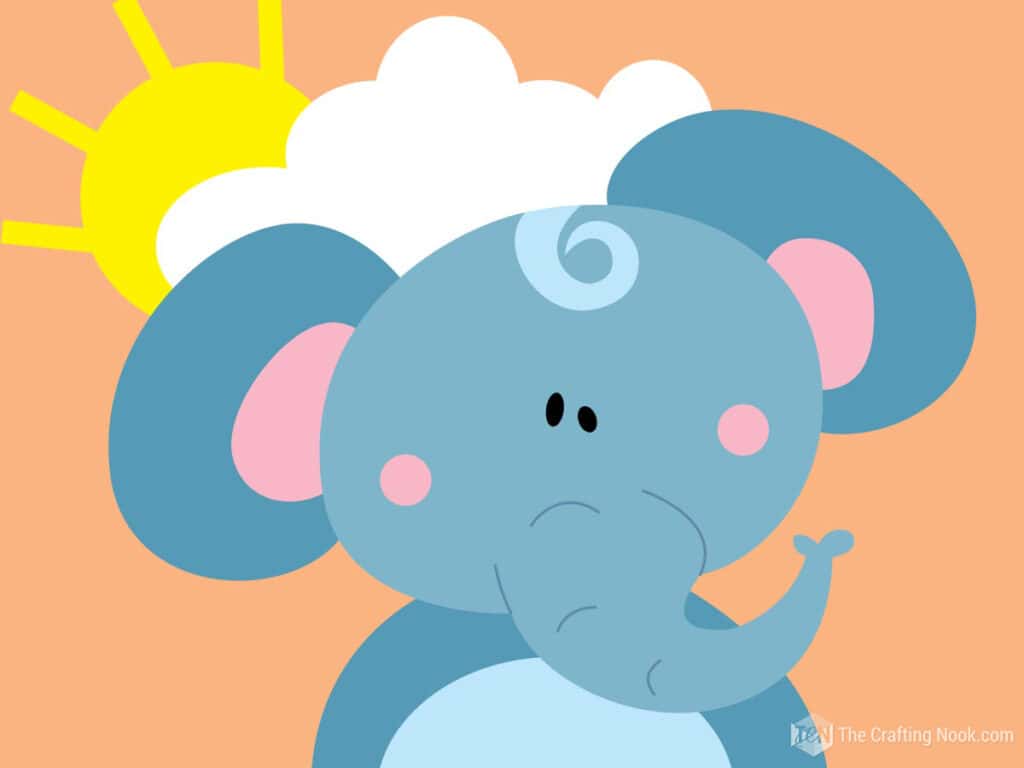
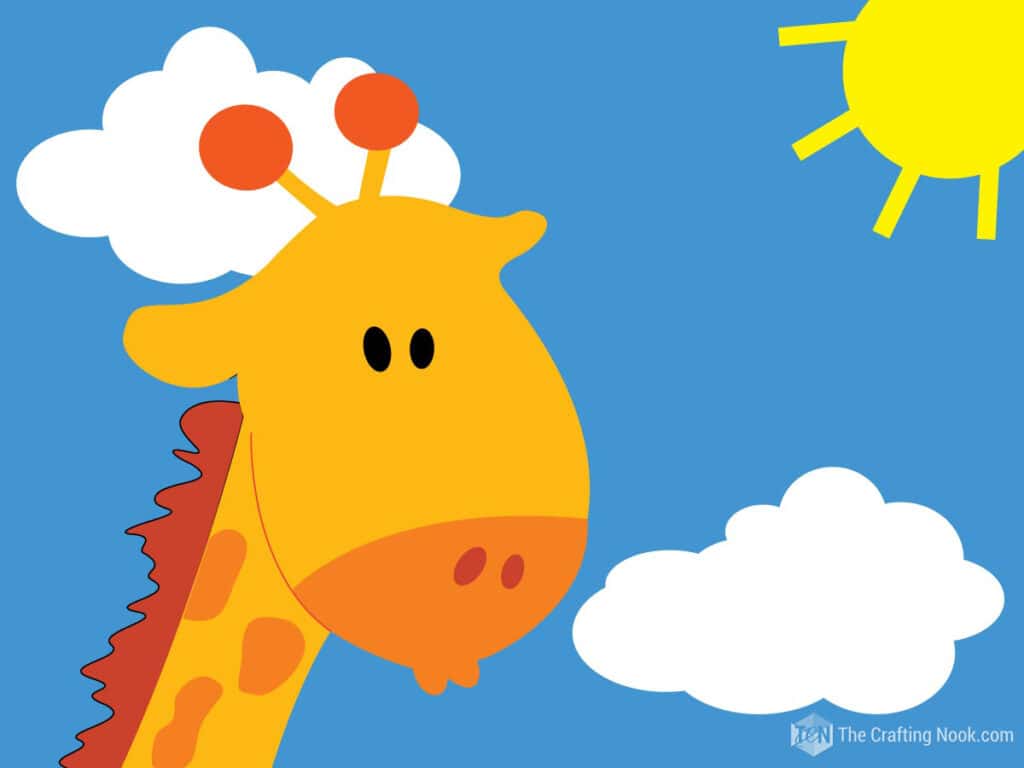
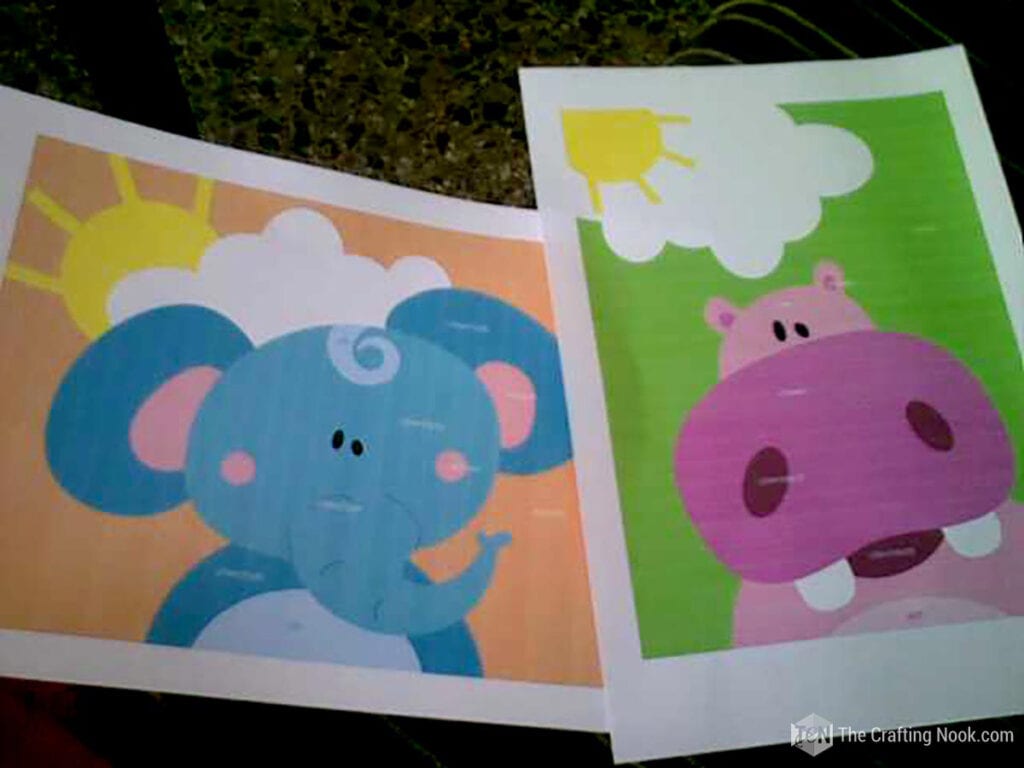
- I traced the whole shape of the drawings on the back of the paper using the 6B pencil. It is softer and darker.
- I traced it roughly making the lines thicker.
- Then I placed the paper over the canvas’s right side facing up – the penciled side facing the canvas – and started tracing again the whole drawing but this time very carefully.
- This would transfer the drawing to the canvas.
- I repeated the process with the other 2 canvases.
- Then I started to paint one canvas at a time, paying attention to details and trying my best to make paint lines as steady as possible LOL.
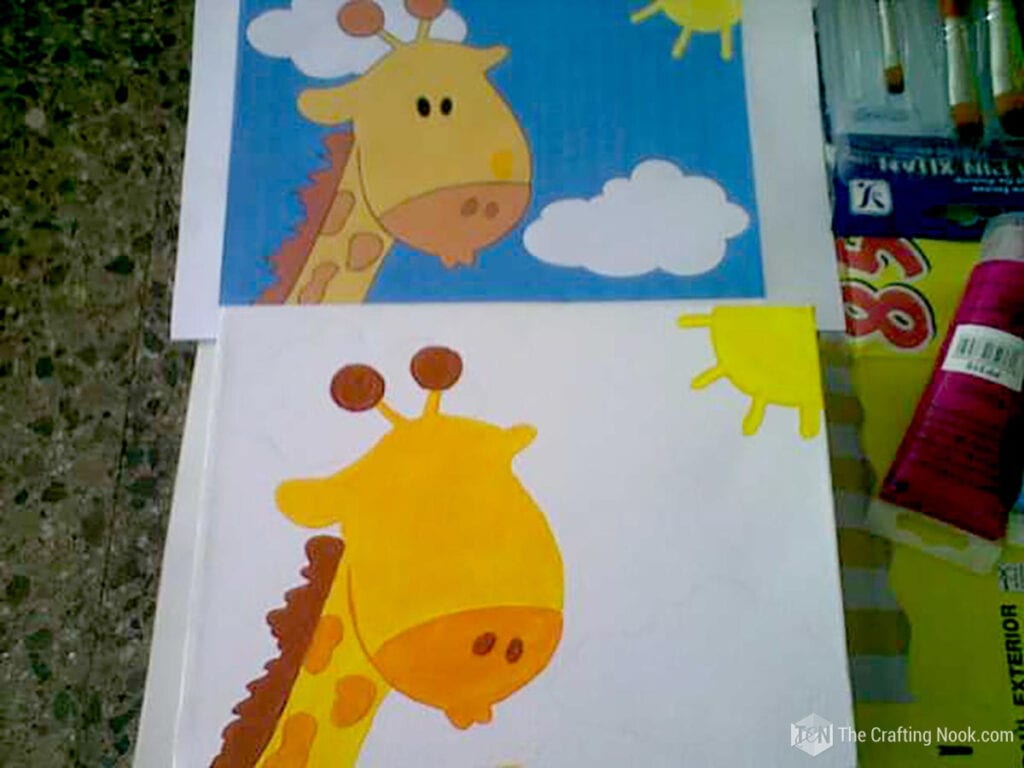
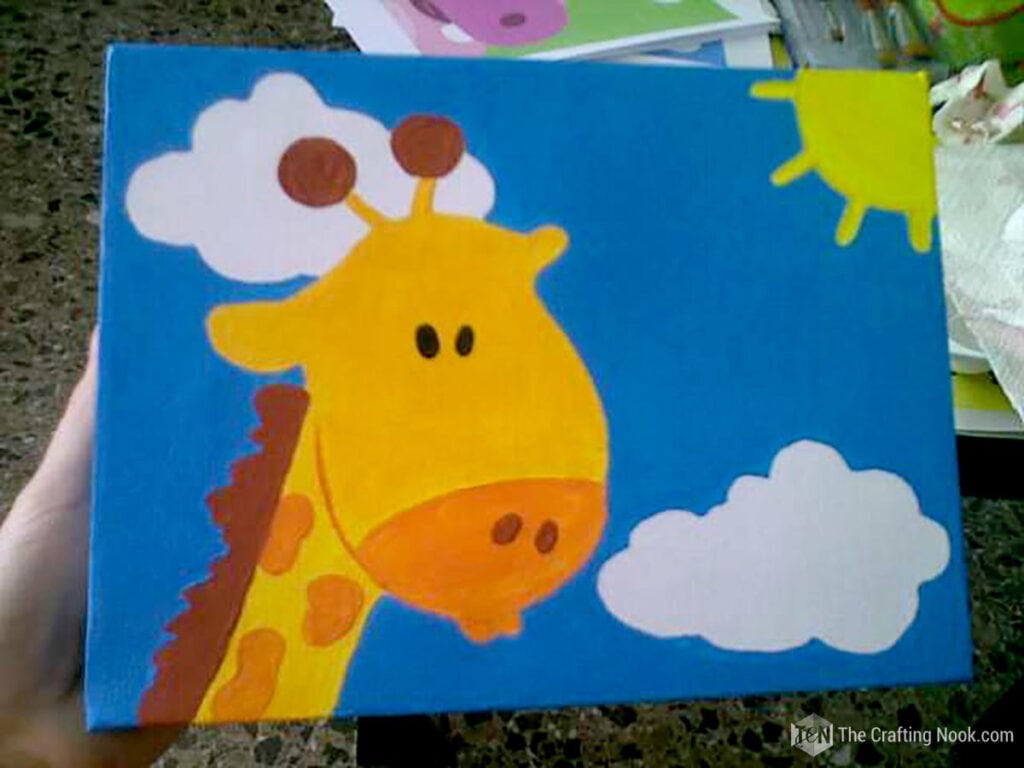
- When I had them done I would let them dry overnight. I was actually making them mostly at night when Emma was sleeping.

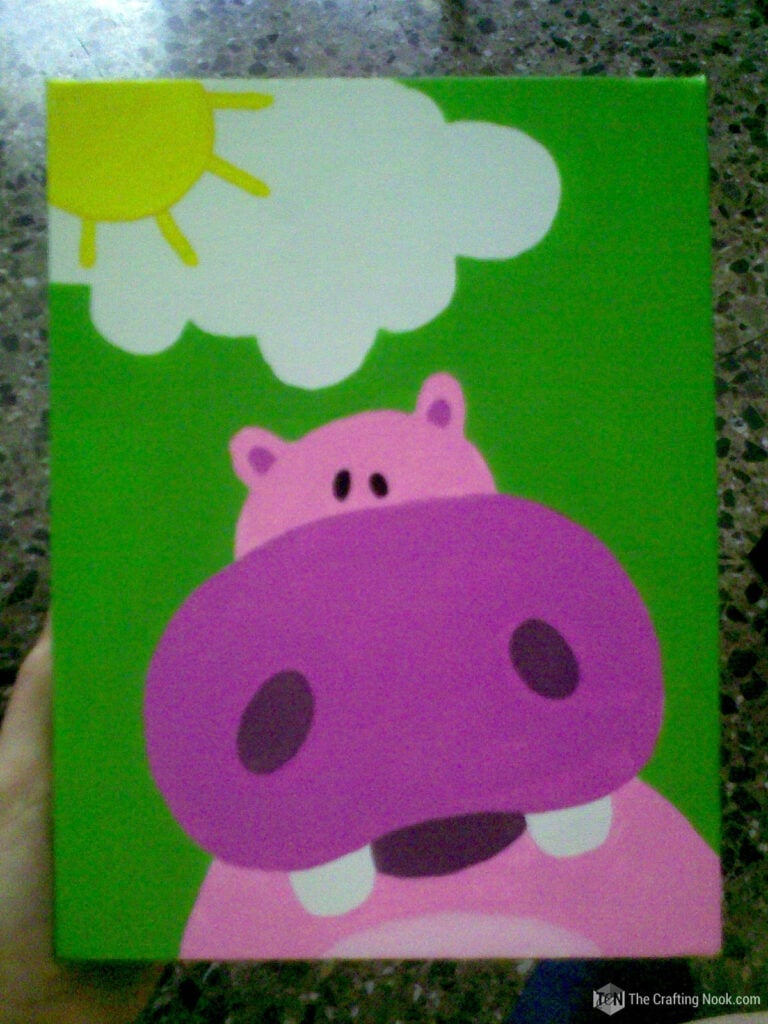
So that’s it… The animal wall arts are ready!
I hung them in my baby girl’s bedroom near her crib and it gave a little color to her room!
Crafting Tips
- Don’t be afraid to try different painting techniques, such as blending colors or using different brush strokes. You can also experiment with other materials, such as fabric or paper, to create a multi-dimensional effect.
- If you’re not confident in your drawing or painting skills, you can use stencils or templates to create a design. You can find a variety of stencils and templates online, or you can create your own.
- Adding texture to your nursery wall art can make it more visually interesting. You can use materials such as tissue paper, sand, or glitter to add texture and dimension to your painting.
- Consider the colors of your child’s room when choosing the colors for your nursery wall art. You can use complementary colors to create a harmonious look or contrasting colors to create a bold statement.
- Consider adding your child’s name or birthdate to your nursery wall art to make it more personal. You can also incorporate their favorite toys or characters into the design.
- I didn’t frame them but you are more than welcome to put them in cute frames.
- Don’t be afraid to make mistakes! Remember that creating art is a process, and it’s okay to make mistakes. Embrace the imperfections and learn from them to create a better piece of art.
I had a Picture from the DIY Wall Diaper Stacker where you can see how the room looked}


Well… What do you think???? I would love to hear your thoughts!
Frequently Asked Questions
You will need materials such as canvas or paper, paint, brushes, and any other decorations you want to add to your painting, such as stickers or stencils.
No, you don’t need to be an artist to make nursery wall art. I am definitely not one. You can find inspiration from online tutorials or create your own unique designs. The goal is to create a personalized and meaningful piece for your child’s room.
Consider the existing color scheme and decor of your child’s room when choosing colors and designs for your nursery wall art. You can also take inspiration from your child’s favorite things, such as their favorite animals or characters.
Use non-toxic and child-safe materials when creating your nursery wall art. Avoid using materials that can be a choking hazard, such as small beads or buttons.
You can hang your nursery wall art using picture-hanging strips, nails, or hooks. Make sure to choose a safe and secure method for hanging your artwork, especially if you have a curious toddler who may try to touch or pull on it.
More Crafts for Kids to Try
If you like this animal nursery wall art paintings tutorial you might also love these other Project for Kids ideas too:
✂️ Tutorial
DIY Nursery Animal Wall Art Paintings
Tools
- Printer
Supplies
- 3 Canvases
- Acrylic paint – I used the basic ones: cyan magenta, Yellow, and white and mixed them to get the colors I wanted
- Brushes
- 6 B pencil
- Regular pencil
Instructions
- I started by looking for some illustration examples on the Internet so I could get an idea.
- Then I made them using my Adobe Illustrator, you can use your favorite app.
- When I had them done I printed them in the same size as the canvas.
- I made 3 wall arts and illustrated a baby elephant, a giraffe, and a cute hippo. But you can go ahead and let your imagination fly, and make a lion, rhino, zebra, tiger, monkeys, kitties, puppies, etc.
- I traced the whole shape of the drawings on the back of the paper using the 6B pencil. It is softer and darker.
- I traced it roughly making the lines thicker.
- Then I placed the paper over the canvas’s right side facing up – the penciled side facing the canvas – and started tracing again the whole drawing but this time very carefully.
- This would transfer the drawing to the canvas.
- I repeated the process with the other 2 canvases.
- Then I started to paint one canvas at a time, paying attention to details and trying my best to make paint lines as steady as possible LOL.
- When I had them done I would let them dry overnight. I was actually making them mostly at night when Emma was sleeping.
- So that’s it… The animal wall arts are ready!
Share and PIN ME!
Til’ next time…


FREE WORKBOOK
Keeping your Sweet Home Organized
Learn how to create intentional habits and simple routines to Keep Your Home Organized. Plus freebies, printables, exclusive content, and tips.
Disclaimer: By clicking on the “Yes” button above you are giving me your consent to collect and use your information according to the law and My Policy Privacy. Zero Spam I promise!

