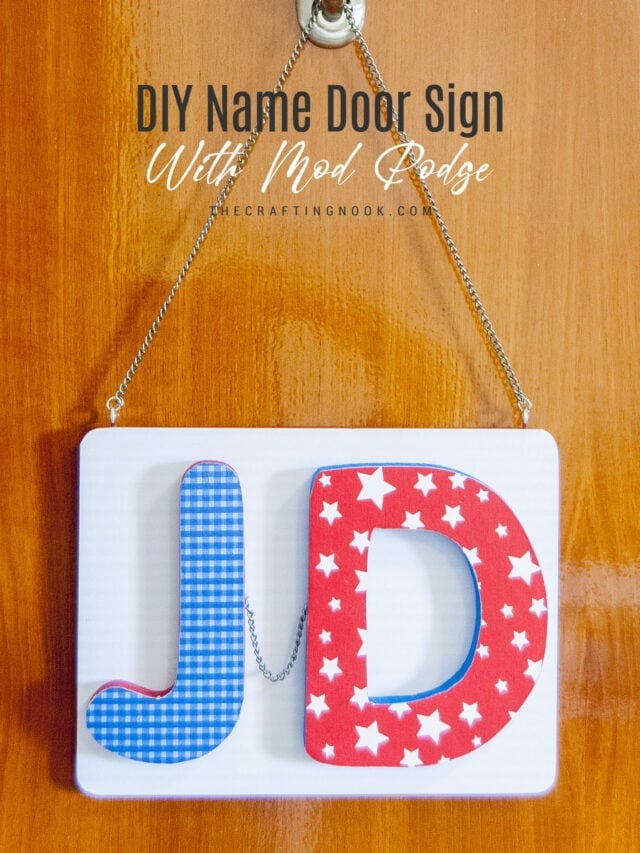
Mod Podge Monogrammed Wall Art For Girls
Using inexpensive supplies you can create this cute Mod Podge Monogrammed Wall Art for a girl’s bedroom. Super easy and fun to make!
Decorating my girl’s room is my biggest hobby and since I recently tried for the first time mod podge I really wanted to make a cute Monogram girly Wall Art with some gorgeous papers I got.

How to make a Mod Podge Monogram Wall Art For Girls
You know I don’t live in USA but I’m spending Summer here and as I mentioned on my post Our Vacation and Life Changings, I never stop crafting LOL.
This post may contain affiliate links. Please read our Disclosure Policy.
So when I went to Walmart, I went right away to the craft department and OMG!!! I got lost in there for several hours LOL. I found these frames, and wooden letters, also some wooden shapes to make flowers and animals… Immediately it made me imagine an beautiful wall/door Art for Emma. Of course, I bought everything I could LOL.

After making it I just couldn’t help having this desire to be home again and hanging these on the wall on top of her crib!
It was fun and easy to make. It took its time but it was totally worth it!

A few things first:
What is Mod Podge?
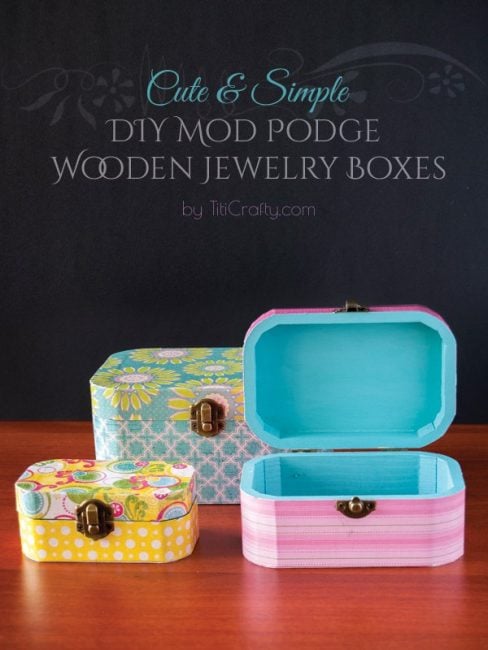
Mod Podge is a decoupage medium — an all-in-one glue, sealer and finish used to attach paper and fabric to various surfaces. It has become one of the most well known craft supplies in existence (you might recognize it from its retro label). I personally love it because of all the various project I can create with it.
Is Mod Podge waterproof when it dries?
No. it is waterbased and acrylic, which is great because that means it’s non-toxic. … If you want to make your project waterproof, I definitely recommend a clear, outdoor (or Enamel) acrylic sealer when your project is finished.
If you are new to Mod Podge, I recommend checking out Mod Podge Rocks by Amy. You will learn tons of techniques with her!
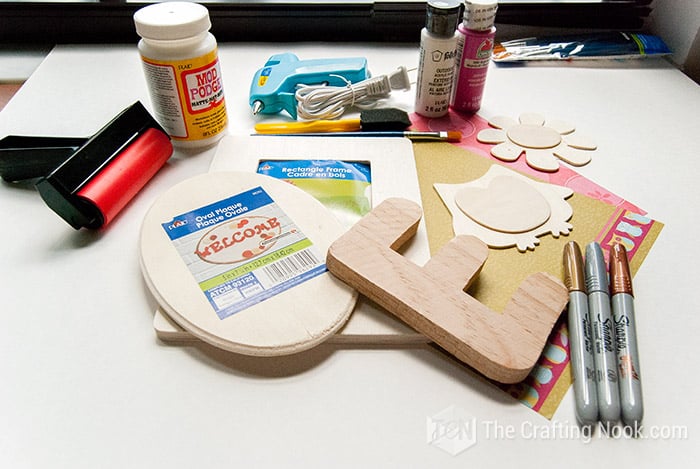
Wall Art Supplies
- Mate Mod Podge
- Scrapper
- Wooden letter
- Oval Plaque
- Rectangle Plaque or Wooden frame also works
- Acrylic paint
- brushes
- Scrapbook Paper
- Hot glue gun
- Sharpies optional*
- Wooden decorative shapes Optional*
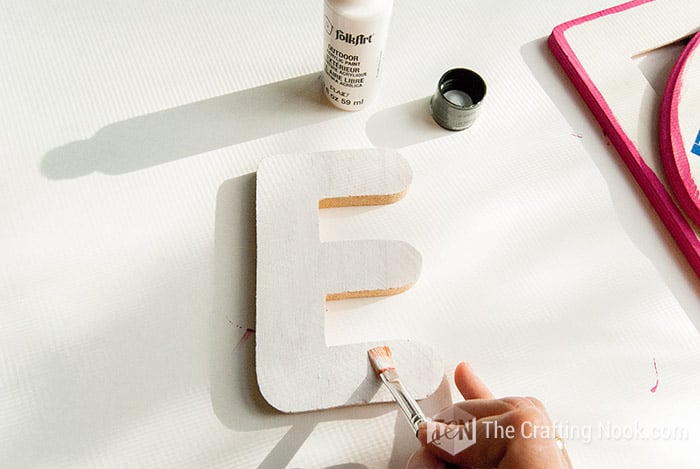
Firstly, I painted the edges of both {Rectangle frame and Oval plaque} in pink.

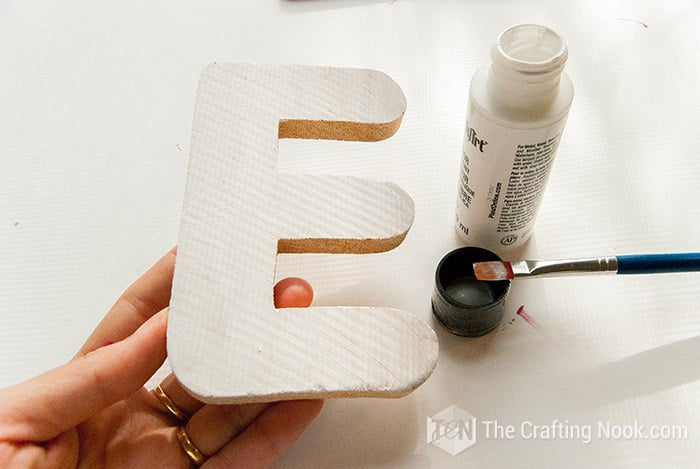
Then painted the E letter in white. On this one I had to add a second coat.
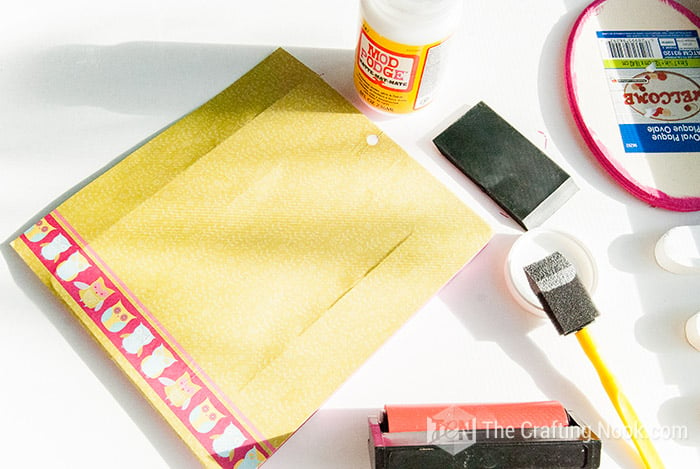
Next, I left all of them to dry well and started to mod podge the frame and the plaque. In this case, it didn’t matter that the paper covered the hole because the plaque was going to be on top of it anyway. I used the frame because was cheaper than a rectangle plaque LOL.

Then I let them dry too and started painting the flower and the owl. I used some Sharpies to make the details such the wings, eyes and center of the flower. Also white emboss paint for the flower.


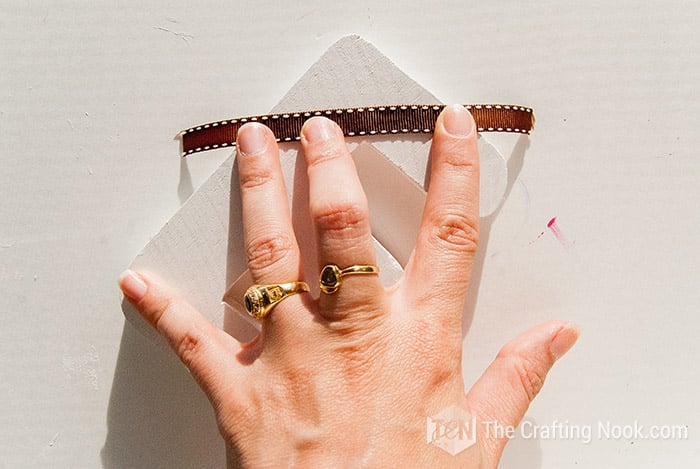
Once everything were dry, I added a strip of ribbon to the frame and then glued the plaque to it.
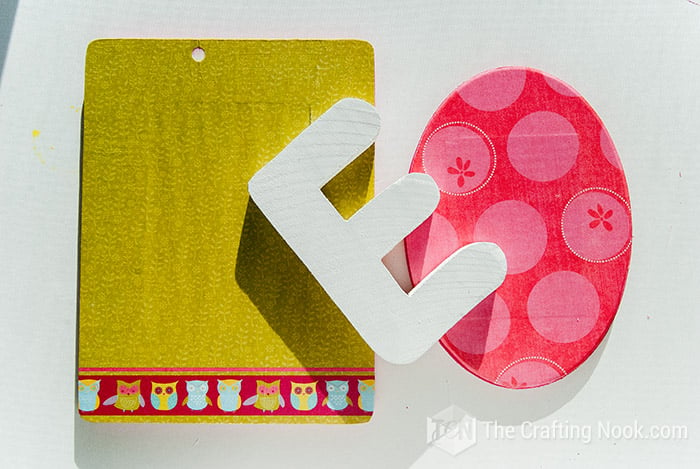


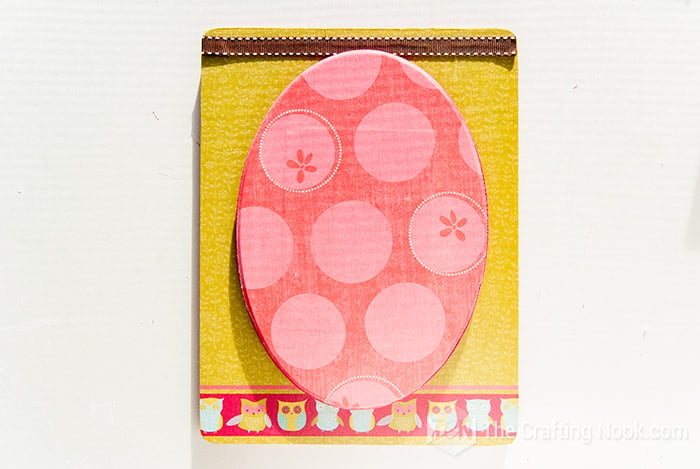
I also decorated the letter E with the same ribbon and a cute bow.
I glued the E to the plaque.


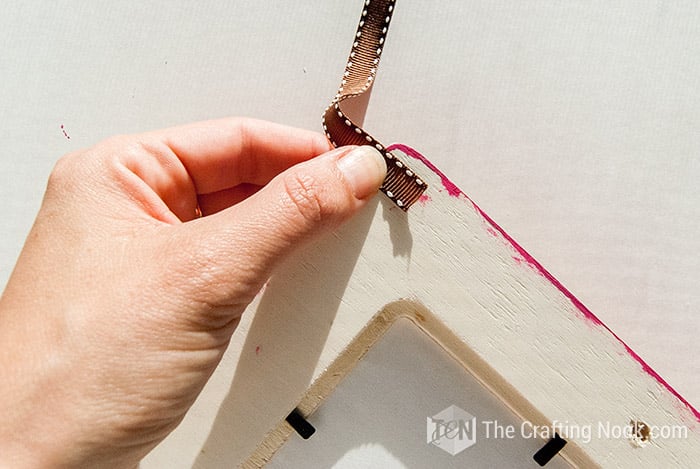
Lastly, I attached a strip of ribbon to both back top corners of the frame to hang it.
Tadaaaaaaa! Ready to hang and super cute, right?
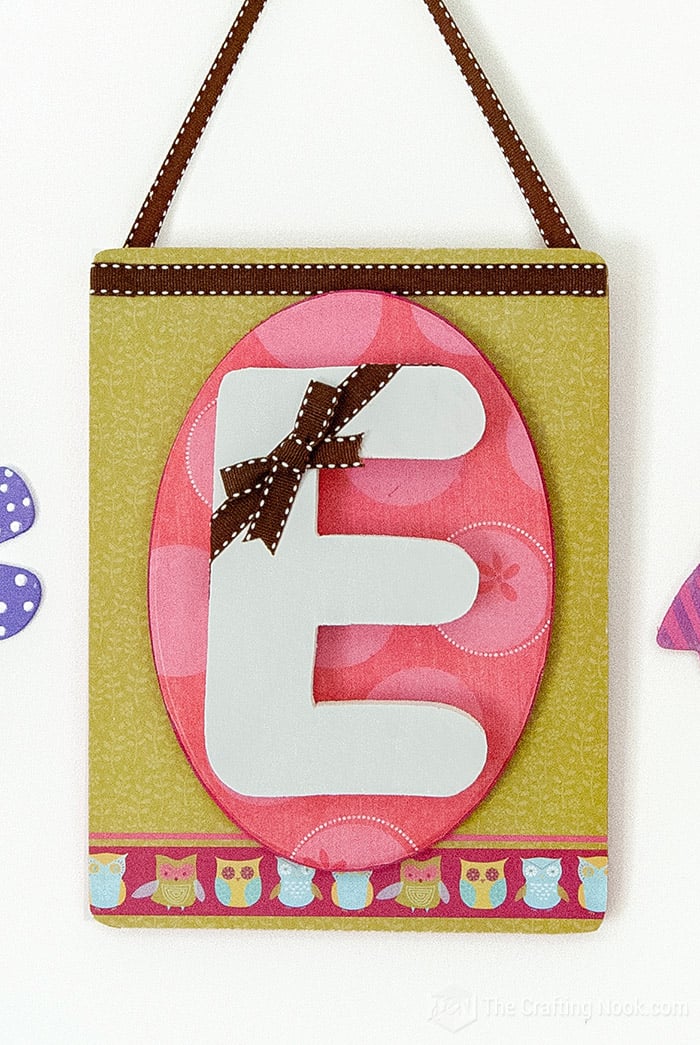
What do you think??? It looks so cute!
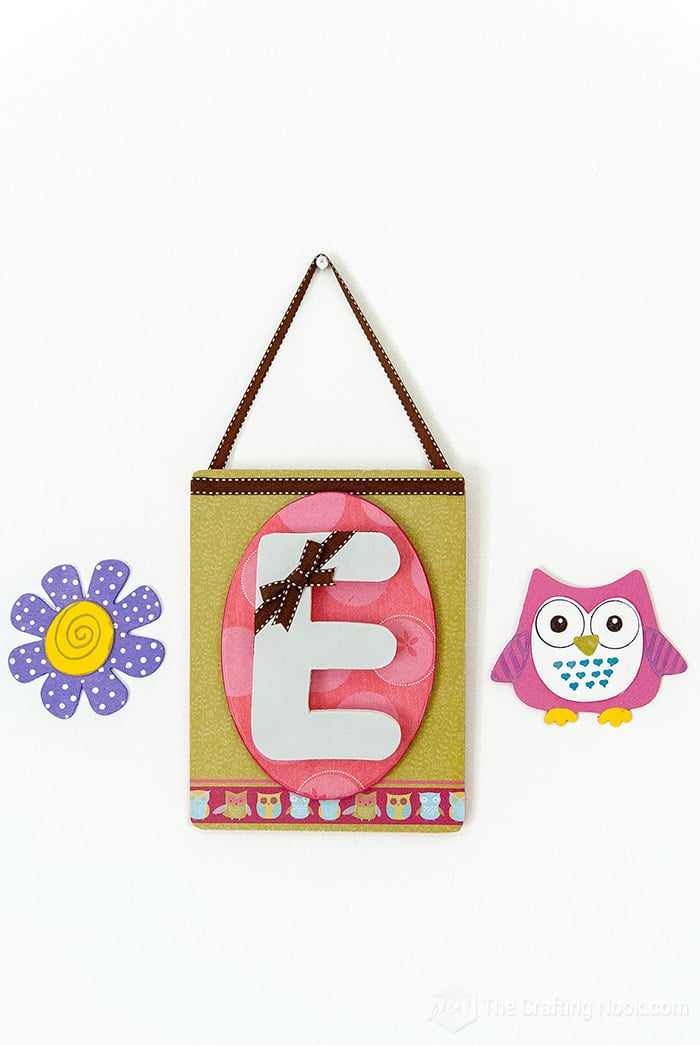
We moved to a new apartment and it still looks so cute in pace!
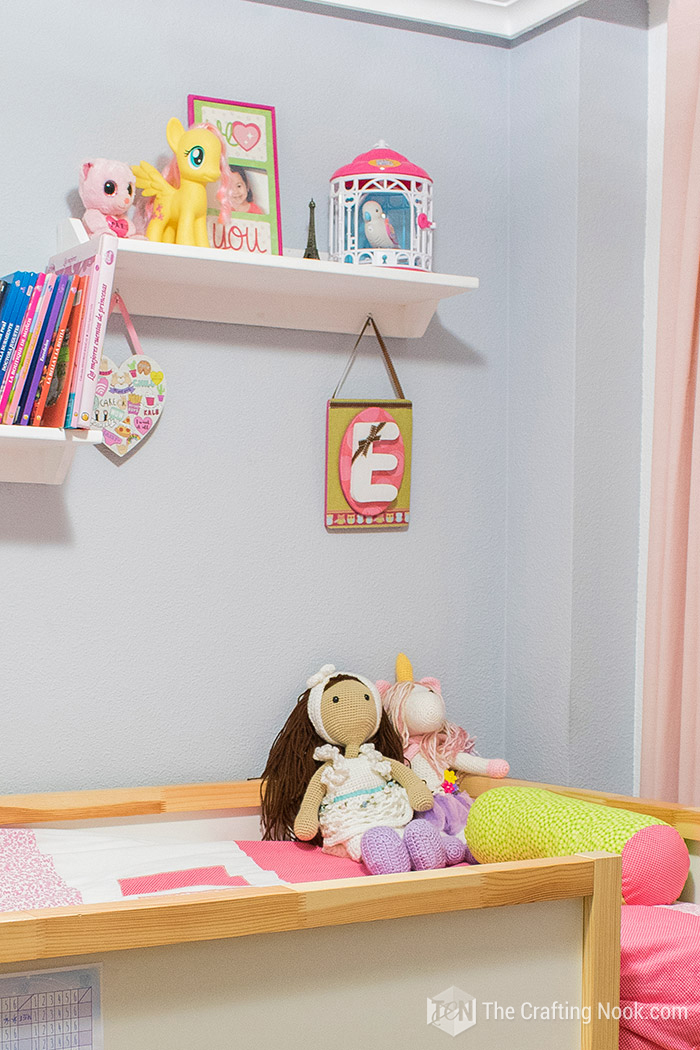
Where would you hang it on a wall or on a door? Do you like monogrammed creations?
If you found this project fun, don’t forget to PIN or share it with friends
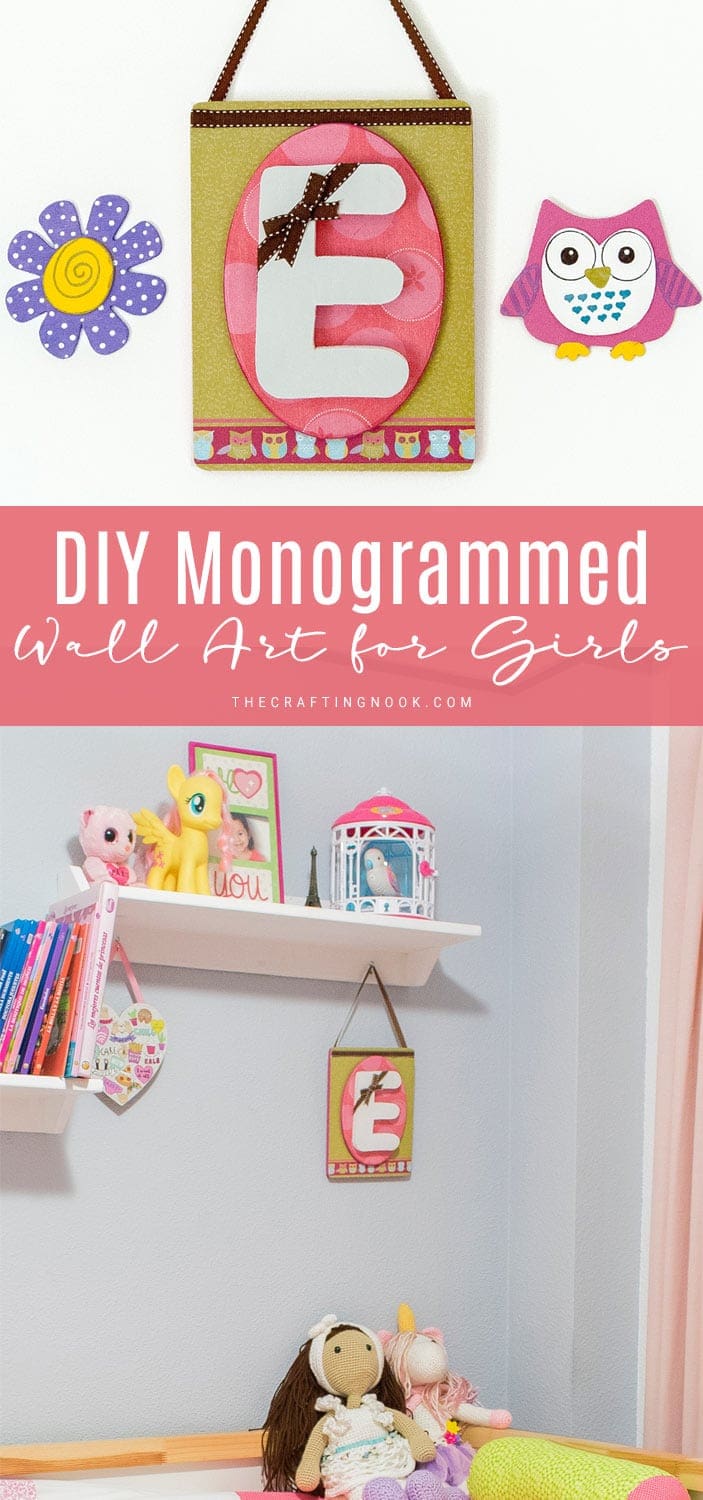
If you like this project, You might also love these too:
Til’ next time…


FREE WORKBOOK
Keeping your Sweet Home Organized
Learn how to create intentional habits and simple routines to Keep Your Home Organized. Plus freebies, printables, exclusive content, and tips.
Disclaimer: By clicking on the “Yes” button above you are giving me your consent to collect and use your information according to the law and My Policy Privacy. Zero Spam I promise!

