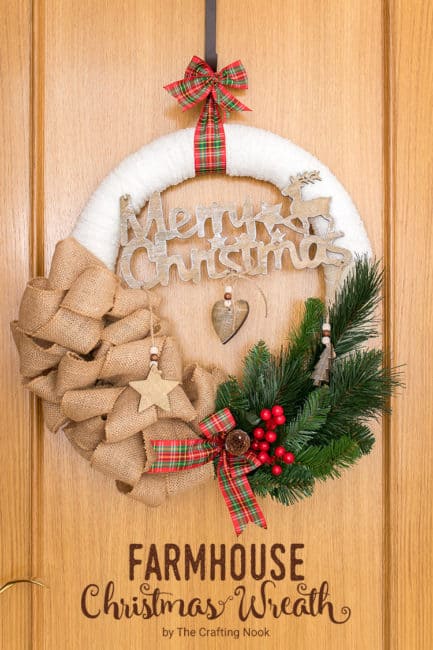
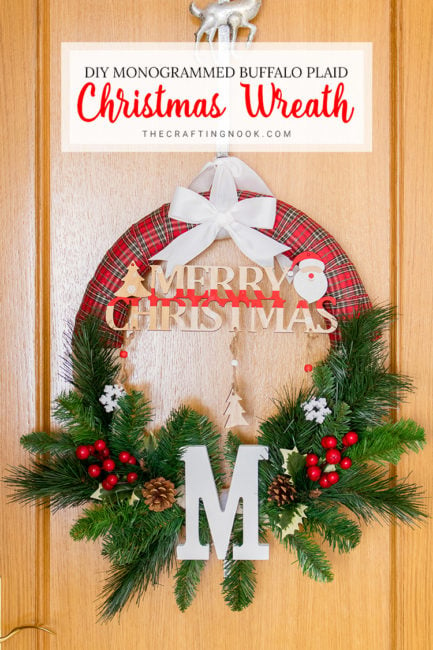
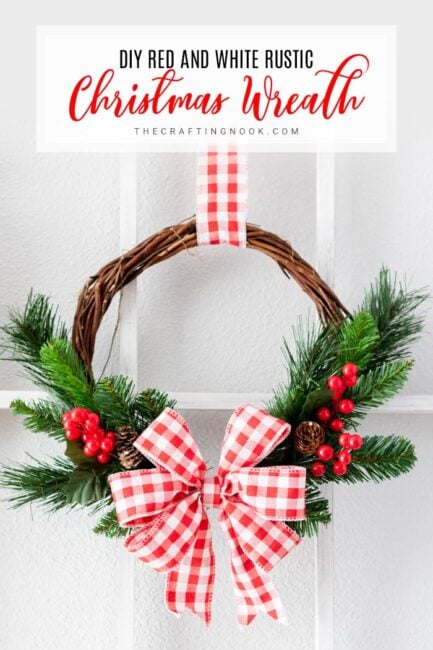
DIY Rustic Burlap Christmas Wreath
This post may contain affiliate links. Please read our Disclosure Policy.
Learn how you can make this Rustic Burlap Christmas Wreath for your holiday decor out of a pool noodle and using only rustic elements. That’s right, we said a pool noodle! The best part is that when the holiday is over, you can re-purpose it!
It’s starting to look a lot like Christmas, don’t you agree?
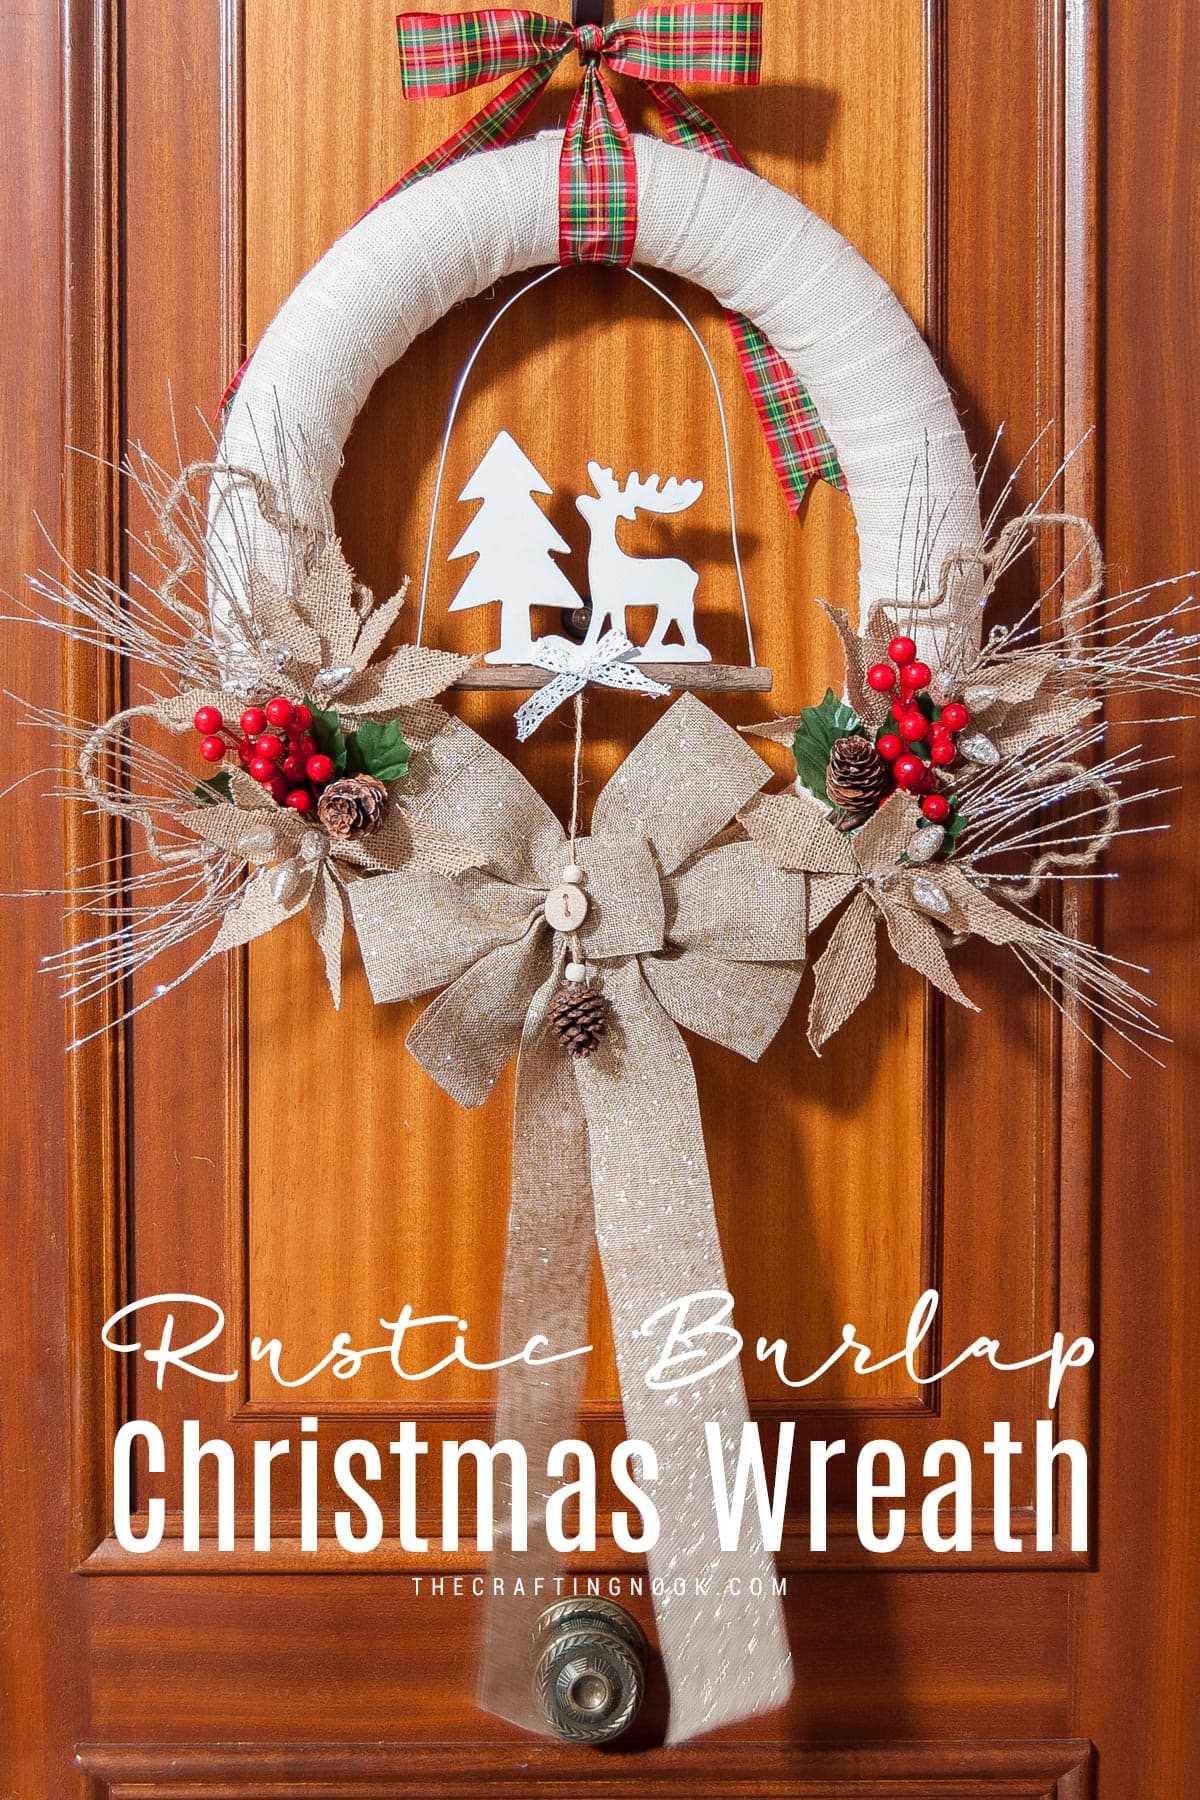
Table of Contents
Rustic Burlap Christmas Wreath Easy Tutorial
I gotta tell you, I’m so super excited about making most of my home Christmas decor by myself. You will be seeing lots of fun and easy crafts around here.
I’m all about rustic this year so there is a lot of twine, burlap, plaid, and even yarn LOL.
OH, I forgot, and A LOT of glitter too!
It’s not Christmas if there is no glitter everywhere, right?
Today I’m excited to show you all, my Rustic DIY burlap wreath that I made using a lot of burlap ribbon and a pool noodle.
Yup, you hear that right! I used a POOL NOODLE!
A quick Backstory
So, here’s the story. I’m not a USA resident or citizen and for some reason finding a wreath foam form was really impossible here in Spain.
So I started to sniff around the internet and Pinterest {mostly} and since I had read a long time ago that we could make a wreath out of a pool noodle I did my research.
Have you seen how many things we can make with that thing? It’s about to become my new favorite craft supply LOL.
Anyway, back to the point…
I found this site in which Carrie shows how to make a pool noodle wreath. She explains it all in such detail, I knew right away I could make this! I can find pool noodles here any time of the year and it was so cheap.
I saved over $10 by not buying it online and buying that pool noodle that cost me around $1,50.
The best part?
I can just take off Christmas decor and cover it with Spring, Valentine, Easter, summer… You name it!
For this Wreath, I didn’t use any pin, glue, or anything that would damage the foam form. I used twine to secure everything and it turned out so pretty. So in short, this DIY project is so budget-friendly!
I must confess, I might be the only crazy lady in this building with a wreath on the door LOL. But I so LOVE it!
Who knows, maybe I inspire people to start doing it!
How to Make This Rustic Burlap Christmas Wreath
Before we begin, be sure to follow us on Pinterest, Facebook, Instagram, and YouTube, and also sign up for our email list (at the end of this post), so you’ll never miss a post!
Supplies:
- A pool noodles.
- A small piece of hose {wide enough so it would fit inside the pool noodle}
- Duct tape
- Light beige burlap ribbon {about 2.5 inches wide}
- Natural burlap ribbon {about 2.5 inches wide}
- Twine
- A Burlap Bow
- 4 Rustic burlap flower spray decor {or anything you love}
- 2 pinecone spray decor.
- Plaid Ribbon {about 2 Inches wide}
- Any decoration you love to hang inside.
Variations and alternatives
Burlap: If you are not so into rustic or don’t want to use only burlap, you can always use your favorite ribbon and also fabric.
Burlap sprays: You can use greenery spring if you want a more modern look.
Pool Noodle: If you already have a foam wreath form, by all means, use it. I definitely would! I don’t recommend a wreath frame or a wireframe, because you won’t have the 3D rounded volume you get with foam.
Twine: You can use instead, a small piece of pipe cleaner or floral wire to secure sections. Just make sure it’s wrapped in a color that would match your ribbon.
Instructions:
Since the pool noodle is used to being mostly straight, you need to train it to go in a circle. To do this, you just need to bend it. I had a little one help me a bit.
I love just how easy it is.
Step 1: Making the DIY Wreath Form
Just bend it one way and another, being careful not to make creases or kinks. You might need an extra pair of hands for this though!

I decided to give it time so I created kind of a spiral and place it inside a box where it fit and left it for a couple of days.
Once the pool noodle is retrained, you are ready to put it all together.
Insert the hose piece into the pool noodle on both ends and make both pool noodle ends meet.


Tape it up!


Work it a bit so it gets as circular as possible.

There you go! Now you have your inexpensive foam wreath form.
Step 2: Wrap the Wreath form!
We are going to make two sections of the wreath form. one for the light burlap and another one for the natural burlap.
Using your light beige burlap ribbon start warping your foam form. I overlapped every half of the ribbon so the pool noodle color wouldn’t show up and also wrapped it from one end of duct tape to the other.
I used a couple of rolls of burlap ribbon for this section.

Finish up wrapping over the duct tape with your natural burlap ribbon. It should take more than 1 roll.
I did it like this because most of the decoration I used was darker, especially the bow so it would match.

Use twine strings to secure the ends of your burlap ribbon by making a couple of loops and making a tight knot. Or you can use pins if you prefer.

Our foam form is covered!

Step 3: Decorate your rustic DIY wreath
Now, take your decorated burlap sprays and bend the stem so they get a round shape like your foam form.

Place 2 of them on each side of your natural burlap ribbon space. Play with the composition as you think is best for you.

Secure them with a strip of twine. Use one on each end and one around the center. Adjust positions as needed.

Insert your cranberries and pinecones spray decor between both branches to add pops of color making sure it fits into the twine too.
You can add small tree ornaments here or any type of decor if you like to give it your own twist.


Repeat the process on the other side and place your burlap bow in the middle.
Also, tie it up with a twine strip.


Step 4: Final Touch, The Hanger
Time to add your plaid ribbon…
Now, take the decor you chose to hang inside and place it where you want it to be, and secure it with a twine strip in place.

Finally, run your plaid ribbon through the wreath and over your hanging decor hanger. Join the ends at the top and tie them into a bow. I did the bow with the wreath already on the door to tie it well to the wreath hanger.

Your Rustic Burlap Christmas Wreath is now ready to be hung.
It is perfect for a front door like mine, a mantel, or even in your office space. Give it a try and see how fun, frugal, and so quick it can be to get this crafty decor.
Crafting Tips
- When making wreaths, whenever possible, use pins instead of glue. That way you can reuse many times the same wreath form.
- If a Glue or hot glue gun is needed consider wrapping the wreath form with cheap ribbons or fabric scraps so you can glue things and be able to remove them later.
- Always visit thrift stores and dollar trees, you might find really good items to help you create an amazing wreath.
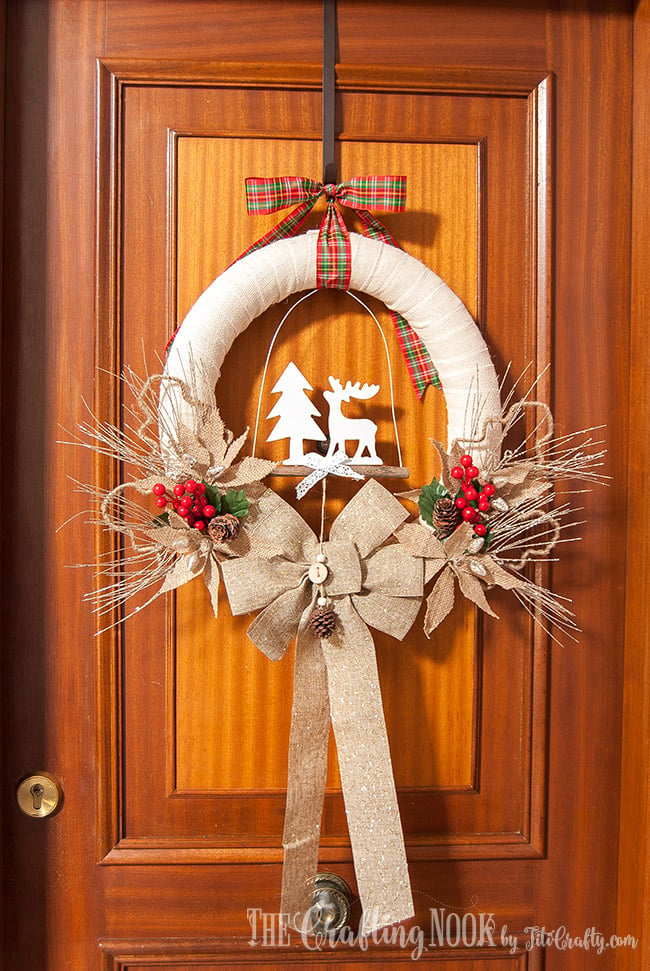
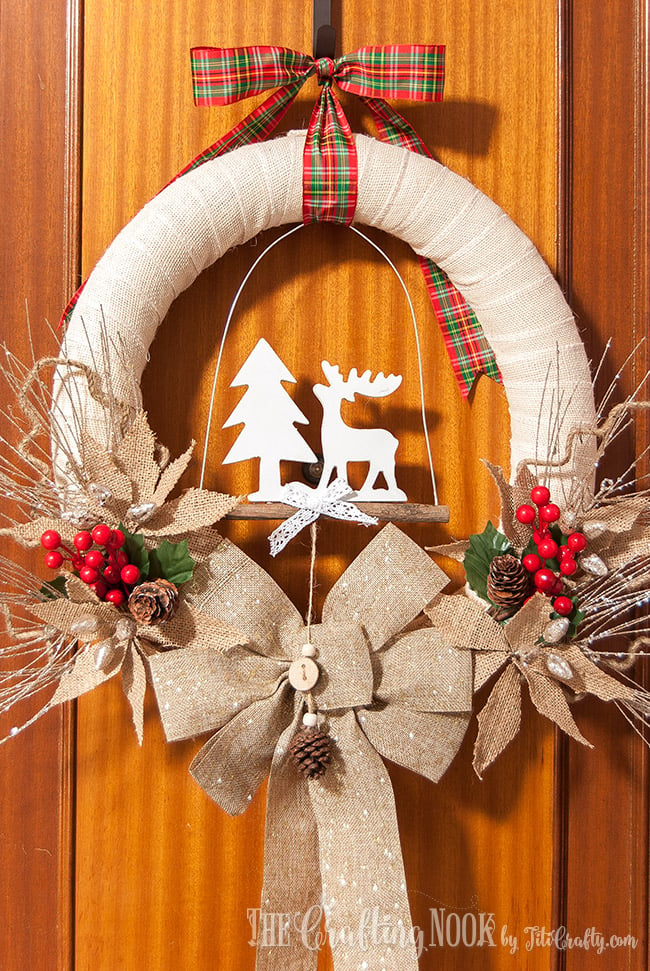
Hope you like this rustic Christmas decor. It can be as inexpensive as you like using supplies you already have at home or even old scraps. Imagination is the limit.
Frequently Asked Questions
You can use a foam wreath form or even a grapevine wreath or even a wire wreath frame wrapping it in burlap or ribbon. Optionally, you can use a pool noodle and create your own wreath form and even make larger wreaths.
You can use any ribbon you like, this one is a burlap ribbon, but you can use fabric ribbon, fabric scraps, and even scarves will do.
You can find super cute springs at dollar stores, craft stores, Etsy shops, or even Amazon. Alternatively, you can make some yourself.
More Christmas Wreaths to Try
If you enjoyed this Rustic Burlap Christmas Wreath tutorial, you might also love these other Christmas project ideas too:
✂️ Tutorial

DIY Rustic Burlap Christmas Wreath
Tools
- scissors
- Craft knife
Supplies
- A pool noodle.
- A small piece of hose {wide enough so it would fit inside the pool noodle}
- Duct tape
- Light beige burlap ribbon {about 2.5 inches wide}
- Natural burlap ribbon {about 2.5 inches wide}
- Twine
- A Burlap Bow
- 4 Rustic burlap flower spray decor {or anything you love}
- 2 pinecone spray decor
- Plaid Ribbon {about 2 Inches wide}
- Any decoration you love to hang inside.
Instructions
- Since the pool noodle is used to being mostly straight, you need to train it to go in a circle. To do this, you just need to bend it. I had a little one help me a bit.
STEP 1: MAKING THE DIY WREATH FORM
- Just bend it one way and another, being careful not to make creases or kinks. You might need an extra pair of hands for this though!
- Bending the pool noodle into an spiral
- I decided to give it time so I created kind of a spiral and place it inside a box where it fit and left it for a couple of days.
- Once the pool noodle is retrained, you are ready to put it all together.
- Insert the hose piece into the pool noodle on both ends and make both pool noodle ends meet.
- Tape it up!
- Taping up both ends of the pool noodle together to close the wreath form
- Work it a bit so it gets as circular as possible.
- There you go! Now you have your inexpensive foam wreath form.
STEP 2: WRAP THE WREATH FORM!
- We are going to make two sections of the wreath form. one for the light burlap and another one for the natural burlap.
- Using your light beige burlap ribbon start warping your foam form. I overlapped every half of the ribbon so the pool noodle color wouldn’t show up and also wrapped it from one end of duct tape to the other.
- I used a couple of rolls of burlap ribbon for this section.
- Finish up wrapping over the duct tape with your natural burlap ribbon. It should take more than 1 roll.
- I did it like this because most of the decoration I used was darker, especially the bow so it would match.
- Use twine strings to secure the ends of your burlap ribbon by making a couple of loops and making a tight knot. Or you can use pins if you prefer.
- Our foam form is covered!
STEP 3: DECORATE YOUR RUSTIC DIY WREATH
- Now, take your decorated burlap sprays and bend the stem so they get a round shape like your foam form.
- Place 2 of them on each side of your natural burlap ribbon space. Play with the composition as you think is best for you.
- Secure them with a strip of twine. Use one on each end and one around the center. Adjust positions as needed.
- Insert your cranberries and pinecones spray decor between both branches to add pops of color making sure it fits into the twine too.
- You can add small tree ornaments here or any type of decor if you like to give it your own twist.
- Repeat the process on the other side and place your burlap bow in the middle.
- Also, tie it up with a twine strip.
STEP 4: FINAL TOUCH, THE HANGER
- Time to add your plaid ribbon…
- Now, take the decor you chose to hang inside and place it where you want it to be, and secure it with a twine strip in place.
- Finally, run your plaid ribbon through the wreath and over your hanging decor hanger. Join the ends at the top and tie them into a bow. I did the bow with the wreath already on the door to tie it well to the wreath hanger.
- There you go! Your Rustic Burlap Christmas Wreath is now ready to be hung.
Share and PIN ME!
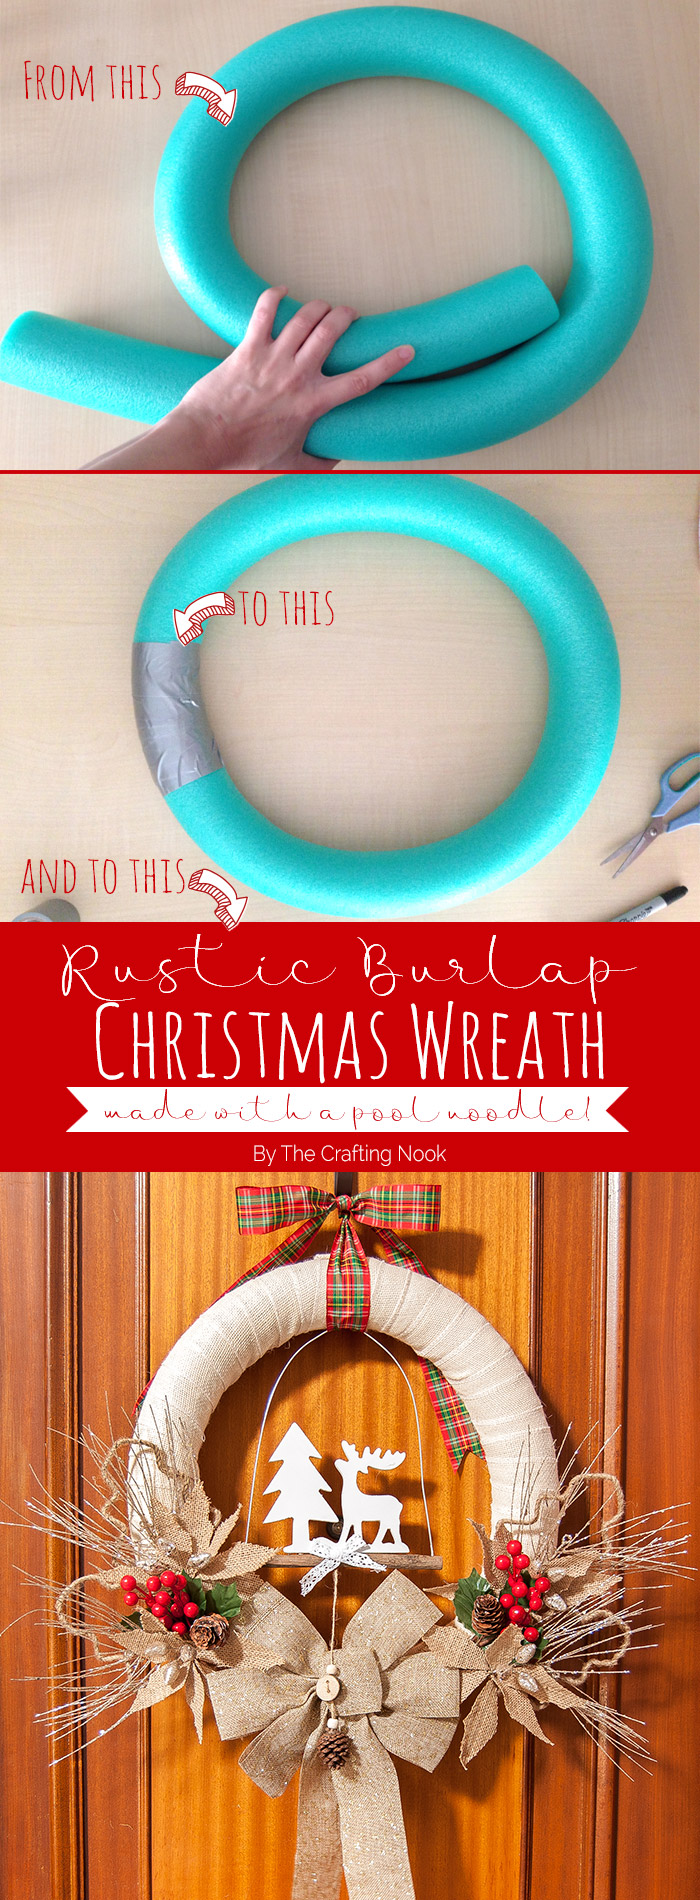
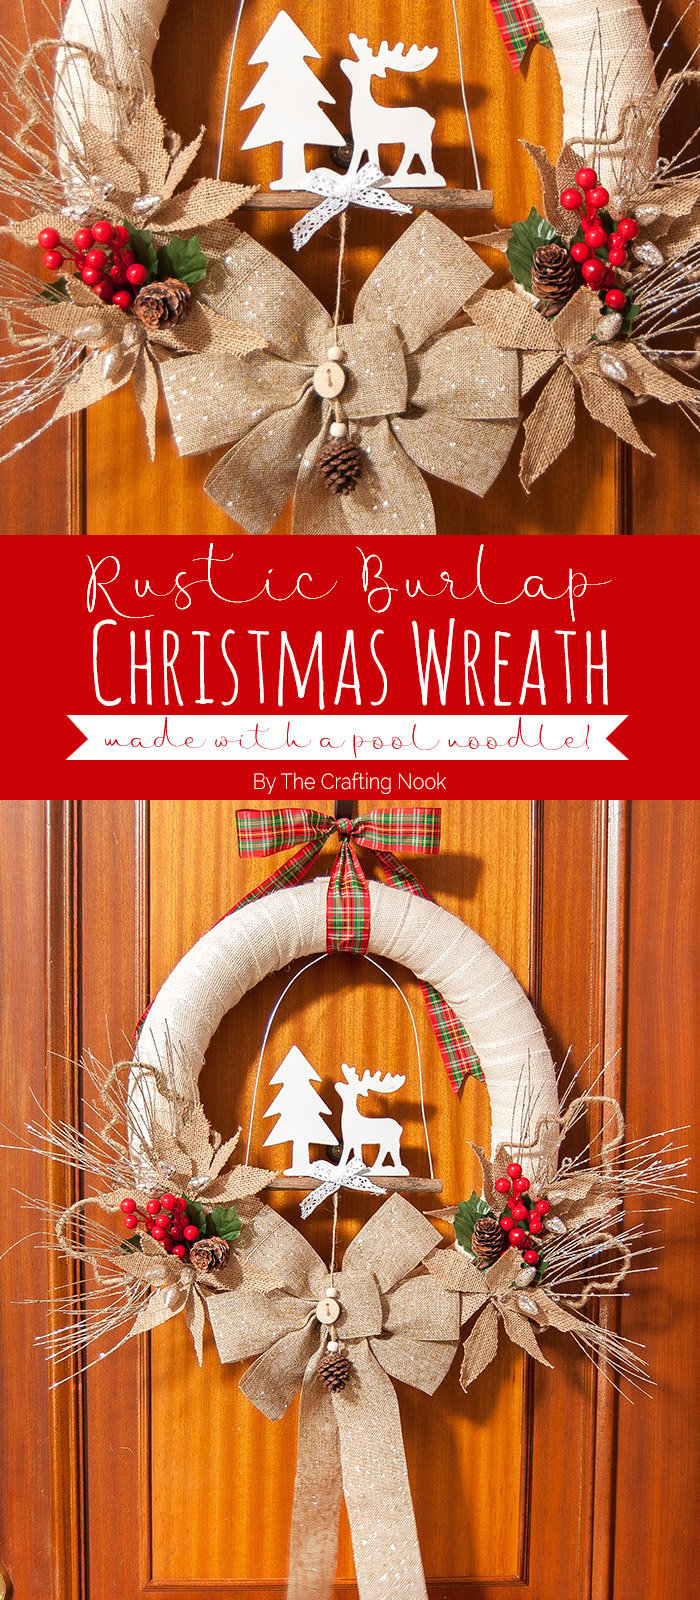
Til’ next time…


FREE WORKBOOK
Keeping your Sweet Home Organized
Learn how to create intentional habits and simple routines to Keep Your Home Organized. Plus freebies, printables, exclusive content, and tips.
Disclaimer: By clicking on the “Yes” button above you are giving me your consent to collect and use your information according to the law and My Policy Privacy. Zero Spam I promise!
