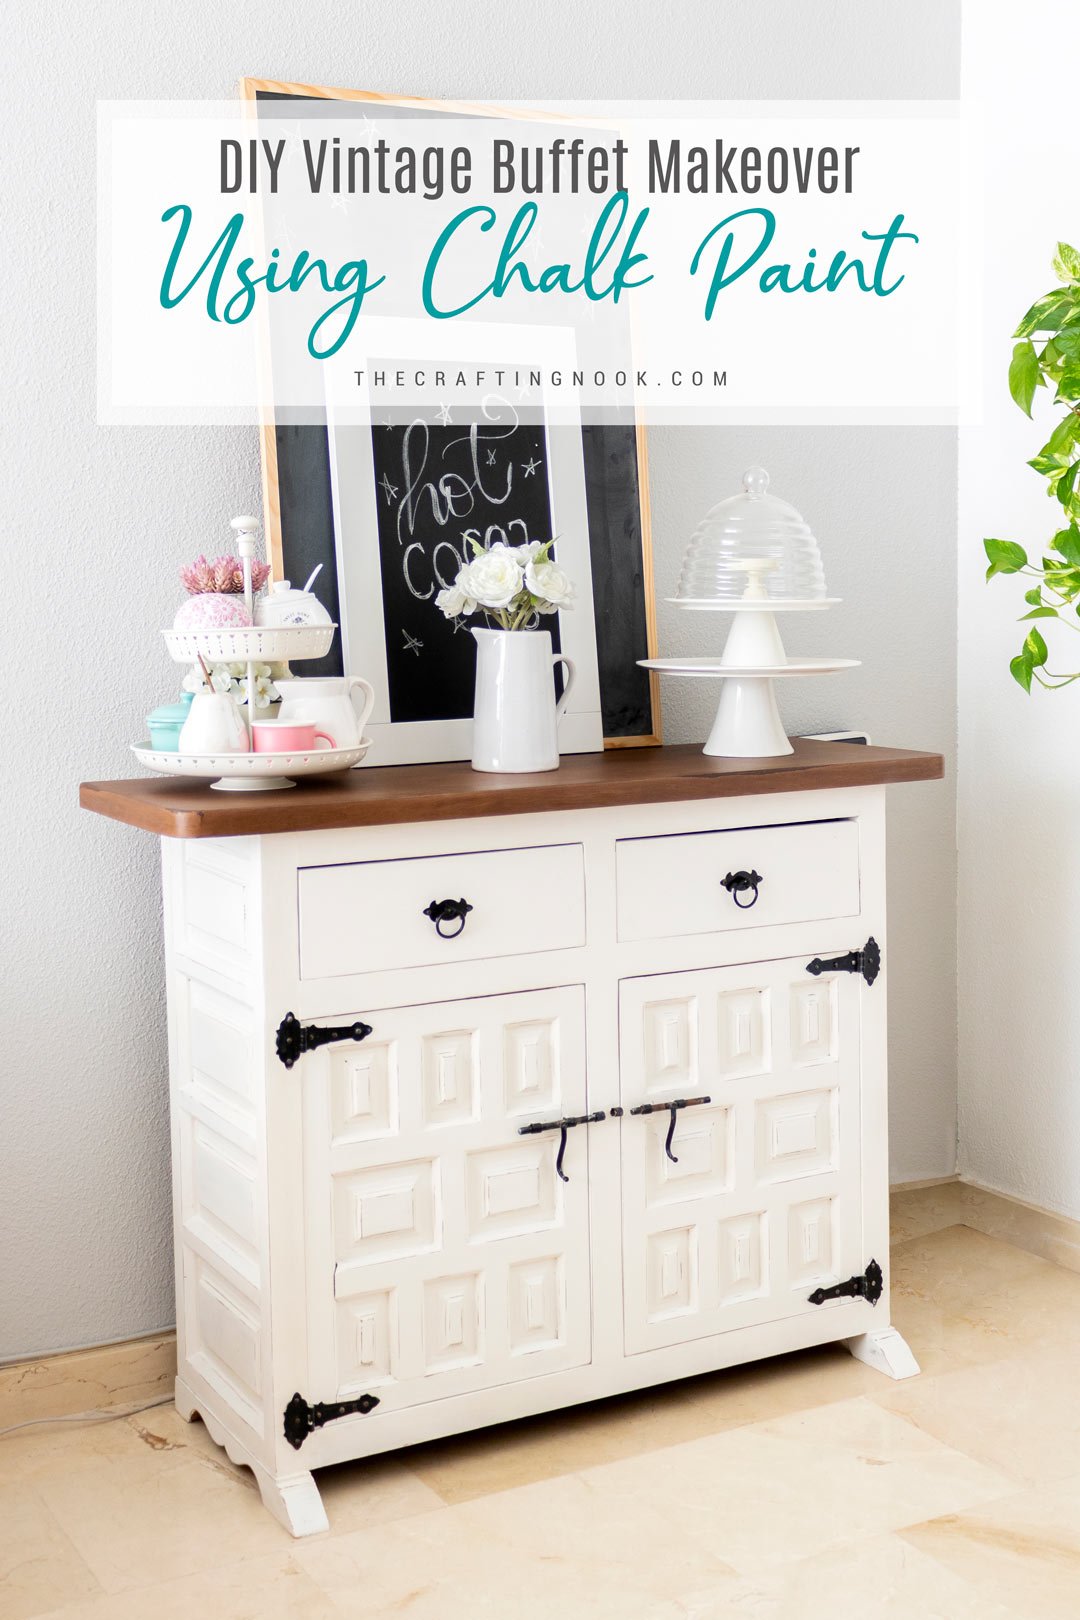
DIY Vintage Buffet Makeover using Chalk Paint
This post may contain affiliate links. Please read our Disclosure Policy.
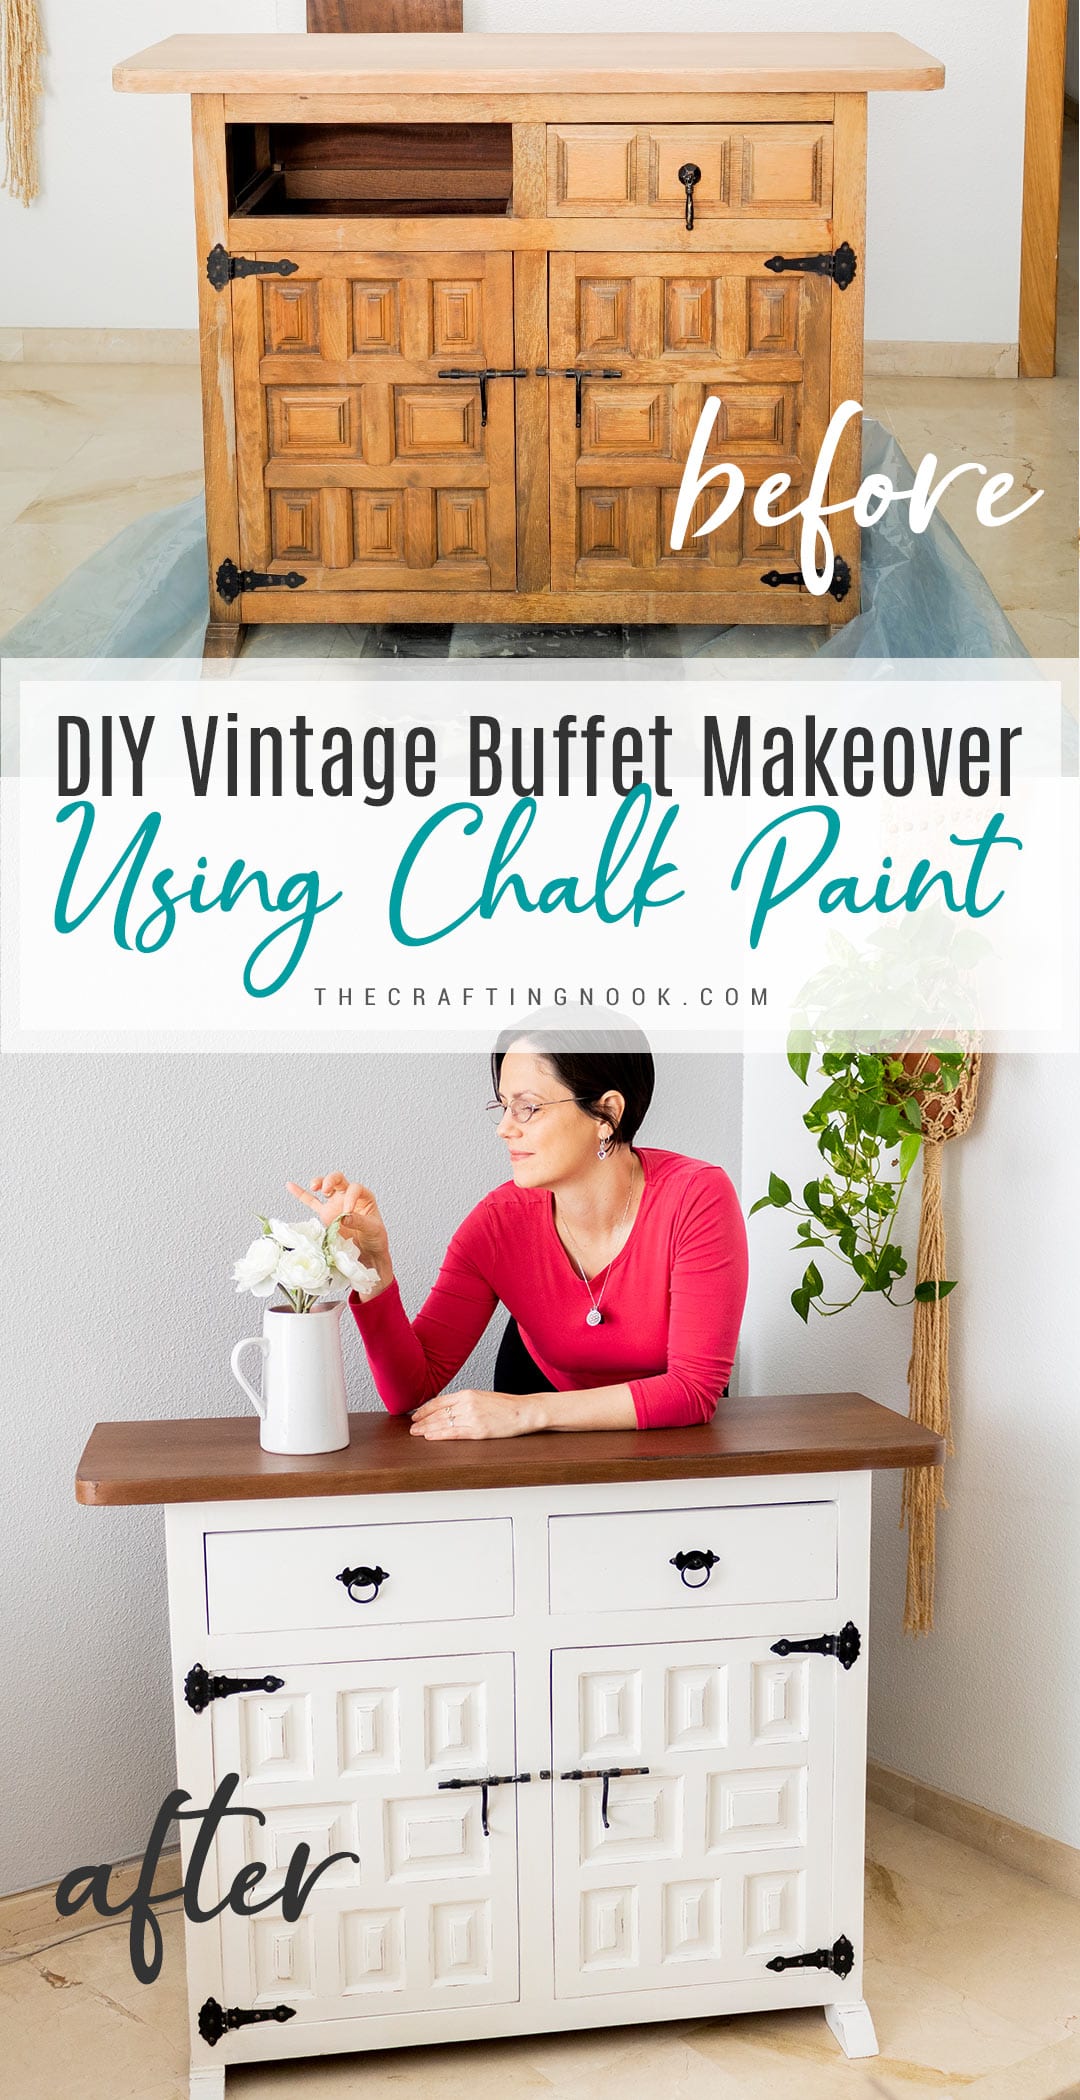
Got a beautiful vintage buffet in need of a makeover? You can do it easily using chalk paint and some wood stain to transform it into a gorgeous farmhouse buffet.
Renovating and transforming a furniture piece have always been on my Wishlist. I must admit, I was kind of scared of this Vintage Buffet Makeover especially because I had never used chalk paint before. So, I procrastinated it for years.
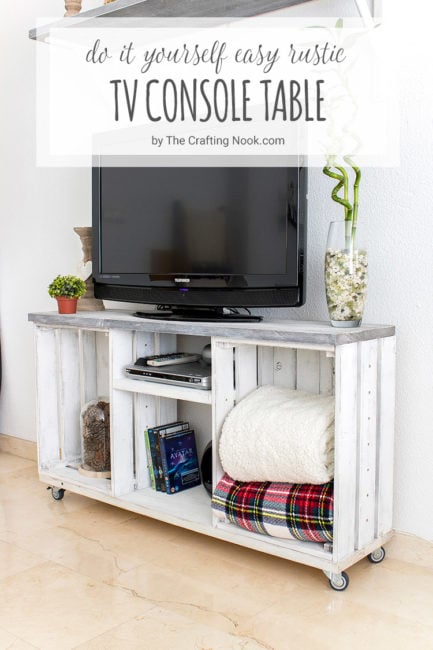
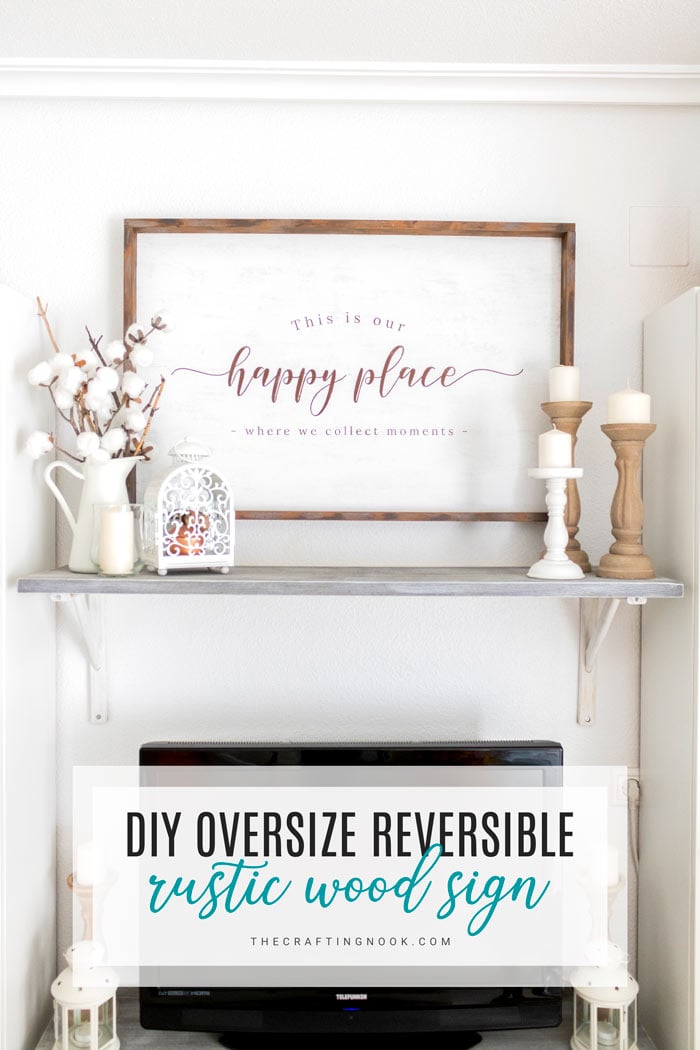
You might also love these other DIY furniture ideas: How to Make a DIY Drawer, DIY Easy Rustic TV Console Table, and DIY Rustic Wooden Headboard.
Table of Contents
Using Chalk Paint for a Vintage Buffet Makeover
My uncle gave me this buffet table and I kept it there in the dining room for over 2 years. It was a totally hot mess, very damaged in some areas, a drawer was missing, and don’t get me started on the inside.
But one day I said to myself you know what? I will do it! And without much thinking, I just started.
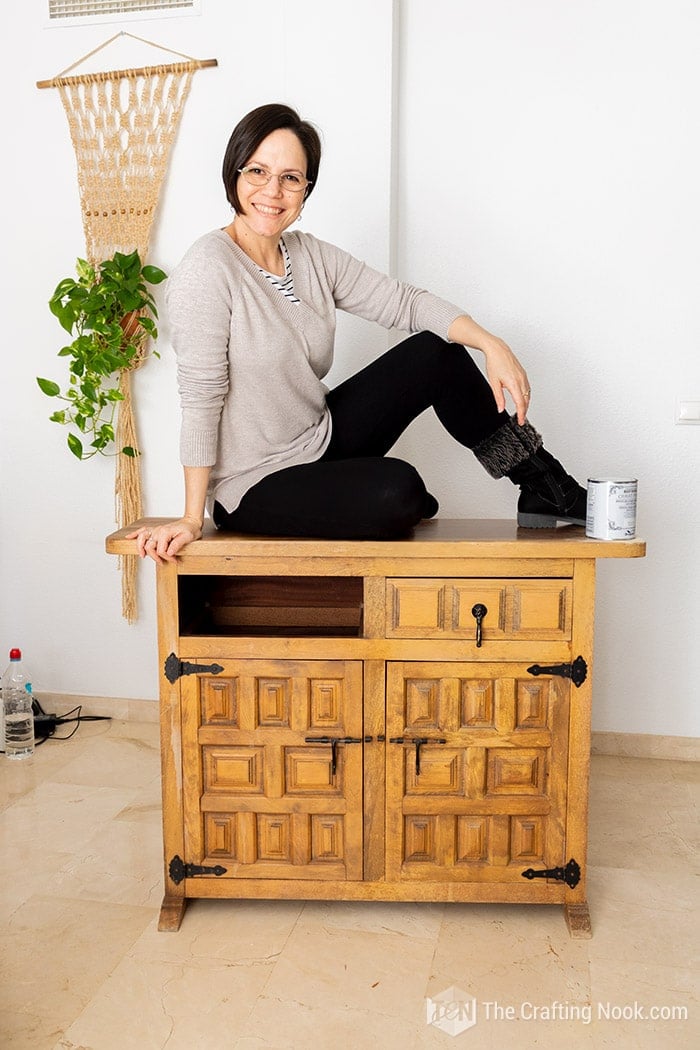
And I meant it, I just started! I had no idea what I was doing and I just freaky started LOL.
I decided to go for Rustoleum chalked paint because I’ve heard so many times, it’s super easy to apply, less hassle and so much fun too.
I kept for years a guide to chalk paint from my friend Lauren from The Thinking Closet for years because the way she explained it was so good. I must agree with her on the stages. She compares this first-time chalk paint furniture painting with the stages of grief and although I laughed, it couldn’t be more accurate, here it is:
STAGE #1: Intrigue: “A paint that requires no stripping, sanding, or priming? Tell me more!”
STAGE #2: Intimidation: “Oh wait – – I have to seal it with wax? Then buff it? That sounds scary! I don’t think I’m ready for this.”
STAGE #3: Provocation: “Ugh! I’m sick and tired of seeing all the pretty Annie Sloan Chalk Paint® projects blowing up my Pinterest stream. It’s time to bite the bullet and see if this paint can really live up to all the hype.”
STAGE #4: Disbelief: “Wait a minute: am I missing something? When’s it going to get really complicated?”
STAGE #5: Elation: “I did it! Isn’t she a beauty? I cannot believe it took me so long to try it. At least I still have practically the entire quart of paint leftover…so onto the next painting project!”
Lauren nailed it! LOL.
I also studied how Laura from The Turquoise Home works with Chalk Paint and she explains the whole process so good too.
And of course, I couldn’t leave behind my sweet friend Lisa from Recreated Designs who inspired me to start transforming and renovating old furniture pieces with all her amazing ideas and projects.
I started to feel a lot more prepared!
I decided to go for a farmhouse look, so I stained the top with walnut wood stain and while using chalk paint for the bottom.
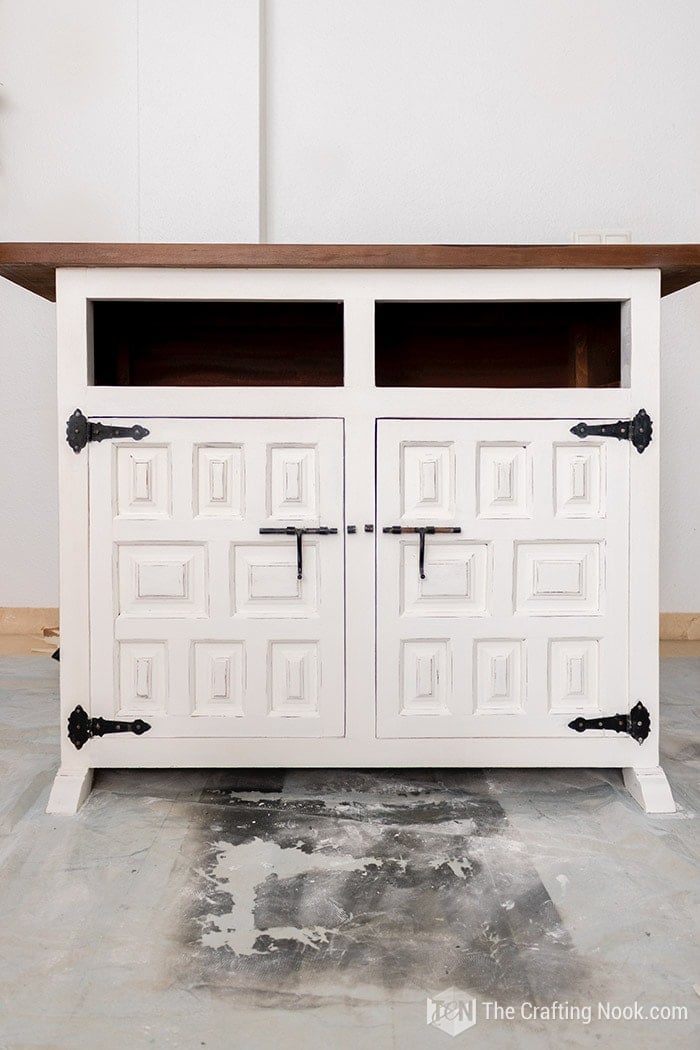
This vintage buffet makeover project was separated into 2. The buffet had only one drawer (out of 2), so I decided to make new drawers for both slots. So here you will find the whole buffet makeover process and the drawers process on another blog post.
So, where do we start this Vintage Buffet Makeover?
Before we begin, be sure to follow us on Pinterest, Facebook, Instagram, and YourTube, and also sign up for our email list (at the end of this post), so you’ll never miss a post!
Let’s get our Vintage Buffet Makeover supplies!
- Drop Cloth or Plastic. You will need it to protect your surfaces.
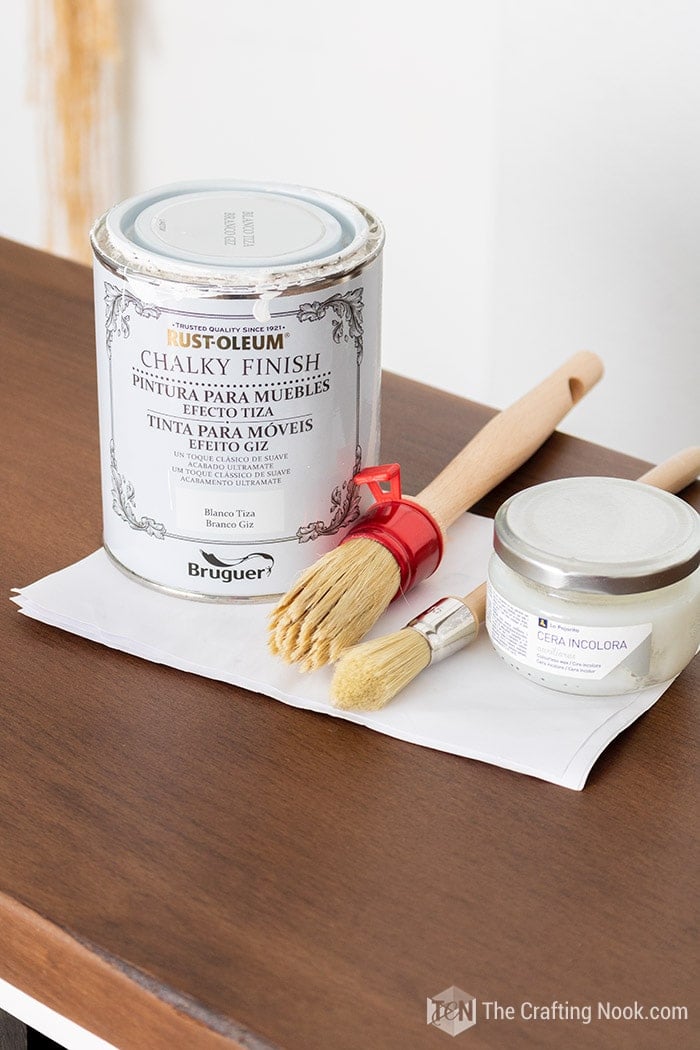
- Brush. I used normal synthetic brushes in different sizes to fit the different areas (not the cheapest so I didn’t get that many bristles left behind) and a wax brush (rounded one). I also used for solid straight areas a roller. This is optional.
- Paint. I used Rustoleum’s Chalked Paint and Walnut Wood Stain.
- Tin of soft wax.
- Wood sealer. I used one made for pool wood flooring so it would protect the top from water and UV. But you can totally use poly or your preferred sealer.
- Damp rag and cleaning solution (optional). You definitely want your surface to be clean and free of all dust and debris.
- Clean, soft rags or cloth. I use old cut-up t-shirts, but if you don’t have some of those lying around, microfiber, cheesecloth will work too.
- Fine Grit Sandpaper. Used for distressing.
- Medium Grit Sandpaper. Used for sanding the top (I also used a sanding tool).
- Extra supplies: painter’s tape, wooden paint stirrer, rubber gloves, paper plate, glass cup, plastic knife.
How to paint with chalk paint
The first thing is choosing the victim, then prepping the furniture piece. It’s not that complicated but it’s a very important step and finally painting and sealing the piece.
Step 1: Choosing the piece.
I would say to find a simple one first to test the waters, something small and insignificant as your first piece in order to build your confidence and then move on to more complicated ones but I just jumped in into the harder one because I already had it sitting in there waiting for me LOL. These types of pieces can be found sometimes next to trash dumpsters, on thrift stores, and like myself have them passed on.
Step 2: Prepping the piece.
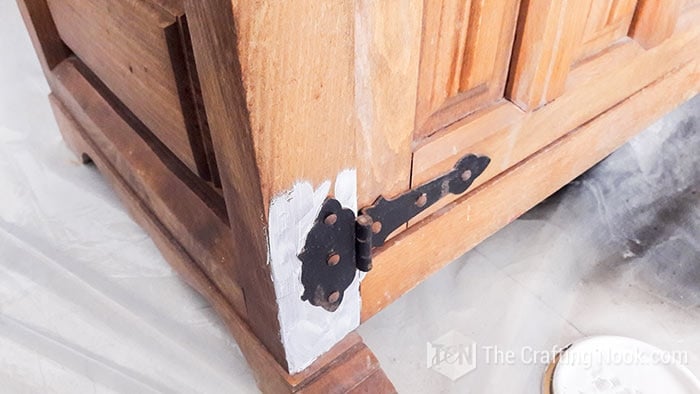
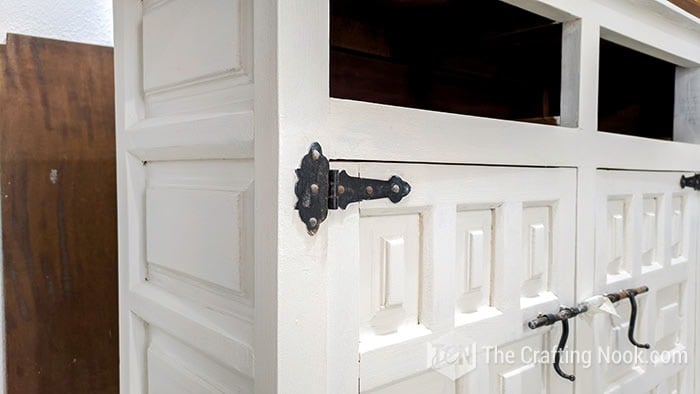
Remove any removable elements like hardware, shelves, drawers and fill holes with wood putty if needed. In my case, the original hardware was kind of embedded so I couldn’t remove them and didn’t want to try to force them out either. I just gatherer some patience and painted around with a small brush.
Use your drop clothe or plastic to cover the floor to avoid drips or making a mess LOL.
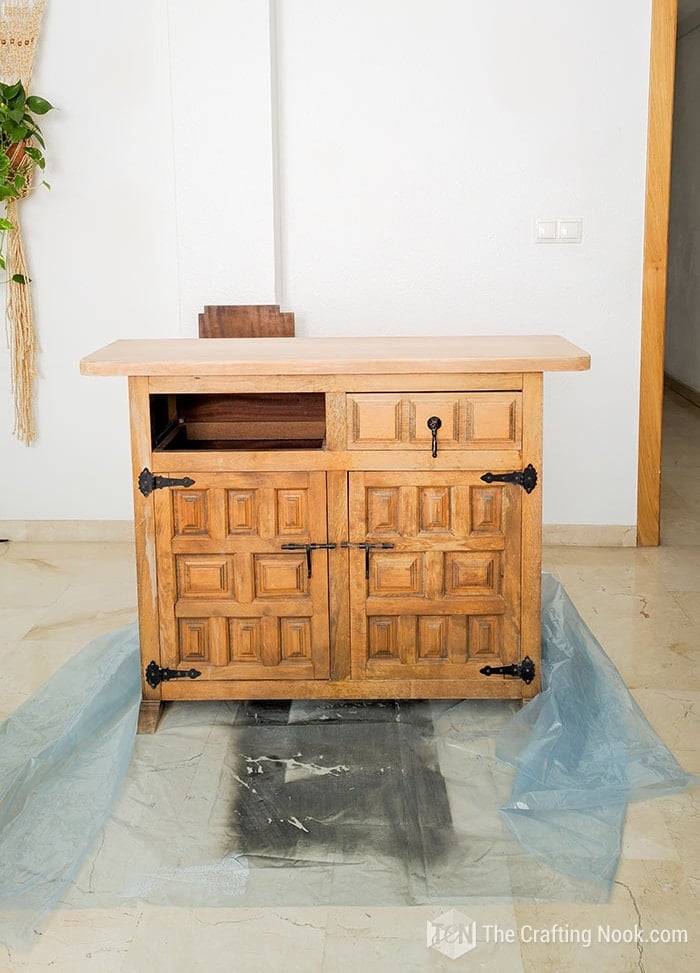
Look out for any rough patches that might need sanding but you don’t need to sand the whole piece when using chalk paint neither primer is needed unless said otherwise on your can’s instructions. In my case, I only sand well the top. Also, you can use wood filler for holes or cracks if you don’t like those. I wanted mine to still show its age and imperfections.
Clean well your piece to remove grease, grime, dirt, and dust. give it a once over with some warm soapy water. I used my dishwasher soap diluted in water, followed up with a final pass of clear water, so I didn’t leave behind any soapy residue. Then, allow time to dry before applying your first coat of paint.
Lastly, edge off any sections that won’t be painted using painter’s tape.
Step 3: Painting. How to use chalk paint and stain.
I chose Walnut wood stain for the top and white paint for the body (Used Rustoleum Chalked Paint).
I started with the top. I masked the body of the buffet with my painter’s tape and I made sure I sanded it very well and cleaned it too.
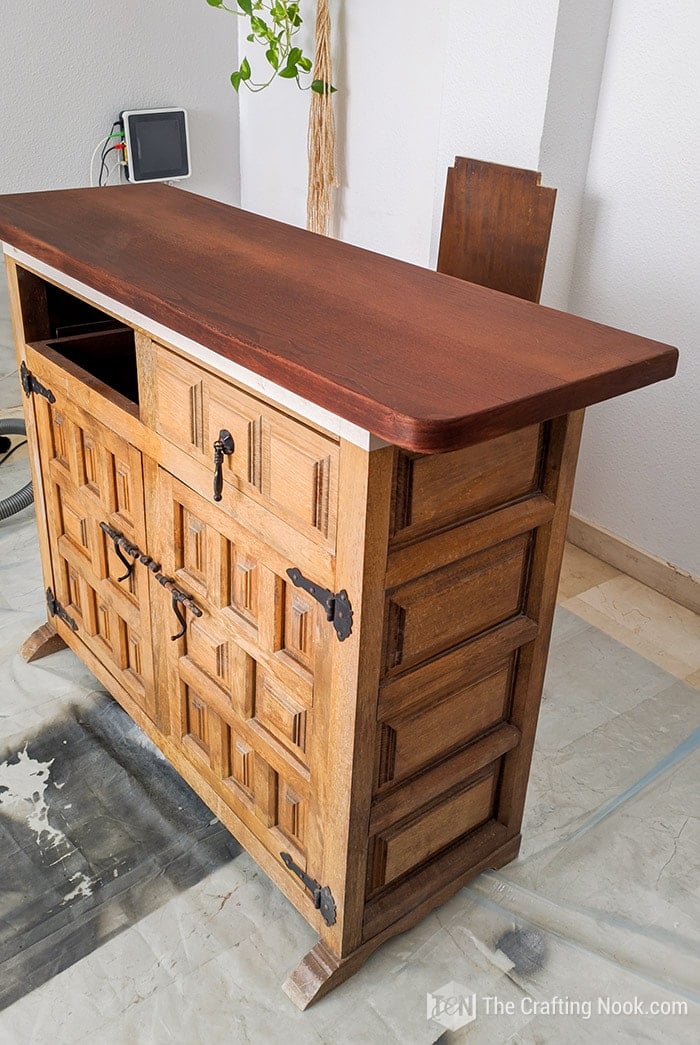
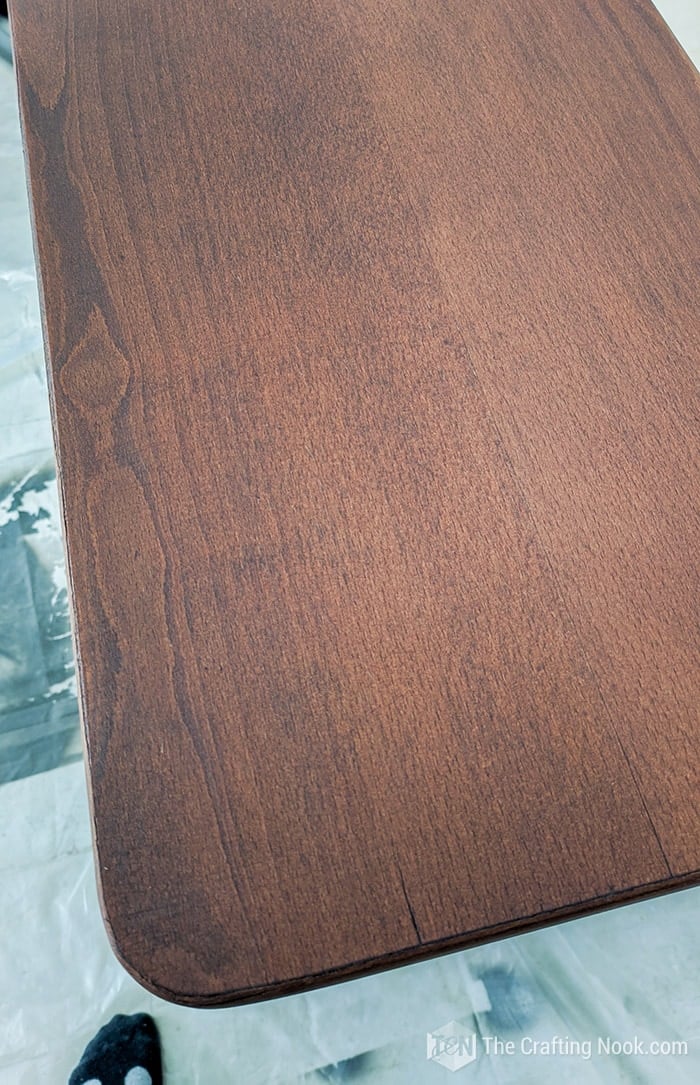
I applied 3 coats of walnut wood stain so the color would be rich and strong. Mostly to make it more like the statement color.
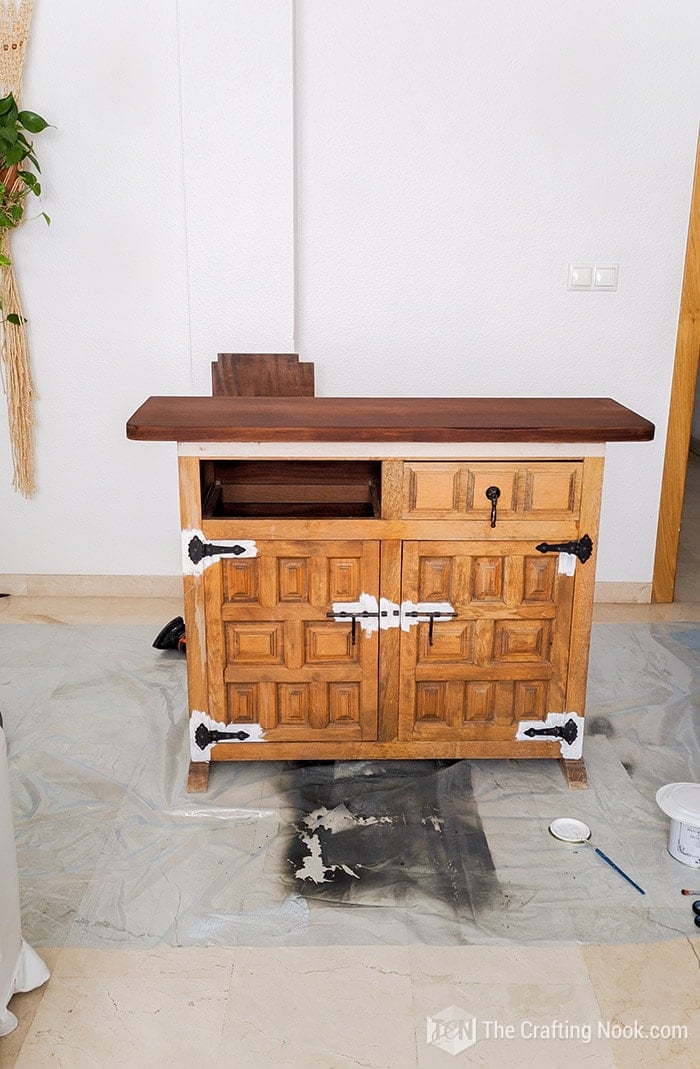
While it dried between coats, I started painting the surrounding areas of the hardware. This required patience but with good music everything goes fast.
Then I started painting the body of the buffet table.
Make sure your can of paint is good n’ well mixed before you start.
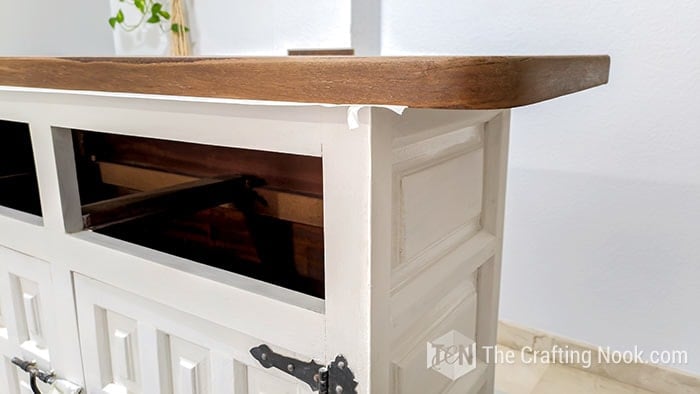
I made sure the stain was completely dry and applied painter’s tape to the bottom of the buffet top so I wouldn’t paint it with chalk paint.
The first coat is not good-looking, it was very streaky and had tons of brushstroke marks.
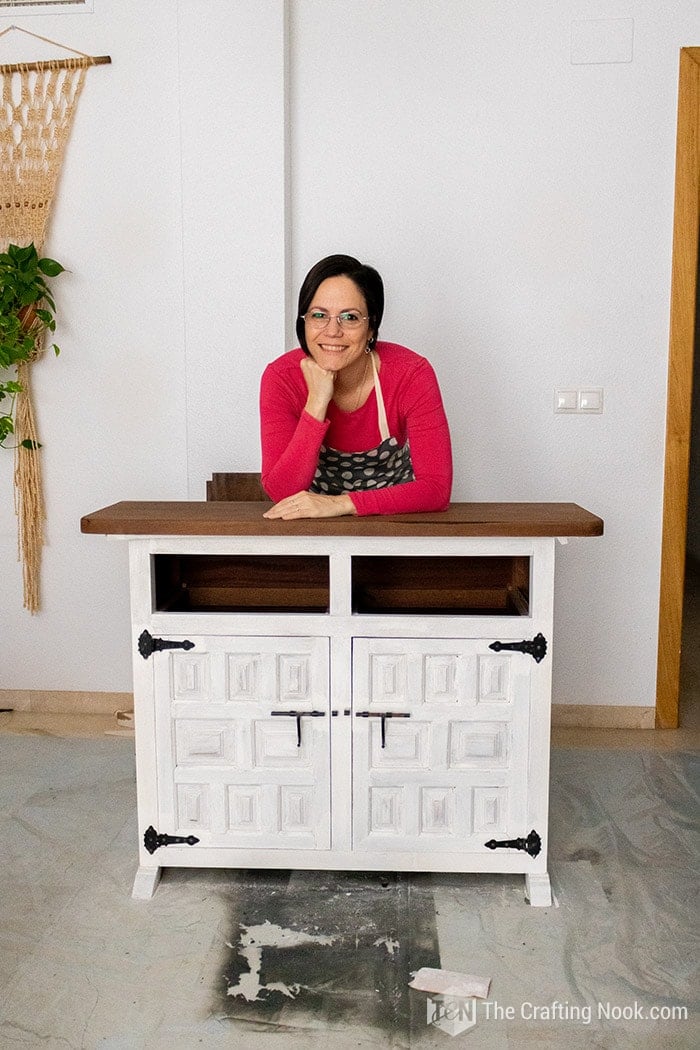
I must confess I started panicking and second-guessing the decision. I was all scared thinking I had screwed it up.
But after re-reading the guides, it turned out to be normal and got better with a second coat.
I painted it in different directions because it was easier to cover each section but the final strokes, I always made sure to do them in the direction of the wood grain. If the brush leaves bristles behind, just remove them carefully and give it another brush stroke.
I gave it a few hours of drying time just to make sure all the creases of the buffet would be fully dry.
When I applied the second coat, the whole thing started looking really well and my confidence started to come back.
In some areas, I gave it a third coat using a roller and OMG it looked so good!
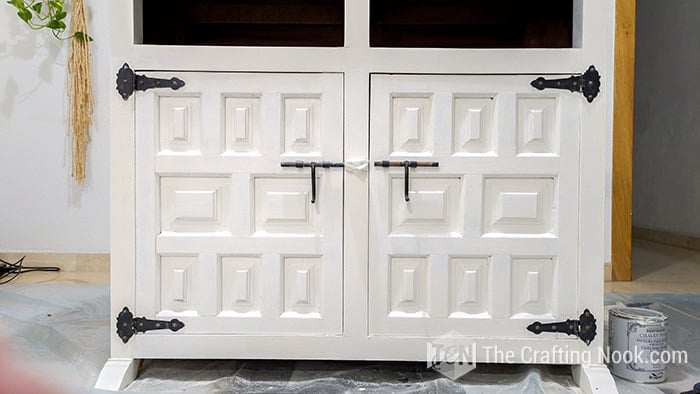
I was like “I can’t believe it!!!”
Step 4: Cleaning the brushes.
I know it’s not fun to have to make a pause to clean everything but trust me you and your brushes will thank me later. It’s so worth it spending those 5 minutes. Just wash your brushes in warm, soapy water to clean them up. I make sure I always lay them flat or hang them up from their handles to dry. Even the cheapest brushes will last for years and years to come if you take good care of them now.
Step 5: Distressing.
This step is totally optional. I did want to distress it a bit to give it a more vintage/old farmhouse look.
Some people and brands recommend distressing after waxing and some before. I decided to distress before because the waxing is supposed to protect the paint and wood so If distress after those areas would stay unprotected. And I’m glad I did.
Use a medium-grade piece of sandpaper or a sanding block and rub it across the sections that would naturally get distressed like edges, corners, top, wooden knobs, or detailing protrusions…just go with the flow and have fun!
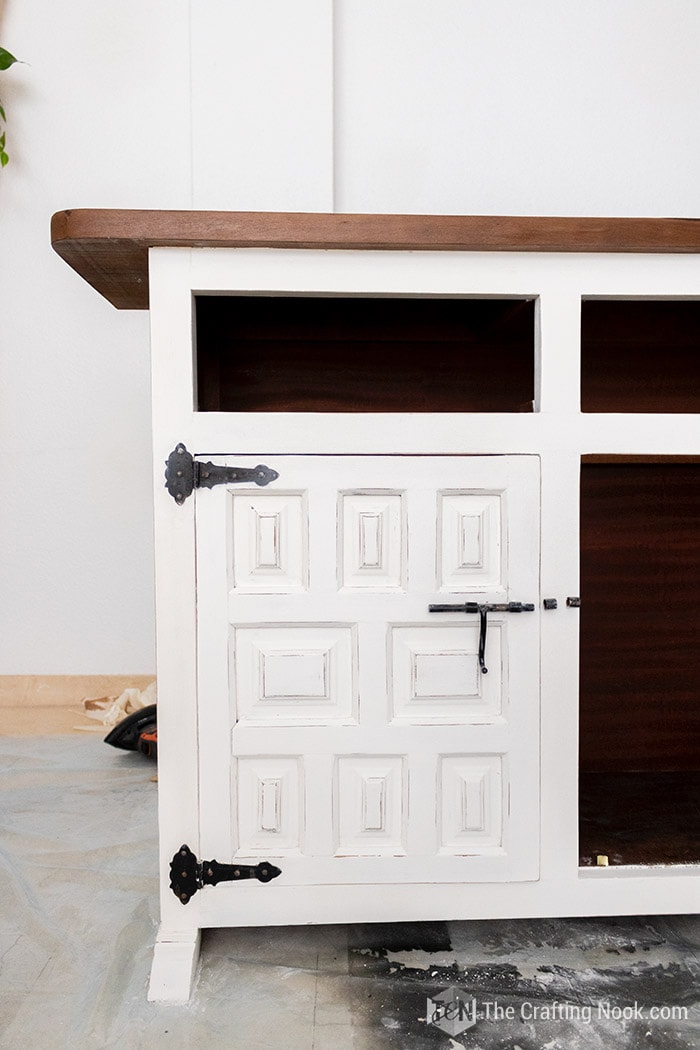
After that. I went over the buffet with a piece of tack cloth to remove any sanding dust… I used a vacuum first to remove the excess and then with a dry brush or damp cloth before applying the clear or dark wax.
Step 6: Sealing.
I used 2 types: Clear wax for the chalk paint areas and a clear waterproof sealer for the top.
The wax seals and protects your piece; and although it comes out of the can super soft, almost like Crisco, it will harden when it dries.
I used a wax brush specially made for applying wax but you can also use an old t-shirt or lint-free cloth to apply the wax.
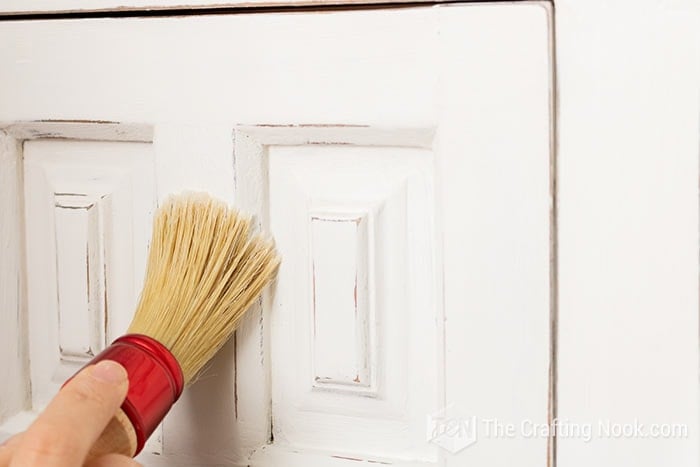
I applied a thin layer of wax to the whole project; I took my wax brush and dabbed it into the wax a few times (just so I got some of the wax on the tip) and would massage the wax into small sections at a time before dabbing the brush again into the wax. I usually would use a combination of circular and side-sweeping motions, always ending with a sweep in the direction of the grain, especially in the creases of the piece.
I got some of the bristles from my brush falling out here but there’s nothing to worry about, it gets wiped away in the next step.
Then I lightly wiped off any excess wax with a soft, clean cloth (a microfiber cloth, piece of cheesecloth, or t-shirt will do), and wiped in the direction of the grain to further massage that wax into the piece.
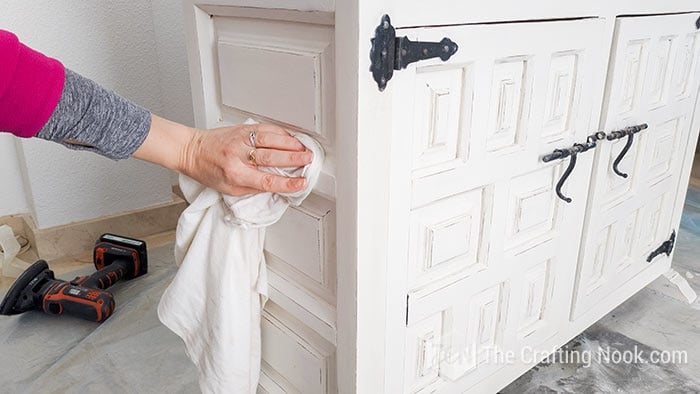
Some people recommend going by small sections waxing and sipping off, but my wax brand instructions said to do the whole piece, leave it sit for 10 min and then wipe off and so I did.
I applied 2 coats of wax in total.
Most brands say that a piece will take about 30 days to entirely cure but you should be able to use it very gently within 24 hours. At least to put it back in place and decorate it.
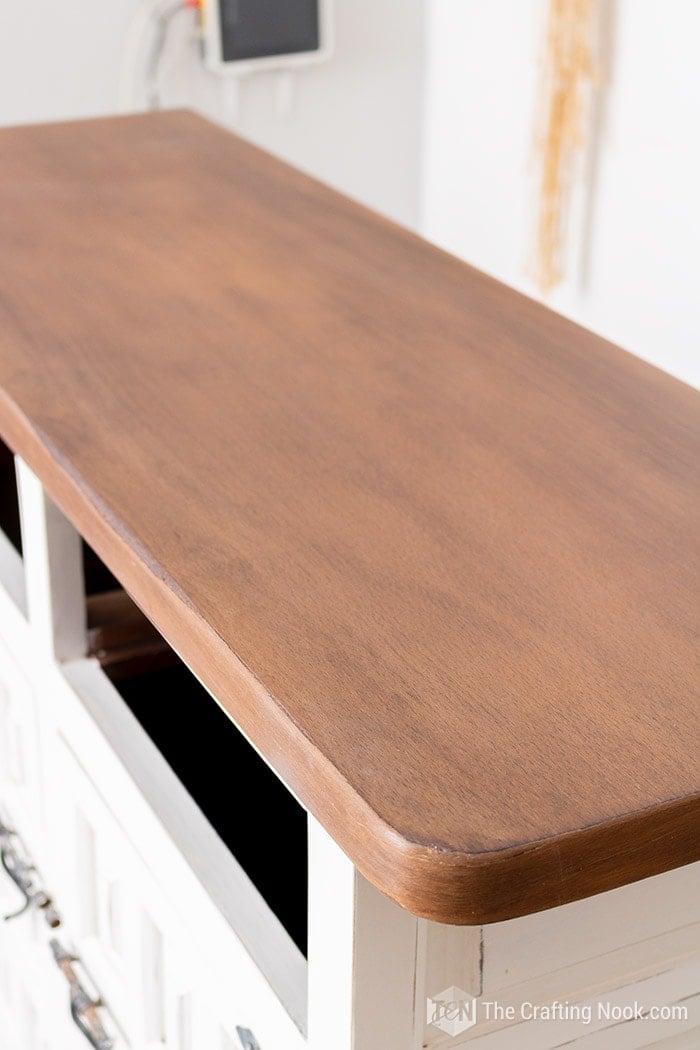
For the top, I applied 2-3 coats of sealer to make sure it will handle the use, spills, and overall time and dust. It required 24 hours of drying time after the last coat. The final coat weirdly added some light shiny finish to it which I end up liking.
If you are using a brush to apply the wax, wash it out with mineral spirits. I just filled half a cup or of mineral spirits and let my wax brush sit it in for a few hours. Then, I rinsed it out with warm soapy water, and my brush is soft and ready to go again LOL.
The sealer was water-based so, I just cleaned it with warm soapy water and let it dry hanging them up from their handles.
I put the buffet back to its place and carefully put the decorating items on it.
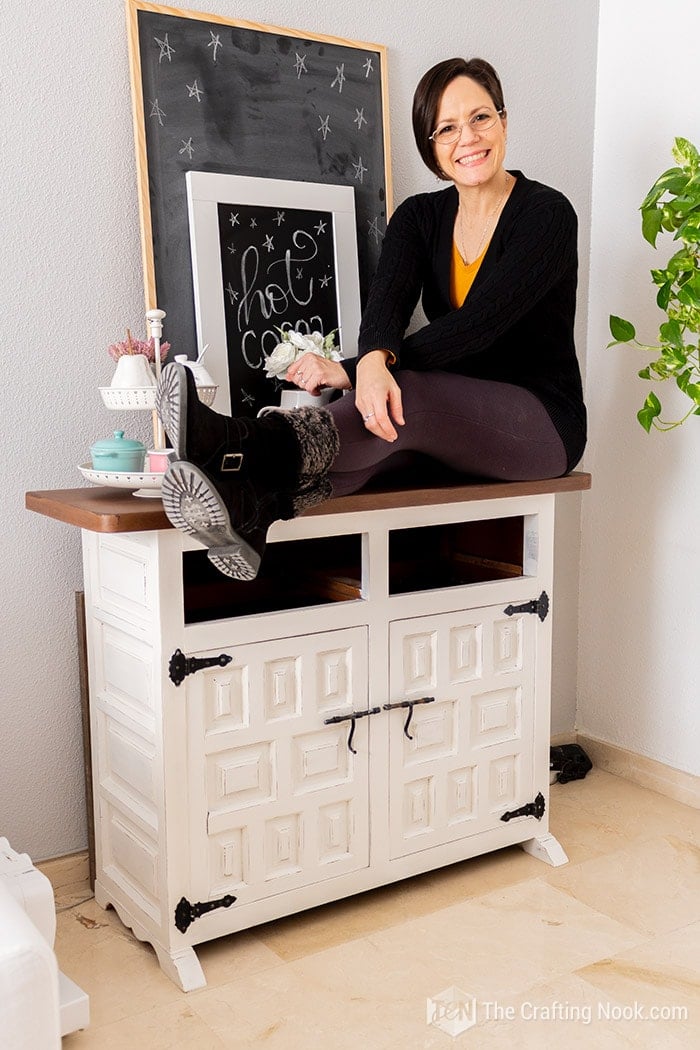
Now, it was time to take it to the next level and make the drawers so the buffet would look gorgeous and fully finished!
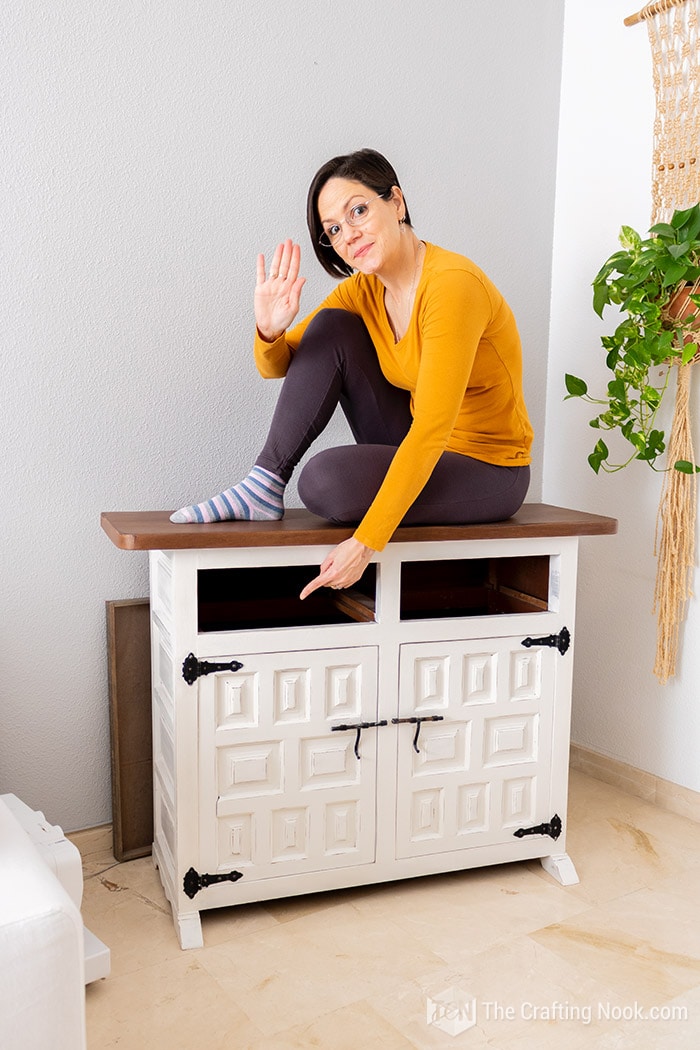
In my next blog post, I’ll show you how I made the drawers.
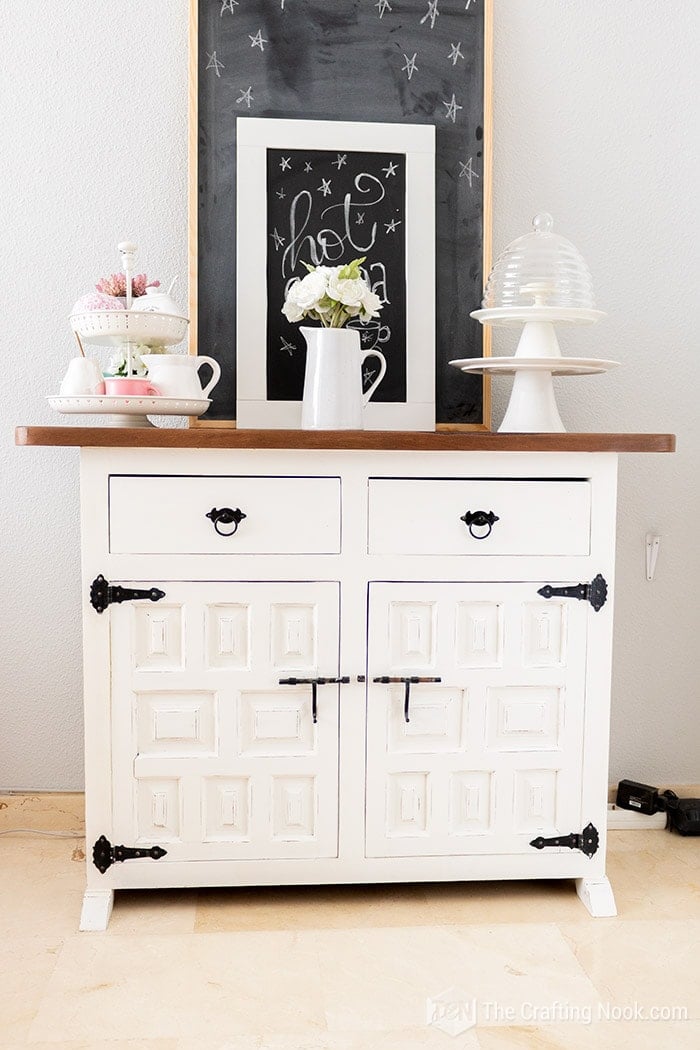
What do you think? doesn’t it look amazing?
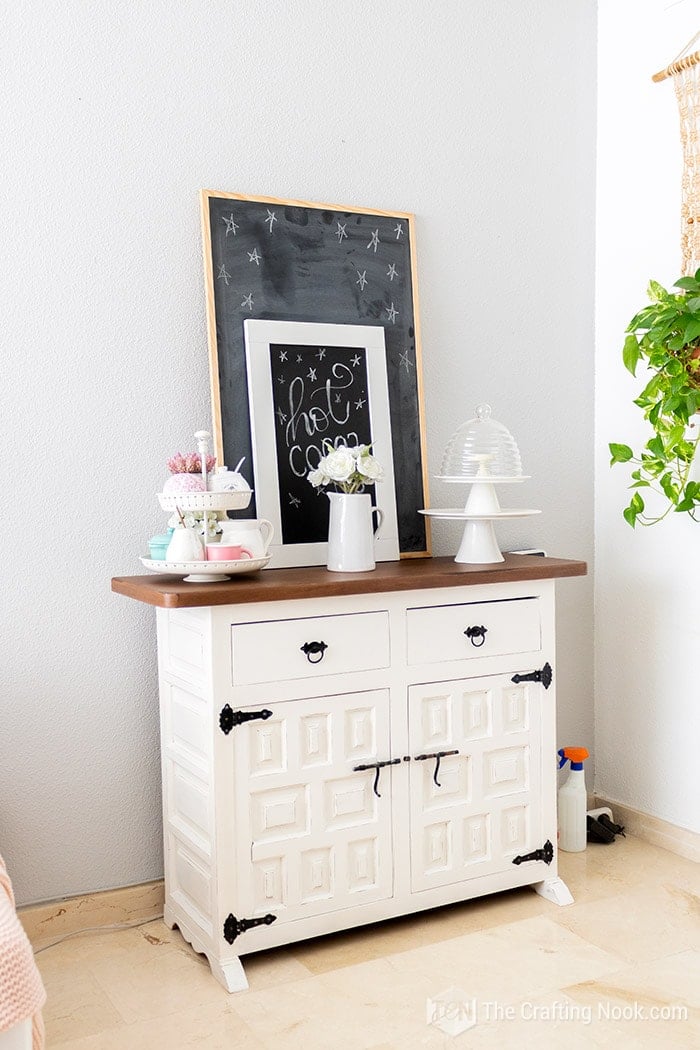
Hope you enjoyed this project and got inspired to renovate a furniture piece yourself. It’s such a fun project and the best part is that it doesn’t require perfection, just patience.
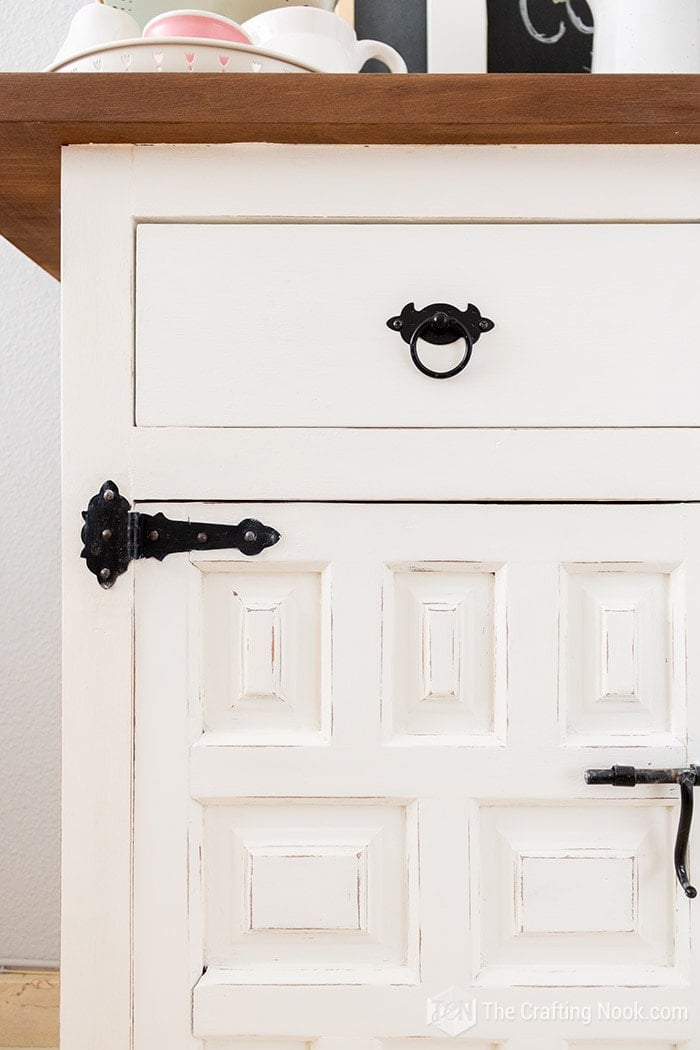
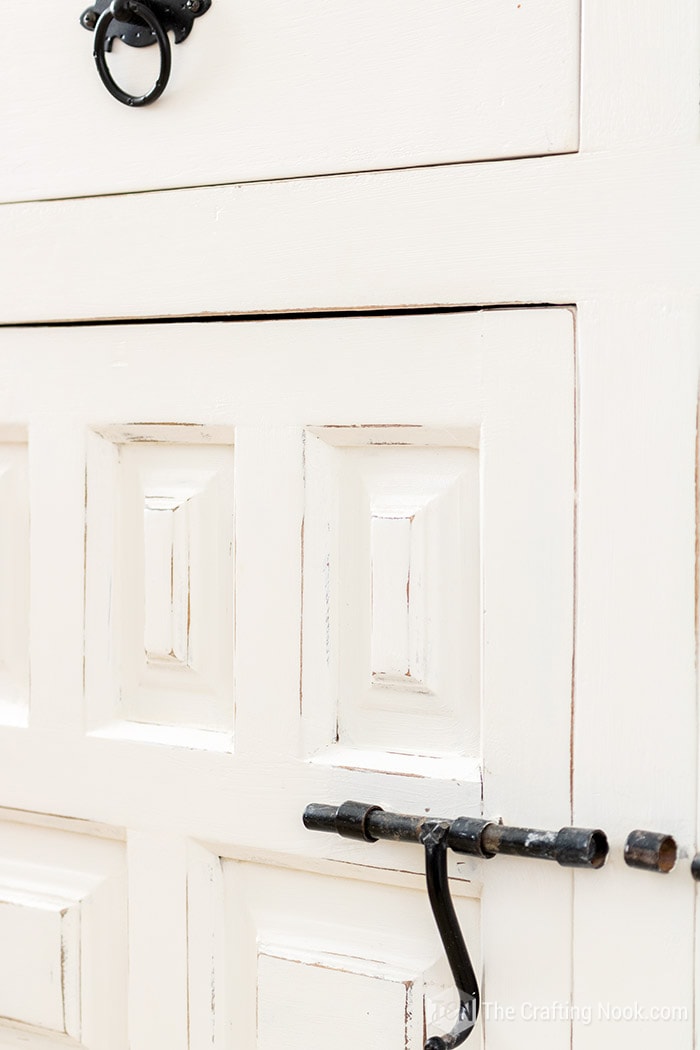


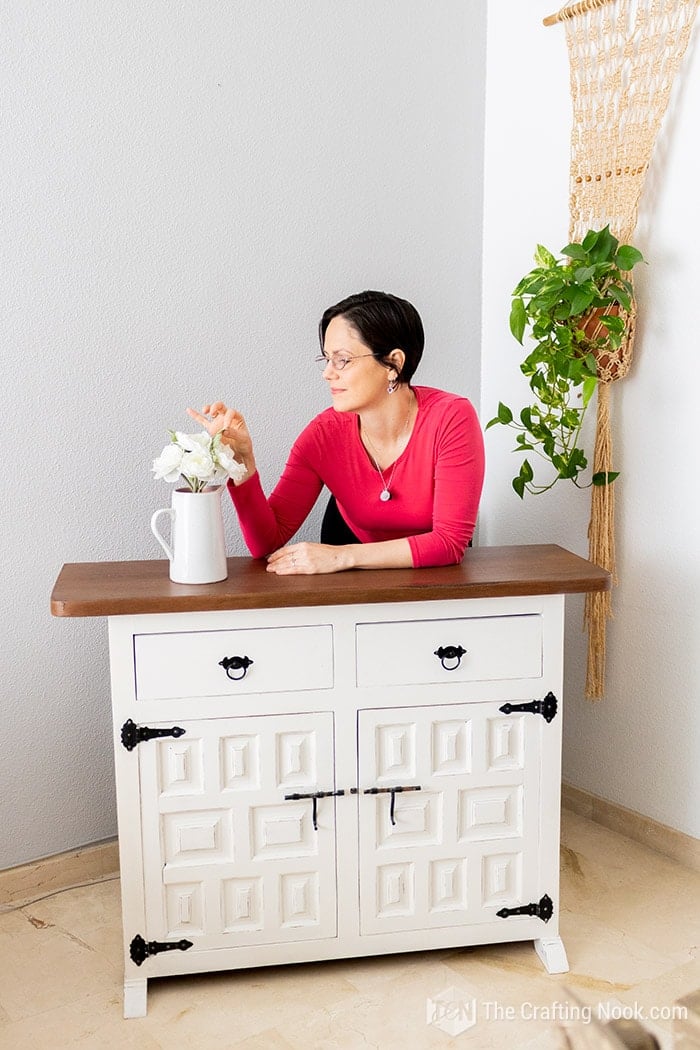
My living room now looks so bright and pretty.
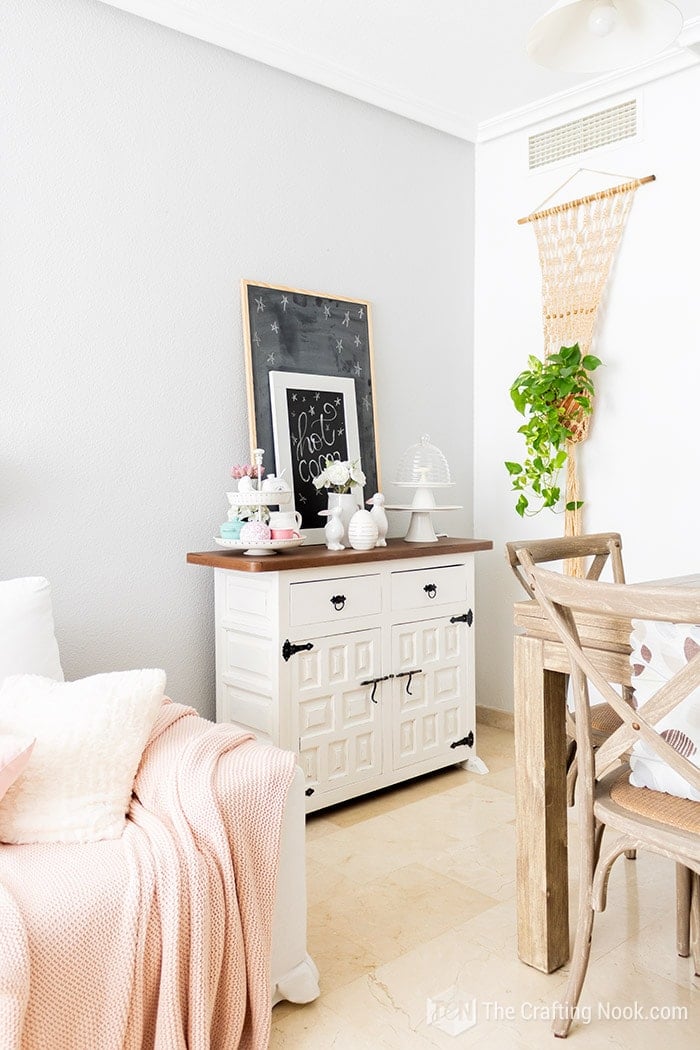
I love how it turned out!
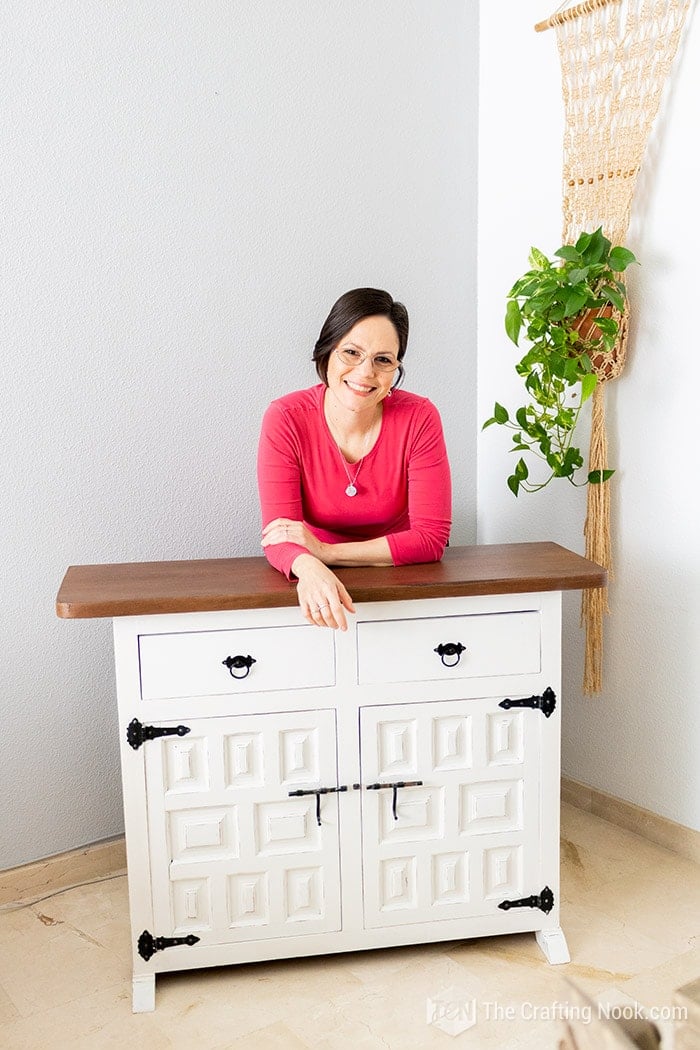
Perfectly Imperfect.
Frequently Asked Questions
A chalk-style paint characterizes itself by having a soft, ultra-matte finish. It resembles a surface covered in chalk, hence the name. The paint itself is latex-based, meaning you can clean up with water instead of mineral spirits, and it tends to be thicker and easier to work with than standard paint.
Over time, chalk paint gained popularity as a way to distress furniture or create a shabby chic decor. Other companies sell similar products today, but they’re branded as “chalky finish” or “chalk-like.”
It’s recommended to use soft wax to cover the paint, and you may want to apply two or three coats on tabletops and other areas that will get a lot of use—just be sure to allow the wax to fully cure in between coats. You can also use poly or your preferred sealer.
The short answer is yes, but only if you take the time to seal it properly. One of the most common concerns about chalk paint is whether it’s durable enough to use on high-traffic pieces. With Annie Sloan paint, it’s recommended to use soft wax to cover the paint, and you may want to apply two or three coats on tabletops and other areas that will get a lot of use—just be sure to allow the wax to fully cure in between coats.
When you follow these instructions, your chalk paint will likely look beautiful for several years, though you can always re-wax the surface if it starts to look shabby. Alternatively, you can use varnish or even polyurethane to seal your chalk paint, and many people report this method works well to improve durability. However, this may take away from the matte finish.
More Furniture Projects to try
If you enjoyed this vintage buffet makeover project, you might also love these furniture ideas too:
Loved this Vintage Buffet Makeover? Don’t forget to PIN and share it with friends!
Til’ next time…


FREE WORKBOOK
Keeping your Sweet Home Organized
Learn how to create intentional habits and simple routines to Keep Your Home Organized. Plus freebies, printables, exclusive content, and tips.
Disclaimer: By clicking on the “Yes” button above you are giving me your consent to collect and use your information according to the law and My Policy Privacy. Zero Spam I promise!
