Easy DIY Beaded Keychain with Butterflies
This post may contain affiliate links. Please read our Disclosure Policy.
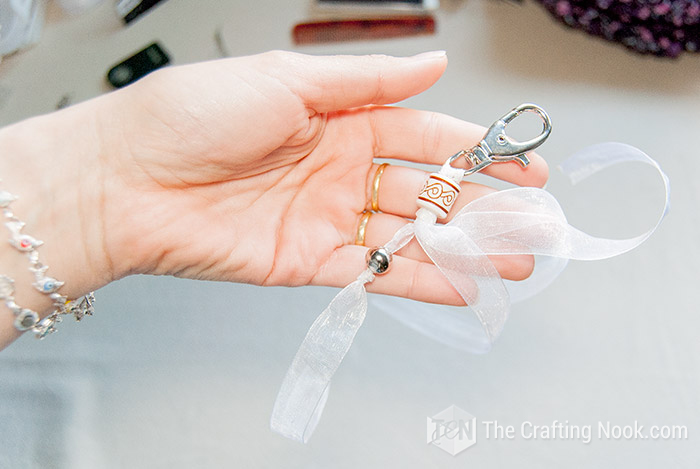
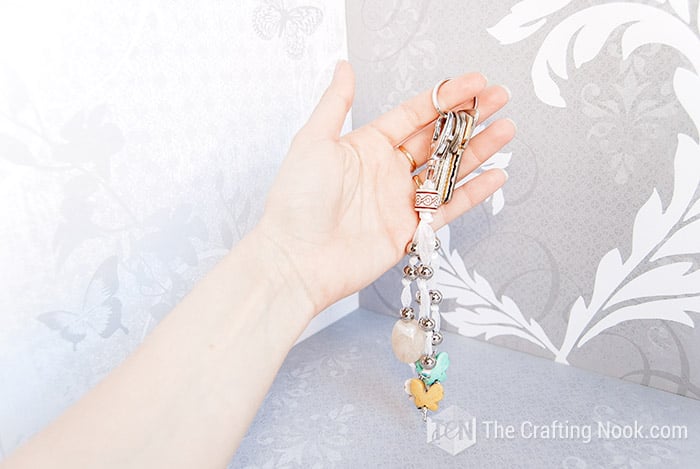
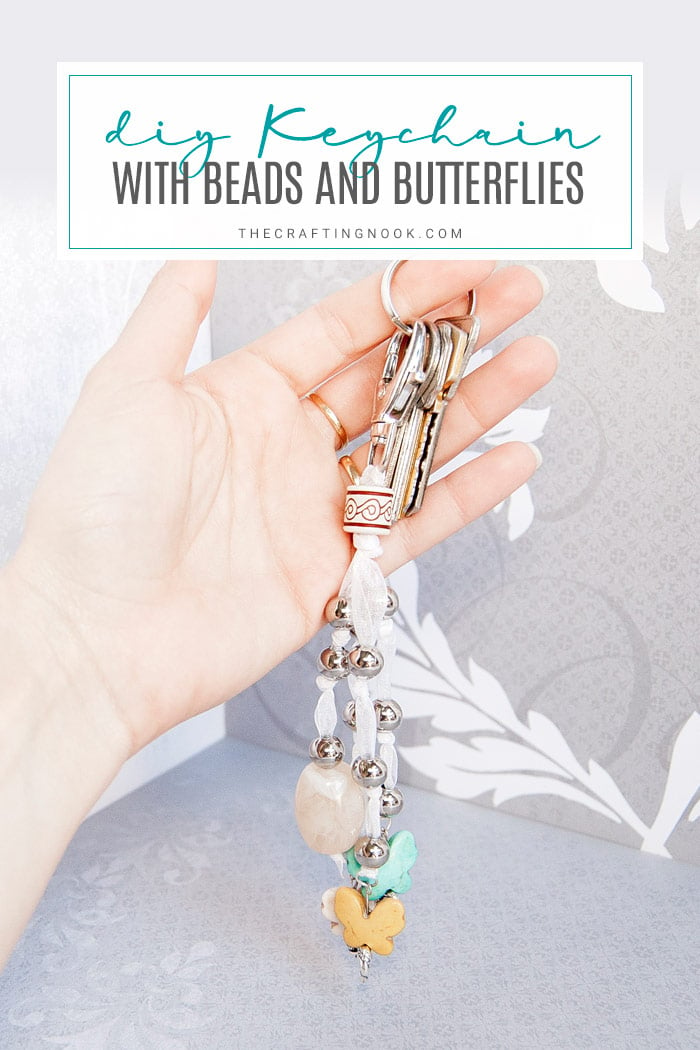
Make a DIY beaded keychain with butterflies using just a few materials and bring your keys to life. The bright beads and cute butterflies will cheer you up every time you look at them. The easy keychain is easy to make and fun to wear.
This cute and super easy-to-make keychain with beads and butterflies makes a perfect gift or a fashionable touch to your home keys. Just a few supplies and lots of love are needed to make it and you will love it.
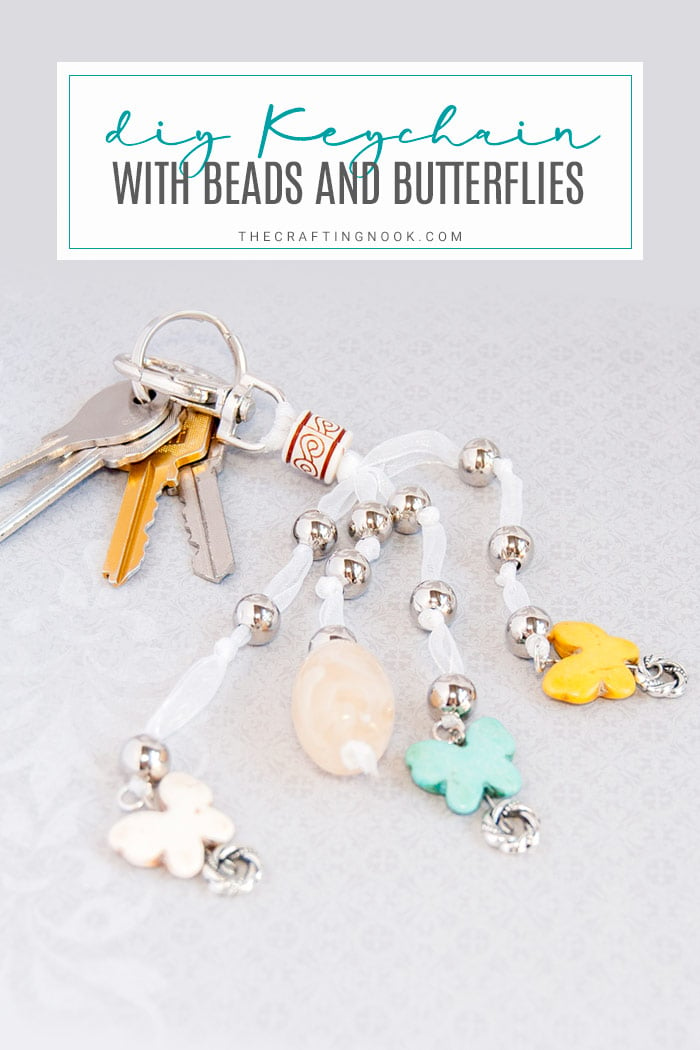
Table of Contents
DIY Beaded Keychain with Butterflies
I love keychains and usually the bigger the better LOL. It is easier to find keys in the purse and it’s a little something to our home sweet home keys, isn’t it?
Besides, I so love beads and butterflies so I put them together to create a cute Keychain for myself!
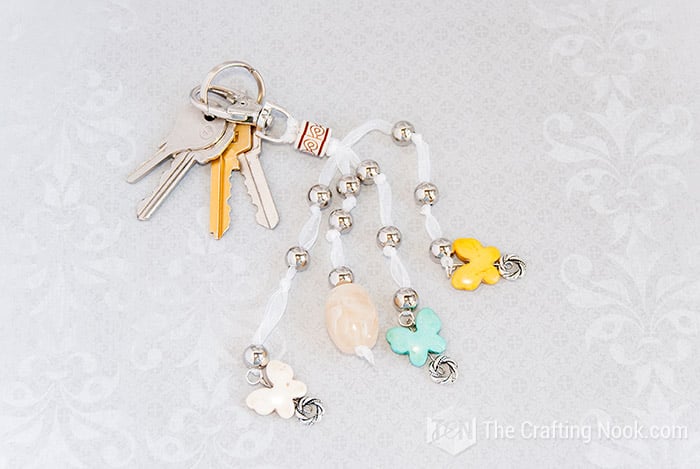
I made this you see in the photo and I love it so so much, that I thought it would be nice to share it with you.
I’ve always loved big keychains. I remember having one of those Disney’s koosh ball ones with Winnie the Pooh and different other Disney characters.
Remember them?
Or am I too old?
Ahem, let’s move on…
What kind of beads do you need to make this Keychain?
This project is all about imagination and what you love the most, so I can’t tell you what kind of beads to use.
For this particular DIY beaded keychain project, I used metallic separator beads. One ceramic one for the top and then the butterflies.
What I can give you is a few tips so you can choose the most appropriate beads:
- Make sure the hole in the beads will allow your ribbon to go through.
- Find good quality ones so it won’t get damaged inside the purse.
- Play with size and colors depending on the style you are aiming for.
What kind of ribbon is best for this diy Keychain.
That’s another tricky question!
I mean, you can use whatever you want, from cords to yarn and ribbons. What is really important is the use you will give to it so you can make it durable.
This one probably would have lasted a lot longer if I had used cords or leather, but I love white and I love organza so that was my choice. I also used a keychain clasp because I love to switch keychains so I can play around.
You can use your favorite material as long as it fits the hole in your beads.
How to Make a DIY Beaded Keychain
Ever wanted to make your own cute beaded key chain? Here’s how.
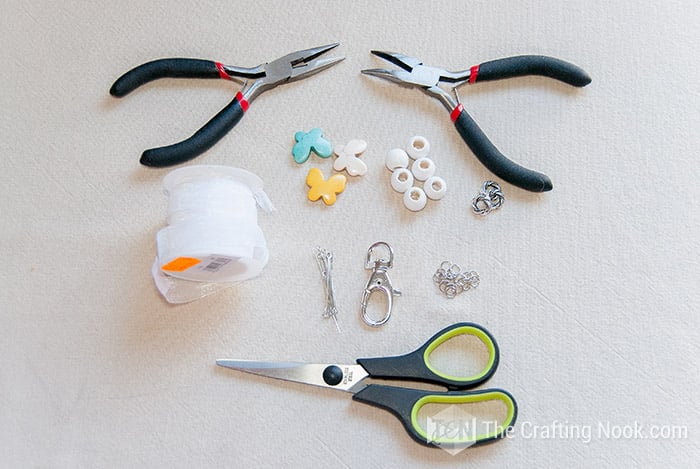
Supplies:
- Ribbon
- Beads and separators
- Ornaments (Butterflies)
- Jumprings (3mm)
- Needles (Jewelry)
- Keychain clasp
- Key Ring
Tools:
- Scissors
- Flat pliers
- Flat nose pliers
- Lighter (optional)
Instructions:
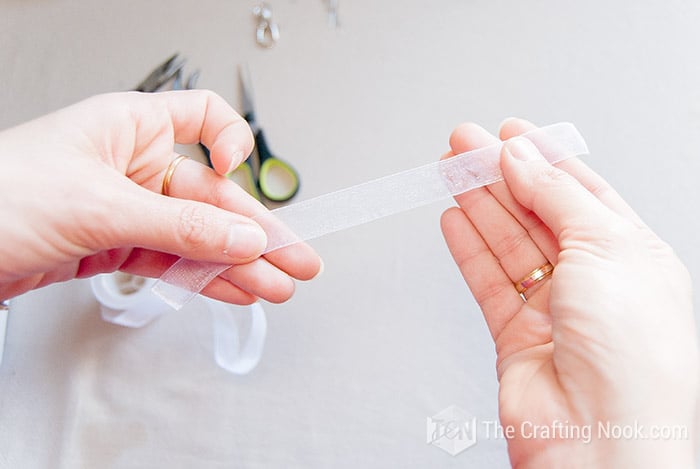
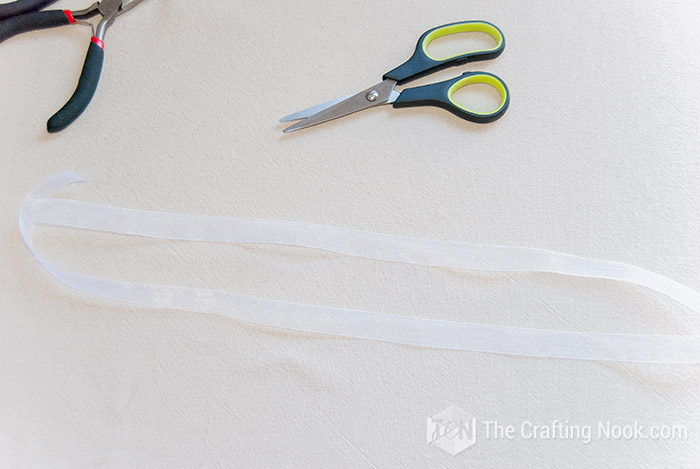
I used a white organza ribbon. I so love organza because it’s so delicate and elegant.
1. First thing, cut 2 long strips of ribbon, it doesn’t have to be the same size, just make them double the size of the length you want each keychain string to be.
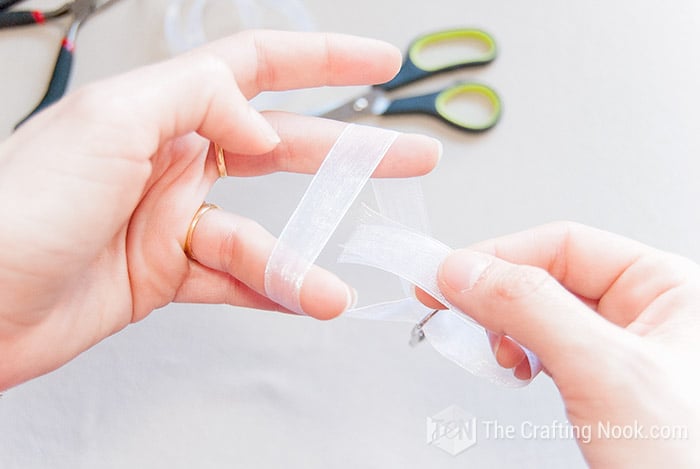
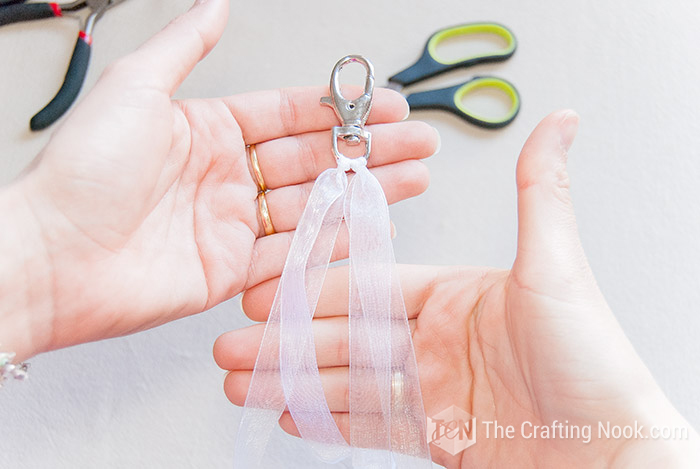
2. Fold them in half (or leave one side longer than the other =D) and insert the folded end through the clasp hole.
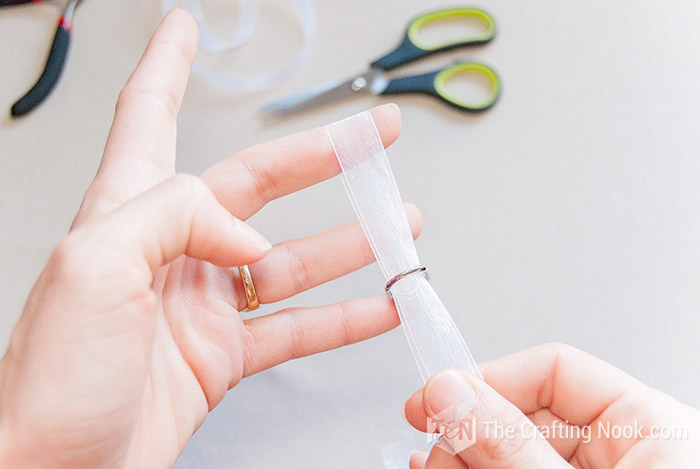
3. When it’s out, leave a few centimeters, insert the other end (both ends) through the folded end and pull all the cord down and tighten!
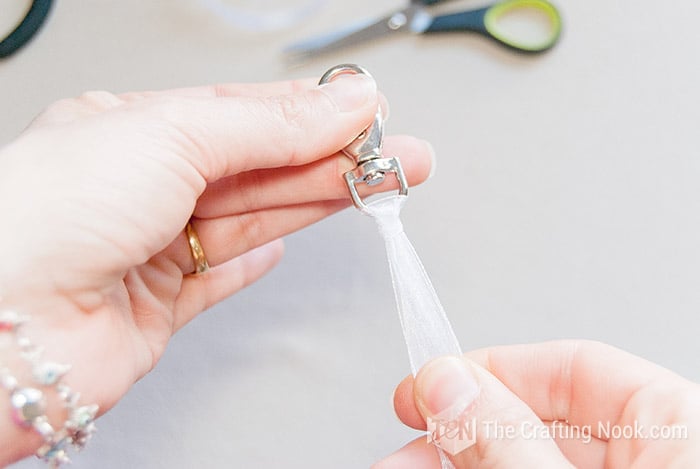
You should have something like this:
4. Insert all 4 strips into a decorative bead.
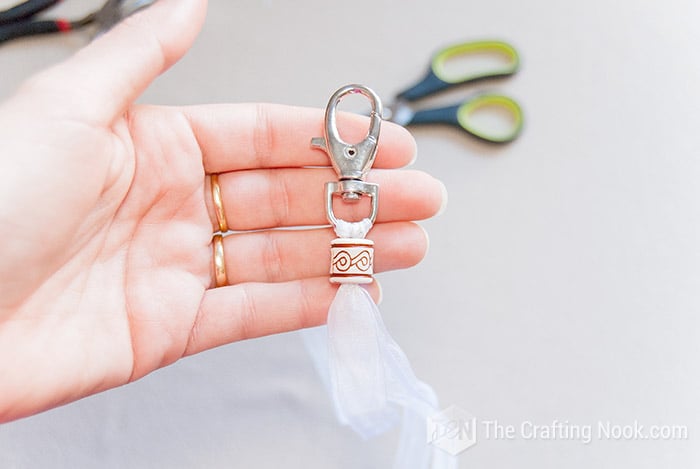
5. Make a tight knot to keep it in place. Make a double knot if it still slips into the bead.
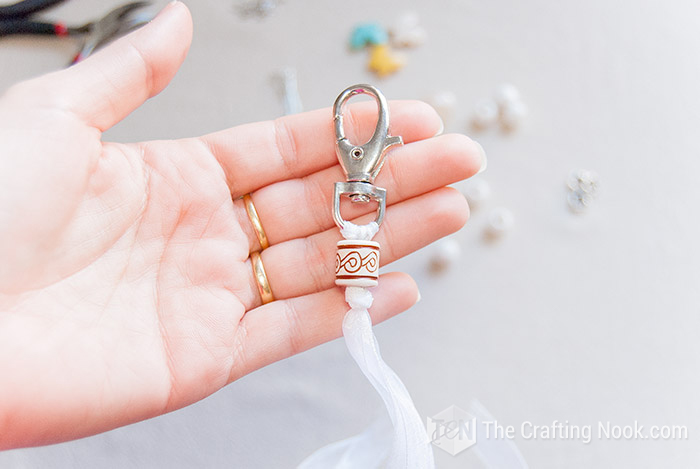
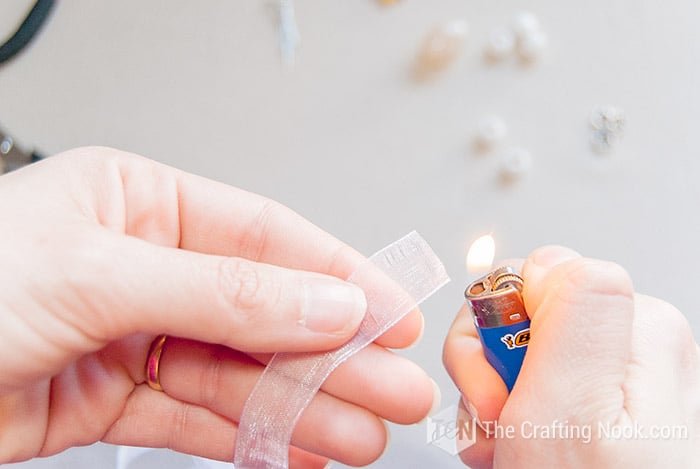
6. With a lighter burn a bit the ends of the strings to avoid fraying.
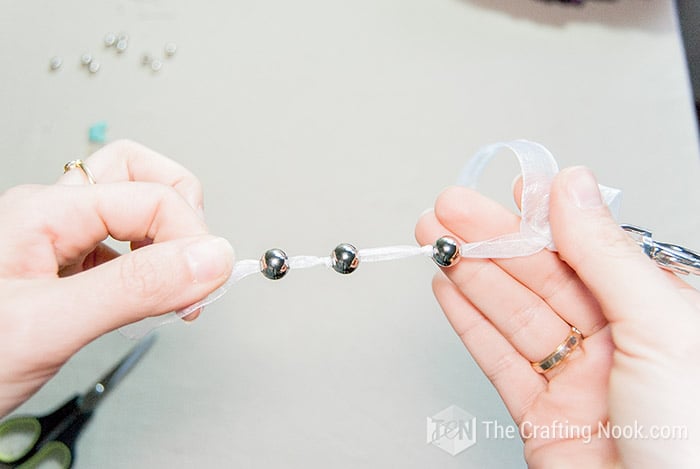
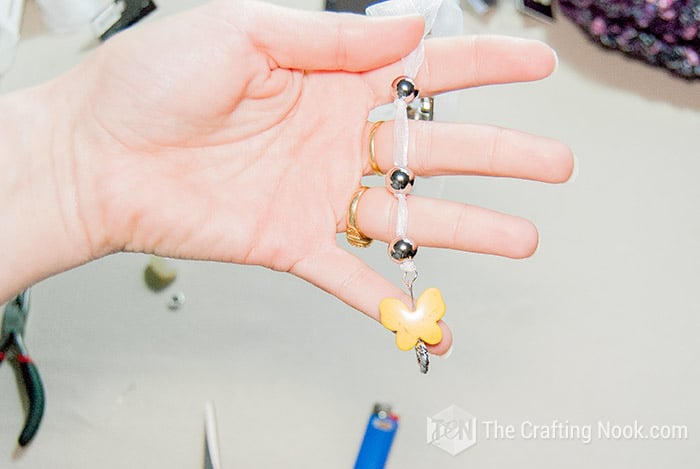
7. Now in one string insert a bead and make a knot.
8. Repeat the process of adding more beads at different distances in every string to make row of beads.
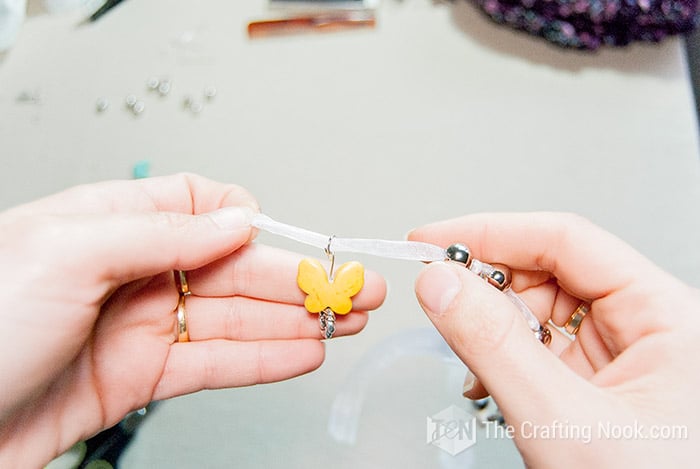
9. For the butterfly ends, insert a headpin (I used eye pins because I didn’t have headpins) into the spacer and then the butterfly.
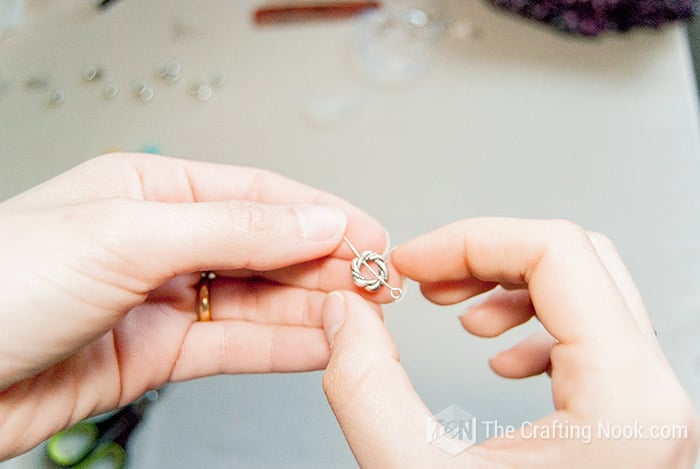

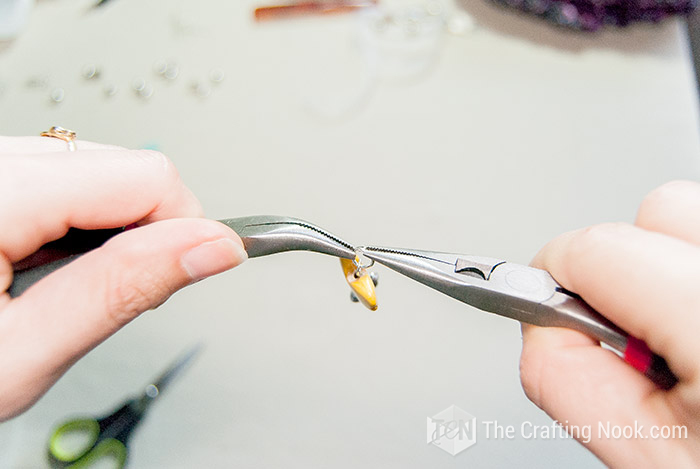
10. With a needle-nosed pliers (is what I’ve got back then, round-nosed pliers are better lol) make a swirl with the wire you got left.

11. Insert a jump ring in that swirl. Repeat the process with the other 3 strings.
12. Insert the end of a string in the jump ring.
13. Make a knot very tight and hide the ribbon ends inside the last bead.
14. Repeat the process with all the strings.
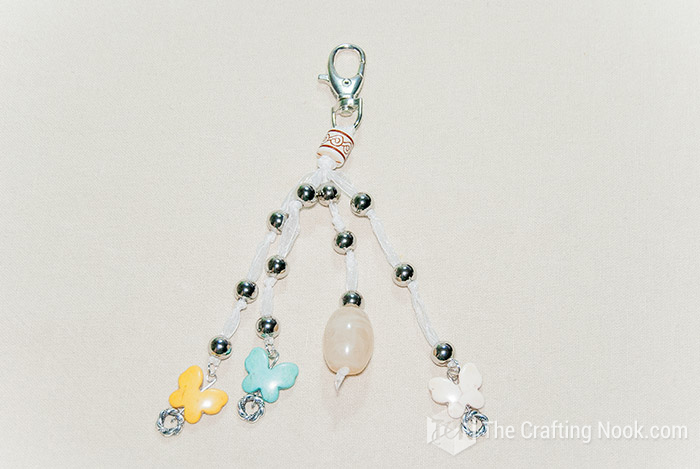
15. Finally, since I had only 3 butterflies and 4 strips, I added an extra decorative bead to the 4th end!
Not bad right?
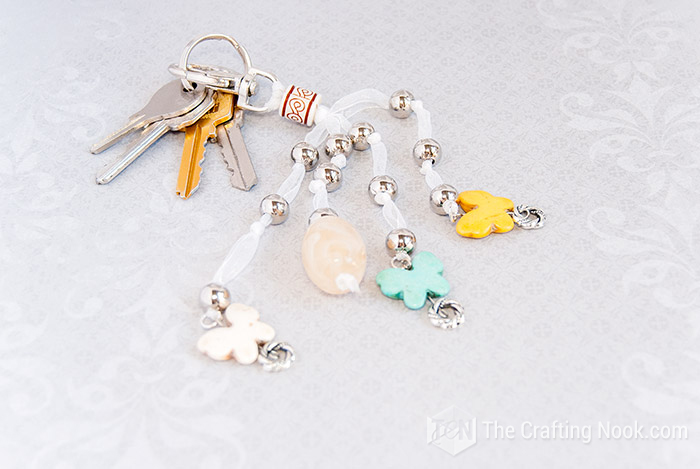
That’s it! Hang it from your keychain ring and enjoy it!
Now it’s time to add the keys!
So this is it, and I LOOOOVE it!!!
What do you think? Cute or what???
Crafting Tips
* Add finishing touches. Once you have threaded all your beads and attached the butterfly charms or pendants, take a moment to inspect your keychain and make any necessary adjustments. Add bead caps, spacer beads, or other decorative elements to enhance the overall look of your keychain. Ensure all your loops are securely closed to prevent your beads or charms from falling off.
* Experiment with different techniques. There are so many different techniques you can use to create unique designs for your keychain. Try different bead weaving patterns, wire wrapping techniques, or knotting techniques to add variety and interest to your design. Don’t be afraid to experiment and try new things!
* Choose the right beads. Select a variety of beads that are the right size and color for your design. Consider the color scheme you want to use and the size of the beads in relation to the butterfly charms or pendants. Experiment with different bead shapes, sizes, and finishes creating a unique look.
* Experiment with different bead arrangements. Try different bead arrangements to create unique patterns or textures. You can create stripes, spirals, or random patterns by changing the order and arrangement of beads. Play around with different layouts until you find one that you like.
Frequently Asked Questions
Yes, you can add other decorations to your beaded keychain to make it more unique and personalized. You can use bead caps, spacer beads, and charms to add additional flair and style to your keychain. Simply thread them onto the wire or cord along with the beads and butterflies in your desired arrangement.
Absolutely! You can get creative and make variations of the keychain design to suit your preferences. Try experimenting with different bead colors, sizes, and shapes, as well as different types of charms or pendants. You can also try different patterns or arrangements of beads and butterflies to create a unique design that reflects your personal style.
You don’t need any special skills to make a beaded keychain with butterflies, but basic jewelry-making skills and some experience with working with pliers can be helpful. With some patience and practice, you can easily create a beautiful keychain. There are many tutorials available online with step-by-step instructions that can guide you through the process.
You can find butterfly charms or pendants for your keychain at your local craft store, bead shops, or online bead and jewelry supply websites. There are many different styles, sizes, and materials available, so you can choose the ones that best fit your design aesthetic and budget.
You can choose beads in different colors and sizes to create a unique and personalized keychain. You can use glass beads, plastic beads, wooden beads, metal beads, even pearls, or any other type of bead that you like. Consider the color scheme you want to use, the size of the beads, and the overall style you’re aiming for.
More Accessories and Jewelry-Making Projects to Try
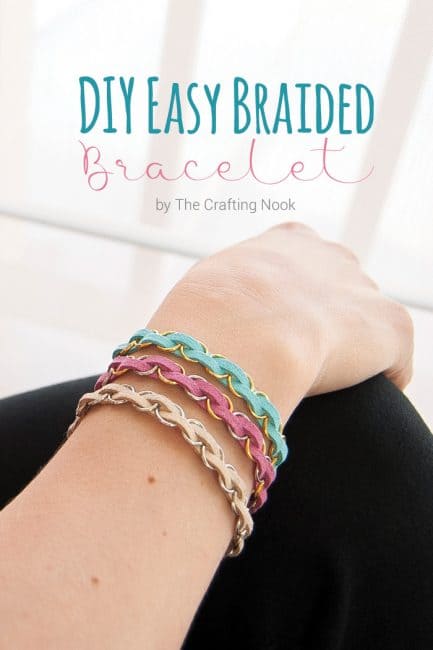
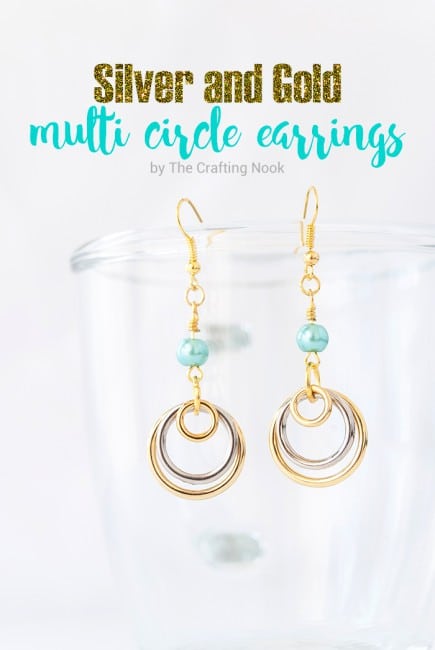
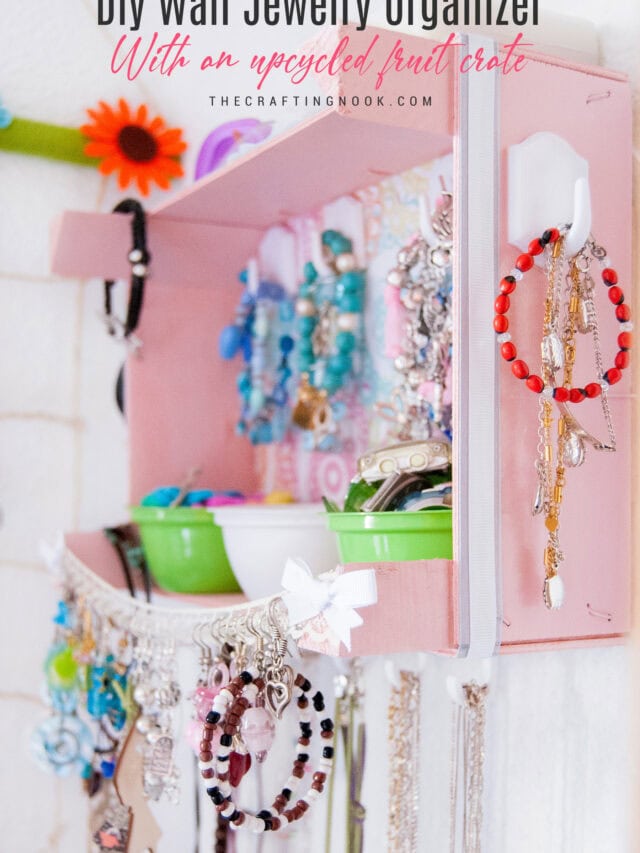
Loving this cute DIY Beaded Keychain with Butterflies tutorial? You might also love these other Jewelry making projects too:
Other crafty jewelry I love from my favorite bloggers:
- Bloom Keychain from Amy over at Amy Latta Creations
- DIY Pom Pom Keychain Bag Charm by Kim over at Made in a Day
- How to Dye Wood Beads for an Awesome Keychain by Danielle over at Story Piece
✂️ Tutorial
Easy DIY Beaded Keychain with Butterflies
Tools
- scissors
- Flat pliers
- Flat Nose Pliers
- Lighter (optional)
Supplies
- Ribbon
- Beads and separators
- Ornaments Butterflies
- Jumprings 3mm
- Needles Jewelry
- Keychain clasp
Instructions
- I used a white organza ribbon. I so love organza because it’s so delicate and elegant.
- First thing, cut 2 long strips of ribbon, it doesn’t have to be the same size, just make them double the size of the length you want each keychain string to be.
- Fold them in half (or leave one side longer than the other =D) and insert the folded end through the clasp hole.
- When it’s out, leave a few centimeters, insert the other end (both ends) through the folded end and pull all the cord down and tighten!
- Insert all 4 strips into a decorative bead.
- Make a tight knot to keep it in place.
- With a lighter burn a bit the ends of the strings to avoid fraying.
- Now in one string insert a bead and make a knot.
- Repeat the process at different distances in every string
- For the butterfly ends, insert a headpin (I used eye pins because I didn’t have headpins) into the spacer and then the butterfly.
- With a needle-nosed pliers (is what I’ve got back then, round-nosed pliers are better lol) make a swirl with the wire you got left.
- Insert a jump ring in that swirl. Repeat the process with the other 3 strings.
- Insert the end of a string in the jump ring.
- Make a Knot very tight and hide the ribbon ends inside the last bead.
- Repeat the process with all the strings.
- Finally, since I had only 3 butterflies and 4 strips, I added an extra decorative bead to the 4th end!
- That’s it! Add it your keys and enjoy!
Share and PIN ME!
Til’ next time…


FREE WORKBOOK
Keeping your Sweet Home Organized
Learn how to create intentional habits and simple routines to Keep Your Home Organized. Plus freebies, printables, exclusive content, and tips.
Disclaimer: By clicking on the “Yes” button above you are giving me your consent to collect and use your information according to the law and My Policy Privacy. Zero Spam I promise!
These key chains are so cute.. I love them and going to try my hand at making them. Thanks for sharing the idea.. Pinning.
Yayyyyy Glad to inspire. I would love to yours when you finish. =D
XOXO Thanks for stopping by!
I love this idea and it is super cute! Great gift too.
Thanks Sandra, so happy to have you visiting! Oh yeah it could make a great gift! I hadn’t thought about it that way Thanks for you idea LOL
XOXO
What a cute creation and a great summer ggift.
Thanks Sarah! So happy to have you visiting! Glad you like it!
XOXO
Thanks you soooo much ladies. All you comments, ideas, love and caring always makes me smile and love you more! I read and enjoy each and everyone of your comments but not always I’m able to replay individually as I like to but I wanted you to know that I DO READ and appreciate it! Love you all!!!
HUGS
CAMI
Beautiful! I love how it turned out! Thanks for sharing on We Made That.
If i haven’t said it enough…thank you for always giving suc great pictures and tutorials. I love crafting but am not great at neither directions nor straight lines! You make it soo easy to get my craft on! Thanks girl!
Hola Cami! Esto esta super lindo. Me lo puedo imaginar tambien como un marcador de paginas para los que aun leemos libros verdad? Gracias por compartir su creatividad con nosotros! La vine a visitar de la fiesta de The Princess and her Cowboys!
Que pase una bonita semana!
Lizy@http://justdipitinchocolate.blogspot.com/
Thank you so much for linking up with Seasons of Homemakers! Please come back next week and tell your friends all about it! Abbi
These are really pretty! TFS
Pam
@ http://www.pjstreasures.blogspot.com
Very cute!
This is so pretty! My keychain is horrid looking so I really have a crush on yours. Thank you for sharing at All Things Pretty my friend! And thanks for hosting the Silly Hop too. Lots of great new followers and I added you to my updated party page.
These are such a cute idea! I used to love key chains when I was a little girl. If I have a girl it should be something fun I could make with her. Me encanta que tu hablas en espanol e ingles en los aportes! Very cool! I was definitely looking to do a face lift on my site at some point so I made sure I followed your Pinterest and Twitter accounts to get some inspiration and ideas on how to do some interesting things! Have a great weekend! <3
That’s so pretty! I love beadwork!!
Yayyyy Tanks Amy! me tooooo!!!
xoxo
Cami