Braided DIY T-Shirt Infinity Scarf
This post may contain affiliate links. Please read our Disclosure Policy.
This DIY T-Shirt infinity scarf is such a Cool and easy project to repurpose those old, out-of-style unused t-shirts. Have a gorgeous infinity scarf in less than 30 minutes!
How many times have you given away old t-shirts? If you ask me, I would answer, “I lost my count LOL”. And do you know how many things you can make repurposing T-shirts? Ooooh that’s the real question, isn’t it?

Table of Contents
T-Shirt to Infinity Scarf Tutorial
You wouldn’t believe how many ways we have to upcycle or repurpose t-shirts. If only I had known all this years ago. And guess what? Scarf is one of them… Yup, and there are tons of ways to make them so today I’m sharing my t-shirt DIY infinity scarf, Woot!
I’ve been having a blast with scarf ideas. I love scarves, you know?. It’s crazy how many I have and I’ll be adding a few diy new ones that you will be seeing in the next few days.
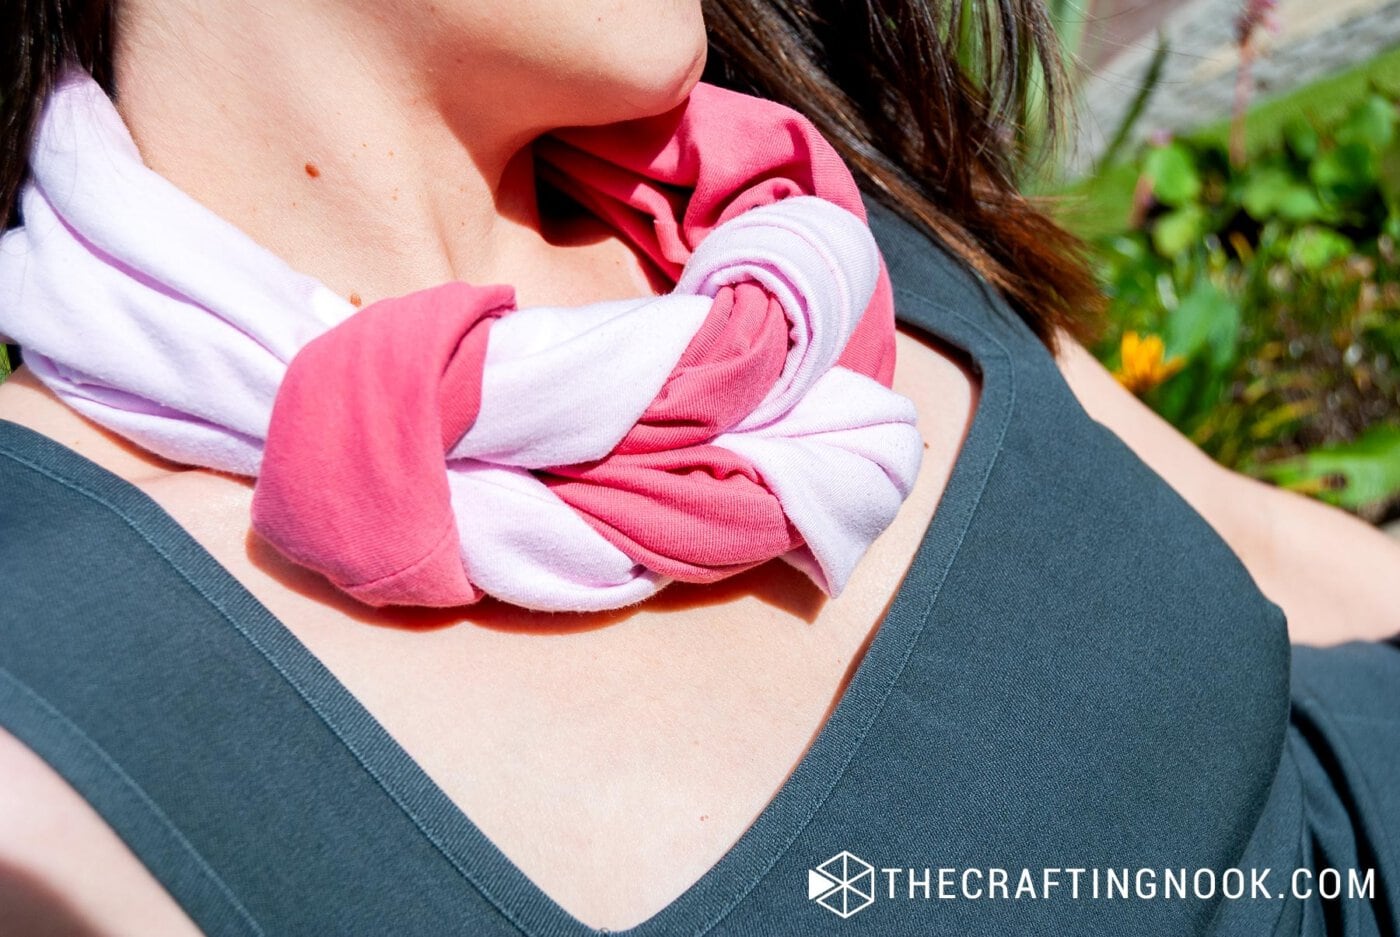
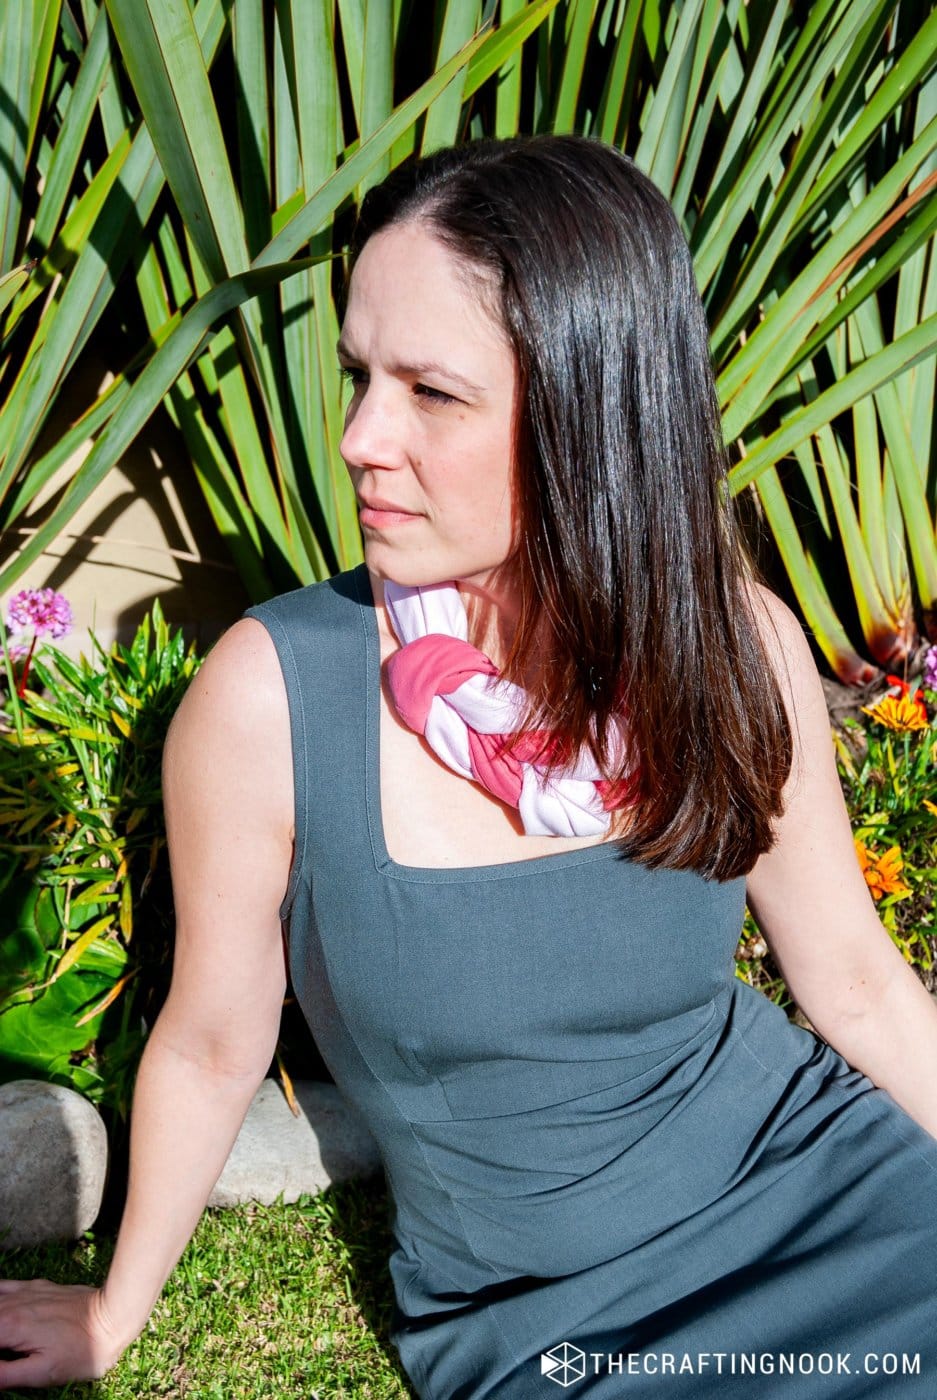
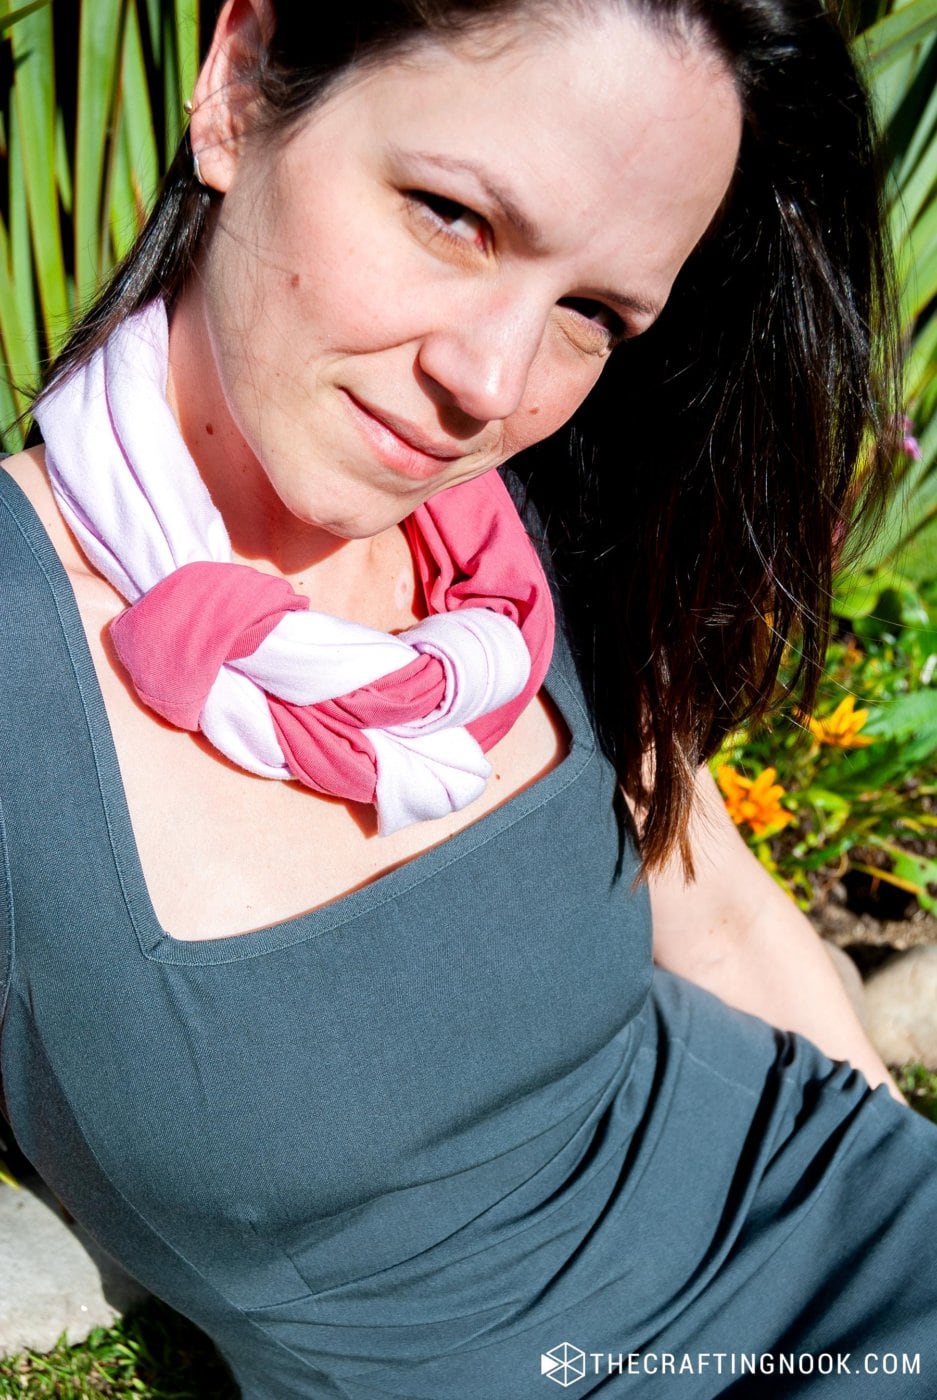
For the scarf week Day 1, we are making a scarf using a {duh} T-shit, so here is how I made mine. It’s more like a cowl than a scarf since I’m size S, the scarf is right the size to fit my head and give a nice touch around my neck to what I’m wearing.
How to make a braided T-shirt Infinity Scarf
Supplies:
- 2 old T-shirts – preferably in different colors
- Sewing machine or thread and needle (if you want to hand sew it, it’s totally doable)
- Scissors
- Ruller
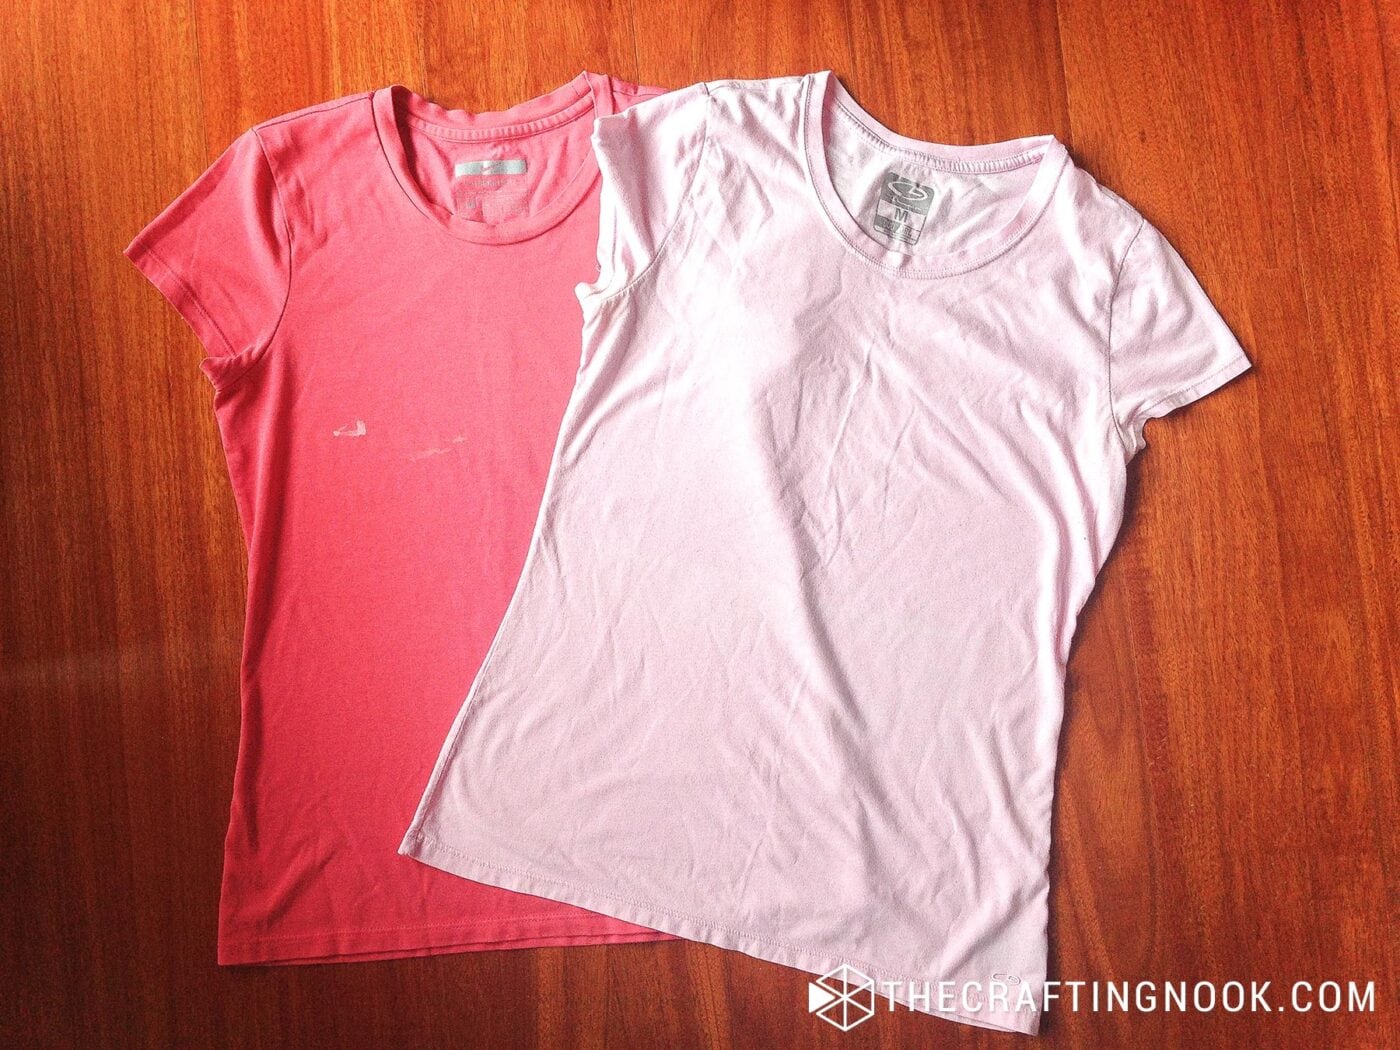
Instructions:
1. Prepare Your T-Shirts:
Measure your available usable t-shirt fabric to make sure you have enough fabric for the infinity scarf.

Trace a line where you will be cutting.

Cut in a straight line each t-shirt just below the armholes and the bottom hem.
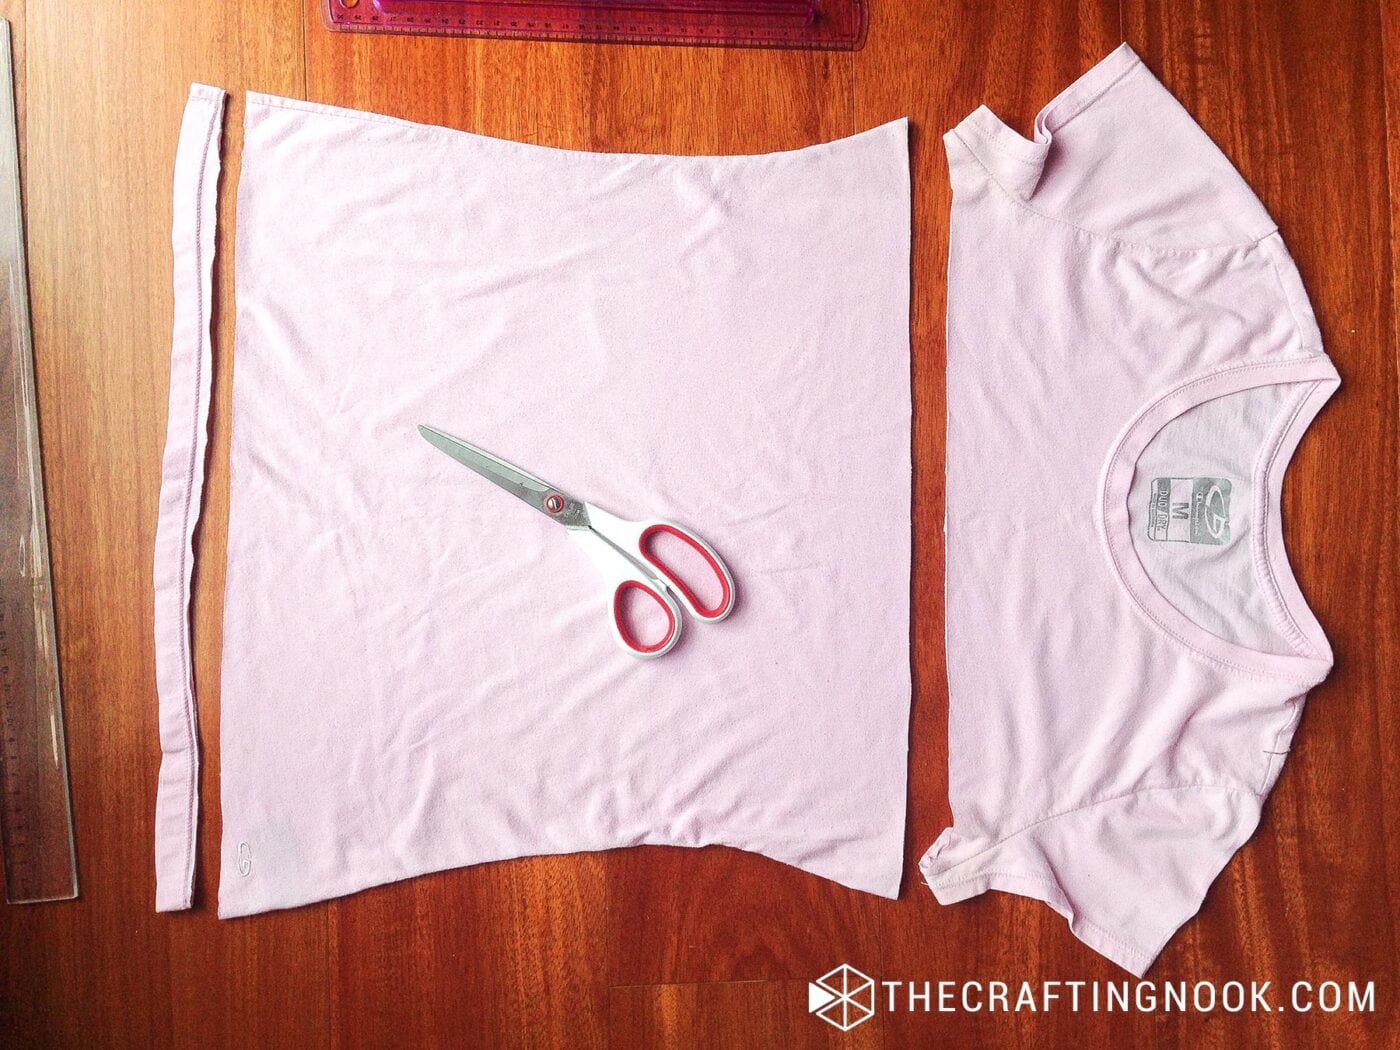
You’ll end up with two large fabric pieces.
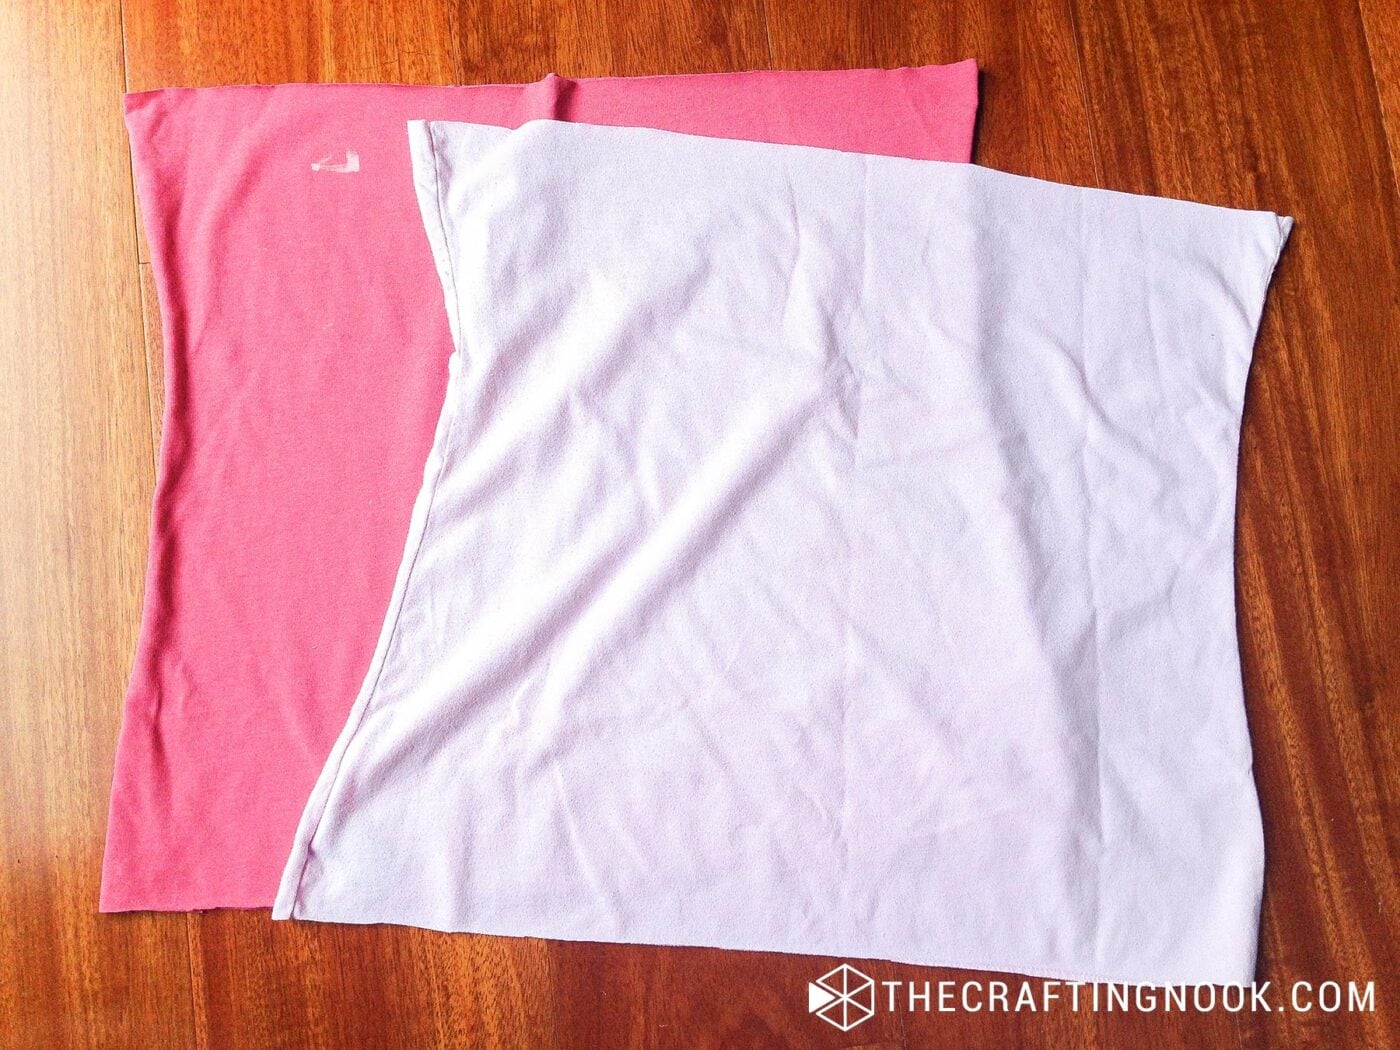
2. Create Long Strips:
Open up each piece and cut along one of the side seams to get one long strips of fabric from each shirt.

Gently stretch the fabric strips before braiding.

3. Start Braiding:
Overlap and Fold: Place one strip of fabric on top of the other, aligning them in the middle.
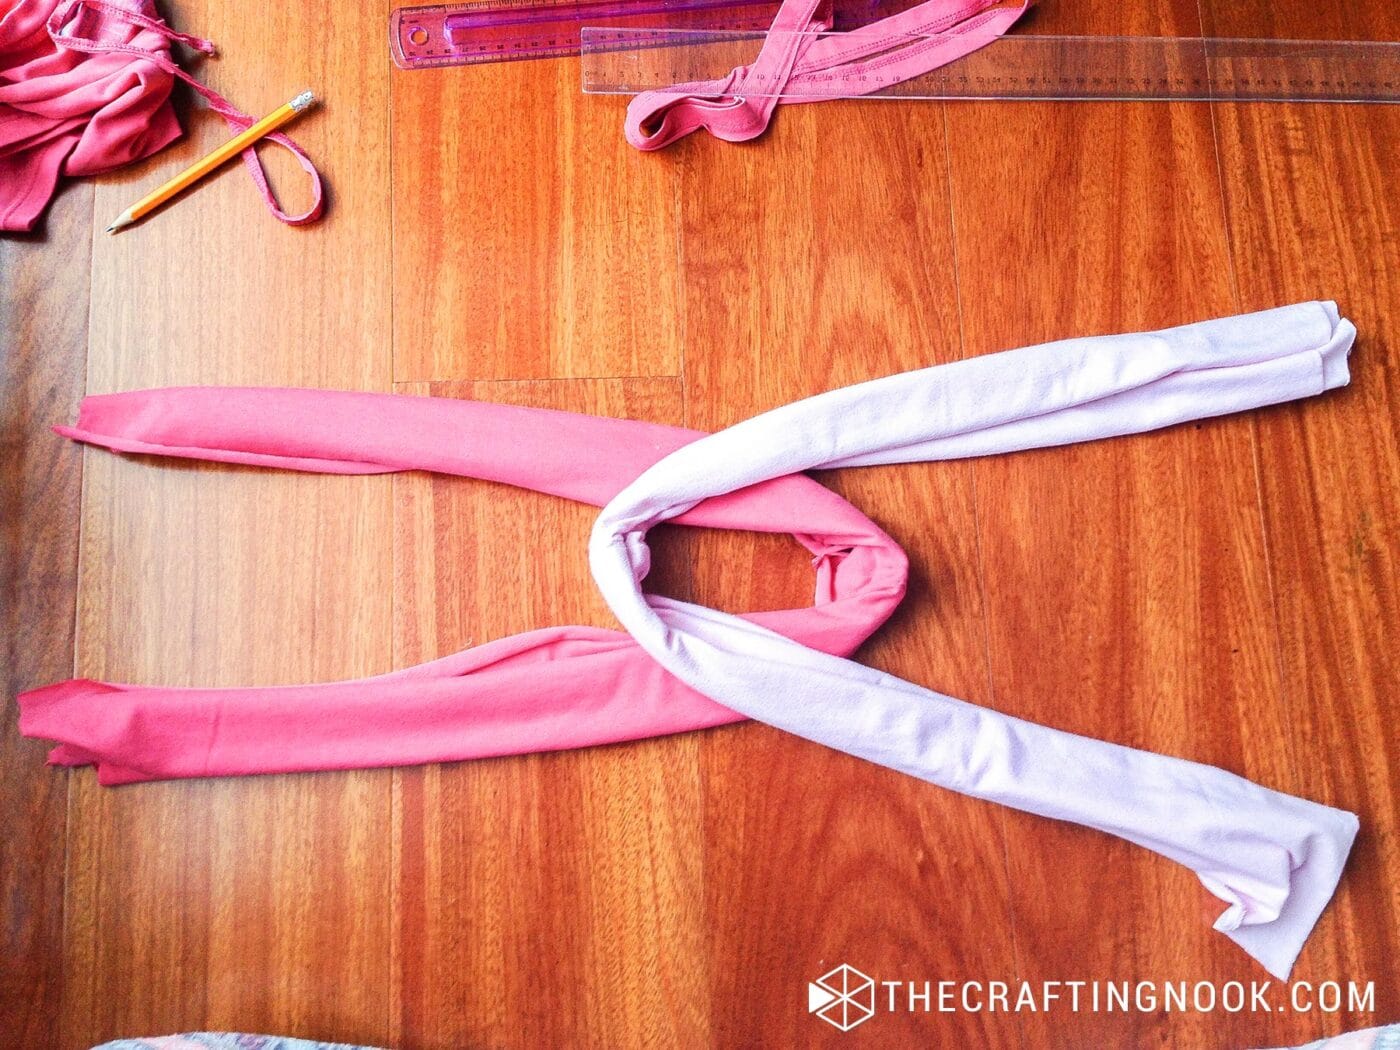
Insert your hand under the bottom loop to grab the ends of the top loop.
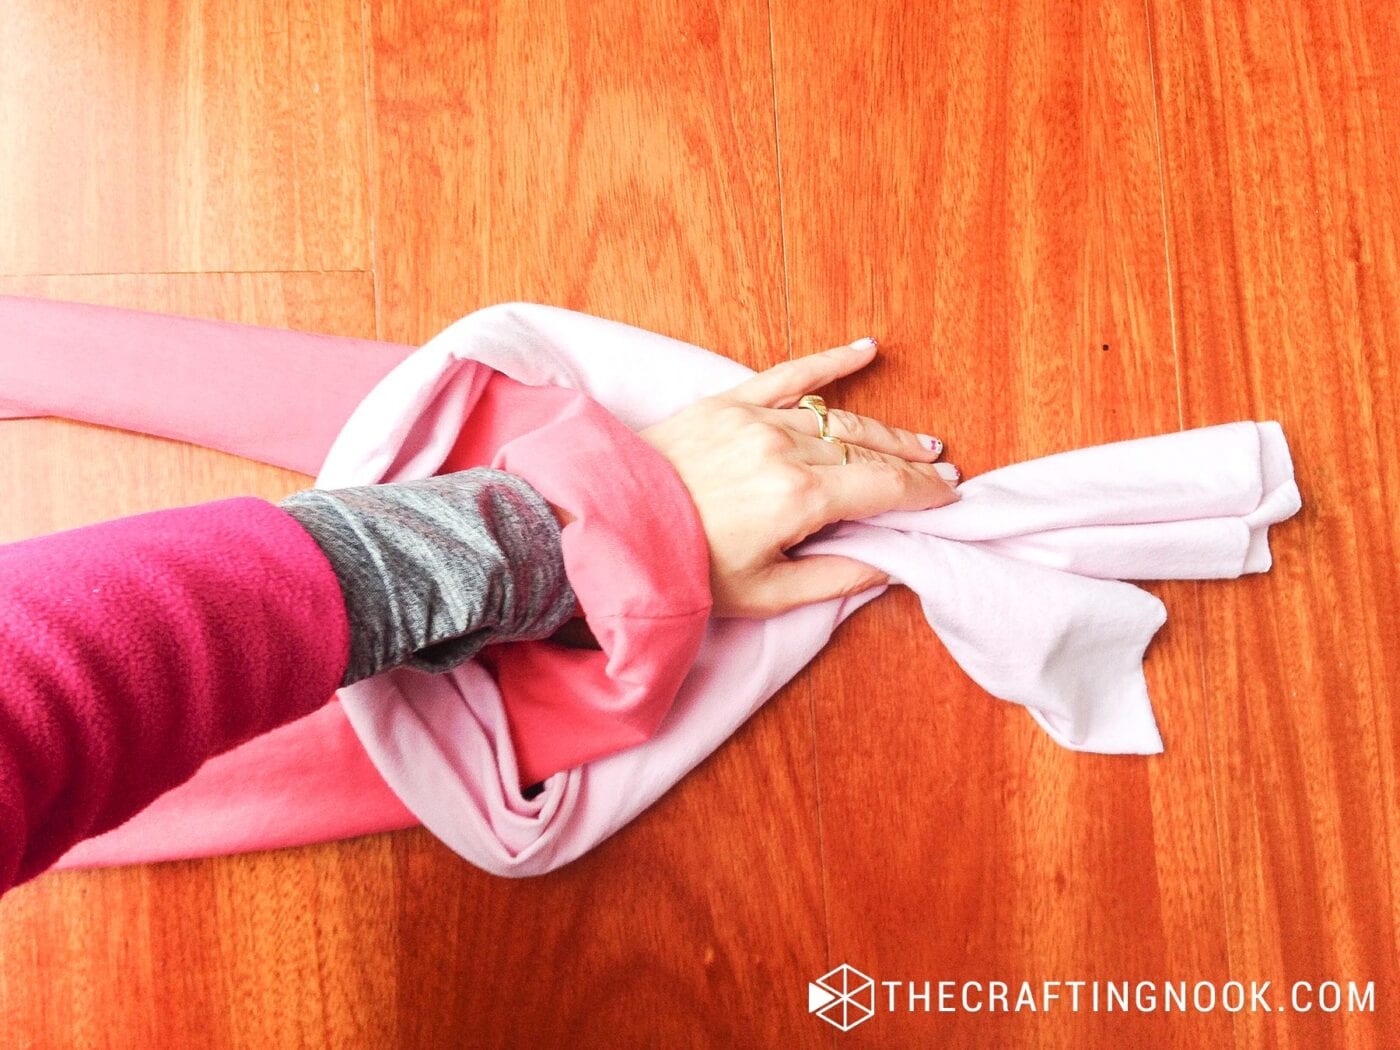
Pull the top loop’s ends through the bottom loop.
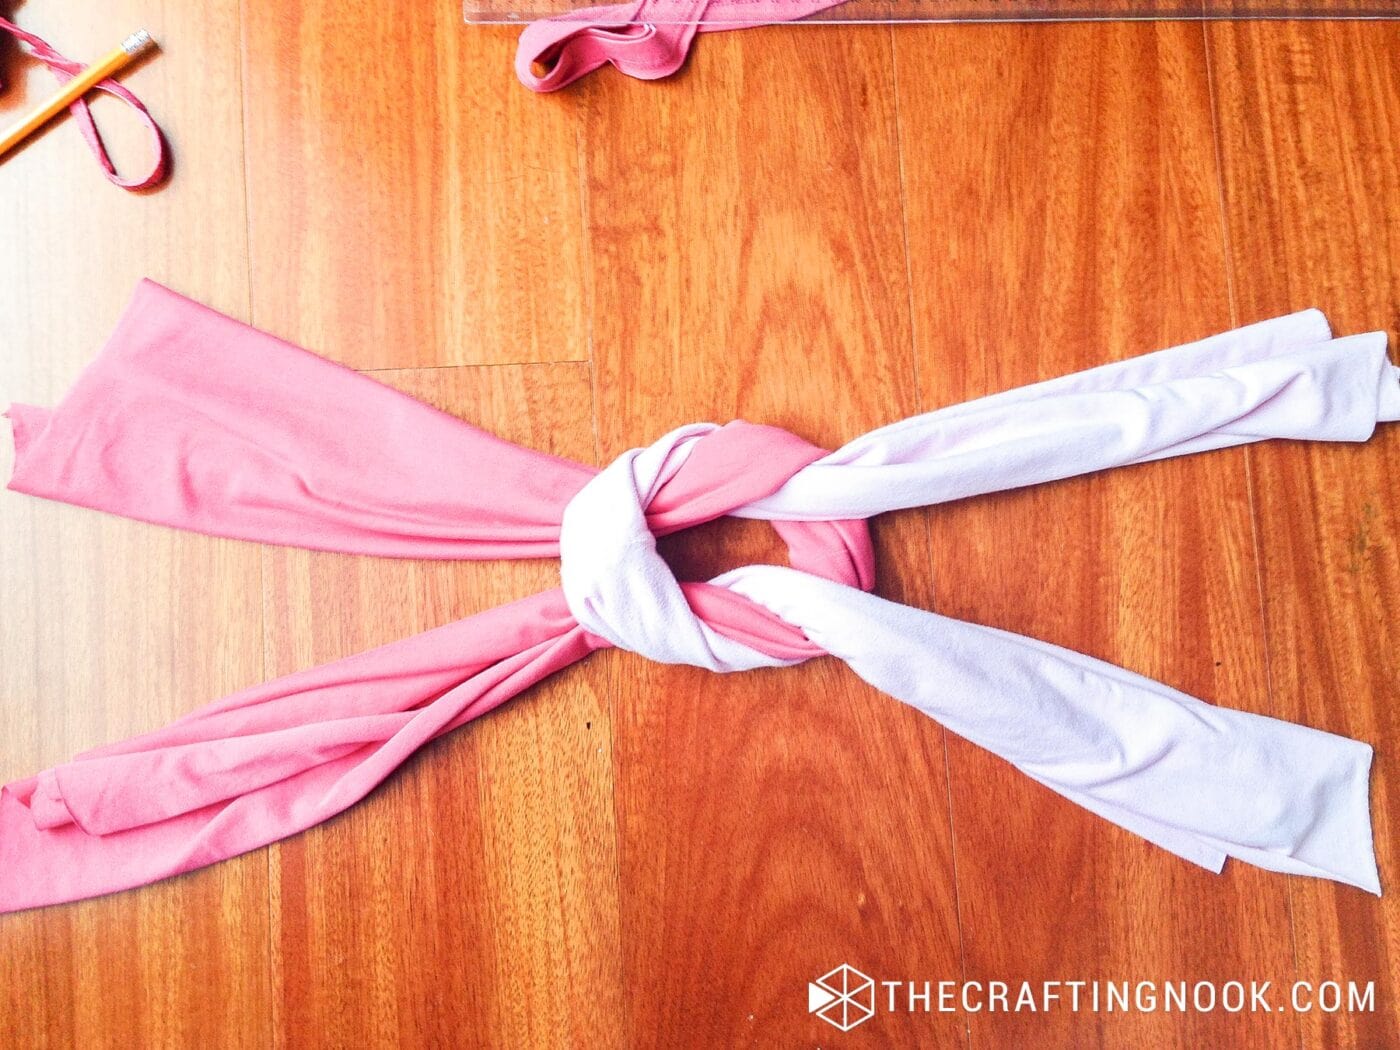
Repeat this process until you’ve braided the entire length. Depending on your shirt size, you can braid twice or more.
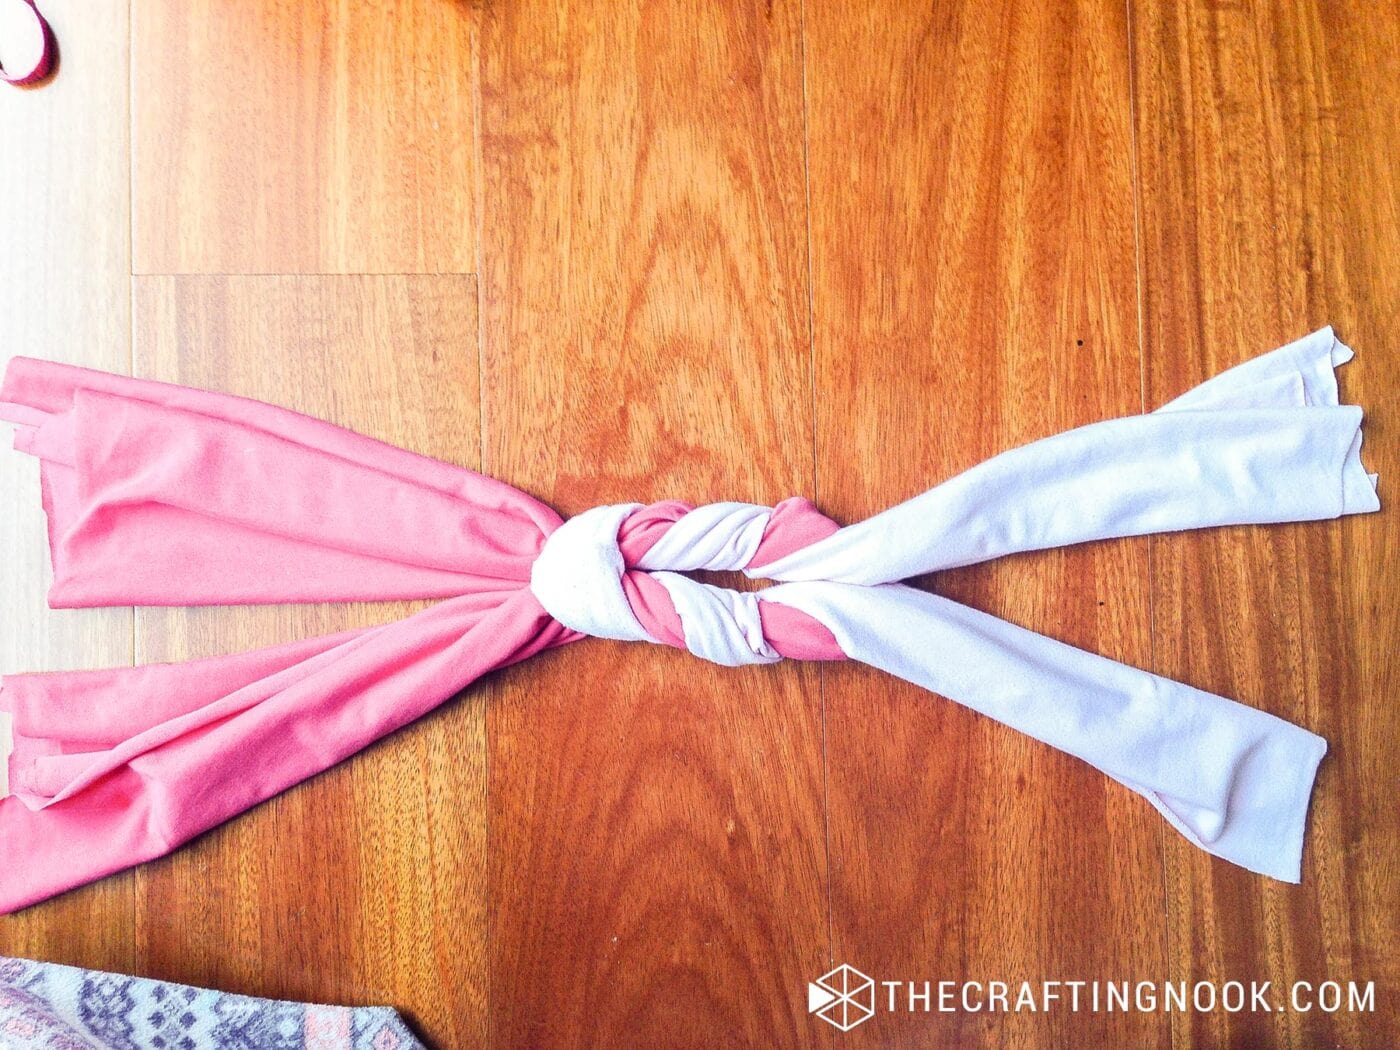
4. Stitch the Ends:
Put the braided fabrics laying flat on a table of floor, take the ends of each color from one side of the braid and align them, keeping the raw edges together.
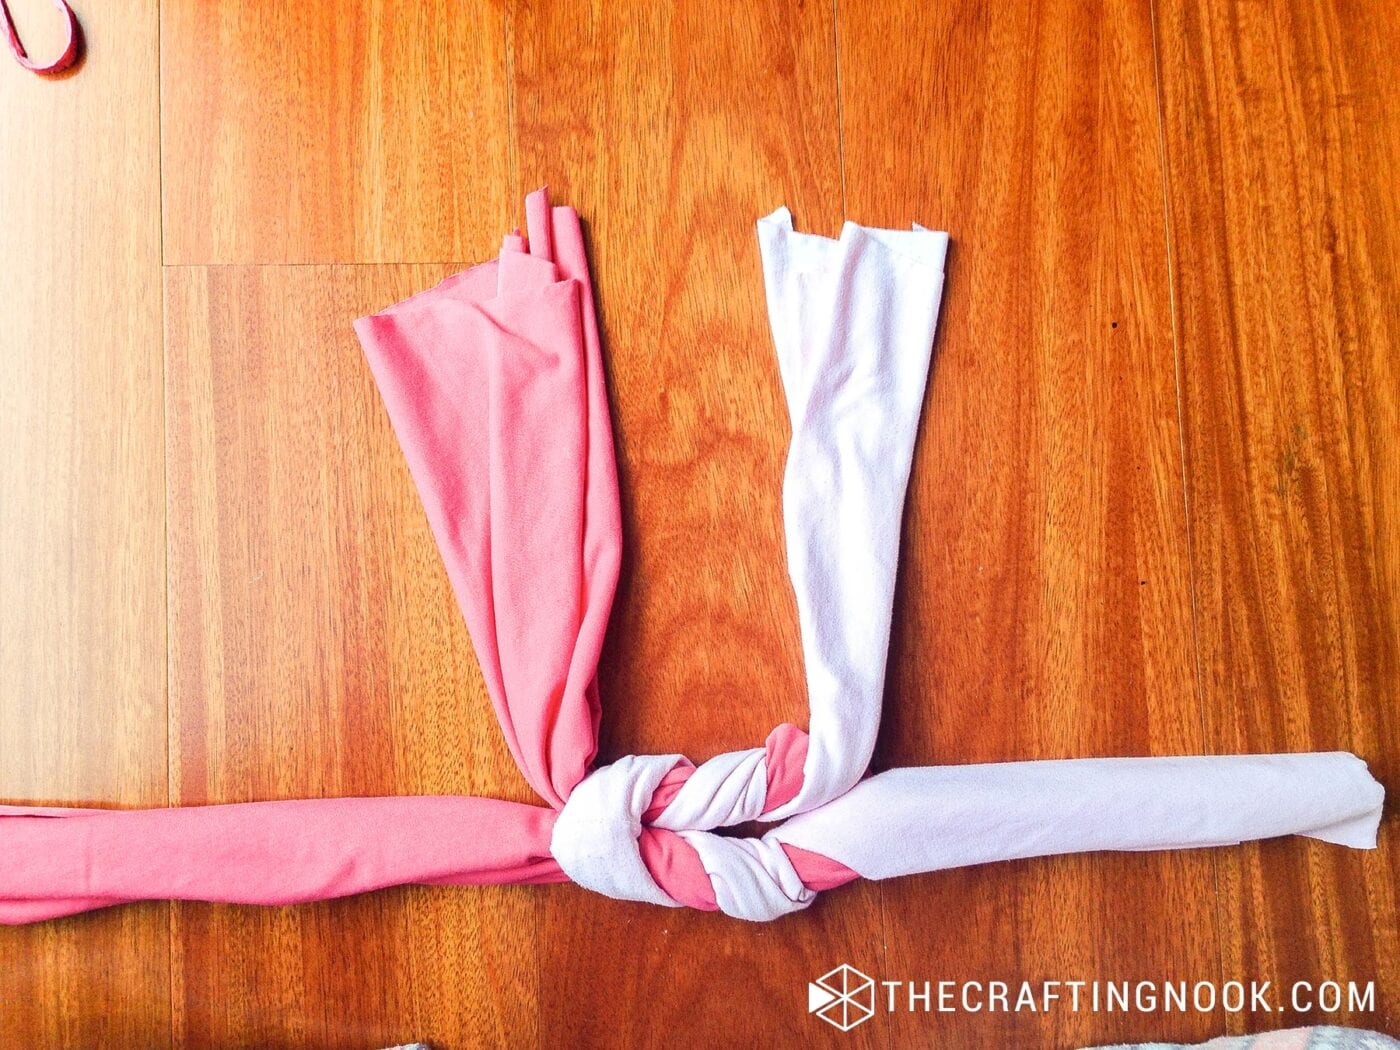
Straighten them up right sides together and keep the raw long edge together.
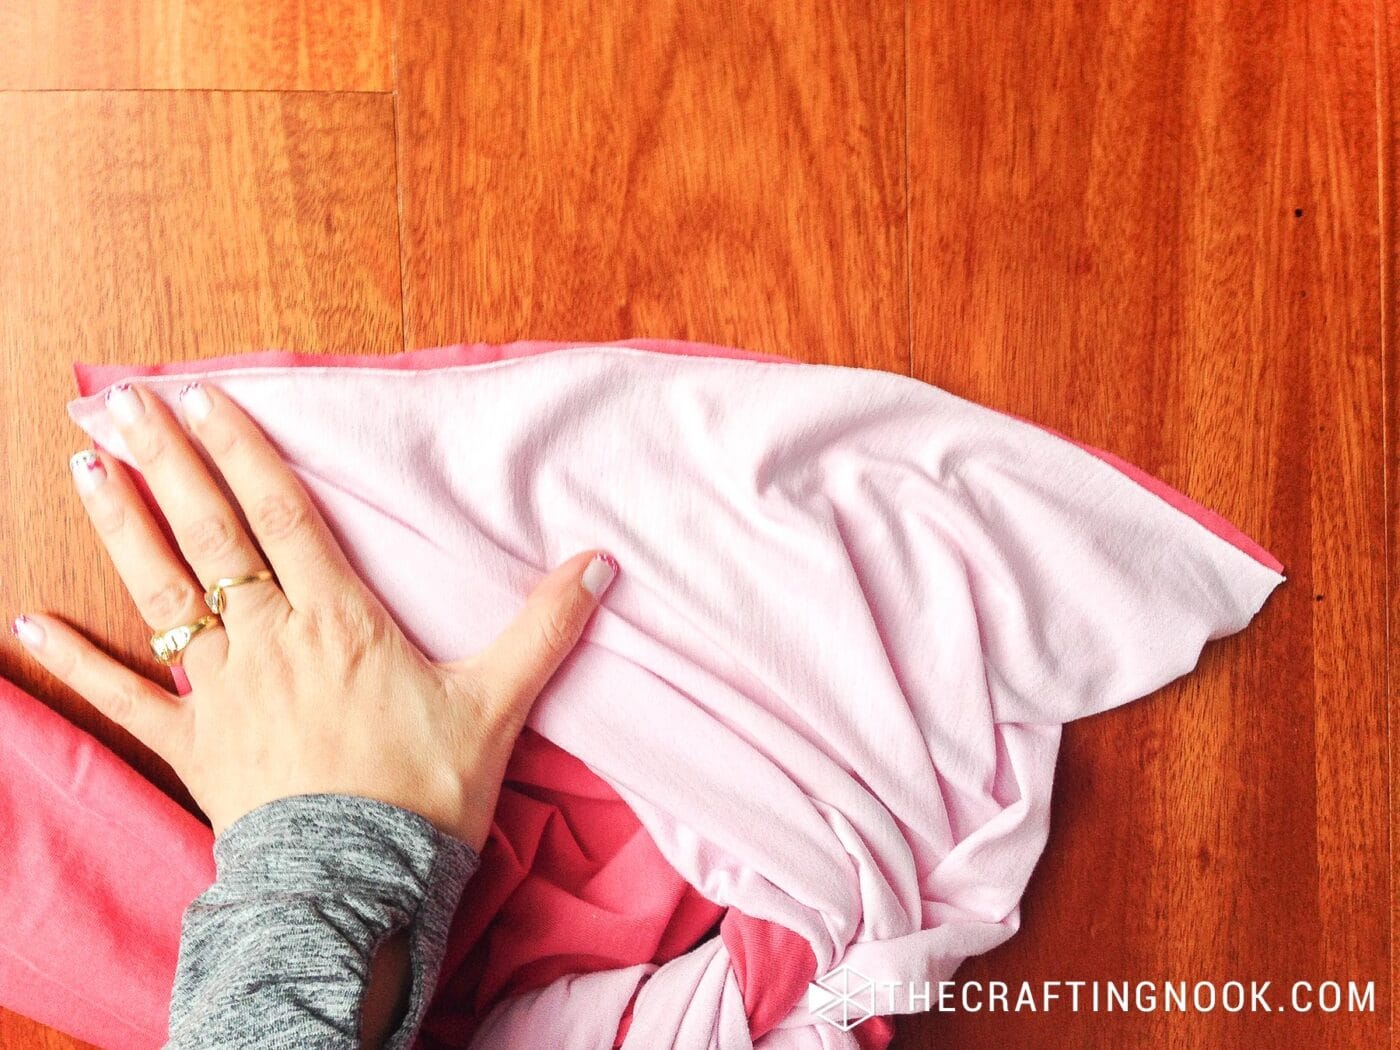
Stitch along the raw edges to secure them. You can do this by hand or with a sewing machine.
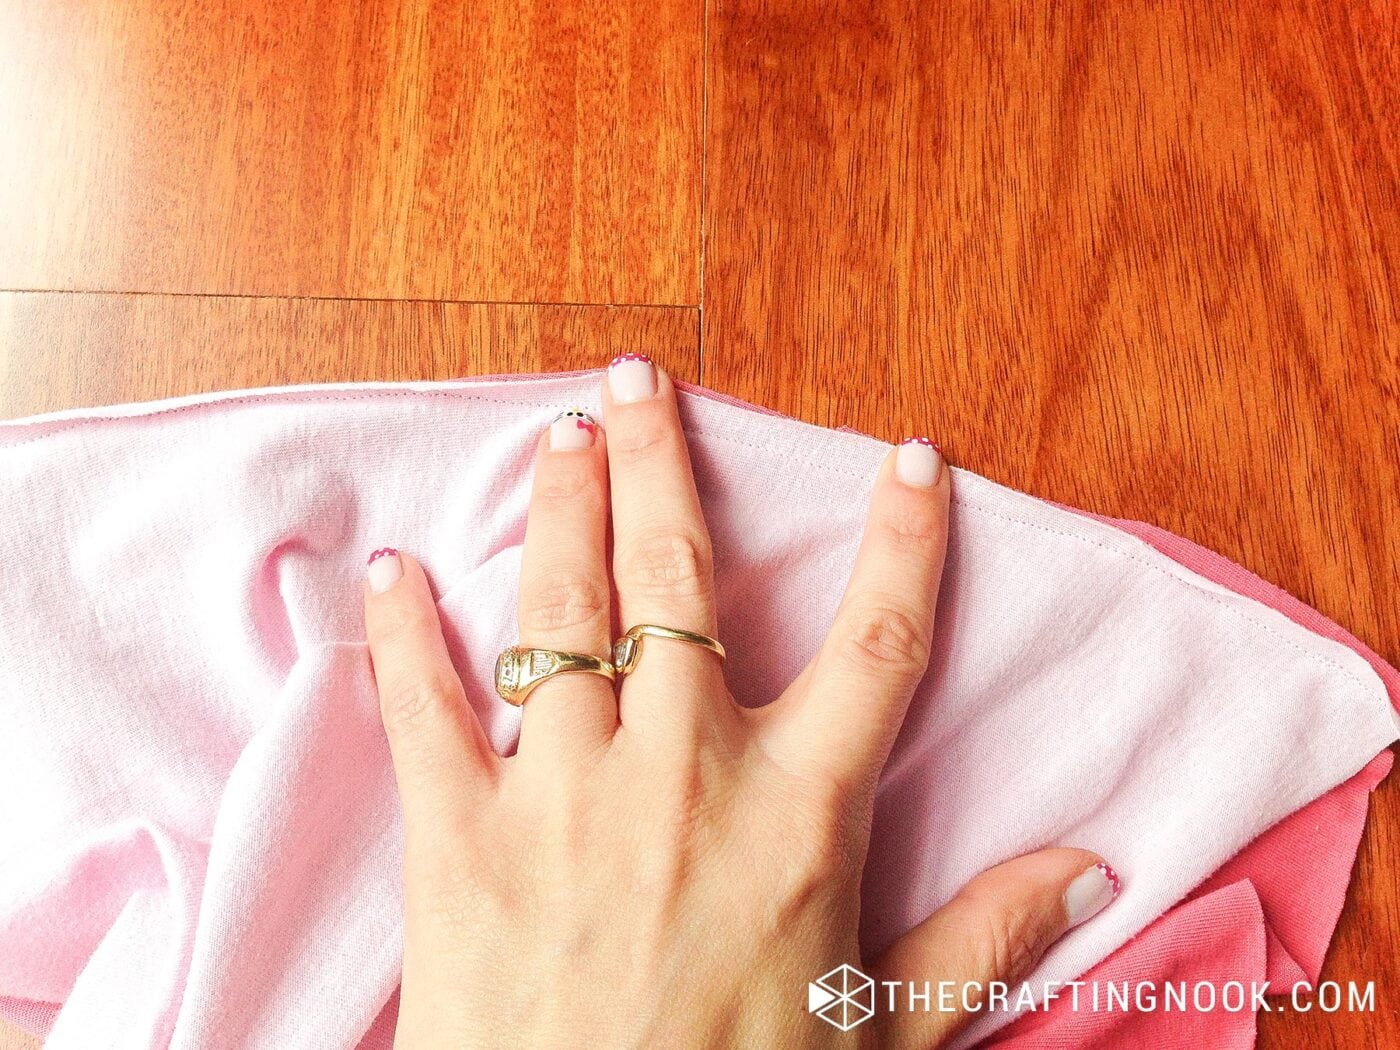
Repeat on the other two ends.
5. Finish the Scarf:
Roll and Combine: Roll the raw edges of the scarf towards the inside to create a clean tube.
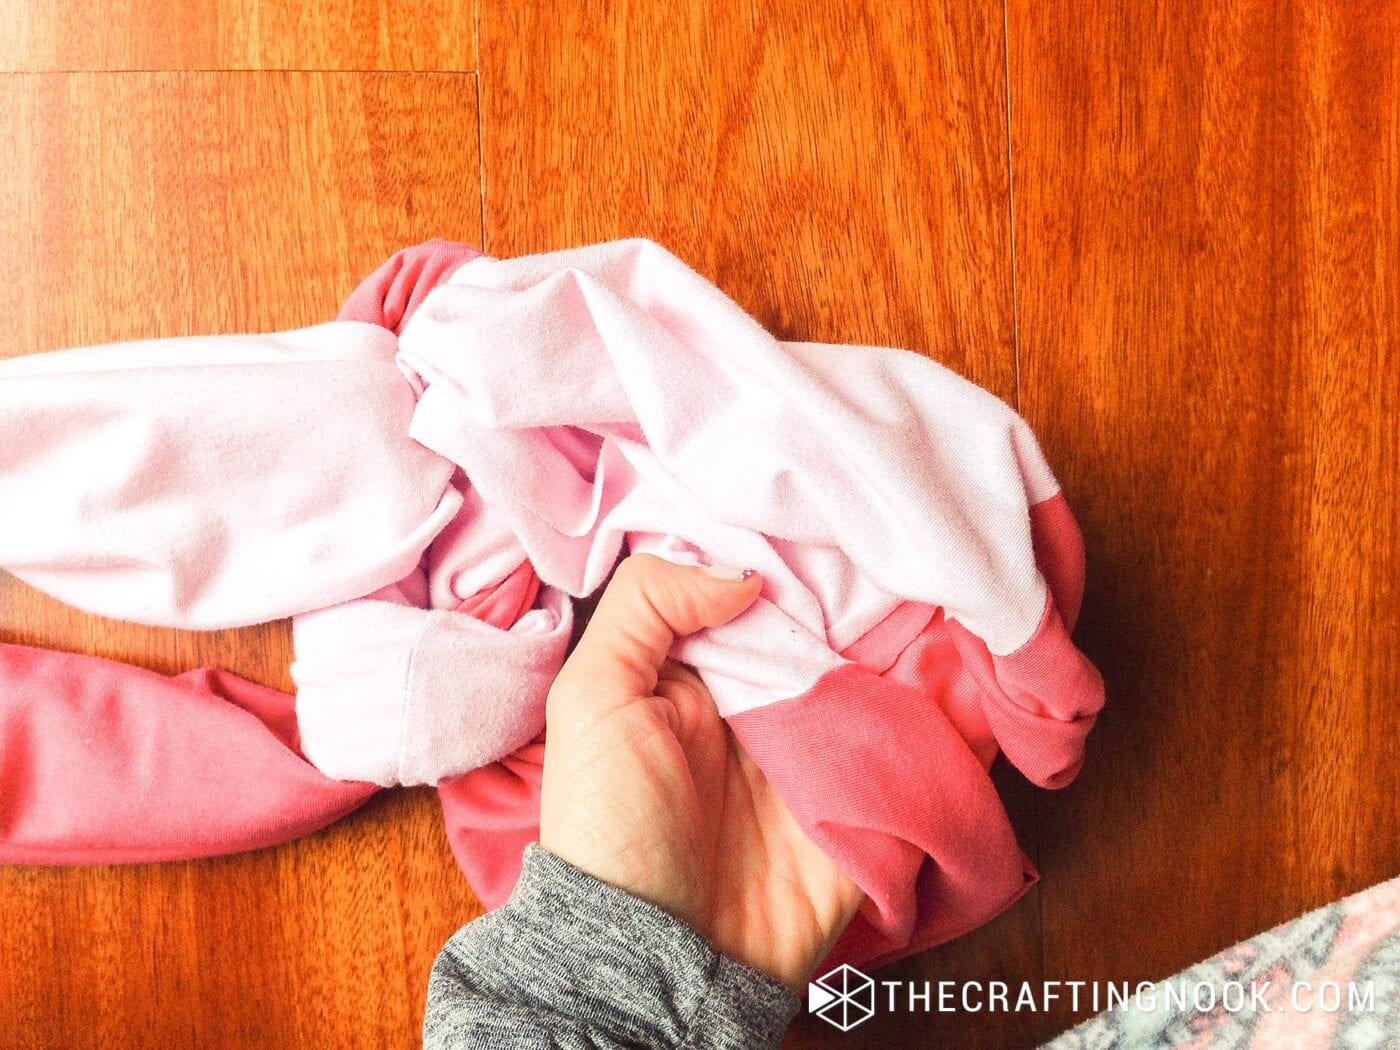
Put both together to create a circle. It will look half braided and half solid.
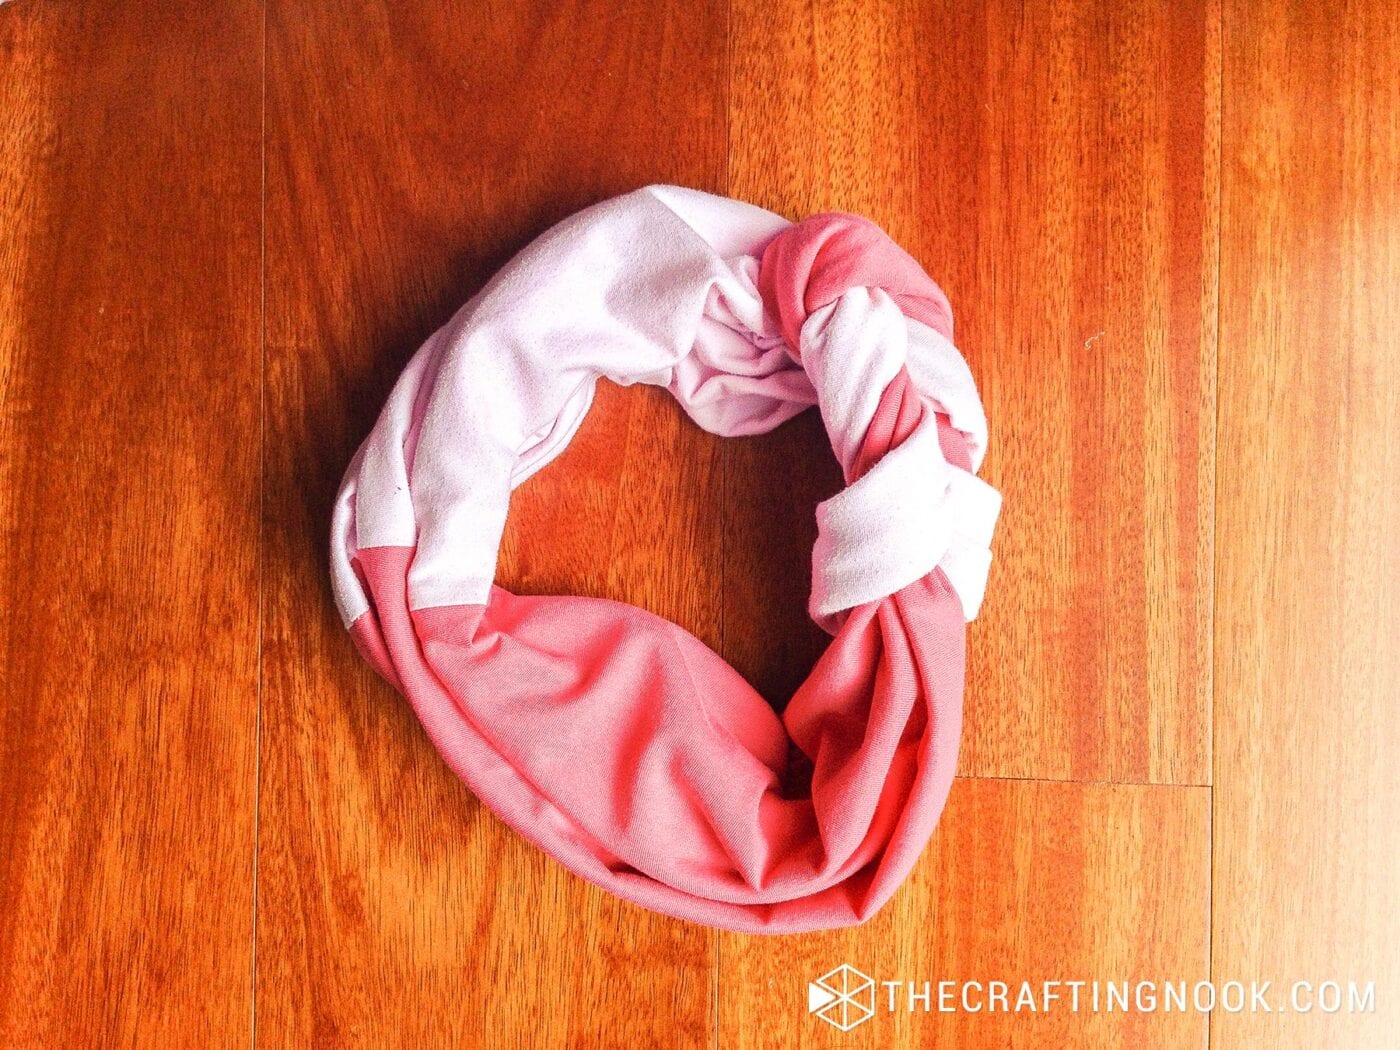
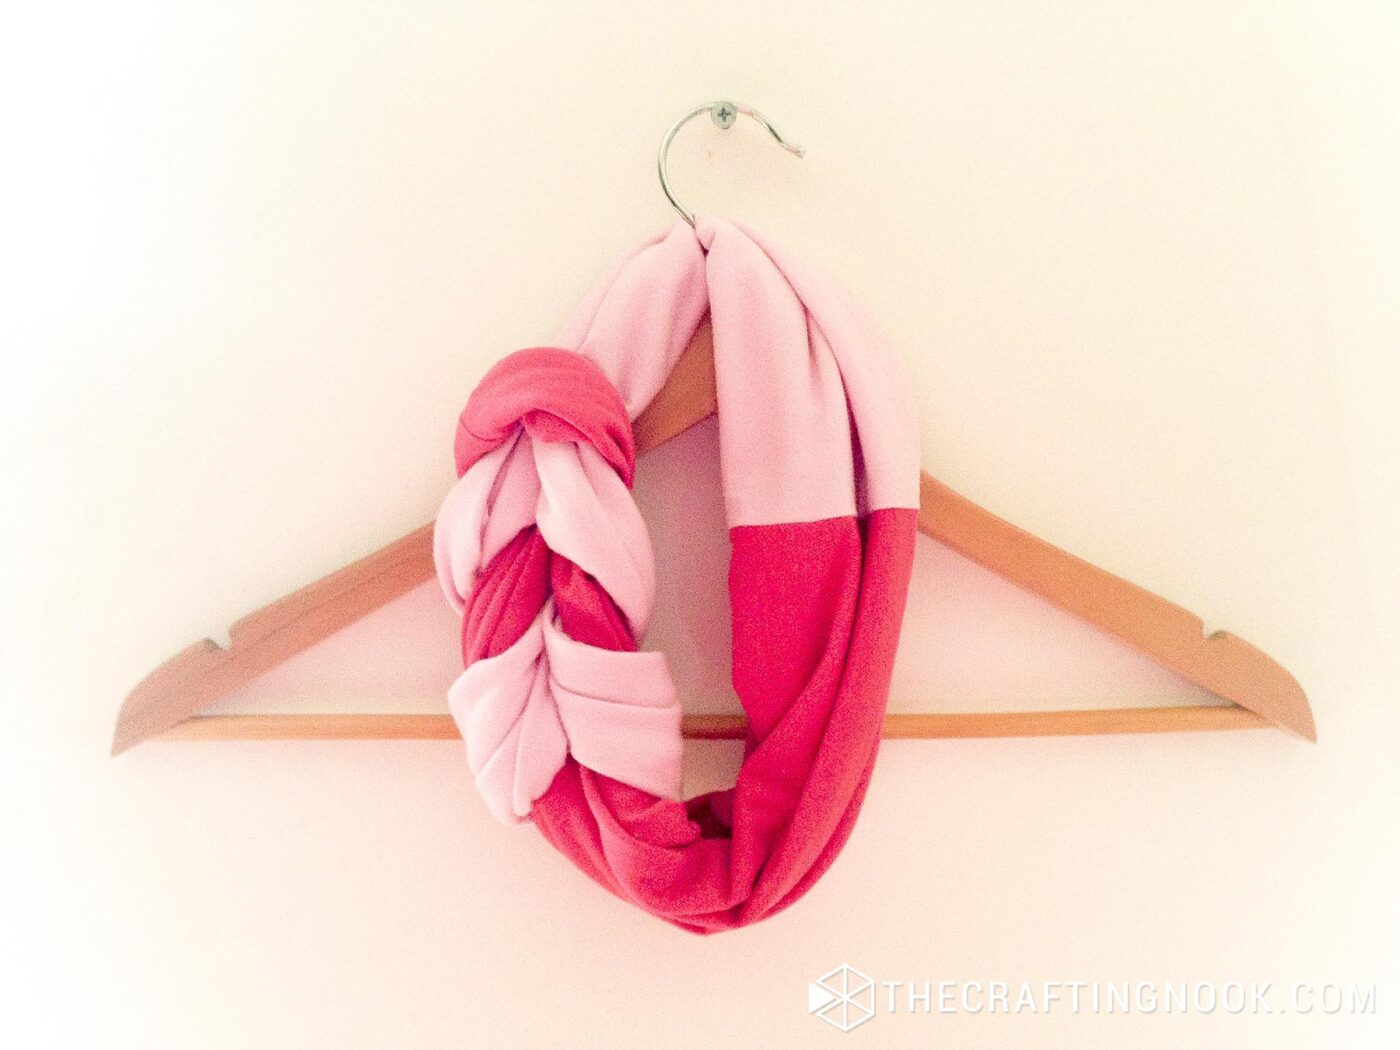
And voila! In just about 30 minutes, you have a fabulous, braided infinity scarf. Isn’t that amazing?
Crafting Tips
- You could use rotary cutter and a cutting mat for more precise and even fabric strips. This helps ensure that your braid looks neat and consistent.
- Don’t like plain scarfs? Consider adding small embellishments like fabric paint, brooch, iron-on transfers, or beads to your scarf. Just make sure they don’t interfere with the scarf’s functionality.
- You can use a sewing machine to reinforce the seams by sewing over them a couple of times. This ensures that the scarf holds up well over time.
I’m SO loving it and love how it looks with gray!!!

Alternatives and Substitutions
- Instead of using thin t-shirt strips, cut the fabric into wider strips to create a chunkier, more textured scarf.
- Mix and match different t-shirt colors and patterns to create a unique and personalized scarf. You can even use patterned t-shirts for a fun, eclectic look.
- You can always use a brand new t-shirt if the design calls to you. This project is great to repurpose but it doesn’t mean you can’t get an inexpensive t-shirt that you love the design to make this infinity scarf.
- For sensitive skins, I will always recommend cotton t-shirts.
Frequently Asked Questions
While t-shirts are ideal due to their softness and flexibility, you can use other types of knit fabrics, such as old tank tops or sweatshirts. Just make sure the fabric has some stretch to make braiding and wearing easier.
Any size t-shirt will work, but keep in mind that larger sizes will provide longer fabric strips, which may result in a longer or thicker scarf. For a standard-sized scarf, a medium to large t-shirt is typically a good choice.
Yes, you can wash the scarf. To ensure it retains its shape I recommend using the braw washing bag so it doesn’t get tangled with the rest of the load.
For this specifically scarf project you need 2 t-shirts.
More Fun Easy Projects To Try
Like this DIY T-Shirt Infinity Scarf tutorial? You might definitely love these other Scarfs and easy project ideas too:
Want to check more Scarf Week ideas and inspiration? Check out these!!
The T-Shirt Scarf fun has only just begun! Be sure to chomp those shark scarf teeth into each of these inspirational D.I.Y. projects hitting the blog-o-sphere today.
- DIY T-Shirt Infinity Scarf by Made in A Day
- DIY Now-Sew Braided Tassel Scarf by Happy Hour Project
- Faux Tie-Dye T-Shirt Scarf by Apron Strings and Other Things
- 10 Minute Fringe Infinity T-Shirt Scarf by The Thinking Closet
✂️ Tutorial

Braided DIY T-Shirt Infinity Scarf
Tools
- Sewing machine or thread and needle (if you want to hand sew it, it’s totally doable)
- scissors
- Ruller
Supplies
- 2 old T-shirts – preferably in different colors
Instructions
Prepare Your T-Shirts:
- Measure your available usable t-shirt fabric to make sure you have enough fabric for the infinity scarf.
- Trace a line where you will be cutting.
- Cut in a straight line each t-shirt just below the armholes and the bottom hem.
- You’ll end up with two large fabric pieces.
Create Long Strips:
- Open up each piece and cut along one of the side seams to get one long strips of fabric from each shirt.
- Gently stretch the fabric strips before braiding.
Start Braiding:
- Overlap and Fold: Place one strip of fabric on top of the other, aligning them in the middle.
- Insert your hand under the bottom loop to grab the ends of the top loop.
- Pull the top loop’s ends through the bottom loop.
- Repeat this process until you’ve braided the entire length. Depending on your shirt size, you can braid twice or more.
Stitch the Ends:
- Put the braided fabrics laying flat on a table of floor, take the ends of each color from one side of the braid and align them, keeping the raw edges together.
- Straighten them up right sides together and keep the raw long edge together.
- Stitch along the raw edges to secure them. You can do this by hand or with a sewing machine.
- Repeat on the other two ends.
Finish the Scarf:
- Roll and Combine: Roll the raw edges of the scarf towards the inside to create a clean tube.
- Put both together to create a circle. It will look half braided and half solid.
- And voila! In just about 30 minutes, you have a fabulous, braided infinity scarf.
Share and PIN ME!!!
Til’ next time…


FREE WORKBOOK
Keeping your Sweet Home Organized
Learn how to create intentional habits and simple routines to Keep Your Home Organized. Plus freebies, printables, exclusive content, and tips.
Disclaimer: By clicking on the “Yes” button above you are giving me your consent to collect and use your information according to the law and My Policy Privacy. Zero Spam I promise!

