DIY Bounce Card for Built-In DSLR Camera Flashes
This post may contain affiliate links. Please read our Disclosure Policy.
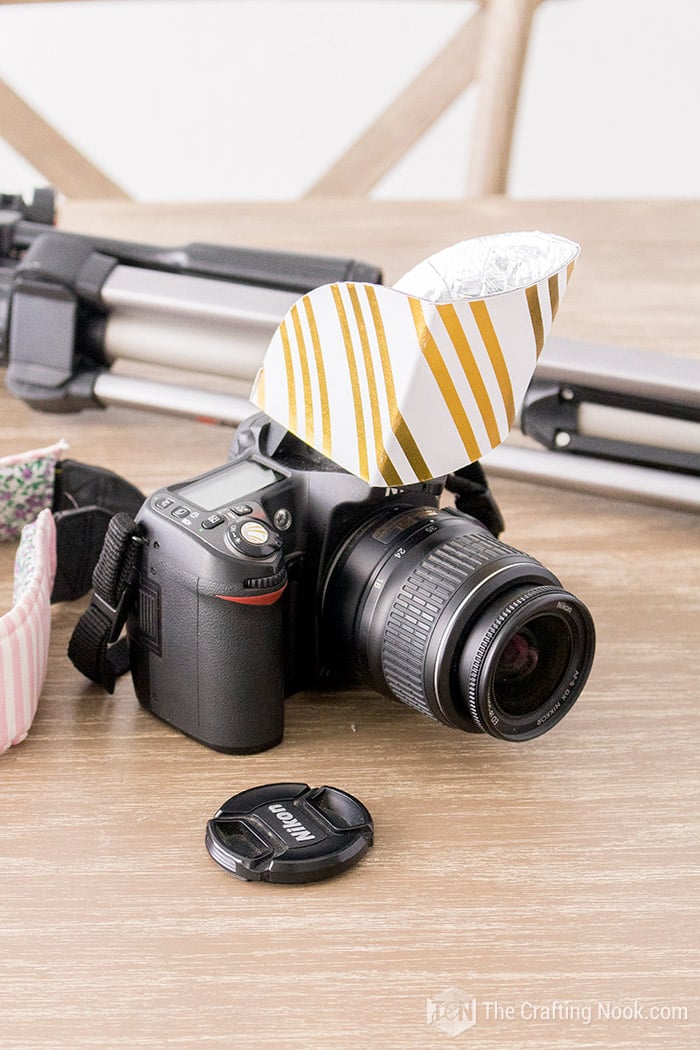
In this easy and helpful tutorial, I will show how to build a DSLR camera DIY bounce card for your built-in pop-up flash. It’s easy and so inexpensive because you are most likely to have the supplies at home already and if not, they are very cheap!
As I mentioned in my previous post: DIY Flash diffuser, oftentimes it gets hard to find accessories for external camera flashes. Either they are too expensive to purchase or homemade but for the external flashes. When it comes to DSLR built-in flash there aren’t that many.
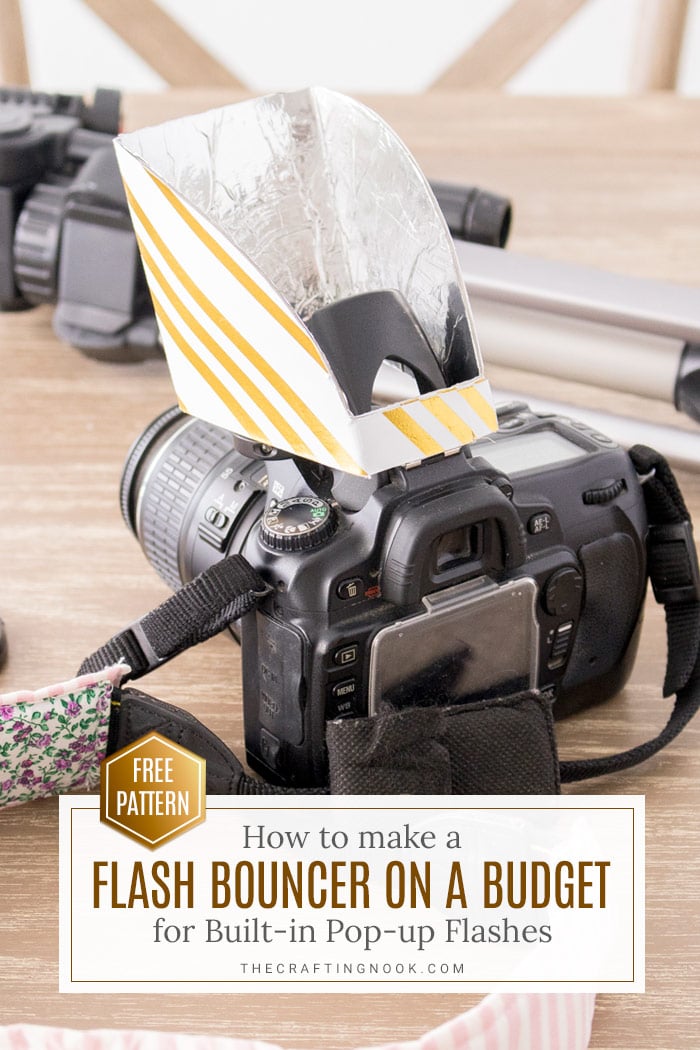
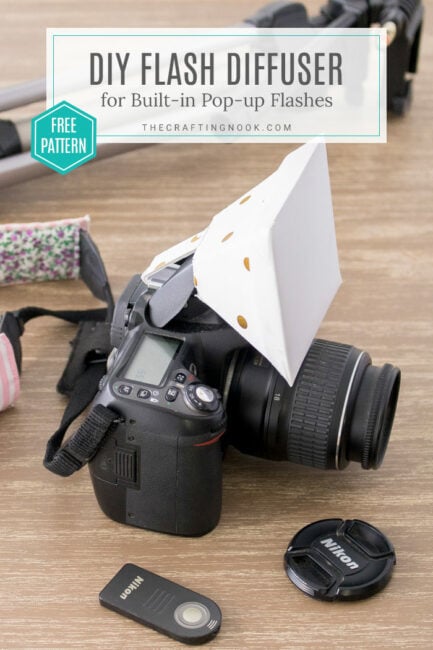
You might also love these photography-related craft ideas: DIY Flash Diffuser for DSLR Built-in Pop-up Flashes, How to Add Watermark to Multiple Photos at Once with Photoshop Automate Batch, and DIY Pallet Photo Backdrop.
Table of Contents
Why A DIY Bounce Card for Built-in DSLR Camera Flash
Depending on your specific needs for the current photography situation and high condition you might need different accessories.
Sadly, not always you can use natural light for every project or situation. Not always you have the needed amount of light. And not always natural light sources solve every light problem.
Because we can often encounter these situations, we need to have handy different accessories. The problem is that most of them are expensive o hard to find DIY durable options.
A flash bounce card is especially good because points the flash light toward the ceiling or a wall creating a softer light, which is especially effective indoors where white ceilings and white walls are present.
This is great because it allows me to play with the lighting of subject and be creative with different lighting angles. On the contrary, pointing the flash directly at your subject is usually not effective and can cause ugly shadows.
Testing, adjusting, and improving
Let me just state here that I’m not a professional photographer. I’m a blogger and a crafter. I need pretty well-taken photos but my budget is not like a professional photographer. That’s why I look for creative ways to solve these problems.
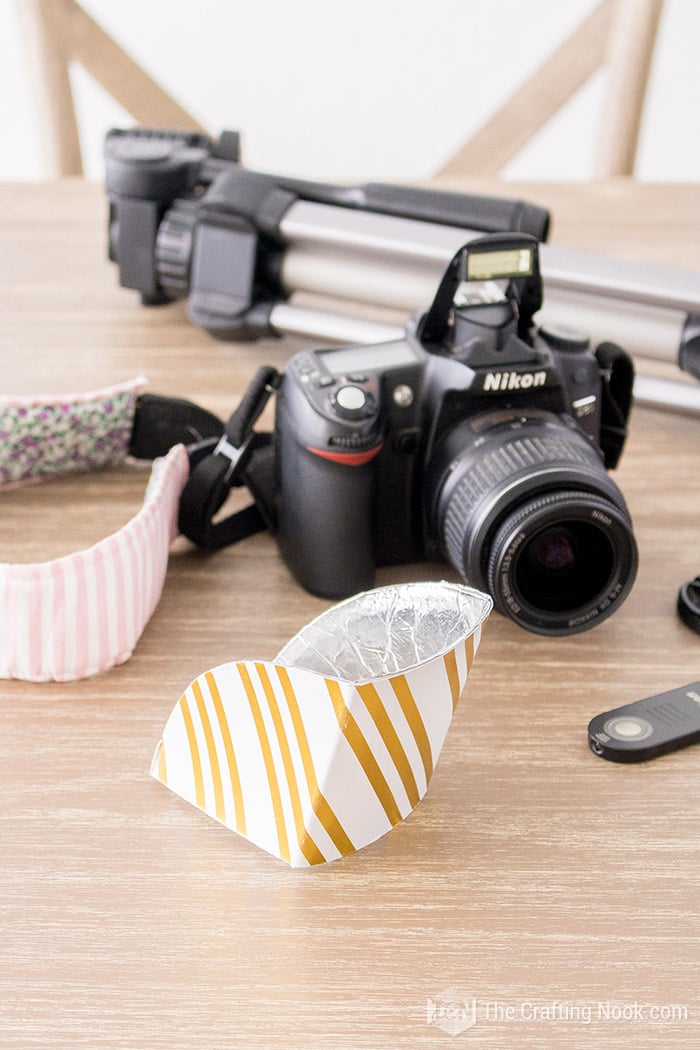
I’ve found and used different options like a piece of cardstock or small white card attached in front of the flash but it doesn’t concentrate the light as I like to. So, I’ve discarded most options I’ve found.
My favorite 2 accessories are my DIY bounce flash diffuser and this Flash DIY Bounce card.
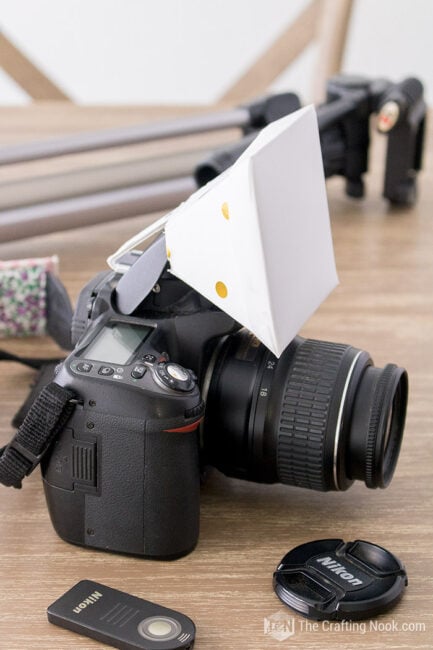
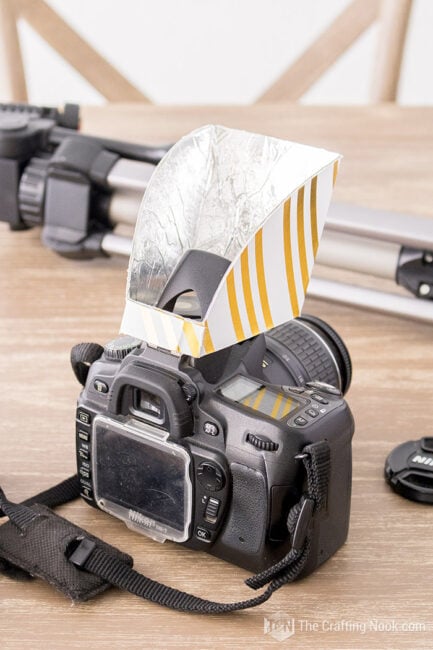
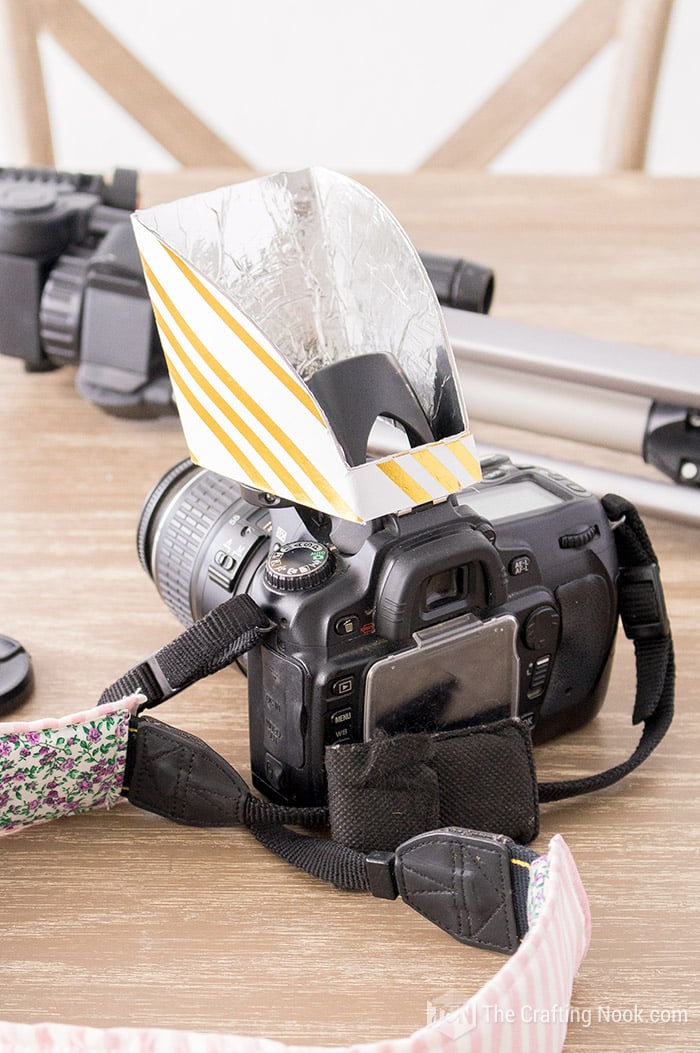
Since the first time I created this flash bounce card, I’ve made it about 3 times. I’ve tweaked a few things that you will notice through the photos on the tutorial and the video of the latest I’ve made.
I used to place foil paper only in the front internal side but I found that it’s even more powerful covering it completely.
That’s the beauty of this project you can just adapt it to your specific needs and create as many as you need.
Imagine if you have to buy one bounce for each need?
Didn’t think so!
I used to go for the traditional black color, now I love playing with patterns and colors LOL.
Am I too girly?
Well, you can make them fit your style with any pattern or color combo. Imagination is the limit!
How to Make a Homemade Bounce Card
Here I’ll show you how I made my DIY bounce card for any DSLR Camera with built-in flashes. This is perfect to have a portable reflector at all times.
On the web, there are other ways to solve this but I wanted one like a stainless steel scoop so I could concentrate and redirect the light straight up.
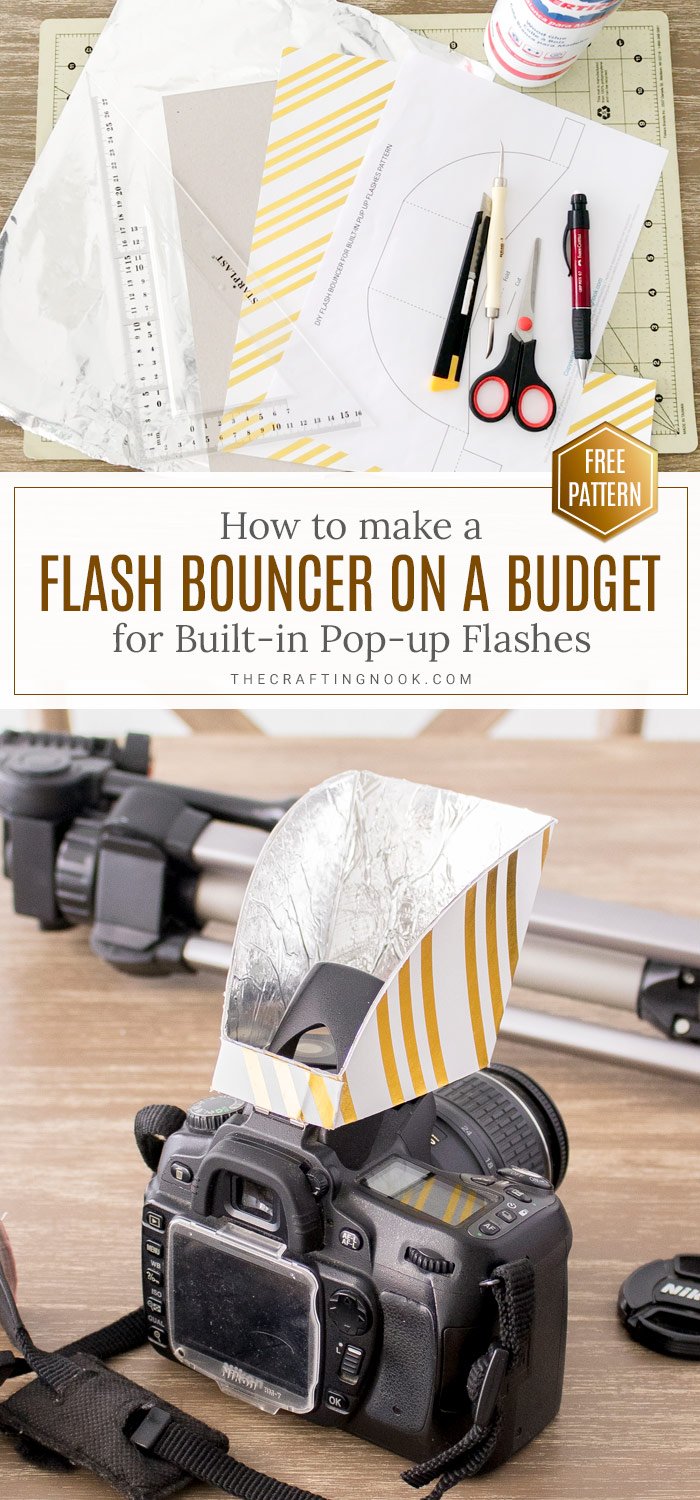
Supplies:
- Gray cardboard with a thickness that fits into the flash slot
- Black and White cardstock (white paper or any pattern if you like for the outside)
- White glue or mod podge
- Aluminum foil.
Tools:
- Hot glue gun.
- Cutter
- Embossing tool (or a pen that no longer works or the back edge of a scissor)
DIY Bounce Card Instructions Instructions:
Before we begin, be sure to follow us on Pinterest, Facebook, Instagram, and YouTube, and also sign up for our email list (at the end of this post), so you’ll never miss a post!
Step 1: Prep Work
First I made the pattern for the bounce card. You can snag it here to print and cut.
I made this video to show in a live way all the processes to create my Flash Bounce card. It looks different because I made these tutorial photos years ago.
If you prefer a step-by-step photos tutorial just keep Scrolling!
Step 2: Trace Your Pattern for the Card
I put the pattern on the gray cardboard and adjusted it with clips so it wouldn’t move (clips are optional).
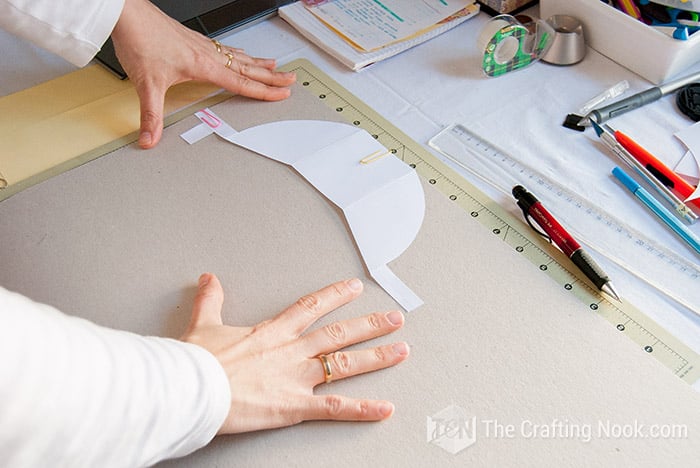
This kind of cardboard is used by architects for the structure mockups BUT you can find it often on the back of paper blocks, cardstock blocks, and some kind of boxes.
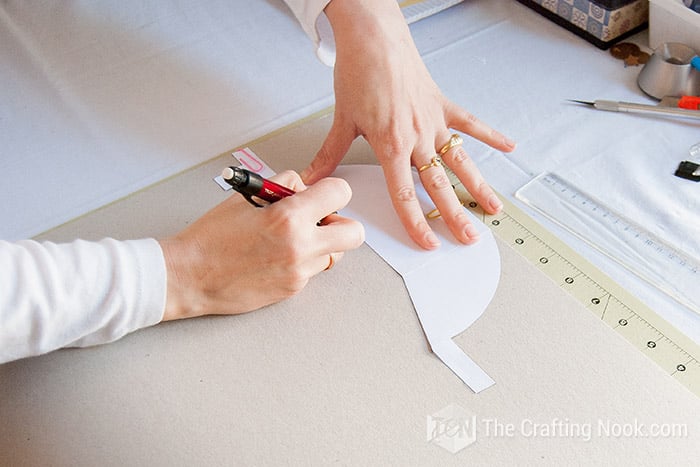
I marked the entire contour with a pencil and then the folding marks too.
Step 3: Cut It Out
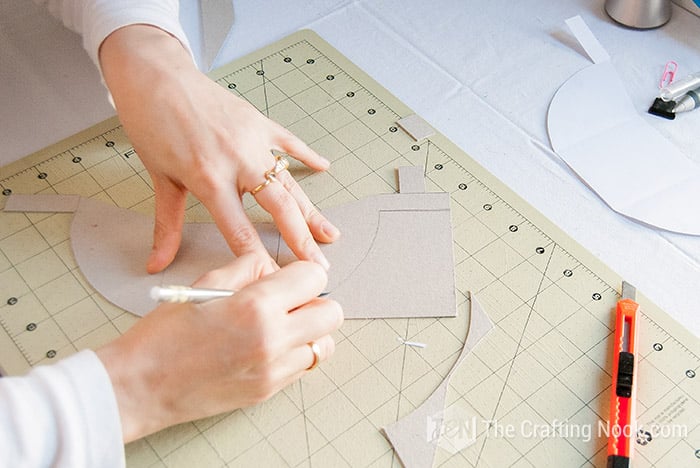
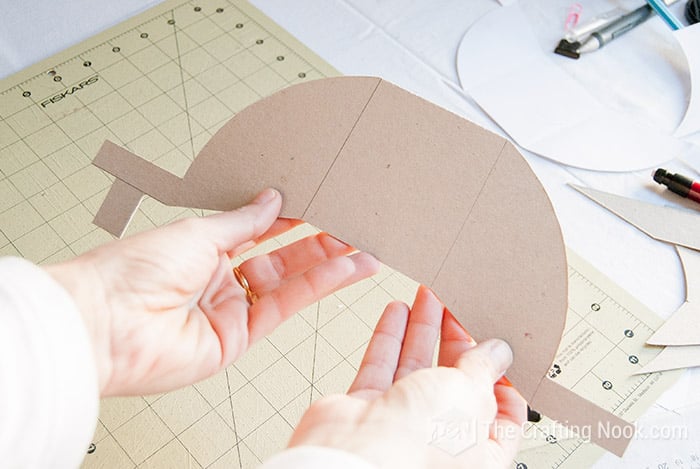
I cut the pattern helping myself with a ruler on the straight lines and free-handed for the rounded ones.
Step 4: Shaping the bounce card
With an embossing tool, I embossed the folding lines so the cardboard would fold more easily. You can see what I mean in the video.
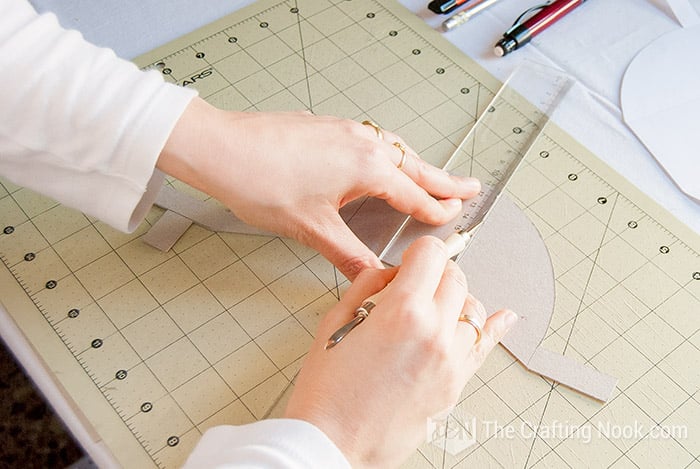
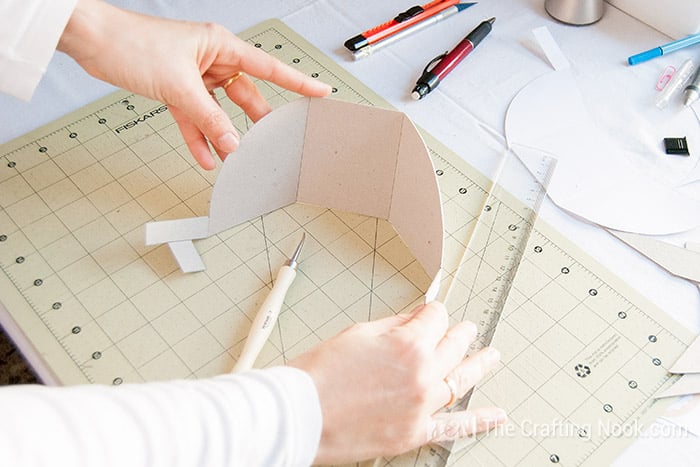
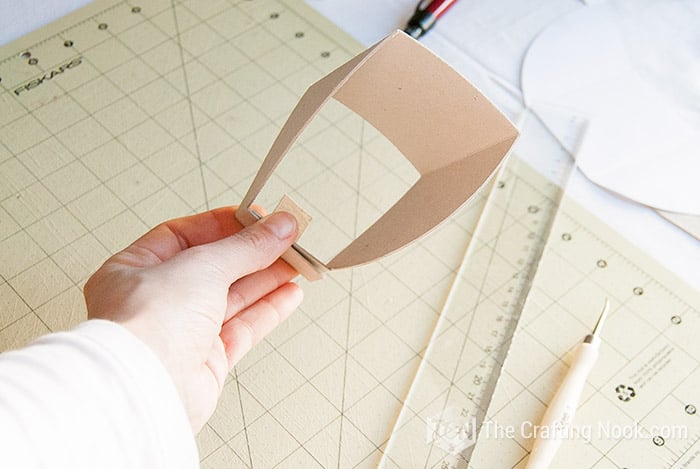
Once the whole shape was done and verified that it was fitting perfectly.
Step 5: Glue It Together – Covering the bounce card
I glued the black cardstock to the “inside and outside” of the flash bounce.
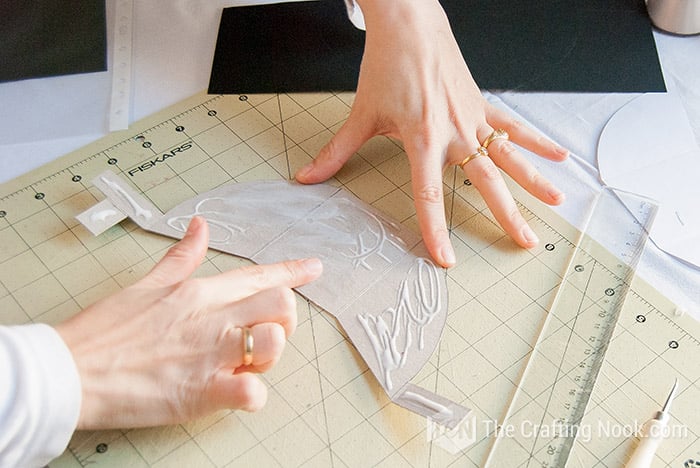
I made sure every edge was well glued and with the help of a ruler I made pressure all over the cardstock to avoid wrinkles.
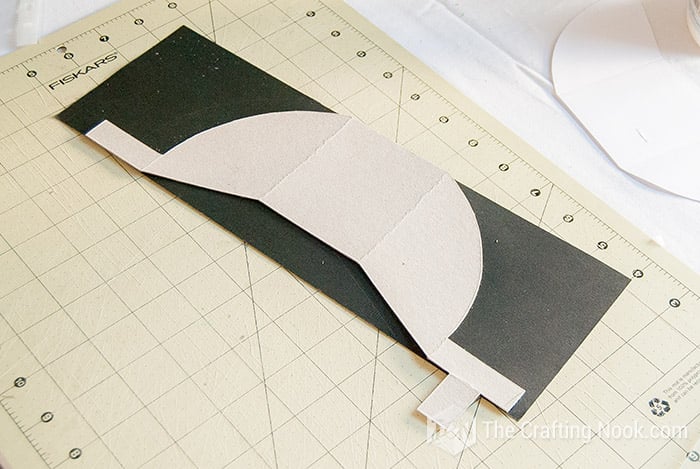
Again, with the embossing tool, I marked the folding lines. I let it dry.
Then I cut all the remains of cardstock on the edges to make a fine finish.
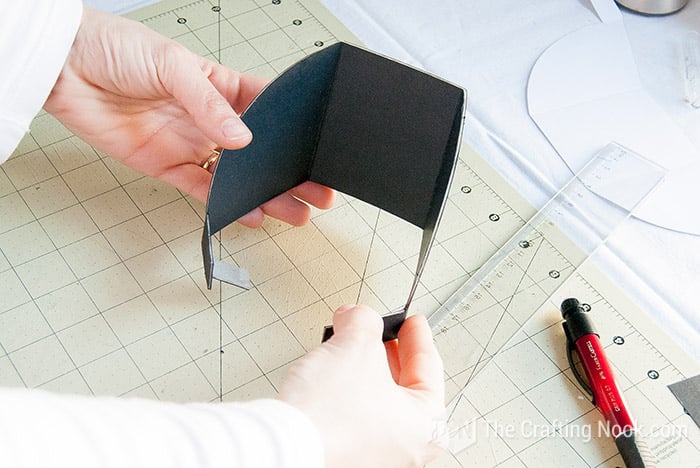
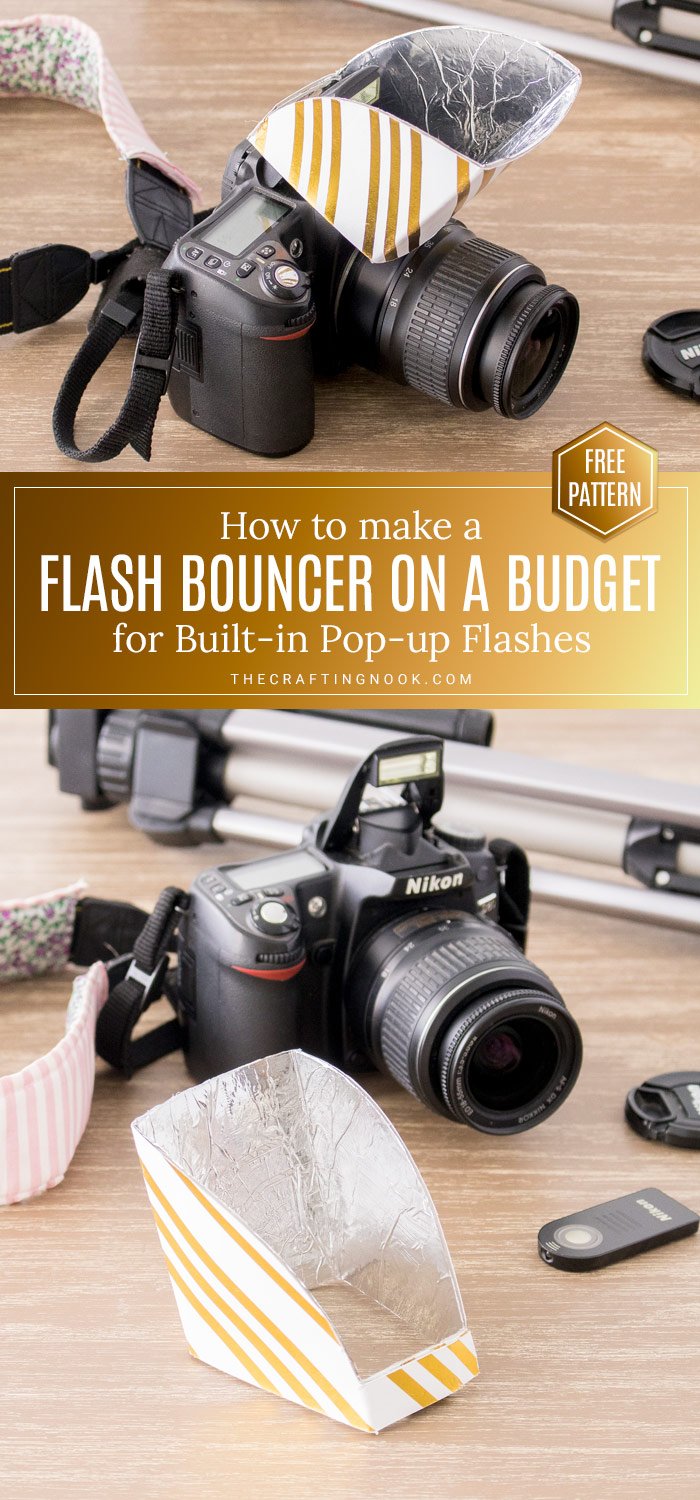
I closed the flash bounce by overlapping both ends. Apply some hot glue or white glue and apply some pressure making sure the ends match perfectly.
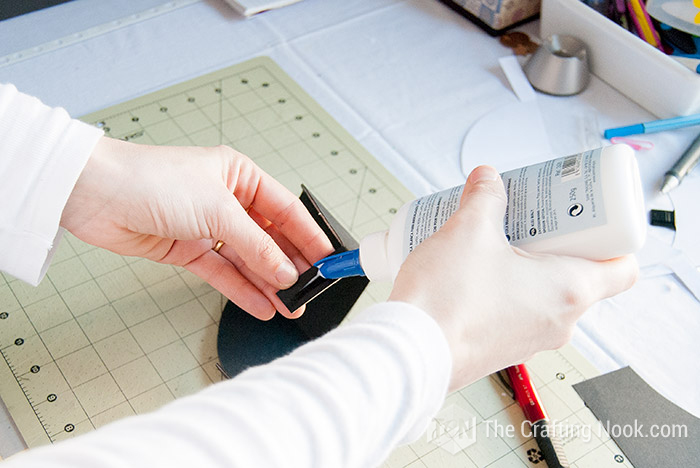
Fold the final flap which will secure the bounce to the camera flash shoe.
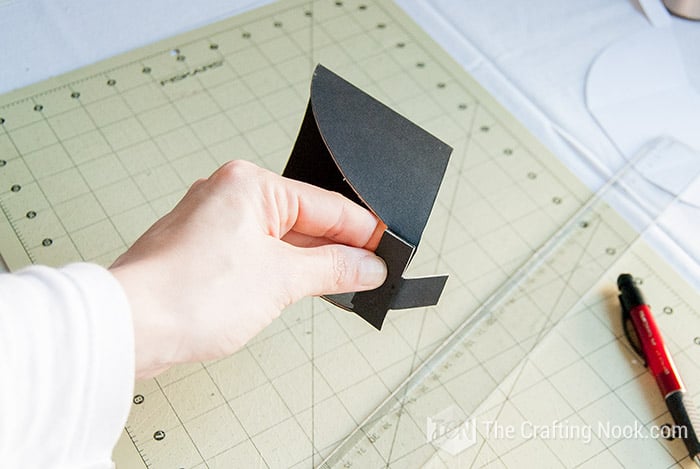
Step 6: Creating the reflective surface
Finally, I took the shape of the front internal side of the bounce and cut the foil paper.
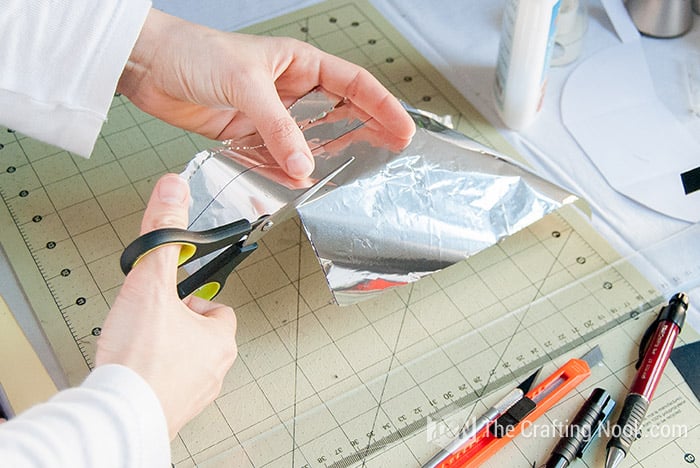
Glued it to the bounce with white glue.
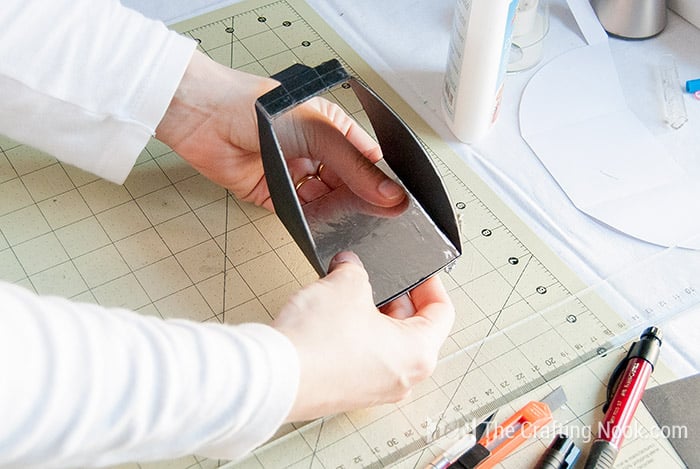
*UPDATE: I found it more effective to fill the entire inside with foil paper instead of black or white cardstock like I showed in the video. This will create a larger bounce surface.
Back when I made it the first time, I used black cardstock on the outside, nowadays I like to add some color and patterns!
That’s it!
It’s time to try it on.
Open your built-in camera flash then put your bounce around it and insert the flap inside the flash shoe.
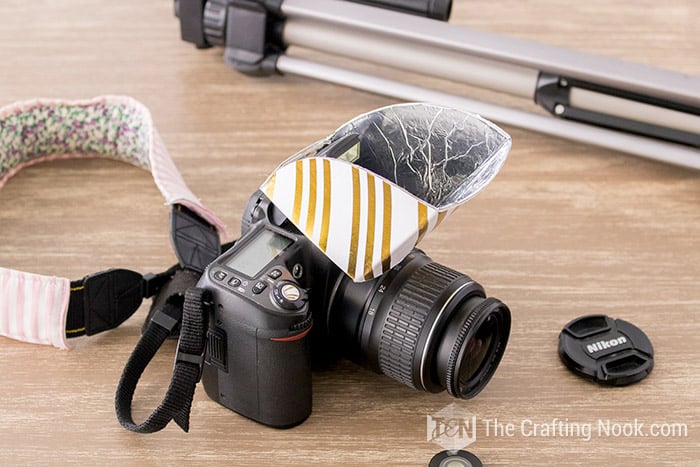
Depending on each camera you might have more flap that you need, you can just cut a bit until it fits.
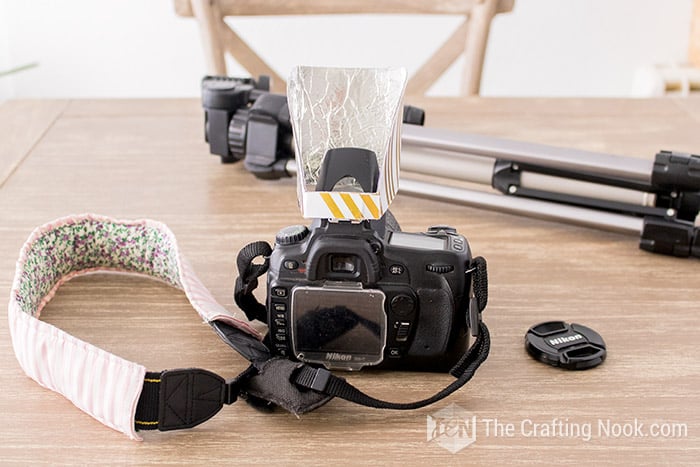
Also, if the cardboard you have is thinner, you can fold the excess and insert it so it will fit better.
There you have it!
Now it’s time to try how it works. Adjust as needed.
This pattern was created to be secured using the camera flash attachment. I’ve heard some cameras are sensitive to having anything inserted in there. However, my Nikon and my Canon do not have any problem with that.
Since there is somewhat freedom to move the camera flash bouncer, try to adjust it at a 45-degree angle. But as always, try and tweak as you need.
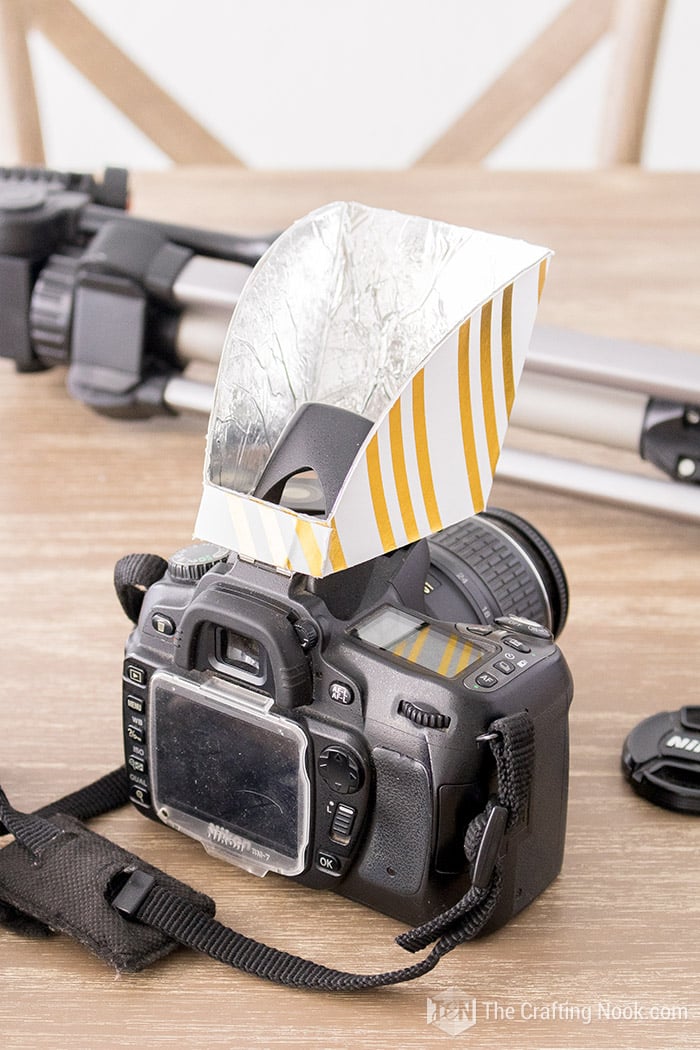
As you can see it’s not hard to make. Maybe it might take a few more minutes than other options out there but in my experience, the time I invested in this project was worth it a thousand times!
Happy photo shooting!
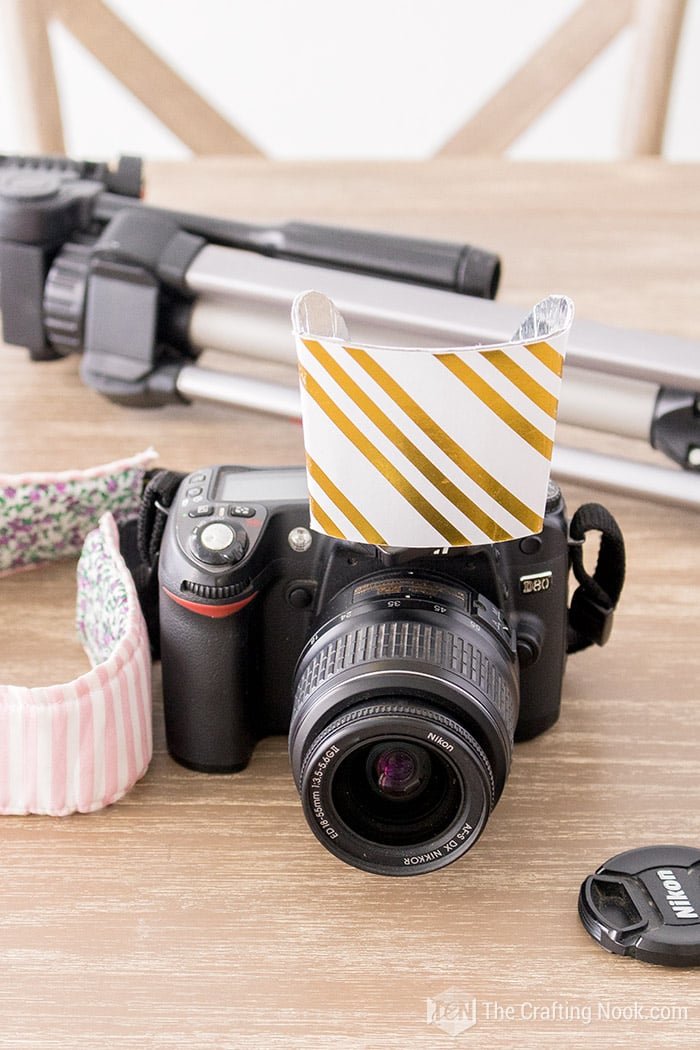
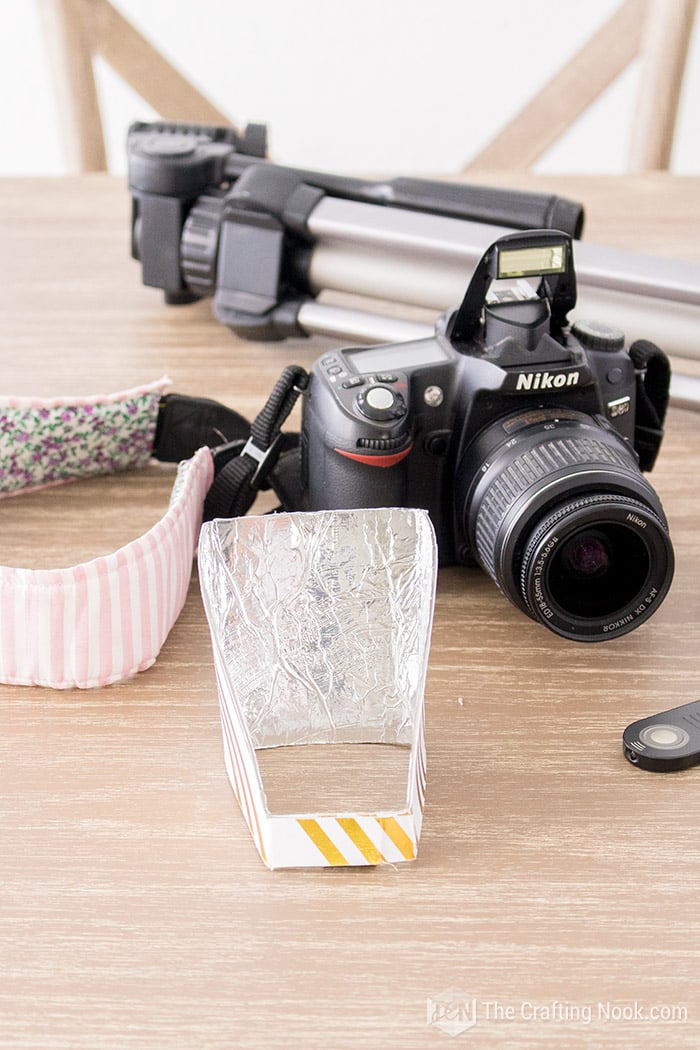
I hate those super white boosts of light on faces or objects.
What do you think?
Have you used or made any pop up flash bounce yourself? If so, share it with us in the comments!
Frequently Asked Questions
Just like the flash diffuser, the flash bounce card is a simple light modifier. It’s an accessory that helps to scatter light. Rather than firing your flash light directly at your subject, you point it elsewhere typically up or at an angle, so the light bounces off a wall or ceiling. It’s like a flash reflector.
The objective is to “bounce” light to soften it before it hits your subject. It can also soften or eliminate the harsh shadows on the subject.
When you place a bounce card in front of the flash, it scatters the light rather than firing your flash light directly at your subject. There are different ways to do this depending on the light you need to bounce.
Well like may see, the diffuser works like a softbox, concentrates the light inside, and then spreads it across a wider area and eliminating some of the unwanted glare caused by fluorescent flashlights.
The bounce card on the other hand, just bounces back the burst of light of the flash, redirecting upwards. This usually makes the light hit the ceiling and covers the subject more evenly. It basically works as a reflector.
Well, in short, because I LOVE it LOL.
But getting a little technical, using a piece of paper does not concentrate and accurately redirects the light. What I like about this one is that having the foil paper, or even white or black, will bounce the light straight up. Being flexible you can even set an angle.
This bounce shape creates a path that light will follow and it will not just spread everywhere.
It’s a way to use more wisely all the power of the camera flash.
More Photography project ideas to try
If you enjoyed this fun DSLR Camera DIY bounce card tutorial, You might also love these other creative and easy crafts too:
✂️ Tutorial
DIY Bounce Card for Built-in Pop-up Flash
Tools
- Hot glue gun
- cutter
- Embossing tool (or a pen that no longer works or the back edge of a scissor)
Supplies
- Gray cardboard with a thickness that fits into the flash slot
- Black and White cardstock white paper or any pattern if you like for the outside
- White glue or mod podge
- Aluminum foil.
Instructions
STEP 1: PREP WORK
- First I made the pattern for the bounce card. You can snag it here to print and cut.
GET FLASH BOUNCE CARD PATTERN
- I made this video to show in a live way all the processes to create my Flash Bounce card. It looks different because I made these tutorial photos years ago.
- If you prefer a step-by-step photos tutorial just keep Scrolling!
STEP 2: TRACE YOUR PATTERN FOR THE CARD
- I put the pattern on the gray cardboard and adjusted it with clips so it wouldn’t move (clips are optional).
- This kind of cardboard is used by architects for the structure mockups BUT you can find it often on the back of paper blocks, cardstock blocks, and some kind of boxes.
- I marked the entire contour with a pencil and then the folding marks too.
STEP 3: CUT IT OUT
- I cut the pattern helping myself with a ruler on the straight lines and free-handed for the rounded ones.
STEP 4: SHAPING THE BOUNCE CARD
- With an embossing tool, I embossed the folding lines so the cardboard would fold more easily. You can see what I mean in the video.
- Once the whole shape was done and verified that it was fitting perfectly.
STEP 5: GLUE IT TOGETHER – COVERING THE BOUNCE CARD
- I glued the black cardstock to the “inside and outside” of the flash bounce.
- I made sure every edge was well glued and with the help of a ruler I made pressure all over the cardstock to avoid wrinkles.
- Again with the embossing tool, I marked the folding lines. I let it dry.
- Then I cut all the remains of cardstock on the edges to make a fine finish.
- I closed the flash bounce by overlapping both ends. Apply some hot glue or white glue and apply some pressure making sure the ends match perfectly.
- Fold the final flap which will secure the bounce to the camera flash shoe.
STEP 6: CREATING THE REFLECTIVE SURFACE
- Finally, I took the shape of the front internal side of the bounce and cut the foil paper.
- Glued it to the bounce with white glue.
- Back when I made it the first time I used black cardstock on the outside, nowadays I like to add some color and patterns!
- That’s it! It’s time to try it on.
- Open your built-in camera flash then put your bounce around it and insert the flap inside the flash shoe.
- Depending on each camera you might have more flap that you need, you can just cut a bit until it fits.
- Also, if the cardboard you have is thinner, you can fold the excess and insert it so it will fit better.
- There you have it! Now it’s time to try how it works. Adjust as needed.
Notes
A few photography tips I love from my favorite bloggers:
- Photography Setups and Equipment by Rachel over at Craving Some Creativity.
- DIY Photography Light Studio Set Up by Brittany over at Pretty Handy Girl
If you found this post useful, please don’t forget to share it with friends and PIN for later!
Til’ next time…


FREE WORKBOOK
Keeping your Sweet Home Organized
Learn how to create intentional habits and simple routines to Keep Your Home Organized. Plus freebies, printables, exclusive content, and tips.
Disclaimer: By clicking on the “Yes” button above you are giving me your consent to collect and use your information according to the law and My Policy Privacy. Zero Spam I promise!
Hi there,
what a great idea to make a flash bouncer! Thank you for sharing. It will help me a lot because my hobby is photography
That’s awesome! I’m glad you found it useful. This and my diffuser are my go-to accessories!
Have an awesome day!