DIY Mini Pallet Wood Sign for Valentine’s Day
Valentine’s Day is here and love is in the air! If you are looking for some easy DIY handmade gift ideas, why not make a mini pallet wood sign for your valentine? Get the instructions here.
This is one of those crafts that happens suddenly in a moment. I was in the crafts section of a store and saw these cute mini pallets and a few inches away there were lots of wooden letters.
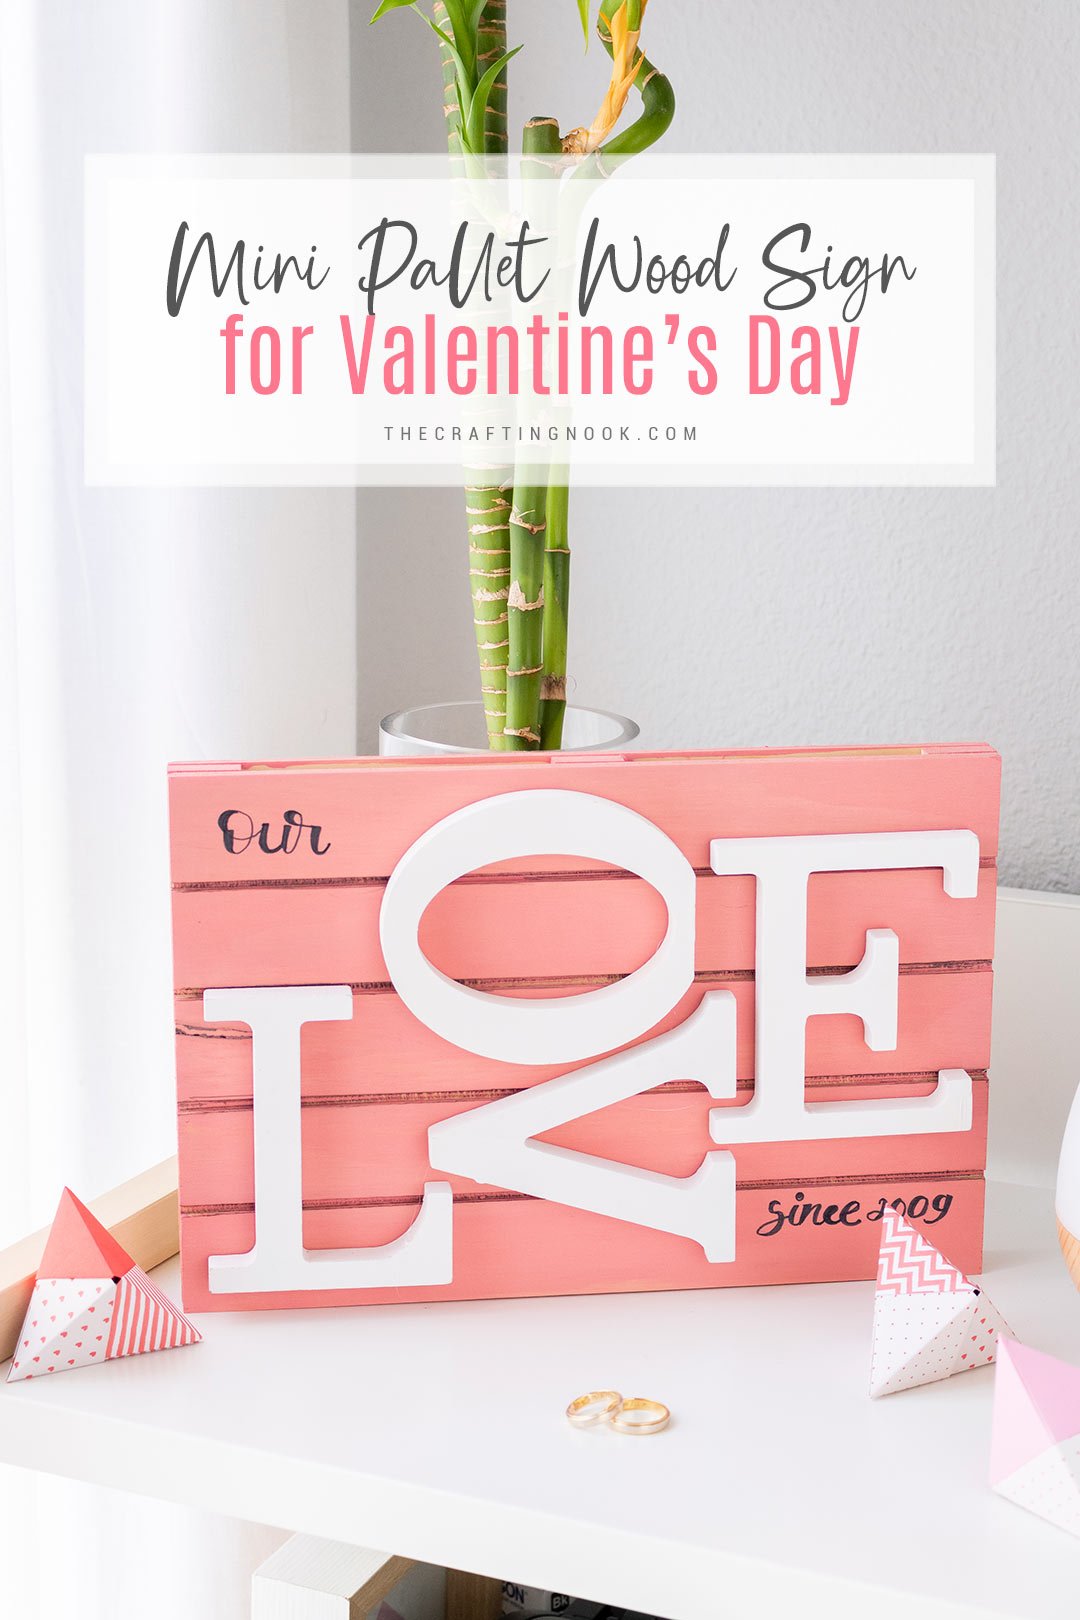
Table of Contents
Mini Pallet Wood Sign Tutorial for Valentine’s Day
I thought right away this would make the perfect Valentine’s day craft project: Simple, easy, cute, and inexpensive.
This post may contain affiliate links. Please read our Disclosure Policy.
It would be hard to say if you can find these cute mini pallets where you live but honestly, I think any blank wood sign will work, and that I know you can find at any craft store.
Of course, you can always make your own mini pallet.
DIY crafts like this one are perfect for a craft night with friends or family to include kids in the process. Valentine’s Day is not only about couples, is about love and that can have different shapes. Love for parents, children, or siblings, love for dear friends, love for family members.
I’m a true believer that love is in the small details.
The best part?
It’s so super simple and easy to make while is inexpensive. The whole project took me about 1 hour to make and I spend less than $10. Considering we usually have paint, hot glue, and markers around, this project could cost even less but the fun of making it is priceless.

This project is the easiest way to add a great reminder of all the love we share in our marriage to our decor.
How To Make a Mini Pallet Wood Sign
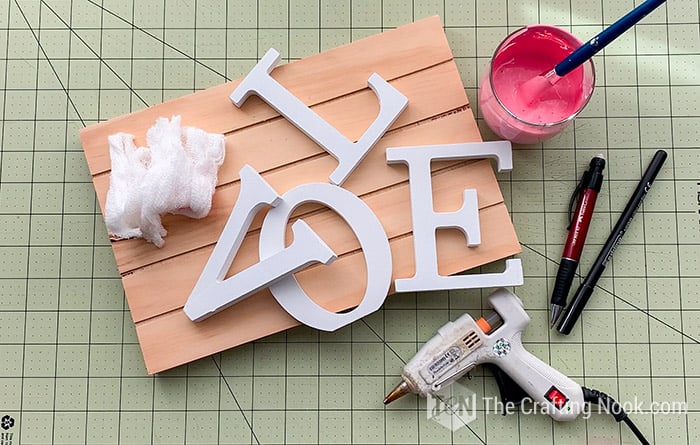
Supplies:
- A mini wooden pallet (size will depend on what’s available)
- Wooden letters that read L O V E. (measure well the pallet width and height to make sure they all fit)
- Pink acrylic paint or stain (of your favorite color)
- Nails and a hammer *optional
- Pencil and black marker
- Black crayon or color pencil.
- Piece of cloth
- Small paint brush
Tools:
- Hot Glue gun and glue sticks
Instructions:
Before we begin, be sure to follow us on Pinterest, Facebook, Instagram, and YouTube, and also sign up for our email list (at the end of this post), so you’ll never miss a post!
Step1: Prep Work
Firstly, clean your mini pallet well to remove dust and possible grease. Use sandpaper if you notice splinters coming out.
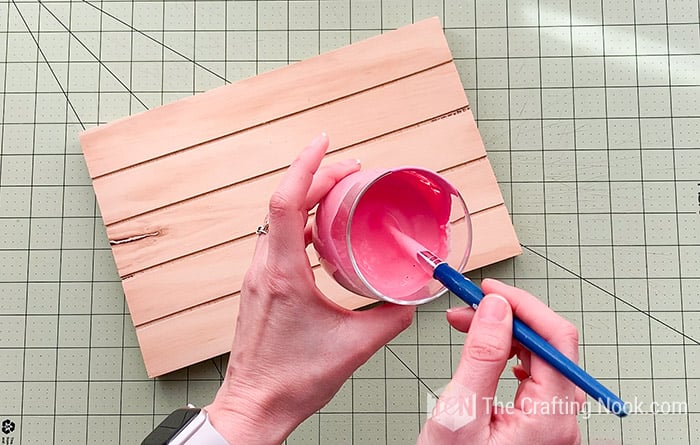
I wanted a more washed look, like a stain that you can see the wood lines and grain so I diluted the paint 60-40 paint-water.
Also, clean well your wooden letters.
Step2: Painting the mini diy pallet sign.
So here technique is totally up to each one. I wanted to stain the wood rather than paint it, so I used the cloth to apply the paint.
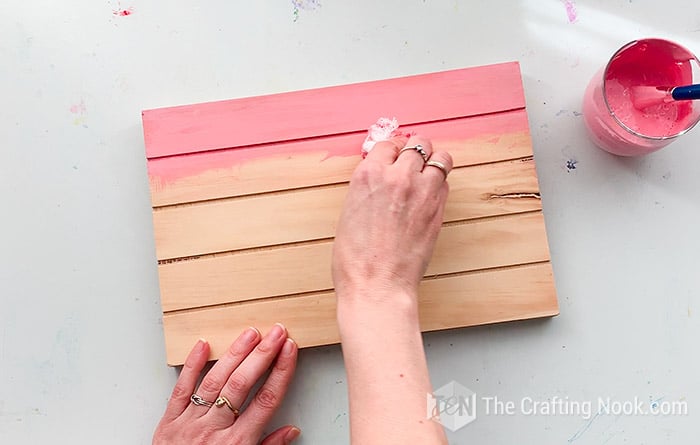
Rub the paint roughly throughout each section making sure the wood would absorb the paint and let the wood grain come through.
Use the brush only to make sure the creases get painted. Right after, rub the paint again with the cloth to avoid lumps of paint.
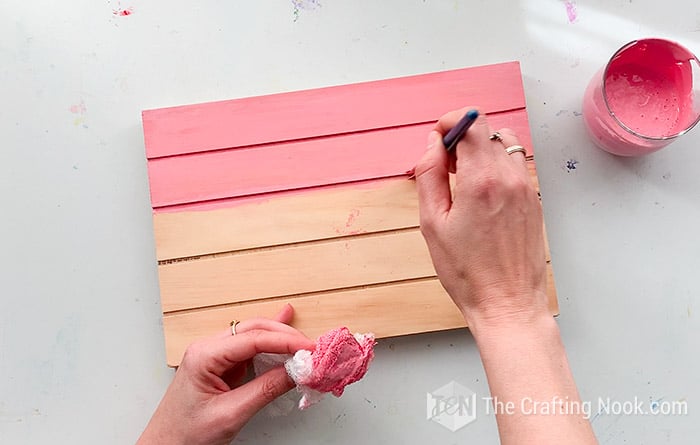
Keep going until you cover the whole pallet board.
Also, paint the sides.
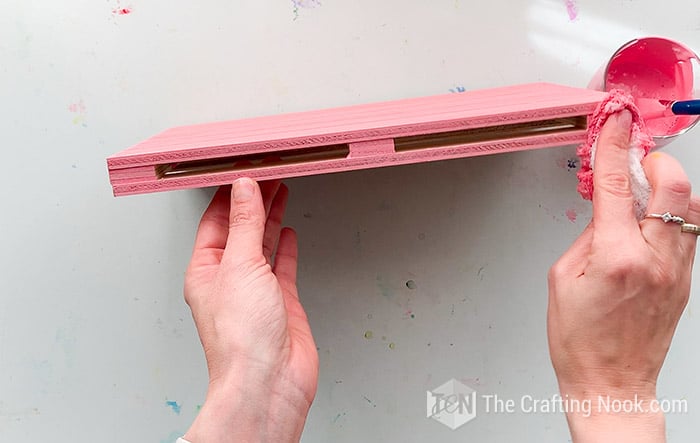
Once you painted everything let it dry for a few minutes.
That’s the other perk of applying the paint like this, it dries even faster.
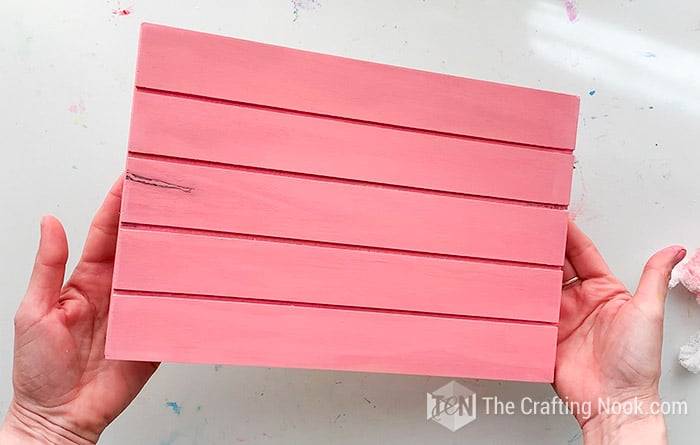
Step 3: Add some volume touches
With your black crayon or color pencil mark or trace the creases of the mini pallet. This is to give a more worn-out rustic look.
I also rubbed a bit more the cloth everywhere to make sure everything looks even.
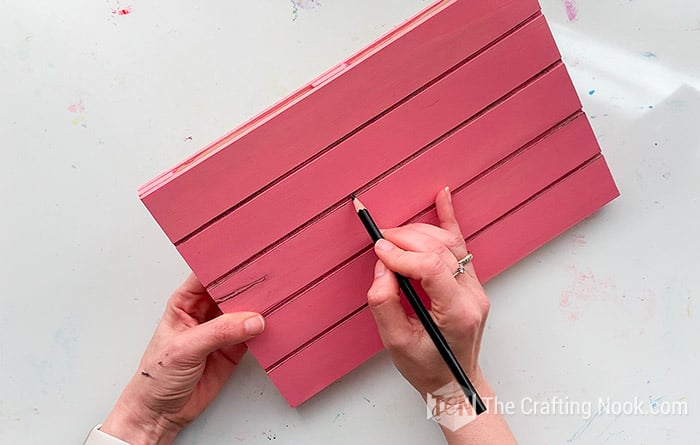
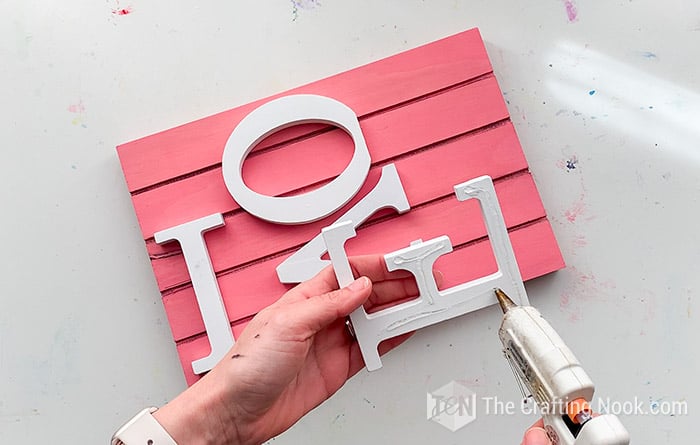
Step 4: Glue the Wooden Letters
This is my favorite part.
Play around with your letters to make them fit in your space. It’s like a puzzle.
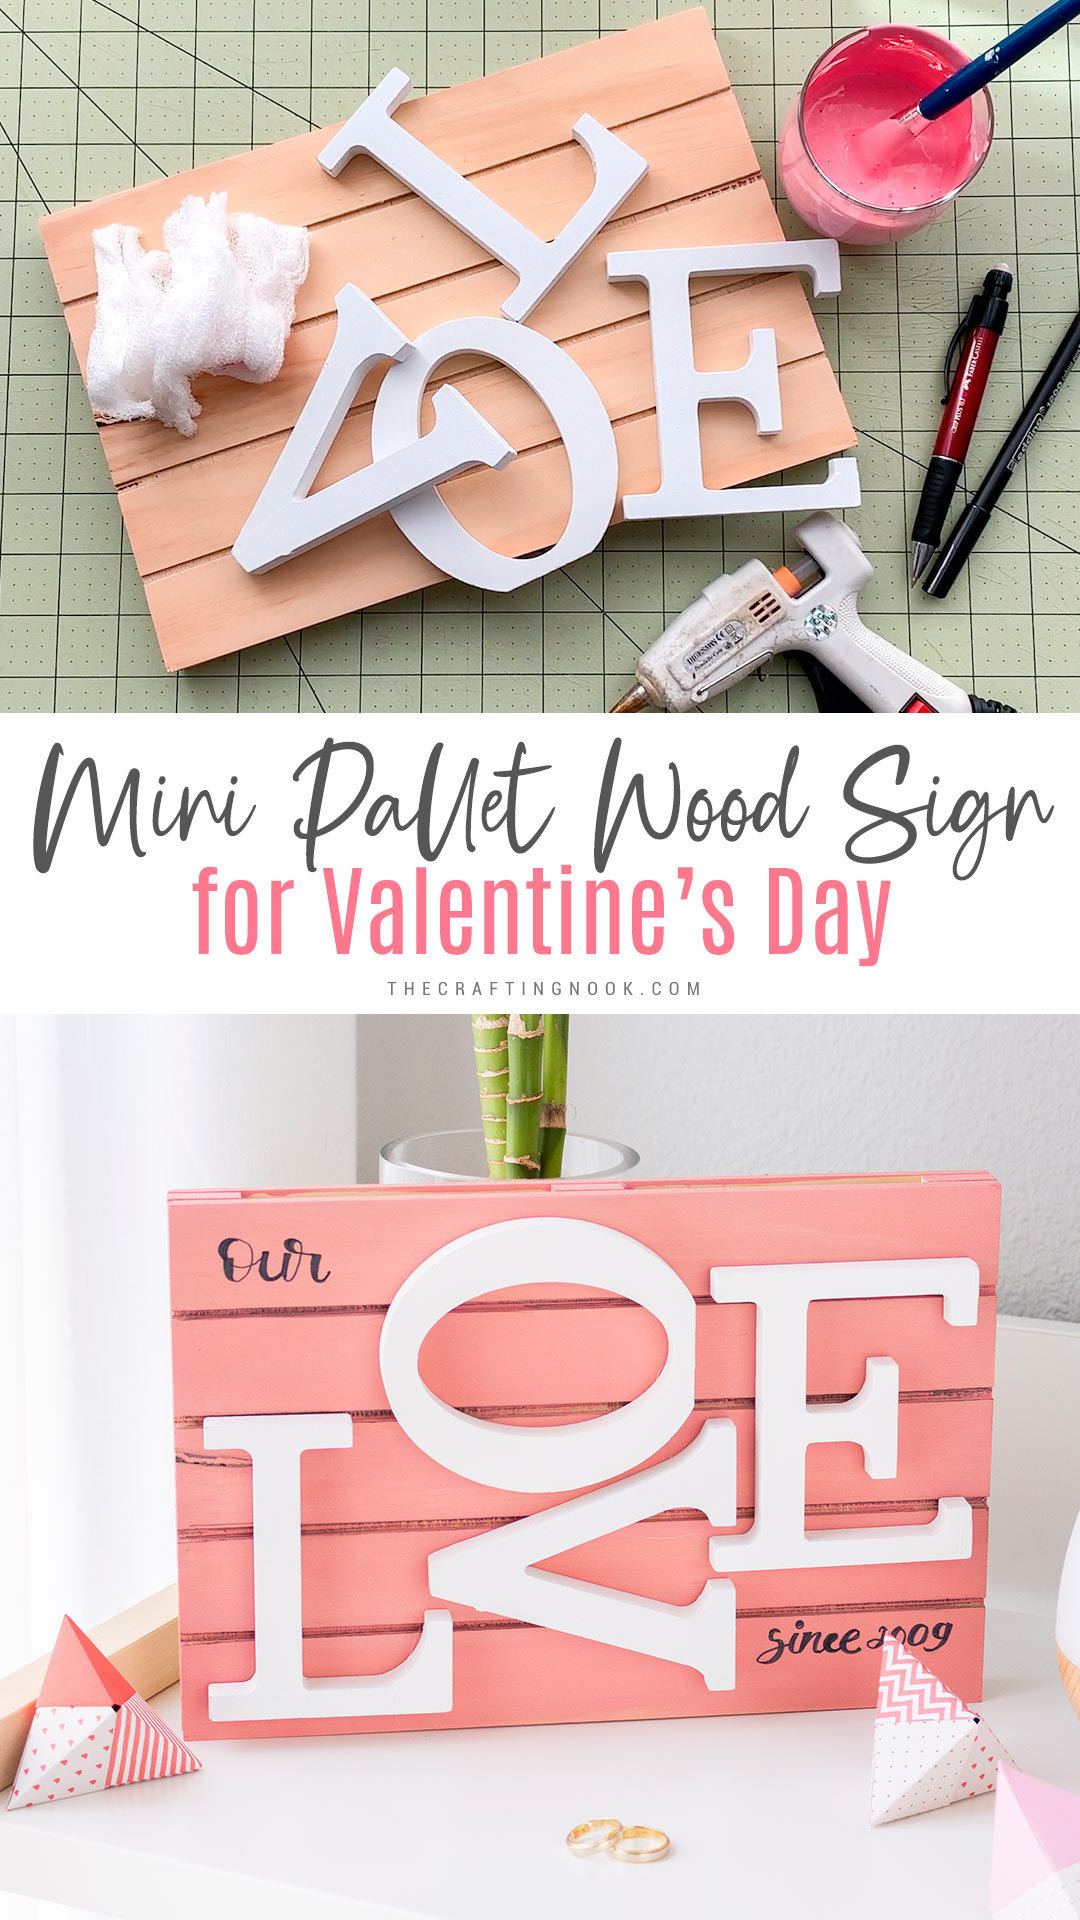
Once you like the placements, Add hot glue to each letter and glue them to the wood pallet sign.
If you like, you can put some nails on the back to secure them well.
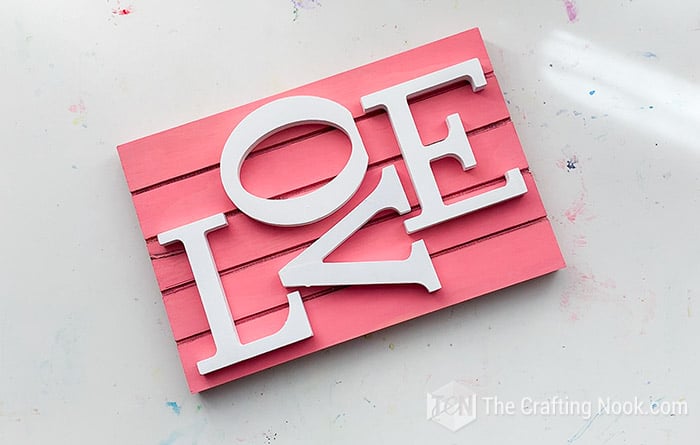
When you finish you could have something like this:
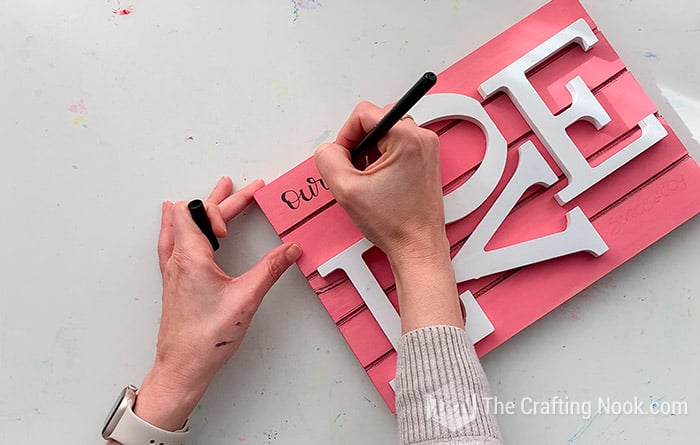
Step 5: Hand lettering your message
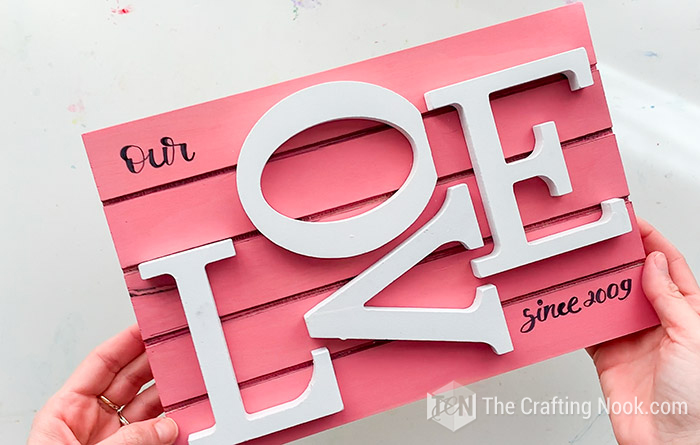
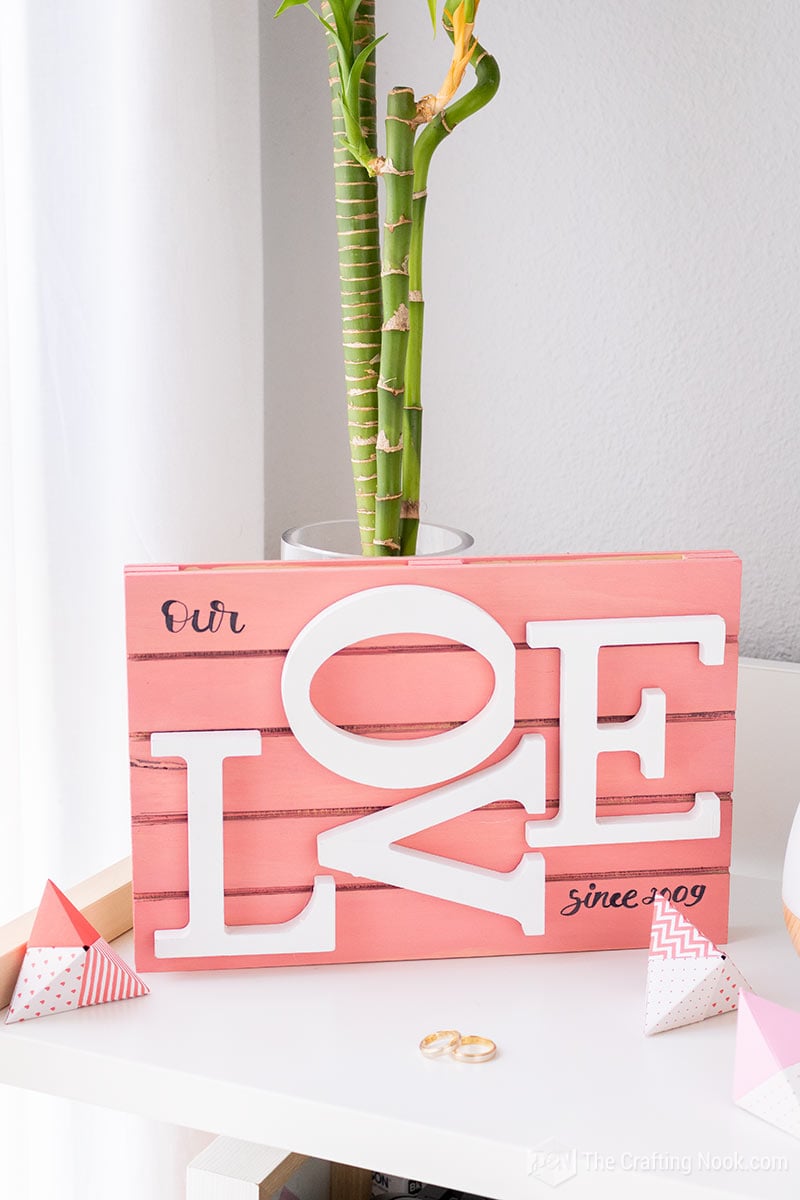
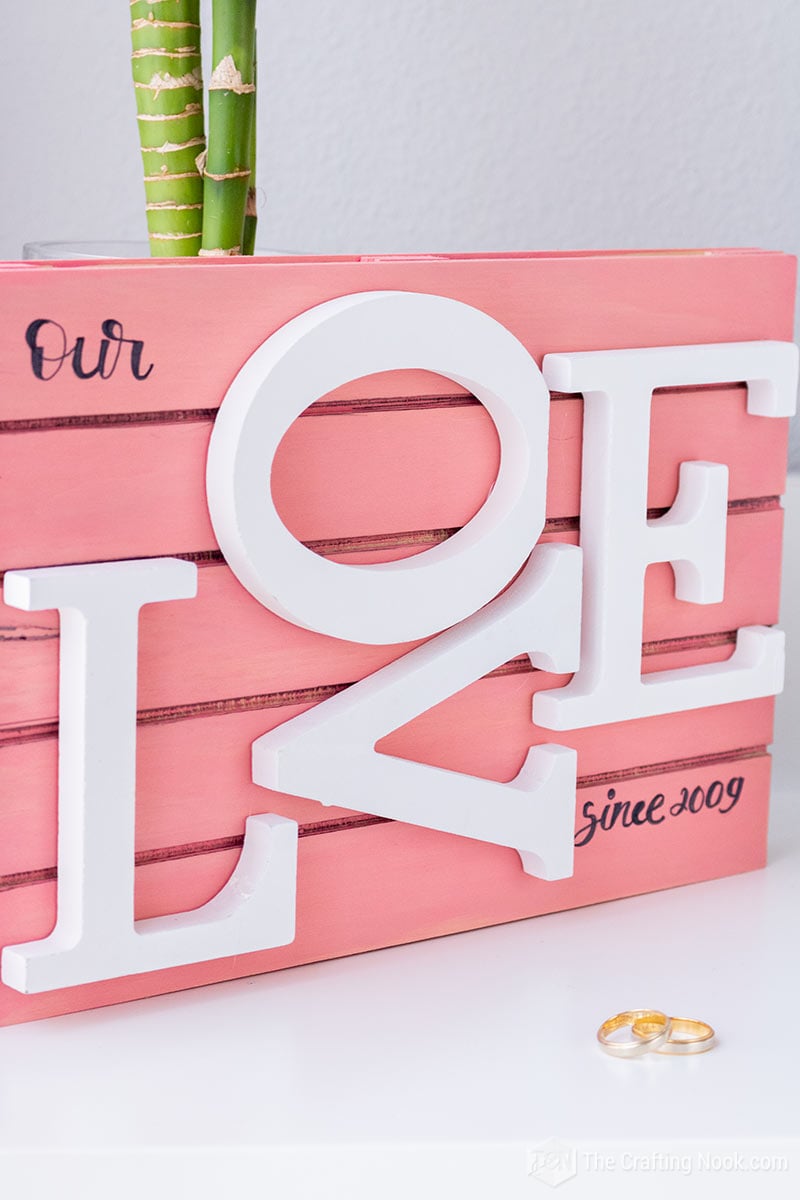
My final step and rustic touch were hand-lettering the word “our” on the top left corner and “since 2009” on the bottom right corner so it would read “Our LOVE since 2009”.
There you go! One cute way to celebrate your valentine and the love you have shared with a beautiful sign!
I so love how it turned out. It feels like I finished an artwork, right?
Hope you find this simple DIY sign decor inspiring and that you make one for yourself and your valentine!
Crafting Tips:
- If you love a rustic look, try distressed wood: For a rustic and charming look, lightly sand the edges and corners of the pallet to give it a distressed appearance. This adds character to your sign and enhances its vintage vibe.
- You can also try an ombre effect. Instead of a solid color, create a beautiful ombre effect by blending different shades of the same color on the pallet. Start with a lighter shade at the top and gradually darken the color as you move down the sign or vice-versa.
- You can add interest to your sign by incorporating different textures. You can use a sponge or a textured roller to create a unique background pattern. This will make your sign visually appealing and stand out.
- Once the paint has dried, protect your masterpiece by applying a clear varnish or sealant. This will preserve the colors and provide a glossy finish. Ensure the varnish is suitable for indoor or outdoor use, depending on where you plan to display the sign.
- Consider adding a personal touch by attaching small decorative elements, such as faux flowers, ribbons, or heart-shaped trinkets. These embellishments will make your sign even more adorable and special.
What do you think??? Tell me in the comments below.
I just love how my new sign turned out!
Happy Crafting!!!
Frequently Asked Questions
Well, like I always say imagination is the limit. You can use pieces of wood planks or wooden boards and put together a-kind-of pallet. You can also use scrap wood.
Now, if you want something less rustic, you can go to craft stores like Dollar tree or Michale’s, I know I’ve seen blank wood signs already made and just ready for you to paint and beautiful signs.
I used acrylic paint. But you can use latex paint, chalk paint, even stain itself if you can find it in your chosen color. It also will depend on the type of wood but my guess is that any of these will work. I used pink color but you can choose a different color.
If you don’t want to use wooden letters or can’t find the appropriate ones, you can always use stencil or vinyl letters. I personally love stenciled letters. If you have a silhouette cameo or a Cricut, you can make it very custom and play even more with the letters and even create 3D letters. Heck! you could even create beautiful custom quotes if you don’t want just the letters.
I put mine as decor on my office table next to my baboo plant and my essential oils diffuser for now. But I might take it to our bedroom later on. You can add hooks on the back so you can hang it as wall art, or place it on a shelf, among your family or marriage picture frames, or why not on your entryway table as your welcome sign.
More Valentine’s Day Projects to Try
If you like this DIY pallet sign idea, you might also love these other Cute Valentine’s Day ideas too:
✂️ Tutorial
DIY Mini Pallet Wood Sign for Valentine’s Day
Tools
- Hot glue gun and glue sticks
Supplies
- A mini wooden pallet size will depend on what’s available
- Wooden letters that read L O V E. measure well the pallet width and height to make sure they all fit
- Pink acrylic paint or stain of your favorite color
- Nails and a hammer *optional
- Pencil and black marker
- Black crayon or color pencil.
- Piece of cloth
- Small paint brush
Instructions
STEP1: PREP WORK
- Firstly, clean your mini pallet well to remove dust and possible grease. Use sandpaper if you notice splinters coming out.
- I wanted a more washed look, like a stain that you can see the wood lines and grain so I diluted the paint 60-40 paint-water.
- Also, clean well your wooden letters.
STEP2: PAINTING THE MINI DIY PALLET SIGN.
- So here technique is totally up to each one. I wanted to stain the wood rather than paint it, so I used the cloth to apply the paint.
- Rub the paint roughly throughout each section making sure the wood would absorb the paint and let the wood grain come through.
- Use the brush only to make sure the creases get painted. Right after, rub the paint again with the cloth to avoid lumps of paint.
- Keep going until you cover the whole pallet board.
- Also, paint the sides.
- Once you painted everything let it dry for a few minutes.
- That’s the other perk of applying the paint like this, it dries even faster.
STEP 3: ADD SOME VOLUME TOUCHES
- With your black crayon or color pencil mark or trace the creases of the mini pallet. This is to give a more worn-out rustic look.
- I also rubbed a bit more the cloth everywhere to make sure everything looks even.
STEP 4: GLUE THE WOODEN LETTERS
- This is my favorite part.
- Play around with your letters to make them fit in your space. It’s like a puzzle.
- Once you like the placements, Add hot glue to each letter and glue them to the wood pallet sign.
- If you like, you can put some nails on the back to secure them well.
- When you finish you could have something like this:
STEP 5: HAND LETTERING YOUR MESSAGE
- My final step and rustic touch were hand-lettering the word “our” on the top left corner and “since 2009” on the bottom right corner so it would read “Our LOVE since 2009”.
- There you go! One cute way to celebrate your valentine and the love you have shared with a beautiful sign!
Share and PIN ME!!!
Til’ next time…


FREE WORKBOOK
Keeping your Sweet Home Organized
Learn how to create intentional habits and simple routines to Keep Your Home Organized. Plus freebies, printables, exclusive content, and tips.
Disclaimer: By clicking on the “Yes” button above you are giving me your consent to collect and use your information according to the law and My Policy Privacy. Zero Spam I promise!


