DIY Painted Jewelry Box
This post may contain affiliate links. Please read our Disclosure Policy.
This Painted Jewelry Box is a sponsored post on behalf of U-CAN. I was sent samples of BiriBiri products to review and was compensated for my time to write this post. All opinions expressed are my own and not influenced in any way. UPDATE: This business went out of business sadly!
I’m so super excited today. Today’s project is a special one. You see, my family is all over the map. I have family in Venezuela, Colombia, Canada, USA, Spain, Brazil, Costa Rica. I could go on and on on this topic. But right now, we have my in-laws visiting us and I won’t be with my mother-in-law by Mother’s Day so I decided to make something for her in advance. I made this super cute painted jewelry box since I know she loves jewelry and all kind of accessories.
DIY Painted Jewelry Box

I was trying to decide how to decorate it and I realized I still had a BiriBiri Kit left and thought it would be a great use for it. I also tried lettering too, which I had never done before and to be my first time it didn’t go that bad LOL.
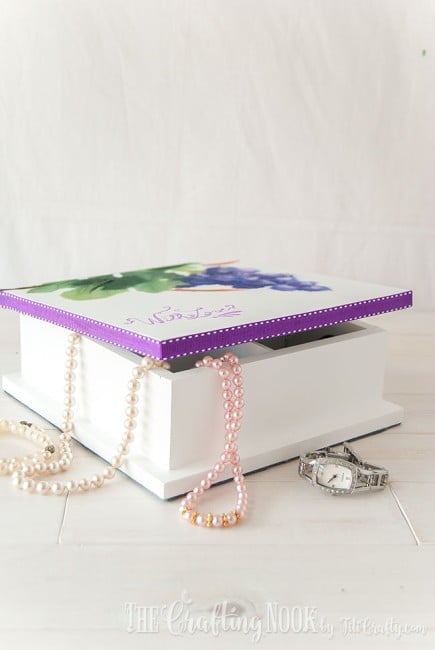
The grape design was a bit larger than the box, but still, with a few tweaks I made it work and I LOVE the final result! It turned out SO pretty. Of course, I had my hubby’s hands helping this time and I’m sure that made it all much better! He’s always up for projects that involve wood and paint. LOL
So, Let’s see how to make this pretty Painted Jewelry Box, shall we?
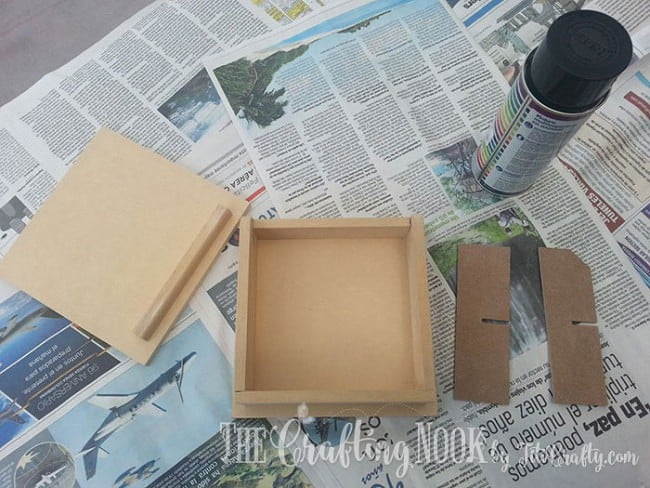
Supplies:
- BiriBiri Washi and Kit
- Wooden Jewelry or tea box {from craft store that doesn’t have any paint or decoration}
- White Mate Spray Paint
- Sand paper
- Ribbon
- Felt
- Glue or hot glue gun {I used UHU glue this time}
- Scissors and pen

First, disassemble the box.
Sand off any imperfection you might see.
Protect the table or surface where you are going to paint the box.
Start spraying following spray instructions. Because my box was made with MDF wood, it absorbed a lot of paint, which required about 3 to 4 coats. Since this paint dries really fast it didn’t take too long though.

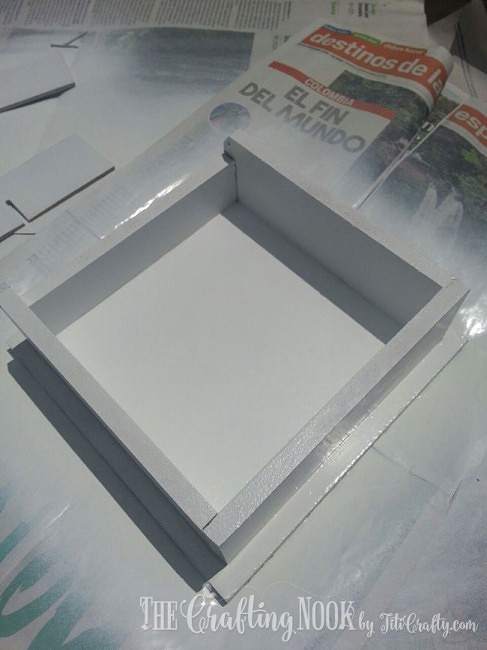
The parts that absorb paint the most are the edges. After the first coat is dry, sand a bit and then proceed with the second coat. For some reason it made it all easier.


Apply as many coats as you like to get the expected result. Each paint is different so, you might need only 2 or maybe even more coats than I did. The trick is to keep and eye and stop when you are happy with the covering.
We painted even the inside and the separators.
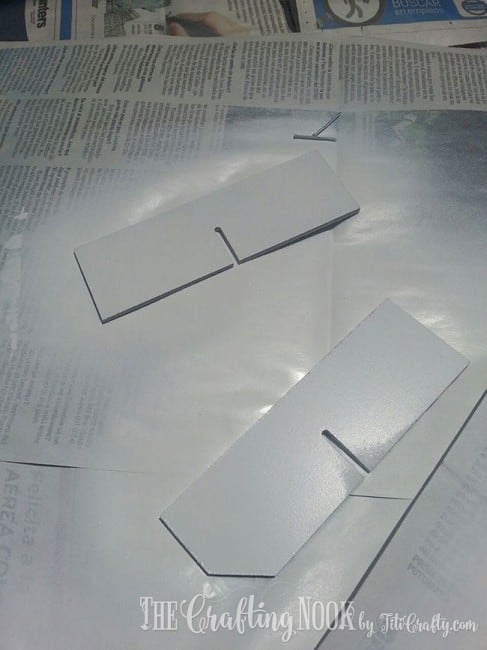
Let it dry completely, I would suggest about 2 hours even if it says that it dries quick.


When it’s completely dry, it’s time to decorate!

I got my Grape BiriBiri Kit and got started.

I decided how I wanted the design to look like and once I was happy I folded the design paper to have a reference.

Then transferred the design to the box’s lid. For this, you need to use the blue transfer paper with the waxy side facing your board. Make sure you keep the design and in place to draw all the designs since you can’t use the paper clips here.

You will get your design drawn in blue like this:
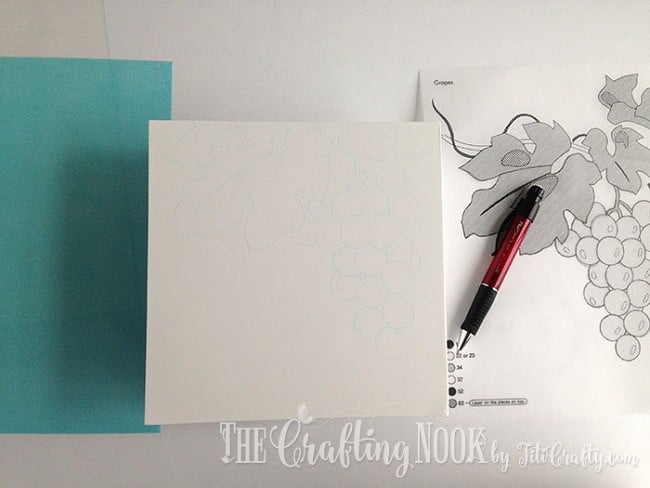

Each design has some circles with patterns and numbers and the design also has those patterns. That is your reference as to what washi to use on each part of the design.

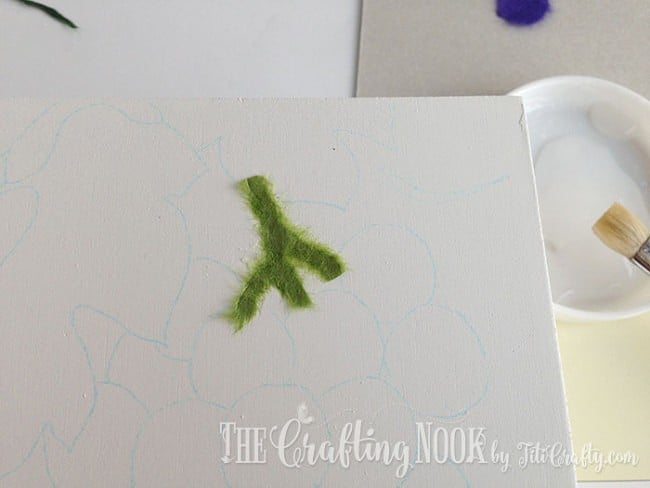
Then start picking the right paper for each piece of the design and using a slight sharp tool {screwdriver, emboss tool and even the tweezers do} and transfer the design through embossing to the paper. This will leave a mark on the paper that we use to tear the paper.

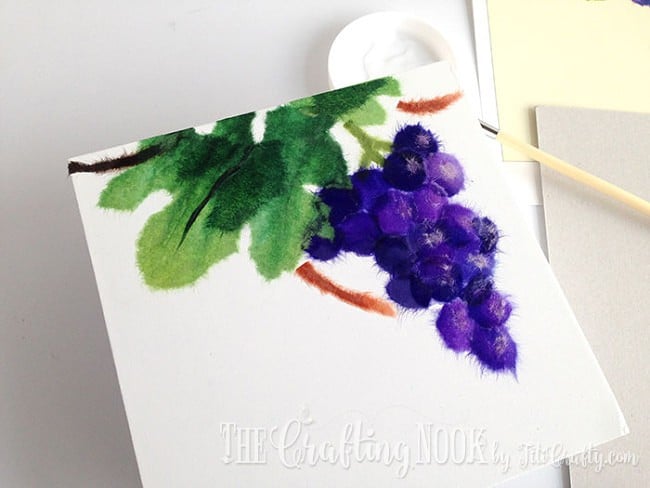
I started with the further back pieces of the design such as the grape stems and then the back grapes.

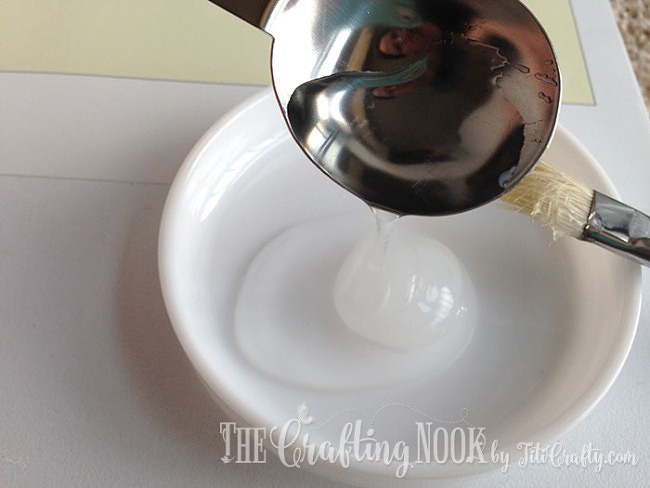
With a brush spread the given glue {diluted 1:1 with water as it’s directed} and place the washi in place tapping with fingers and making airflow away.
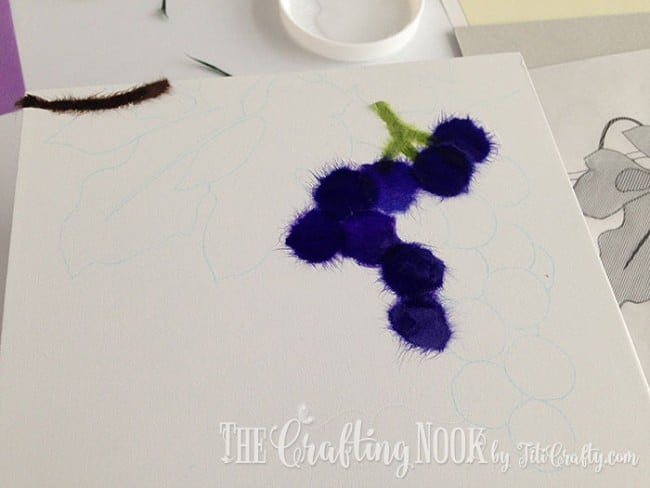
Then I worked my way to the upper pieces, like the front grapes and leaves.


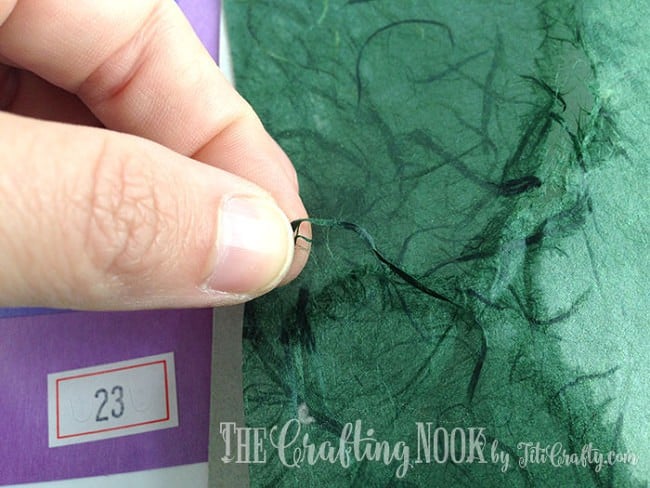
Finally using some water I extracted the fibers from the special paper to make the leaves marks.

There you go. The basic design is done but it’s not completely done!
Cut a piece of felt with the inner measures of the box to glue it to the bottom. I put the felt inside the box and made marks to cut.

Apply the glue to the bottom of the box and lay the felt inside. I decided to use UHU glue instead of hot glue because I needed it to not dry so fast. Felt is flexible and you can stretch it a bit and fix the placement.

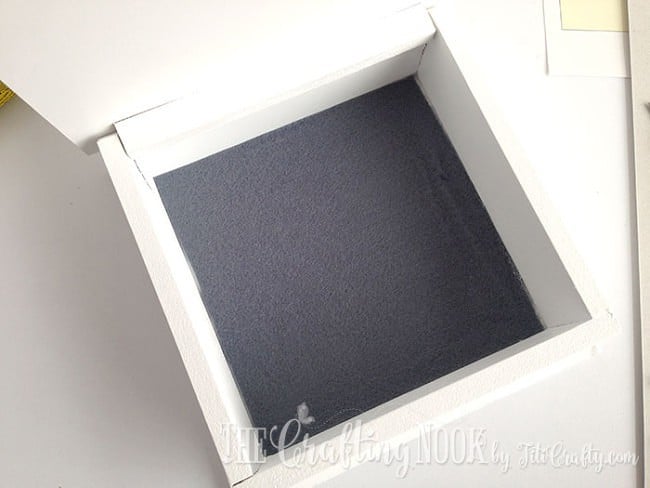
Put back the separators.

Cut another piece of felt to glue it to the base of the box. I do this to avoid scratching. This way you can move it around and nothing will get damaged.


The same as before, I used UHU glue for this as well.
Now I used a purple ribbon to decorate the lid’s edges. Using the same glue I started from the back making my way around the lid.
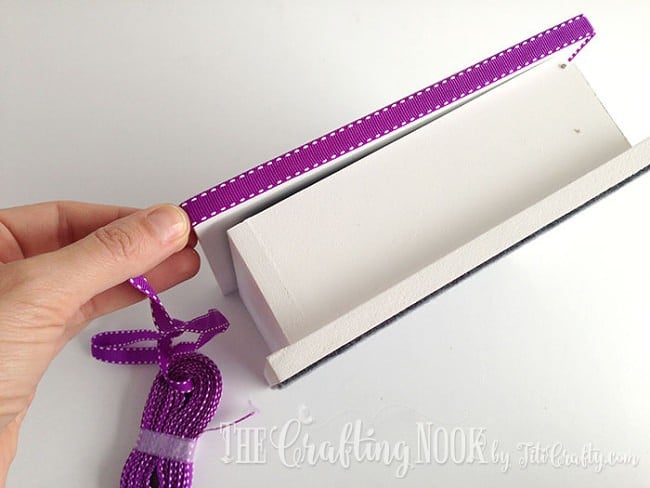
Finish, cutting the ribbon leaving 1 centimeter extra to fold and glue. This way you get a clean finish.

WOOT! Almost done.

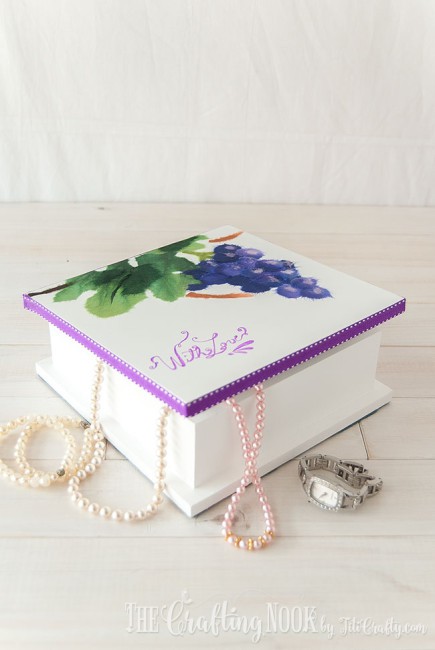
My final touch was writing “With Love” on the lid. I tried my best at lettering. First make the words with a pen and then finish with a purple sharpie.


Not perfect but as I said, to be my first attempt, it was not that bad! Besides It was made with LOTS of love!

Ok, now it’s done!!


What do you think??? I would love to hear your thoughts in comments about my DIY Painted Jewelry Box. Have you tried BiriBiri before?
If you don’t know what BiriBiri is, BiriBiri is a new art style from Japan and it consists of cutting and pasting colorful Japanese washi to create images that look like paintings. It was created by U-CAN. U-CAN has aided their customers through each individual’s life-long learning process over the last 60 years. The U-CAN Learning Method (ULM) is a learning platform for BiriBiri techniques to help you develop your artistic style and process. You can watch video tutorials, read easy how-to guides, and ask any questions to BiriBiri teachers online. ULM is available to those who purchase any BiriBiri Project, which includes the ULM and Kit.
I would so love if you could share this Painted Jewelry Box project on your social media so more people can start creating amazing things with this technique!
If you like this project you might also love these too:
Til’ next time…


FREE WORKBOOK
Keeping your Sweet Home Organized
Learn how to create intentional habits and simple routines to Keep Your Home Organized. Plus freebies, printables, exclusive content, and tips.
Disclaimer: By clicking on the “Yes” button above you are giving me your consent to collect and use your information according to the law and My Policy Privacy. Zero Spam I promise!
Nice blog! It gives such creative idea for the jewelry box which we can use for our own purpose or also gift to our loved ones. Thank you for sharing this blog.
Thank you so much, glad you like it!
Super cute. My girlfriend would love something like this.
This came out just beautiful! I would love to make this!
omg, that turned out absolutely gorgeous! My daughter would love doing that type of craft.
I’m sure she would enjoy this crafty project and she would also love to keep her accessories in it!!!
XOXO
This is so awesome. I love how you have given step-by-step instructions on making this jewelry box. You make it look really easy to make.
Ooh it is!!! It takes a bit of time, not like my normal crafts that are super quick to make, but when it’s done, it’s so worth it!!!! Glad you like it!!!
Hugs
Beautiful. You did a lovely job. A truly thoughtful gift.
What a great project! It turned out great
This jewelry box would make such a nice mother’s day gift!
This turned out so lovely. Great job!
This jewelry box is beautiful. You did such a great job on it. It would make a great gift.