DIY Rustic Wooden Headboard
This post may contain affiliate links. Please read our Disclosure Policy.
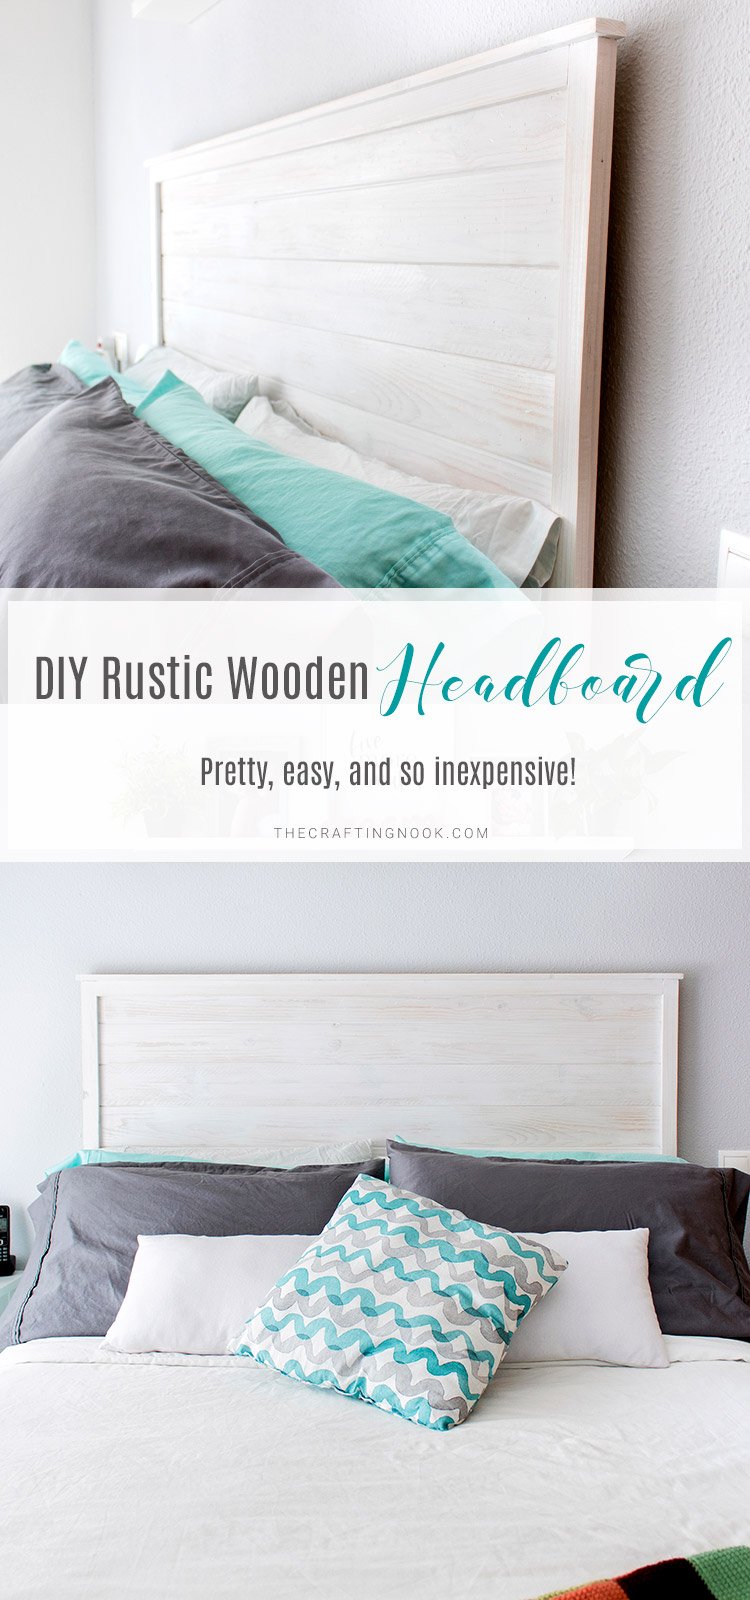
Add some rustic charm to your master bedroom with this simple Rustic Wooden Headboard. No need to spend a lot to make your bed look gorgeous! We’ll show you how to build yours, from design to construction in an easy, fun, and inexpensive way!
I have no words to describe how excited I am right now. Our Master bedroom decor is coming together so beautifully. It feels so cozy and warm. Now, I finally managed to finish the headboard and Oh my!
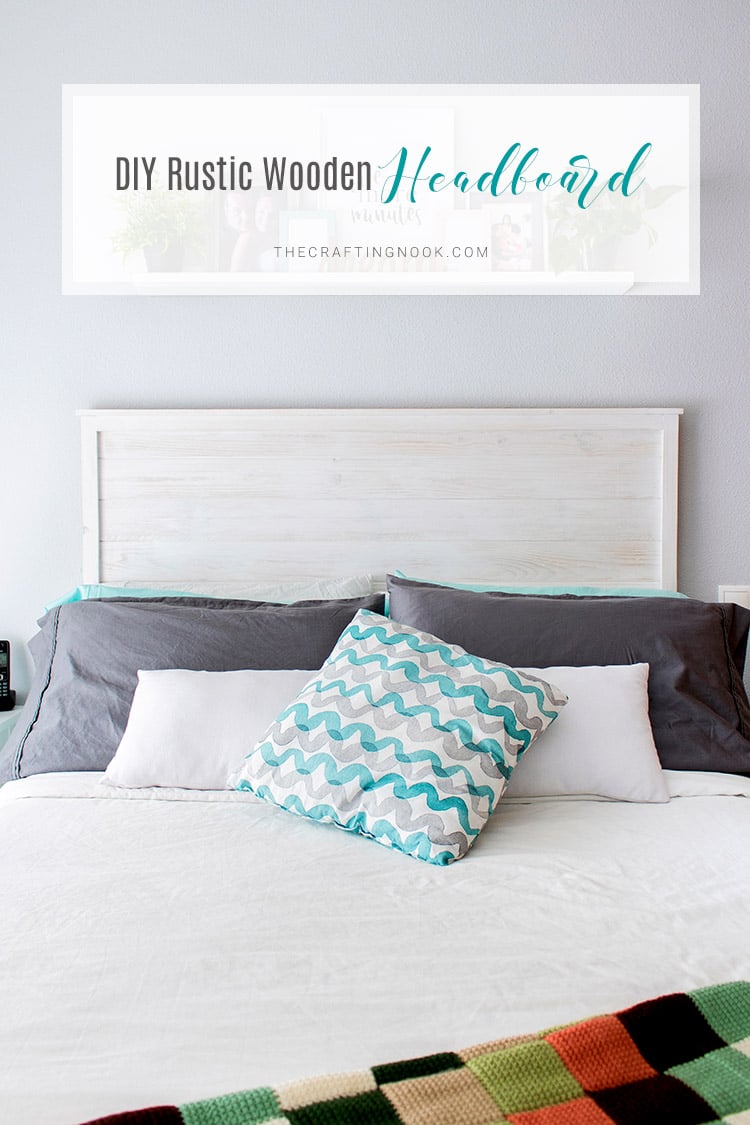
The bed wall looks so pretty. It’s hard to believe that this project was completely inexpensive. Even though this rustic wooden headboard was made in 2 separate timings it still cost less than the cheapest one I could find that was horrible, to be honest.
Table of Contents
Homemade Rustic Wooden Headboard
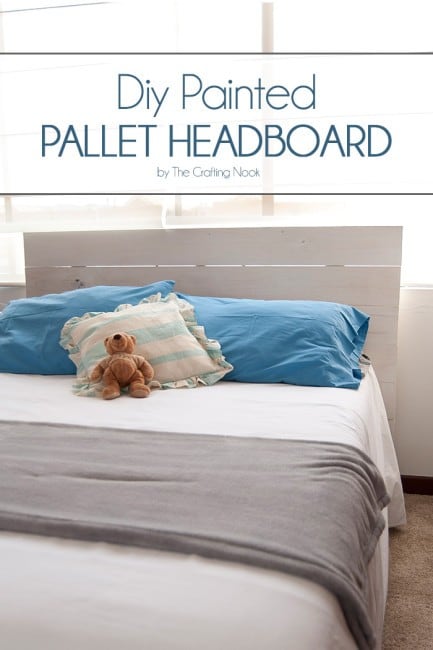
I made a gorgeous pallet headboard a few years ago while I was living in Colombia. Back then those wood planks were really inexpensive and the whole project ended up costing less than $40 but when I went to a hard store here, I almost fainted. But I still wanted to make a headboard as similar as possible.
After checking out and collecting different diy headboard ideas on the internet, I got some inspiration and decided to go see what was available that could work for what I had in mind.
Where I live each board of pinewood is expensive so when I made the math, I was going to spend almost $70. It was not making sense to make one if I could find one done for less (not pretty but cheaper).
Then I came across these pinewood shiplap boards. They came in packages of 10 boards for about $12. Then another wood plank for the legs. I chose whitewashed white paint because I love to be able to see the wood design through the paint.
I ended up using really inexpensive materials for this rustic wooden headboard and it looks great.
The best part of this Headboard?
Once I finished, I could barely believe that I had spent less than $30 total for such unique headboard.
The thing is, once I put it in its place behind the bed, I noticed the paint turned out too shiny and the headboard was looking too flushed with the wall since the boards were not deep enough.
I don’t know, call me crazy but was not happy at all. I know I was going to either change it or revamp it. That’s why I never actually published it.
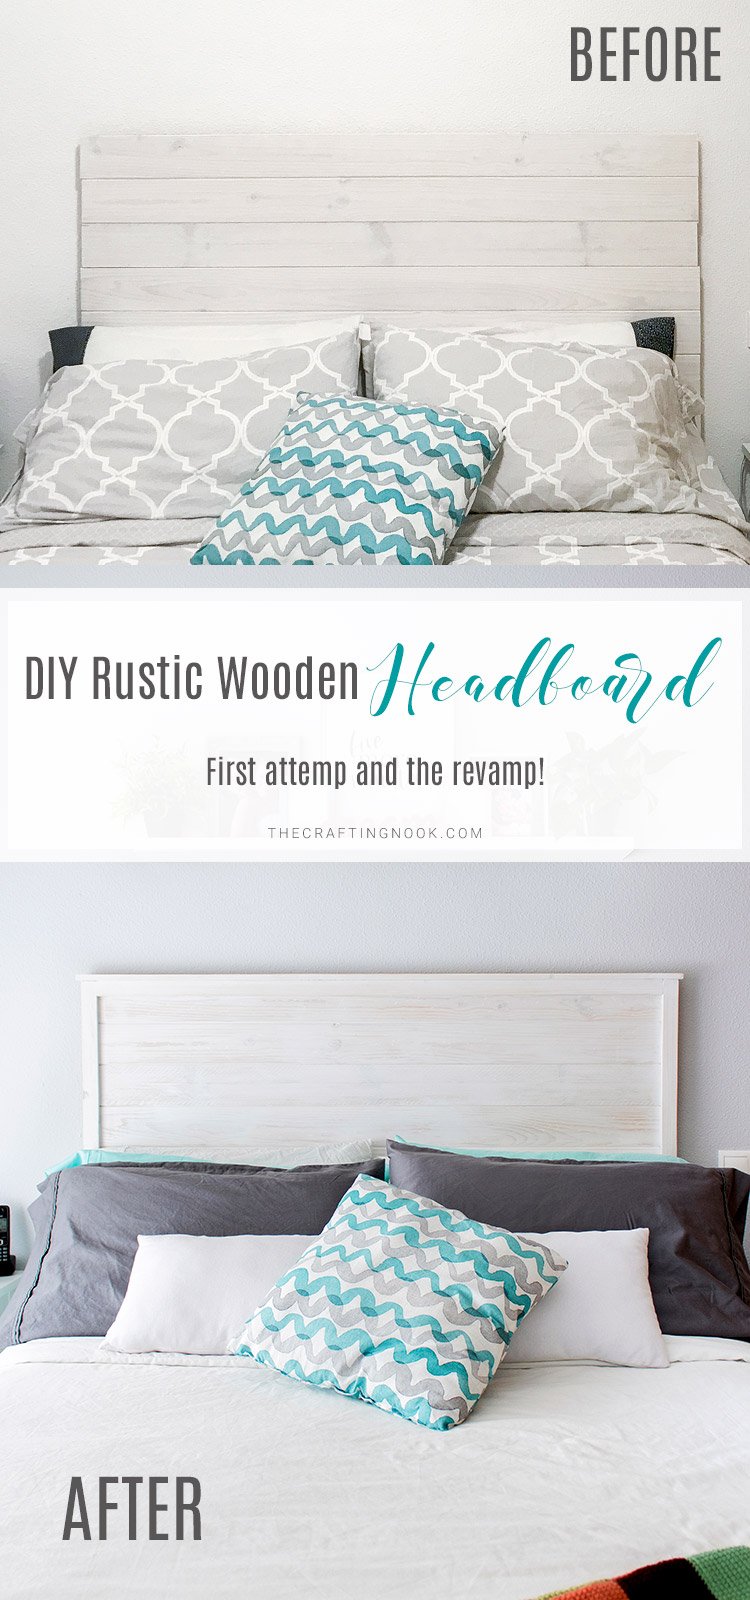
In the end, I decided to revamp it by framing the whole headboard so it would get more character and personality.
I wanted a frame that would look kind of like this one or even like this pretty one but as much as I loved it, I knew I needed something simpler but still with personality.
This is how it looked before I first made it:
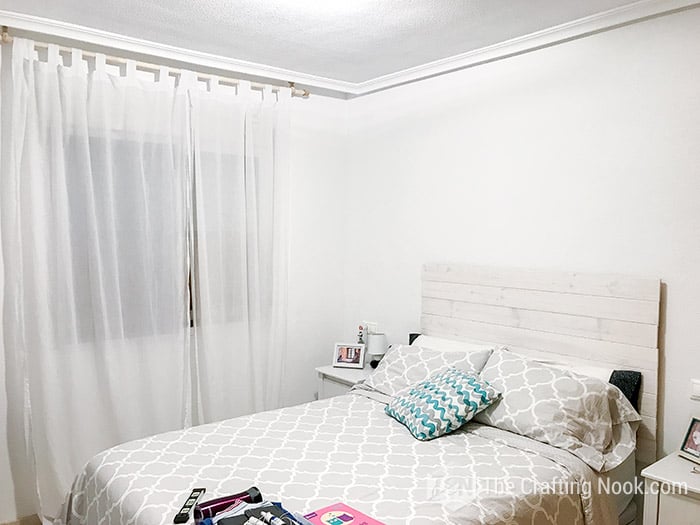
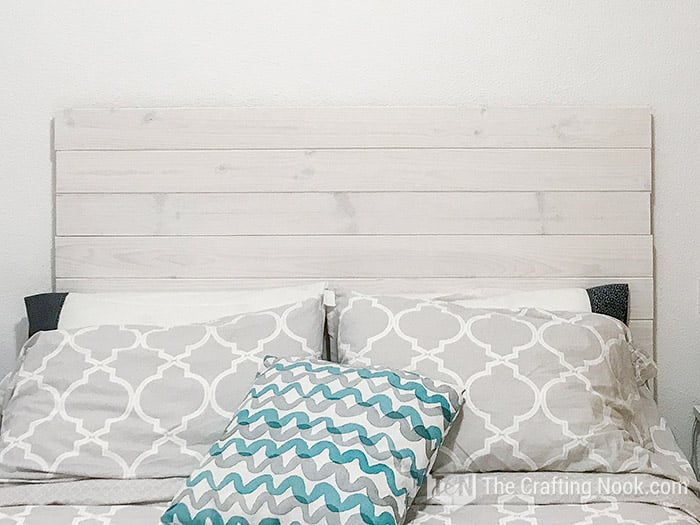
And this is the after I revamp it:

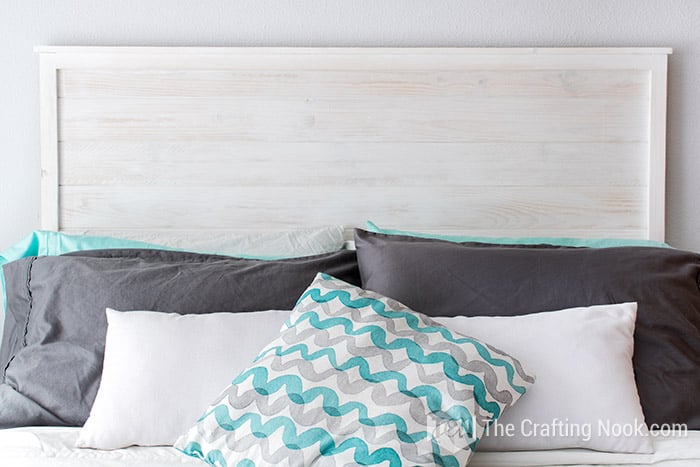
A huge difference, right?
Of course, the wall color helps to make it stand out a little more too. But now the wooden headboard feels deeper and stronger somehow. I just LOVE how it looks now.
The best part?
The revamp only cost $7 (5 Euros).
Yup!
You heard me right. I already had paint, screws, nails, and everything except the pinewood boards for the frame. This is an easy diy project perfect even for beginners.
So if you are thinking about making your own headboard, I can tell for a fact that you can make one for less than you think and the best part is that making a rustic wooden headboard is something you can make yourself in any style, color, and size you want. You don’t have to just accept what stores have in stock.
How to Make A Rustic Wooden Headboard
As I mentioned I made it in two different moments, so you will notice the scenario changes. LOL.
Also, measurements are so relative since each bed is different so I just give an idea but you are the one who decides depending on what you’ve got.
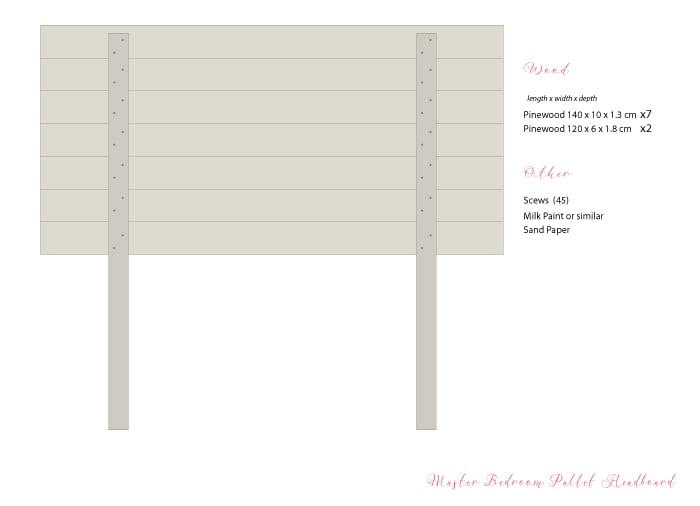
I’ll share the plans and measures for my headboard (full bed)
Supplies:
Main DIY Wood Headboard:
- Shiplap boards. Size and number will depend on the width of your bed (I used 7 – 140 x 10 x 1,3 cm (56x4x1/3 Inch)
- Pinewood board for legs (2x4s is enough)
- Wood Screws (appropriate for your board’s size)
- Paint of your choice. (Milk paint, wood stain, whitewash, etc)
- Sandpaper, 80, 150 and 250 grit
- Protective plastic
Wooden Headboard Frame:
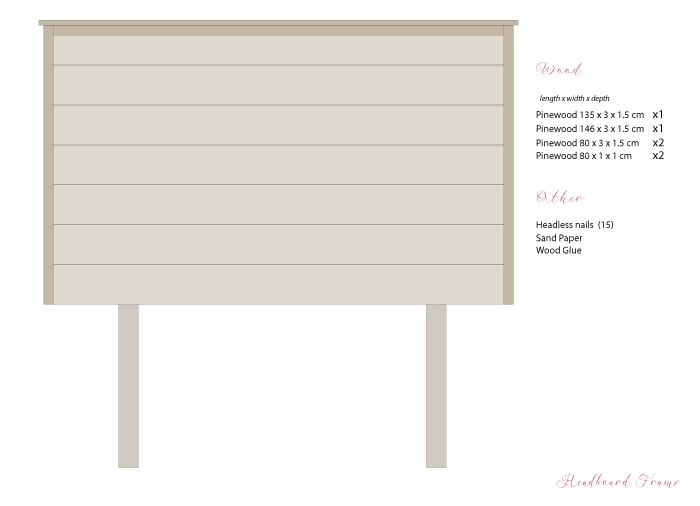
- 1 Pinewood Slat (1×2) – 53.15 Inches (135 x 3 x 1,5 cm)
- 1 Pinewood Slat (1×2) – 57.5 Inches (146 x 3 x 1,5 cm)
- 2 Pinewood Slats (1×2) – 31.5 Inches (80 x 3 x 1,5 cm)
- 2 Pinewood Slats (1×1) – 31.5 Inches (80 x 3 x 1,5 cm)
- Headless nails
- Sandpaper
- Wood glue
Tools:
- Drill
- Screwdriver
- Hammer
- Clamps
- Circular saw or miter saw if you buy the shiplap and slats in full size.
Instructions:
- The first thing I did was protect the area where I was going to work. I put plastic and used masking tape to secure the plastic in place. I left my rug underneath so I wouldn’t make so much noise LOL. You will see why in a bit.
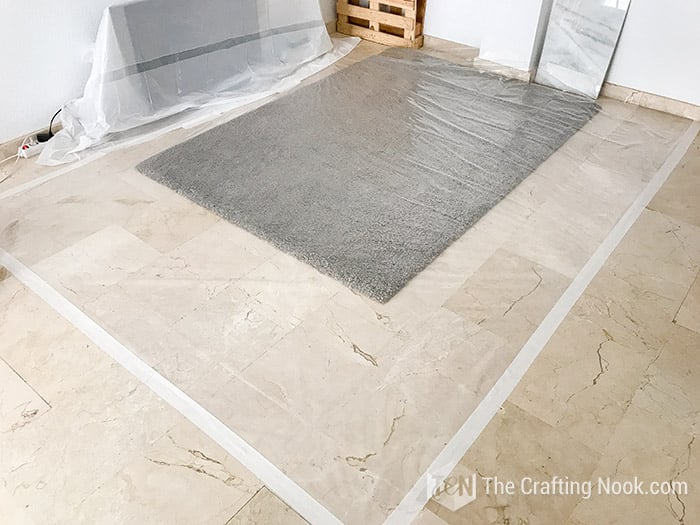
- Also, cover electronics and other furniture if you have (I didn’t have much at the moment.)
- We started this headboard by taking measurements of the bed frame that the headboard was being made for. You will want to measure to the outside edge of the bed frame headboard brackets.
- Then you will want to add 1-2″ to the total distance to give a slight overhang. You definitely want to make sure the headboard doesn’t look skinnier than the bed after the pillows, comforters, etc are added as mine does. We learn from mistakes, right? Still, I love how mine turned out!
- Of course, you need to select the height of your headboard. First, we measured the distance from the floor to the top of the mattress. Then we determined how tall we wanted our headboard to be by measuring from slightly below the batters top to where the top of the headboard would be. With some simple math, I divided that number by the width of the shiplap to know how many boards to use.
- Once all measures are done, get your shiplap cut and all the smallest boards too.
- I wanted the headboard boards to look used so I hammered them. I actually released a lot of stress there. I just hit it hard LOL. I also used screws and nails and hammered them against the boards so it would get more marks. That’s why I needed my rug. I live in an apartment so I didn’t want the whole community mad at me.
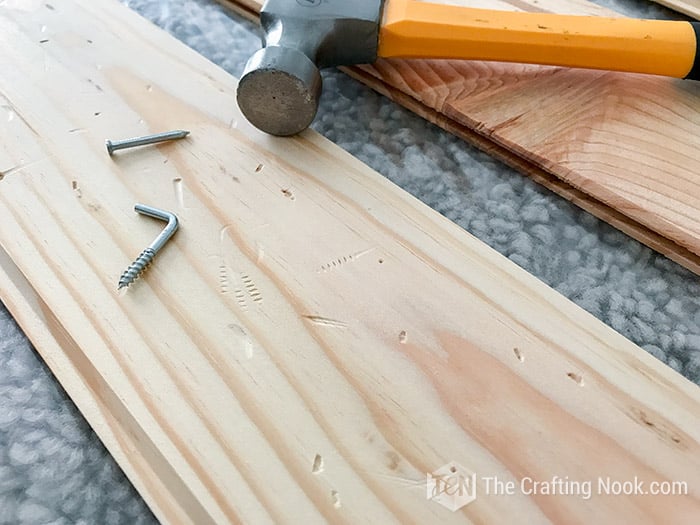
- Then lightly sand each board especially on the edges with an 80 grit sandpaper to avoid splinters.
- Once finished, clean them well with a piece of cloth. Make sure they are dust free.
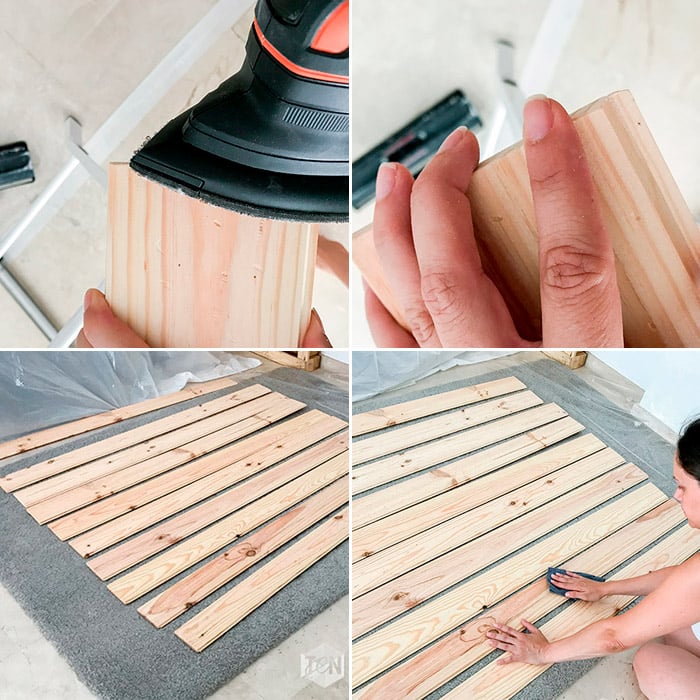
- Shake your paint and start painting.
I love this paint because it lets the wood marks show up. I don’t live in the USA so I can’t really tell you what brand to use, but you can ask at your local hardware, for a satiated, whitewashed paint. The paint also blocks UV and is waterproof. As I mentioned above, The only problem is that it gets shiny because it’s kind of plastic.
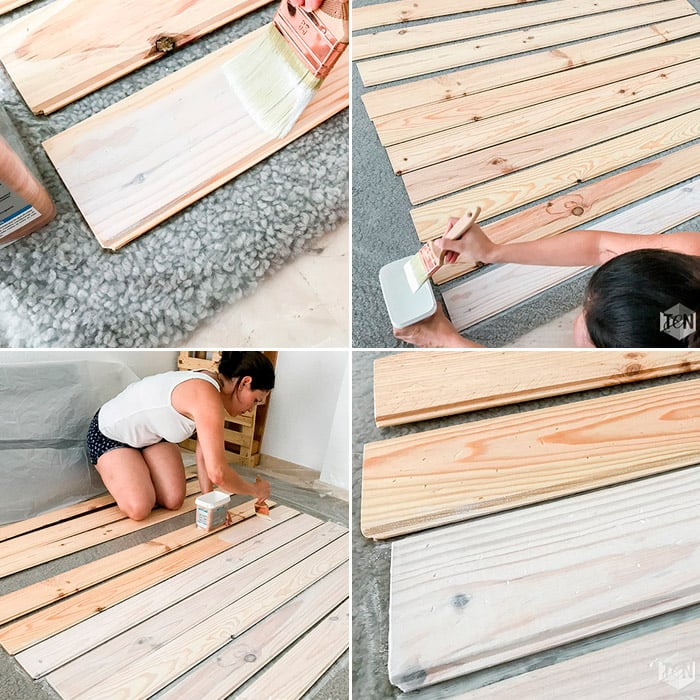
- Paint each board in the same direction as your wood marks. Let it dry at least 2 hours between coats and give a slight sanding (150 grit). Clean too. I used 3 coats to get a really white shade.
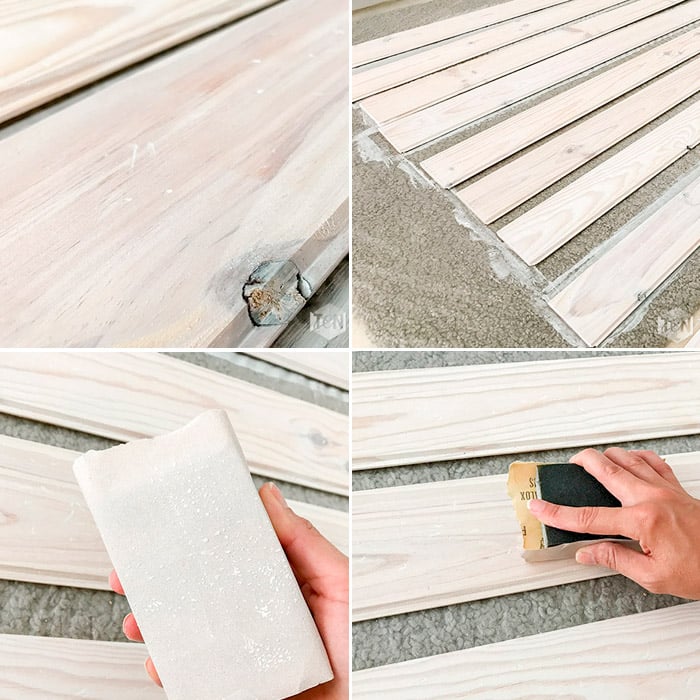
- Once done with all the coats, let it dry overnight and give a final sanding with a fine grit sandpaper. I used 250. Again clean well.
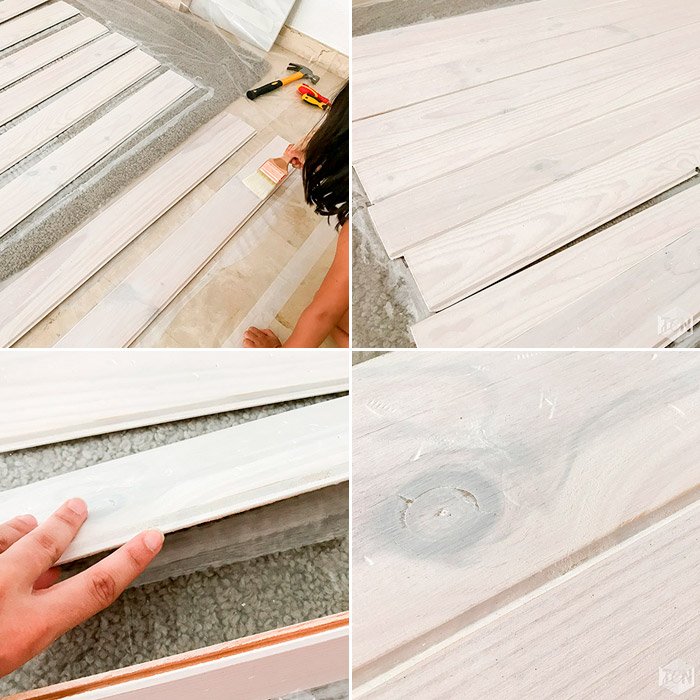
- Since the shiplap boards come with these rabbeted edges that fit each other, you just need to slide one to the next until you have them all together. Of course, make sure the side edges are aligned and right side facing the floor (or the table.)
The pinewood boards for the wooden headboard legs.
- Measure and mark the height that will go off the headboard.
- Place one leg board about 10-11 inches (30 cm) from each side. Decide each screw spot and mark. I like to drill a path for screws but if you feel confident you can skip this step. Then screw each screw in place. I placed 2 per board.
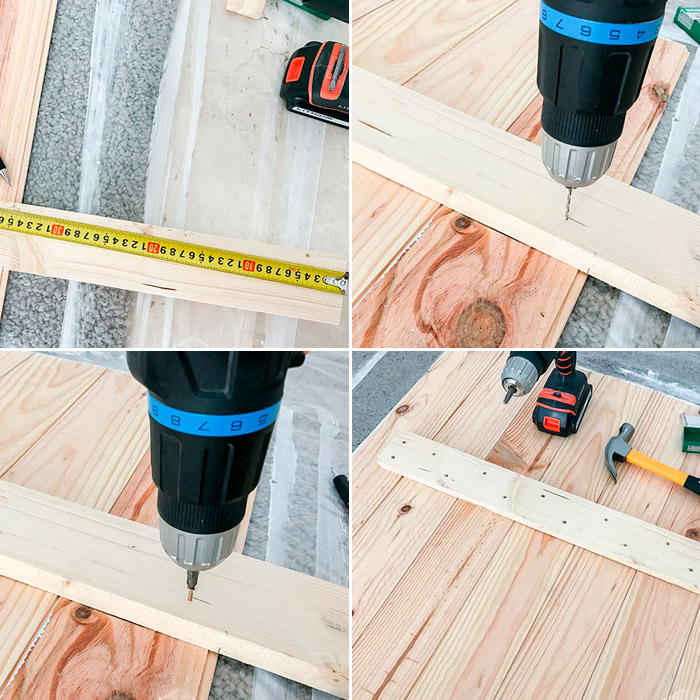
- The Original wooden Headboard was done at this point. I screwed a closed hook to the inner side of the leg boards and drilled a hole on the wall for an L-shaped hook.
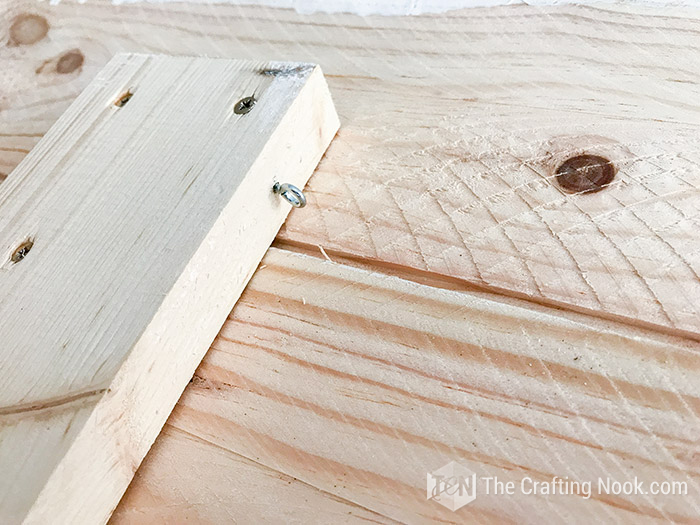

There you go!
That’s my BEFORE Rustic wooden headboard.
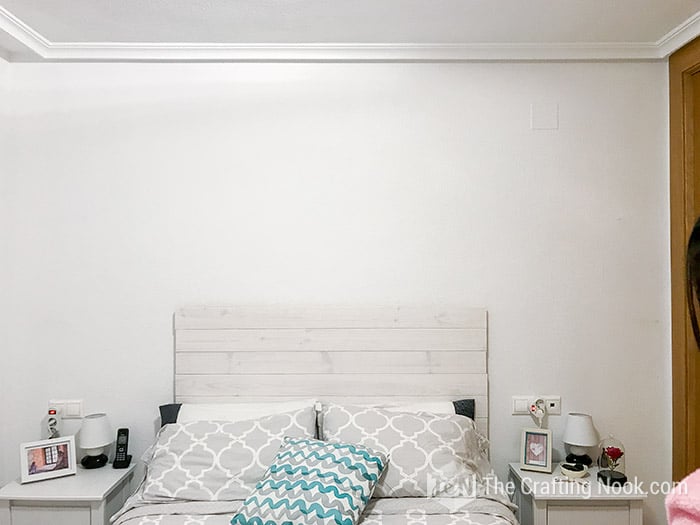
Then I took my rustic wooden headboard out and started the framing stage.
Wooden Headboard Frame:

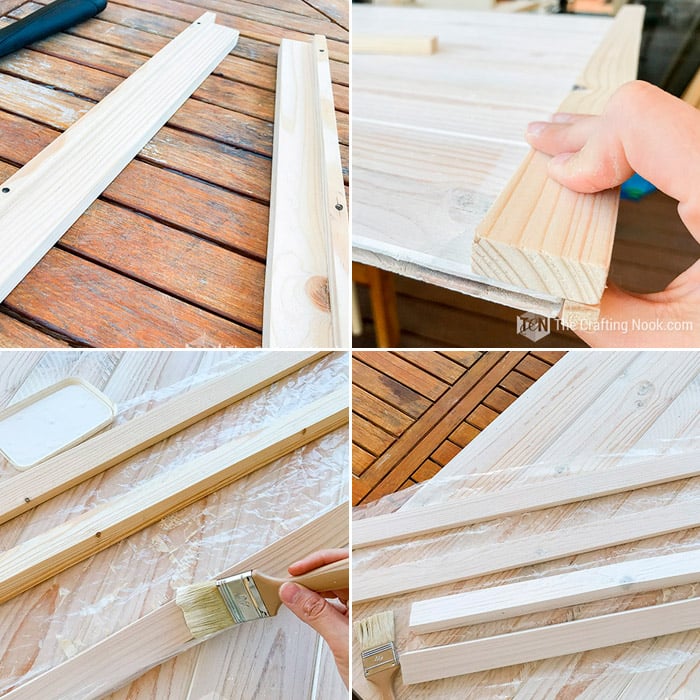
- Let’s start by mounting and presenting the pieces in place just to make sure everything fits and everything is looking good.
- Then is good to give each piece a slight sanding, again to avoid splinters. As for the main headboard, I sanded it really hard trying to remove that shiny aspect that’s why you see so much pinewood color showing up.
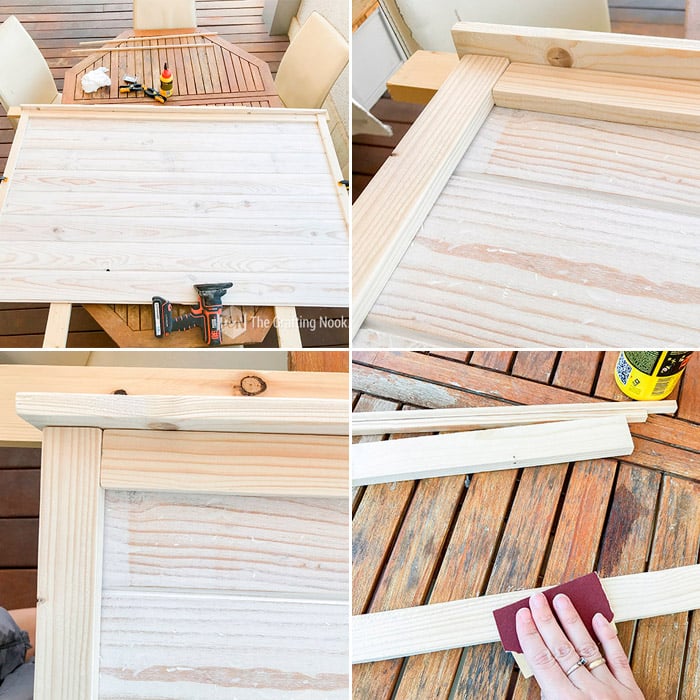
- Next, fasten the side back 1×1 piece to the 1×3 front piece with glue and secure with clamps, as shown. Once the glue has dried, apply some nails along the back piece. Use a really thin nail to avoid cracking the wood. Repeat with the other side pieces.
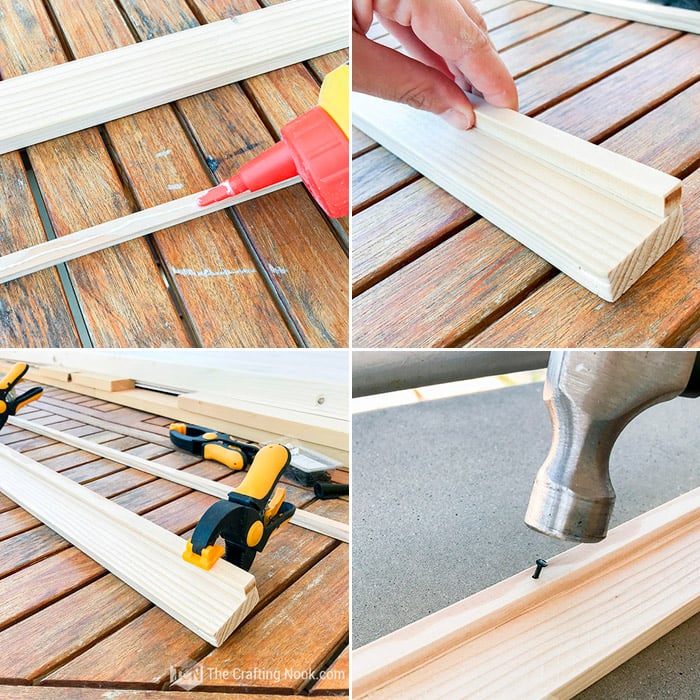
- Put it in place to make sure is all fine. If so, then paint all your pieces with the same paint and using the same technique as before BUT I used one less coat because once it’s all done I’ll give the final paint coat. Let it dry for a couple hours.
- Sand each piece, use sanding machine when possible and paper for edges and narrow sides. Clean each piece well.
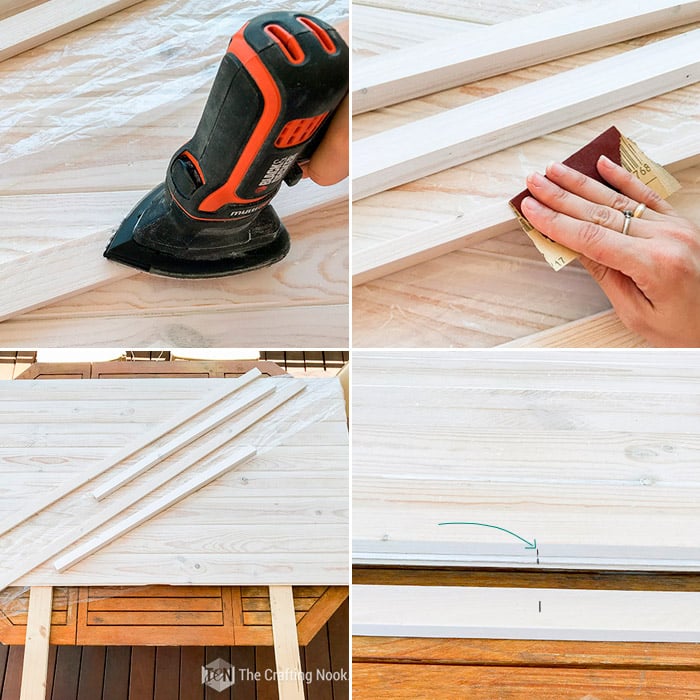
- To start framing, let’s start with the top piece. Find the center of the headboard, 136×3 and 146×3. Mark it.

- Apply glue to the back of the 136×3 and match center marks making sure the edges are aligned. Secure in place with clamps. Let it dry and then screw along the top edge to secure it even more.
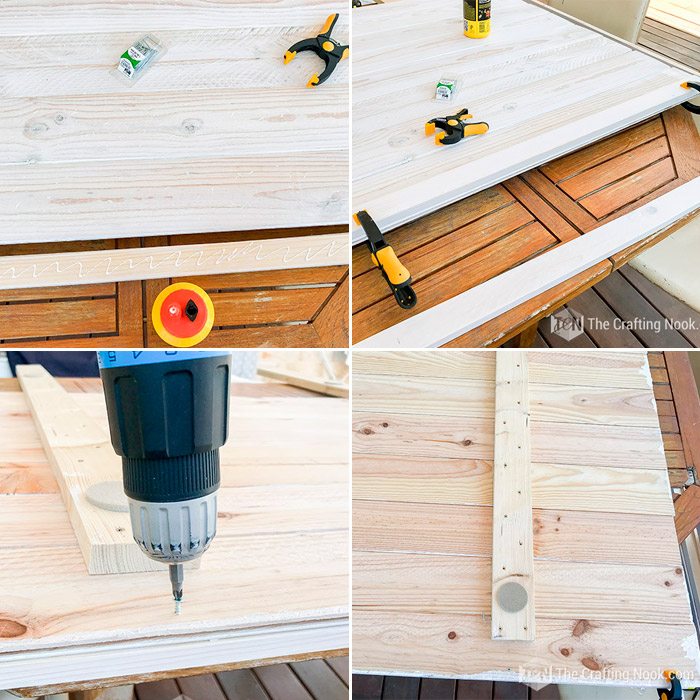
- Same process for the sides. Apply glue, fasten with clamps to each side and make sure it matches the top side of the frame.
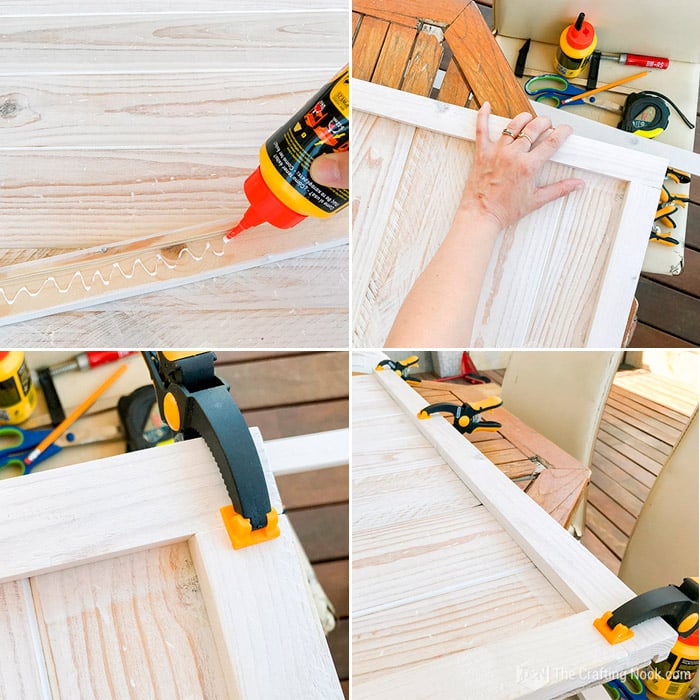
- Again, on the back screw in some screws to secure boards from the back.
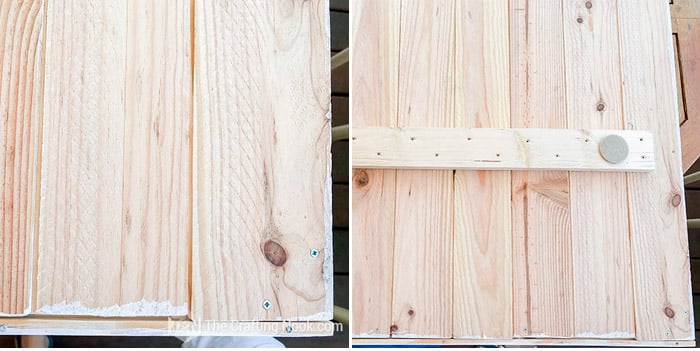
- For the very top piece, you need to do the same as the first piece. You already should have marked the center. So, apply glue along the board and then making sure both centers marks match and the back of both are aligned. Secure with clamps. Let it dry very well.
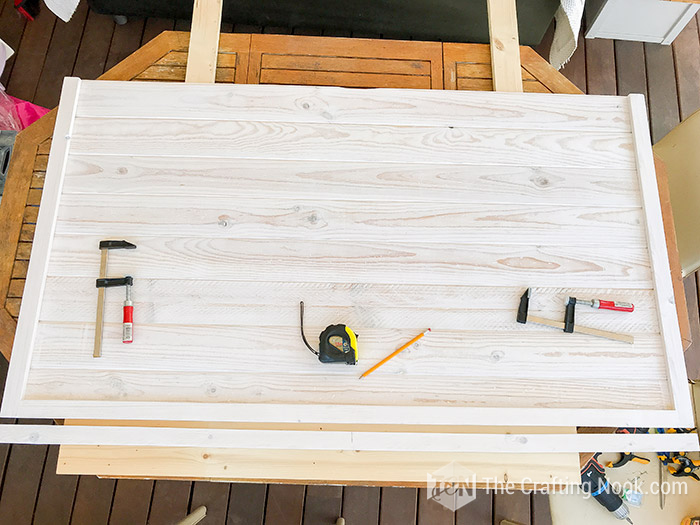
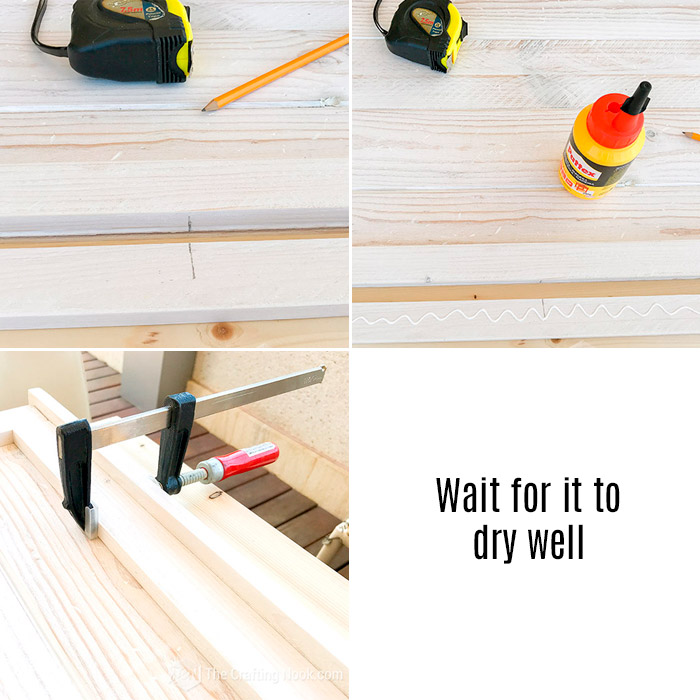
- Once the top piece is dry, Measure the front edge to the center of the side frame piece. Then mark that measure on the top where you want to put some headless nails to secure it.
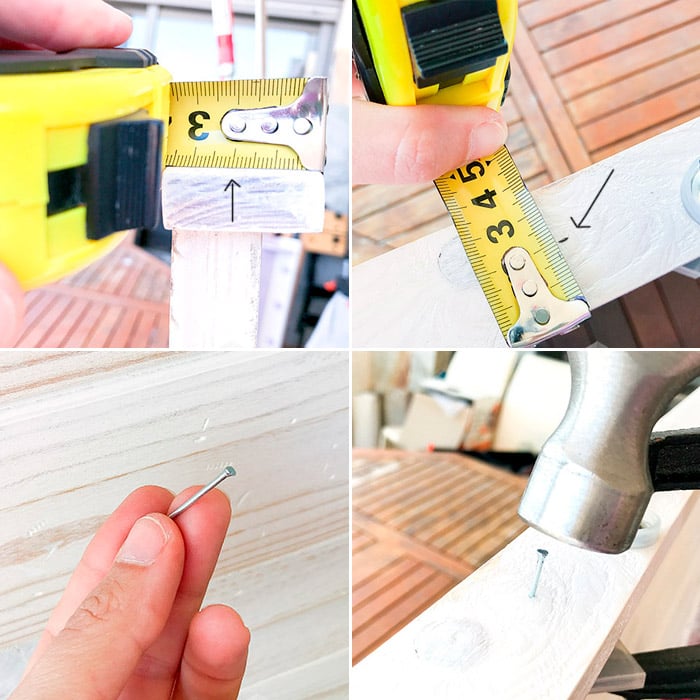
- In order to avoid damaging the wood, I used a piece of cloth and hammers it on top of it.
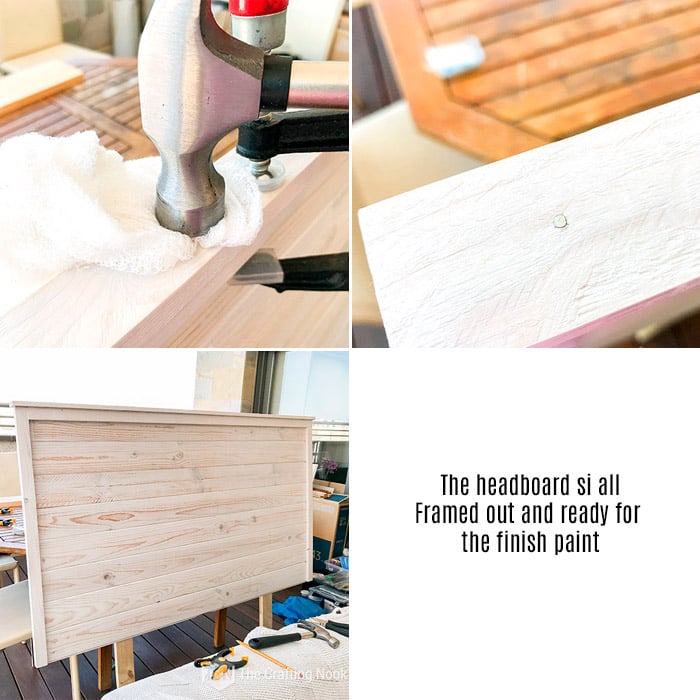
There you go!
The rustic wooden headboard is basically done.
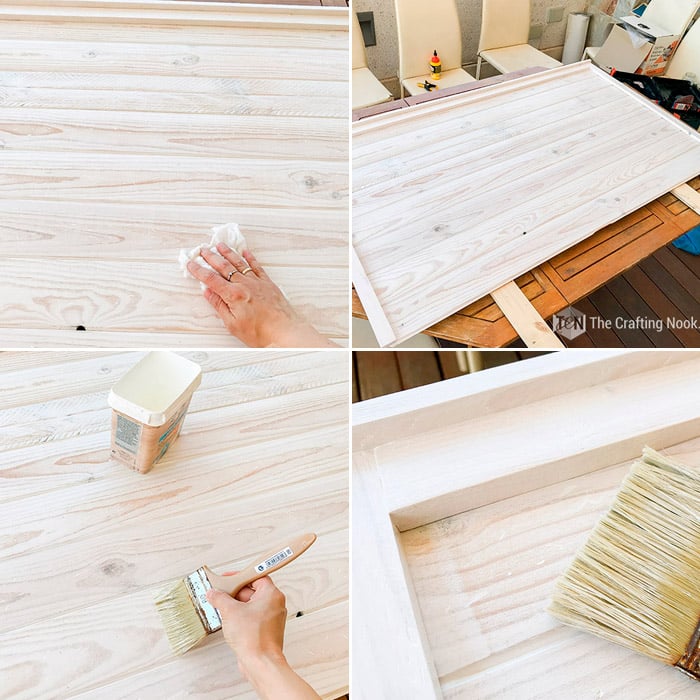
The last step is optional but you can give a last coat of paint to make sure the color is even.
So clean well the headboard and go for it. I only added one coat, especially where wood boards touch each other.
One last thing I did and that’s just because I’m a bit obsessed with the shine on this paint, I lightly sanded the board after it was completely dry, clean the headboard and the applied dry brush with white matte varnish. Just harsh strokes to make everything matte. No shine, nothing LOL.
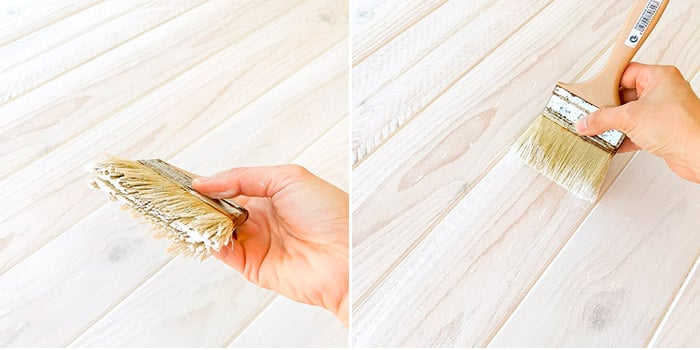
That’s it! I promise!
This pretty and inexpensive diy headboard project is all done and ready to rock your bedroom.
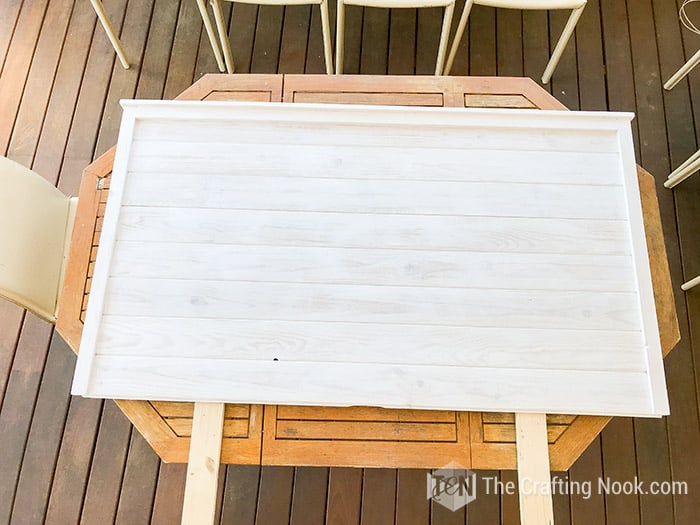
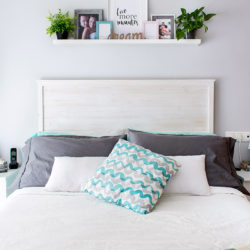
This is how the bedroom looks now with my new pretty Wooden Headboard.
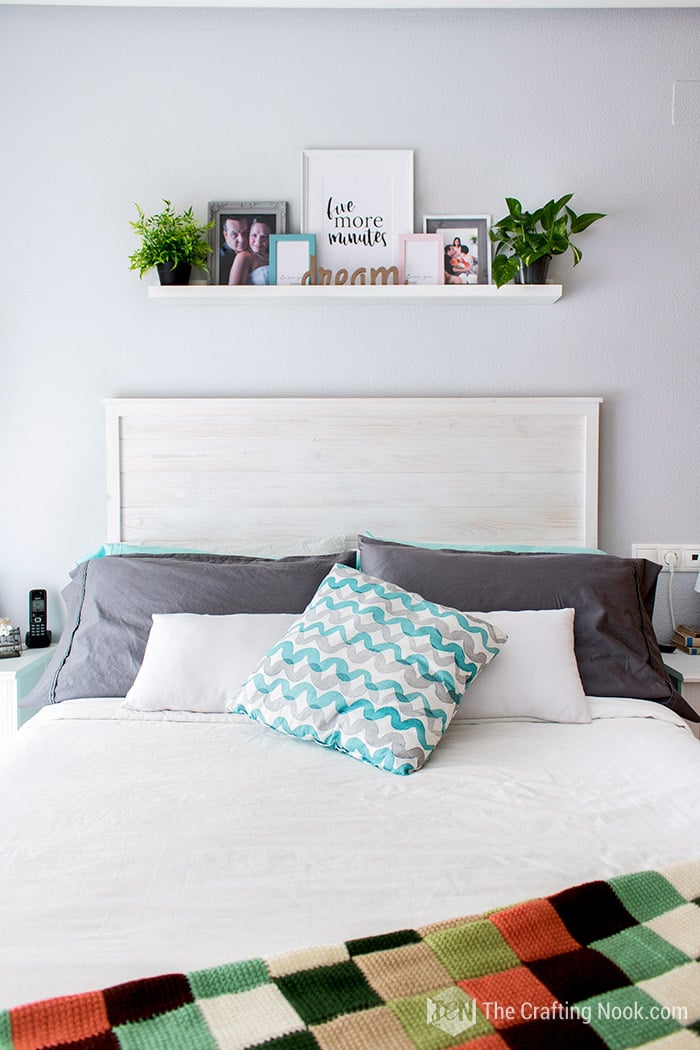
Check out all the details
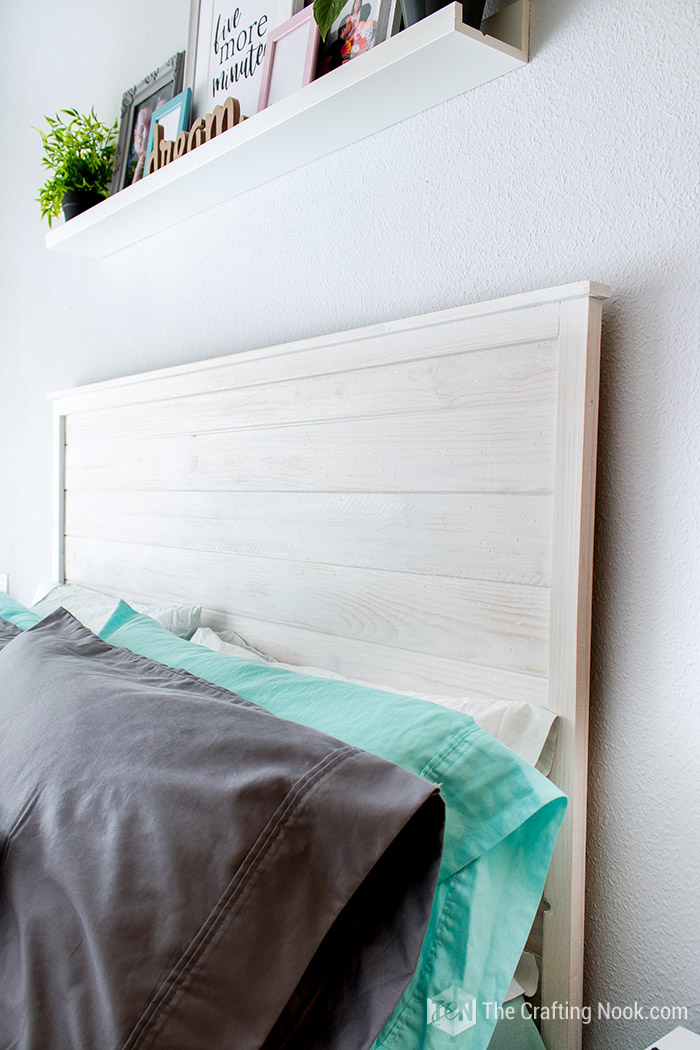
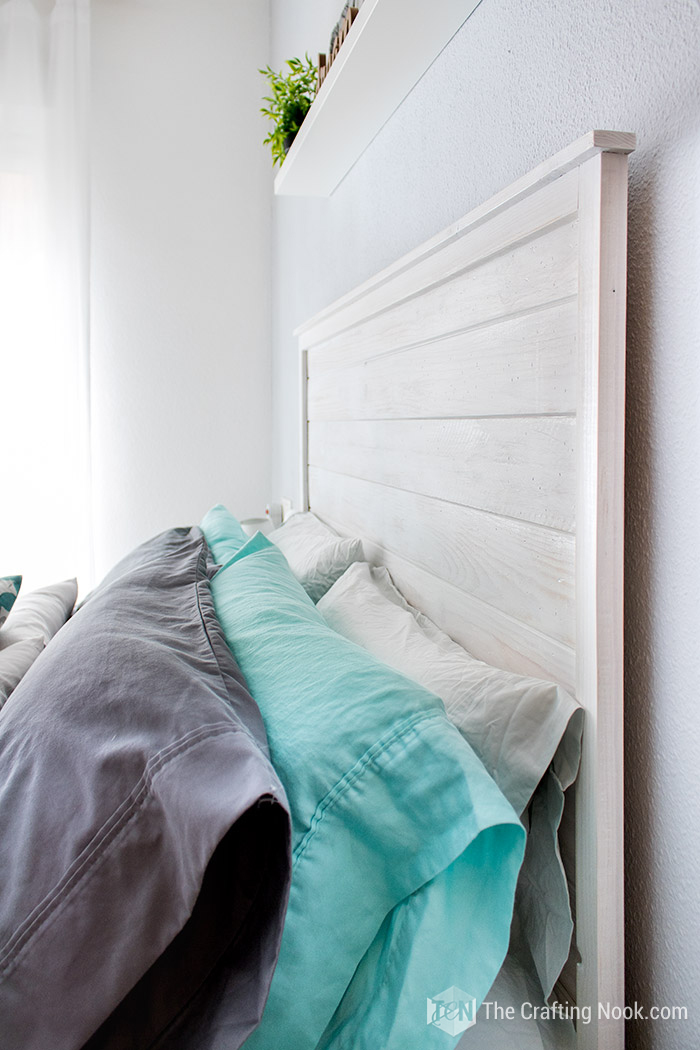
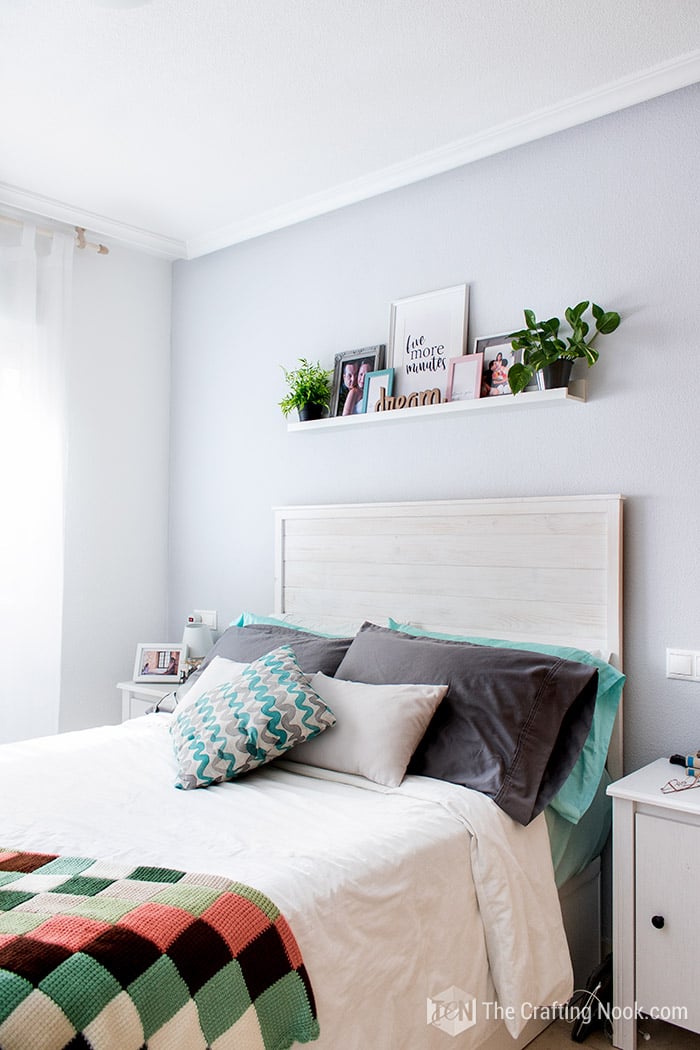

Hope you enjoyed this tutorial; I did my best to explain each step but I’m not a carpenter and I don’t know all the words and language. So, if you have any doubts, don’t hesitate to ask in the comments. I’ll do my best to explain.
Frequently Asked Questions
It will vary depending on the type of headboard you are gaming for. This one It will take you less than a day and cost less than $50 to make. It could go up or down depending on the details, type of wood, etc.
In general, Pine or Poplar wood are the best choices when you are on a budget. Both are easy to work with and strong enough to build a bed frame. In this case, I used Pinewood shiplap, you can use new wood boards or pallet wood, or even reclaimed wood.
It’s hard to say for sure. Again, it will depend on the headboard you are making. You can just varnish and let the wood color shine, you can stain in other wood shades, you can use oil-based paints, and chalk paint among other ideas.
More Woodworking Projects to Try
If you like this rustic wooden headboard tutorial you might also love these other woodworking project ideas too:
✂️ Tutorial
DIY Rustic Wooden Headboard
Tools
- Drill
- Screwdriver
- Hammer
- Clamps
Supplies
- Main Wooden Headboard:
- Shiplap boards. Size and number will depend on your bed’s size I used 7 140 x 10 x 1,3 cm (56x4x1/3 Inch
- Pinewood board for legs 2x4s is enough
- Screws appropriate for your board’s size
- Paint of your choice.
- Sandpaper 80, 150 and 250 grit
- Wooden Headboard Frame:
- 1 Pinewood board 1×2 – 53.15 Inches (135 x 3 x 1,5 cm)
- 1 Pinewood board 1×2 – 57.5 Inches (146 x 3 x 1,5 cm)
- 2 Pinewood board 1×2 – 31.5 Inches (80 x 3 x 1,5 cm)
- 2 Pinewood board 1×1 – 31.5 Inches (80 x 3 x 1,5 cm)
- Headless nails
- Sandpaper
- Wood glue
Instructions
- First thing I did was protect the area where I was going to work. I put plastic and used masking tape to secure the plastic in place. I left my rug underneath so I wouldn’t make so much noise LOL. You will see why in a bit.
- Also, cover electronics and other furniture if you have (I didn’t have much at the moment.)
- We started this headboard by taking measurements of the bed frame that the headboard was being made for. You will want to measure to the outside edge of the bed frame headboard brackets.
- Then you will want to add 1-2″ to the total distance to give a slight overhang. You definitely want to make sure the headboard doesn’t look skinnier than the bed after the pillows, comforters, etc are added as mine does. We learn from mistakes, right? Still, I love how mine turned out!
- Of course, you need to select the height of your headboard. First, we measured the distance from the floor to the top of the mattress. Then we determined how tall we wanted our headboard to be by measuring from slightly below the batters top to where the top of the headboard would be. With some simple math, I divided that number by the width of the shiplap to know how many boards to use.
- Once all measures are done, get your shiplap cut and all the smallest boards too.
- I wanted the headboard boards to look used so I hammered it. I actually released a lot of stress there. I just hit it hard LOL. I also used screws and nails and hammered them against the boards so it would get more marks. That’s why I needed my rug. I live in an apartment so I didn’t want the whole community mad at me.
- Then lightly sand each board especially on the edges with an 80 grit sandpaper to avoid splinters.
- Once finished, clean them well with a piece of cloth. Make sure they are dust free.
- Shake your paint and start painting.
- I love this paint because it lets the wood marks show up. I don’t live in the USA so I can’t really tell you what brand to use, but you can ask at your local hardware, for a satiated, whitewashed paint. The paint also blocks UV and is waterproof. As I mentioned above, The only problem is that it gets shiny because it’s kind of plastic.
- Paint each board in the same direction as your wood marks. Let it dry at least 2 hours between coats and give a slight sanding (150 grit). Clean too. I used 3 coats to get a really white shade.
- Once done with all the coats, let it dry overnight and give a final sanding with a fine grit sandpaper. I used 250. Again clean well.
- Since the shiplap boards come with these rabbeted edges that fit each other, you just need to slide one to the next until you have them all together. Of course, make sure the side edges are aligned and right side facing the floor (or the table.)
THE PINEWOOD BOARDS FOR THE WOODEN HEADBOARD LEGS.
- Measure and mark the height that will go off the headboard.
- Place one leg board about 10-11 inches (30 cm) from each side. Decide each screw spot and mark. I like to drill a path for screws but if you feel confident you can skip this step. Then screw each screw in place. I placed 2 per board.
- The Original wooden Headboard was done at this point. I screwed a closed hook to the inner side of the leg boards and drilled a hole on the wall for an L-shaped hook.
- There you go! The main headboard is done, now needs the upgrade.
WOODEN HEADBOARD FRAME:
- Let’s start by mounting and presenting the pieces in place just to make sure everything fits and everything is looking good.
- Then is good to give each piece a slight sanding, again to avoid splinters. As for the main headboard, I sanded it really hard trying to remove that shiny aspect that’s why you see so much pinewood color showing up.
- Next, fasten the side back 1×1 piece to the 1×3 front piece with glue and secure with clamps, as shown. Once the glue has dried, apply some nails along the back piece. Use a really thin nail to avoid cracking the wood. Repeat with the other side pieces.
- Put it in place to make sure is all fine. If so, then paint all your pieces with the same paint and using the same technique as before BUT I used one less coat because once it’s all done I’ll give the final paint coat. Let it dry for a couple hours.
- Sand each piece, use sanding machine when possible and paper for edges and narrow sides. Clean each piece well.
- To start framing, let’s start with the top piece. Find the center of the headboard, 136×3 and 146×3. Mark it.
- Apply glue to the back of the 136×3 and match center marks making sure the edges are aligned. Secure in place with clamps. Let it dry and then screw along the top edge to secure it even more.
- Same process for the sides. Apply glue, fasten with clamps to each side and make sure it matches the top side of the frame.
- Again, on the back screw in some screws to secure boards from the back.
- For the very top piece, you need to do the same as the first piece. You already should have marked the center. So, apply glue along the board and then making sure both centers marks match and the back of both are aligned. Secure with clamps. Let it dry very well.
- Once the top piece is dry, Measure the front edge to the center of the side frame piece. Then mark that measure on the top where you want to put some headless nails to secure it.
- In order to avoid damaging the wood, I used a piece of cloth and hammers it on top of it.
- There you go! The rustic wooden headboard is basically done.
- The last step is optional but you can give a last coat of paint to make sure the color is even.
Share and PIN ME!
Til’ next time…


FREE WORKBOOK
Keeping your Sweet Home Organized
Learn how to create intentional habits and simple routines to Keep Your Home Organized. Plus freebies, printables, exclusive content, and tips.
Disclaimer: By clicking on the “Yes” button above you are giving me your consent to collect and use your information according to the law and My Policy Privacy. Zero Spam I promise!
