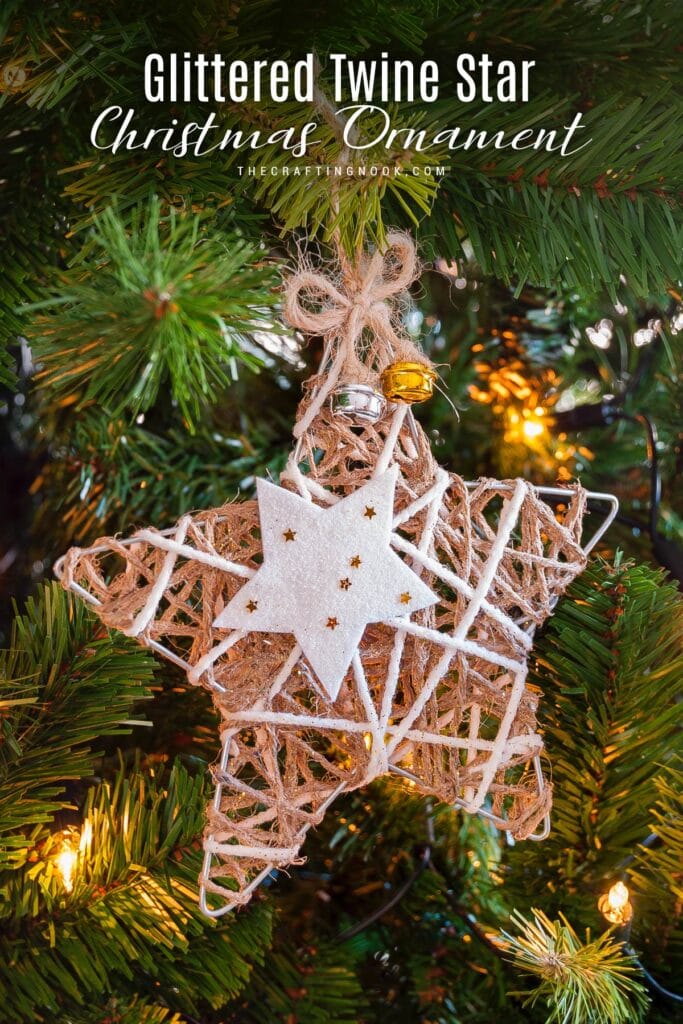
DIY Paper Glitter Snowflake Ornament with Silhouette Cameo
This post may contain affiliate links. Please read our Disclosure Policy.
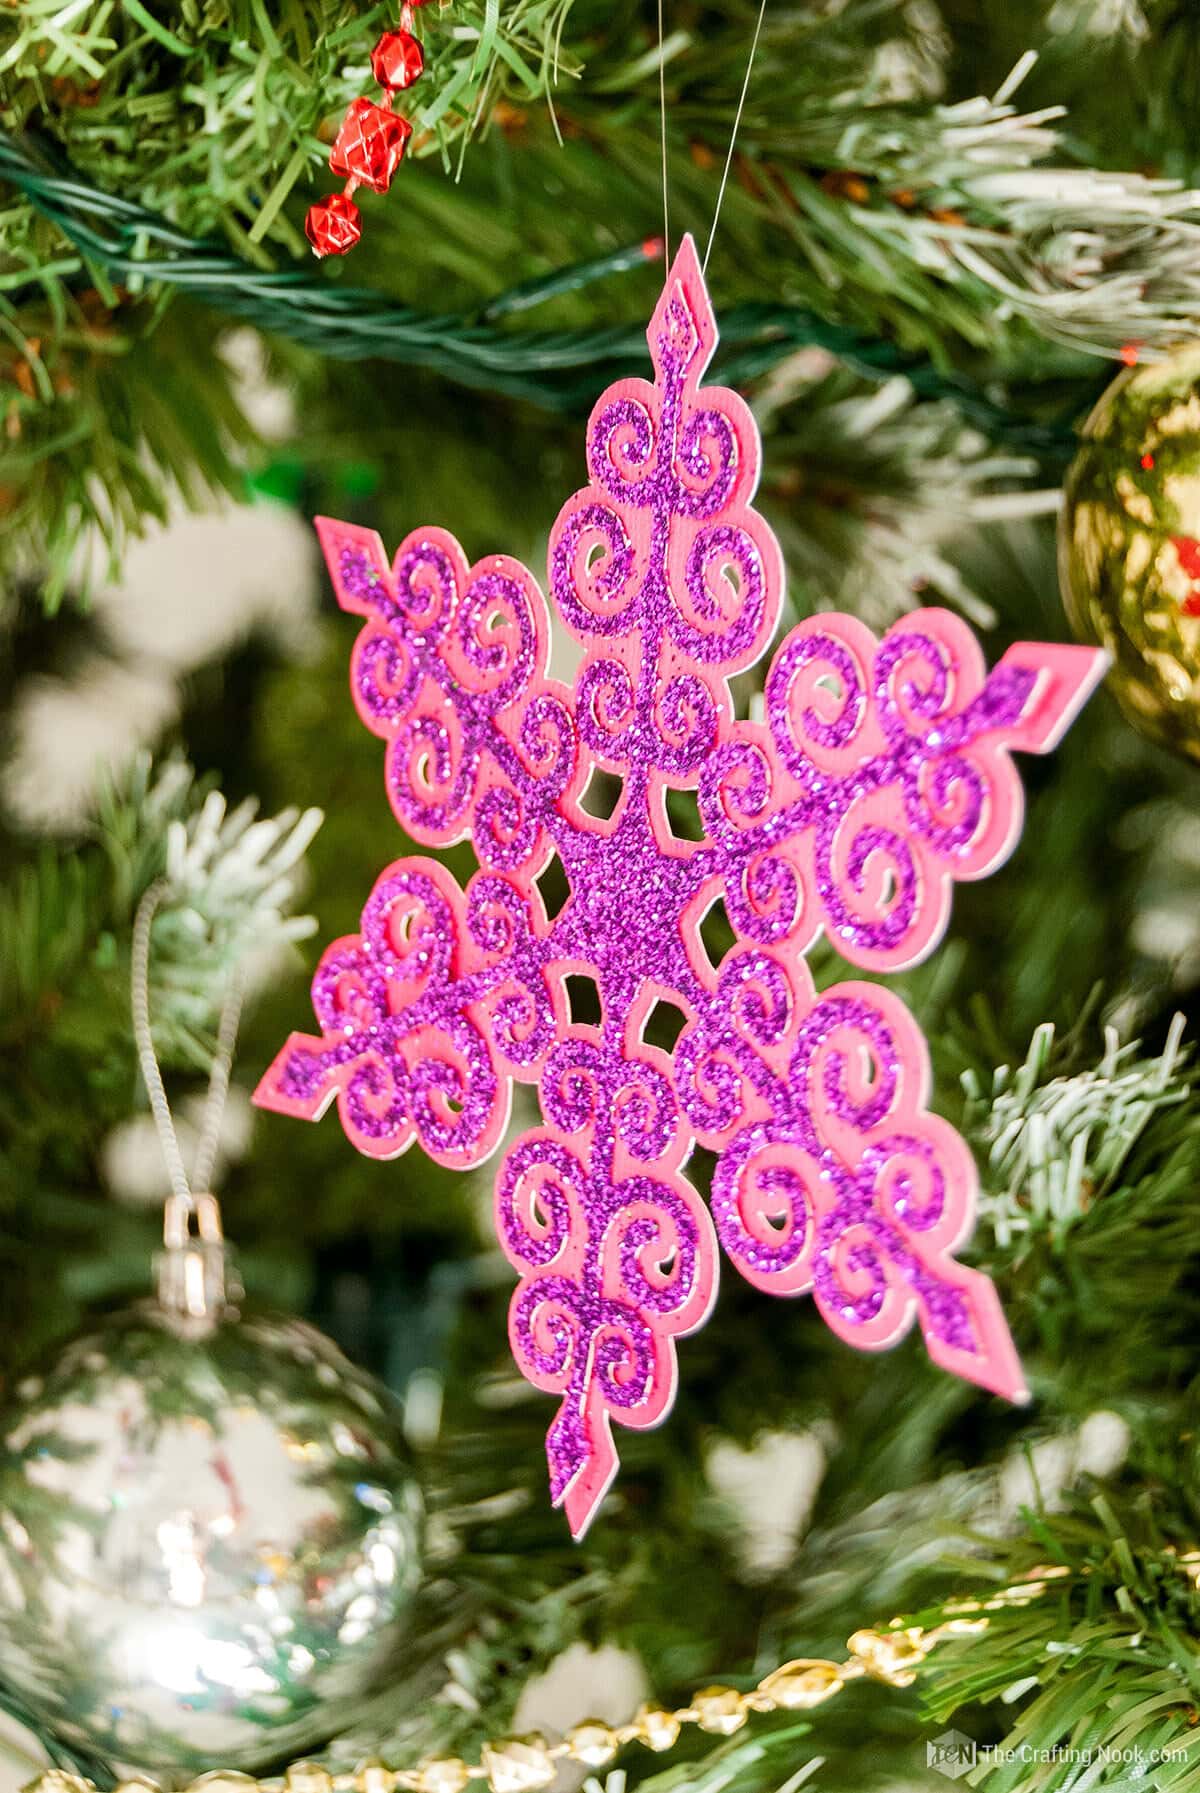
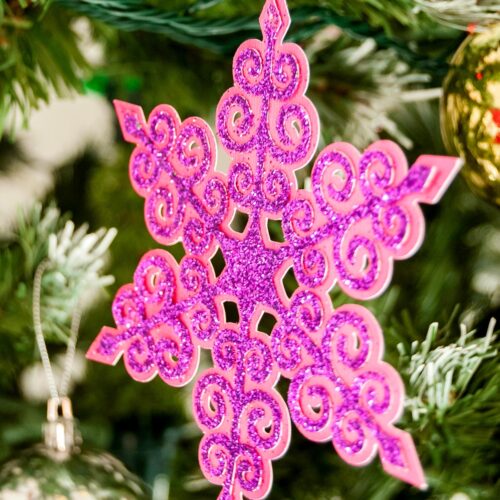
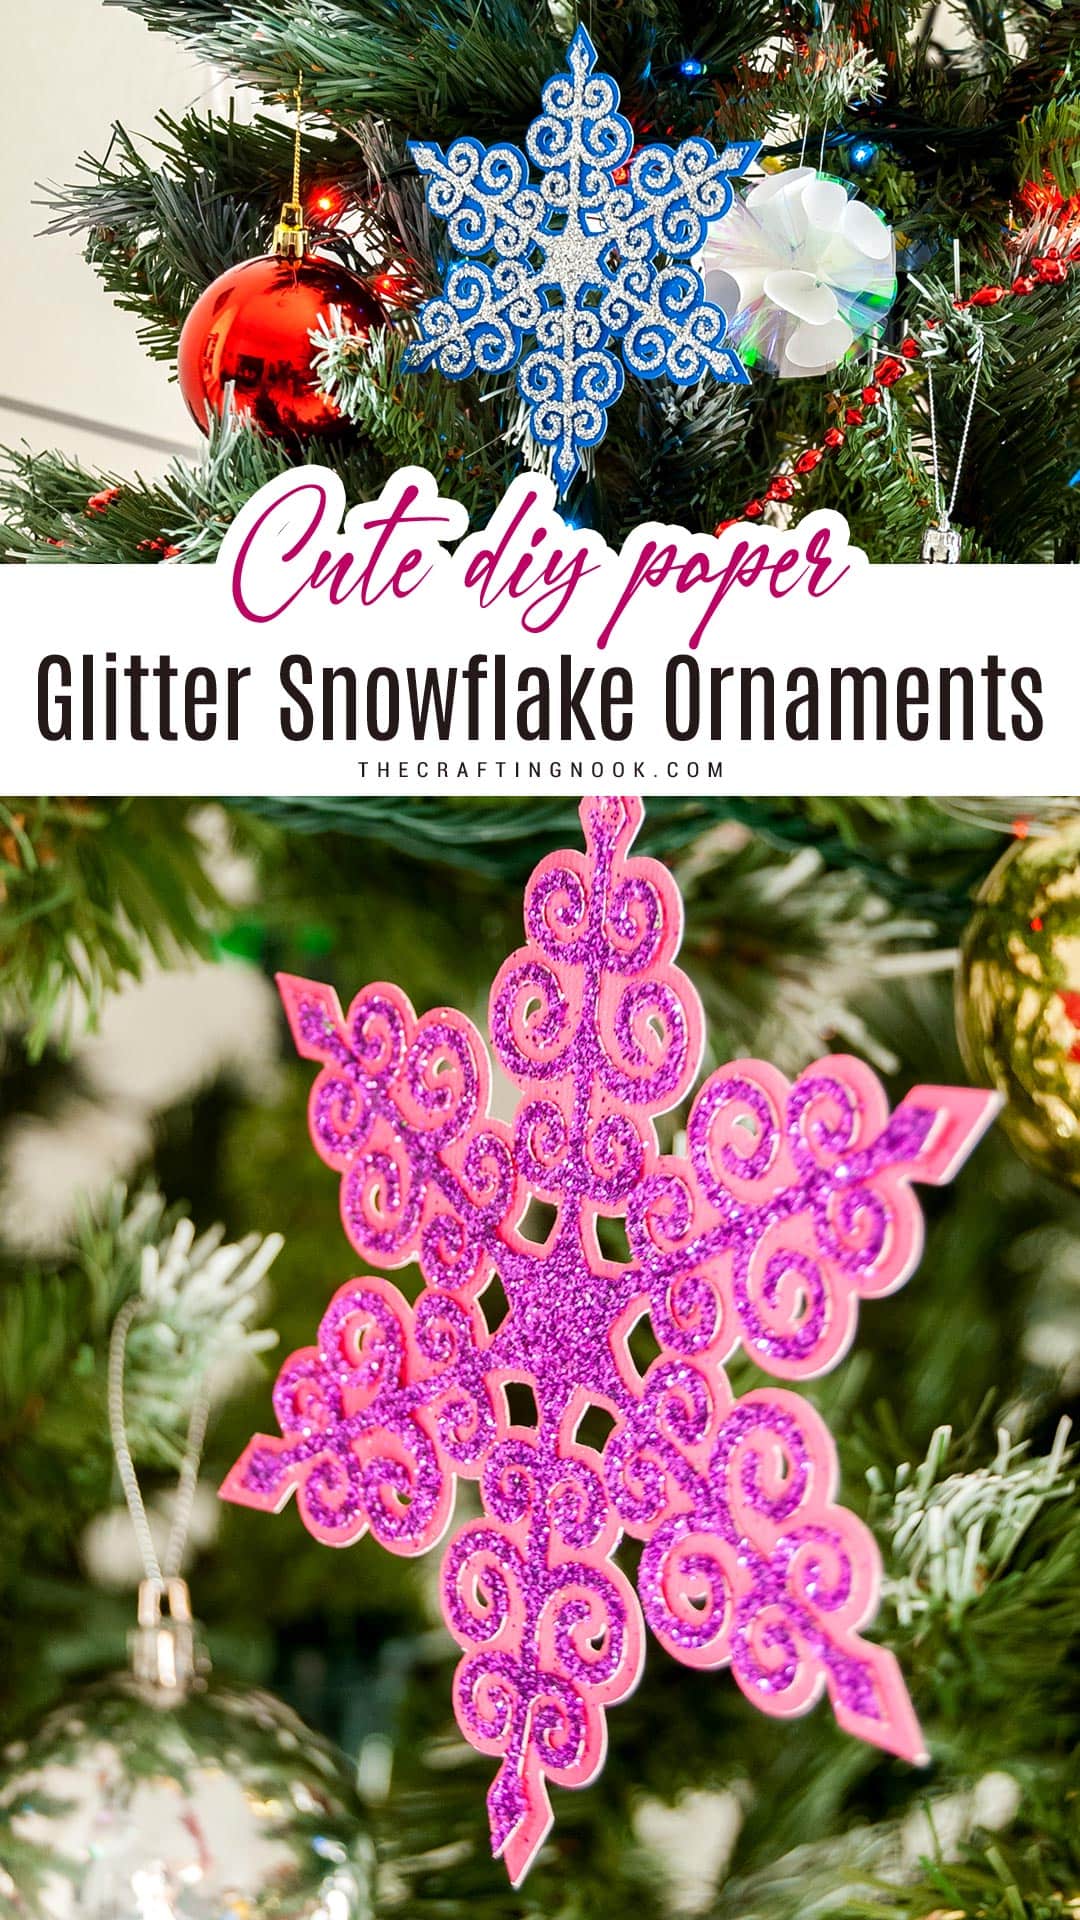
Let’s get into the holiday season spirit with these easy and cute DIY glitter snowflake ornaments! Learn how to create these sparkling Christmas decorations using cardstock and your Silhouette Cameo. Easy, fun craft, and oh-so-cute!
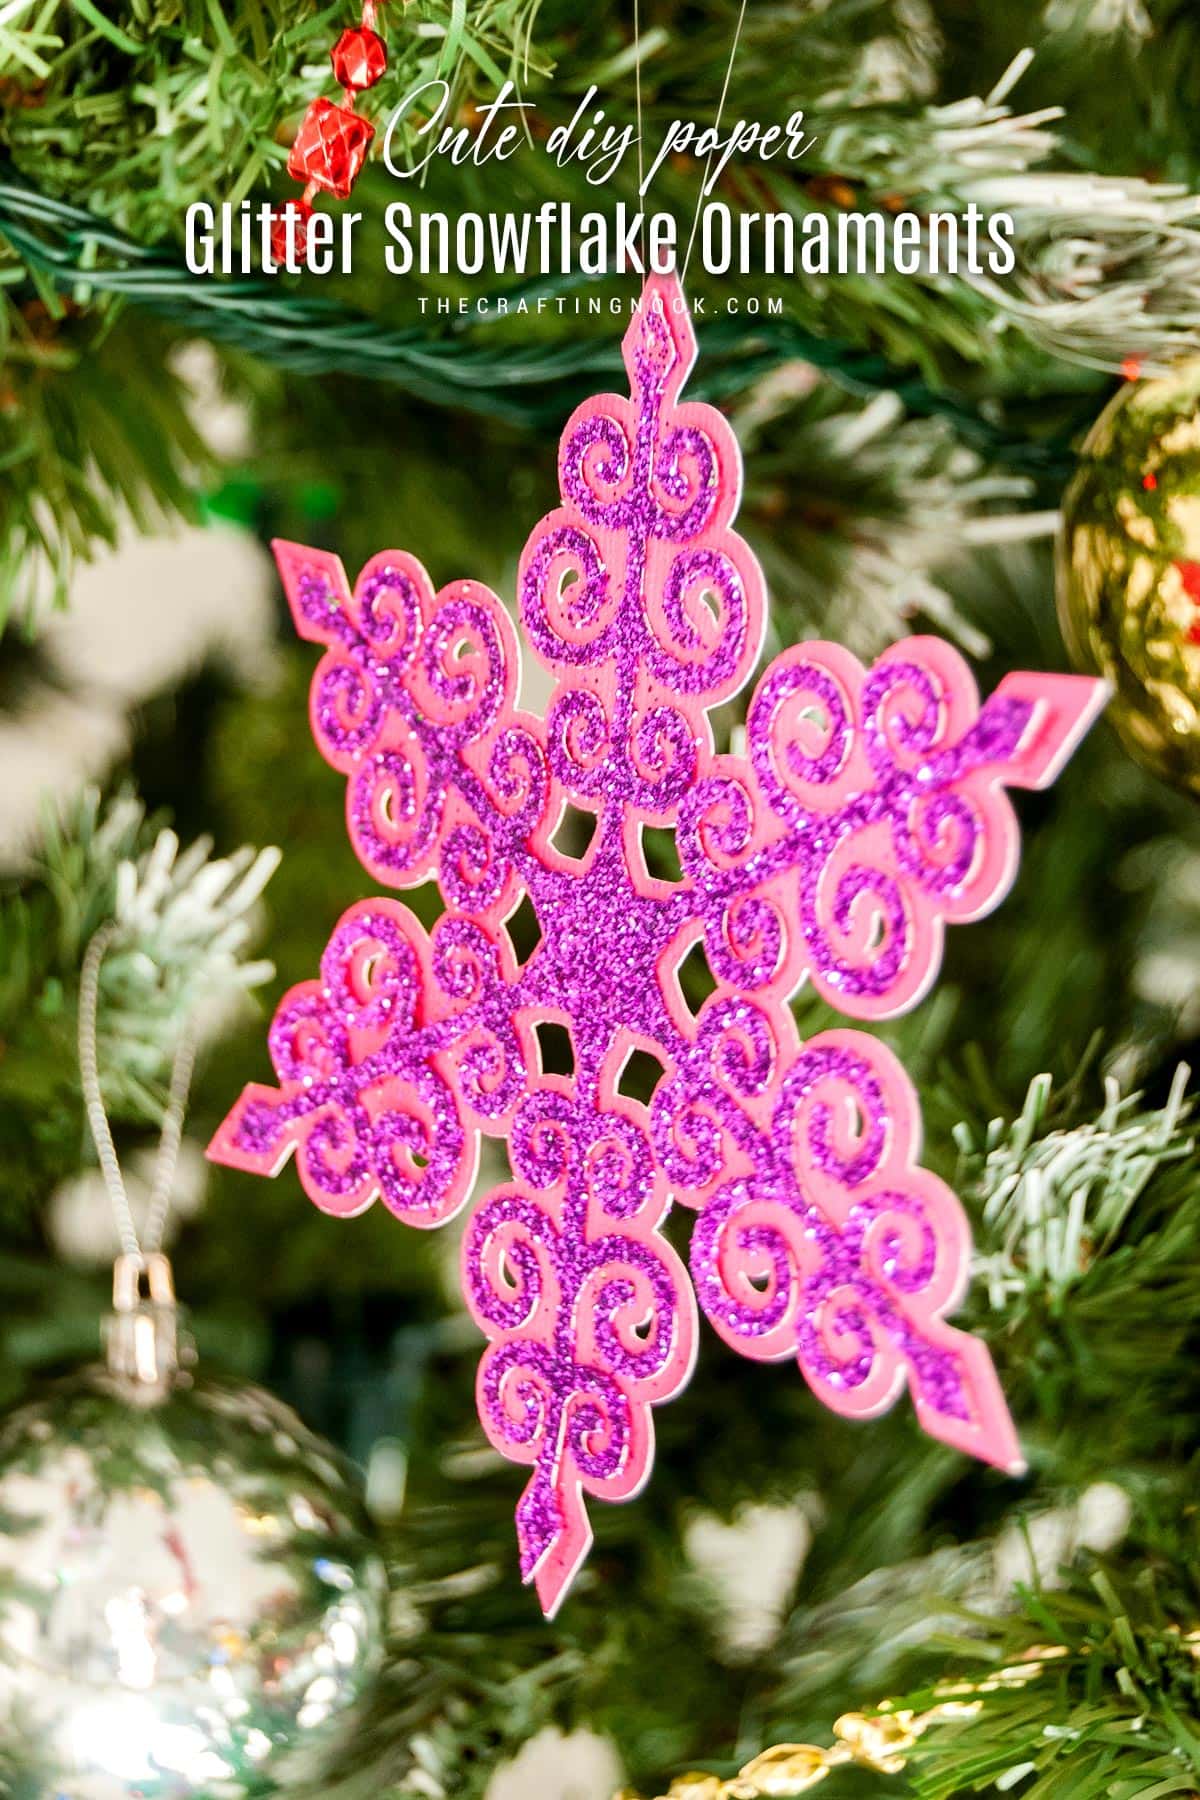
Table of Contents
DIY Paper Glitter Snowflake Christmas Ornaments
Holidays are around the corner, and with it, we can have fun making crafts. If you want to make a super cute ornament and feel happy, try making the DIY Paper Glittery Snowflakes Ornament with Silhouette Cameo.
It’s really simple and fun to make. This wonderful project will help you express your creativity with lots of glitter and make your Christmas tree look more beautiful.
Now, you may be wondering, what is all the fuzz behind the magic of crafting. Well, aside from making yourself something pretty, crafting has amazing advantages for our emotions and mind.

There is something really calming about using your hands to make delicate crafts and adding glitter to them always makes it better. When you do crafting, which involves doing the same motions over and over and focusing on what you’re doing, it helps your mind relax and forget about stress and problems.
Also, when you see the decoration you are making, you will feel proud and accomplished. This will make you feel good about yourself and be happier overall.
Whether you are making something by yourself or with people that you care about, it is a great chance to connect and enjoy each other’s company while having fun and creating special memories.
So, get your Silhouette Cameo and start creating magical crafts – there are beautiful paper glitter snowflakes waiting for you.
How to Make Paper Glitter Snowflakes Ornament with Silhouette Cameo
This is a super fun and easy paper snowflake craft for those who have a cutting machine. I found this cute cut file at Bird’s Cards but you find plenty of other snowflakes SVG file designs here too which include a pdf version, dxf files, and SVG files for your convenience.. They both have wonderful and lovely free-cut files and different designs to choose from. I love them all!
Supplies:
- Colorful cardstock
- Glitter
- Mod Podge or white glue
- Spray glue
- Nylon thread
Tools:
- Silhouette Cameo Machine – Other cutting machines like Cricut can work too.
- Scissors
- Foam brush
Instructions:
1. Firstly, download and upload the file to your silhouette studio app.
If you like it you can download the snowflake template cut file HERE, just scroll down and you’ll find it, or go to Pixelied to find your favorite design.
2. On your app canvas, put the backing of the snowflake on one side of the mat and the cutout of the snowflake on the other as shown below
3. Apply the proper settings on your app. I set it for patterned cardstock and set the knife to the recommended number.
4. Load the mat with the cardstock on it to the silhouette machine.
5. Send to cut the shapes of the snowflakes.
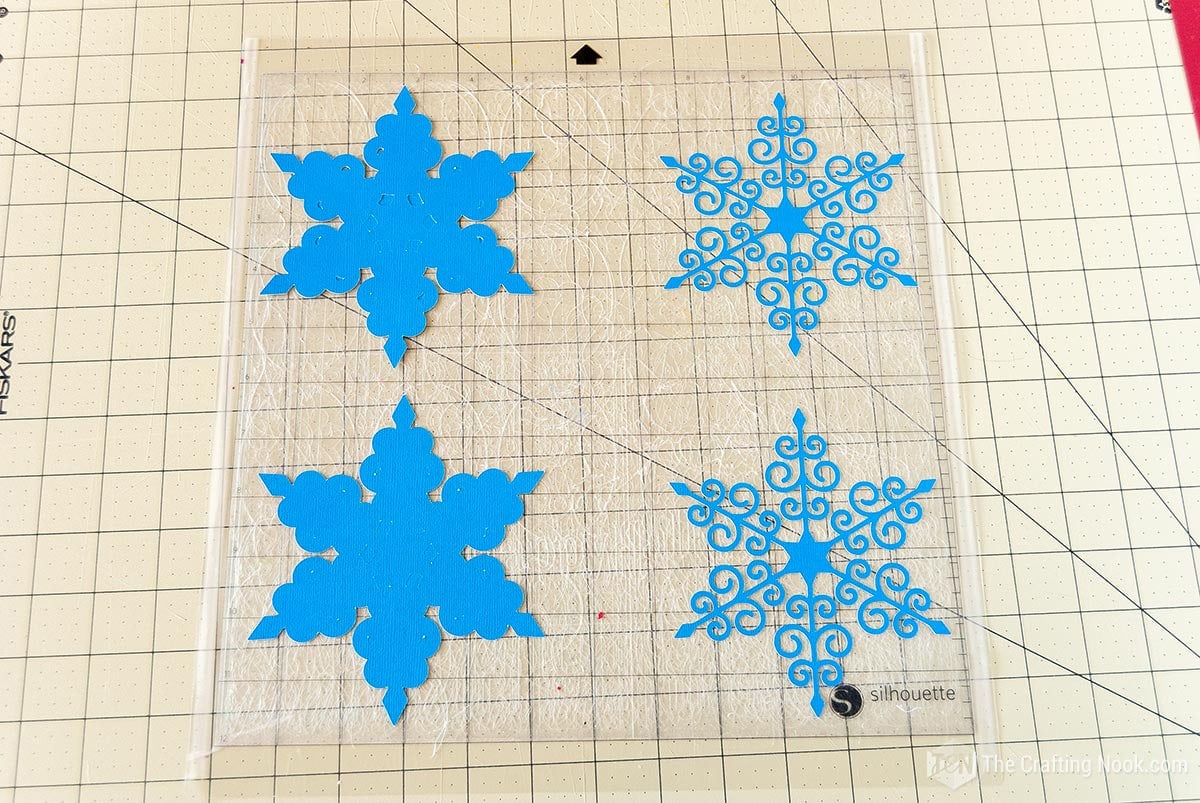
6. Repeat the process with as many snowflakes as you like. I made some blue, some green, and some pink.
7. Remove them carefully from the mat.
8. Protect your surface with plastic or paper.
9. Then spread some mod podge all over the snowflake’s inner shape.
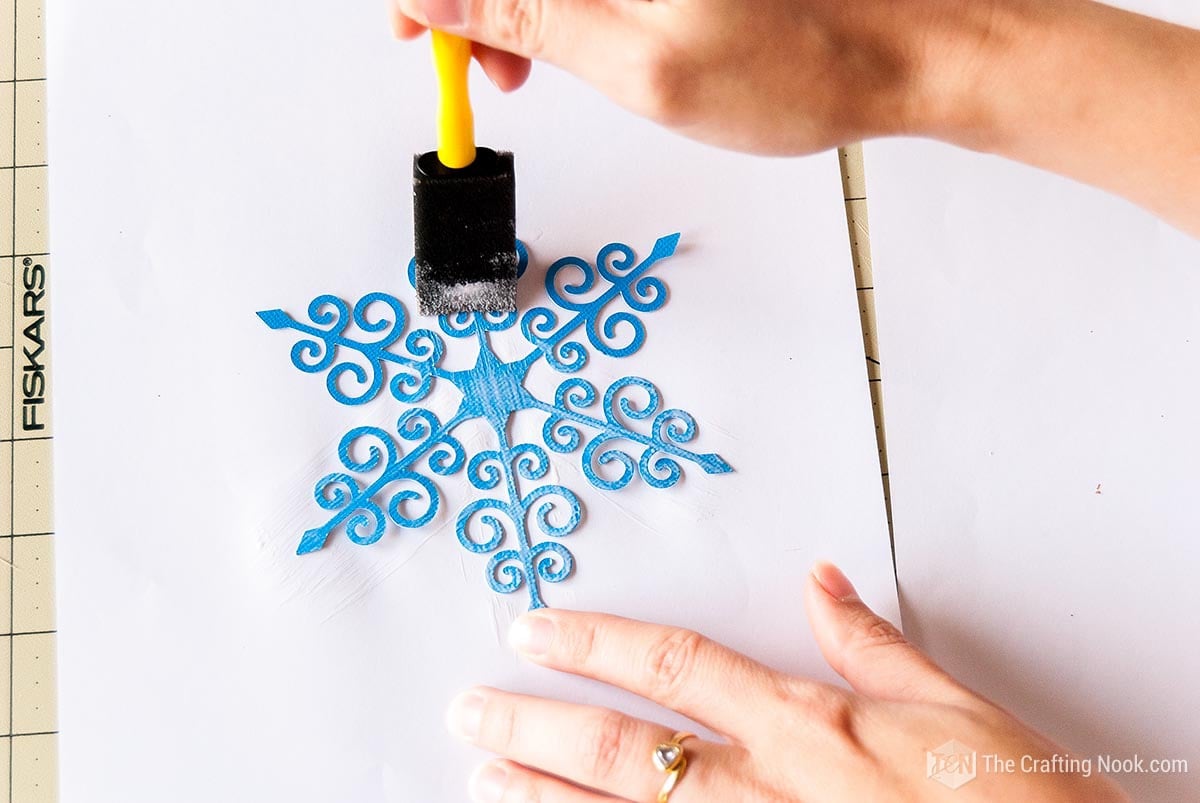
10. Right after that, pour on the glitter and I let it sit like this for a while, around 10 minutes.
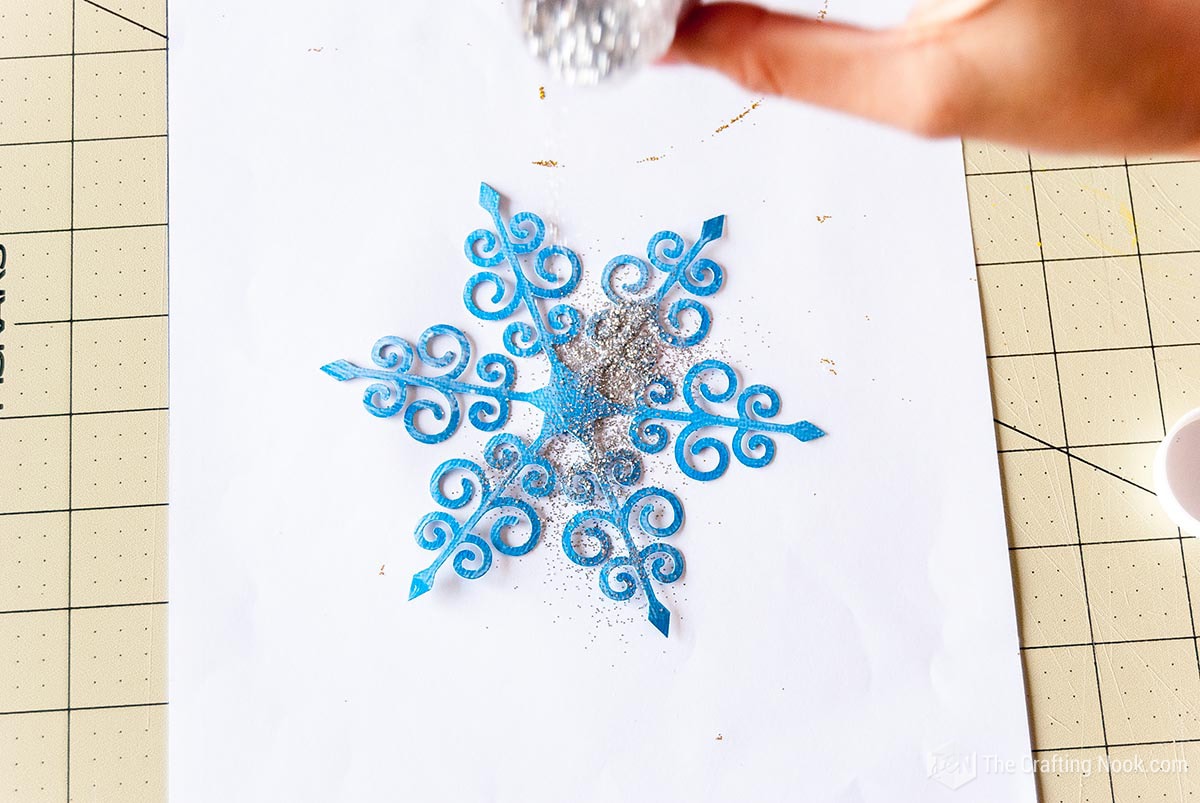
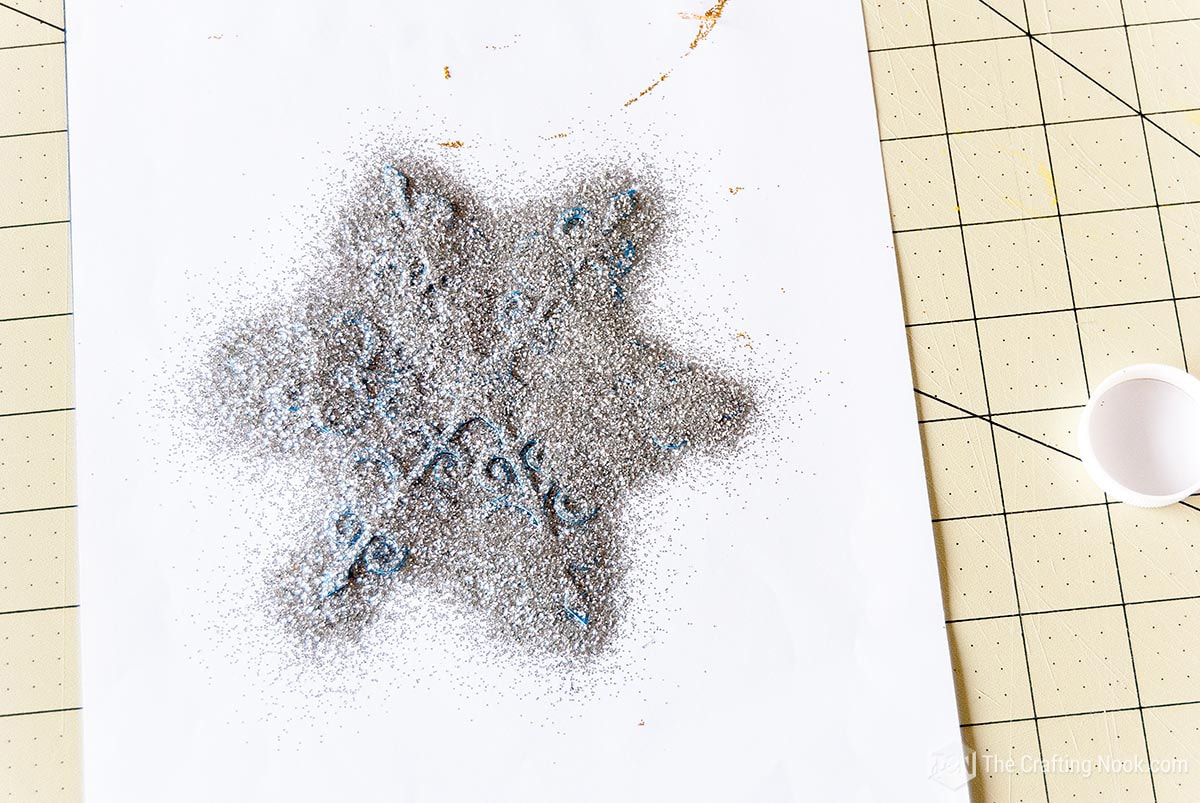
11. Then lightly shake off all the excess glitter.
12. You can play around with the glitter color. You can use the same color as the cardstock or make different combinations.
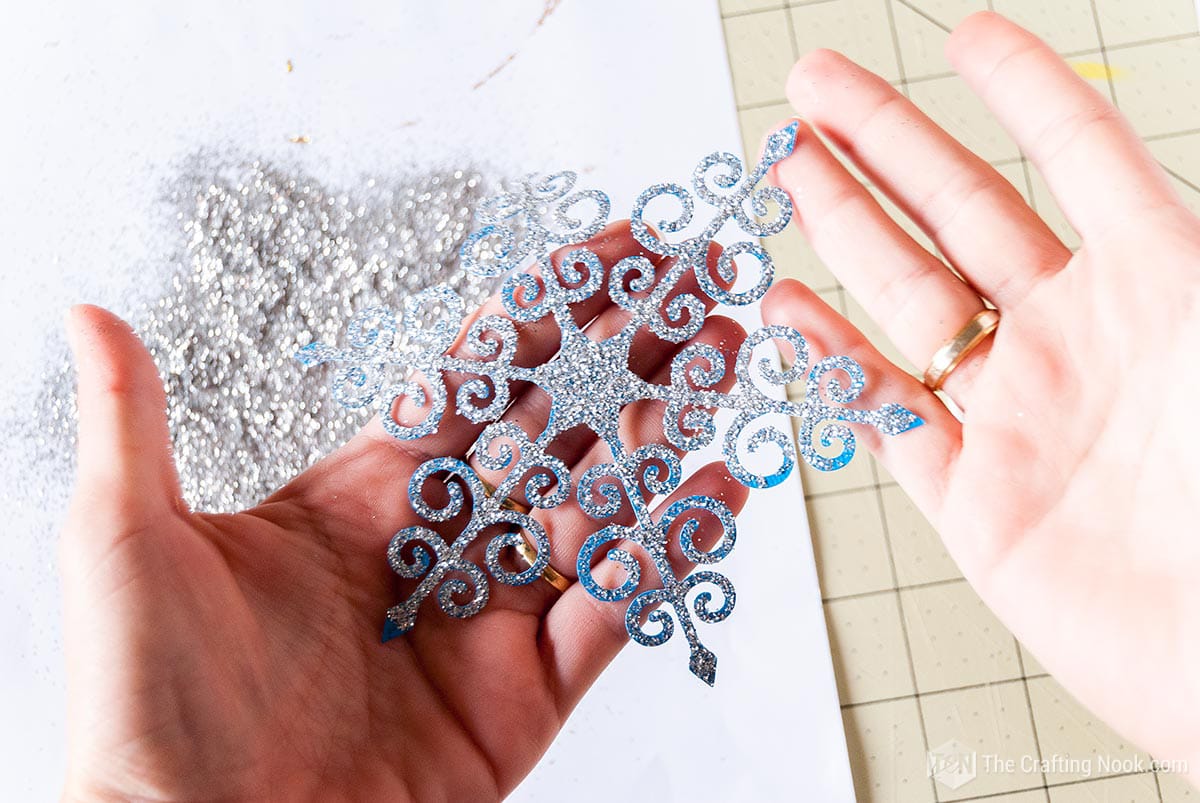
13. Do the same process with the other snowflake inner shapes.
14. Let them dry completely.
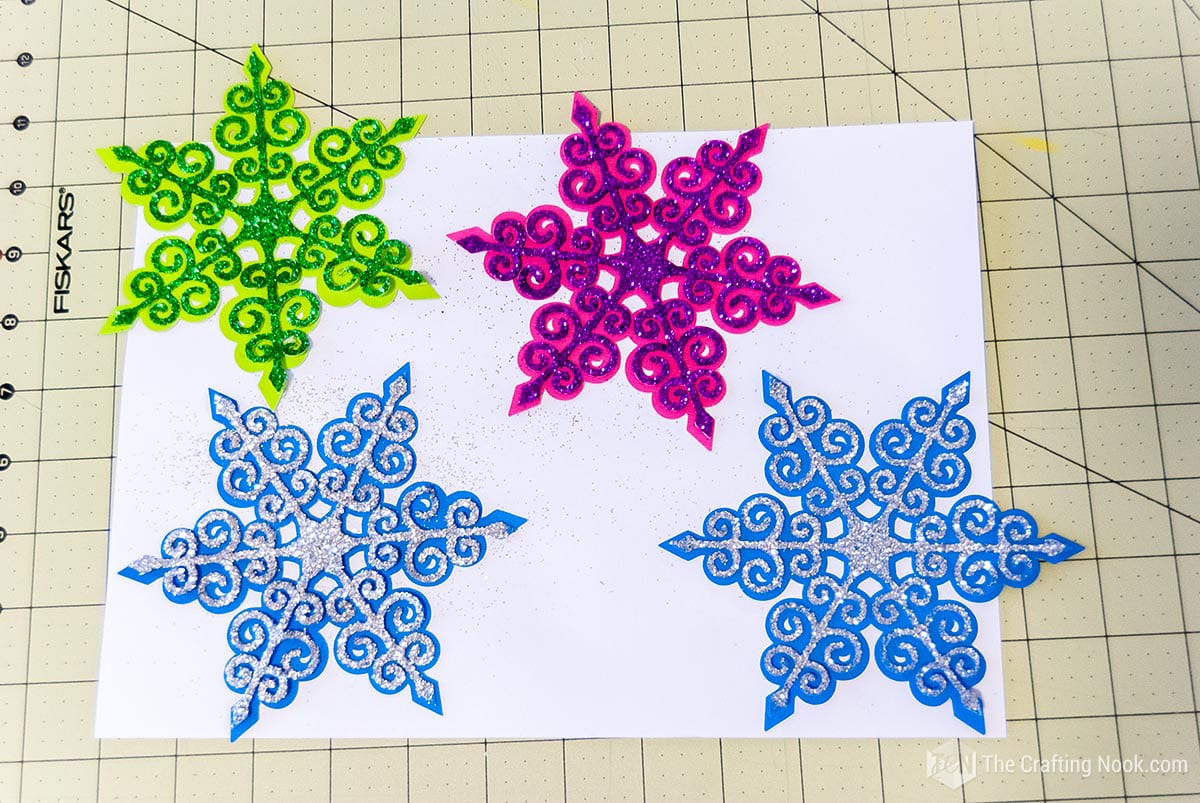
15. This part is your choice you can use normal glue or as I did, you can use spray adhesive. I did it with spray because it was easier to adhere both parts of the snowflake without messing up with the glitter.
16. If you decide to use spray adhesive make sure you are outdoors or close to a window in a ventilated area.
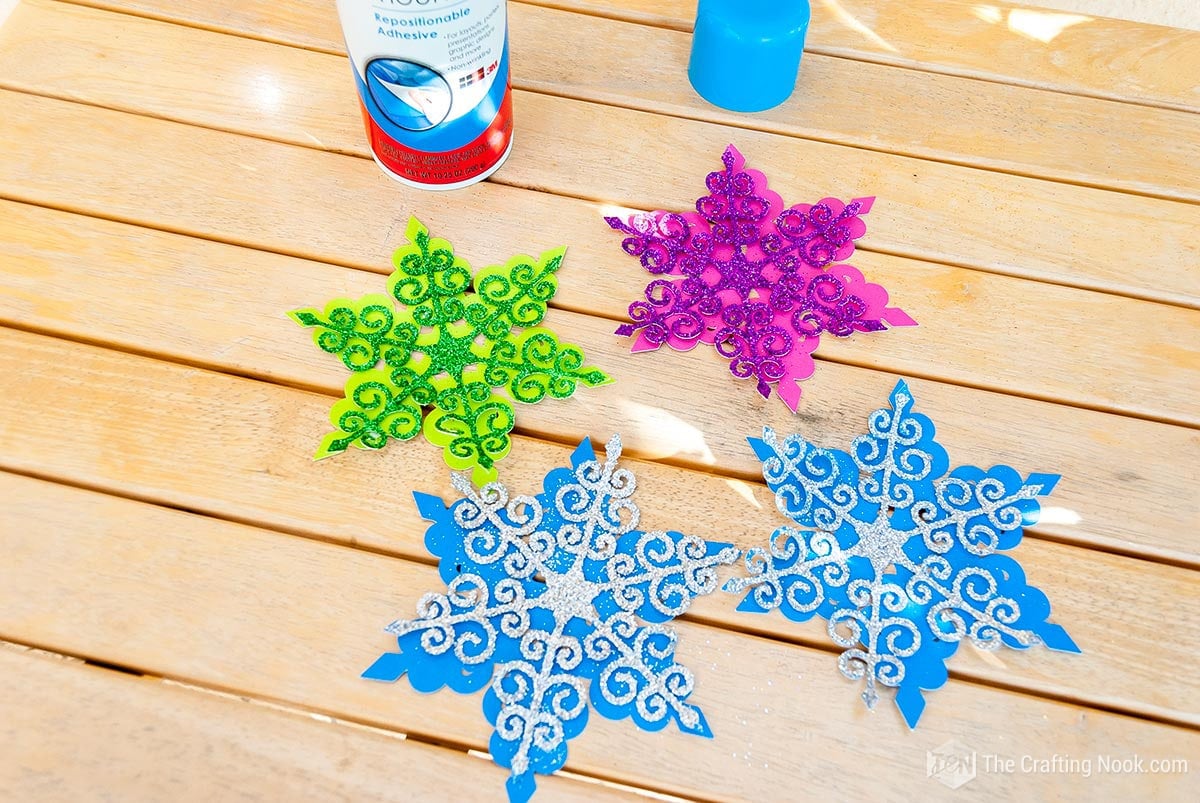
17. Spray a coat of adhesive on the back side of the glittered snowflake shape and immediately place it on the snowflake background.
Pro tip: Use a piece of paper to cover the snowflake and make some pressure so both pieces stick well without damaging the glitter.
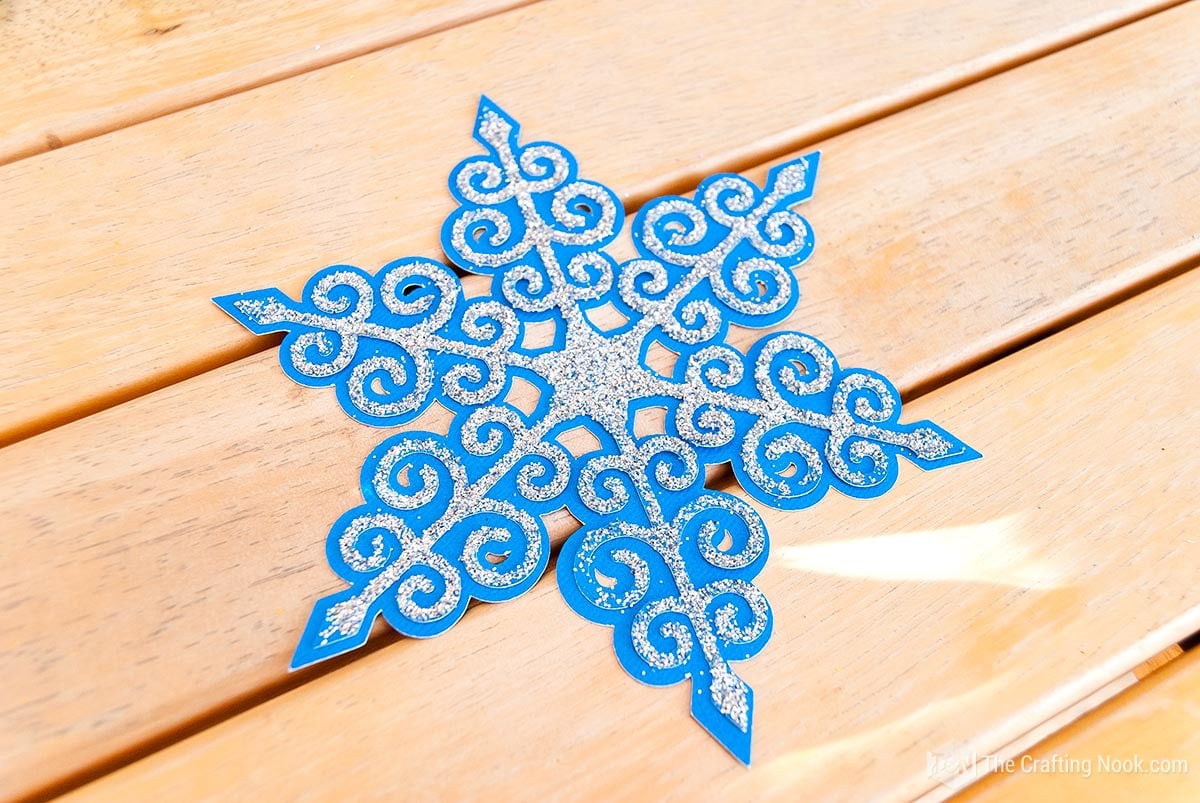
18. Repeated the process with the rest of the snowflakes and I let them sit and dry for a couple of hours.
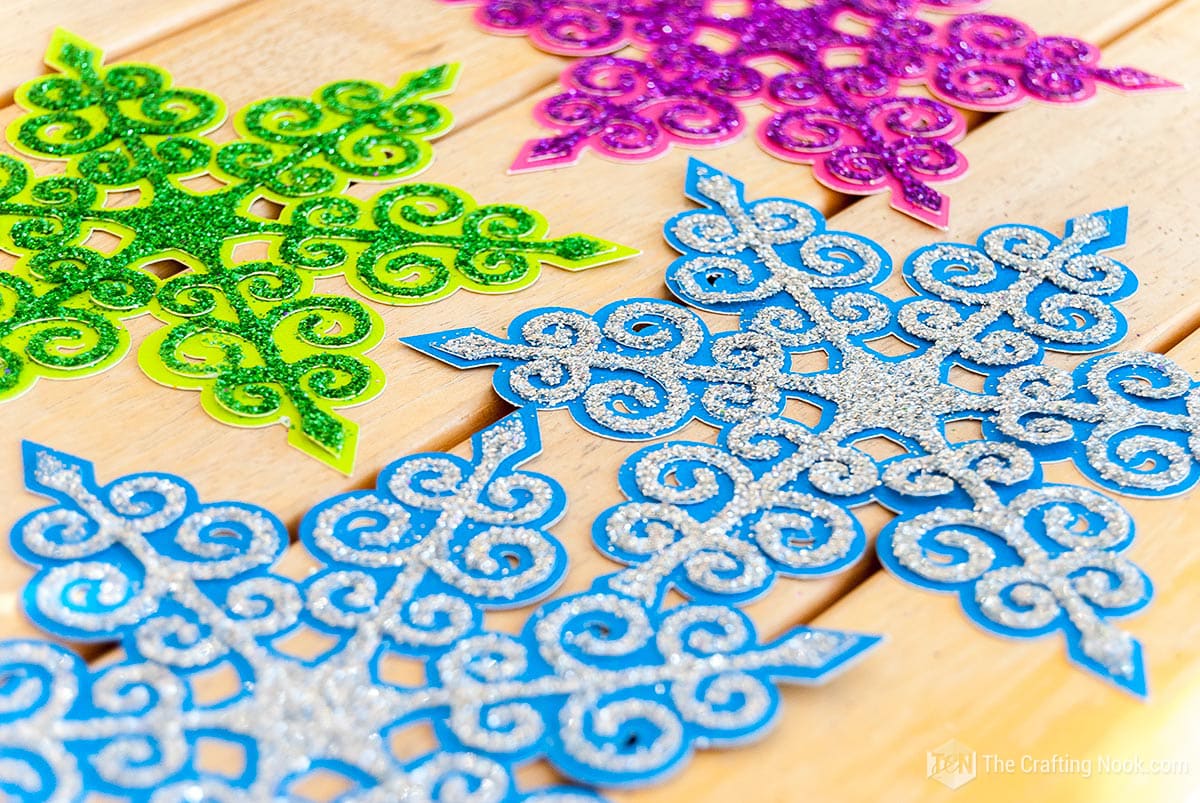
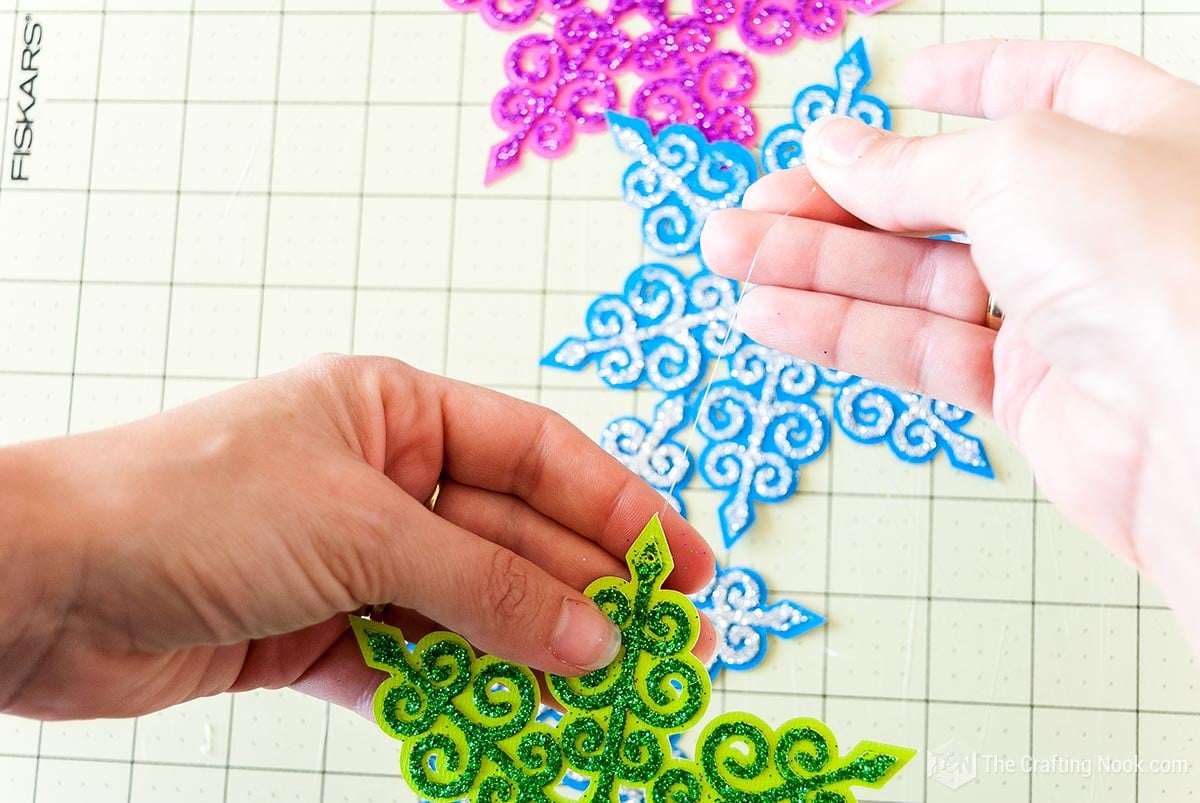
19. Lastly, make a small hole on one tip of each snowflake and insert a strip of nylon thread, make a knot with both ends of the strip to hang the snowflakes.
20. Hang your brand new diy paper glitter snowflakes on your Christmas tree!
Crafting Tips
- Make your decorations extra special with shiny metallic paper. You can use silver, gold, or rose gold papers to make your snowflakes look fancy. Try out different textures and finishes to create a really impressive display.
- Try using more than just paper when making snowflakes. Beautify them with various crafting materials to make them even cuter. Think about using small beads, sequins, or little pom-poms to make your ornaments really special and one-of-a-kind.
- Choose a strong paper or cardstock that can be easily cut with the Silhouette Cameo machine. Using thicker paper will make stronger snowflakes that keep their form better.
- Try cutting a small piece of paper first before cutting your actual snowflake designs. This helps you adjust the cutting settings to make sure the blade depth, speed, and pressure are right for the material you are working with.
- Be careful when handling the paper after cutting the snowflake shapes. Use a special tool or small tweezers to gently remove any extra paper. Take your time and be careful to prevent harming the fragile snowflake patterns.
- Save and Reuse Designs: When you create a beautiful snowflake design, you can save it in your Silhouette Studio library to use it again in the future. This saves you time and energy.


Frequently Asked Questions
It is best to use strong paper or cardstock that can be cut easily with the Silhouette Cameo. Using thicker cardstock makes sure that the snowflakes keep their shape nicely.
Make sure your mat’s stickiness is good. If the mat has lost its sticky power you should either change it to a newer one or improve the stickiness using a repositionable spray adhesive.
First, make sure your blade is still sharp and in good shape. Then I always recommend starting with a test cut on scrap paper and with the app setting suggestions. Then adjust the cutting settings if necessary. To get the best results for your paper, you need to change the blade depth, speed, and pressure.
Make sure the blade on your Silhouette Cameo machine is fastened correctly. Changing the tightness of something can often fix problems with how well it cuts.
Make sure you always do what the manufacturer of the Silhouette Cameo says to stay safe when using it. Make sure to keep your fingers away from the cutting area and be careful when handling the blade to prevent getting hurt.
More Christmas Projects to Try
If you enjoyed this DIY Glitter Paper Snowflake tutorial, you might also love these other Christmas project ideas too:
✂️ Tutorial
DIY Paper Glitter Snowflakes Ornament with Silhouette Cameo
Tools
- Silhouette Cameo Machine – Other cutting machines like Cricut can work too.
- scissors
- Foam brush
Supplies
- Colorful cardstock
- Glitter
- Mod Podge or white glue
- Spray glue
- Nylon thread
Instructions
- Firstly, download and upload the file to your silhouette studio app.
- On your app canvas, put the backing of the snowflake on one side of the mat and the cutout of the snowflake on the other as shown below
- Apply the proper settings on your app. I set it for patterned cardstock and set the knife to the recommended number.
- Load the mat with the cardstock on it to the silhouette machine.
- Send to cut the shapes of the snowflakes.
- Repeat the process with as many snowflakes as you like. I made some blue, some green, and some pink.
- Remove them carefully from the mat.
- Protect your surface with plastic or paper.
- Then spread some mod podge all over the snowflake’s inner shape.
- Right after that, pour on the glitter and I let it sit like this for a while, around 10 minutes.
- Then lightly shake off all the excess glitter.
- You can play around with the glitter color. You can use the same color as the cardstock or make different combinations.
- Do the same process with the other snowflake inner shapes.
- Let them dry completely.
- This part is your choice you can use normal glue or as I did, you can use spray adhesive. I did it with spray because it was easier to adhere both parts of the snowflake without messing up with the glitter.
- If you decide to use spray adhesive make sure you are outdoors or close to a window in a ventilated area.
- Spray a coat of adhesive on the back side of the glittered snowflake shape and immediately place it on the snowflake background.
- Repeated the process with the rest of the snowflakes and I let them sit and dry for a couple of hours.
- Lastly, make a small hole on one tip of each snowflake and insert a strip of nylon thread, make a knot with both ends of the strip to hang the snowflakes.
- Hang your brand new diy paper glitter snowflakes on your Christmas tree!
Notes
Share and PIN ME!!!
How about you?? Did you like this fun snowflake craft??? Do you like working with glitter???? I would like to know all about it!
Til’ next time…


FREE WORKBOOK
Keeping your Sweet Home Organized
Learn how to create intentional habits and simple routines to Keep Your Home Organized. Plus freebies, printables, exclusive content, and tips.
Disclaimer: By clicking on the “Yes” button above you are giving me your consent to collect and use your information according to the law and My Policy Privacy. Zero Spam I promise!


