How to Upcycle Glass Jars for Valentine’s Day Gift Boxes
This post may contain affiliate links. Please read our Disclosure Policy.
Craft Lovely Valentine’s Gifts: Upcycle Glass Jars with Washi Tape, Ribbon, and Tags to create DIY Fun, Heartfelt Gift Boxes!
Wrapping meaningful and thoughtful gifts can be easy and inexpensive when we use creativity and things we already have. I love upcycling so I’m always looking for ways in which I can use things that otherwise would be thrown away.

Table of Contents
Mini Jam Jars Valentine’s Day Gift Box
Valentine’s day is getting closer. Time is flying by so fast. Can you believe it??? At home, we use this jam that comes in mini jars because it’s practical each of us can have the one we prefer and we don’t have to stick with only a couple of flavors until each jar one over.

The thing is that we throw away so many I thought that those little jars could make a cute Valentine’s Day gift box for any small detail such as earrings, necklaces, bracelets, etc.
This craft took me about 30 minutes once I had the labels ready. I made 3 gift boxes and took photos so let’s say that it should take maybe 20 minutes LOL.
How to Upcycle Glass Jars for Valentine’s Day Gifts
I love how they turned out. Super cute and will last longer than regular cardstock boxes.
Supplies:
- Mini Jam Jars.
- Ribbon
- Gold/silver thread
- Washi tape {or similar}
- Labels and tags – You can snag the tags I used in the tutorial here.
- Hot glue gun
- Regular glue
- Cotton
Tools:
- Scissors
- Hot Glue Gun and glue stick.
- Cutting Machine (Silhouette Cameo or Cricut machine) – This is completely optional. If you don’t have one, you can print and cut the tags with scissors.

Instructions:
1. Firstly, make sure that the jars are completely clean and dry.
2. Apply one strip of washi tape to the jar. I place it at the bottom of the jar.

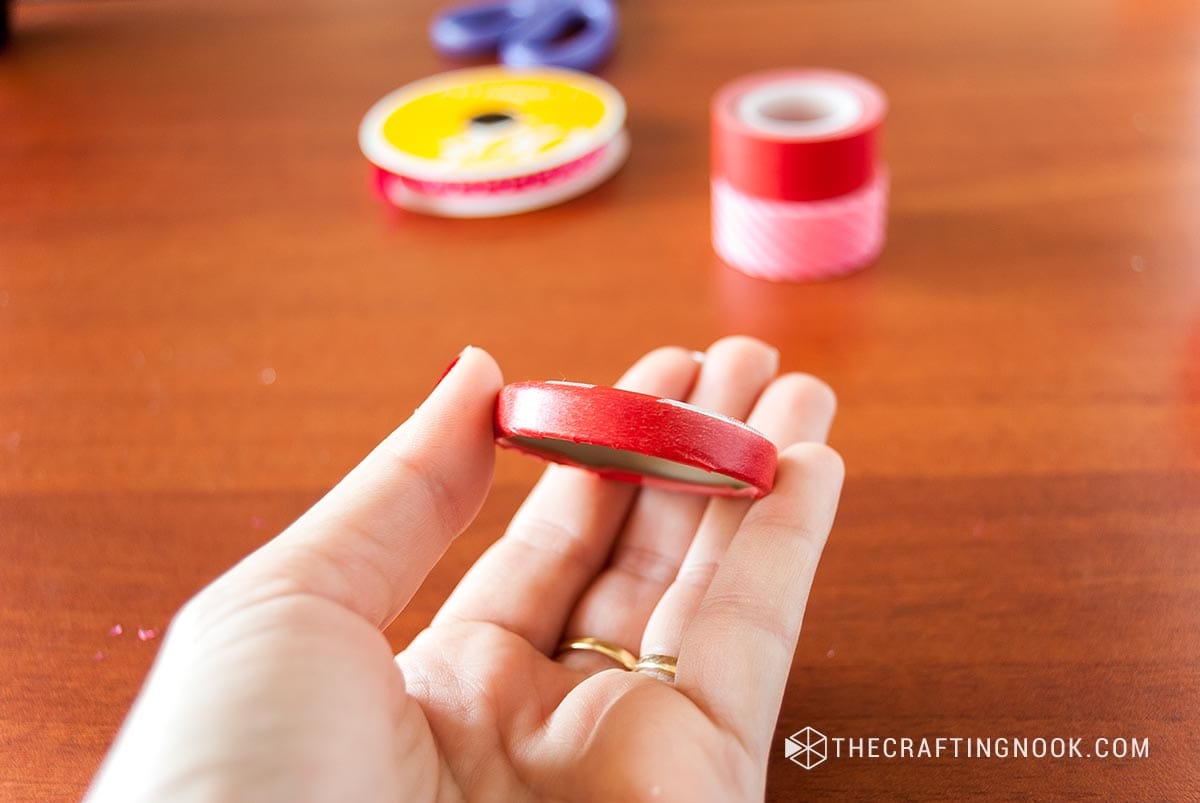
3. Then since most washi tapes are kind of wide, cut it in half lengthwise and wrap the edges of the lid – I did this because I didn’t want the the pattern and the expiring date to be visible.

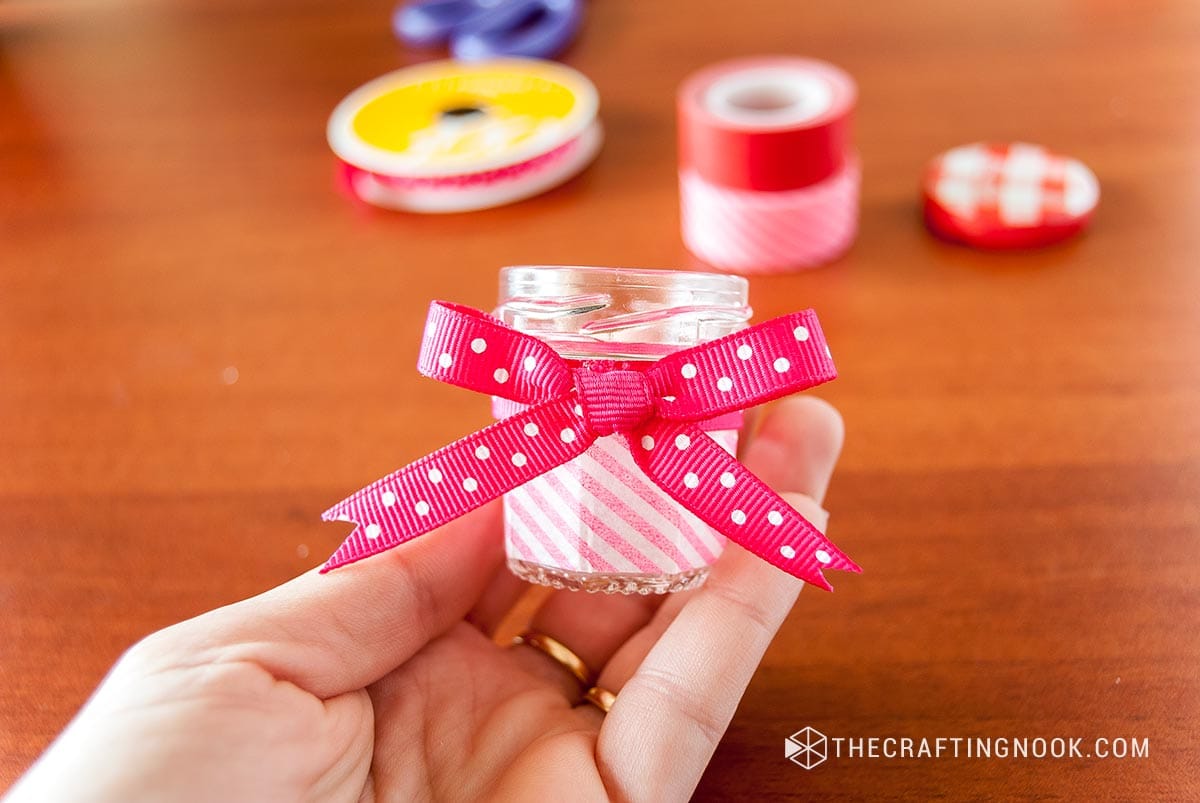
4. With hot glue, apply a strip of ribbon around the jar just below the lid place.

5. Make a cute ribbon bow and glue it to the jar over the ribbon where both ends meet.
6. We are almost done.

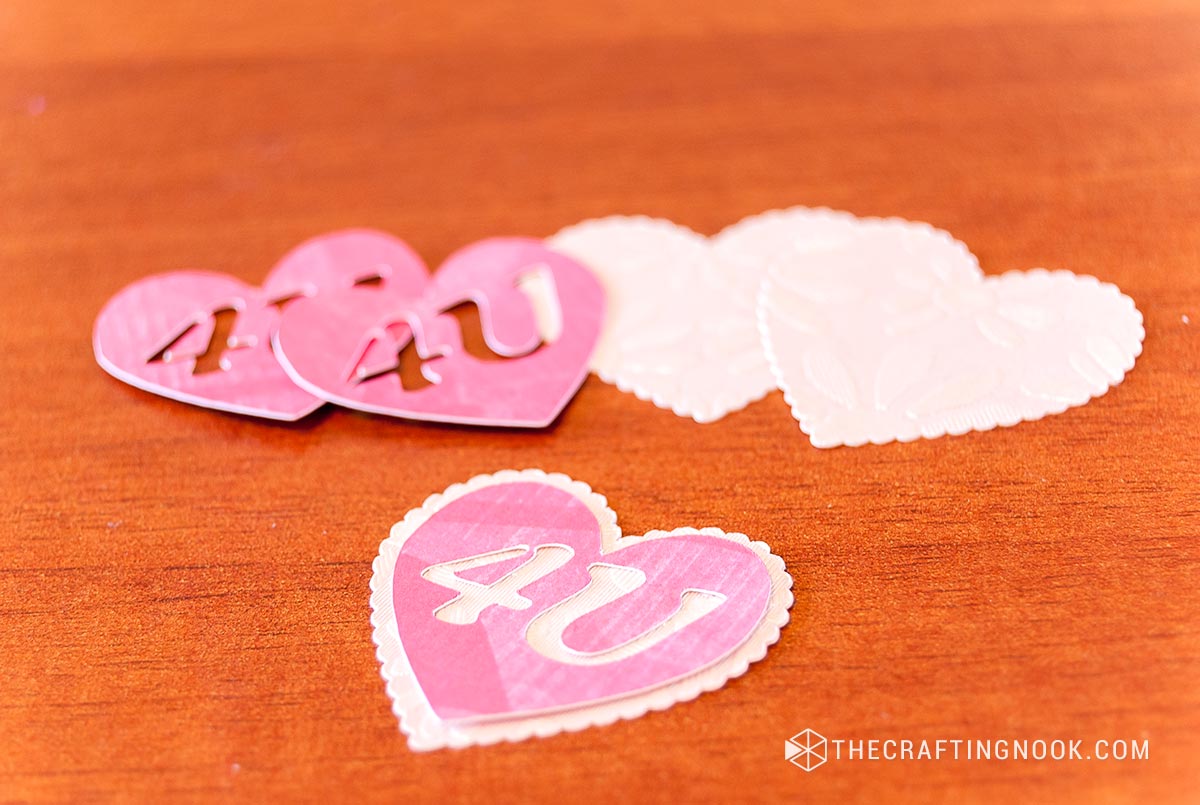
7. I made this cute 4U tag that you can snag. You will find some printable labels for the lid and a printable and cut file of the tag.
8. The tag can be made with your preferred cutting machine. Send it to cut in your desired size and glue both pieces together one on top of the other like shown below
9. If you don’t have a silhouette, you can print the printable version, cut it with scissors, or just put any tag you love there using a gold/silver {or any color} yarn.
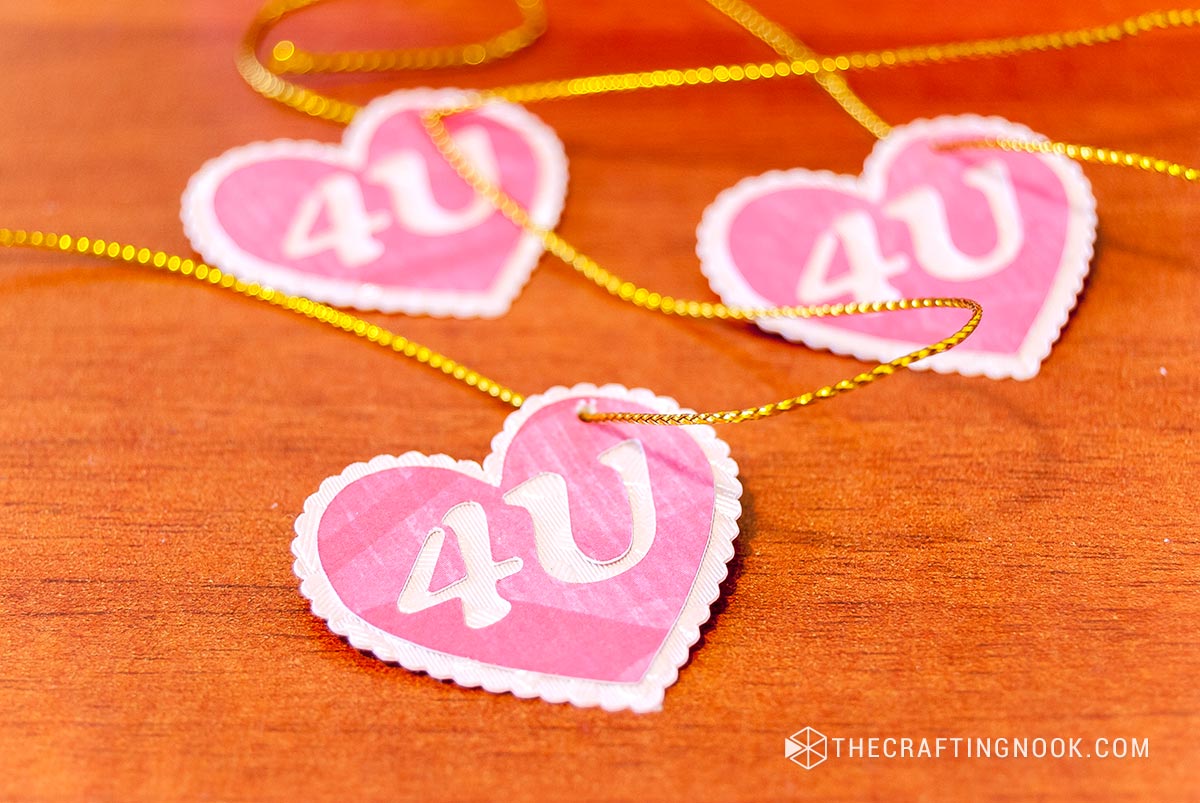
10. Place the tag around the ribbon so the tag is right next to the bow.
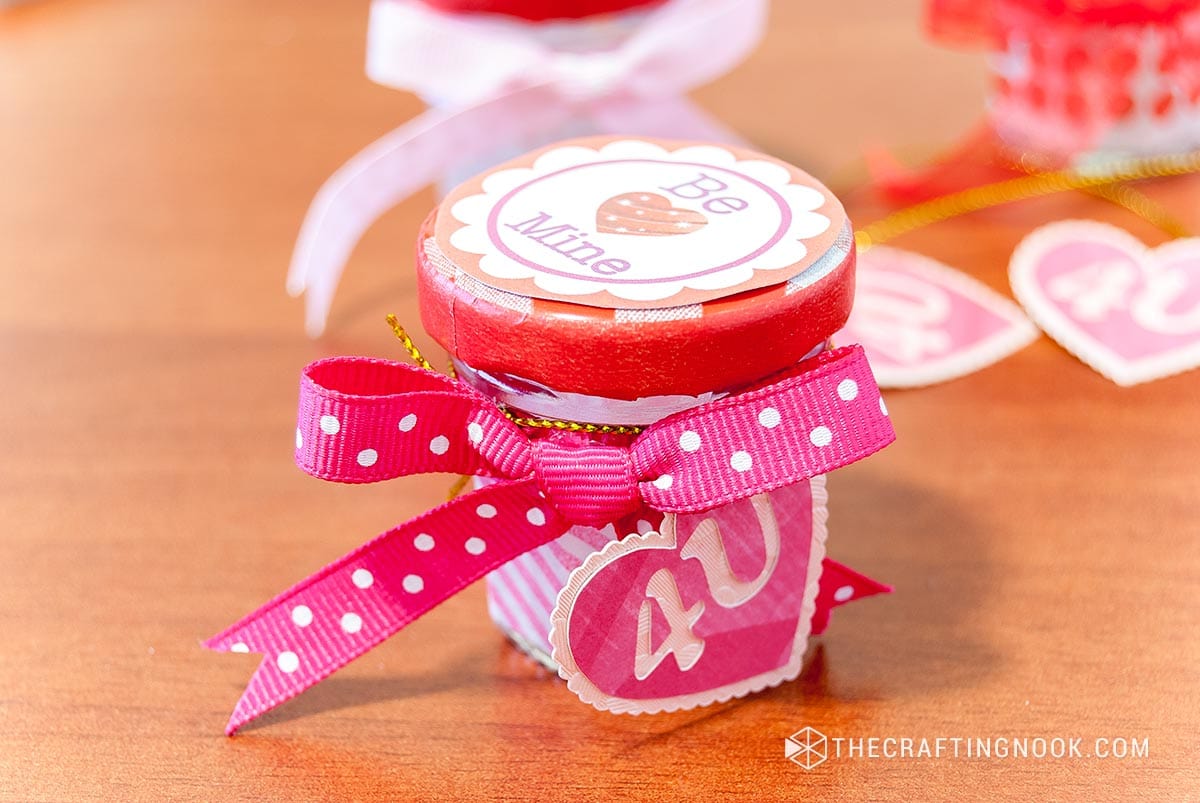
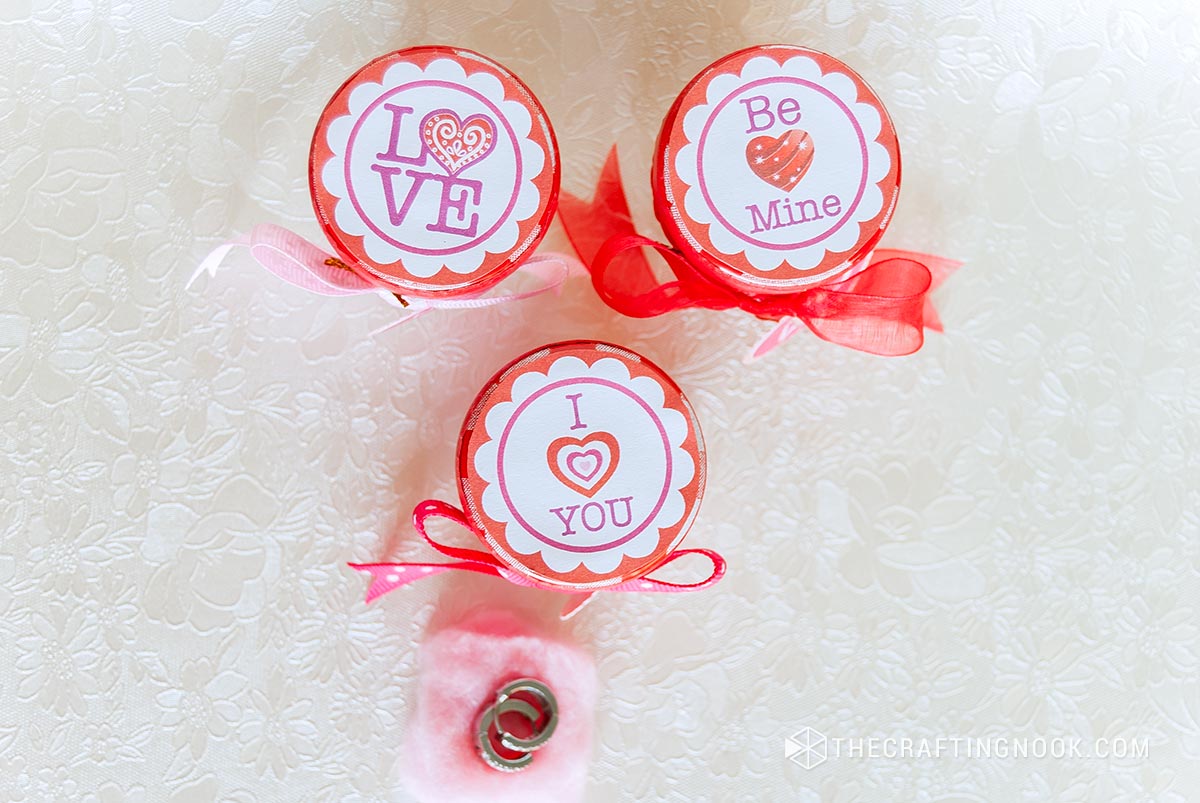
11. Print and cut the cute round labels at the lid’s diameter and glue it to the top of the lid with hot glue.

12. Then place some cotton inside the jars and put your special gift there.
13. That’s it!
I had decided to give some cute earrings to my daughter, mom, and a friend, so I made 3 of these cute gift boxes.
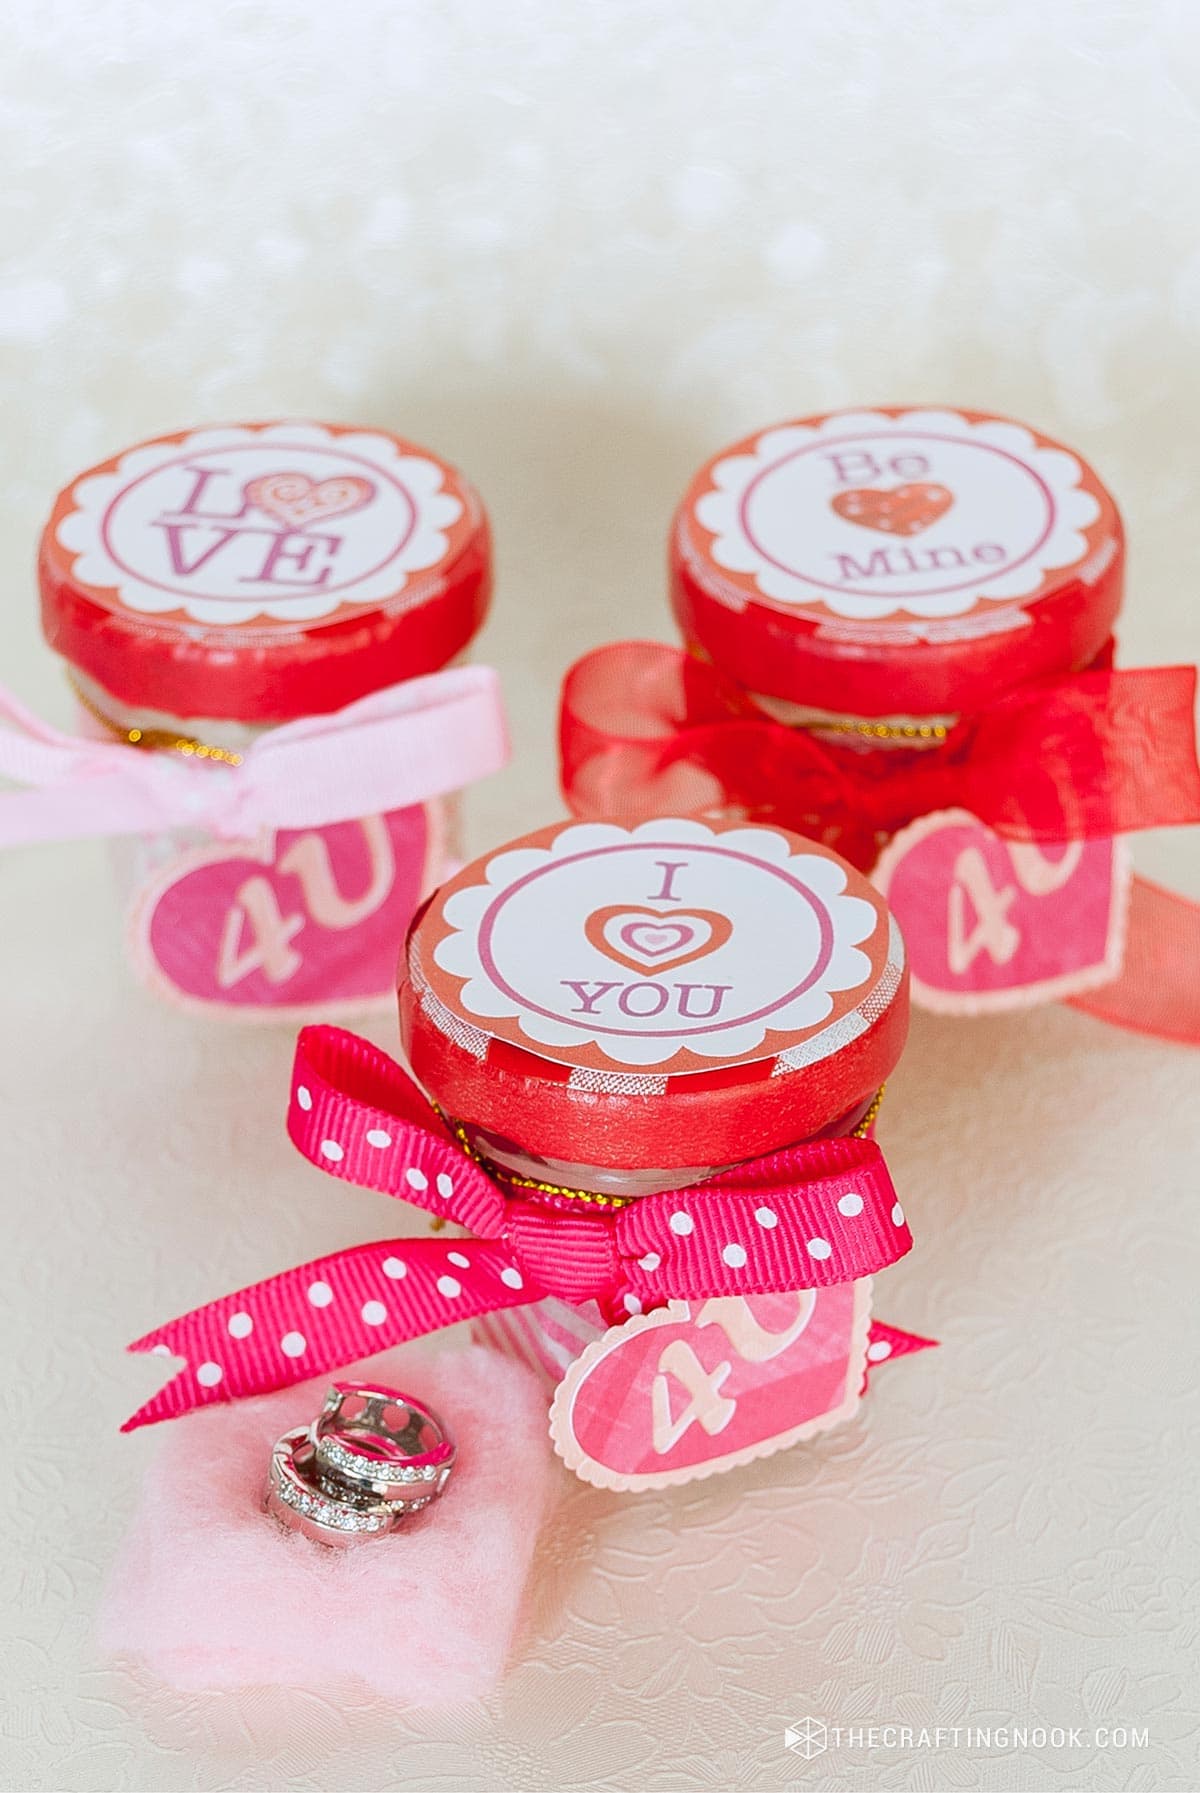
A cute, inexpensive and full of love little detail for the loved one.
Crafting Tips
- If you are gifting a jewelry piece, infuse a drop of essential oil inside the jar lid for a subtle, delightful fragrance when the recipient opens it.
- Consider writing a secret message on the inside of the jar lid. It’s a sweet surprise when discovered.
- You can use heart-shaped sprinkles or tiny candies as edible confetti inside the jar for an added treat.
- It’s also super fun to fill the jar with love notes or reasons why you love the recipient for an ongoing, heartwarming surprise.

What do you think??? Do you like upcycling things like this to make wonderful gifts???
What do you think??? Like it??? Want to make one???
Hope you like this quick and fun craft for Valentine’s Day! This super cute and easy paper heart garland is so much fun to make with kiddos too!
Frequently Asked Questions
Absolutely! Depending on the size and nature of your gift, you can use other types of jars. Mini jam jars just add a cute touch when you have small gifts like bracelets, earrings, etc.
Yes indeed, it’s beginner-friendly! It’s all about creativity and having lots of fun.
You can download these lovely tag templates you see in the project for free. And you can also easily find really cute ones online.
Absolutely! Get creative with different themes and colors for various celebrations. From Christmas to Halloween, Easter to St. Patrick’s Day. Imagination is the limit.
No special skills are required. It’s all about adding your personal touch and having fun.
More Valentine’s Day Projects to try
If you enjoyed these cute Upcycled Jam Jars Gift Boxes tutorial, you might also love these other Valentine’s Day Projects I got for you:
Don’t forget to download your cutting file and let me know in the comments your thoughts!
✂️ Tutorial
How to Upcycle Glass Jars for Valentine’s Day Gift Boxes
Tools
- scissors
- Cutting Machine (Silhouette Cameo or Cricut machine) This is completely optional. If you don’t have one, you can print and cut the tags with scissors.
Supplies
- Mini Jam Jars.
- Ribbon
- Gold/silver thread
- Washi tape {or similar}
- Labels and tags
- Hot glue gun
- Regular glue
- Cotton balls
Instructions
- Firstly, make sure that the jars are completely clean and dry.
- Apply one strip of washi tape to the jar. I place it at the bottom of the jar.
- Then since most washi tapes are kind of wide, cut it in half lengthwise and wrap the edges of the lid – I did this because I didn’t want the the pattern and the expiring date to be visible.
- With hot glue, apply a strip of ribbon around the jar just below the lid place.
- Make a cute ribbon bow and glue it to the jar over the ribbon where both ends meet.
- We are almost done.
- I made this cute 4U tag that you can snag. You will find some printable labels for the lid and a printable and cut file of the tag.
- The tag can be made with your preferred cutting machine. Send it to cut in your desired size and glue both pieces together one on top of the other like shown below
- If you don’t have a silhouette, you can print the printable version, cut it with scissors, or just put any tag you love there using a gold/silver {or any color} yarn.
- Place the tag around the ribbon so the tag is right next to the bow.
- Print and cut the cute round labels at the lid’s diameter and glue it to the top of the lid with hot glue.
- Then place some cotton inside the jars and put your special gift there.
- That’s it!
Share and PIN ME!!!

Til’ next time…


FREE WORKBOOK
Keeping your Sweet Home Organized
Learn how to create intentional habits and simple routines to Keep Your Home Organized. Plus freebies, printables, exclusive content, and tips.
Disclaimer: By clicking on the “Yes” button above you are giving me your consent to collect and use your information according to the law and My Policy Privacy. Zero Spam I promise!

These are adorable –my daughter has been wanting to make a washi tape craft, so I’ll keep this in mind. :) Thanks for sharing!
Yayyy Glad you like this! Thanks so much for stopping by and leaving some love!
XOXO
Oh my gosh, so cute; I love the little ribbon! Pinning, and I featured this today on my blog!
Oh this is just adorable! I love these so much! Especially the variety in them!
These are so cute! I love the way you decorated the little jars, adorable!
How adorable! Thanks for sharing,I am glad I followed your link via A Blossoming Life!
aww these are adoable and would make great little gift containers year round! I want some :) Thanks for linking to Snickerdoodle Sunday!
What a cute idea, Cami! Thanks for sharing it with us at Sewlicious Home Decor! Pinned to the party board! :)Marti
How adorable are these?! Awesome DIY project :)
I’m Coming over from the V-Day SITS linky party :) Have a lovely rest of your day!
what cute little gift boxes and such a cute idea and those mini jelly jars are adorable
This is such a great idea and very cute…hope to see more of your ideas…great job!
This is such a great idea and very cute…hope to see more of your ideas…great job!