Shiraz Etched Wine Glass {Using Silhouette Cameo}
This post may contain affiliate links. Please read our Disclosure Policy.
Handmade gifts are the best way to show your love and appreciation. I love making gifts myself and believe me a DIY gifts not always means cheaper. Most times they take time to plan, time to make and lots and lots of love and materials involved. that’s why I choose handmade when I and most importantly when that person means a lot to me. I made this Etched wine glass for my dad last year and I’m so happy he loved it and uses it often. That’s all that matters to me when I give something.
Shiraz Etched Wine Glass

My dad love red wine and his favorite is Shiraz. I wanted to make something he would love and use so I thought a personalized wine glass could be a cool gift. And so I did.
I love giving things that people will actually use and love. Like the Heat Pad or the baby Doll Bedding set I made for my Brother and my girl last year.
So, let’s check out how to make this Etched Wine Glass, shall we?
Supplies:
- Wine Glass
- Stencil material or vinyl.
- Transfer material.
- masking tape
- Etching cream
- Hook
- Rubber gloves
- Foam brush
- Protective glasses
- Scrapper
- Paper towels {to protect your surface}
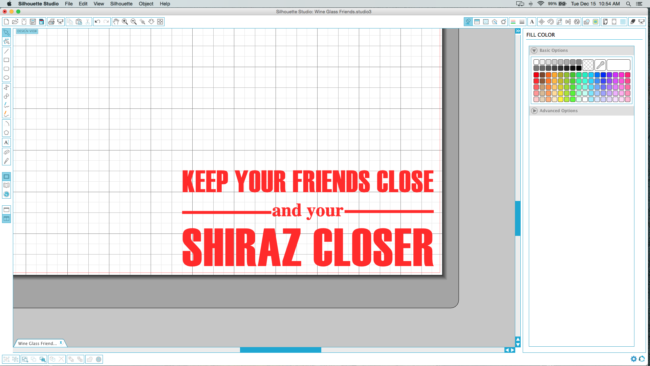
Ok so, First of all I created the design that I wanted to etch on the Wine glass using my silhouette studio. I wrote “Keep your friends close and your Shiraz closer” and then made a simple but cute design with it.
Once it was ready I proceeded to cut the design first with my Silhouette machine. Since I didn’t have stencil vinyl material I used white vinyl instead.
Once cut, using my hook, I weed all the inner design leaving all the rest in place because that is what will be etched.
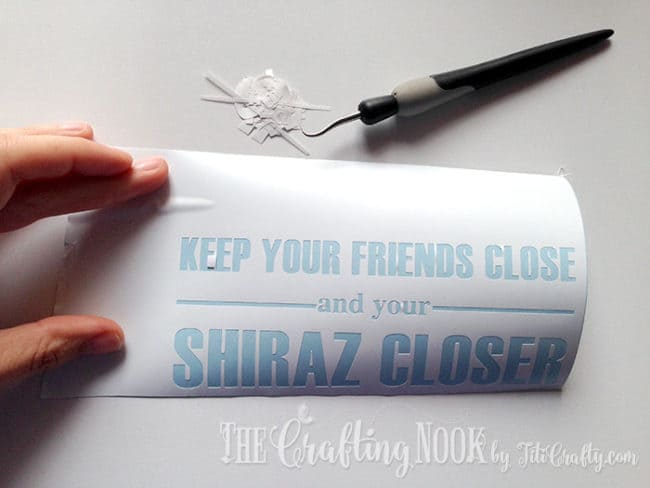
I applied transfer tape to the design. Placing the transfer tape on top of the vinyl. You can use your scraper tool to smooth the transfer tape atop your stencil as you go. Some air bubbles will remain, but as long as you smooth out the ones close to the edges of your stencil, you should be good to go.

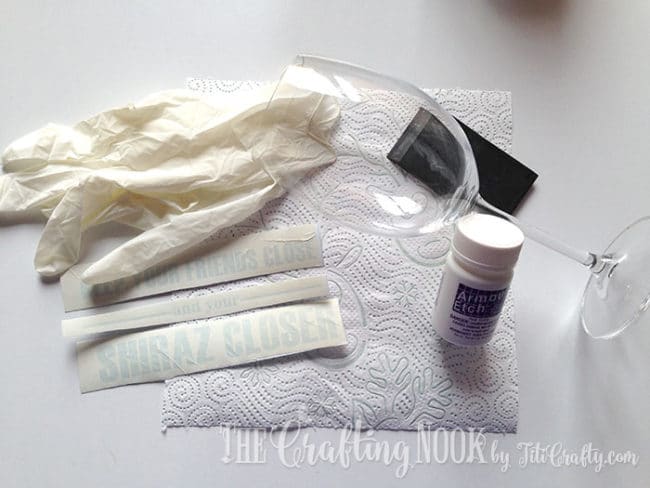
Since my design was about 3 rows, I cute the design in 3 like follows and I was ready to start:
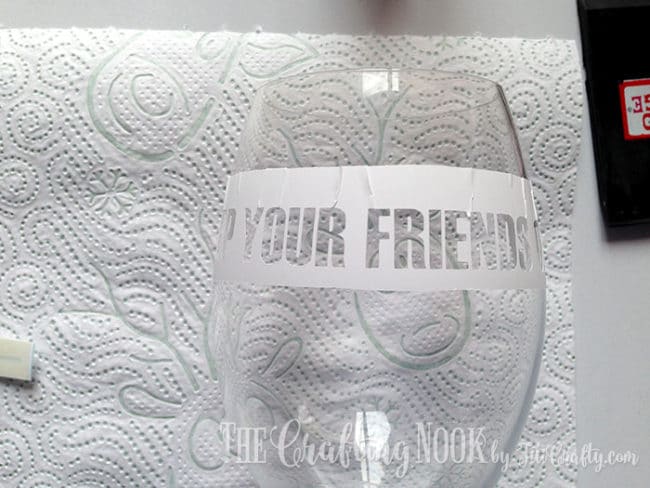
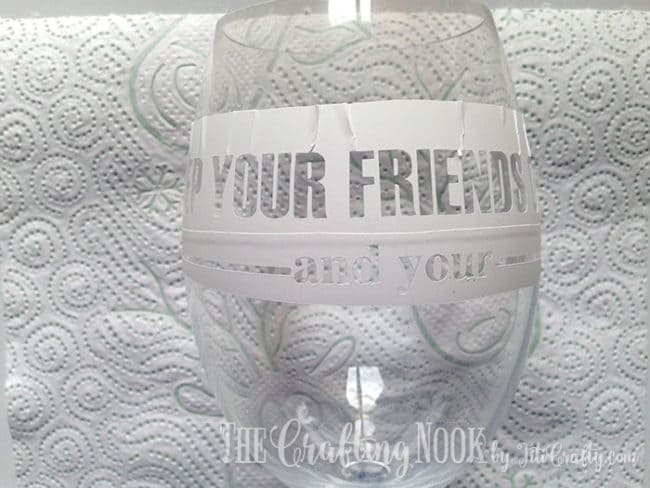
Then I applied the stencil to the glass {or any glassware you are using}. This is really scariest part for me, because the wine glass is all curvy and I wasn’t sure how it would gonna stick there. So, I just started with the first row sticking the middle first. Then tried to evenly apply the rest along the way making sure it was centered and aligned to the top {as much as I could}, then with scraper tool to smoothly make it even across the whole glass. Wrinkles are inevitable here. As much as I tried the curves in the glass makes it impossible to not have them. But I did what I could.
A applied my second and third row the same way.

Peel away transfer tape really slowly from each row just to make all parts of the stencil remain on the glass, If something didn’t, just put the transfer back and with the scrapper do some pressure and peel back away. Then with a finger press out any air bubbles near the edges of your stencil.
Next step applying the etching cream to your glassware, right?
NOOOOO.
Cover the whole rest of your glass with masking tape. Please!!!! I screw up one glass because I forgot to do that and some etching cream touched the glass around the stencil. NO GOOD!
And believe me when I say, cover ALL of it. I screwed up a second glass because I thought that just covering the surrounding area would be enough and guess what????
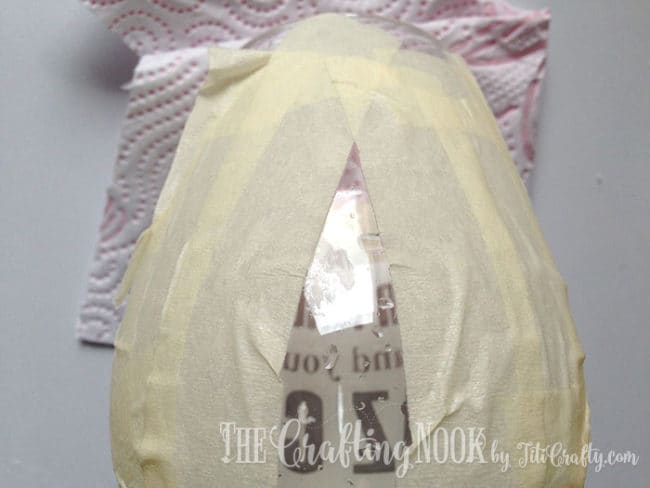
Etching cream there too. It’s unbelievable!!!!
So remember, protect it ALL!!!!
The good part?
I learned a lot from this Etched Wine Glass project. LOL
Anyway, back to the project.
It’s important that for this step you are using rubber gloves and protective glasses. Also, Is preferable to do this outside if possible or in a really ventilated area since this product contains strong chemicals and you don’t want to have any direct contact with it. Lauren from The Thinking Closet even recommends that if you ever get a headache while working with it, take a break. I didn’t need it thankfully!
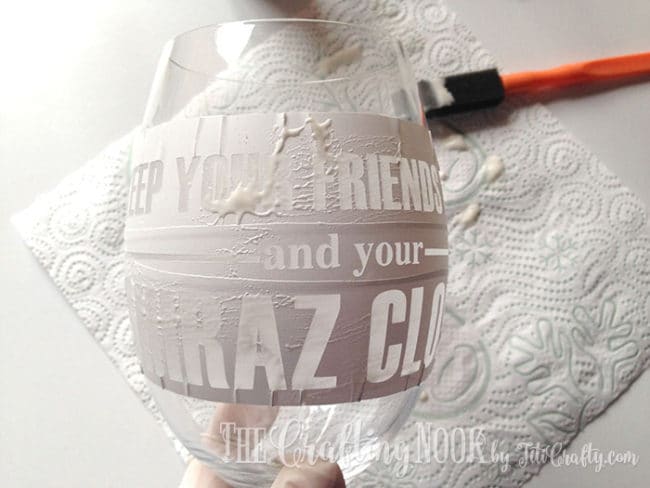
Shake the bottle to smooth out any clumps and then tap out a generous amount of the etching cream onto the negative spaces in your stencil.

I used a foam brush, it definitely gives more control over the spreading of the cream. Thanks Lauren for the tip!!!!
Not sure if height affects the exposure of this project but I found myself leaving it like for over 3 to 4 minutes and as you can see the design is barely visible. Maybe the timing also varies between brands and I definitely recommend doing some test on a surface you won’t use first. Silhouette brand suggests 30 to 40 seconds. Anyway, Once you have a thick, even layer of the etching cream across your design, set your timer to as long as your tests result best!
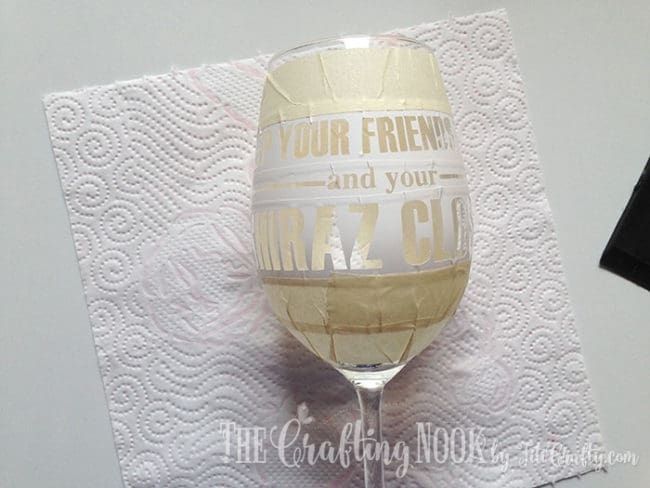
Once your time is up, you can use your scraper tool to remove the excess cream from your design and put it back in the bottle…. Ooooh yeah let’s not waste! Then with a towel remove all the etching cream residues.
And finally run the glass under some water, still wearing gloves I removed all the cream and used a rag to dry it. It’s good to be careful not to take some cream onto places we don’t want to etched, it starts the process really fast, learned the hard way!

Now it’s time to remove the vinyl or stencil material. With regular vinyl it doesn’t take much force but I’ve heard that with stencil material it’s a bit harder.
Wash your wine glass well and let it dry!
I learned that while wet I couldn’t see the design well, so wait until dry to see if it’s there.
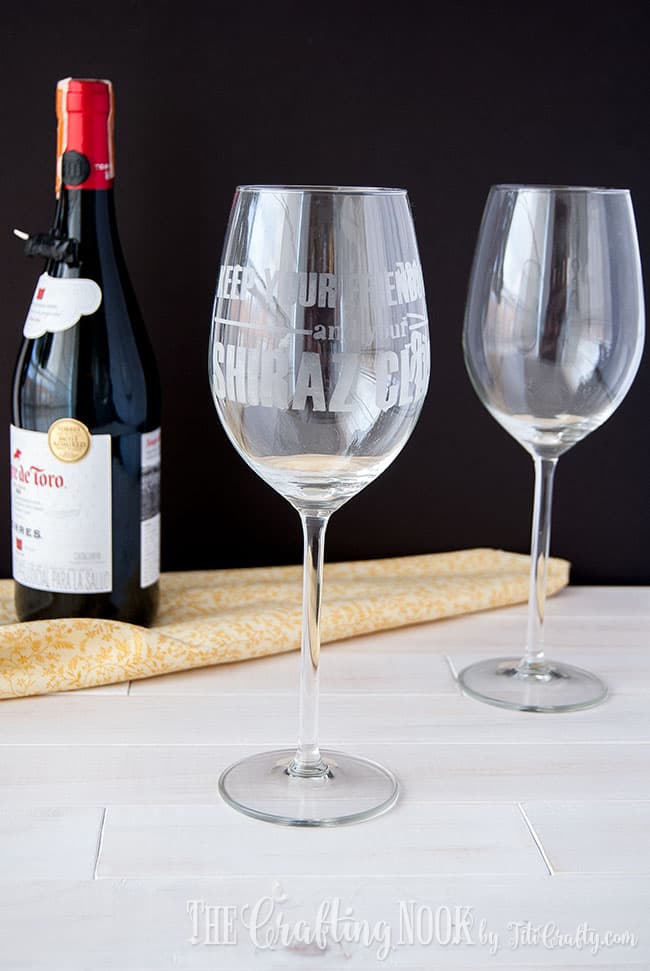
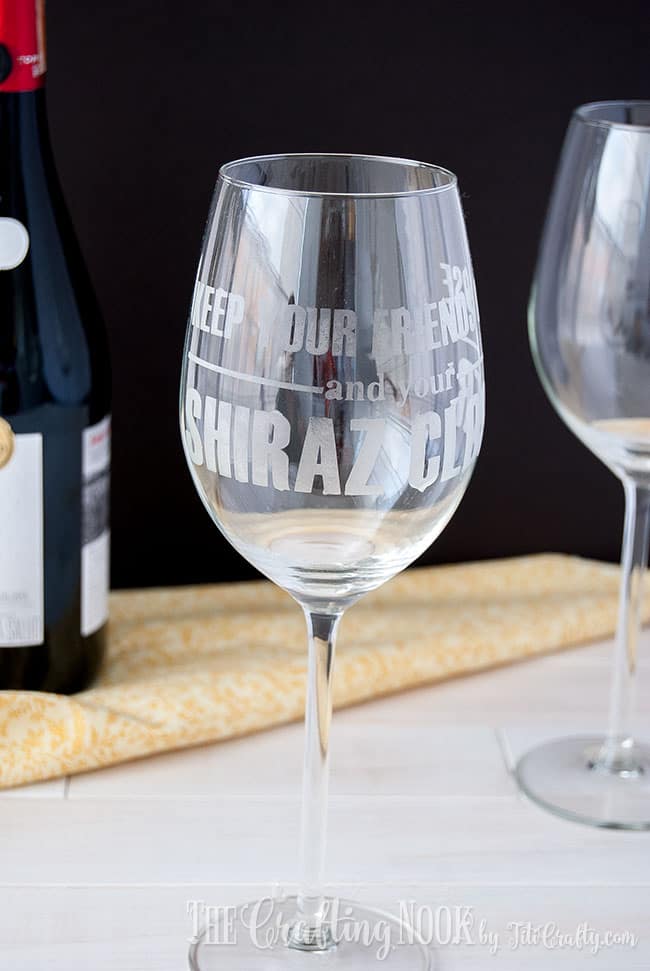
Here you have your Etched Wine Glass!
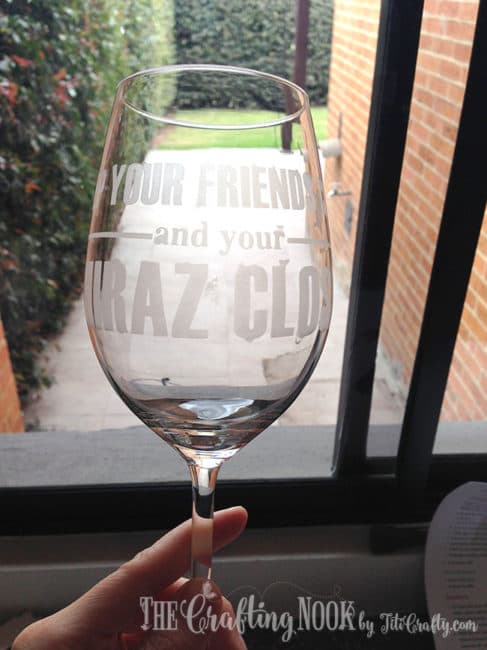
I had lots of issues with the curvy shape on the glass. even though I tried my best with the wrinkles I still got lots of them and some let the cream in so my result was not the best, not even on the third go. But at the end I thought, those small details makes them unique and showed all the effort I put into it to make a special gift for my dad.
He loved it, and I can’t say how much it meant to me seeing him using it almost every night to have his wine. Love you dad!


Well, hope you like this Etched Wine Glass project too.
If you know tips and tricks to make this better, I’m all years, I mean all eyes. Any new ideas are welcome, please leave your thoughts in comments!
If you enjoyed this project you might also LOVE these too:


Til’ next time…


FREE WORKBOOK
Keeping your Sweet Home Organized
Learn how to create intentional habits and simple routines to Keep Your Home Organized. Plus freebies, printables, exclusive content, and tips.
Disclaimer: By clicking on the “Yes” button above you are giving me your consent to collect and use your information according to the law and My Policy Privacy. Zero Spam I promise!
These wine glasses turned out great Camila!
Love the layout of your blog as well. This is the first time I’ve stopped by :)
Emmy,