How to Make Doll Bedding Set for Cribs or Cradles
This post may contain affiliate links. Please read our Disclosure Policy.
Learn how to make doll bedding set in just a few hours! This easy step-by-step guide will show you how to create a custom blanket, pillows, and mattress for your child’s doll crib.
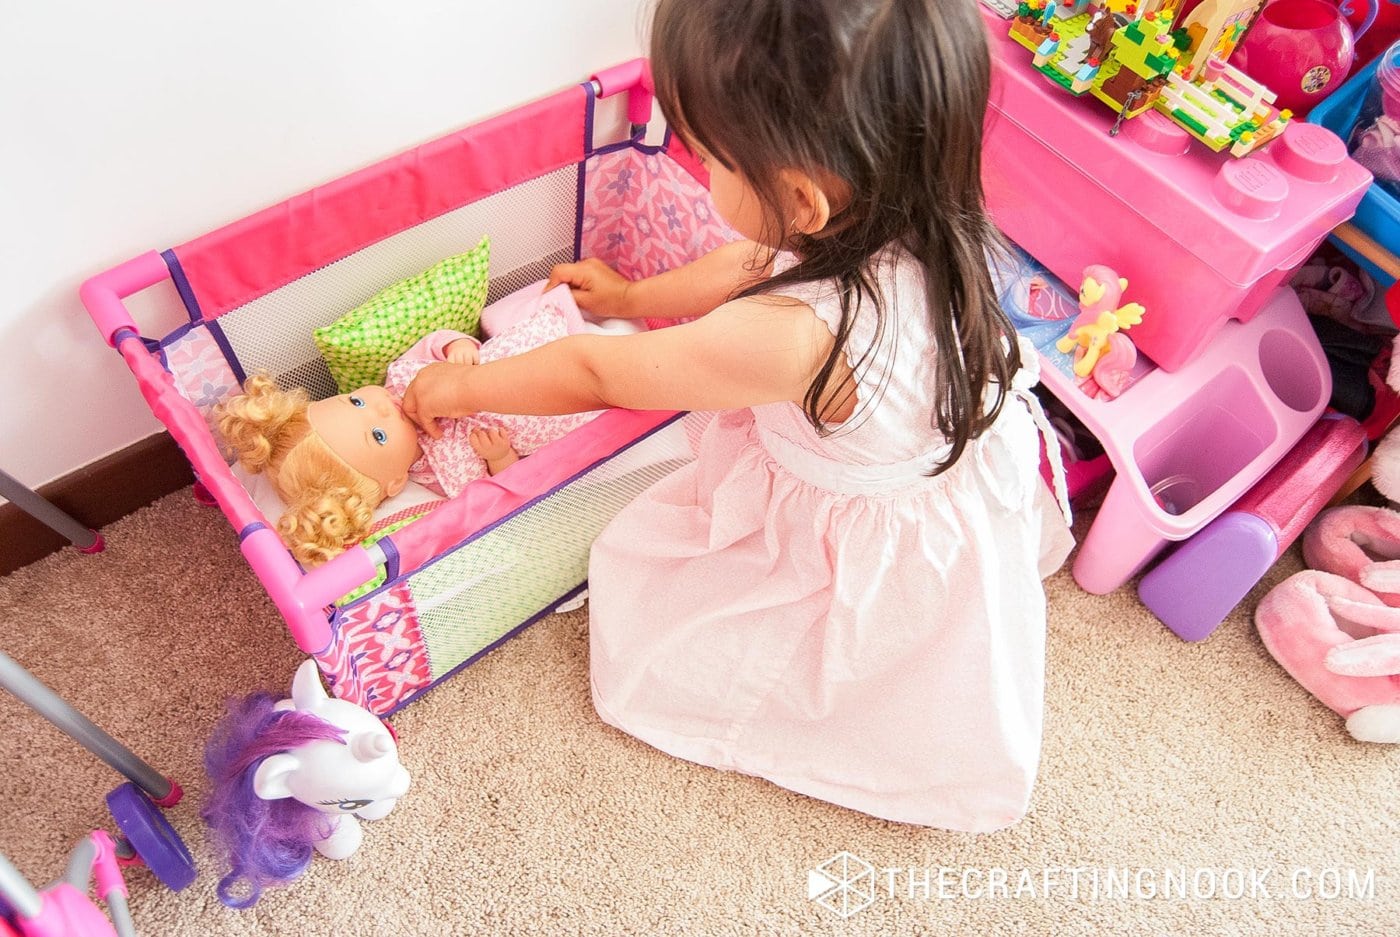
Does your girl love to play with baby dolls? Mine certainly does. She loves changing clothes, feeding the baby, and all. She would even use her toy containers as the baby’s crib.
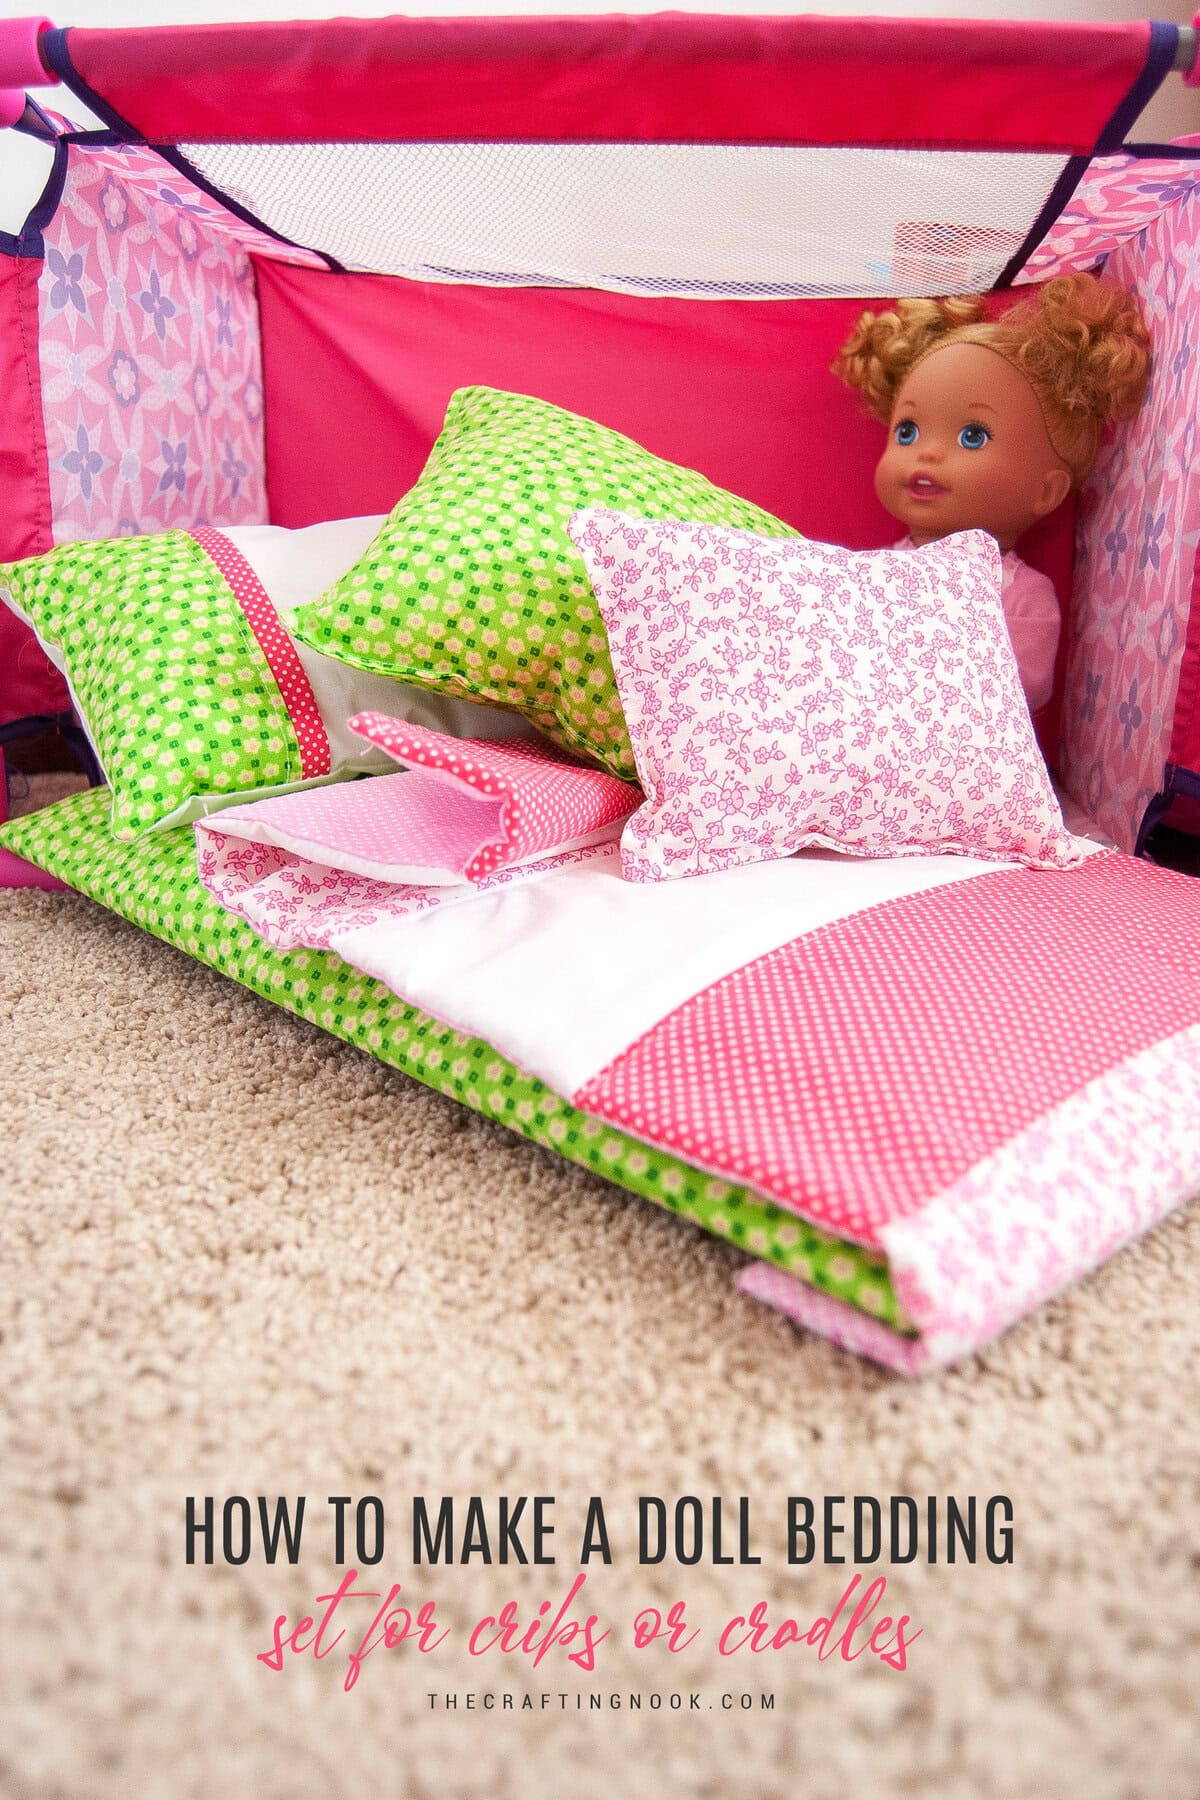
Table of Contents
Baby Doll Bedding Set Idea
After seeing how beautiful my daughter’s duvet cover and pillowcases turned out and the fact that she would use anything that resemblance a crib to play with her dolls, it gave me the idea of making her a doll needing set for the doll crip my mom had given Em as a Christmas gift.
She had gotten the Graco set that came with a crib, stroller, and feeding chair and she especially got obsessed with the Crib.
It was a fun project to make mostly because it didn’t take as long as the duvet cover one. This took me about 2 or 3 hours, fabric scraps from the duvet cover, and a lot of love.

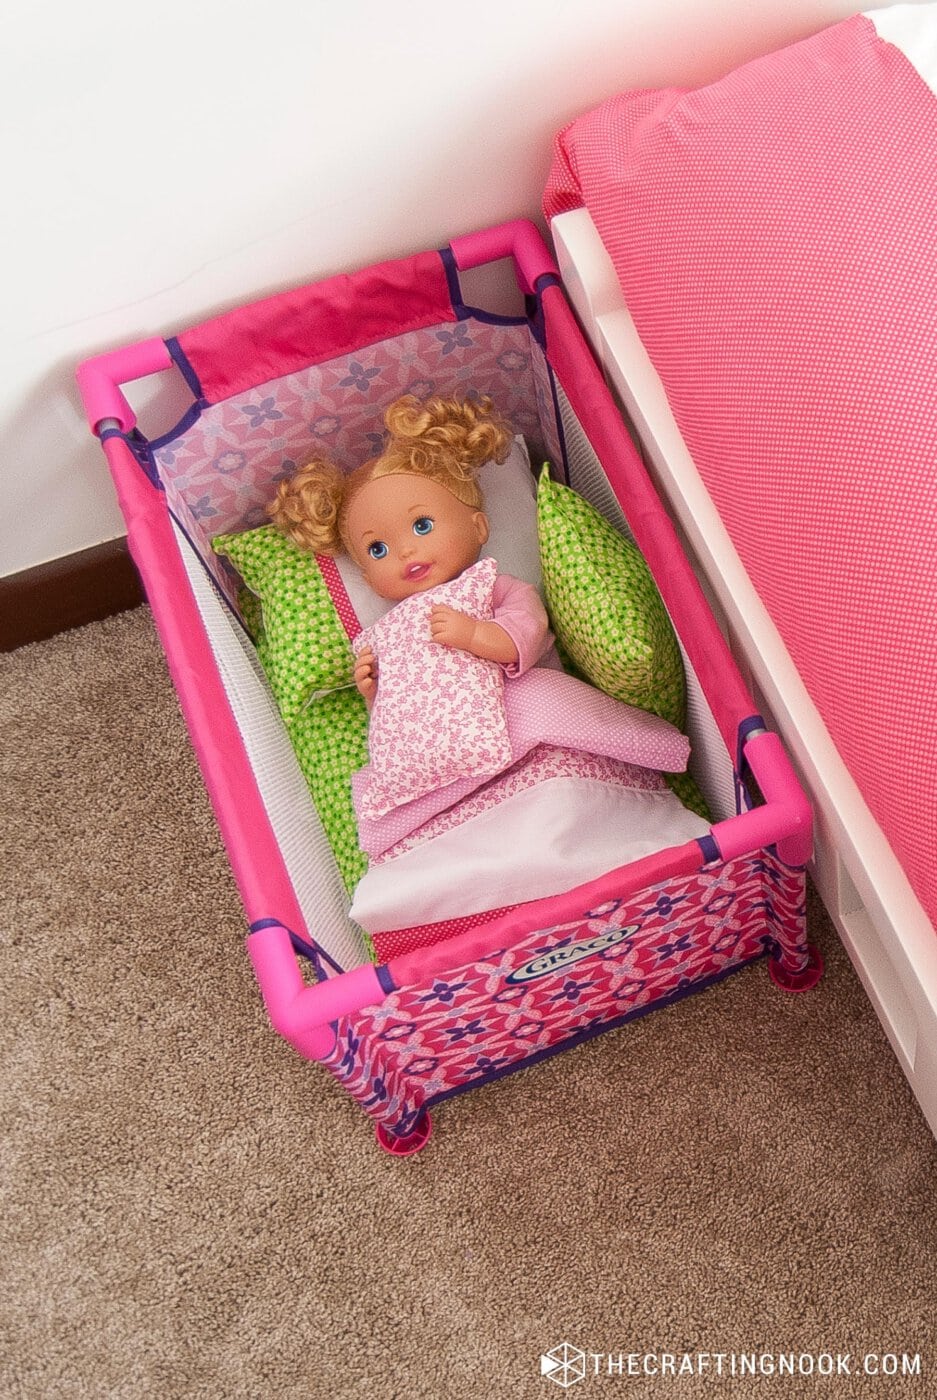
Since the crib didn’t actually had a mattress or anything, I started by making a kind of mattress for the crib with built-in sheet and a quilt-like blanket with the exact same pattern as the duvet cover.
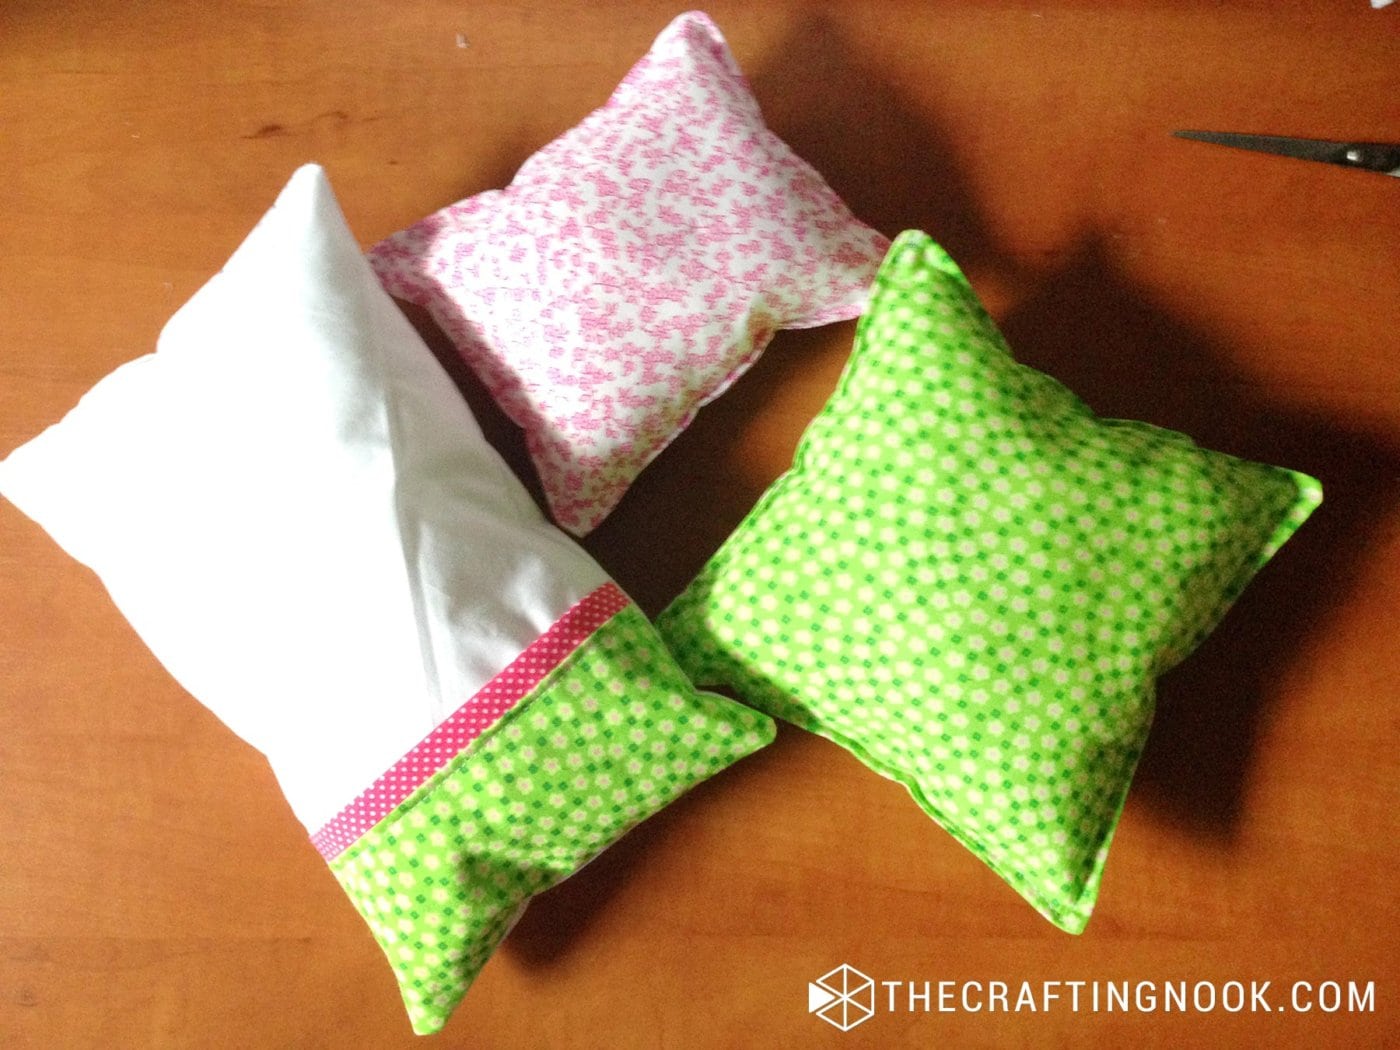
I also made the pillows following the same patterns and went ahead and wrapped it!!!!
I was so excited; I knew she would love to have her baby’s crib and even more a whole bedding set.
How to make a doll bedding set for A Crib
For this tutorial, I’ll give you measures based on a Graco Room Full of Fun Baby Doll Playset Crib.

This is not a sponsored post but in order to give you a specific idea of the crib I used, I wanted to let you know which playset this was. Of course, having your own doll crip, you can follow these same steps but using your own measurements.
Supplies:
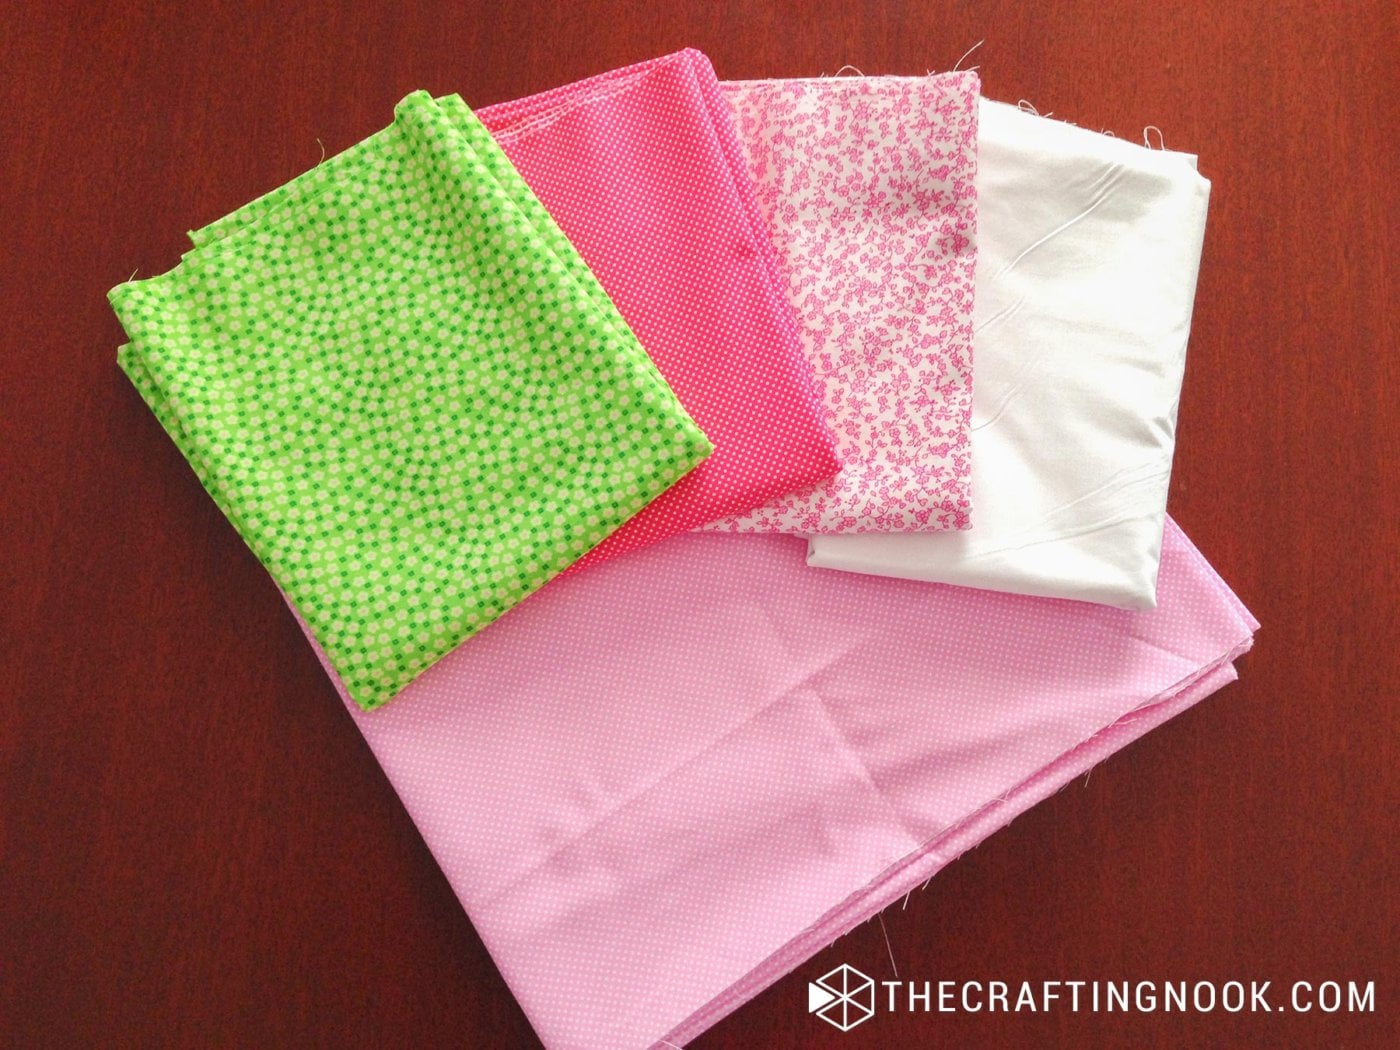
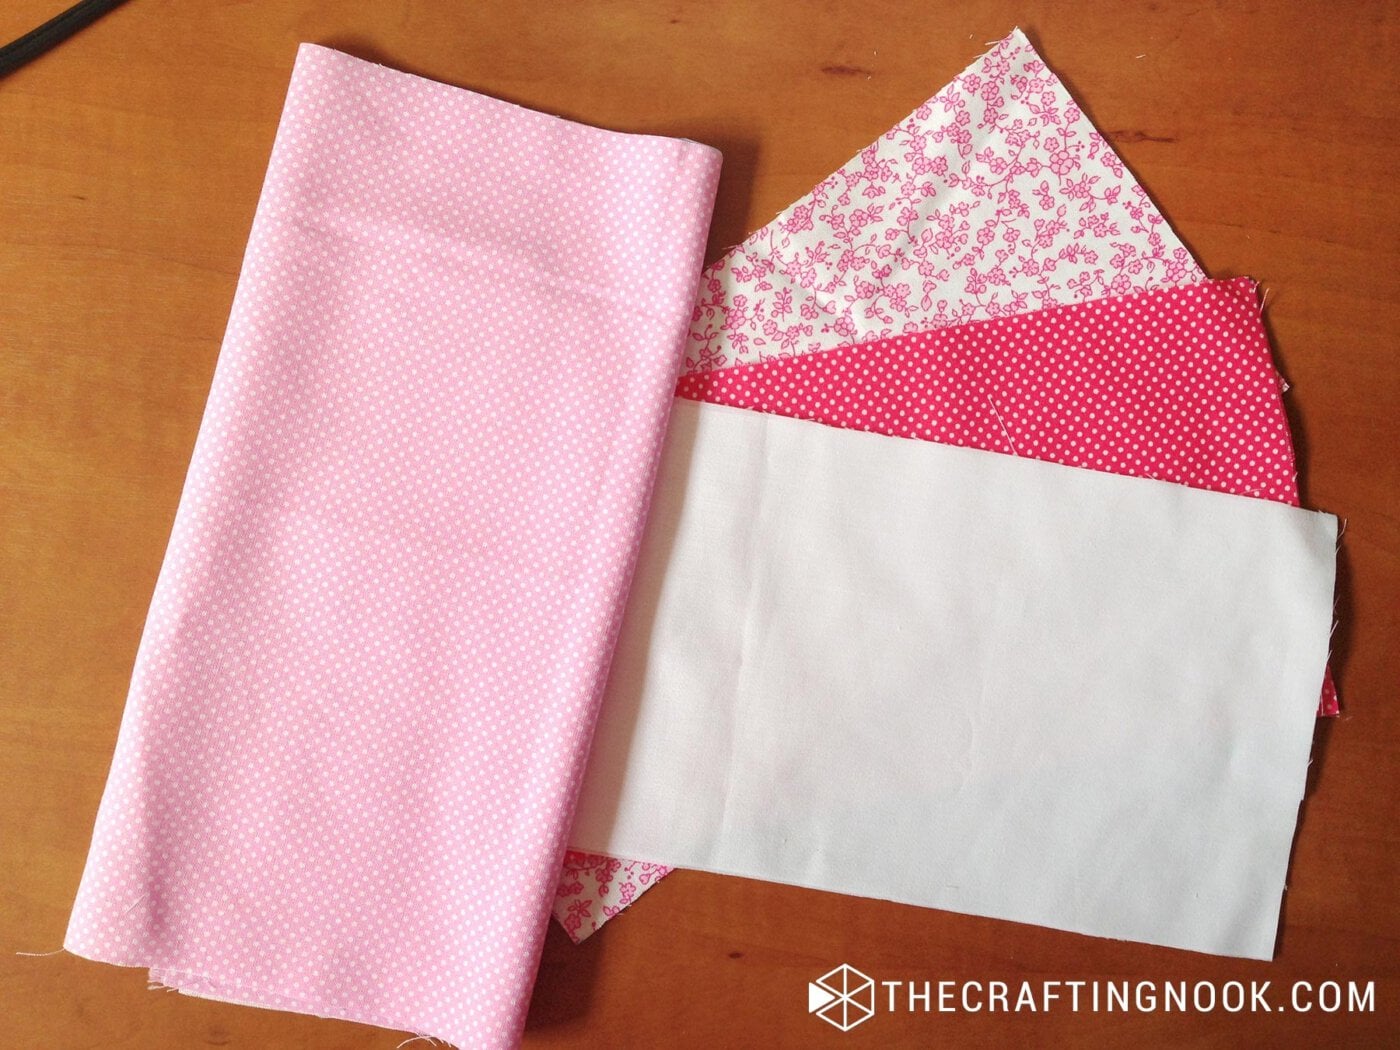
- Scraps of coordinated fabrics {I used scraps from her for the duvet cover set}
- Pillow stuffing.
- White Batting
- An MDF board 44×26 cm
- Color matching thread
- Fabric Marker
Tools:
- Sewing Machine
- Sharp Fabric Scissors or rotary cutter
- Hot glue Gun and glue sticks
- Pins
- Measurement tape
- Ruler
Instructions:
Prep Work
We need to cut all the pieces. So I’m explaining the measurements I used which come from the Graco Playset.
You might need to adjust measurements depending on your kid’s specific doll crib.
The Fabric:
- A: pattern 1
- B: Pattern 2
- C: White
- D: Pattern 3
- E: Pattern 4
Quilt Front:
6 pieces of 3 different rectangles of fabric (Coordinated fabrics works best). In my case A B C: 10×28 cm (4 x 11 Inches) – this includes seam allowance.
Quilt Back:
- 1 Piece of batting: 44 x 26 cm – 17 x 10 Inches.
- 1 piece of coordinated fabric D: 50×28 cm – 20 x 11 Inches.
Mattress:
- 1 Piece of batting: 48×26 cm – 19 x 10 Inches.
- 1 Piece of fabric E: 50×32 cm – 20 x 12.5 Inches.
- 1 Piece of fabric C: 46×28 cm – 18 x 11 Inches. – Or any fabric goes since it’s for the base, I used white.
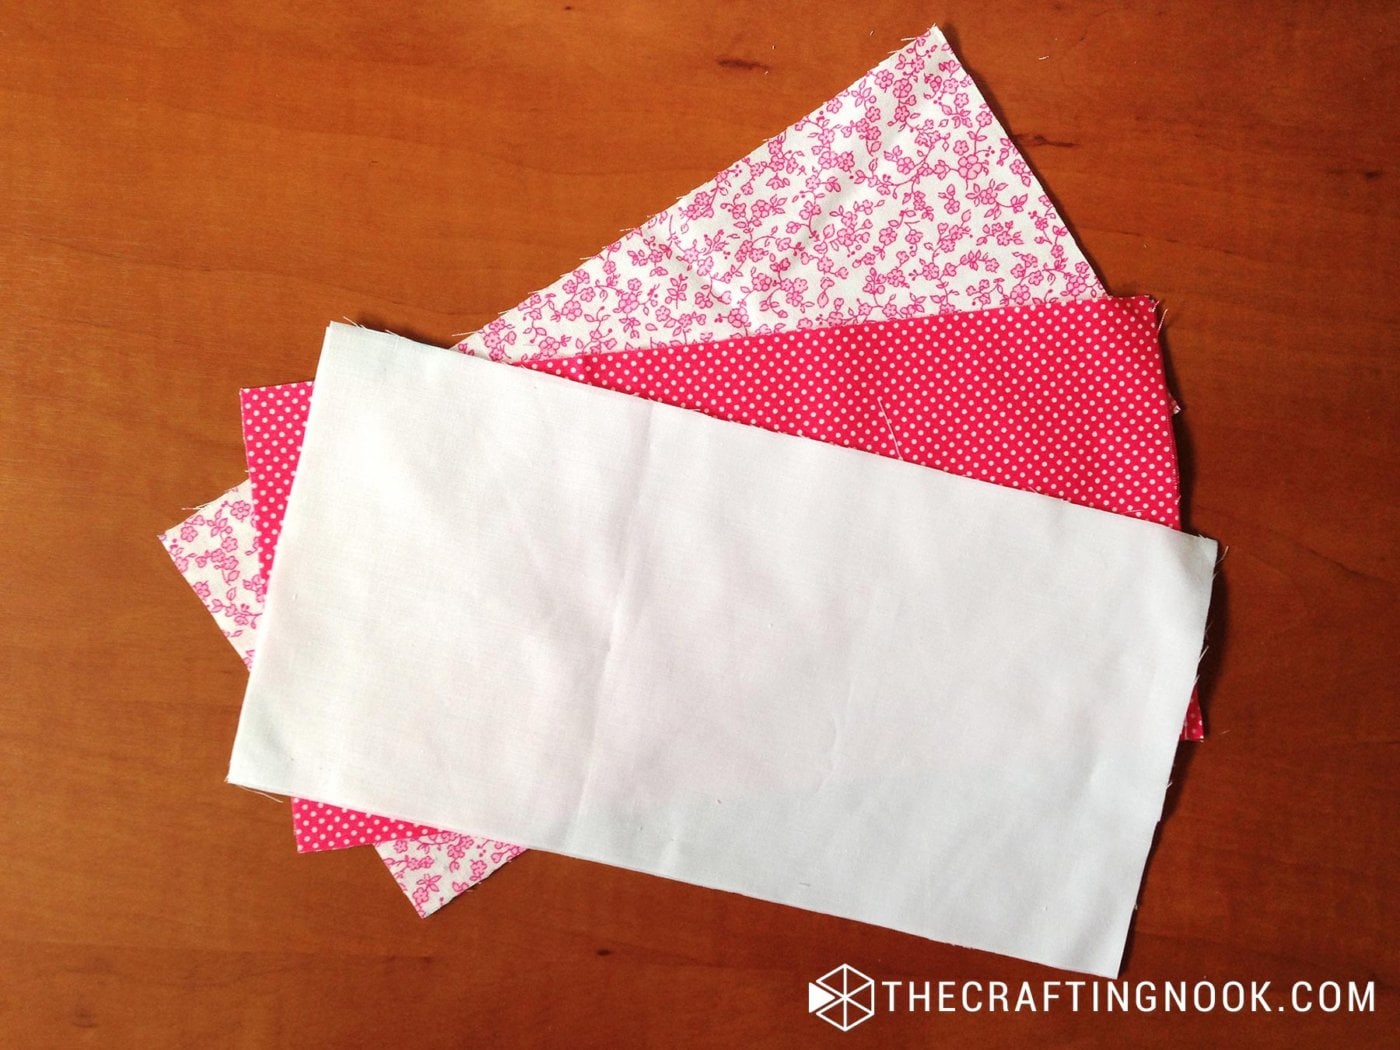
Main Pillow:
- 2x Fabric C: 28×18 cm – 11 x 7 Inches.
- Fabric B: 18×6 cm – 11 x 2.5 Inches.
- Fabric E: 18×8 cm – 11 x 3 Inches.
Pillow 2: 2x Fabric E: 20×20 cm – 8 x 8 Inches.
Pillow 3: 2x Fabric A: 18×15 cm – 7 x 6 Inches.
Step 1: Creating the Mattress
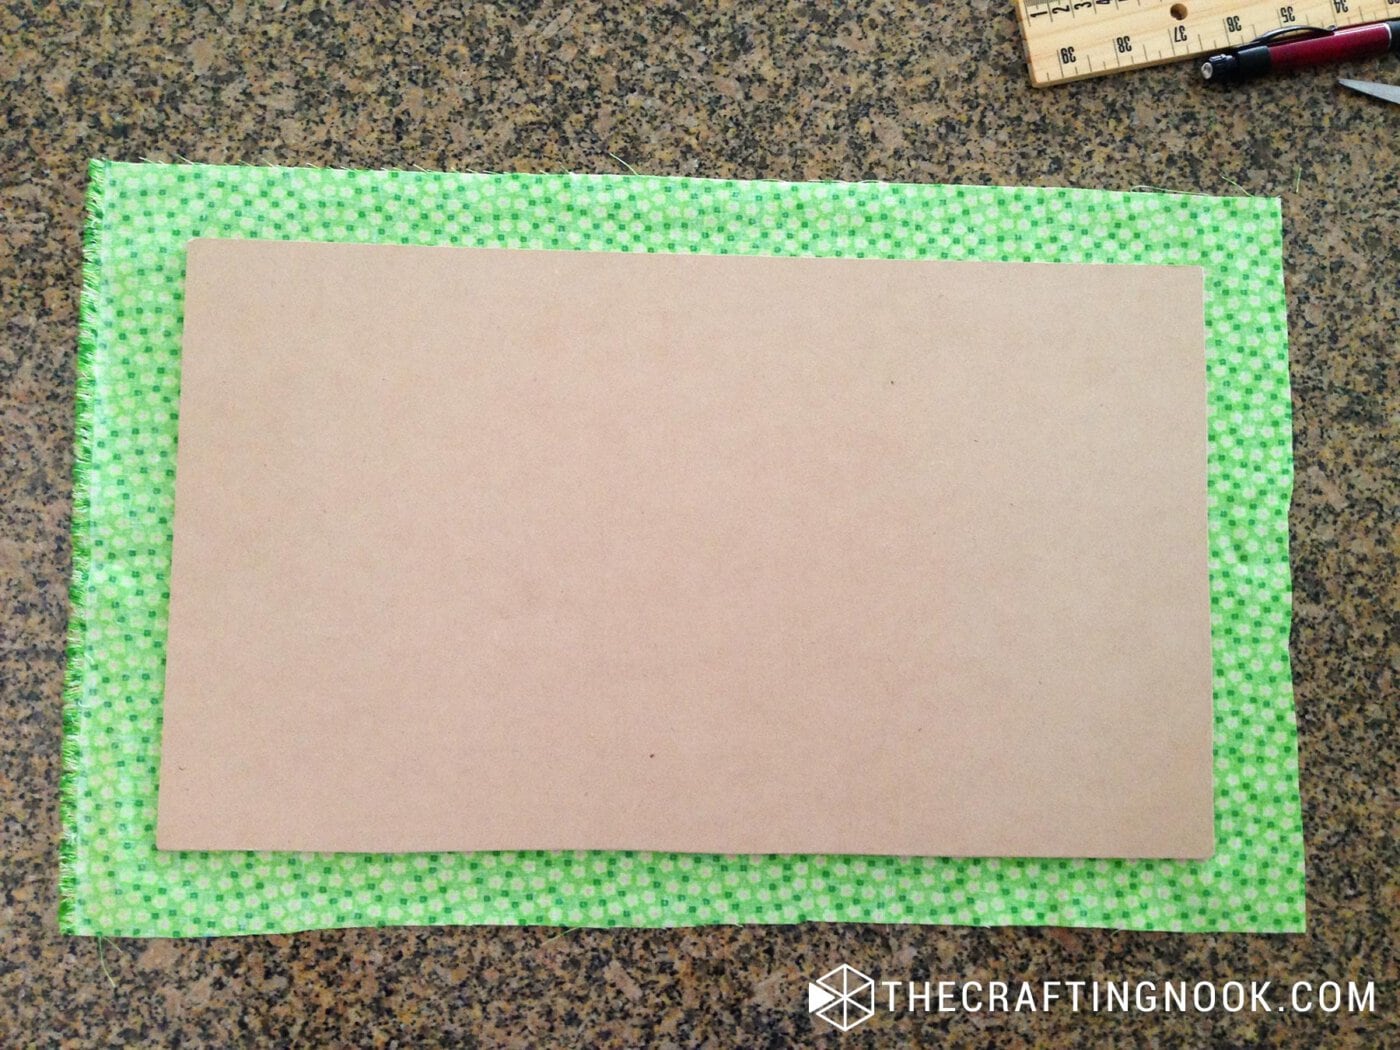
- If your kid’s doll crib is a different size than ours, I recommend measuring the bottom of the crib (where the mattress should be) and cut your MDF board a few millimeters smaller.
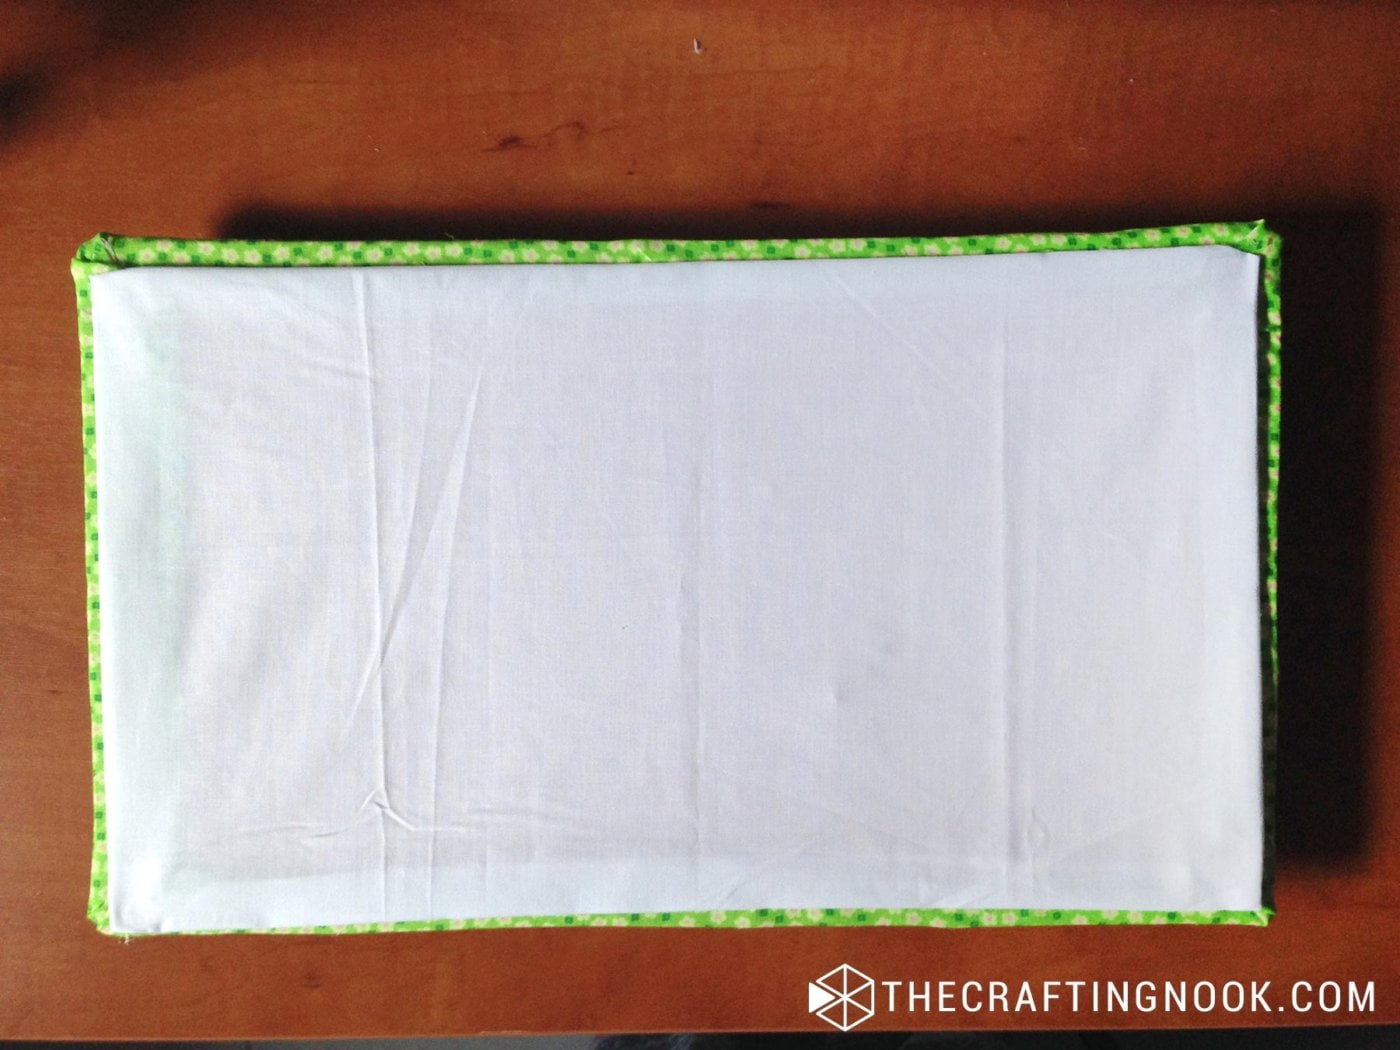
- Then Use that board to cut your fabric. Place the board on the wrong side of the fabric, leave about 1 inch (2.5 cm) around the board and cut the fabric.
- First, put together your mattress fabric E wrong side up and your batting as centered as possible.
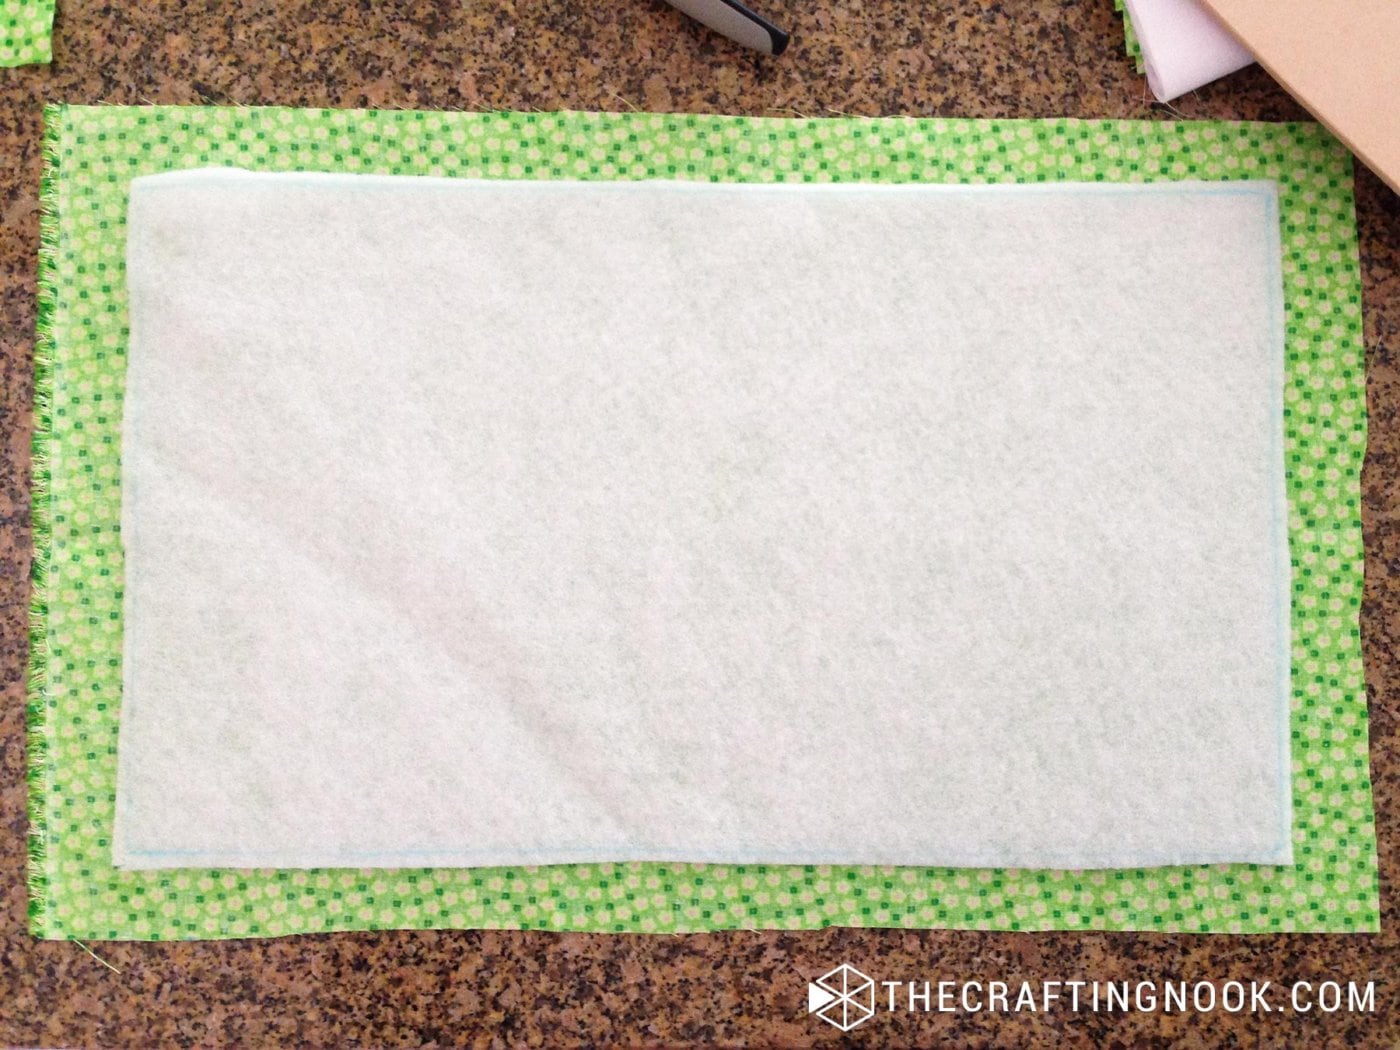
- Put on top some stuffing. Enough to cover all the batting.

- Then place your MDF board on top of everything as centers as possible.
- Press it down a little bit and start applying lines of hot glue on the board close to the edge and start attaching the fabric to the back of the board.
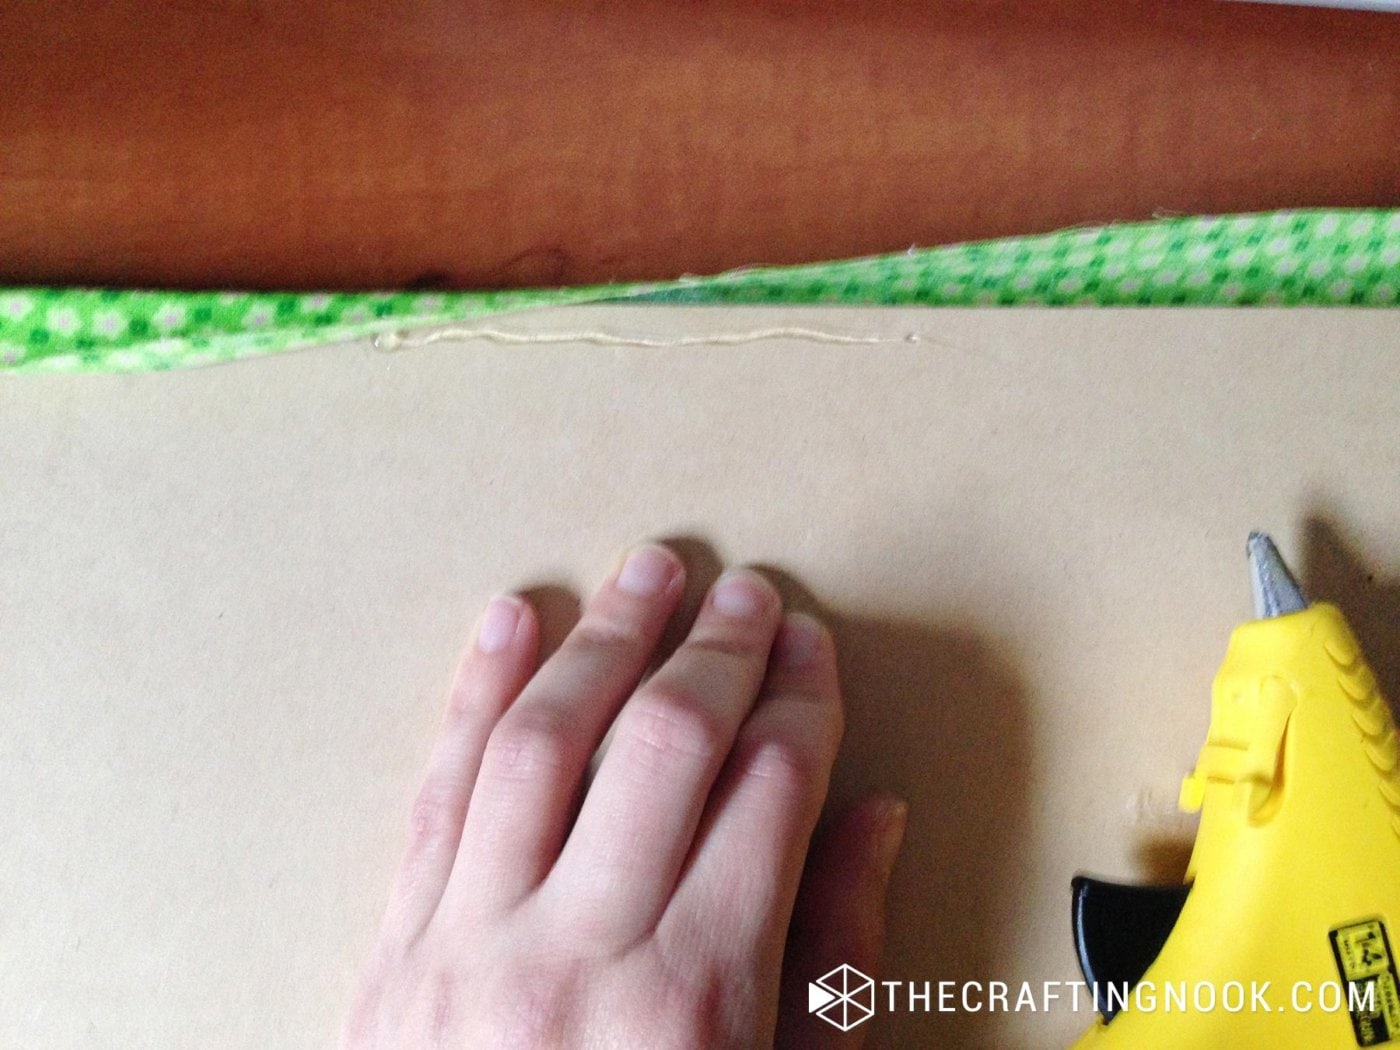
- Keep gluing in small patches, so the glue doesn’t get cool and hardened before you get there.
- When you hit the corners, just carefully pull a little bit of each side and glue them together to the board.
- Don’t worry about it not looking pretty, will be taking care of that.
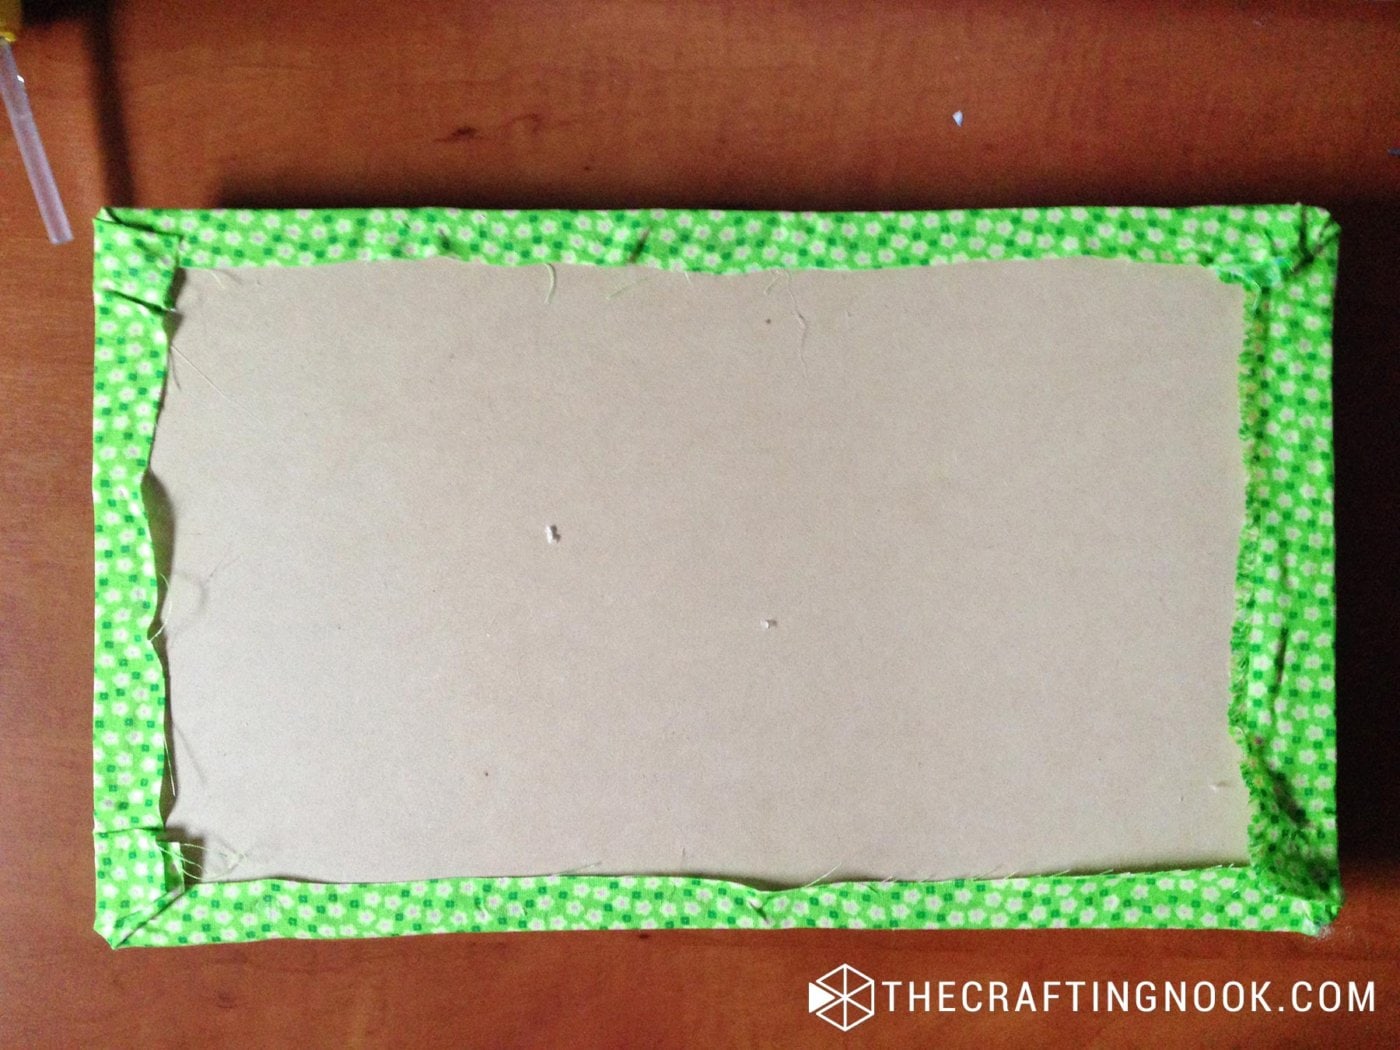
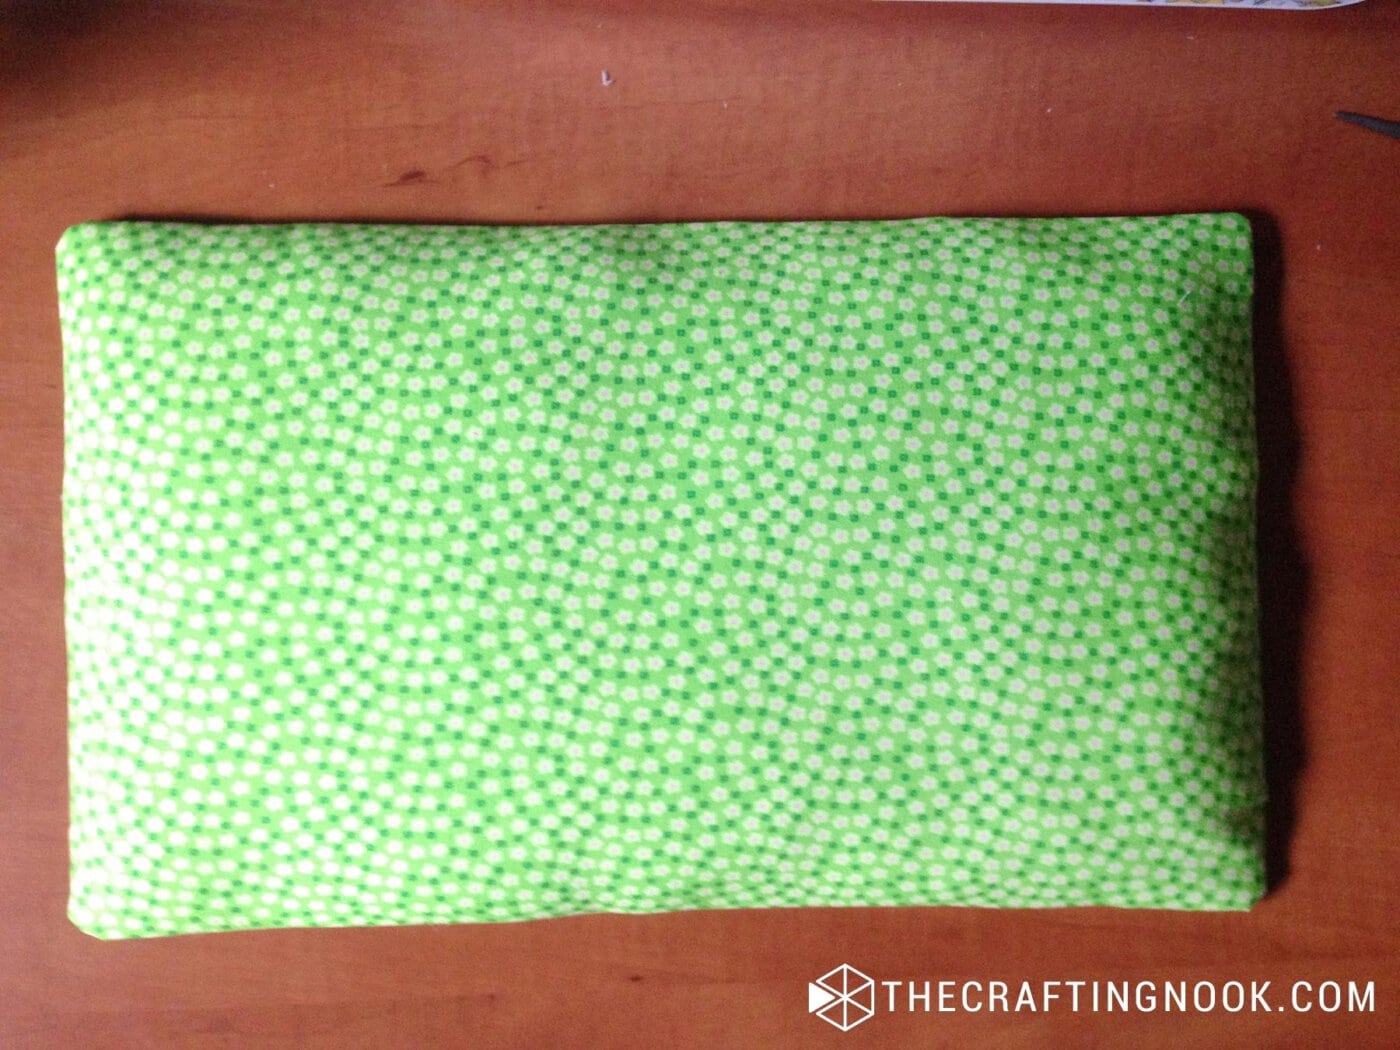
Take your white fabric (or Fabric C), fold the edges about 2 cm, and glue it to the back of the board to cover all the ugly raw ends from fabric E. Use a lot of hot glue here. Don’t be shy.
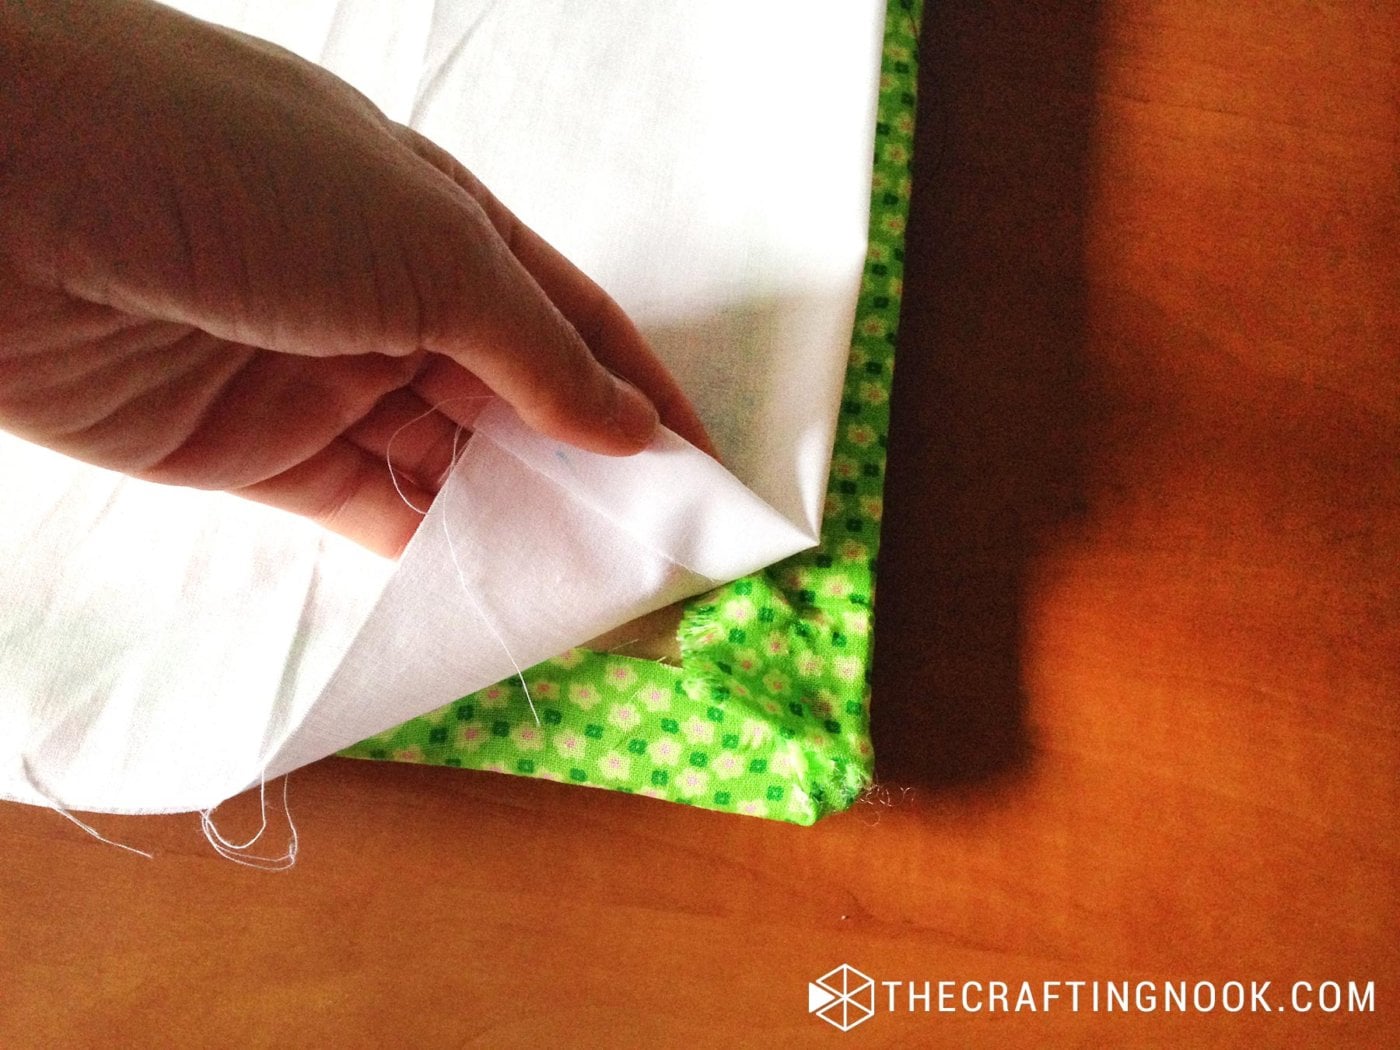
Ok, the mattress is done! Set it aside.
Step 2: Making the Doll Blanket
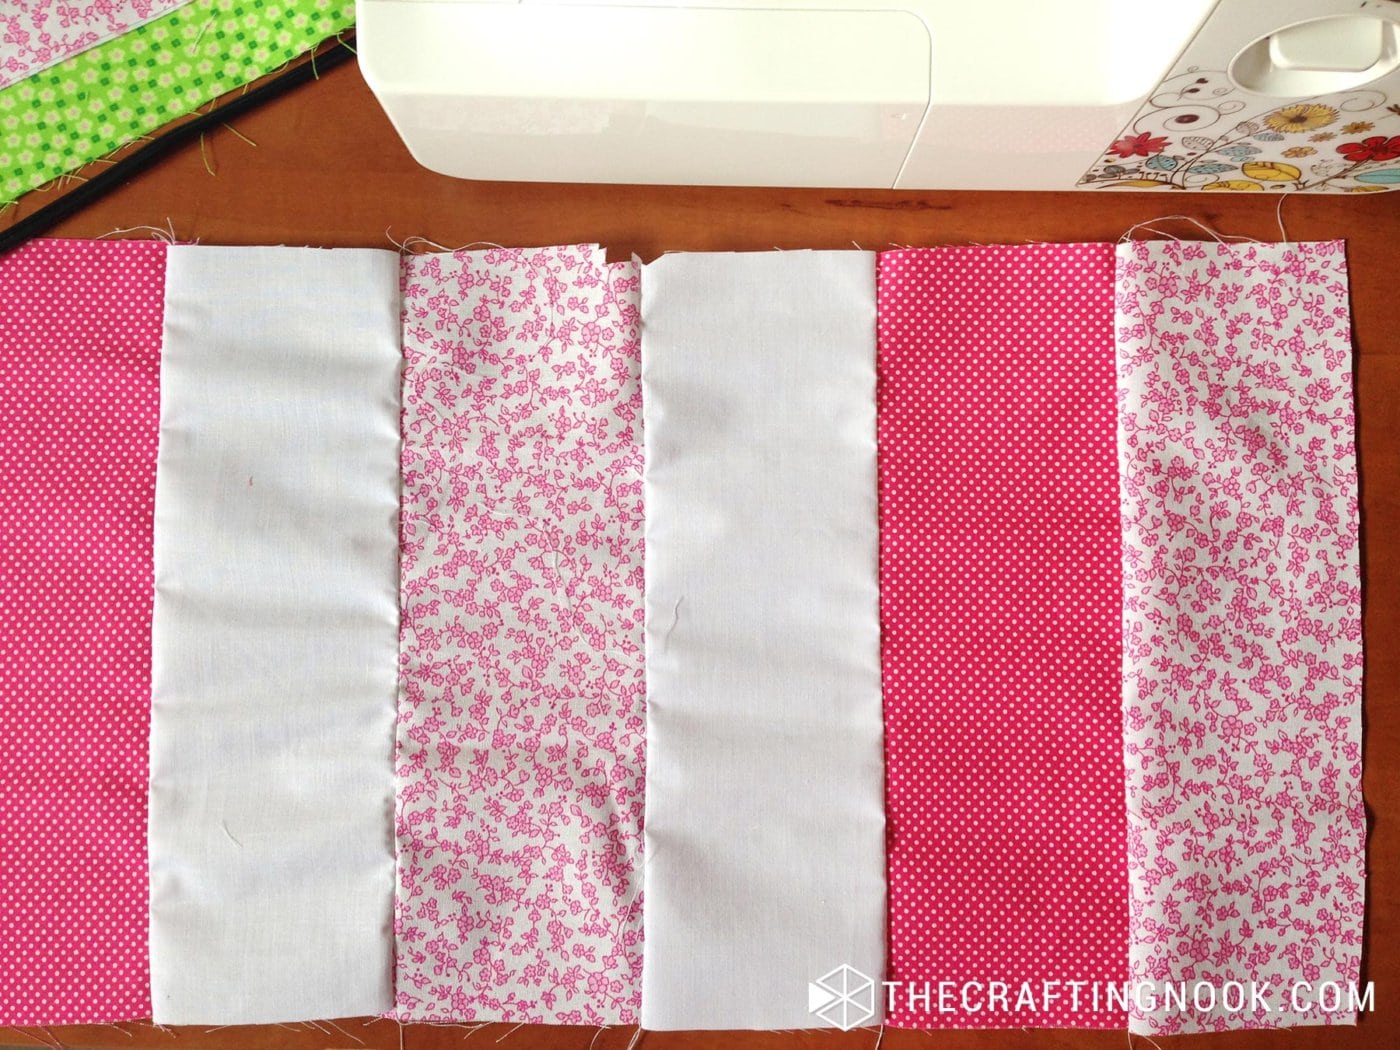
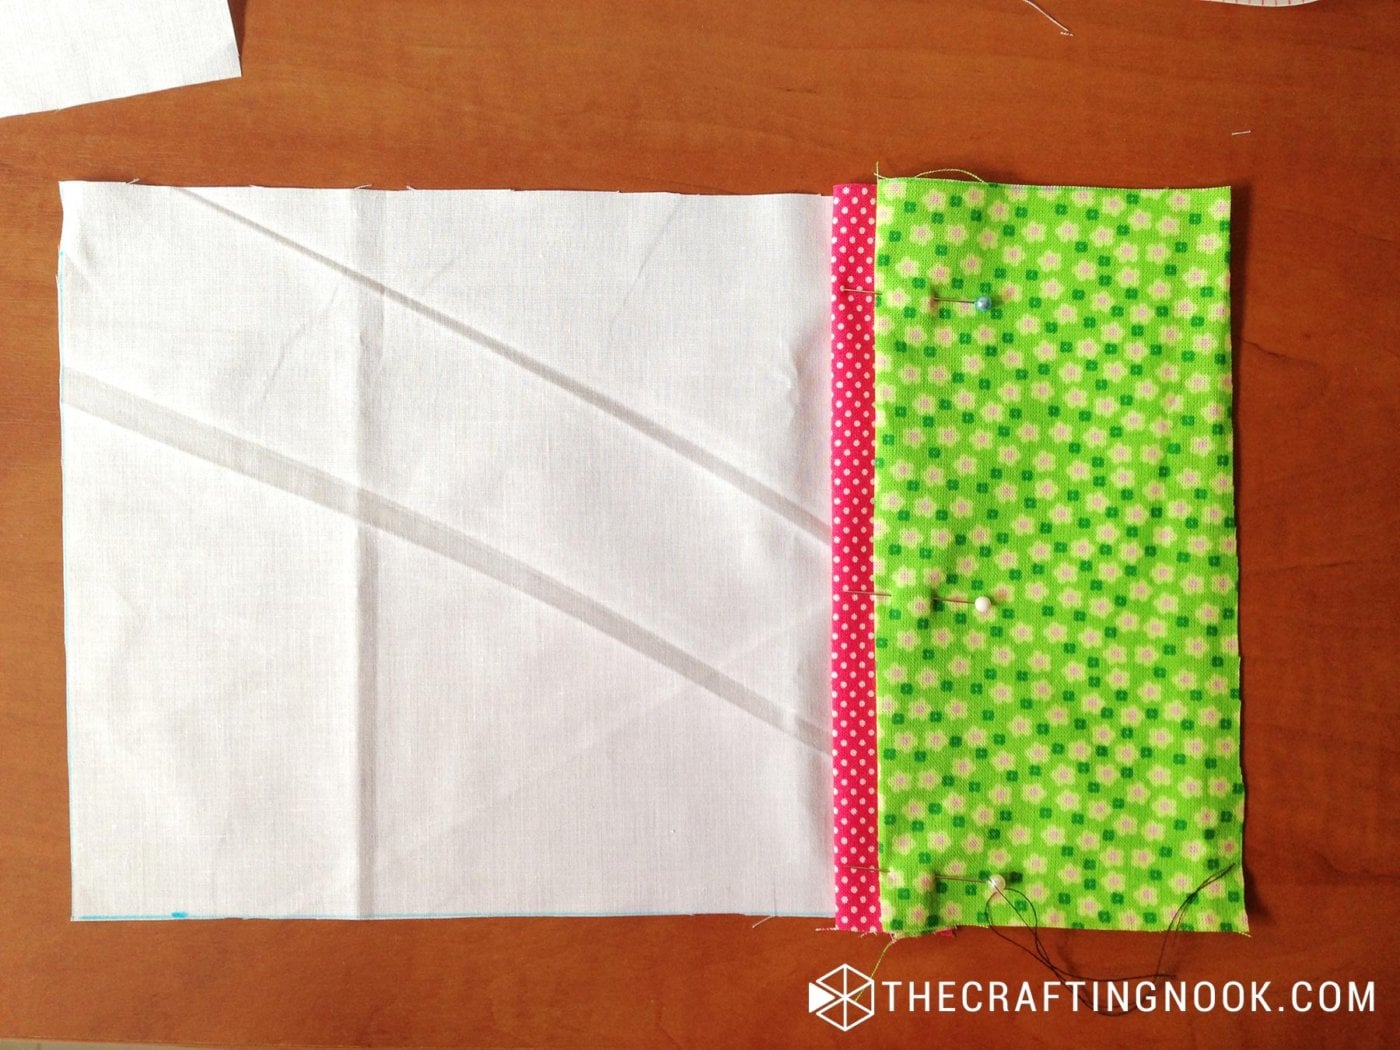
- Stitch together fabric A with B and then B with C, then A, C and B. You can mix and match in any way you like.
The whole top of the blanket should measure about 50×28 cm.
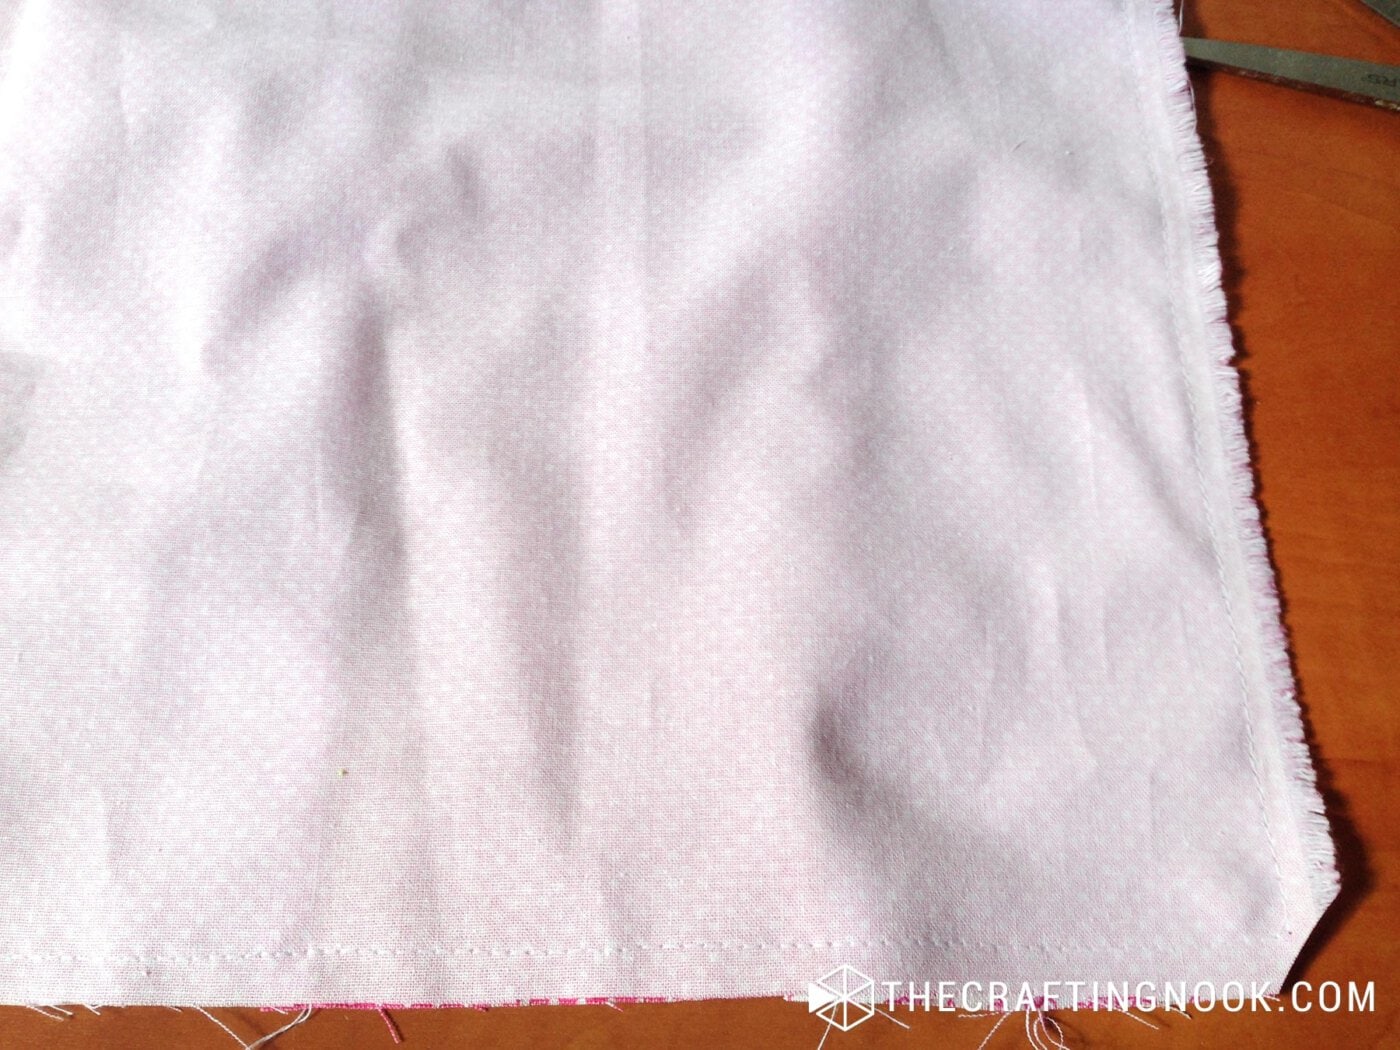
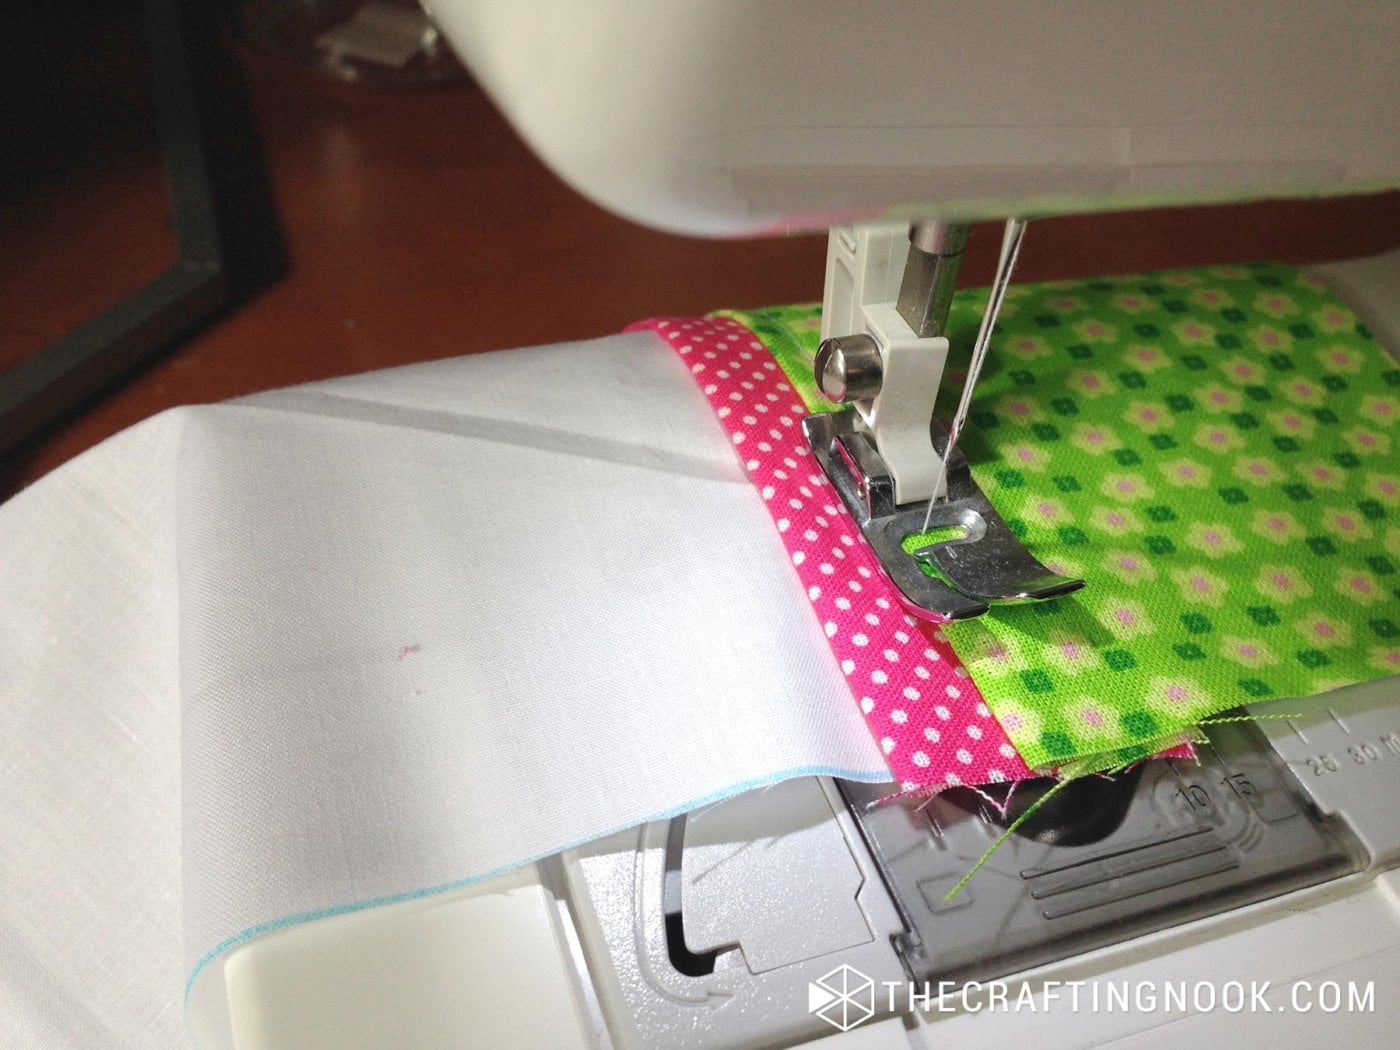
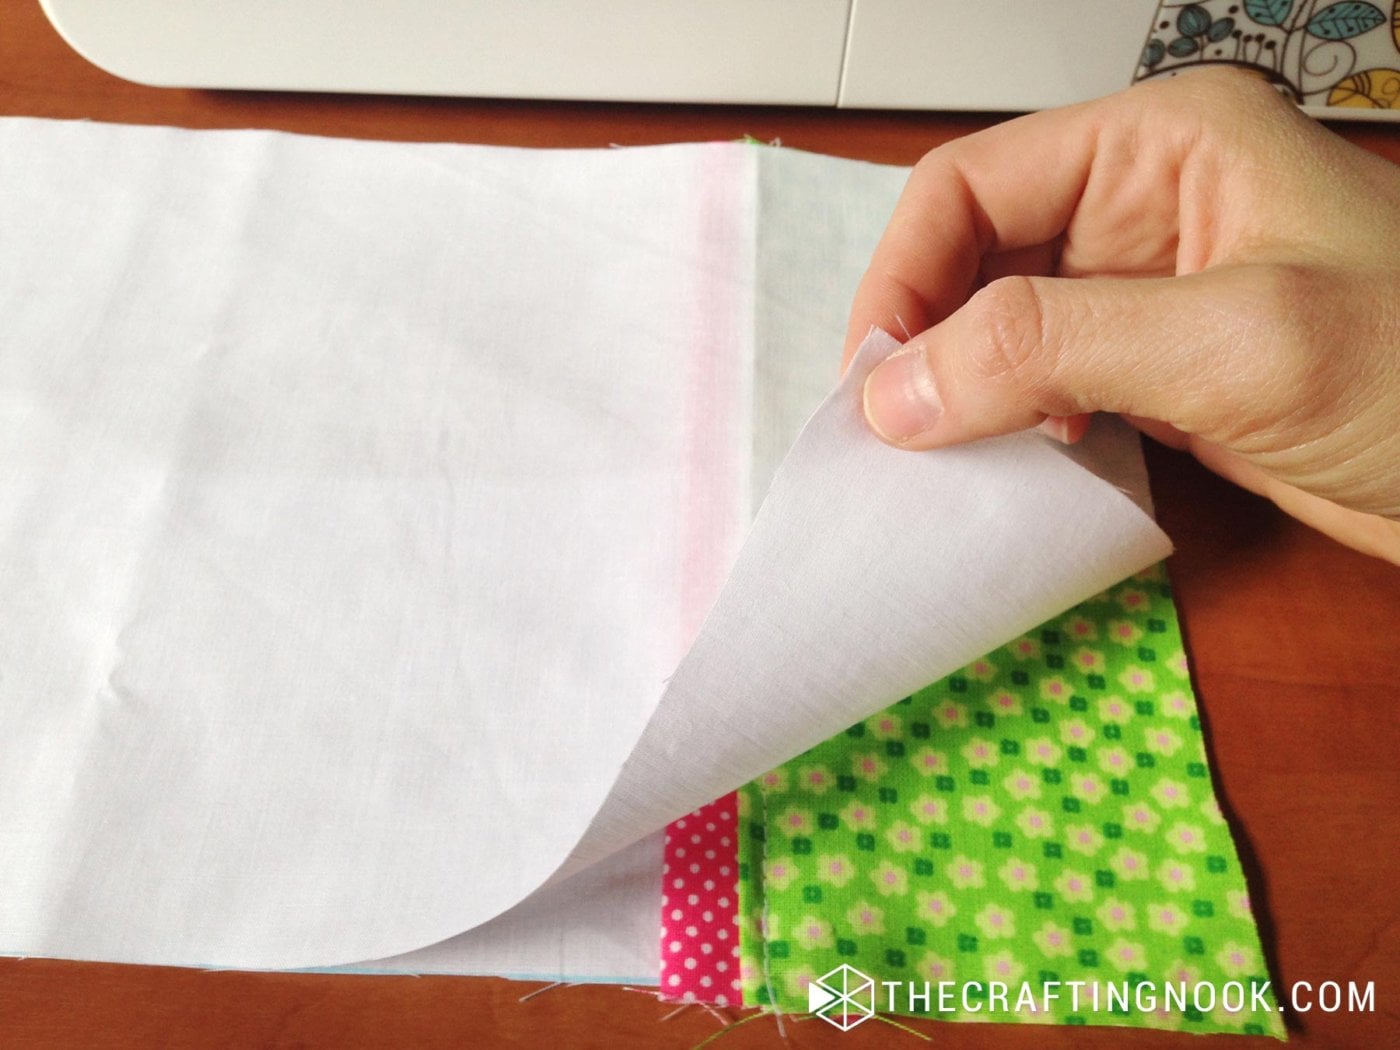
- Then place together front and back right sides together and stitch the edges leaving one side open. Because this piece is small, I used less than 1 cm seam allowance
- Serge the raw edges, or zig-zag the edges if yu don’t have a serger to avoid fraying.
- Cut a bit of each corner and turn it right side out. Press.
- Insert batting. It should fit perfectly inside.
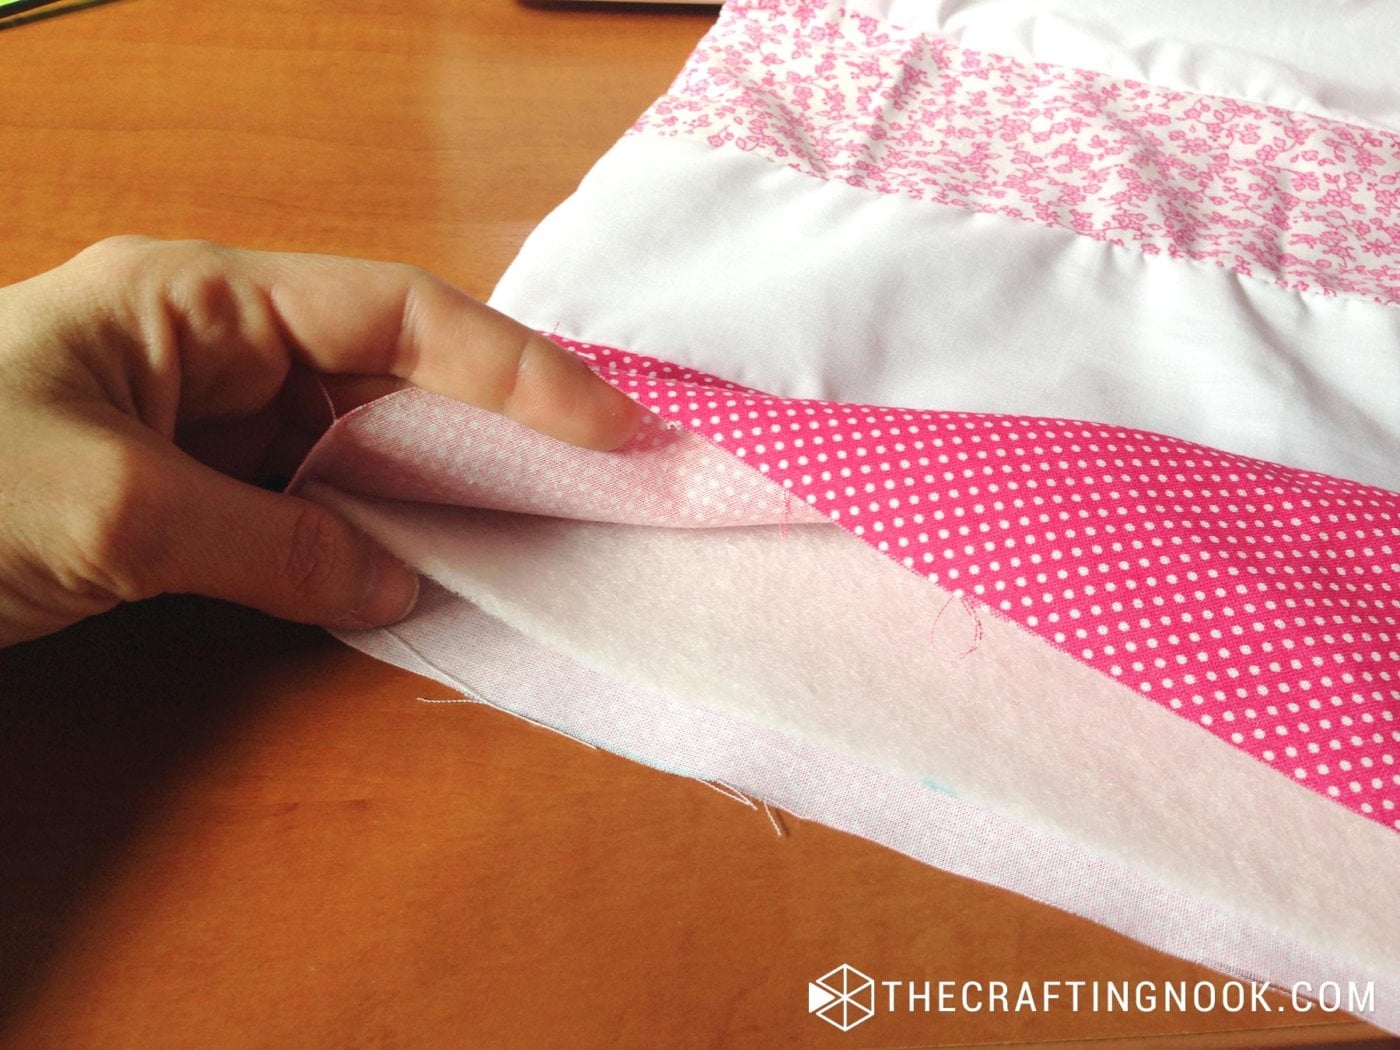
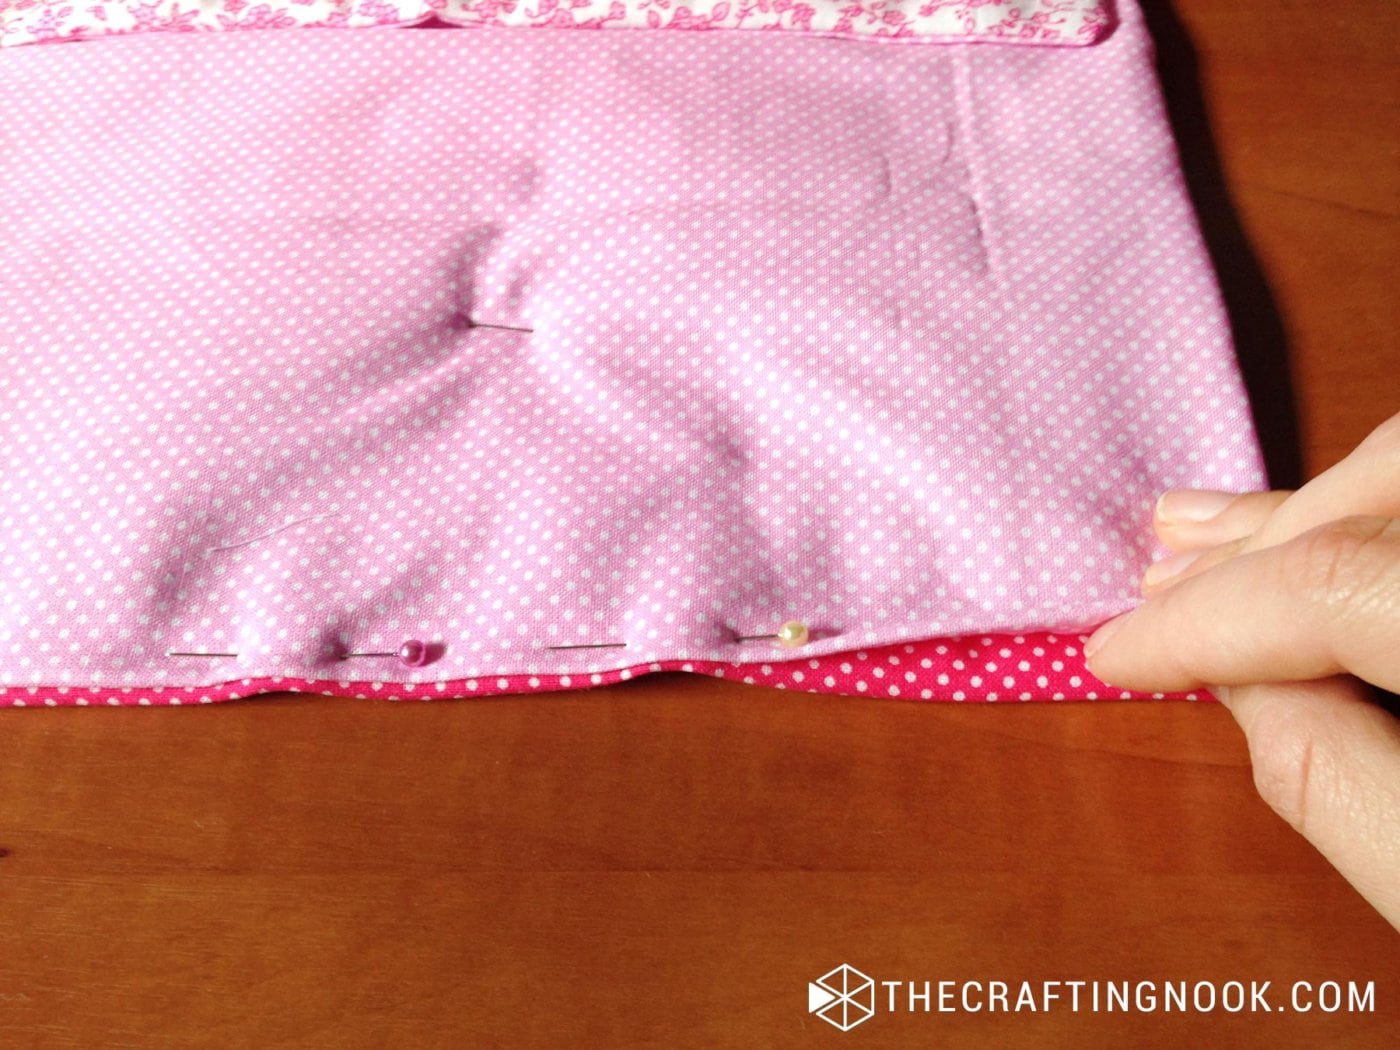
- Fold edges towards the inside edging the batting.
- Pin in place and stitch 1/2 cm from the edge.
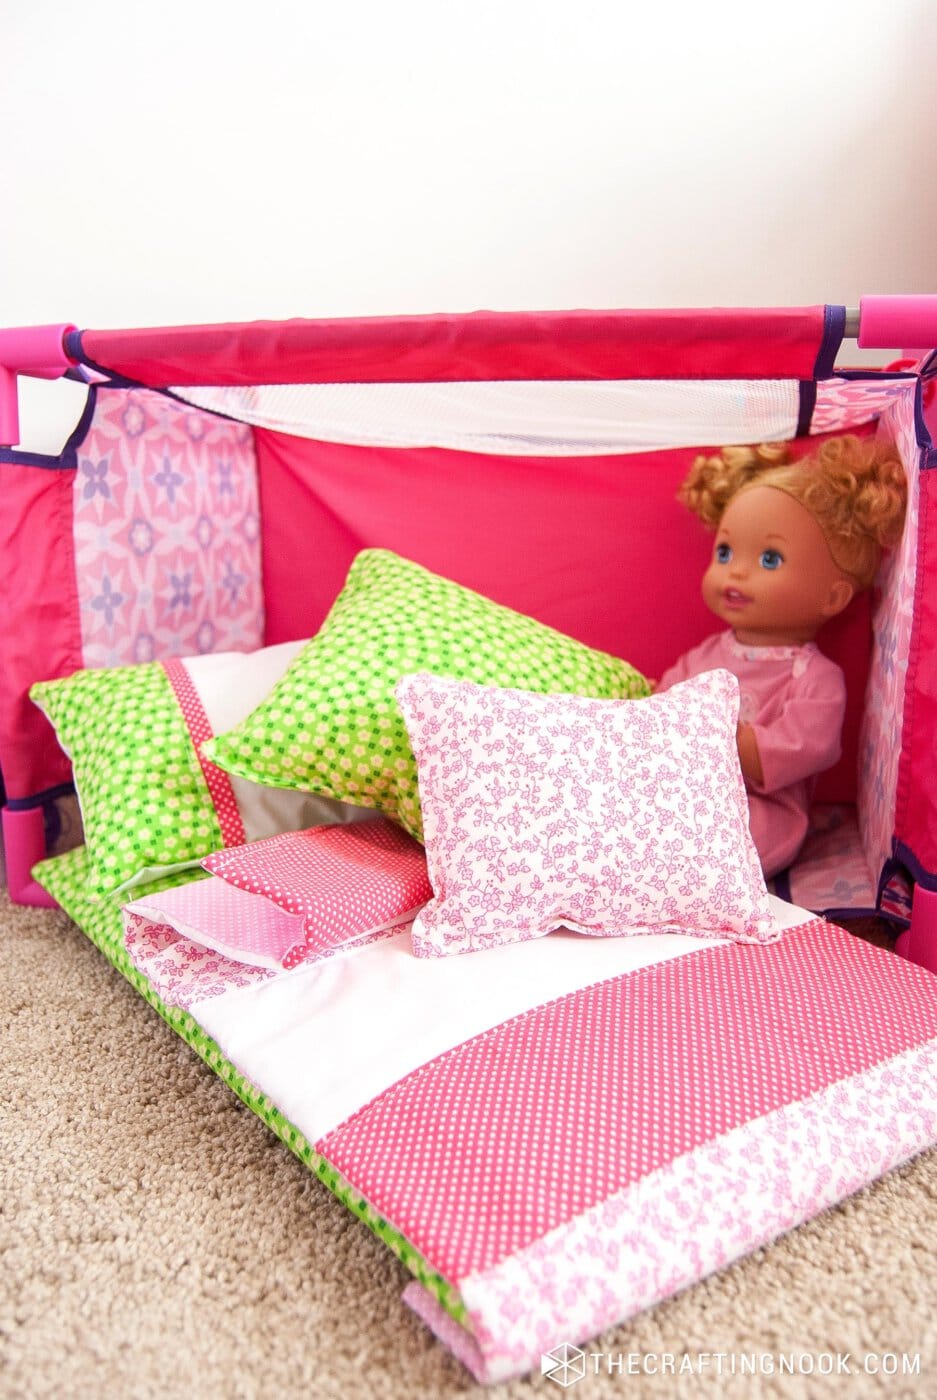
Finally, as a simple final touch, stitch close to each fabric seam where they join to make it look more like a quilt.
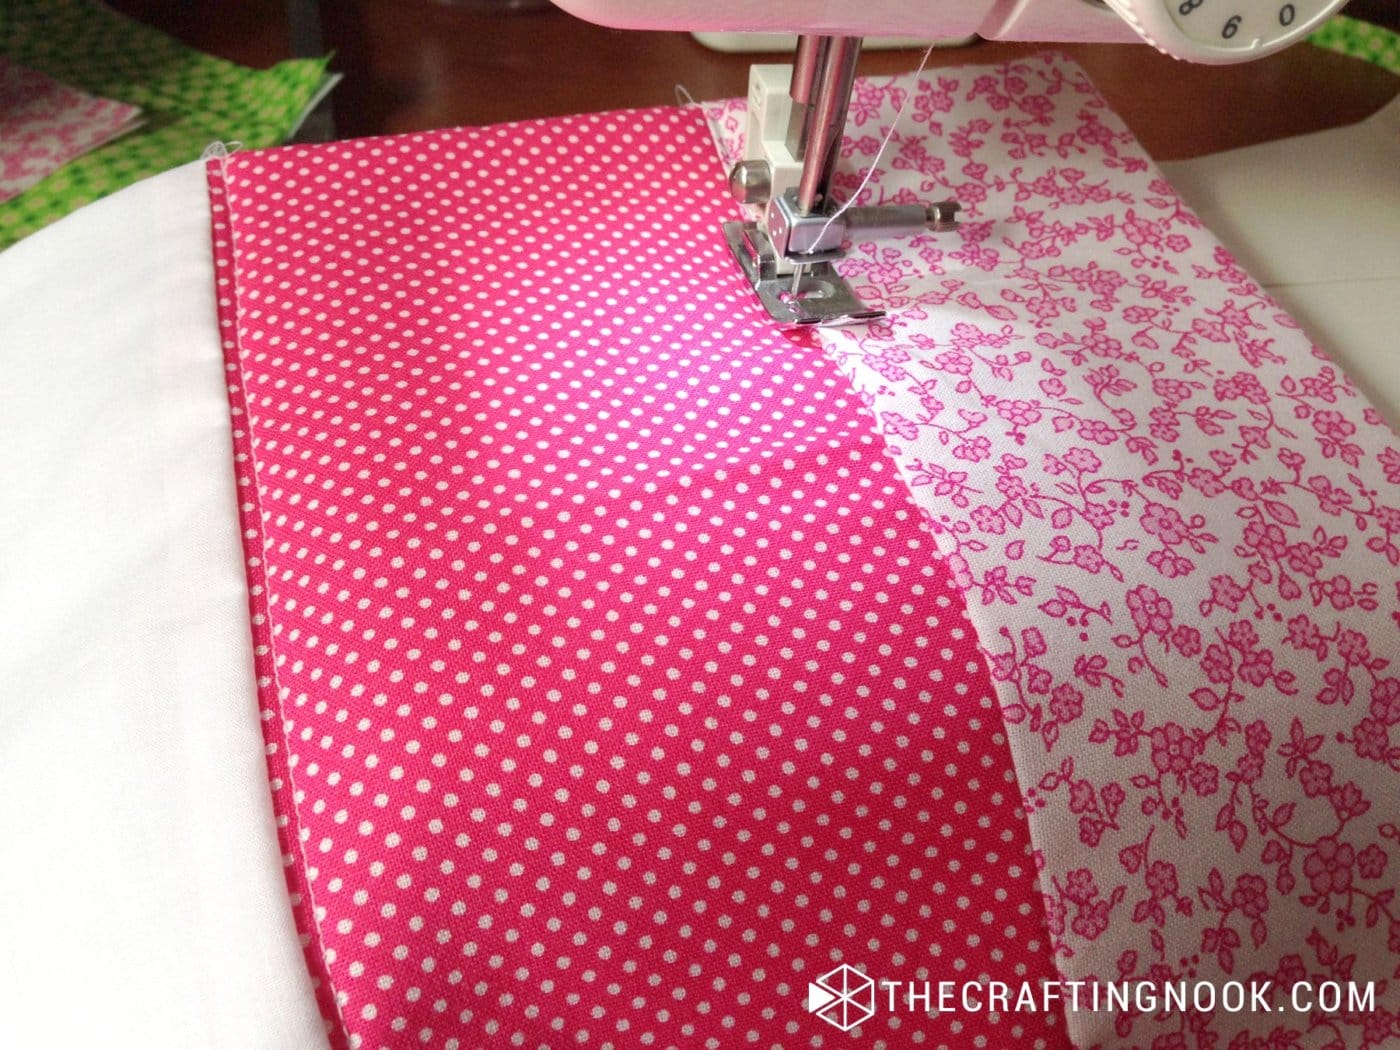
Woot! The quilt is ready to go!

Step 3: the Pillows.
- First, fold fabric B in half.
- Fold a hem in fabric E.
- Place fabric B on top of fabric C aligning edges.
- Place fabric E over fabric B leaving about 1 cm offset. Make sure all raw edges on the back are aligned to the folded hem of fabric F on the wrong side.
- Pin in place.
- Then, stitch together fabric B, C, and E close to the fabric E folded edge.
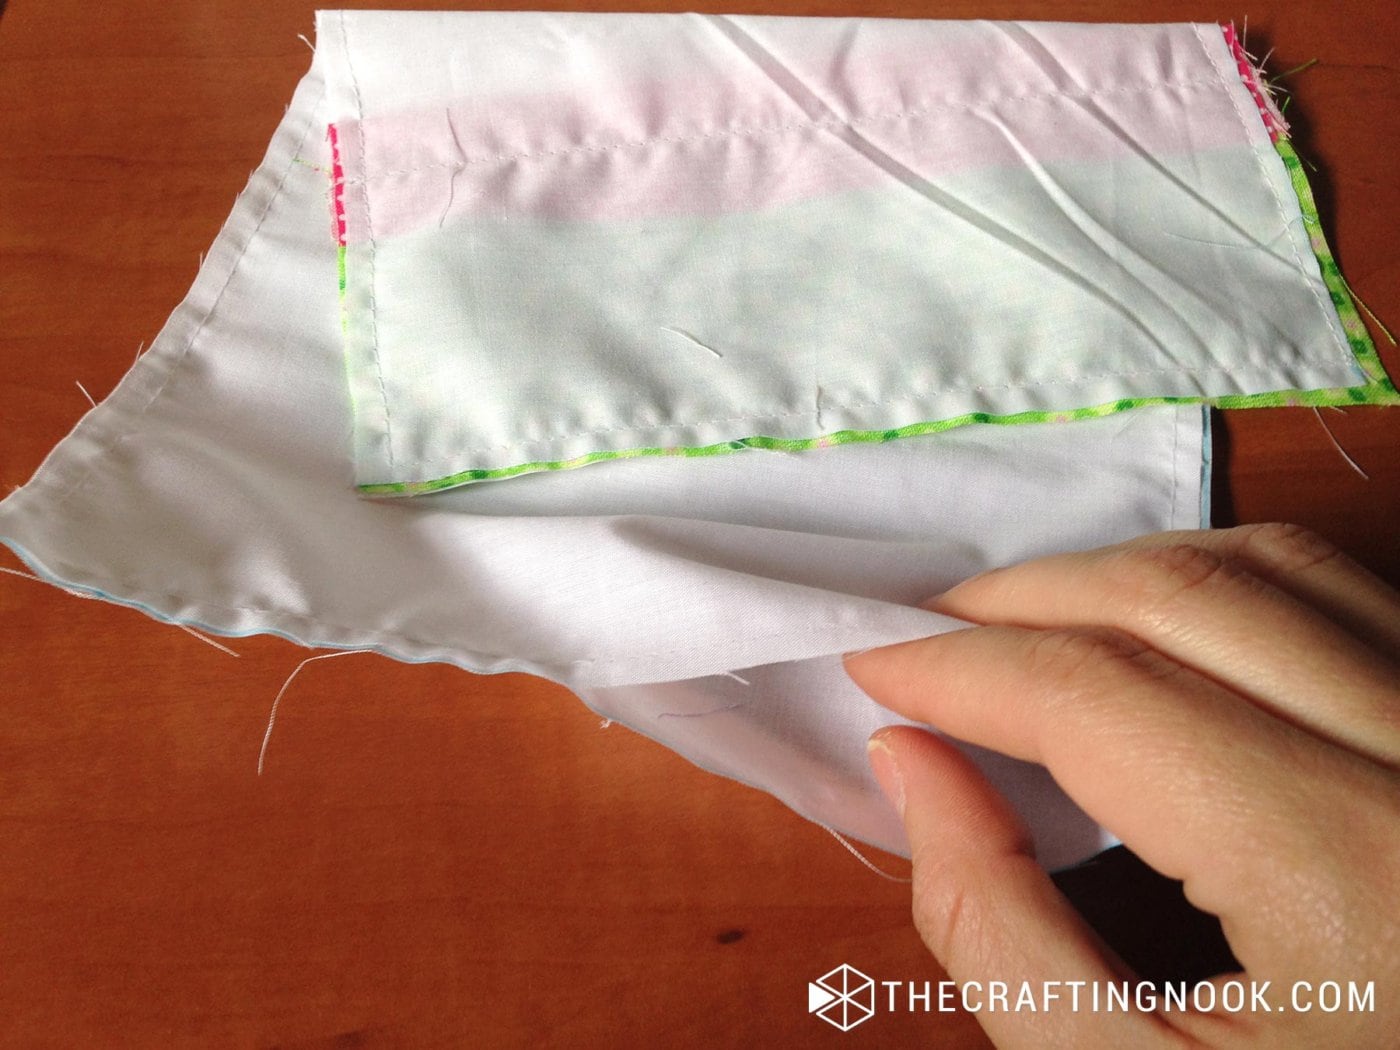
- Now lay your fabric C onto the piece we just created right sides together and pin in place.
- Next, stitch along the edges of the pillow leaving an opening big enough to insert the stuffing.
- Turn it inside out. Press.

- Fill it up with your stuffing and stitch the pocket to close the pillow. You can either do this part sewing by hand doing the invisible stitch or with your sewing machine.
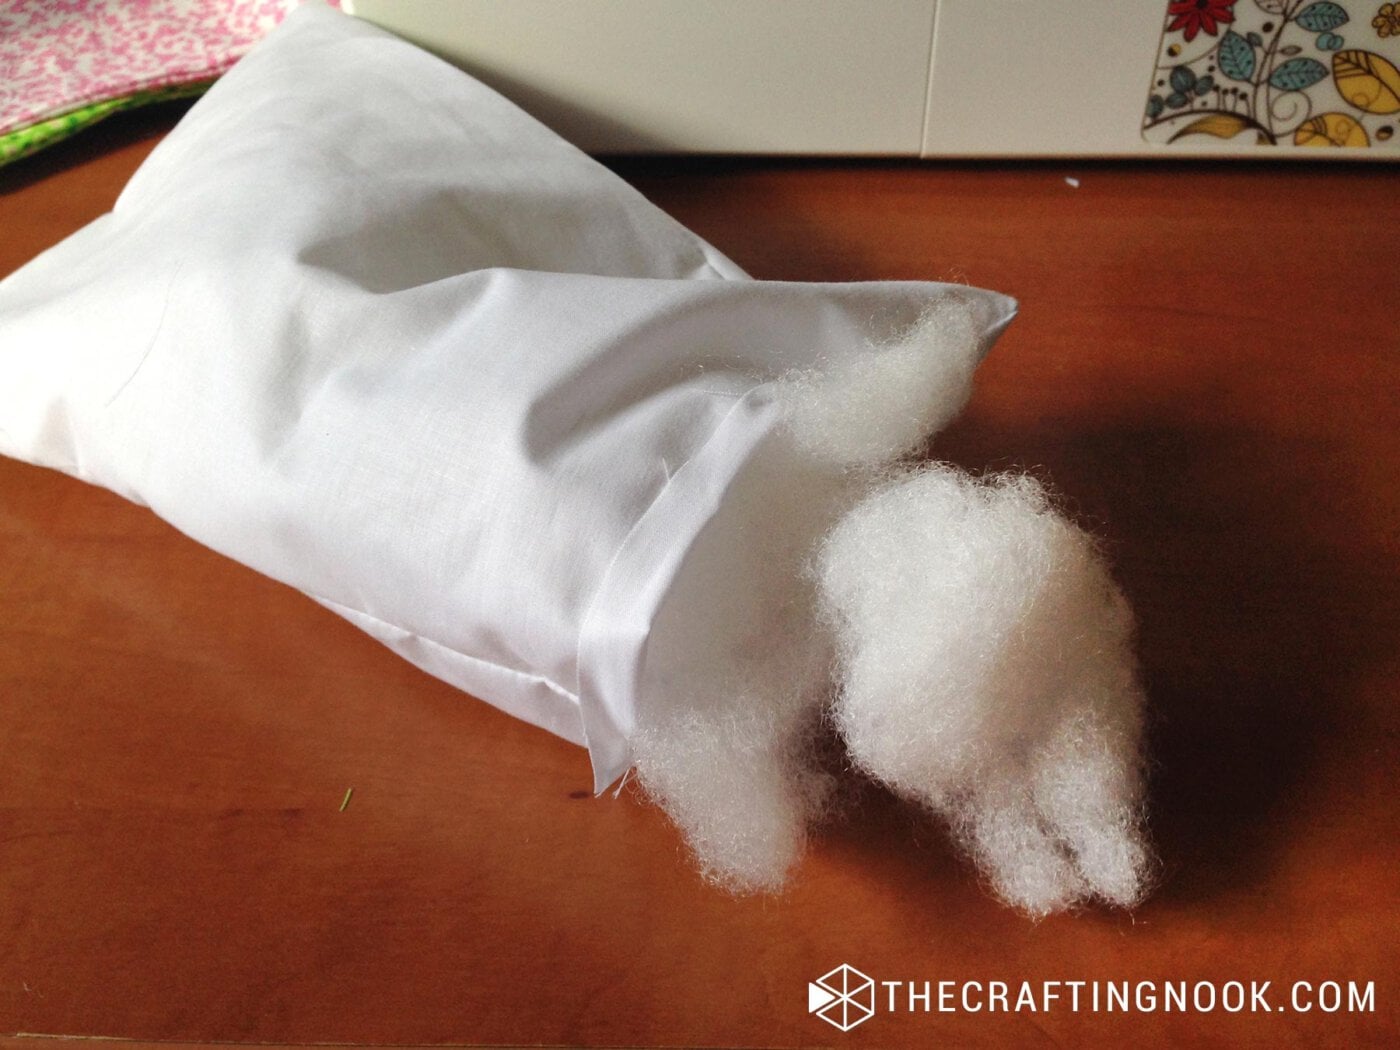
- Finally, repeat the 3 last steps for the other 2 pillows. I chose to make a French seam for the small throw pillows bu that’s just optional. If you want to learn how to shame French seam you can see this tutorial.
Step 4: Put the Bedding set in the doll crib
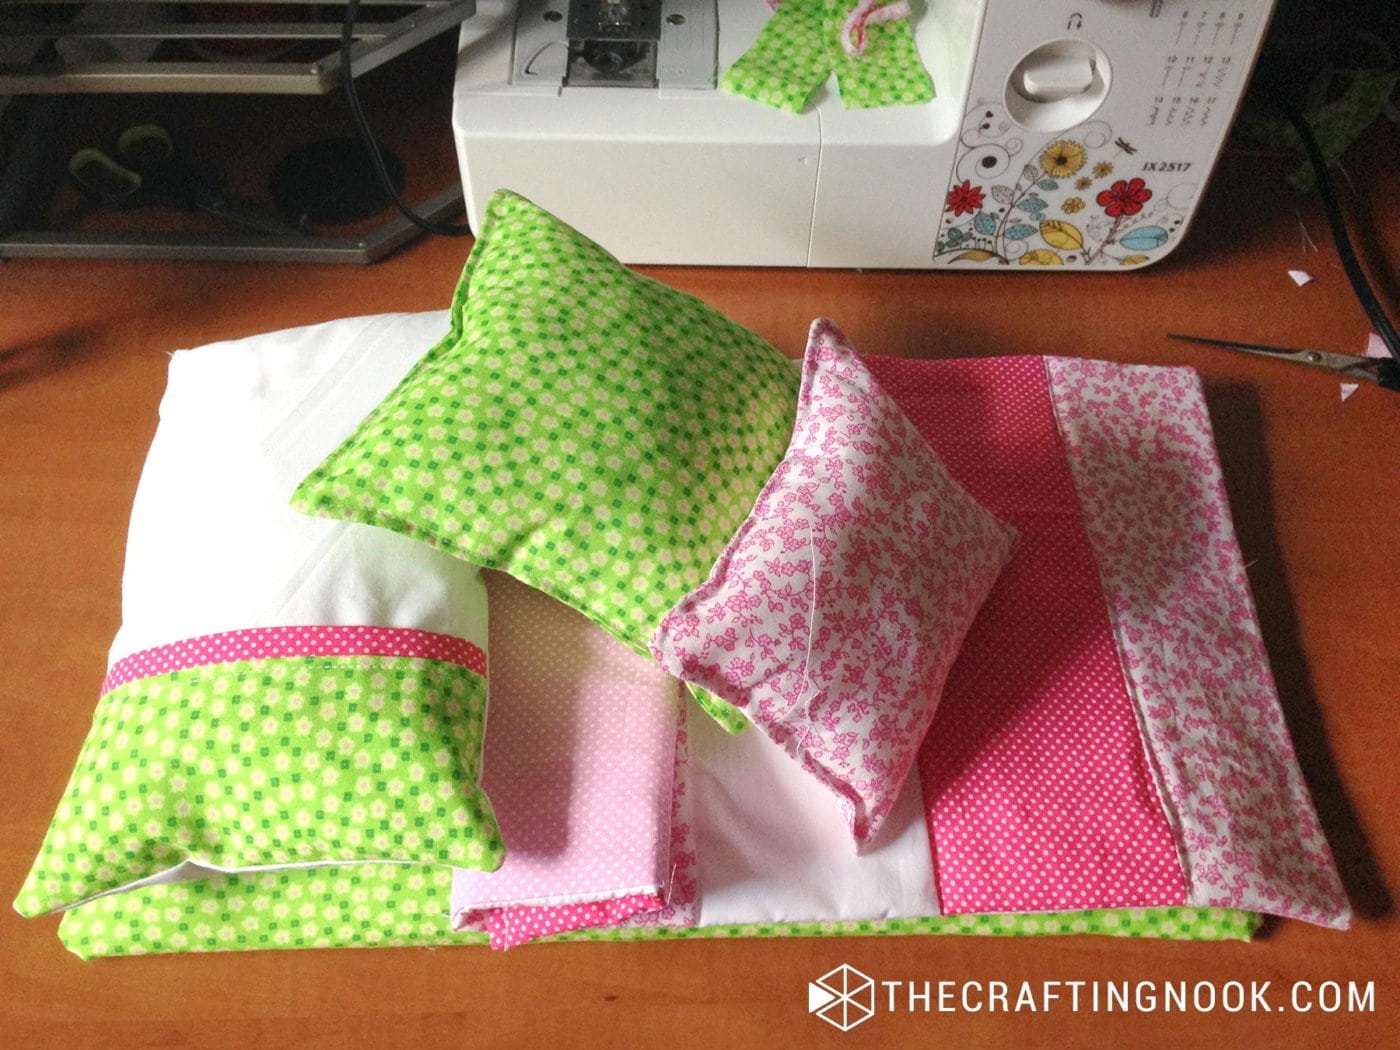
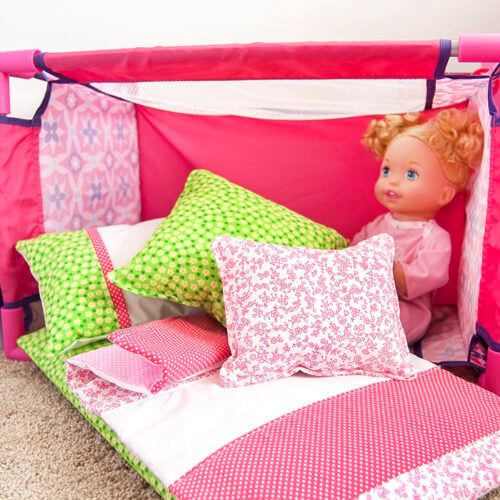
Insert your cute mattress in the crib, then style the bed with your new blanket and pillows.
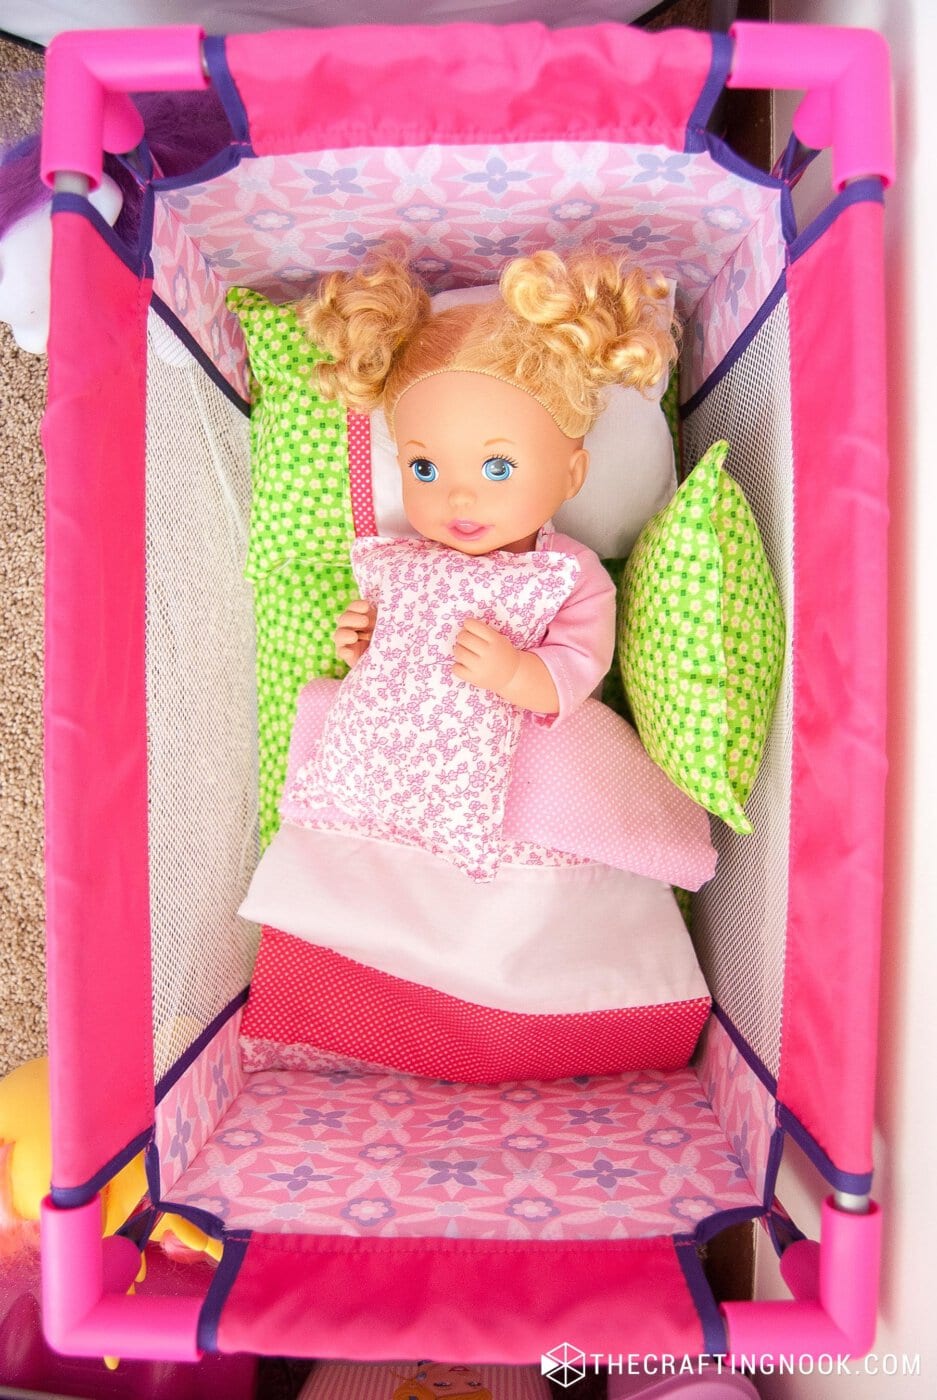
Your Girl’s baby doll bedding set is all ready for her to play with!!!
Crafting Tips
- You can use old baby clothes, towels, or bedding to make the doll’s bedding set. This adds a personal and emotional touch to the project.
- If you want to go a step further, add the doll’s name or your child’s name with fabric appliques, embroidery, or iron-on letters. This makes the bedding extra special.
- Something that I though too late you can make the pillows with a small opening and Velcro or buttons so the stuffing can be removed and wash the pillow.
- If your girl’s doll has a bed instead of a crib, you could make a mini bed skirt to the doll crib by sewing a gathered piece of fabric around the base. This adds a cute finishing touch to the overall look.
I’m sure you girl will love this. Mine was all crazy about it. She even put their baby dolls to sleep at night when it’s bedtime. Almost every night LOL.
Variations and Alternatives
For a warmer, cozier bedding set, use fleece or flannel instead of cotton fabric. These fabrics are soft and perfect for a doll’s comfort! They also deserve a little coziness, don’t they?
Instead of using solid fabrics, create a patchwork-style quilt by sewing together small squares of different patterns and colors.
Frequently Asked Questions
Pretty much any fabric. You can even use only scraps as I did. You can use cotton, Jersey, and t-shirt, among other ideas.
It definitely can. If you know how to hand sew, you can make this cute bedding set in no time.
Yes, absolutely. You can make this bedding set in any size for any doll crib. You just need to measure well your doll crib and follow the same steps.
Yes! You can substitute MDF with a thick piece of cardboard, foam, or even a folded piece of quilt batting for a softer, more lightweight mattress.
Measure the crib’s mattress or bedding area and adjust the fabric and batting sizes accordingly. Add about 1/2 inch (1 cm) for seam allowances when cutting the fabric.
More Projects for Kids to Try
If you like this DIY Doll Bedding Set tutorial, I’m sure you will love these other fun projects for kids too:

Other cute sewing project ideas for kids from my favorite bloggers
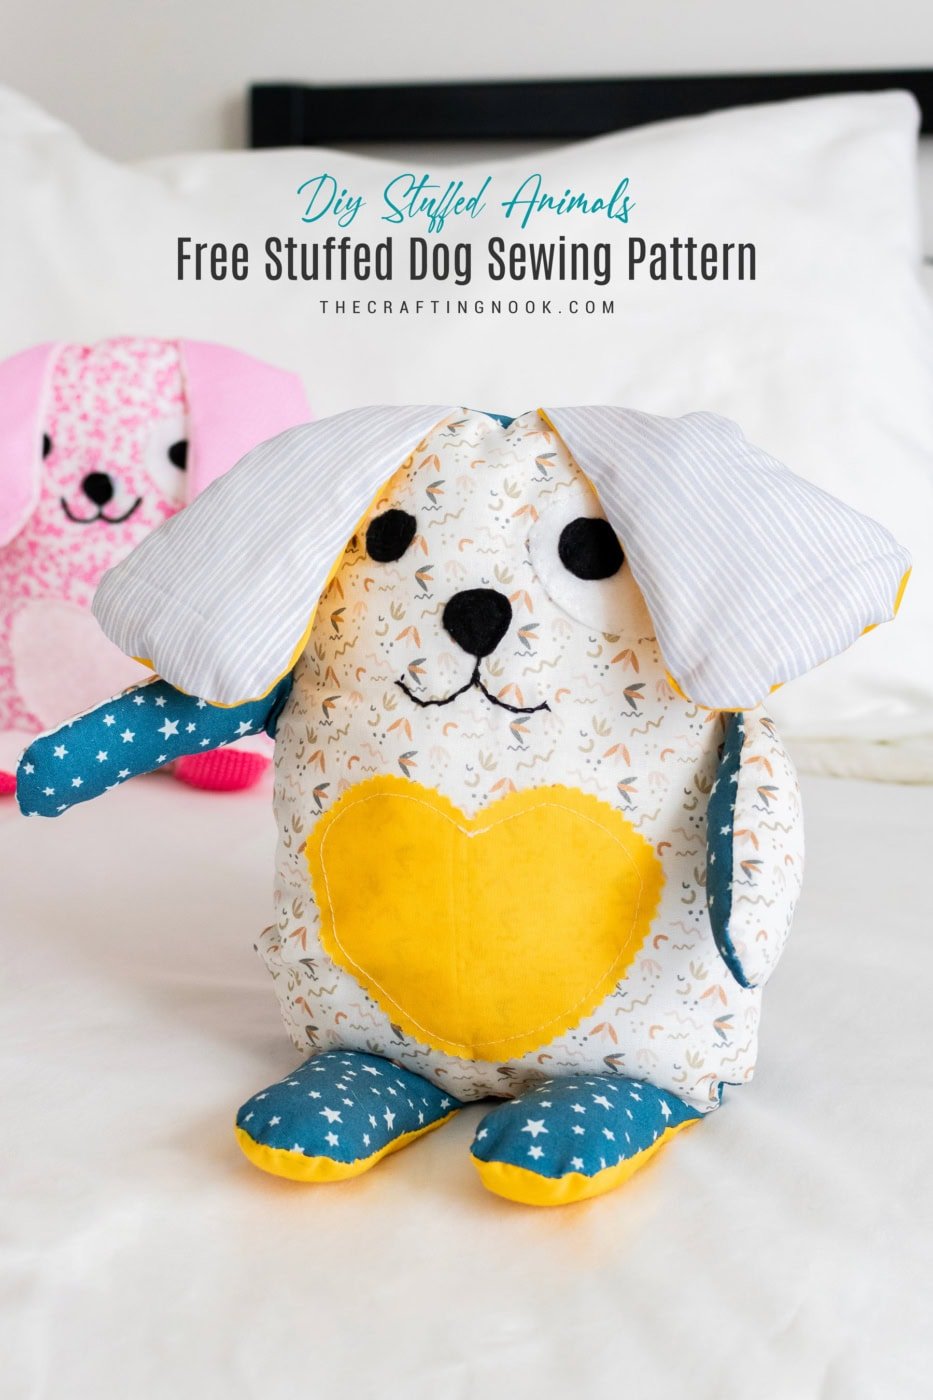
- Warren the Charity Bear – a free teddy bear pattern by Shiny Happy World.
- How To Sew a Doll Skirt {Easy Sewing Tutorial} by Sew Can She.
✂️ Tutorial
How to Make Doll Bedding Set for Cribs or Cradles
Tools
- Sewing Machine
- Sharp Fabric Scissors or rotary cutter
- Hot glue gun and glue sticks
- Pins
- Measurement tape
- Ruler
Supplies
- Scraps of coordinated fabrics
- Pillow stuffing.
- White Batting
- An MDF board 44×26 cm
- Color matching thread
- Fabric Marker
Instructions
Prep Work
- We need to cut all the pieces. So I’m explaining the measurements I used which come from the Graco Playset.
- You might need to adjust measurements depending on your kid’s specific doll crib.
- The Fabric:
- A: pattern 1
- B: Pattern 2
- C: White
- D: Pattern 3
- E: Pattern 4
- Quilt Front:
- 6 pieces of 3 different – Coordinated fabrics. In my case A B C: 10×28 cm (4 x 11 Inches) – this includes seam allowance.
- Quilt Back:
- 1 Piece of batting: 44 x 26 cm – 17 x 10 Inches.
- 1 piece of coordinated fabric D: 50×28 cm – 20 x 11 Inches.
- Mattress:
- 1 Piece of batting: 48×26 cm – 19 x 10 Inches.
- 1 Piece of fabric E: 50×32 cm – 20 x 12.5 Inches.
- 1 Piece of fabric C: 46×28 cm – 18 x 11 Inches. – Or any fabric goes since it’s for the base, I used white.
- Main Pillow:
- 2x Fabric C: 28×18 cm – 11 x 7 Inches.
- Fabric B: 18×6 cm – 11 x 2.5 Inches.
- Fabric E: 18×8 cm – 11 x 3 Inches.
- Pillow 2: 2x Fabric E: 20×20 cm – 8 x 8 Inches.
- Pillow 3: 2x Fabric A: 18×15 cm – 7 x 6 Inches.
Step 1: Creating the Mattress
- If your kid’s doll crib is a different size than ours, I recommend measuring the bottom of the crib (where the mattress should be) and cut your MDF board a few millimeters smaller.
- Then Use that board to cut your fabric. Place the board on the wrong side of the fabric, leave about 1 inch (2.5 cm) around the board and cut the fabric.
- The fabric for the matress cut around the mdf board
- First, put together your fabric E wrong side up and your batting as centered as possible.
- Put on top some stuffing. Enough to cover all the batting.
- Then place your MDF board on top of everything as centers as possible.
- Press it down a little bit and start applying lines of hot glue on the board close to the edge and start attaching the fabric to the back of the board.
- Keep gluing in small patches, so the glue doesn’t get cool and hardened before you get there.
- When you hit the corners, just carefully pull a little bit of each side and glue them together to the board.
- Don’t worry about it not looking pretty, will be taking care of that.
- Take your white fabric (or Fabric C), fold the edges about 2 cm, and glue it to the back of the board to cover all the ugly raw ends from fabric E. Use a lot of hot glue here. Don’t be shy.
- Ok, the mattress is done! Set it aside.
Step 2: Making the Blanket
- Stitch together fabric A with B and then B with C, then A, C and B. You can mix and match in any way you like.
- The whole top of the blanket should measure about 50×28 cm.
- Then place together front and back right sides together and stitch the edges leaving one side open. Because this piece is small, I used less than 1 cm seam allowance
- Serge the raw edges, or zig-zag the edges if yu don’t have a serger to avoid fraying.
- Cut a bit of each corner and turn it right side out. Press.
- Insert batting. It should fit perfectly inside.
- Fold edges towards the inside edging the batting.
- Pin in place and stitch 1/2 cm from the edge.
- Finally, as a simple final touch, stitch close to each fabric seam where they join to make it look more like a quilt.
- Woot! The quilt is ready to go!
Step 3: the Pillows.
- First, fold fabric B in half.
- Fold a hem in fabric E.
- Place fabric B on top of fabric C aligning edges.
- Place fabric E over fabric B leaving about 1 cm offset. Make sure all raw edges on the back are aligned to the folded hem of fabric F on the wrong side.
- Pin in place.
- Then, stitch together fabric B, C, and E close to the fabric E folded edge.
- Now lay your fabric C onto the piece we just created right sides together and pin in place.
- placing a piece of fabric over the sewn pieces
- Next, stitch along the edges of the pillow leaving an opening big enough to insert the stuffing.
- showing the space reserved to fill the pillow
- Turn it inside out. Press.
- Fill it up with your stuffing and stitch the pocket to close the pillow. You can either do this part sewing by hand doing the invisible stitch or with your sewing machine.
- Finally, repeat the 3 last steps for the other 2 pillows. I chose to make a French seam for the small throw pillows bu that’s just optional. If you want to learn how to shame French seam you can see this tutorial.
- Step 4: Put the Bedding set in the doll crib
- Insert your cute mattress in the crib, then style the bed with your new blanket and pillows.
- Your Girl’s baby doll bedding set is all ready for her to play with!!!
Well, I hope you like this tutorial and that it inspires you to make a cute bedding set for your girl’s baby dolls! It’s fun to make and girls love it!
Let me know your thoughts and ideas in the comments!!!
Share and PIN ME!!!

Til’ next time…


FREE WORKBOOK
Keeping your Sweet Home Organized
Learn how to create intentional habits and simple routines to Keep Your Home Organized. Plus freebies, printables, exclusive content, and tips.
Disclaimer: By clicking on the “Yes” button above you are giving me your consent to collect and use your information according to the law and My Policy Privacy. Zero Spam I promise!