Upcycling Wine Bottles: DIY Twine Wrapped Decorative Vases

Upcyclingย or reusing things is always a good thing. Besidesย mostย cases, it’s even easier to get what you want when you make it yourself. I saw this idea on Pinterest and I thought it was so pretty and rustic that I had to give it a try. I really like the idea of repurposing things, upcycled things usually turn out super nice and brings life to any space. That’s why I made this Twine Wrapped Decorative Vases out of Wine bottles.

Upcycling Wine Bottles: DIY Twine Wrapped Decorative Vases
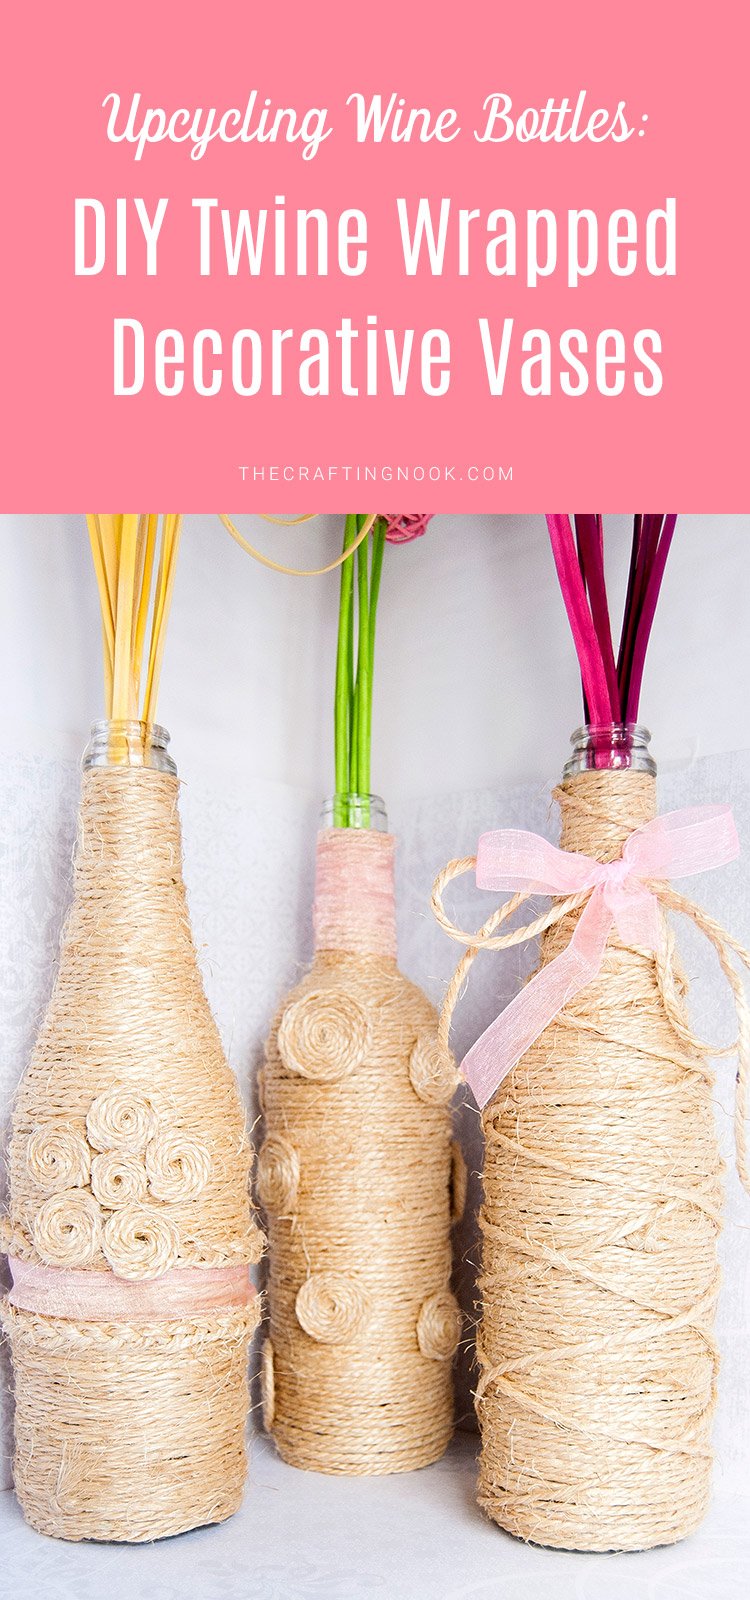
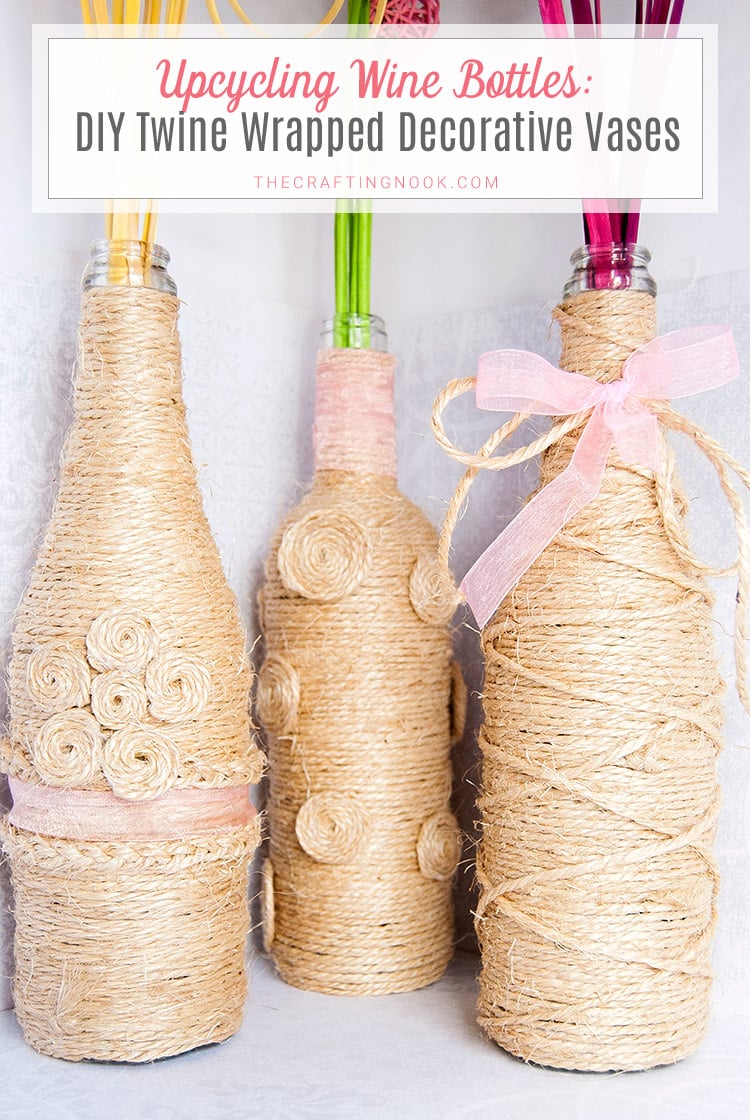
Upcycling Wine Bottles: DIY Twine Wrapped Decorative Vases cover image with title text overlay

I have a table in my entrance that needed some love, so I decided to upcycle some wine bottles I had sitting around to make some cute wrapped decorative Vases. I bought some twine, fake flowers and branches to add some pop of color to that space!

I fell in love with these vases shared by Katie over at Juggling Act Mama. She did a lovely work there, especiallyย with the rosettes. That post gave me my first idea. and I had also seen this cute vase too via Indulgy but I didn’t have a pretty lace likeย that one so I went for the Ribbon!

Here is how I made Twine Wrapped Decorative Vases:

What you need:

  • clean wine bottles
  • Twine
  • white glue
  • brush
  • and things to decorate as you like.

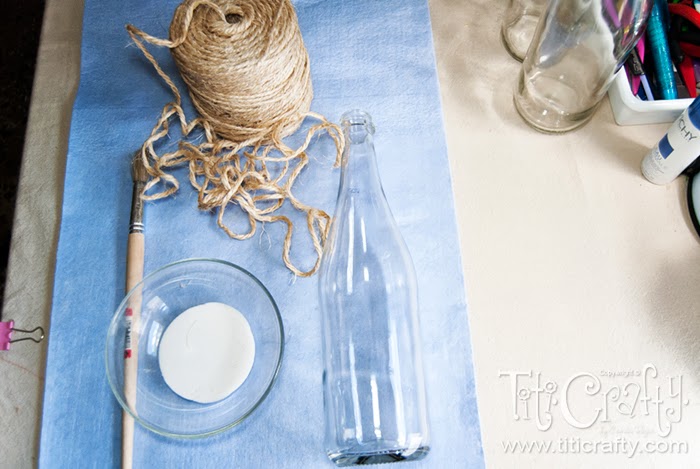
glass bottle, container with white glue, brush, coil of jute rope

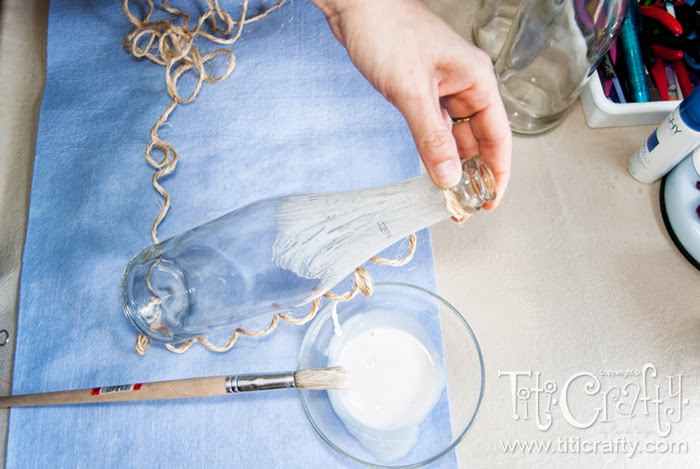
Thin the glue 50/50 with water. The idea is to have it a bit more fluid than it usually is.

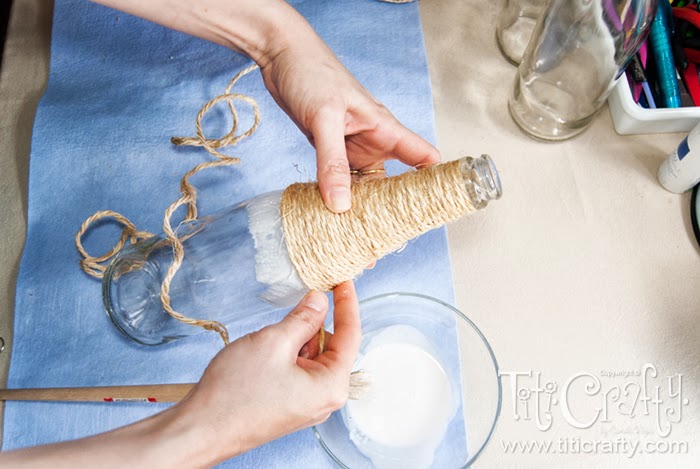
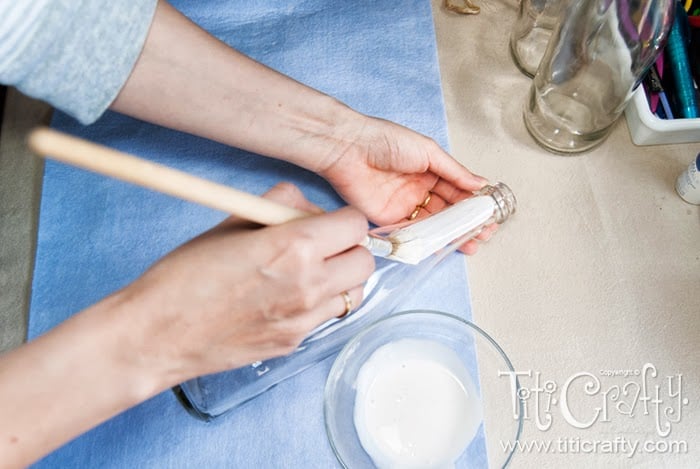
applying white glue with the help of the brush in the glass bottle

Spread the glue with a brush in sections.

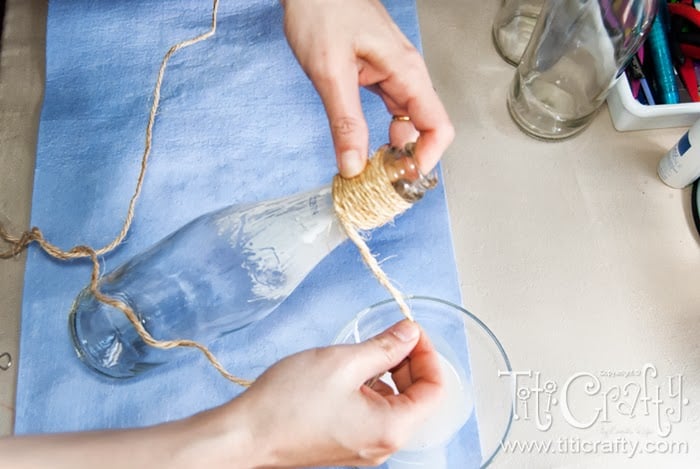
placing the rope at the top of the bottle to start wrapping it

wrapping the bottle with the rope

continuing wrapping the bottle with the rope

I started wrapping the bottle with the twine. I always try to hide the ends by trying to overlap the second loop over the end.

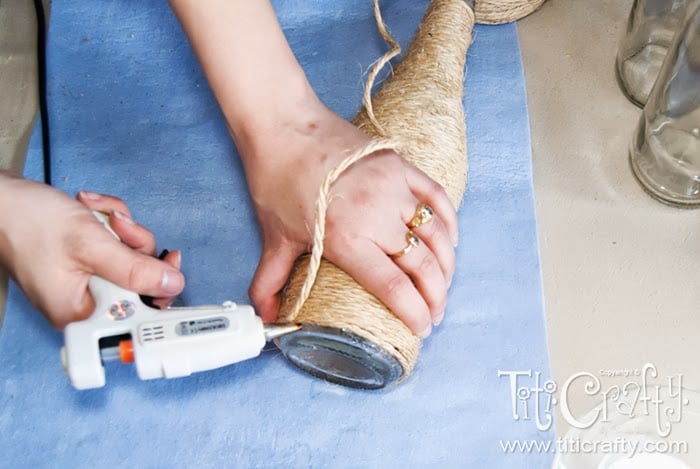
finishing wrapping the bottle with hot glue at the base of it

At the end, when the whole bottle is wrapped, cut the twine and glue it with Hot gun glue. Even every 10 or so loops add some hot gun glue, it helps keep everything in its place while wrapping.

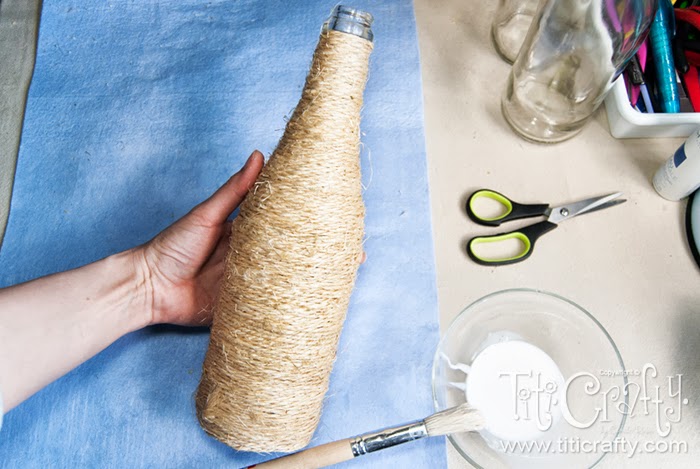
showing the bottle already wrapped with the rope

You are done!…. for now! Lol

The decoration! Click next page to continue the fun…

I made some little flowers with the twine to decorate it.

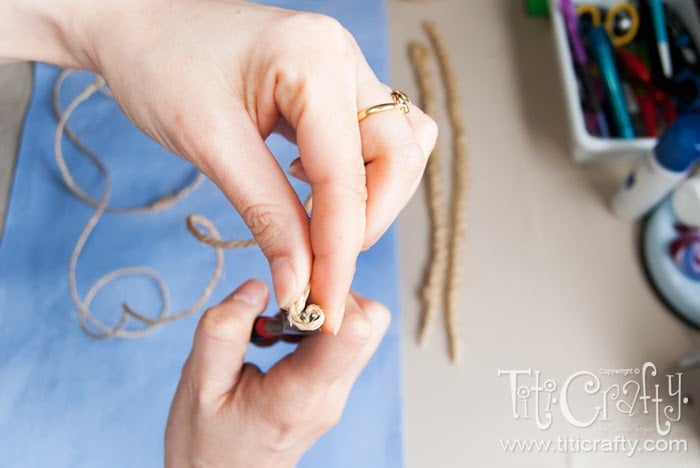
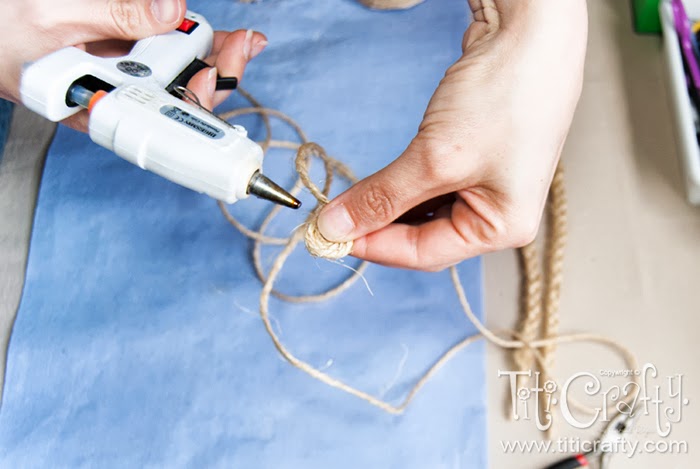
top view of a pliers holding the end of a rope and with the help of the fingers of the hand wrapping it in a circular way

making some loops with the rope around the pliers

Grab the end of the twine with a needle nose pliers and make some loops around it.

shaping and adjusting with both hands the small circle made with rope

placing hot glue, join the rope circle well

When you feel itโ€™s strong enough, remove the handle and keep looping the twine until the desired size. Every now and then add a bit of hot glue to keep it in place.

cutting the circle made with rope to the desired size

When you get the size you want cut the twine and glue the end. Make as many as you want.

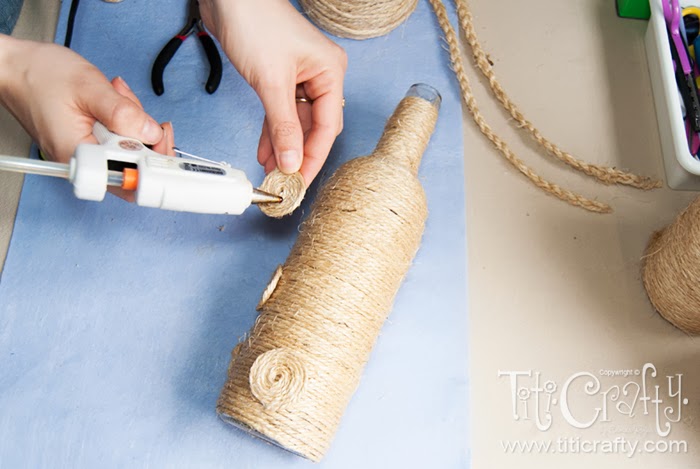
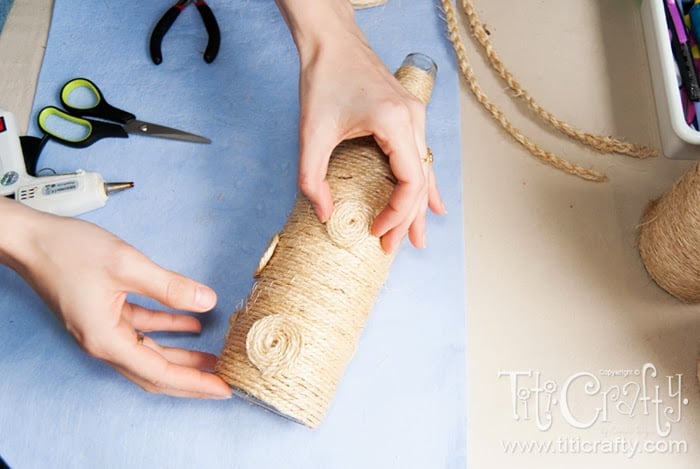
gluing the string circles to the string-wrapped bottle

placing the string circles to the string-wrapped bottle

I made 3 bottles and I decorated them differently. So just glue the flowers as you like. Imagination is the limit. And for the last detail, I add some ribbons and bows.
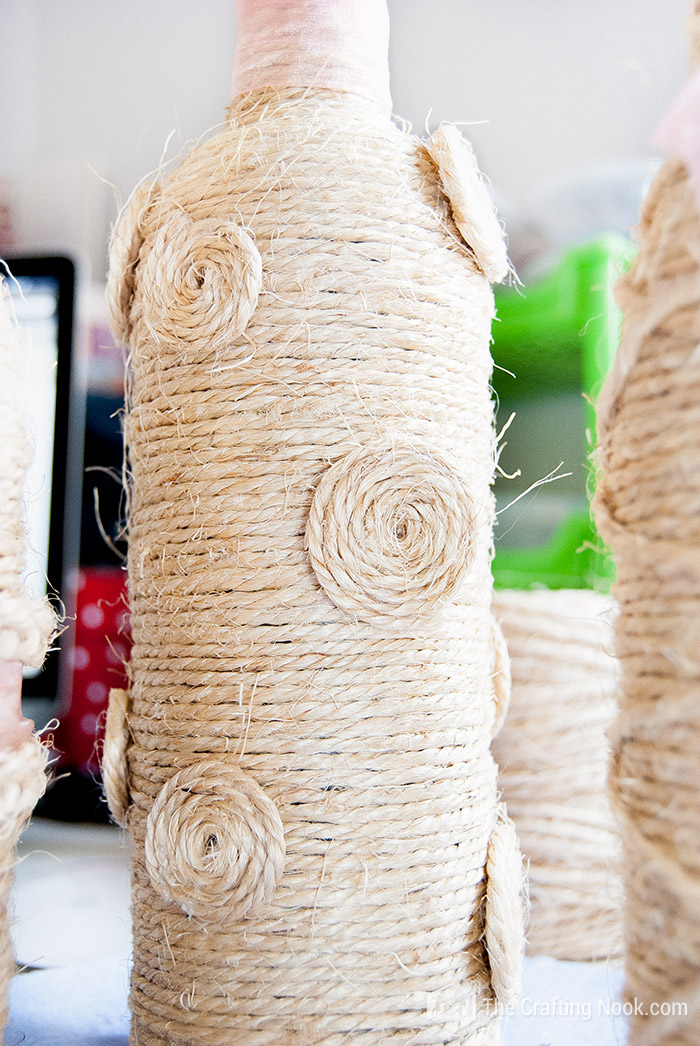
close-up front view of the wrapped bottle and the circles made of rope

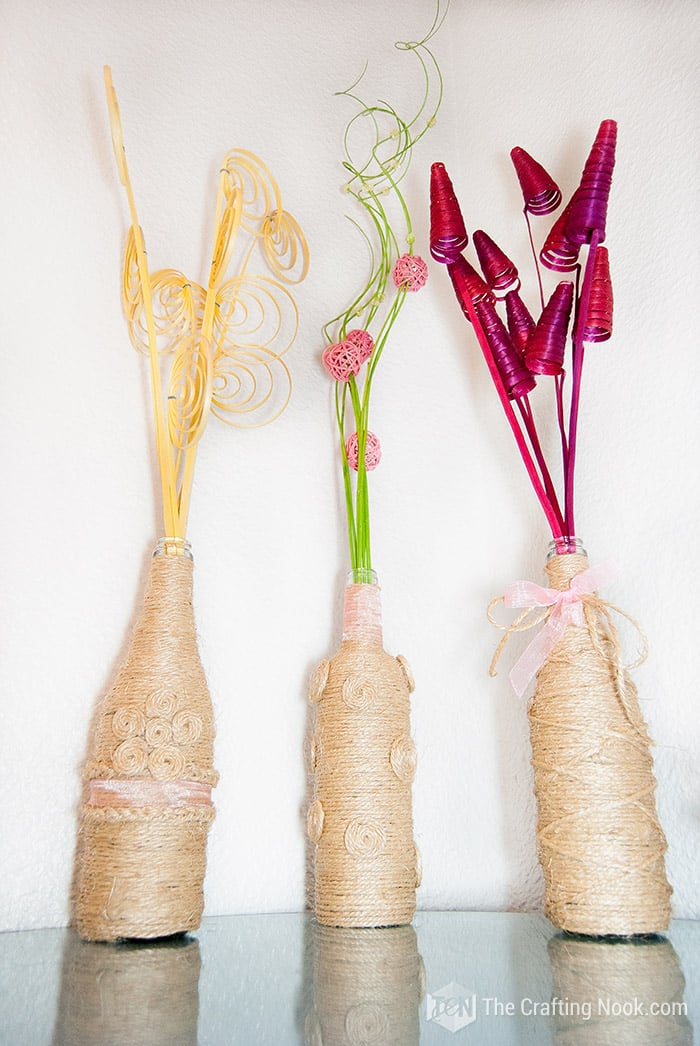
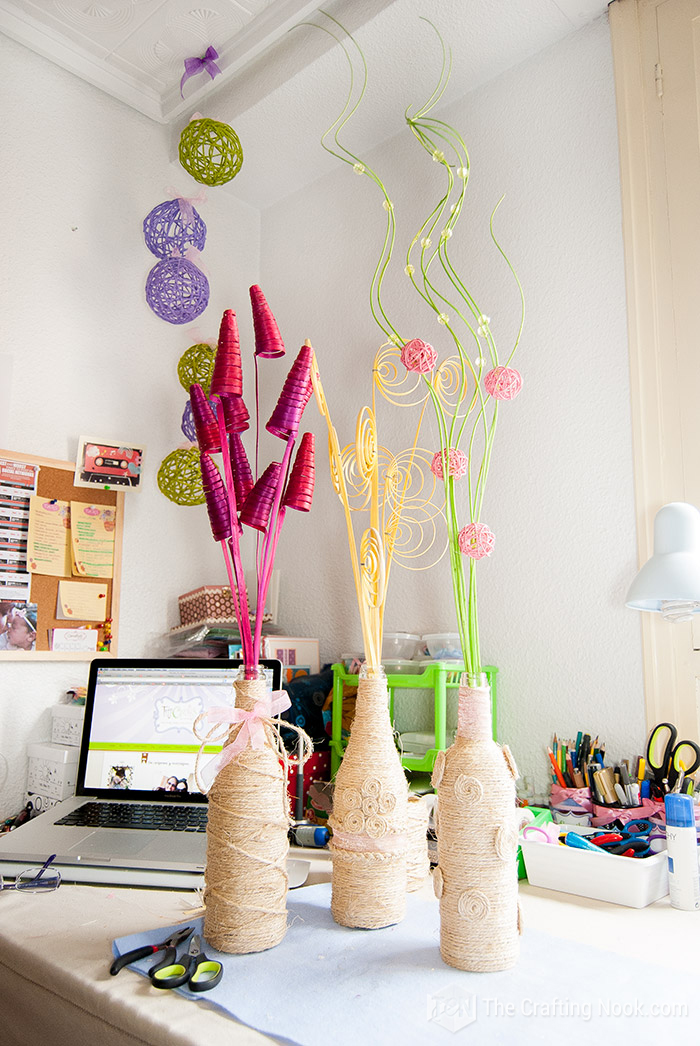
general front view of three bottles wrapped with rope with different designs

This is how my bottles look, what do you think?
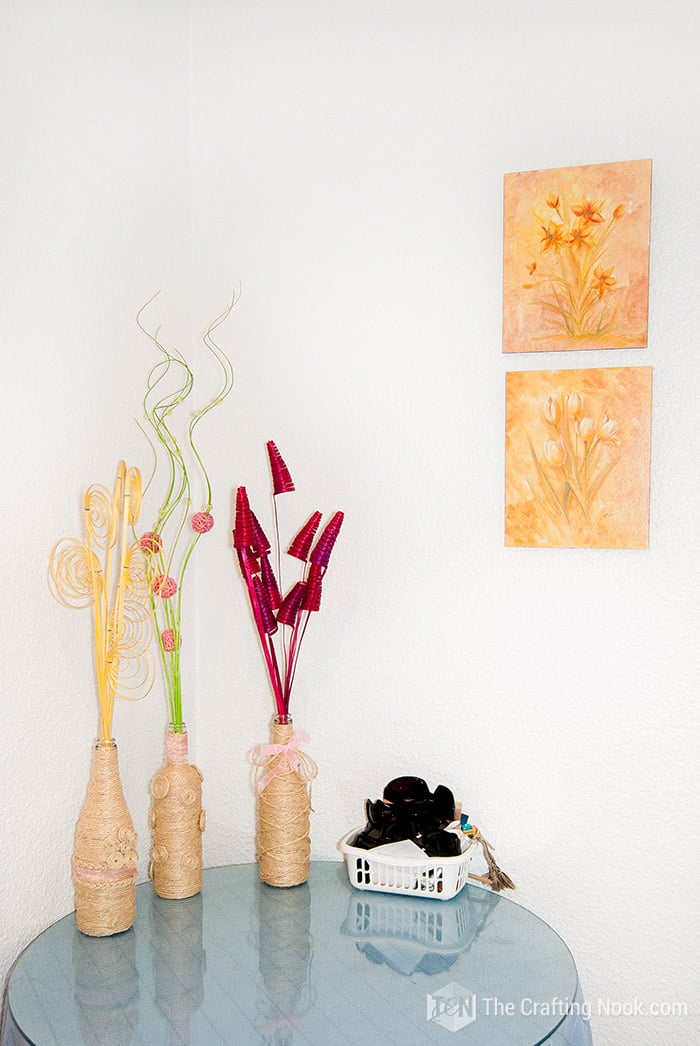
close-up front view of three bottles wrapped with rope with different designs and translucent pink ribbons

general view of Twine Wrapped Decorative Vases placed on a table

close up view of Twine Wrapped Decorative Vases placed on a table

Cute or what???

 DIY Twine Wrapped Decorative Vases cover image with text overlay

If you like theseย Upcycling Wine Bottles: DIY Twine Wrapped Decorative Vases project you will love these too:

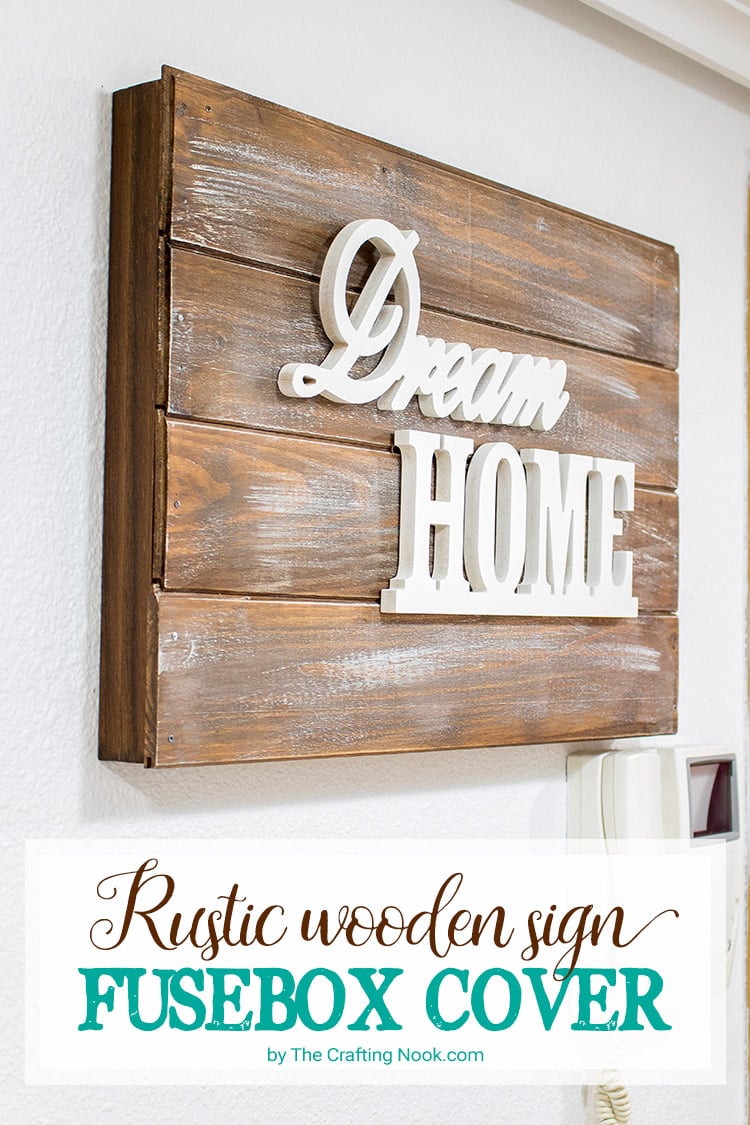
Rustic Wooden Sign Fusebox Cover Tutorial

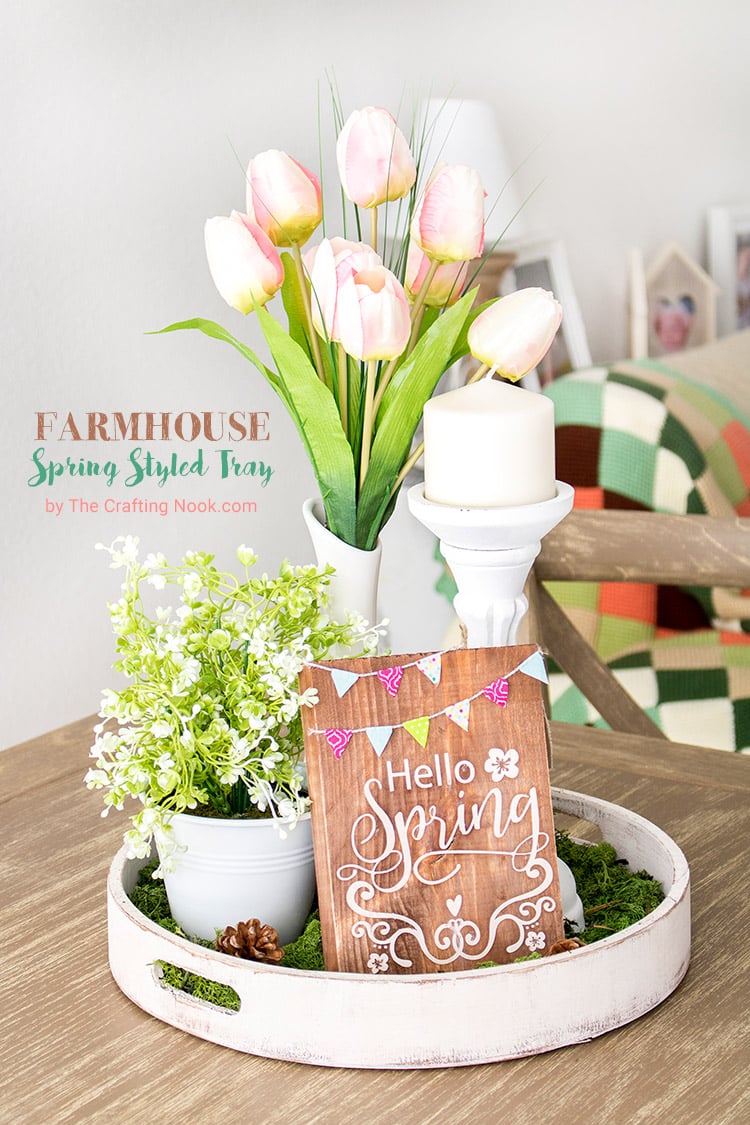
Farmhouse Spring Styled Tray Tutorial

Easy DIY Rustic Blanket Ladder

Til’ next time…

FREE WORKBOOK
Keeping your Sweet Home Organized

Learn how to create intentional habits and simple routines to Keep Your Home Organized. Plus freebies, printables, exclusive content, and tips.

Disclaimer: By clicking on the “Yes” button above you are giving me your consent to collect and use your information according to the law and My Policy Privacy. Zero Spam I promise!
Leave a Reply

Your email address will not be published. Required fields are marked *

This site uses Akismet to reduce spam. Learn how your comment data is processed.

27 Comments

  1. What size twine did you use? I’m having trouble determining the right size to use on this craft. Thanks!!

    1. I’m really not sure, exactly the size but I would say no more than 2mm {0.07 Inch}. It’s best if it’s not too thick. But to be honest that doesn’t really matter much. What matters is that it gets the look you want.

      Glad you like this idea and that you want to make it. Hope you don’t mind sending me a pic of your final result!!!

      XOXO

  2. Love, Love this idea. I remember when we use to melt candles over bottles, and no, not giving up my age LOL. I need to try this! Thank you for sharing.

    1. LOL… I love the melting candles too!!! Glad you liked this idea! Thank you for your lovely visit!
      XOXO

  3. Thanks for coming by the Wonderful Wednesday Blog Hop. Love your post and appreciate you taking the time to share. I will be featuring this fabulous post this weekend on Facebook and Twitter. Pinning today!
    Blessings,
    Shari

  4. What a great idea and so simple, too. I have a whole roll of that twine – I use it for various crafts and things – adding this to my list of things to use it for.

    1. Yayyy love to inspire! Thanks so much for your sweet visit I super glad you like this idea!!!
      XOXO

    1. Thanks so much Tanya! Glad you like it and thanks for stopping by, hope you have a wonderful weekend!
      XOXO

  5. Absolutely beautiful Cami!!!! Love how they turned out!Thanks for sharing at The DIY Dreamer… From Dream to Reality! Looking forward to seeing what you have been up to tomorrow evening!

  6. Very cute ! I have an empty wine bottle on our counter, waiting to be used for a project. Thanks for sharing at Pinworthy Projects.

  7. Cami ~ You have so many creative ideas – love this one!So glad you linked up with us at the BeBetsy BRAG ABOUT IT Link and Hop.Have a wonderful week~Sharon and Denise! Follow us: Facebook ~ Twitter ~ Bloglovin ~ Pinterest

  8. You have the best ideas!! I love this one too:). Thanks for linking up @ The Owl’s Skull today! J

  9. These are so pretty. I love using twine. Not only is it a great look but you get so much of it. I especially like the little flowers :)

    1. Hi Jessica, so cool to have you here!, Thanks so much for your lovely comment and sweet words! I’m really glad you like it!!!

      xoxo
      Cami

  10. Thanks so much for stopping by and linking this up with the DIY Sunday Showcase! Jen @ PinkWhen.com

  11. I have a few wine bottles that could use some decorating. These are so cute and I love how you decorated them. Adorable!Have a wonderful weekend,Bev@ Eclectic Red Barn

    1. That is all I need, so happy you get inspired by my creations!!! Thanks so much!!!

      hugs
      Cami

  12. What a very cool idea!! I don’t have a lot of wine bottles around, but I know many people who do, and I have this very big open “window” thing in our living room/front hall that I feel needs a little something. I think these would be amazing for that!

    Thanks for linking up with my comment love linky. It’s so appreciated, and I would love if you linked up again.

    1. Hi Shari, Thanks so much! I’m really happy this inspired you! That is so cool!

      hugs
      Cami