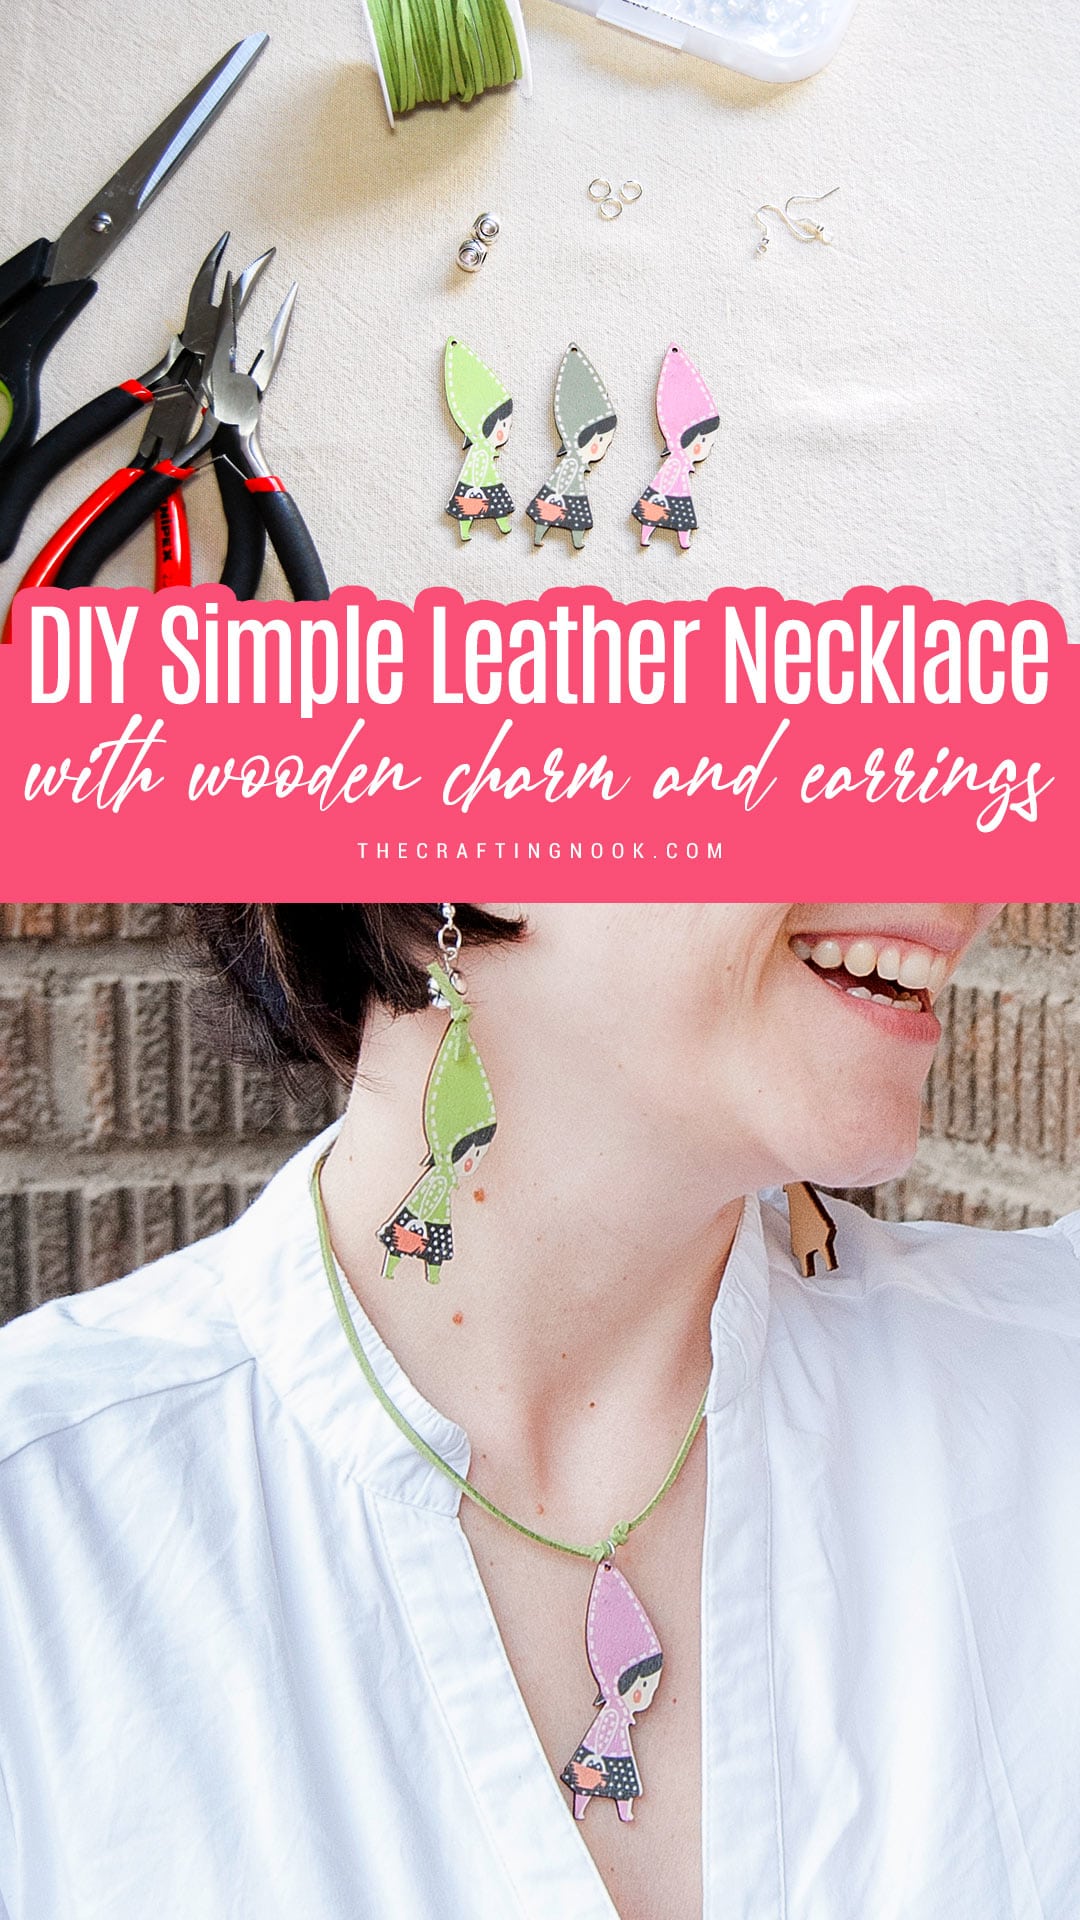
Simple DIY Leather Necklace with Wooden Charm and Earrings
This post may contain affiliate links. Please read our Disclosure Policy.
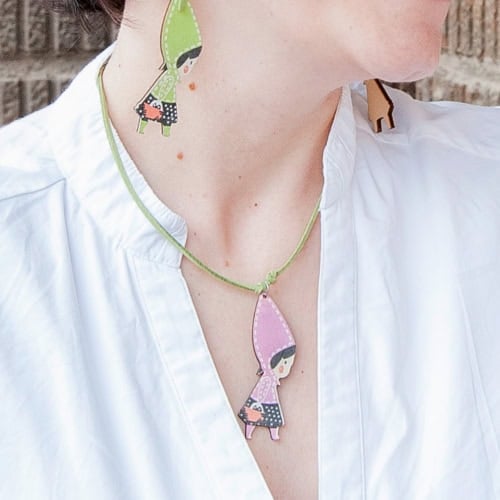
This DIY leather necklace with wooden charms and matching earrings is not only adorable but also super easy to make! Whether you’re new to jewelry-making or just love experimenting with different materials, this project is perfect for you.
Using just a few supplies like leather cords, wooden charms, and basic jewelry findings, you can create a cute, original, and personalized accessory set in under 15 minutes.
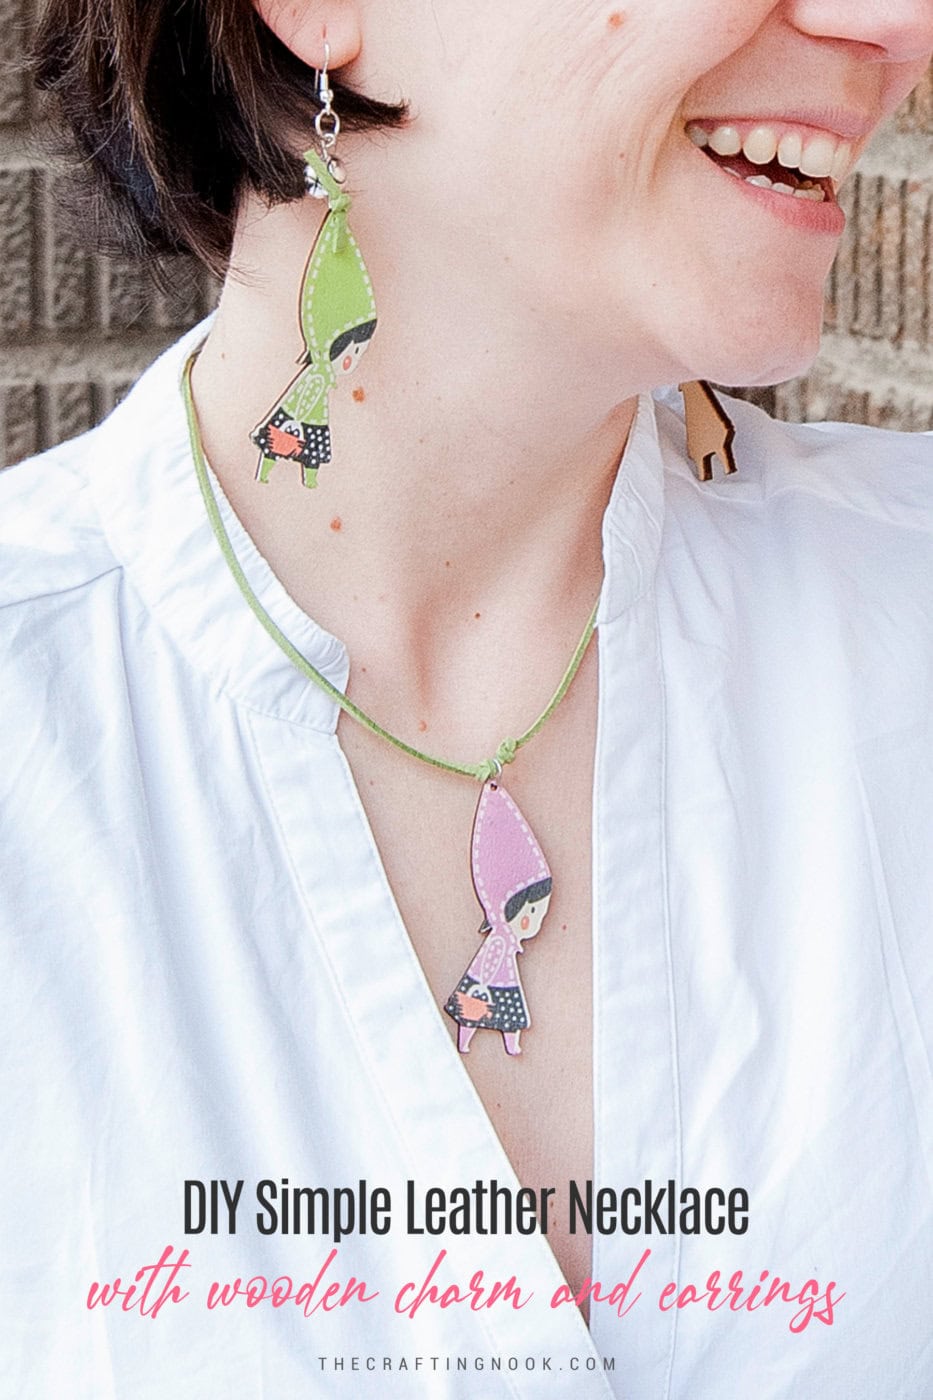
Table of Contents
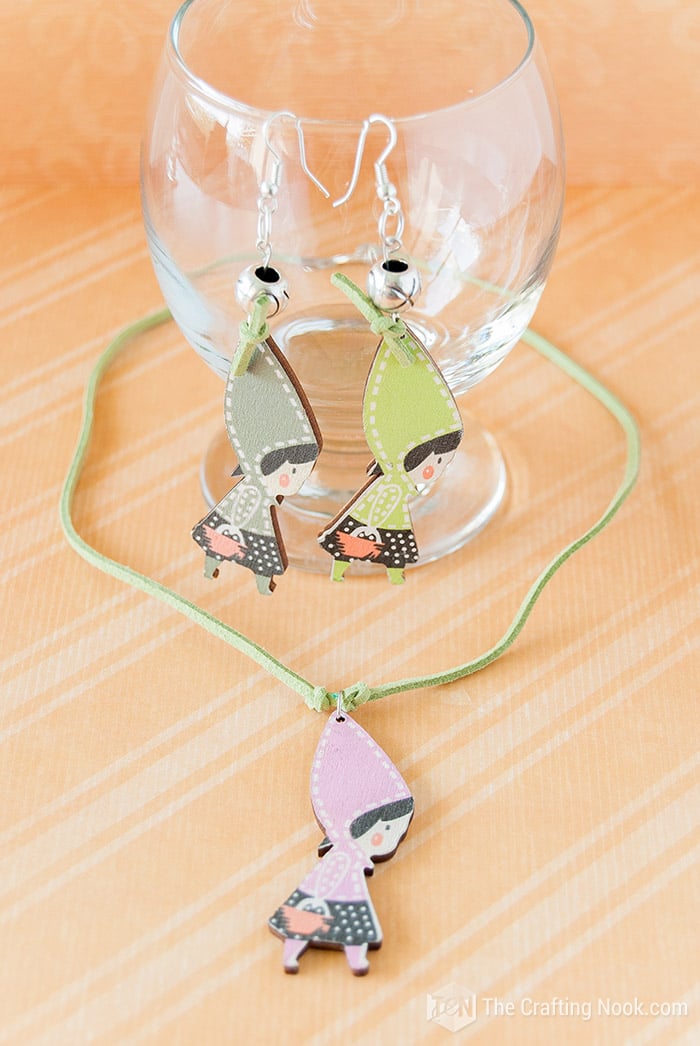
Simple Wooden Charm leather Necklace and Earrings
I’m a sucker for crafty jewelry, especially if it’s not the traditional commercial one.
Whenever I see something that could be used as a charm or hang on some erring hooks I go for it. I especially love making a necklace and earrings set for different occasions.
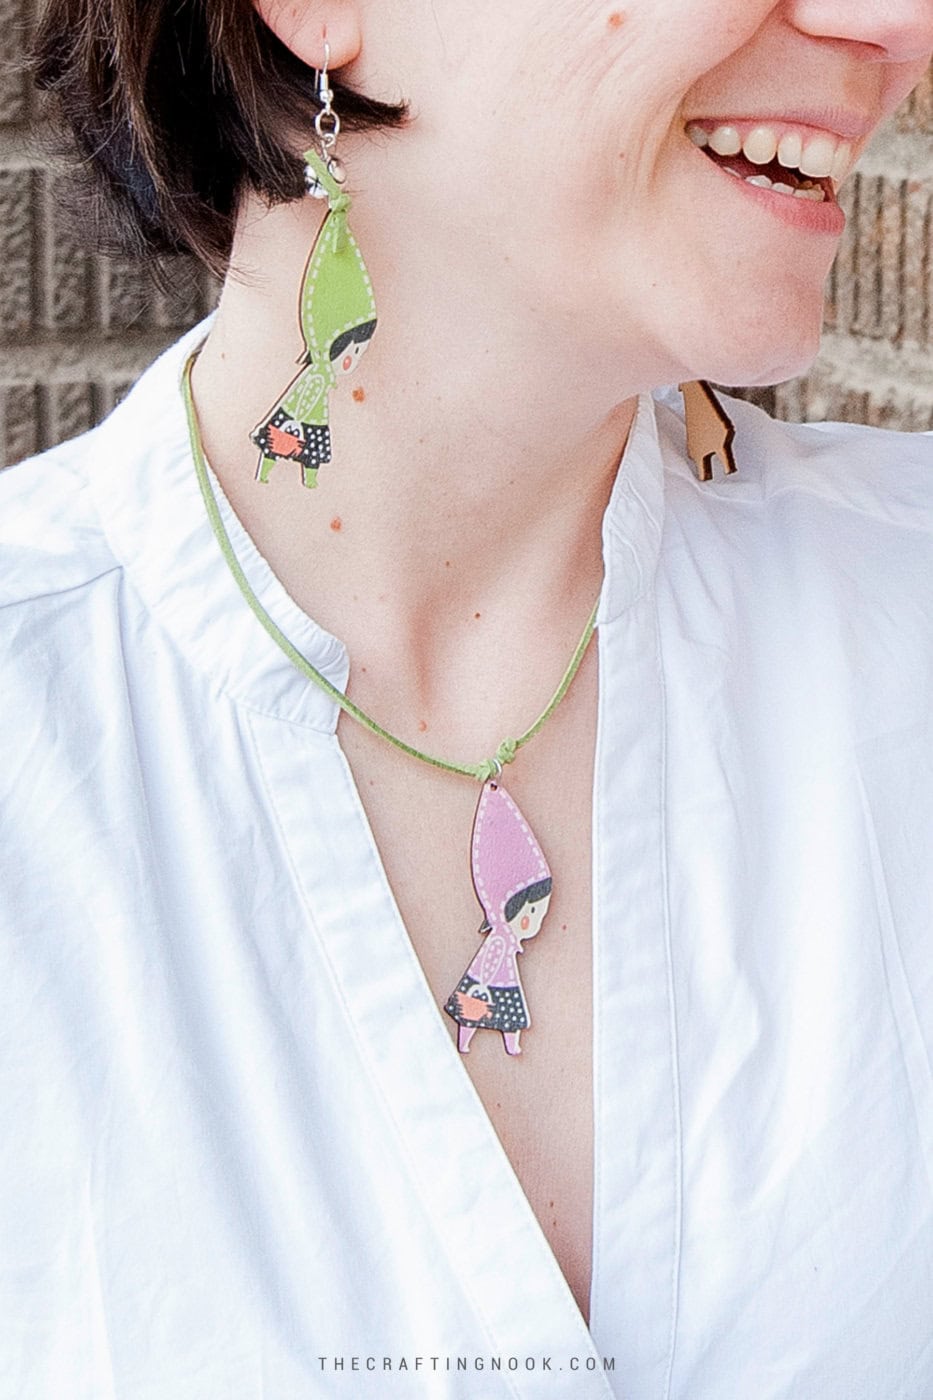
I found these cute wooden doll charms in the craft section of a cheap store. As soon as I saw them I thought “This could be some fun crafty jewelry such as a necklace and Earrings set”. You can probably find interesting items that can be used for this project in dollar tree, amazon, thrift stores, etc.
I knew I had some leather cord left from the Owl Necklace so I thought it would be great because it was even the same color scheme.
I spent about 15 to 20 minutes making them, seriously!
It’s so super easy and it really looks so nice!
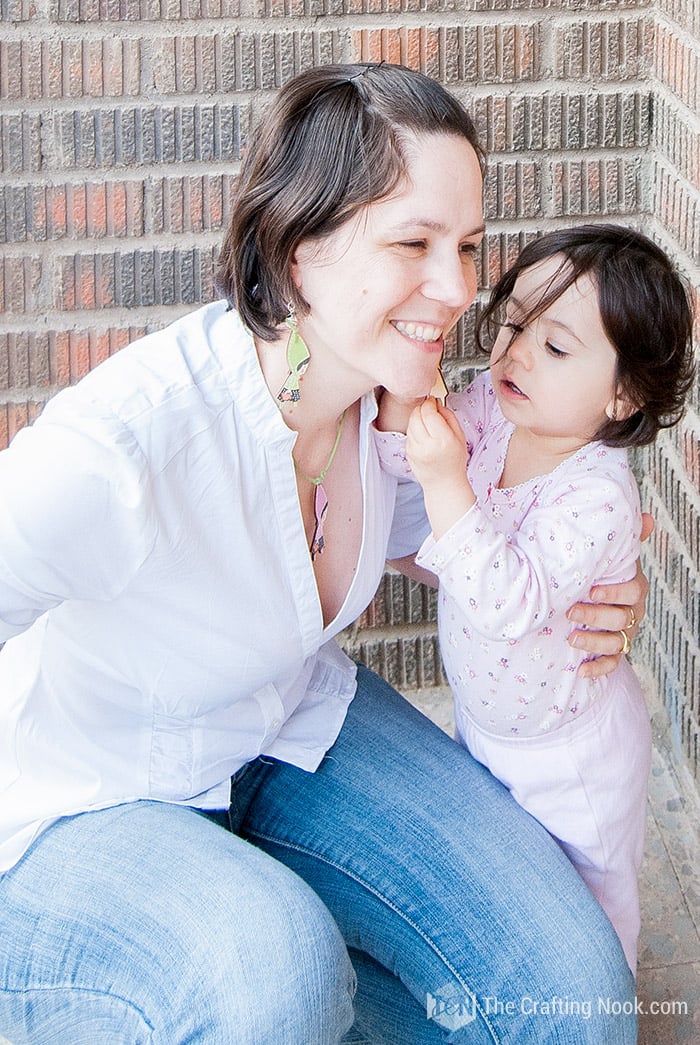
Even my daughter liked it when she was very young lol!
This handmade wooden charm necklace and earrings set makes a great gift for someone special or a simple way to add a touch of fun to your own outfits.
How to This Make Simple DIY Leather Necklace and Earrings
A cute and original necklace and earrings set is always a good addition to your outfits but if you made it yourself is even better. I’ll show you how to make a very cute one!
Follow this DIY jewelry tutorial for step-by-step instructions to make your own adorable necklace and earrings.
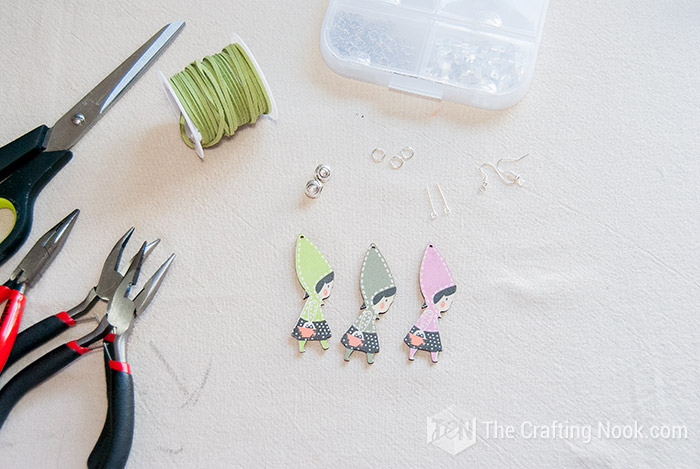
Supplies:
- Leather cord – I used a 3mm green natural leather cord, you can play around here.
- Wooden charms
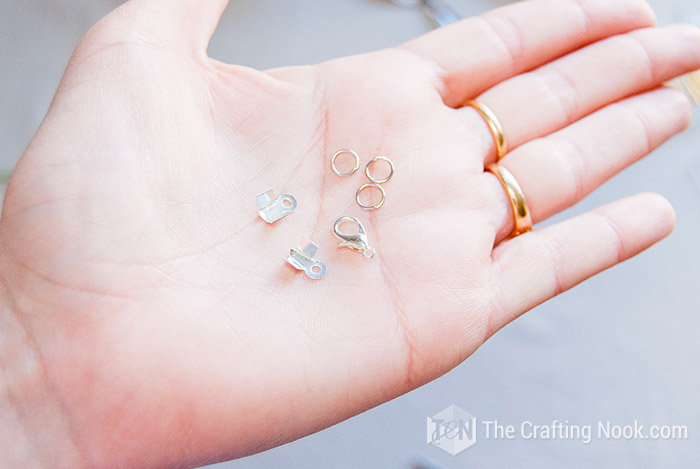
- Fold-over cord crimps – I used 3mm, use the size that matches your cord thickness.
- Lobster clasp
- Jump rings (3-5mm)
- Spacer beads – I used 6mm, but again you can play around with sizes here.
- Eye pins
- Earring hooks
Tools:
- Jewelry pliers (flat nose pliers and bent nose pliers)
- Scissors
Instructions
The Pendant Necklace
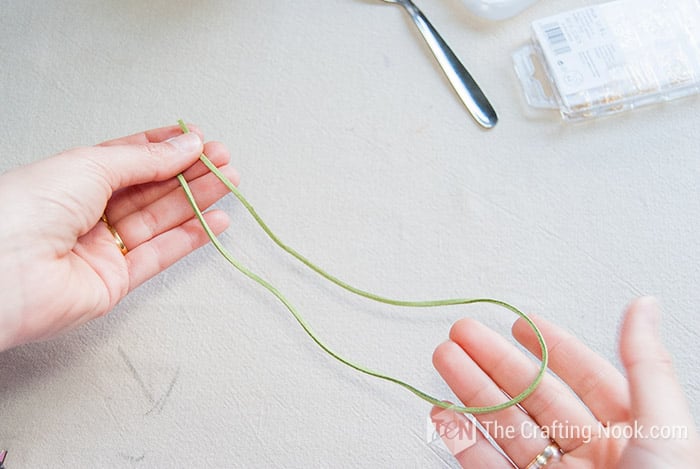
1. Cut a strip of cord about the size you want the necklace to be. Mine was 45 cm (18 inches) + 2cm (1-inch).
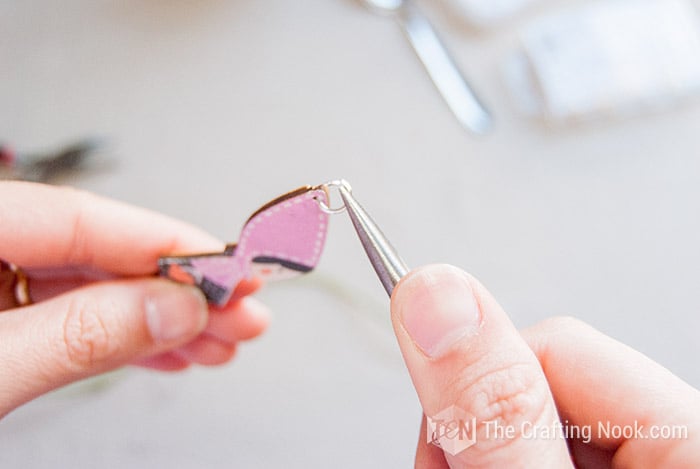
2. Open a 5mm jump ring and insert your wooden charm. Close the jump ring tight.
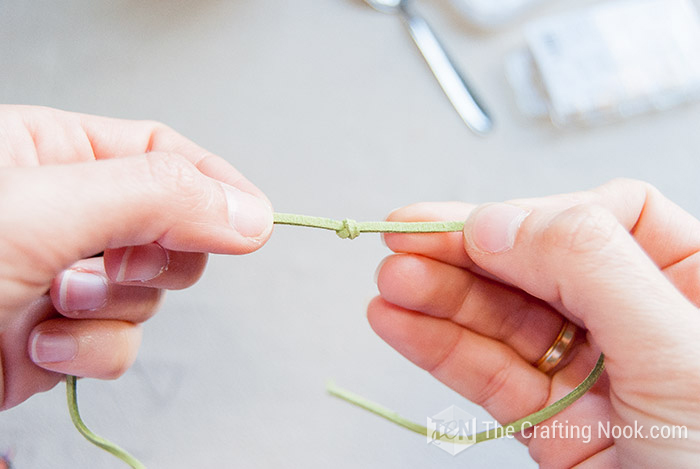
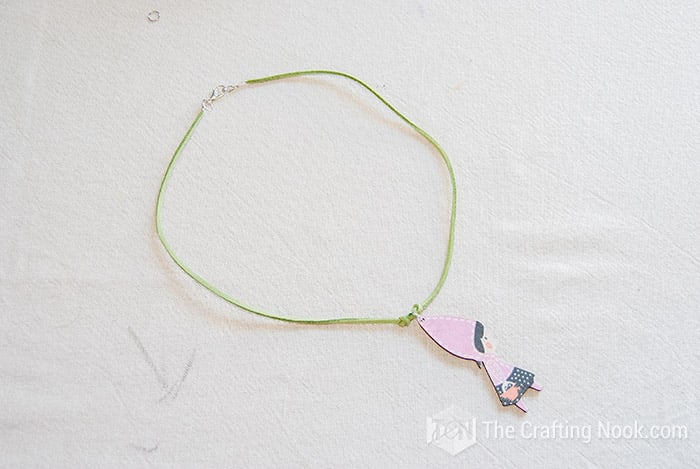
3. You will be making 2 knots, one next to the other so calculate the center of your leather cord and make 1 knot.
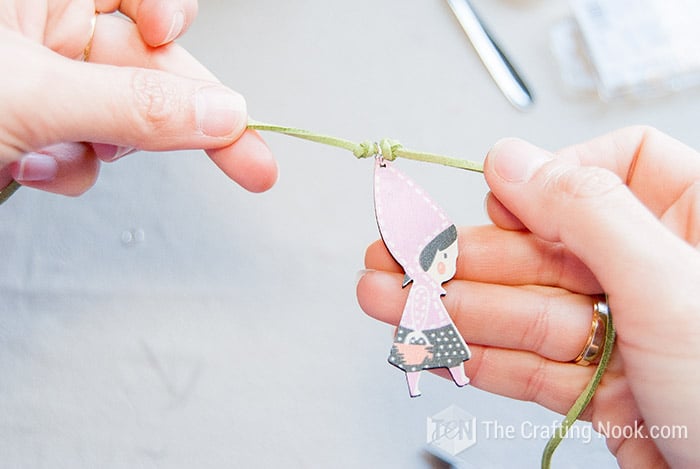
4. Insert the cord through the pendant’s jump and slide it until it meets the first knot. Make the second knot tightly close to the other one.
5. Now let’s work on the closure of the cord ends.
6. Apply a little glue to the crimp cord end.
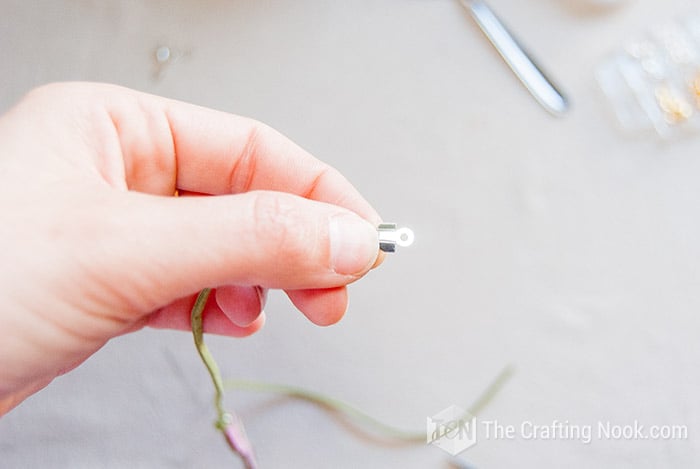
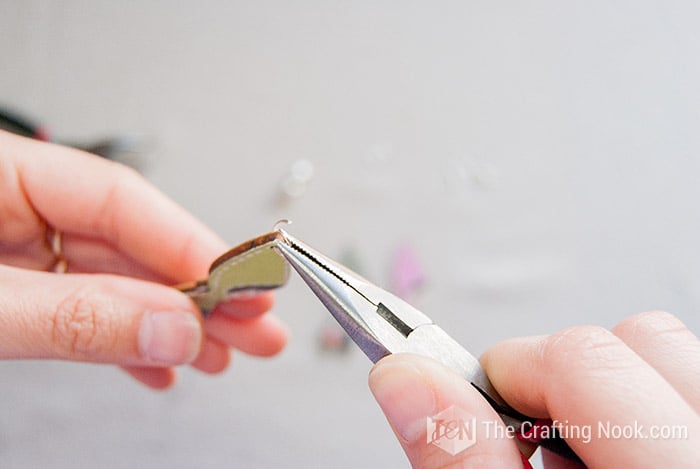
7. Place the cord in the crimp and fold in one side of the crimp with your flat nose plier.
8. Carefully fold in the other side of the crimp.
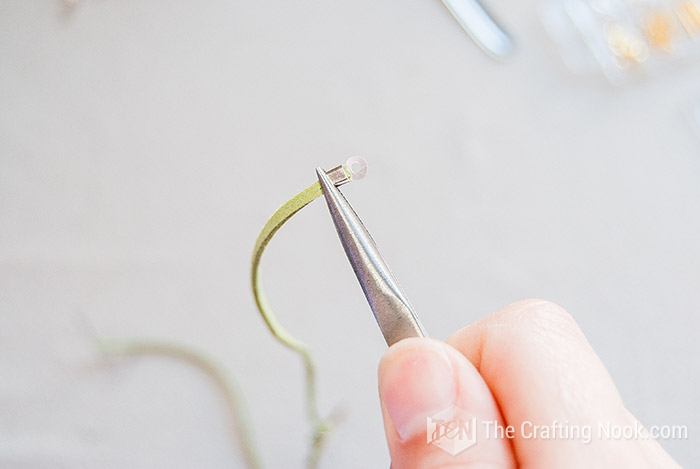
9. Tighten the folding crimp well with your pliers. Trim any cord excess if needed.
10. Repeat on the other side.
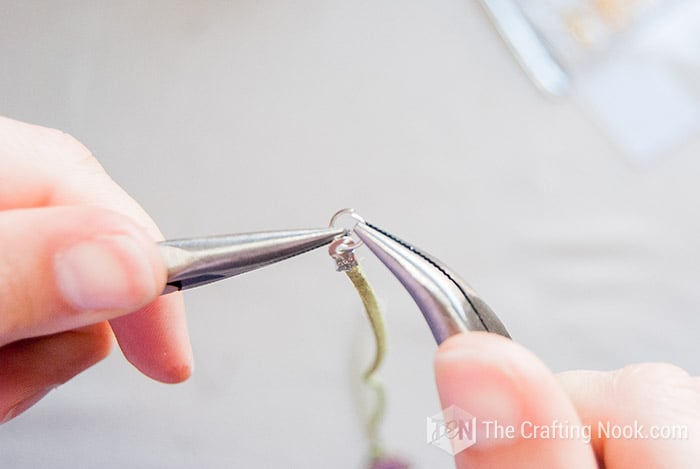
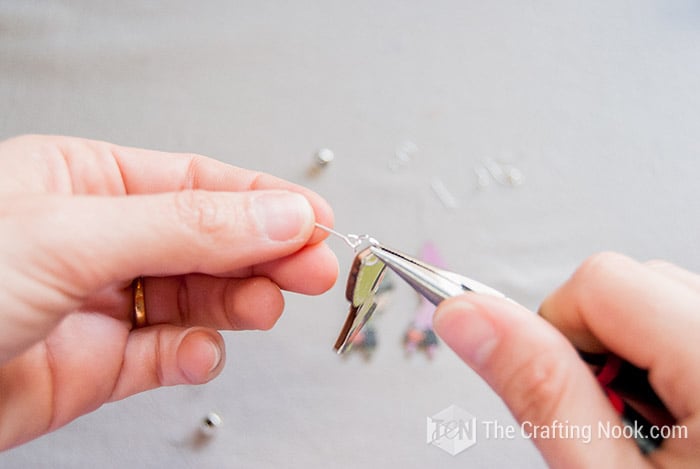
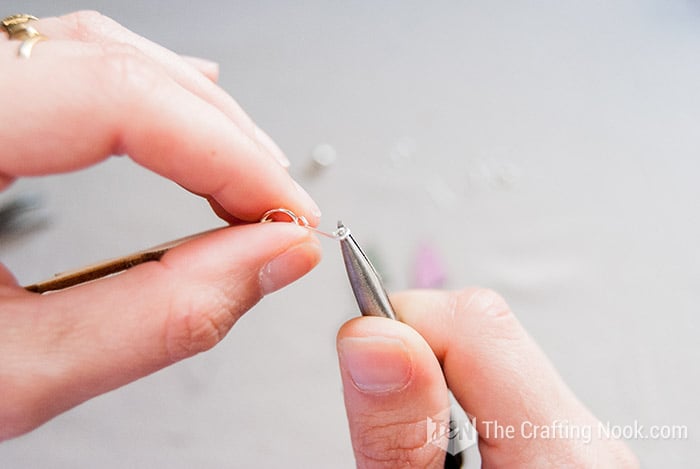
11. At one end of the cord, attach the clasp using jump rings. Open your jump rings and insert one crimp end and the clasp. Close the jump ring.
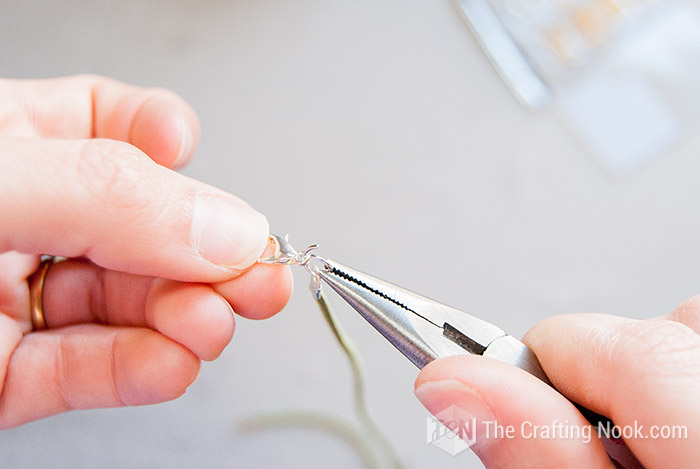
12. Same on the opposite side of the necklace but this time it will be only the end crip and the jump ring. Close the jump rings.
Your pretty finished necklace is ready to rock!
The Earrings
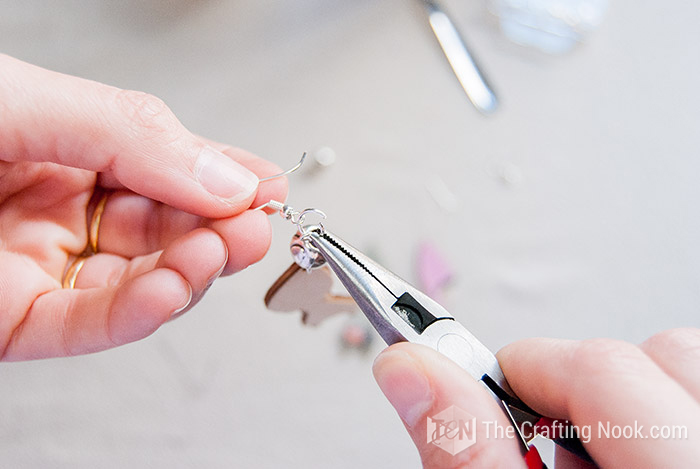
1. With your pliers open a jump ring and insert one wooden charm.
2. Also, insert an eye pin and then close the jumo ring.
3. With around-nose pliers, make a loop on the end of your eye pin.
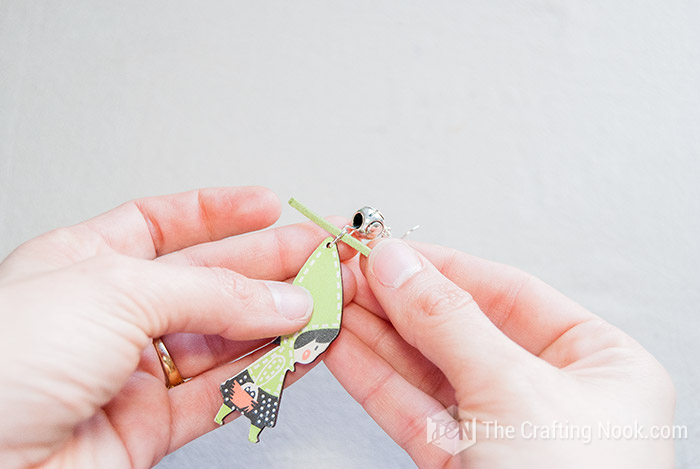
4. Since my spacer beads had a large hole I inserted it after making the loop. If yours is smaller, then make sure you insert your bead before making the loop.

5. Open another jump ring a little bit and insert the earring hook and eye pin from the charm.
6. Close the jump ring and you get yourself a pretty earring.

7. Optional. If you want to add a little something extra to match even more the necklace, you can cut pieces of cord (the same one you used for your necklace) and make a know around the jump ring that holds the charm.
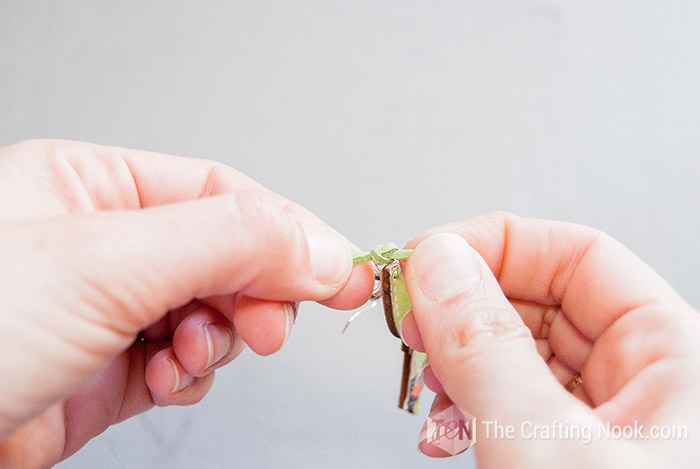
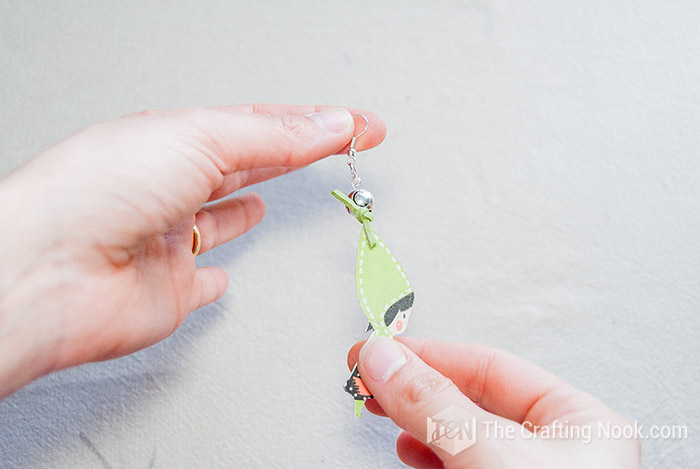
There you go! One finished piece.
Repeat with the other earring.

That’s it!!! Cute isn’t it???
Now you have a gorgeous, unique and handmade Wooden charm Necklace and earrings set!
How do I look? I LOOOOVE it!!! And my daughter loved it too!
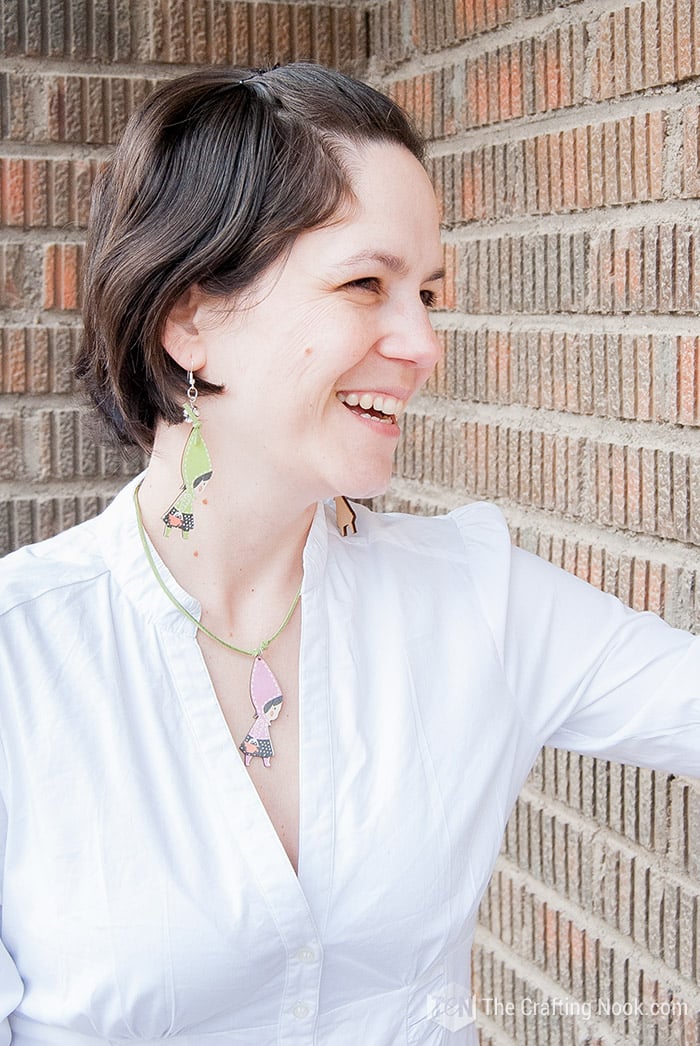
What do you think? Cute, isn’t it?
Crafting Tips
- Feel free to use metallic leather cord or colored leather for a chic, modern twist on the necklace. Gold, silver, or even pastel shades can make your jewelry look more upscale.
- The charm can be anything you want. Add small gemstone beads, crystal beads, or even metal spacers between the knots on the leather cord for an extra decorative flair. The idea is to show you how easy it can be to make a simple yet adorable necklace
- If you prefer a boho style, you can make a choker version of this necklace by using a shorter length of cord and adding more intricate charms or beads.
- If your charm is plain or raw wood, you can use wood stains or acrylic paint to add a pop of color to the wooden charms before adding them to the necklace and earrings.
Alternatives and Substitutions
Instead of regular crimp ends, you can use decorative end caps to finish the leather cord. These often come in different designs, like floral or geometric patterns, and can add a stylish touch to the ends of your necklace.
Don’t limit yourself to just wooden charms! Add small gemstone beads, crystal beads, or even metal spacers between the knots on the leather cord for an extra decorative flair.
You can design the necklace so the charms are interchangeable! Instead of permanently attaching them, you can use lobster clasp closures in the pendant to allow for easy swapping of charms depending on the occasion or your outfit.
Frequently Asked Questions
On average, this project takes about 15-20 minutes to complete. It’s a quick and easy DIY that’s perfect for beginners.
Yes! You can easily swap the leather cord for other materials like waxed cotton cord, hemp, or even suede. Just make sure to adjust the size of the crimp ends or clasps you use to fit the thickness of the alternative cord.
Wooden charms and basic jewelry-making supplies can be found in most craft stores or online marketplaces like Amazon. You can also upcycle old materials, such as charms from old keychains or accessories you no longer use.
Of course! Feel free to experiment with different materials like glass beads, gemstones, metal charms, or even handmade clay beads. This is a versatile project, and adding your own twist will make the jewelry uniquely yours.
There are necklace-length tables online that can help, however, I like to make sure the length is whatever I want. For that just put the cord around your neck keeping one end in hand and then make it meet the rest of the cord behind your neck. Loose or pull the leather cord until you find the right length. For this project add about 1 inch to count for the knots.
More Handmade Jewelry Projects To Try
Like this Simple DIY Leader Necklace tutorial? You might definitely love these other Handmade jewelry project ideas too:

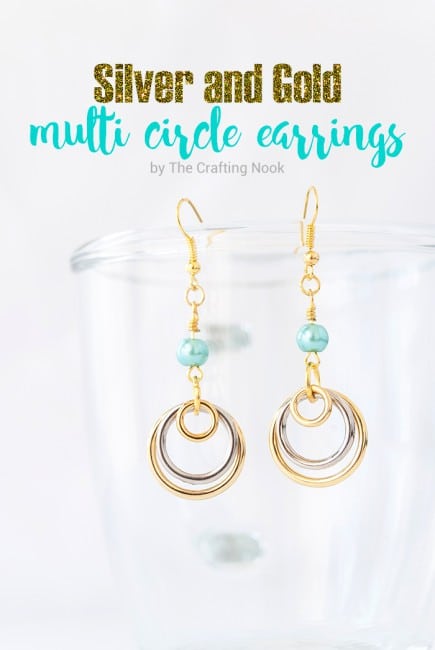

Want some core cute handmade jewelry ideas to make from my favorite bloggers?
- Denim Tassel Earrings by Julie over at Sum of their Stories
- DIY Beaded Arc Wire Necklace by Adrianne over at Happy Hour Projects
- Demin Memory Wire Bracelet by Amy over at Amy Latta Creations
✂️ Tutorial
Simple DIY Leather Necklace with Wooden Charm and Earrings
Tools
- Jewelry pliers (flat nose pliers and bent nose pliers)
- scissors
Supplies
- Leather cord – I used a 3mm green natural leather cord, you can play around here.
- Wooden charms
- Fold-over cord crimps – I used 3mm, use the size that matches your cord thickness.
- Lobster clasp
- Jump rings 3-5mm
- Spacer beads – I used 6mm but again you can play around with sizes here.
- Eye pins
- Earring hooks
Instructions
The Necklace
- Cut a strip of cord about the size you want the necklace to be. Mine was 45 cm (18 inches) + 2cm (1-inch).
- Open a 5mm jump ring and insert your wooden charm. Close the jump ring tight.
- You will be making 2 knots, one next to the other so calculate the center of your leather cord and make 1 knot.
- Insert the cord through the pendant’s jump and slide it until it meets the first knot. Make the second knot tightly close to the other one.
- Now let’s work on the closure of the cord ends.
- Apply a little glue to the crimp cord end.
- Place the cord in the crimp and fold in one side of the crimp with your flat nose plier.
- Carefully fold in the other side of the crimp.
- Tighten the folding crimp well with your pliers. Trim any cord excess if needed.
- Repeat on the other side.
- At one end of the cord, attach the clasp using jump rings. Open your jump rings and insert one crimp end and the clasp. Close the jump ring.
- Same on the other end but this time it will be only the end crip and the jump ring. Close the jump rings.
- Your pretty necklace is ready to rock!
The Earrings
- With your pliers open a jump ring and insert one wooden charm.
- Also, insert an eye pin and then close the jumo ring.
- With around-nose pliers, make a loop on the end of your eye pin.
- Since my spacer beads had a big hole I inserted it after making the loop. If yours is smaller, then make sure you insert your bead before making the loop.
- Open another jump ring a little bit and insert the earring hook and eye pin from the charm.
- Close the jump ring and you get yourself a pretty earring.
- Optional. If you want to add a little something extra to match even more the necklace, you can add a small strip of cord (the same one you used for your necklace) and make a know around the jump ring that holds the charm.
- Repeat with the other earring.
- There you go, that’s it!!!
Share and PIN ME!!!
Til’ next time…


FREE WORKBOOK
Keeping your Sweet Home Organized
Learn how to create intentional habits and simple routines to Keep Your Home Organized. Plus freebies, printables, exclusive content, and tips.
Disclaimer: By clicking on the “Yes” button above you are giving me your consent to collect and use your information according to the law and My Policy Privacy. Zero Spam I promise!
Aww, this is so cute! I would love to use these wooden dolls as brooches too :)
That is a great idea too! Love it! hahaha. I’ll make one as soon as I get my hands on those wooden dolls again! Thanks so much for stopping by and leaving your thoughts!
Oh my goodness. I thought this jewelry was cute and then I saw the photo shoot at the end there with you and your daughter: I think my computer screen is going to explode from so much cuteness. I love it!Warmly,LaurenThe Thinking Closet
Love the components… great little project!
Yayy Thanks =D So easy and looks cute!!!
hugs
Cami
So cute!!!
Thanks =D
Hugs
Cami