Easy DIY Rustic Blanket Ladder (for Under $15)
Add country charm to any room with this DIY rustic blanket ladder. Learn how to create this simple farmhouse-style piece in just a few easy steps here.
Do you have that project that you know you want to make and you keep it in your mind, truly deeply want to make it but for some reason, time passes and you never get to make it? Well, that’s exactly the case with this rustic blanket ladder.

This project has been on my list since like forever. I see it everywhere, each store I go into I see one and I always say, can make that and I will. But truth to be told, I never got to do it until now, YAYYYY for me! LOL
This post may contain affiliate links. Please read our Disclosure Policy.
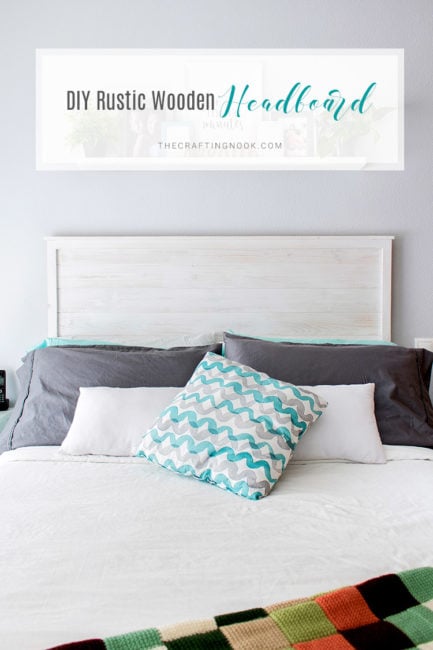
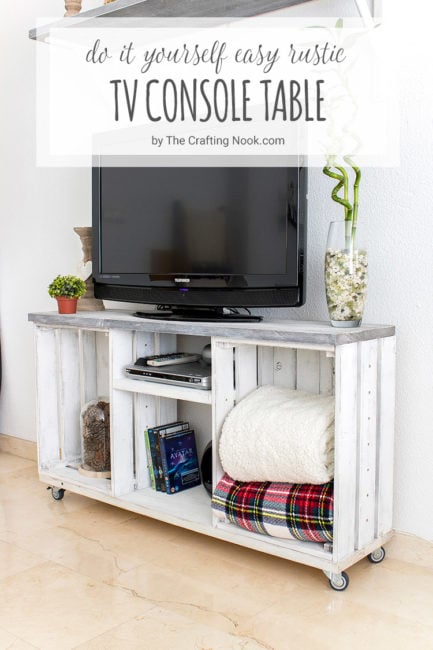
You might also love these other Woodworking ideas: DIY Easy Rustic TV Console Table, DIY Vintage Buffet Makeover using Chalk Paint, and DIY Painted Pallet Headboard.
Table of Contents
DIY Rustic Blanket Ladder Step by Step Tutorial
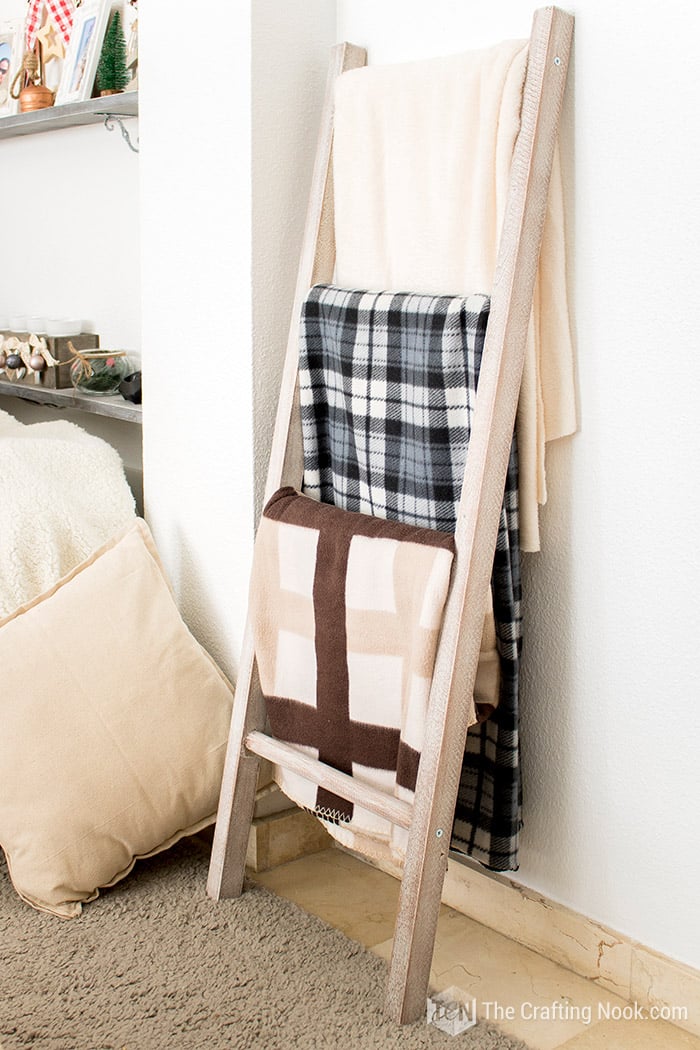
I must admit I got short on height but I still LOVE it with all my heart. I might give it a try again and make it about 6 or 8-foot long but for now, I’m so super in love with my tiny but pretty rustic homemade blanket ladder.
It took me about 3 hours in total to make it. Thank God the day was beautiful and sunny and I could finish it all in one day. I can’t believe how easy it is to make one of these.
It might get tricky at the end when assembling it but it’s definitely doable. I must be clear here, I’m not a carpenter and not even close. So, I can say now that I finished it, it could be one of the easiest DIY projects I’ve made so far.
I went with my gut every step of the way because for this particular project I didn’t want to rehear for tutorials and use only my logic, intuition, and imagination to test myself how far I could go.
I’ve been of course reading a lot of woodwork, painting, tools but that’s what I got to start this project and I’m so proud of myself.
This proves that anyone can do this. We just need to be brave enough to come out of our comfort zone, forget about perfection and just let it go, let your imagination leads you.
The way I made mine is only one of many, I’ve seen photos of so many gorgeous ones. So don’t get scared and just try, worst-case scenario, start over because it’s not even expensive.
You can build this DIY quilt ladder for less than $10 if you at least have some paints at home or let’s say $15 if you have to buy some. I only had to buy the wood so it was great.
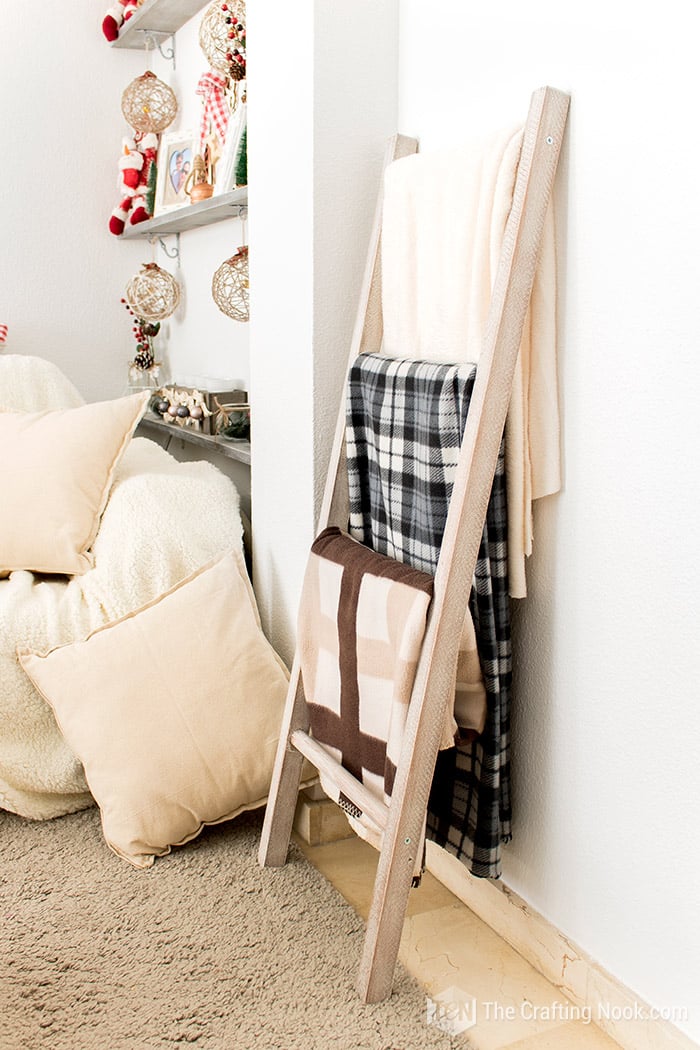
How to Make a Rustic Blanket Ladder
Before we begin, be sure to follow us on Pinterest, Facebook, Instagram, and YouTube, and also sign up for our email list (at the end of this post), so you’ll never miss a post!
Supplies:
- 2 wood sticks {I used 1200 x 38 x 32 mm (1,5 x 1,25 cut at 47 Inches)} This is the blanket ladder height.
- 4 rounded sticks {I used 350 x 26 mm (diameter 1,02 cut at 14 Inches)}
- Wood glue
- Walnut Wood Stain
- Paintbrush and a brush for the stain.
- Piece of cloth, old rag, or old towel
- White latex paint
- Sandpaper
- 4 wood screws {4x45mm}
Tools:
- Gloves and eyewear protection {for painting, drilling and sanding}
- Drill
- 3mm Wood drill bit
- 26mm Flat Wood drill bit

Instructions:
Since I don’t have big tools such as a miter saw, circular saw, or anything like that, I took my cut list to a hardware store and got the wood cut.
Step 1: Prepping the pieces
- Firstly, I measured carefully where I would put the rungs. For the first rung, I placed it at 50mm {2 Inches} and from then every 300mm {12 Inches}.
- Then, of course, I measured the vertical center of the piece. All this is to make sure to mark both sides of the ladder so the rungs line up evenly.
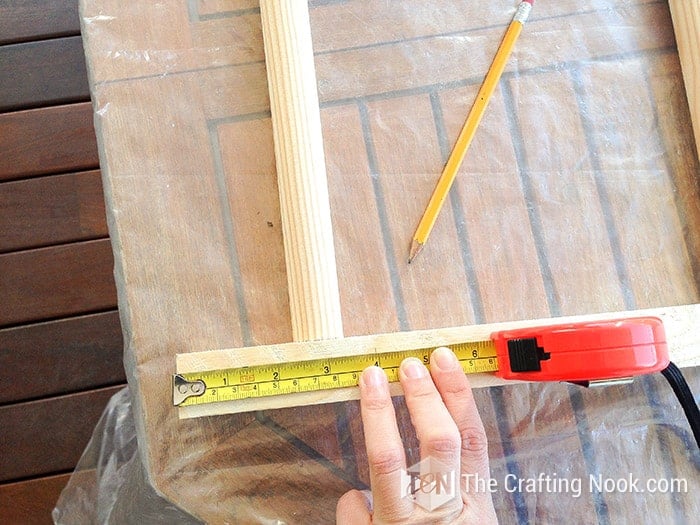

Step 2: Creating the Rung Placements
- Using the 26mm Flat Wood drill bit on my drill, I drilled holes 3 mm deep on each center mark {I used tape on the bit to use as a reference}


- Test if your wood dowels fit in place if they are too tight just sand a little bit the edges.

- With your regular wood bit drill holes only on the first rung place and last on each side. Use the hole left by the flat bit as your reference. These holes are to screw the first and last rung. I like to pre-drilling holes to make it easier later on the process.

- Once it’s all done, sand any imperfection on the wood, especially the edges to avoid splinters in your fingers, No fun!

The next step is my favorite! PAINT!!!
Step 3: Stain and Dry brush the blanket ladder pieces:
- I used walnut stain. First, I spread it with a brush and then rubbed it all with a cloth rag, you get a pretty shade and you can see all the wood designs.
- Let it dry for about 30 to 40 minutes.


I decided to go for a dry brush technique, I wanted to intensify the wood lines and dry brushing is perfect for that.
It’s super simple, just put some paint on a paper plate and spread it out kinda thin, then take a dry brush (I use really cheap brushes for this job) and get a tiny bit of paint on the end of the bristles. Then using a piece of paper just remove the excess of paint from the brush.

- Now you are going to just brush this along the wood, re-dip in the paint as necessary, and rub it against the paper because you want your brush to remain dry, so get every bit of paint off you can before you get more on there.
- I went through each long piece and rungs until I was happy with the amount of whiteness.

- Don’t forget the ends of the sides.

When you are all done you should have something like this.

- Let it dry for about 30 minutes.
- Then using 80 grit sandpaper, sand roughly along each piece distressing them to give a more aged look, especially on the edges but still a smooth finish.

Step 4: Assemble the Blanket Ladder
- Clean each piece with a cloth.
- To make my process easier, I put each screw on all 4 ends and screw them in until I could see the tip on the other side.

- Apply some wood glue to each hole from one of the sides.

- Insert the rungs on each hole, and use a hammer or another piece of wood to push it through. Wait a couple of minutes.

- Apply glue to the other side’s holes and put them in place. I did it all by myself because I was alone but if you can get some extra pair of hands will be awesomely helpful.
- Here is where the tricky part begins. While you push down one end of the second side piece, the other goes up, it was ridiculous LOL. But what I did was screwing all the way one end and then one by one putting in place each ladder rung when I got to the last one I drilled that one all the way down too.

- Turn it over and drill the other two all the way too.

There you go! It’s all done!

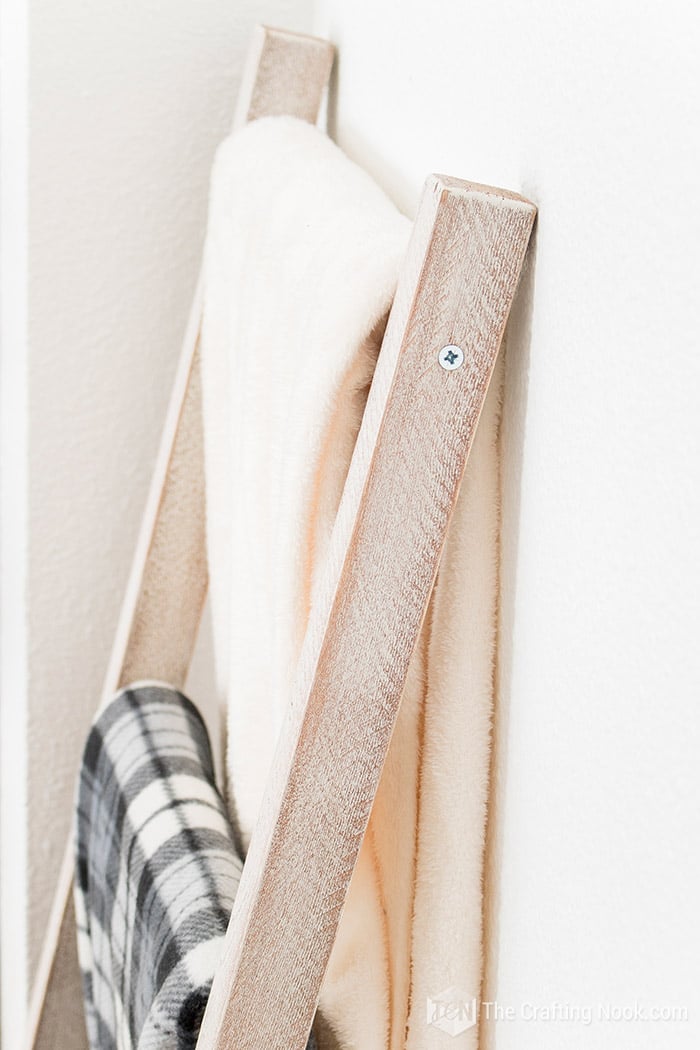
WOOHOO! I’m so happy with my final result. Completely in love with my new blanket ladder even though it turned out smaller than I expected. I know that’s crazy. I always knew it was only 47 inches high.

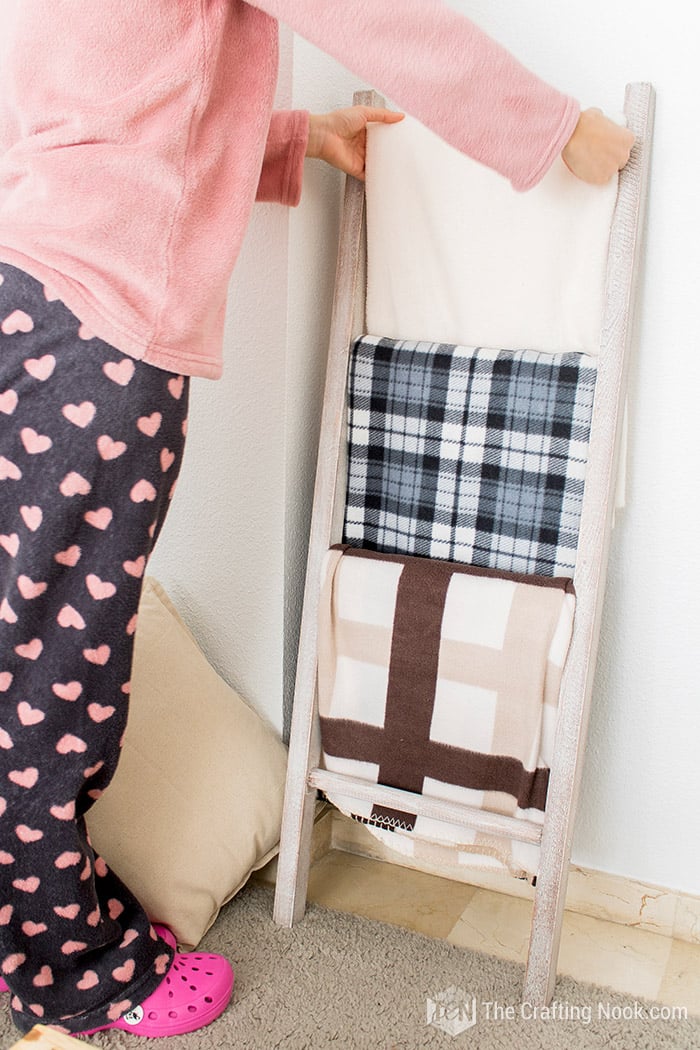
I put it in my living room next to my couch and OMG, I LOVE it.
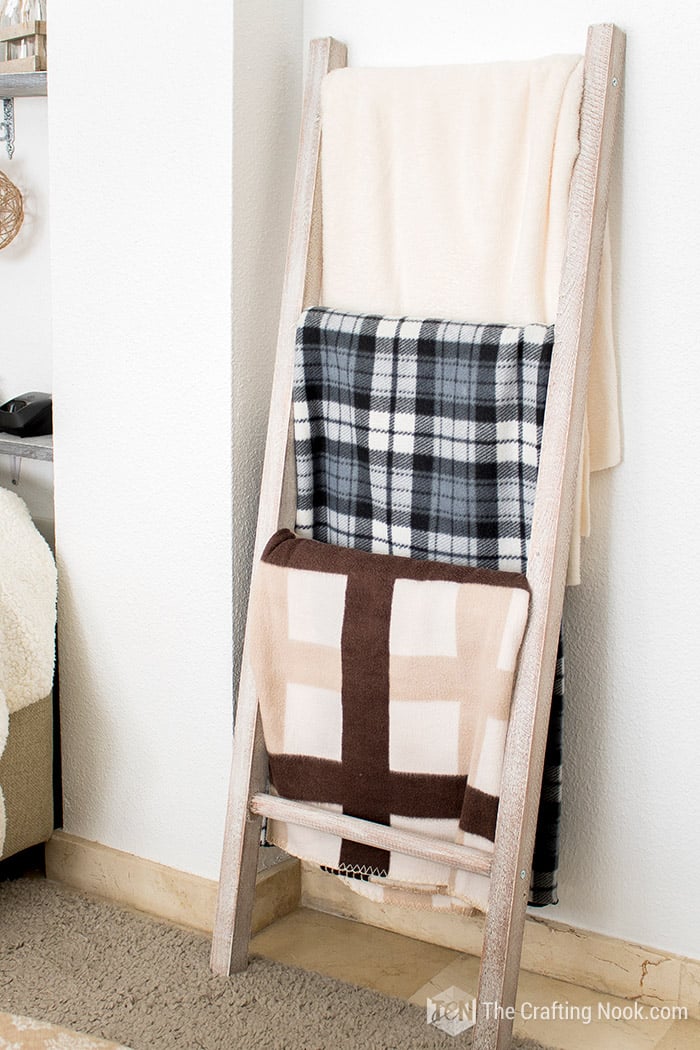

What do you think? Would you make one of these pretty Rustic Blanket Ladder???
Frequently Asked Questions
Well, What I’ve learned is that quality matters. So, whatever you choose make sure it’s good quality.
For the distressed look made with the dry brushing technique, I’ve seen that latex and acrylic paint do really well. However, I use special furniture paint because it combines everything I need, durability, varnish, etc, although I still use a wood spray matte varnish to finish.
Chalk paint can also be used but not for dry brushing you can cover it all as the brand instructs and then distress it if that’s the look you are looking for.
You can always also go for spray paint if you want a more plain and well-covered look with a smoother finish and less rustic. It all comes down to what result you are looking for.
According to experts, you should place the six-foot (1 x 4-inch) pieces on the ground and place the 18-inch boards at even intervals between them. Spacing the rungs at 14 1/2 inches apart works well, but you can space the rungs however you like.
But since mine was not the regular size and very custom, I just separated them evenly. I guess there are no rules for this if you are planning on making them for your own home.
To build a DIY Normal blanket ladder, you’ll need: Two 2- x 2-inch x 6-foot select pine boards. One 2- x 2-inch x 8-foot select pine board. 10 #8 2-inch wood screws. I adapted mine to fit my needs.
I’m telling you, it doesn’t get much simpler than this. You’ll only spend around $15 for the supplies to complete this gorgeous blanket ladder!
More Woodworking Projects to Try
If you like this Quick & Easy DIY Rustic Blanket Ladder tutorial, you might also love these rustic woodworking projects for decor too:
✂️ Tutorial

Quick and Easy DIY Rustic Blanket Ladder
Tools
- Gloves and eyewear protection {for painting, drilling and sanding}
- Drill
- 3mm Wood drill bit
- 26mm Flat Wood drill bit
Supplies
- 2 wood sticks {I used 1200 x 38 x 32 mm 1,5 x 1,25 cut at 47 Inches} This is the blanket ladder height.
- 4 rounded sticks {I used 350 x 26 mm diameter 1,02 cut at 14 Inches}
- Wood glue
- Walnut Wood Stain
- Paintbrush and a brush for the stain.
- Piece of cloth old rag, or old towel
- White latex paint
- Sandpaper
- 4 wood screws {4x45mm}
Instructions
STEP 1: PREPPING THE PIECES
- Firstly, I measured carefully where I would put the rungs. For the first rung, I placed it at 50mm {2 Inches} and from then every 300mm {12 Inches}.
- Then, of course, I measured the vertical center of the piece. All this is to make sure to mark both sides of the ladder so the rungs line up evenly.
STEP 2: CREATING THE RUNG PLACEMENTS
- Using the 26mm Flat Wood drill bit on my drill, I drilled holes 3 mm deep on each center mark {I used tape on the bit to use as a reference}
- Test if your wood dowels fit in place if they are too tight just sand a little bit the edges.
- With your regular wood bit drill holes only on the first rung place and last on each side. Use the hole left by the flat bit as your reference. These holes are to screw the first and last rung. I like to pre-drilling holes to make it easier later on the process.
- Once it’s all done, sand any imperfection on the wood, especially the edges to avoid splinters in your fingers, No fun!
- The next step is my favorite! PAINT!!!
STEP 3: STAIN AND DRY BRUSH THE BLANKET LADDER PIECES:
- I used walnut stain. First I spread it with a brush and then rubbed it all with a cloth rag, You get a pretty shade and you can see all the wood designs.
- Let it dry for about 30 to 40 minutes.
- I decided to go for a dry brush technique, I wanted to intensify the wood lines and dry brushing is perfect for that.
- It’s super simple, just put some paint on a paper plate and spread it out kinda thin, then take a dry brush (I use really cheap brushes for this job) and get a tiny bit of paint on the end of the bristles. Then using a piece of paper just remove the excess of paint from the brush.
- Now you are going to just brush this along the wood, re-dip in the paint as necessary, and rub it against the paper because you want your brush to remain dry, so get every bit of paint off you can before you get more on there.
- I went through each long piece and rungs until I was happy with the amount of whiteness.
- Don’t forget the ends of the sides.
- When you are all done you should have something like this.
- Let it dry for about 30 minutes.
- Then using 80 grit sandpaper, sand roughly along each piece distressing them to give a more aged look, especially on the edges but still a smooth finish.
STEP 4: ASSEMBLE THE BLANKET LADDER
- Clean each piece with a cloth.
- To make my process easier, I put each screw on all 4 ends and screw them in until I could see the tip on the other side.
- Apply some wood glue to each hole from one of the sides.
- Insert the rungs on each hole, and use a hammer or another piece of wood to push it through. Wait a couple of minutes.
- Apply glue to the other side’s holes and put them in place. I did it all by myself because I was alone but if you can get some extra pair of hands will be awesomely helpful.
- Here is where the tricky part begins. While you push down one end of the second side piece, the other goes up, it was ridiculous LOL. But what I did was screwing all the way one end and then one by one putting in place each ladder rung when I got to the last one I drilled that one all the way down too.
- Turn it over and drill the other two all the way too.
- There you go! It’s all done!
Some of my favorite Decorative Rustic Wood projects from favorite bloggers:
- How to make a Plain Wood Board Look Rustic by Holly over at Ribbons and Glue.
- Wooden Star by Jamison over at Rogue Engineer.
- DIY Rustic Wood Projects for Your Bathroom by Jenna over at Jenna Sue Design Co.
Share and PIN ME

Til’ next time…


FREE WORKBOOK
Keeping your Sweet Home Organized
Learn how to create intentional habits and simple routines to Keep Your Home Organized. Plus freebies, printables, exclusive content, and tips.
Disclaimer: By clicking on the “Yes” button above you are giving me your consent to collect and use your information according to the law and My Policy Privacy. Zero Spam I promise!
