DIY Paper Heart Garland for Valentine’s Day
This post may contain affiliate links. Please read our Disclosure Policy.
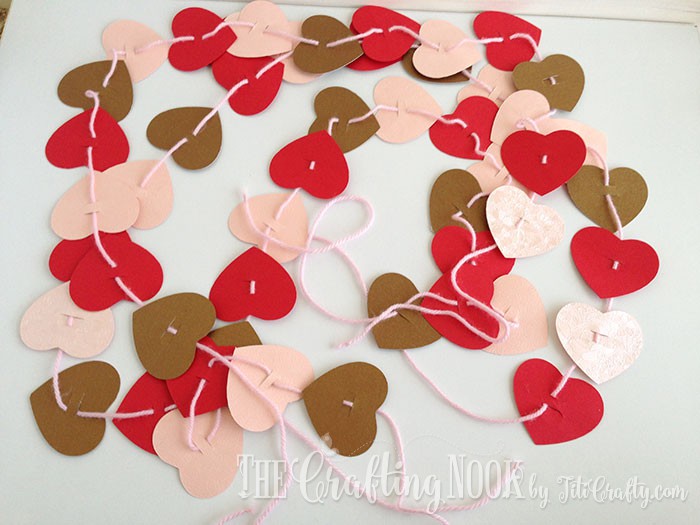
Paper heart garland is one fun project to make, and it creates a festive atmosphere on Valentine’s Day. Learn how to make one here.
Valentine’s Day is around the corner. How ready are you??? I’m getting there!
With this cute easy paper heart garland, I finished my Valentine’s Day decoration for the mantel and I couldn’t be happier!

Table of Contents
Paper Heart Garland for Valentine’s Day
I made my whole mantel pink, red, and gold. I love that color combo and let’s be honest, where does gold look bad? LOL
I chose my style and color combo from the beginning. I was tempted to make it red, black and gold but my girly side was stronger so I added the pink. I’m really happy to have heard my girly side though! I so love how my garland and the whole mantel turned out even though it’s not an actual fireplace mantel.
You can check out my Sparkling Love Valentine’s Day Letter Blocks and my Layered Heart Pattern Valentine’s Day Frame that I made for this mantel for more inspiration!
I love this craft for a fun DIY valentines project the kids will love making. It’s so easy to get them started cutting paper hearts out of their favorite cardstocks, and then stringing them up. Just make sure you make the holes or cuts for the strings.
This project requires no gluing, no sewing and although I used a cutting machine, it’s not a requirement. However, if you don’t like the hearts moving freely you can add a tiny bit of glue on the back to secure them with the yarn in place.
I’ve also seen other friends using a sewing machine to join the hearts together and it looks super cute too. It all comes to what inspires you and what you have available.
These three garlands I made took a total time of 30 min Since there’s no gluing involved that you have to wait for gyring, this is also your active time. Considering I took photos of the process, it’s a super quick and easy project to put together even at the last minute.
What type of papers can be used for this project?
Your style is the limit although the paper weight could limit too LOL. From craft paper, scrapbook paper or cardstock, decorated/embossed cardstock, plain school cardstock, construction paper, among others.
How to Make a Paper Heart Garland
This is SOOOO easy and inexpensive because you don’t need a cutting machine to make it, but if yoou already have one even better!
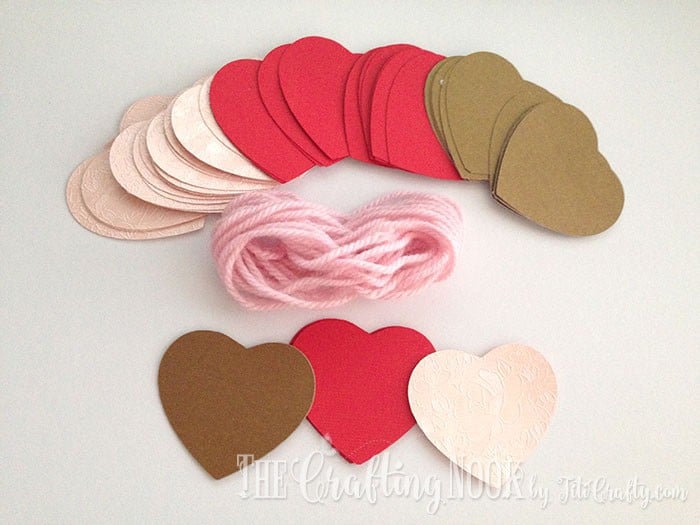
Supplies:
- Cardstock in different colors or shades.
- Yarn or baker’s twine
Tools:
- Heart paper punch or a cutting machine.
- Scissors, knife and pencil are optional
Instructions:
Before we begin, be sure to follow us on Pinterest, Facebook, Instagram, and YouTube, and also sign up for our email list (at the end of this post), so you’ll never miss a post!
If you are using Silhouette Cameo You can download my cut file HERE or use any heart from the Silhouette store!
If you are not using any cutting machine, that’s ok too. Skip the first step.
Just find a heart shape you like, set it to the size you want your hearts to be, and print one. Or if you have a large heart-shaped paper punch that works too.
Use that as your template to trace hearts onto your cardstock and cut them with scissors.
This craft is so easy you can do it with simple and basic tools too! I don’t leave out anyone!
Back to the Silhouette step.
1. First set the size you want the hearts to me and then cut a bunch of them. Cut as many hearts as you can on your mat.

2. I cut 20 hearts of each cardstock color. I made 3 sets of hearts in total. But you can also mix it up between smaller and larger heart sizes.
3. Once hearts are ready cute 2 threads of yarn about 2 yards each or longer if you want {you might need more hearts}
4. Make tight knots at the end of each yarn thread.

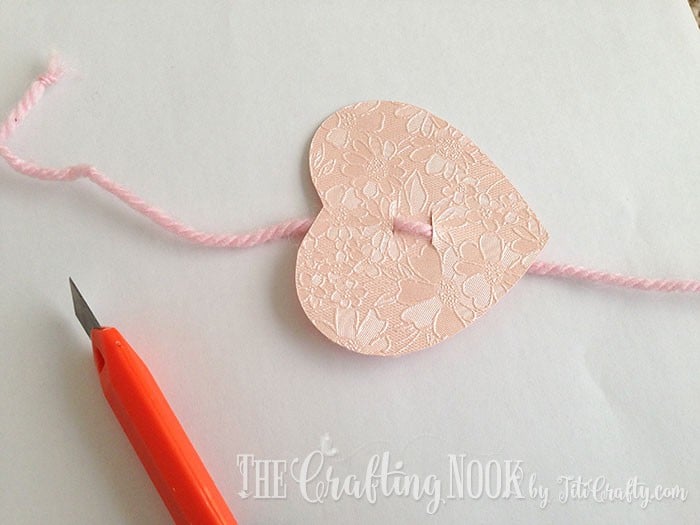
5. Make 2 cuts with your cuter about in the middle of each heart. You can use a paper punch or a yarn needle. I wanted the hearts tight in the yarn but I didn’t have a needle for yarn so I used a cutter to open up a space to insert the yarn through the heart.

Assembling the Paper Heart Garland
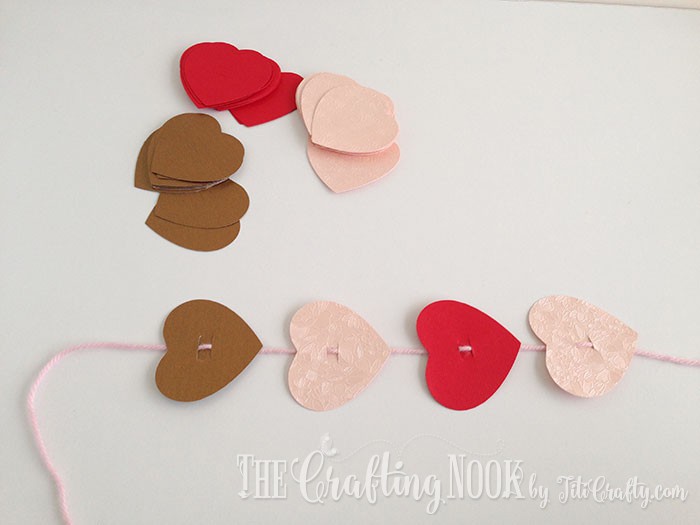
6. Insert the yarn from the back to the front and then to the back again.
7. Play with color patterns. I did it Pink-red-pink-gold-red-pink-red-gold.
8. Keep going until you fill each thread and leave about 10 inches on each end.
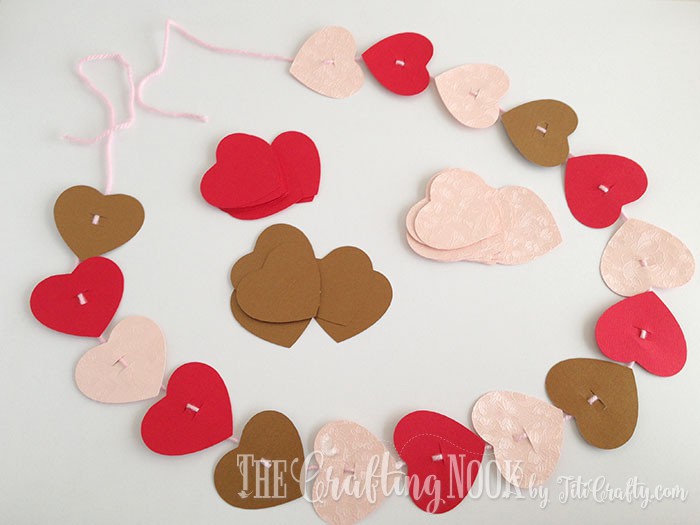
9. Then do the same for the other 2 threads!

10. There you go!!! Let’s decorate!

Crafting Tips
* You can choose some funky patterns or textured cardstock to give your garland that extra oomph! How about some polka dots, stripes, or even glittery goodness? Let your imagination run wild!
* Don’t be afraid to experiment with different sizes: Sure, you could stick with the standard heart shape, but why not mix it up a bit? Try cutting hearts in different sizes and layering them together for a more dynamic look.
* Try using embossed cardstock or add texture with a texture tool to make your hearts look more dimensional.
* To make your hearts look three-dimensional and oh-so-fluttery, cut out multiple layers of the same-sized heart in different colors. Stack them up, slightly offsetting each layer, and voilà! You’ve got a lovely layered effect that’ll make your heart garland stand out from the crowd.
* Give your paper heart garland a whimsical glow by adding some LED string lights. Carefully poke small holes near the top of your hearts and thread the lights through. Now your garland can shine bright like a diamond, spreading love and cheer day or night!

I made the hearts go different ways. Two heart threads go left and one goes right. And I also made them have different levels on their ends.
Hope you like this quick and fun craft for Valentine’s Day! This super cute and easy paper heart garland is so much fun to make with kiddos too!
Frequently Asked Questions
Ah, the Silhouette Cameo! It’s like a magical crafting wizard in machine form. It’s a cutting tool that works with your computer to precisely cut out shapes and designs on various materials, including cardstock. It’s your secret weapon for creating awesome paper heart garlands or any paper craft for that matter!
Any type of cardstock will do, but thicker cardstock works best. You want your hearts to hold their shape and not flop around like a limp noodle. Also, consider using cardstock with fun patterns or textures to give your garland some extra pizzazz.
It depends on how long you want your garland to be and how close you want the hearts to be spaced. As a general rule, plan on cutting out about 25-30 hearts for every 1-2 feet of garland.
Absolutely! In fact, using hearts of different sizes adds visual interest and depth to your garland. Plus, it’s just plain cute.
Of course! The Silhouette Cameo machine can cut out any design you create in the Silhouette Studio software. So go ahead and get creative!
More Valentine’s Day Projects to try
If you enjoyed this cute Valentine’s Day Paper Heart Garland tutorial, you might also love these other Valentine’s Day Projects I got for you:


✂️ Tutorial

DIY Paper Heart Garland for Valentine’s Day
Tools
- Heart paper punch or a cutting machine.
- Scissors, knife and pencil are optional
Supplies
- Cardstock in different colors or shades.
- Yarn or baker’s twine
Instructions
- If you are using Silhouette Cameo You can download my cut file in the post or use any heart from the Silhouette store!
- If you are not using any cutting machine, that’s ok too. Skip the first step.
- Just find a heart shape you like, set it to the size you want your hearts to be, and print one. Or if you have a large heart-shaped paper punch that works too.
- Use that as your template to trace hearts onto your cardstock and cut them with scissors.
- This craft is so easy you can do it with simple and basic tools too! I don’t leave out anyone!
- BACK TO THE SILHOUETTE STEP.
- First set the size you want the hearts to me and then cut a bunch of them. Cut as many hearts as you can on your mat.
- All the light pink hearts cut on the silhouette cameo mat
- I cut 20 hearts of each cardstock color. I made 3 sets of hearts in total. But you can also mix it up between smaller and larger heart sizes.
- Once hearts are ready cute 2 threads of yarn about 2 yards each or longer if you want {you might need more hearts}
- Make tight knots at the end of each yarn thread.
- Make 2 cuts with your cuter about in the middle of each heart. You can use a paper punch or a yarn needle. I wanted the hearts tight in the yarn but I didn’t have a needle for yarn so I used a cutter to open up a space to insert the yarn through the heart.
- ASSEMBLING THE PAPER HEART GARLAND
- Insert the yarn from the back to the front and then to the back again.
- Play with color patterns. I did it Pink-red-pink-gold-red-pink-red-gold.
- Keep going until you fill each thread and leave about 10 inches on each end.
- Then do the same for the other 2 threads!
- There you go!!! Let’s decorate!
Notes
Enjoyed This Valentine’s Day project? Don’t forget to share with friends!

Til’ next time…


FREE WORKBOOK
Keeping your Sweet Home Organized
Learn how to create intentional habits and simple routines to Keep Your Home Organized. Plus freebies, printables, exclusive content, and tips.
Disclaimer: By clicking on the “Yes” button above you are giving me your consent to collect and use your information according to the law and My Policy Privacy. Zero Spam I promise!
Thanks for sharing, this is so interesting I will try to make it.
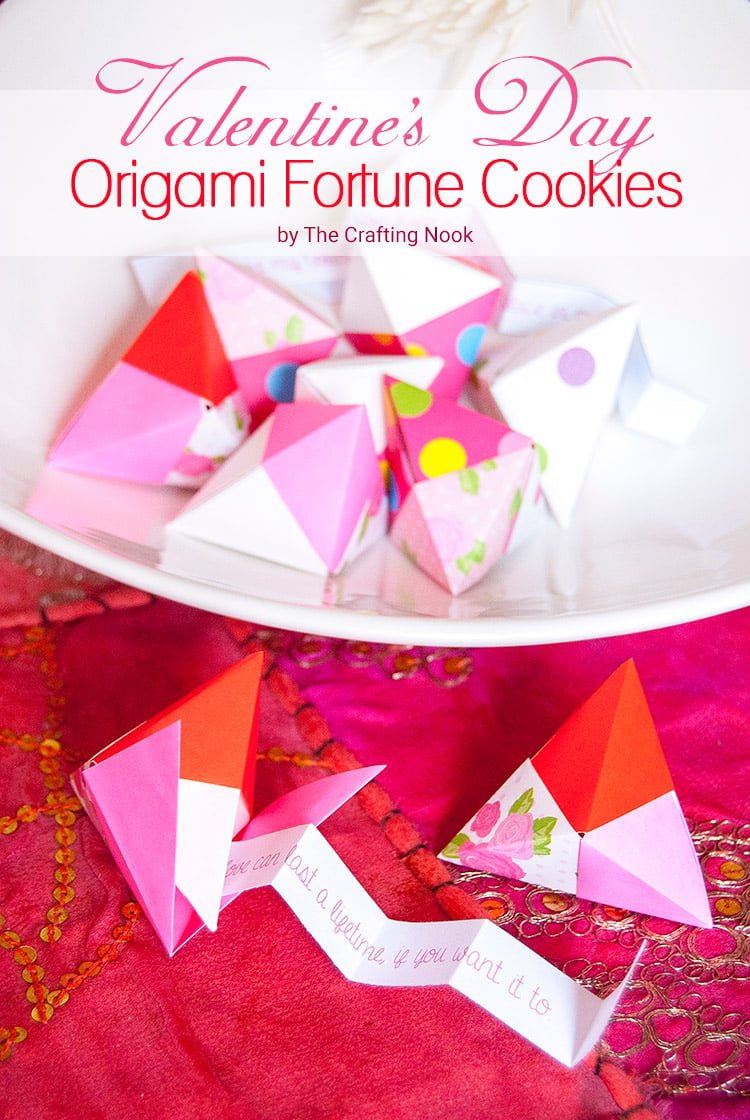
So cute! I may look at the origami fortune cookies next, they look fun!
So, so pretty and easy! Love the colors!