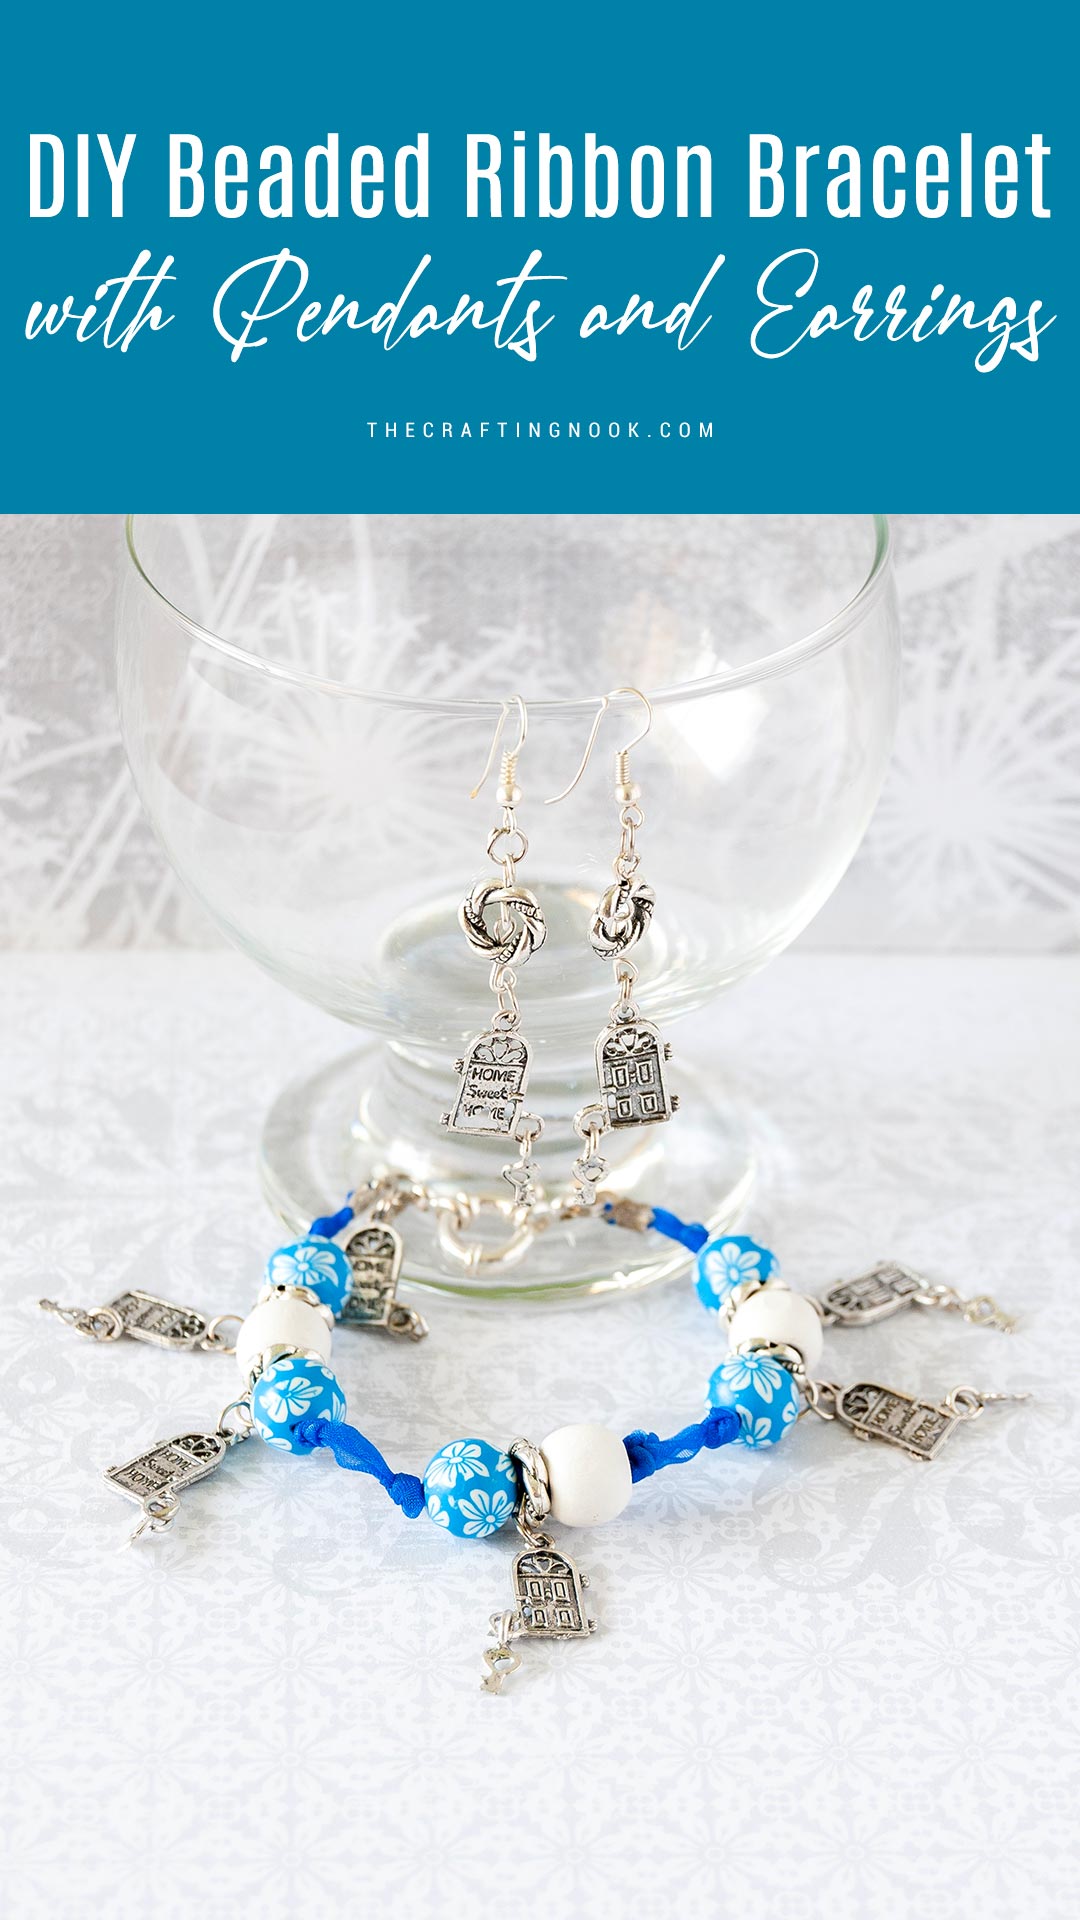
DIY beaded ribbon bracelet with pendants and Earrings
This post may contain affiliate links. Please read our Disclosure Policy.
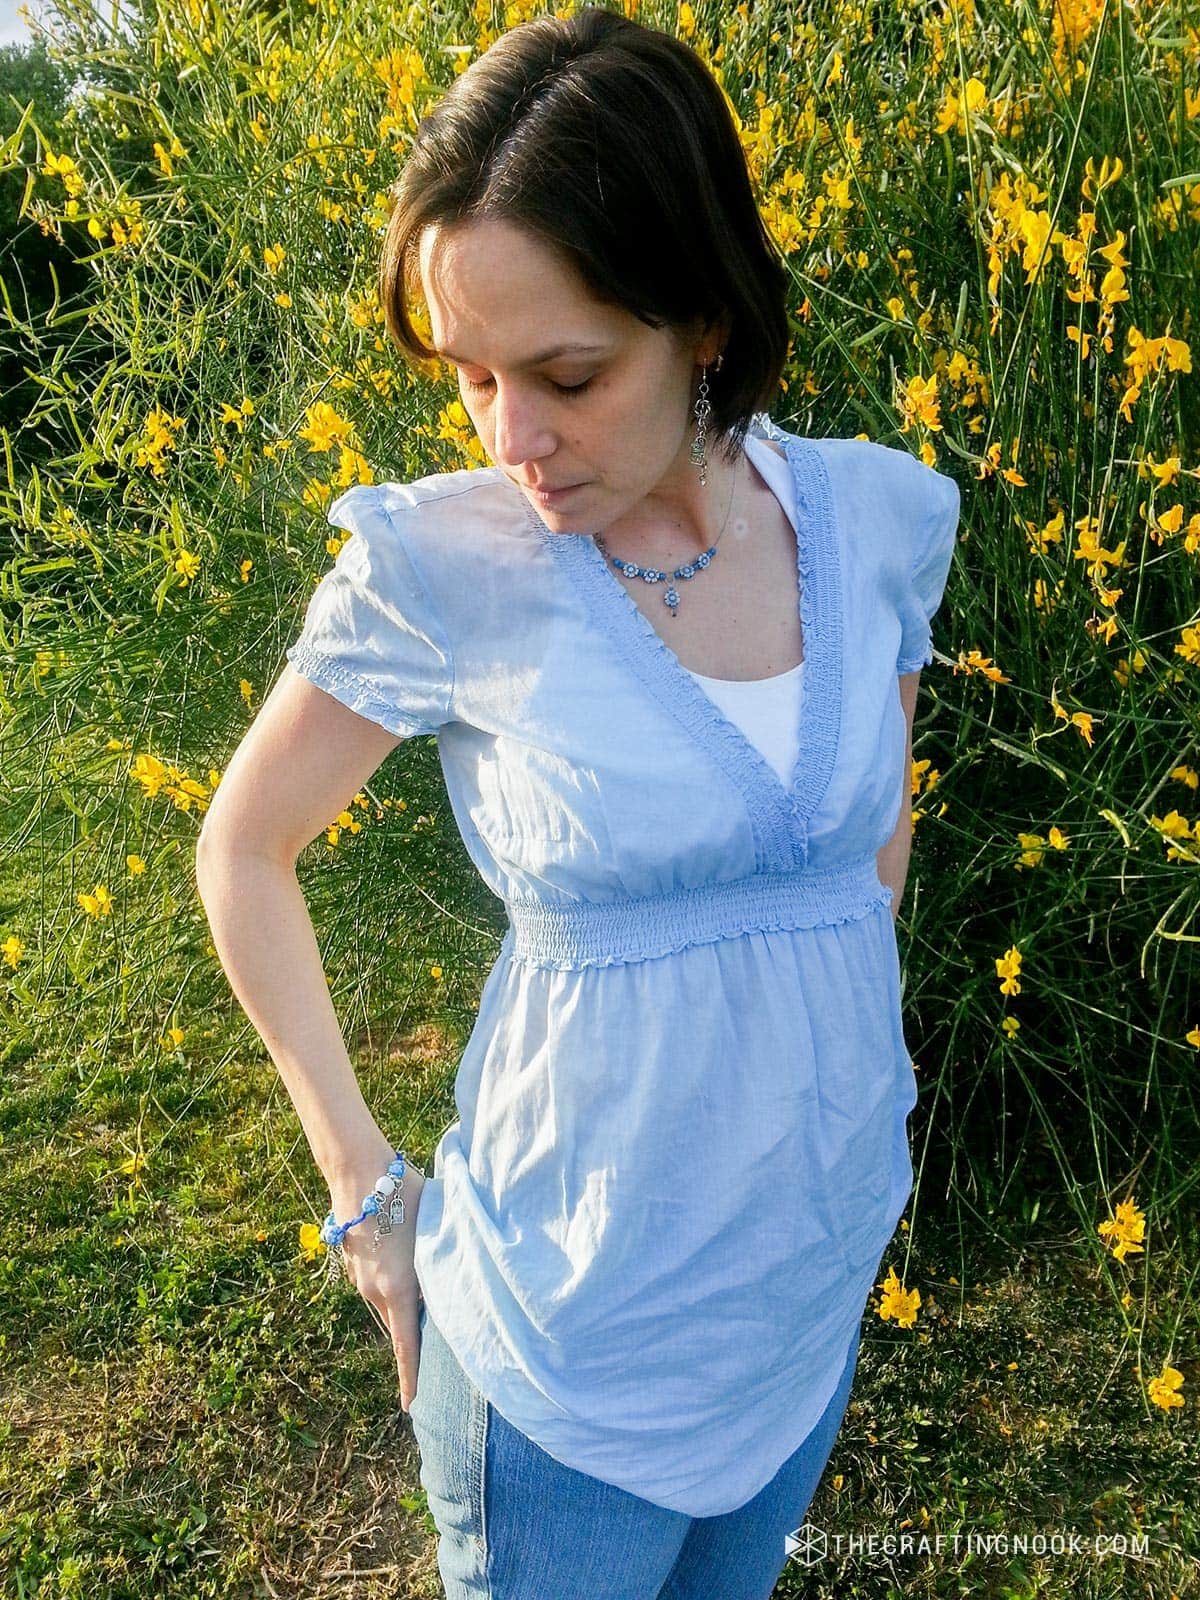
Wooden beads, organza ribbon, and cute pendants – that’s all you need for this sweet bracelet and earrings. Craft your style with a ribbon bracelet diy and cute earrings! Let’s add some charm to your accessories collection. Easy, fun, and totally you! Let’s create together!
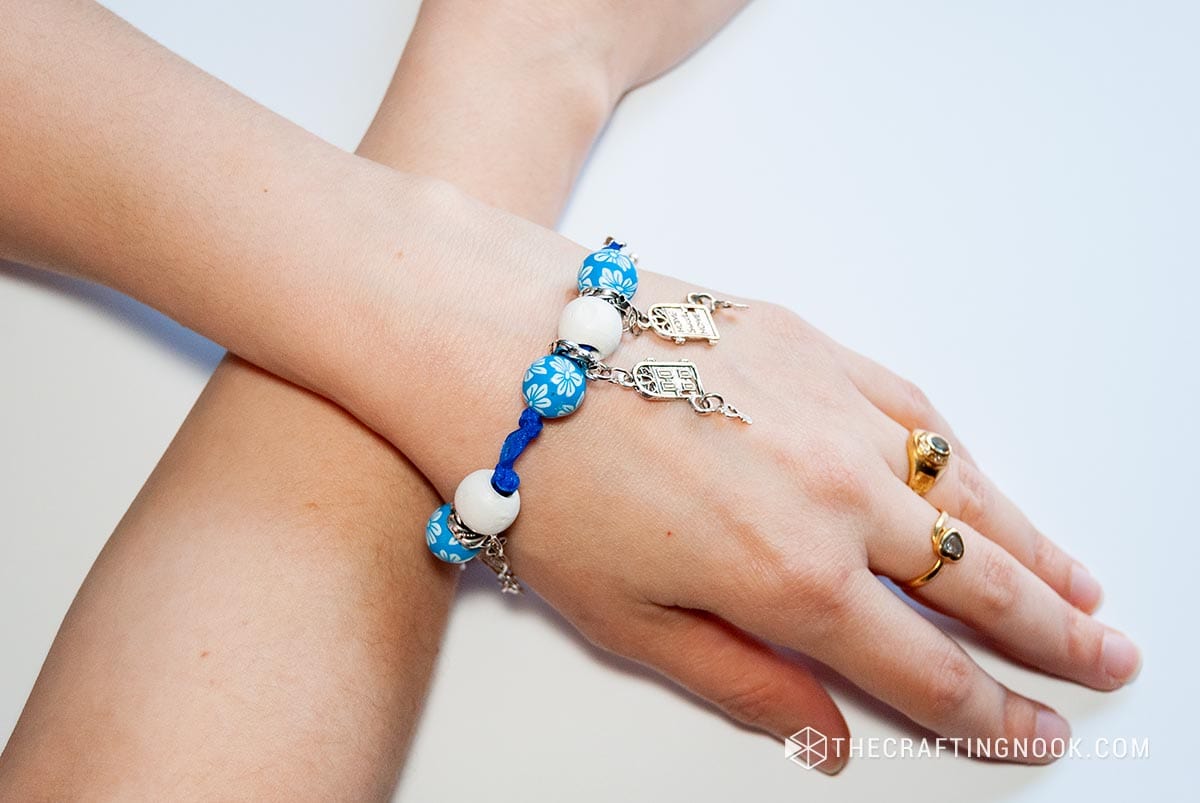
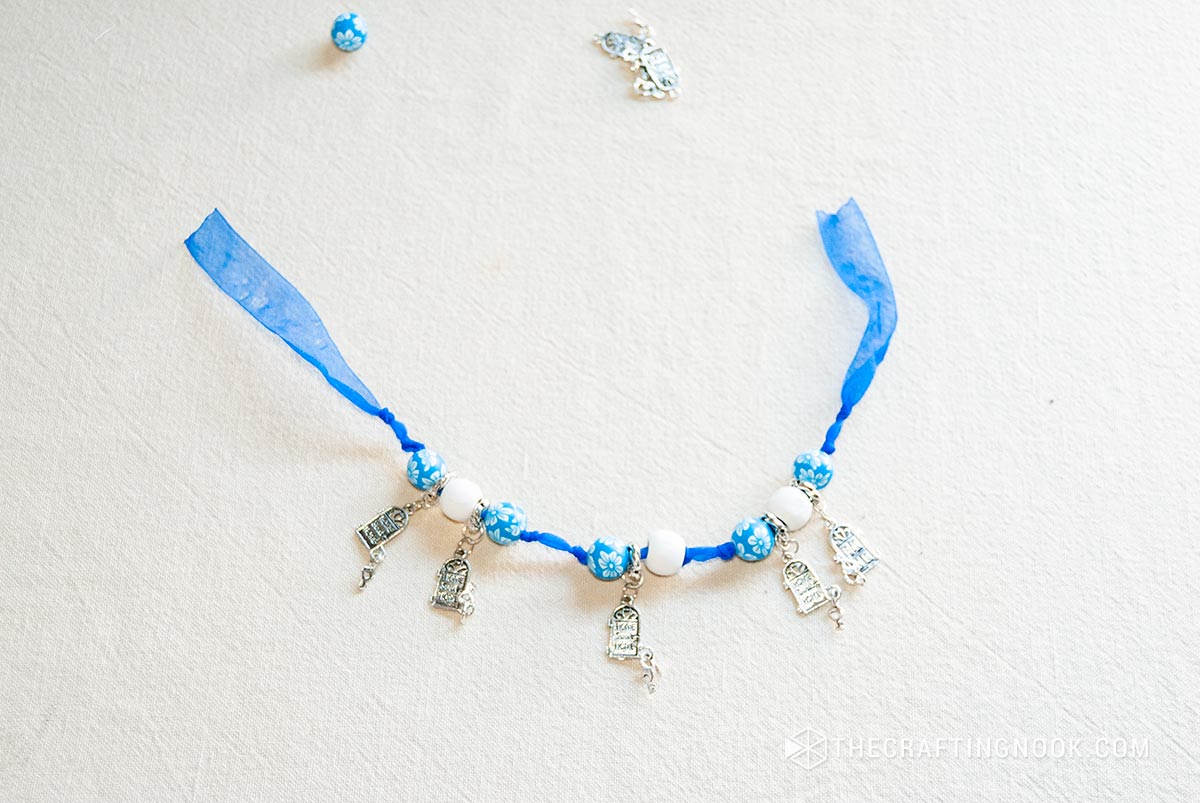
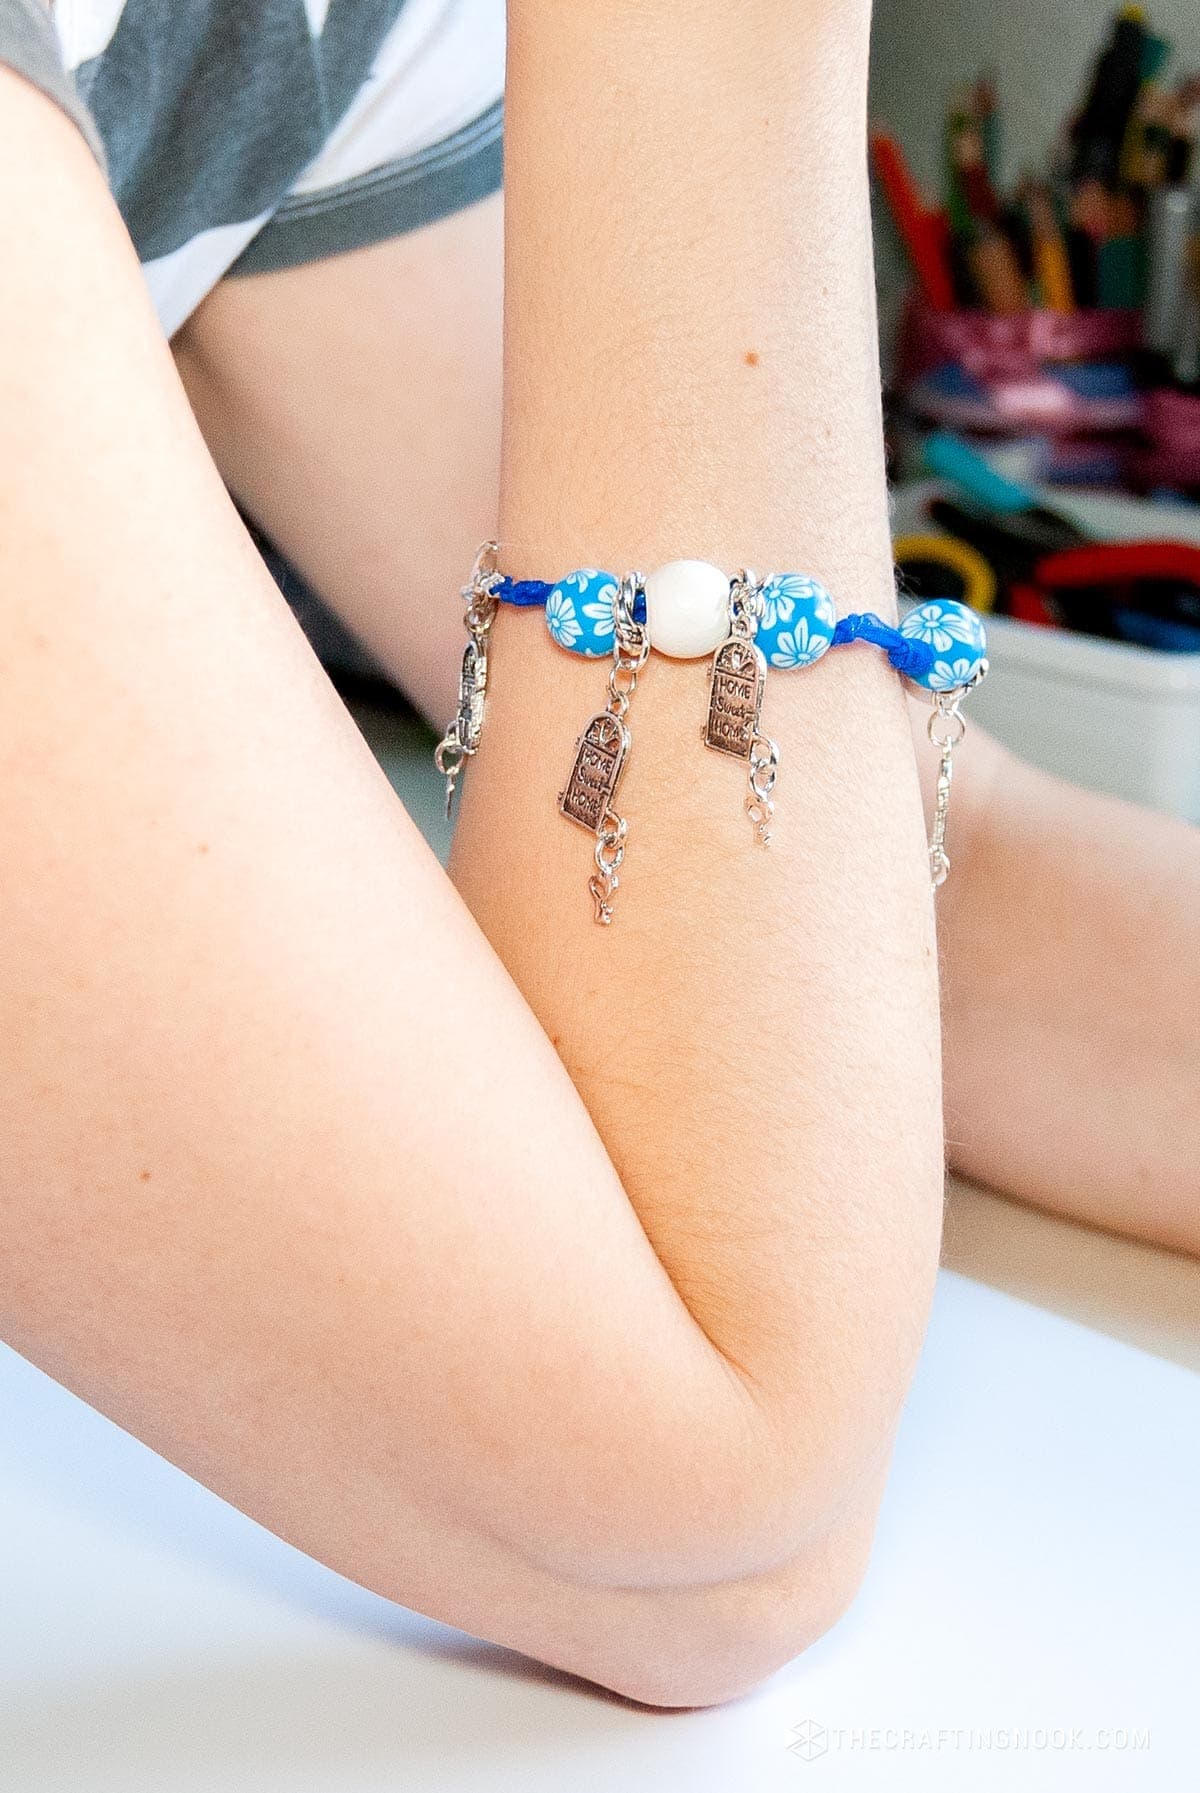
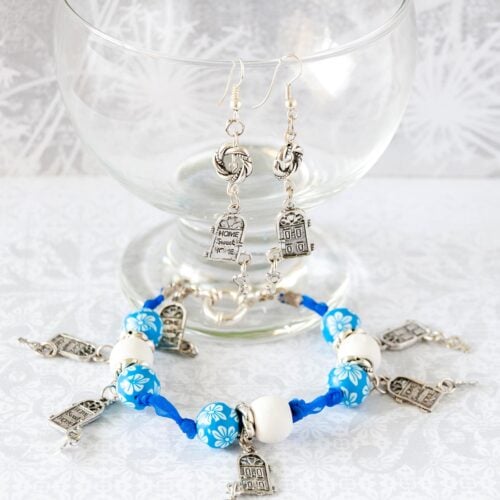
Here I have a lovely bracelet I made using beads, some cute little Door with a key pendants and organza ribbon. I really loved how they turned out and super easy to make.

Table of Contents
Cute beaded ribbon bracelet with home door pendants and Earrings
I’m becoming a fan of crafty jewelry lol, now every time I see pendants, tools, or any supply for it I really feel eager to buy and create something LOL.
I need to control myself because if I buy too much I end up not doing anything, so I’m trying to make one thing at a time…. Well ok maybe 2 or 3 LOL, but that’s it haha!
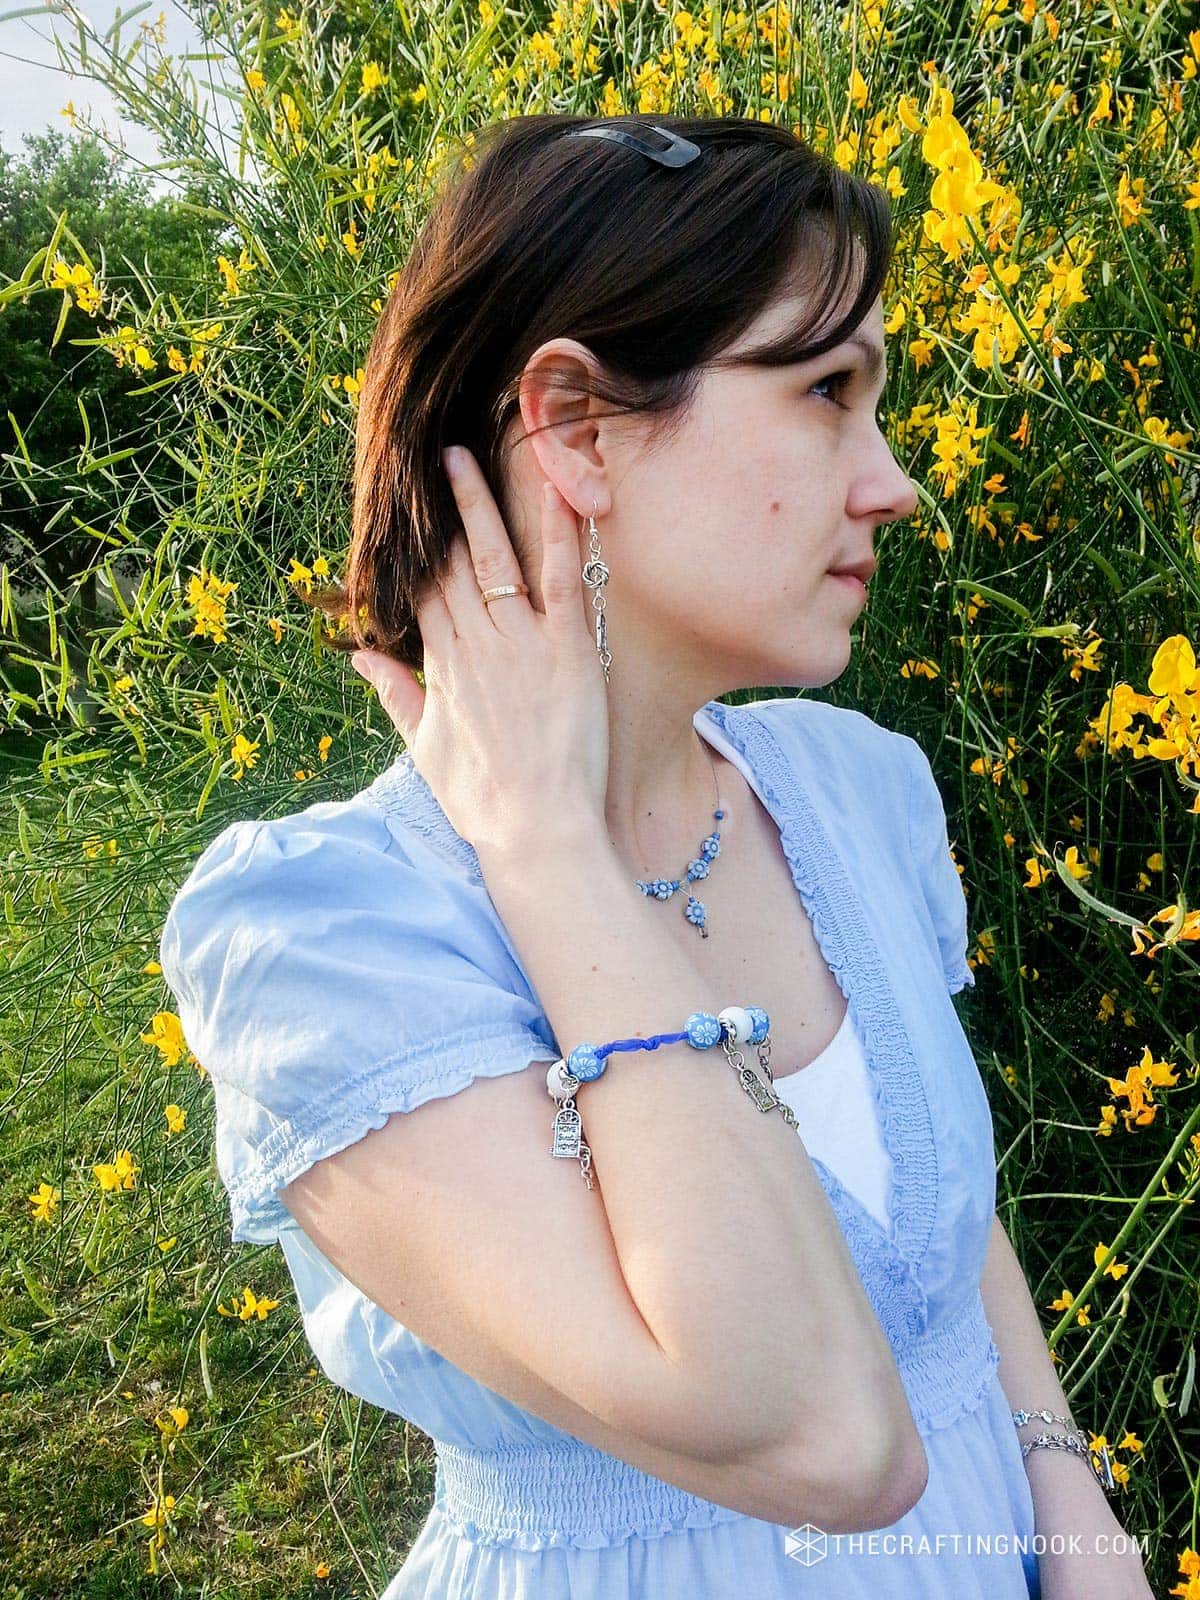
This beautiful piece of jewelry is not only a fashion statement but a testament to your creativity and craftsmanship. Wear it proudly, and get ready to receive compliments and questions about where you found such a unique accessory.
The beauty of this DIY project is that you can personalize it to your taste by choosing different bead sizes, colors, and pendant styles.
Enjoy the crafting process, and have fun showing off your new bracelet! Also, these cuties make great gifts!
If you have any questions or need further assistance, don’t hesitate to reach out in the comments.
How to make a beaded ribbon bracelet with pendants and Earrings
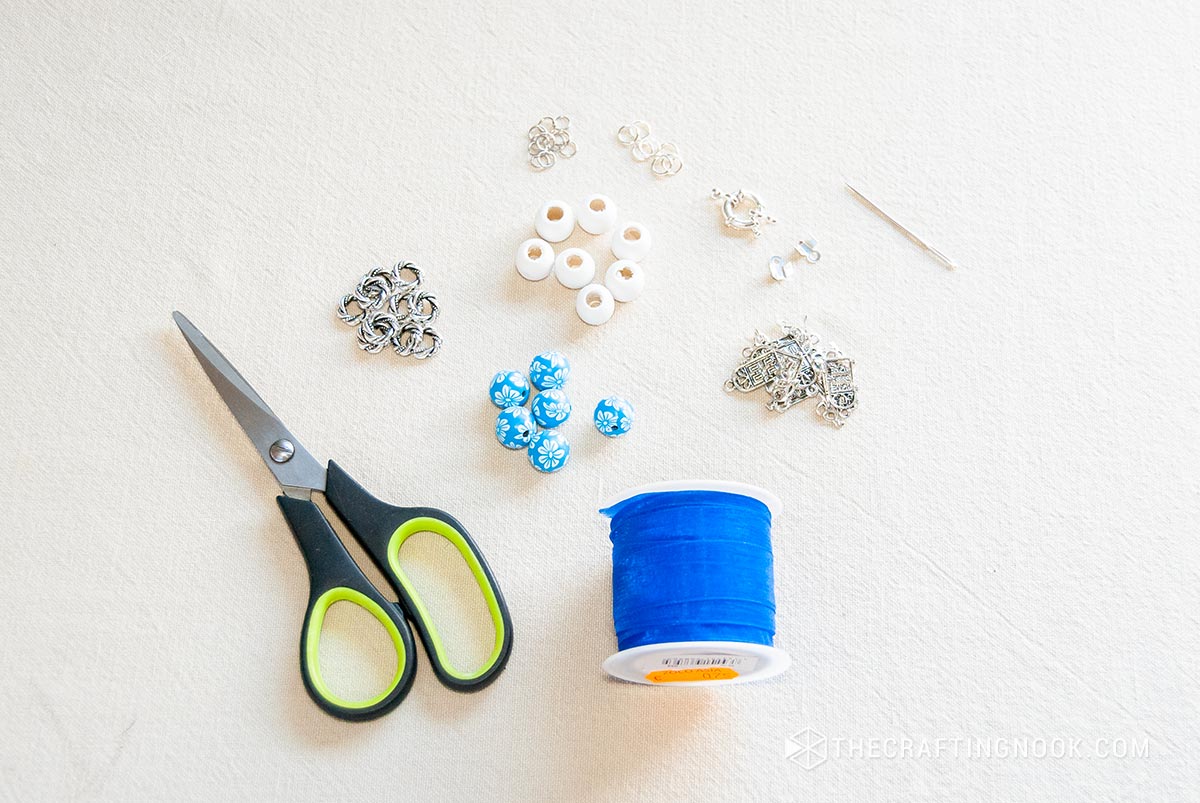
Supplies:
- Wooden beads (size and color of your choice)
- Ring Spacer
- Cute door with key pendants (or your favorite pendants)
- Organza ribbon (complementary color to your beads)
- Clasps and jump rings
- Fold-over crip ends.
- Clear nail polish (optional for knot securing)
Tools:
- Scissors
- Flat-nose pliers
- Bent-nose pliers
- Yarn or embroidery needle
Directions:
Step 1: Prepare Your Workspace
Set up a clean, well-lit workspace with all your materials within reach. This will make the crafting process more enjoyable and organized.
Step 2: Measure and Cut the Ribbon
Begin by measuring the organza ribbon to your desired bracelet length. It’s essential to consider how tightly or loosely you want the bracelet to fit.
Add an extra 2-3 inches to the measured length. This extra length will be used for tying knots and attaching the clasps.
Step 3: Thread the Ribbon
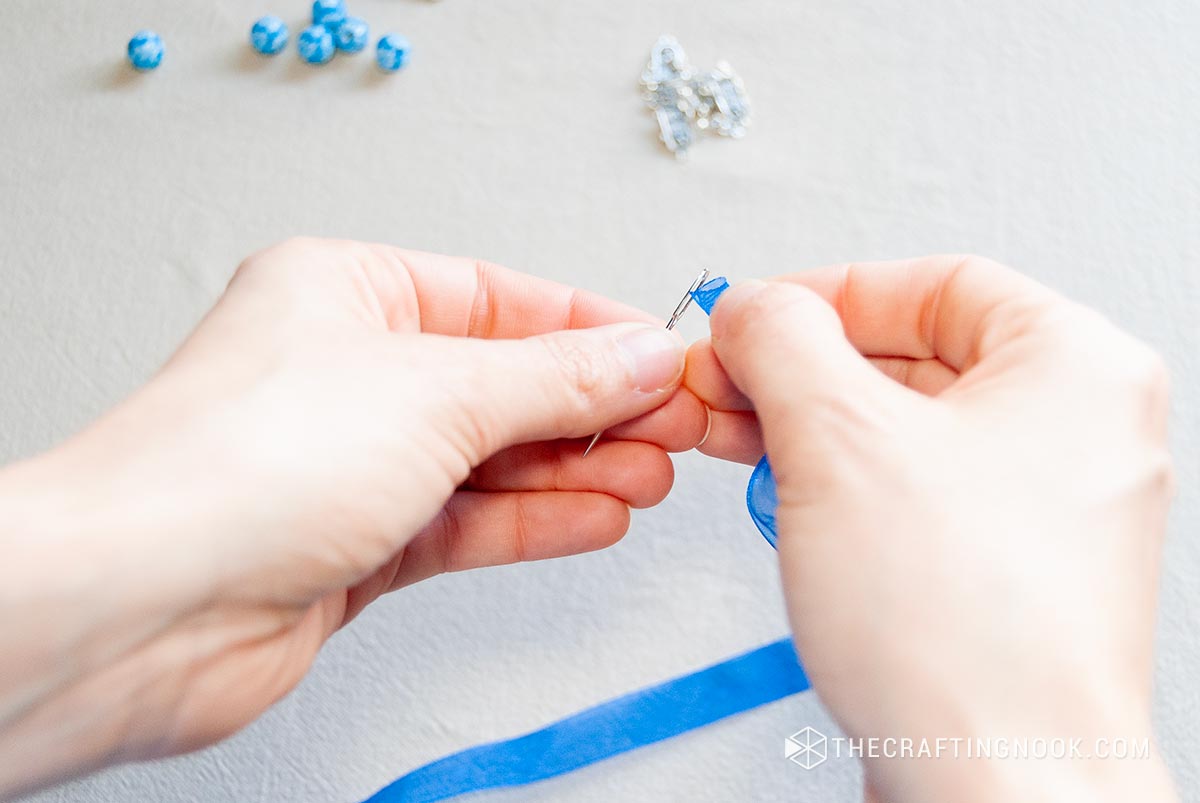
Thread one end of the ribbon through the eye of a large needle if your ribbon is thick. This makes it easier to string the beads and pendants.
Step 4: String the Beads and Pendants
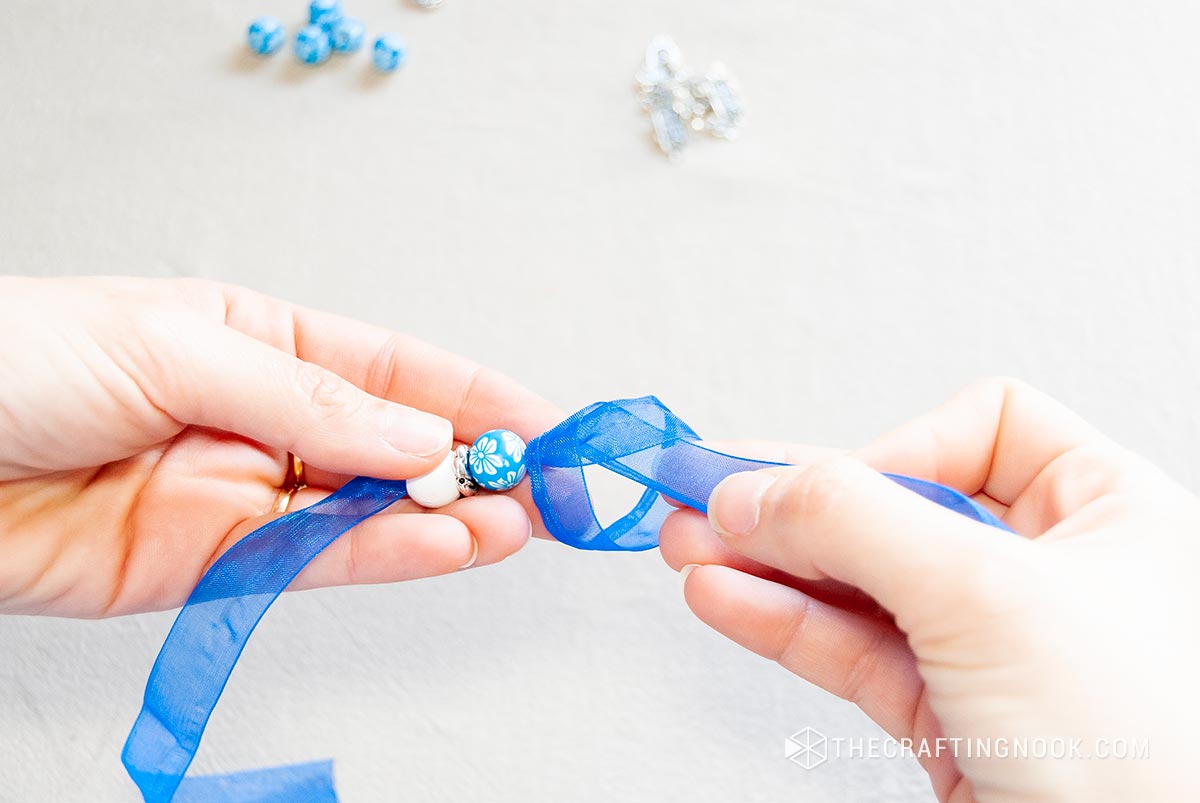
Start by using a yarn needle and insert around 2 inches of the ribbon through the hole.
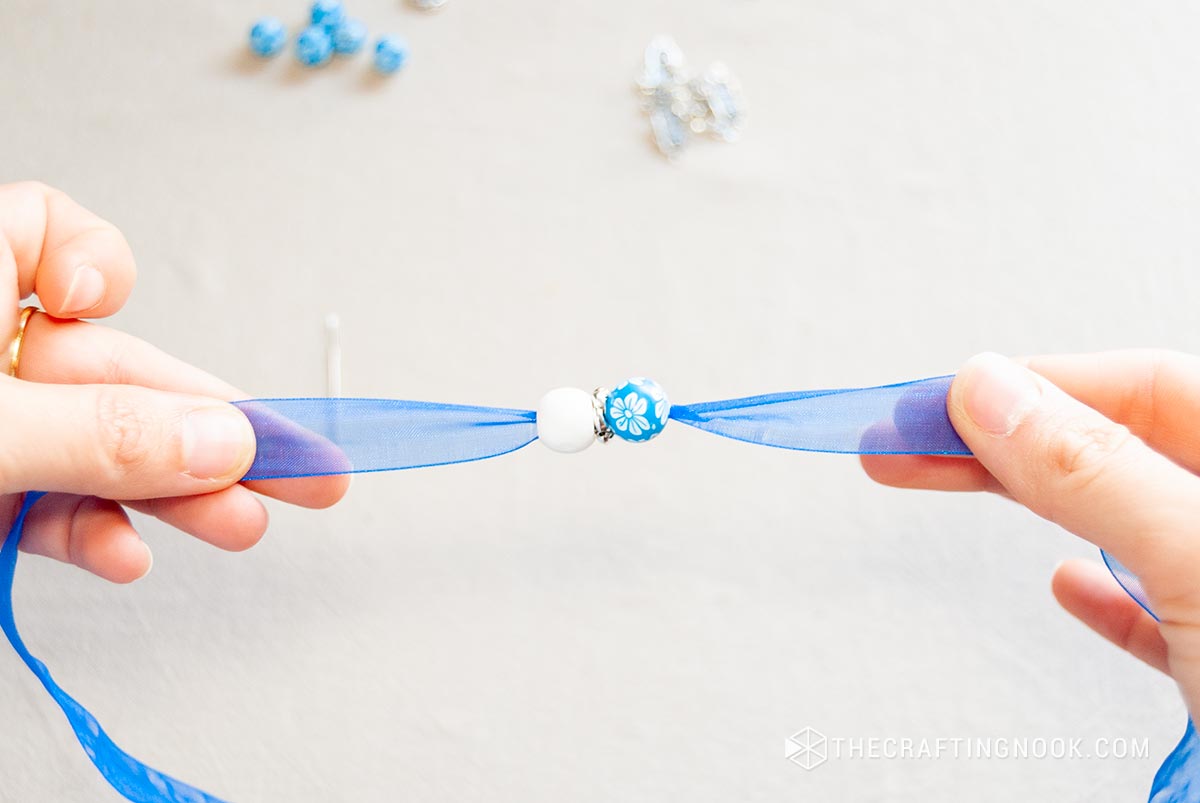
Select the first bead and slide it to the center of the ribbon.

Next, add a separator, which could be a smaller wooden bead or a metal spacer ring like I did. This keeps your beads and pendants evenly spaced.
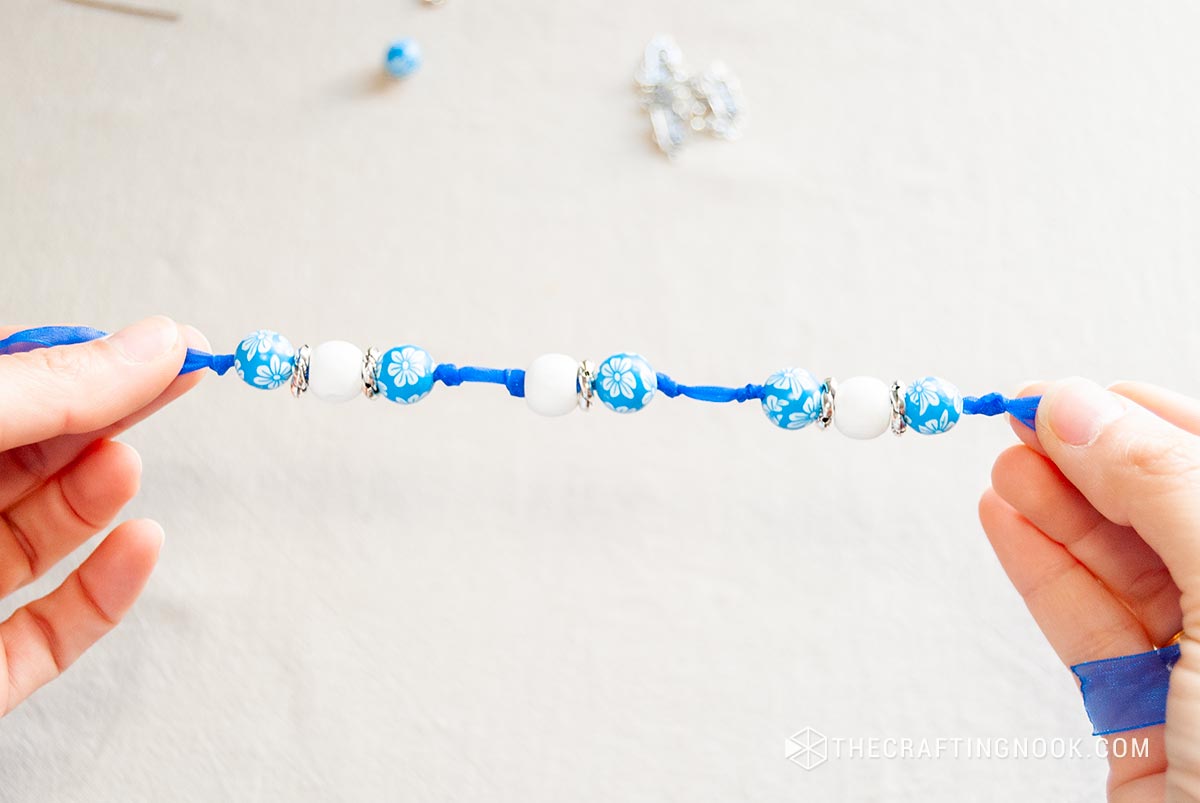
The pattern I used was 2 beads, 1 spacer; then 3 beads, 2 spacer and then again 2 beads, 1 spacer leaving around a half inch between each group.
Make an overhand knot before and after each group of beads. Pull it tight, ensuring the beads don’t slide around.
If you want to add extra security, you can use a tiny drop of clear nail polish on the knot to hold it in place.

Repeat the pattern: knot, wooden bead, spacer, bead, knot until you’ve reached your desired bracelet length.
Step 4: Add the pendants
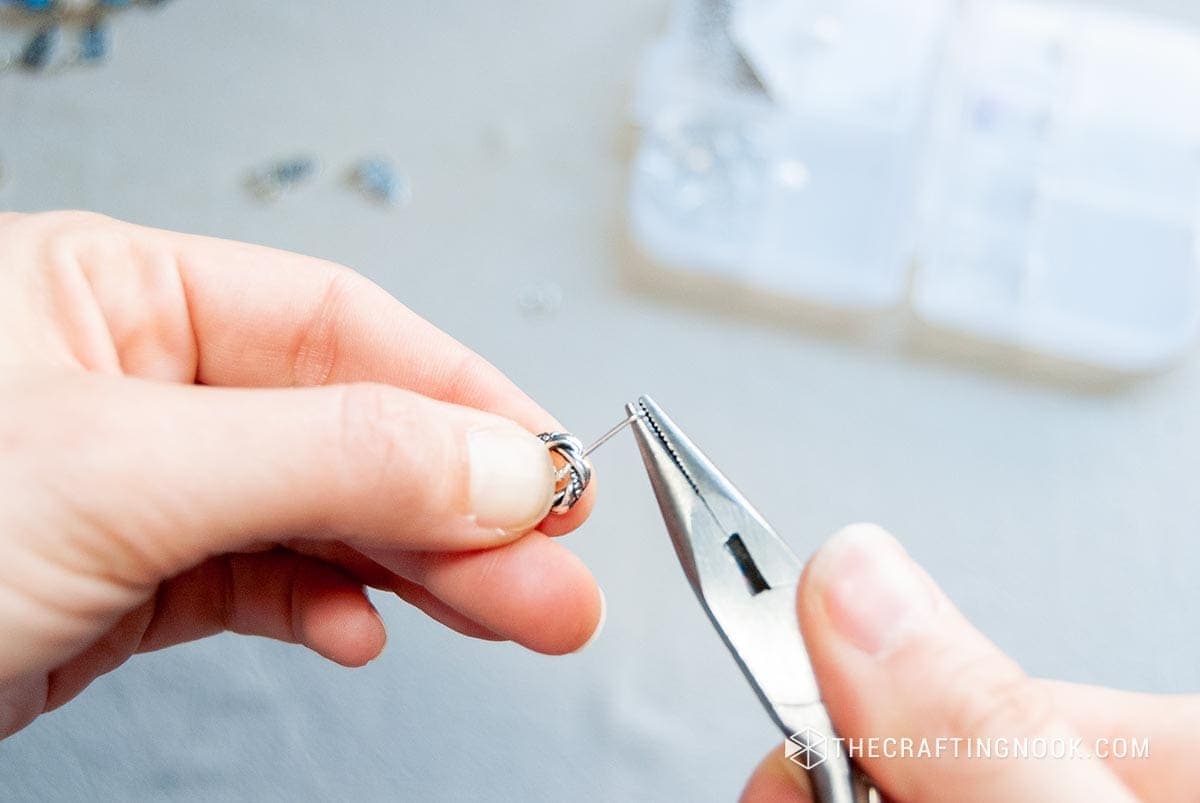
Open a 6mm jump ring with your flat nose pliers and insert the pendant.

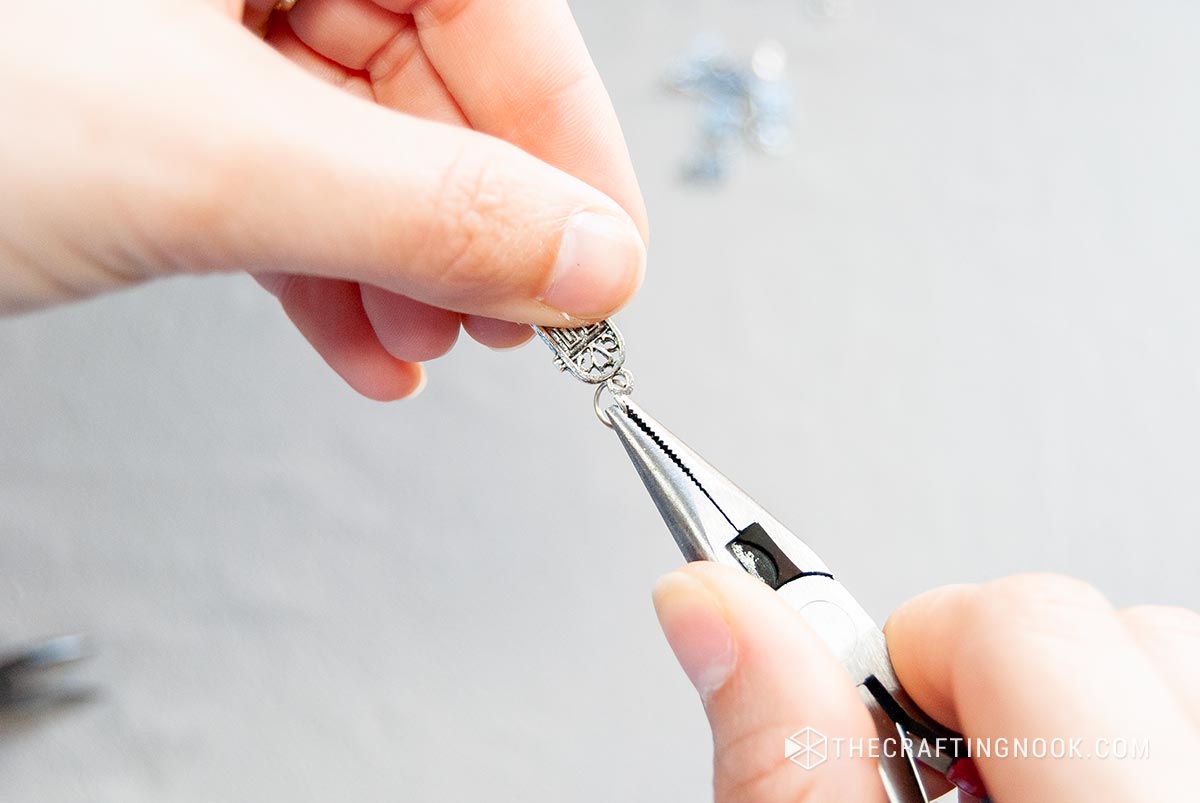
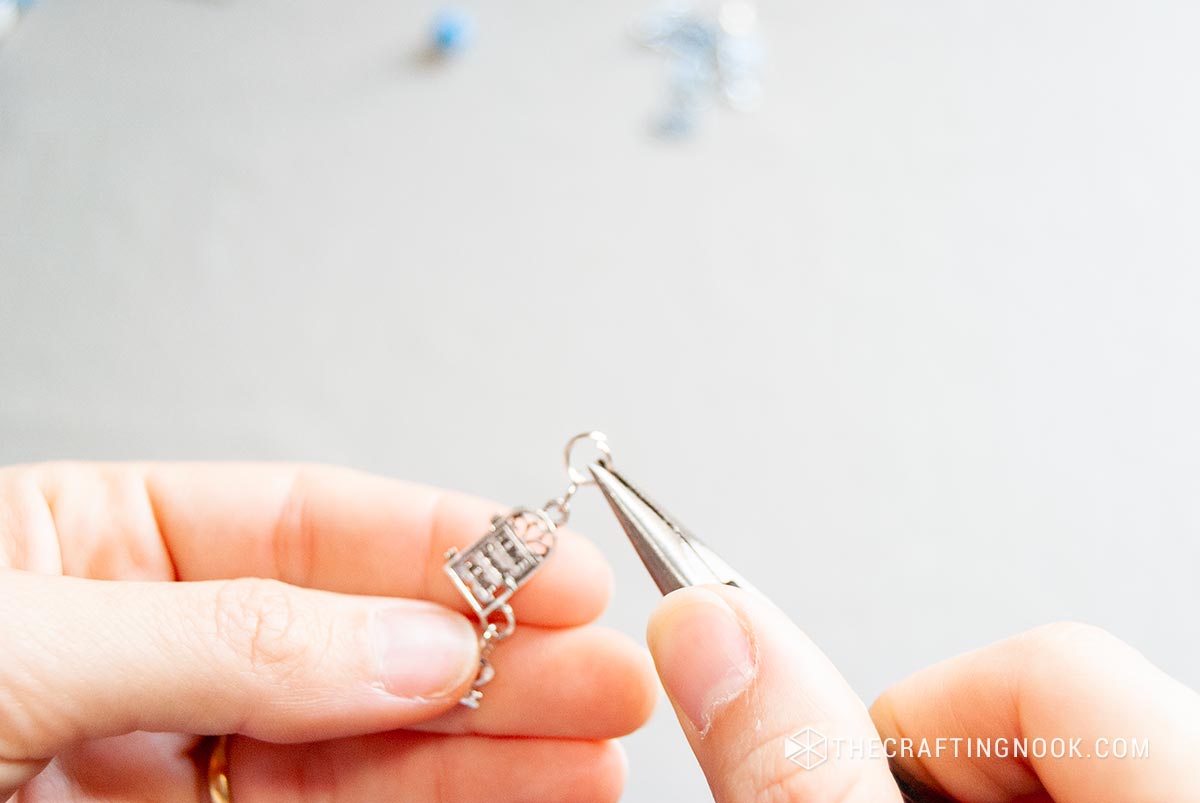
Insert one spacer in the jump ring and close the jump ring.
Repeat with all spacers.
Step 6: Attach Clasps
Measure your bracelet around your wrist and mark where you want the clasp to be. Make a tight knot on each end before your mark.
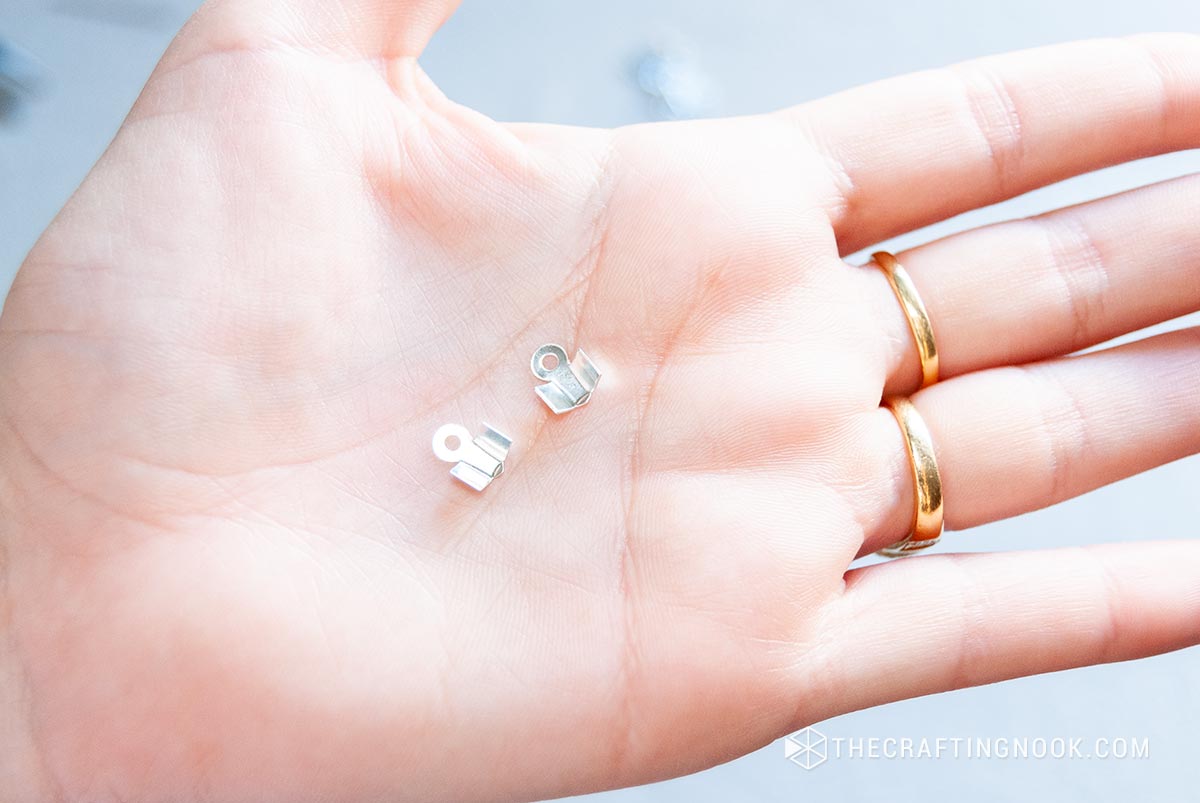
Use fold-over crimp ends on the string ends.
Place them just before the mark but after the knot because he clasps.
Placing the ribbon in the cord crimp end, tightened them with a flat nose plier to secure the ribbon well.
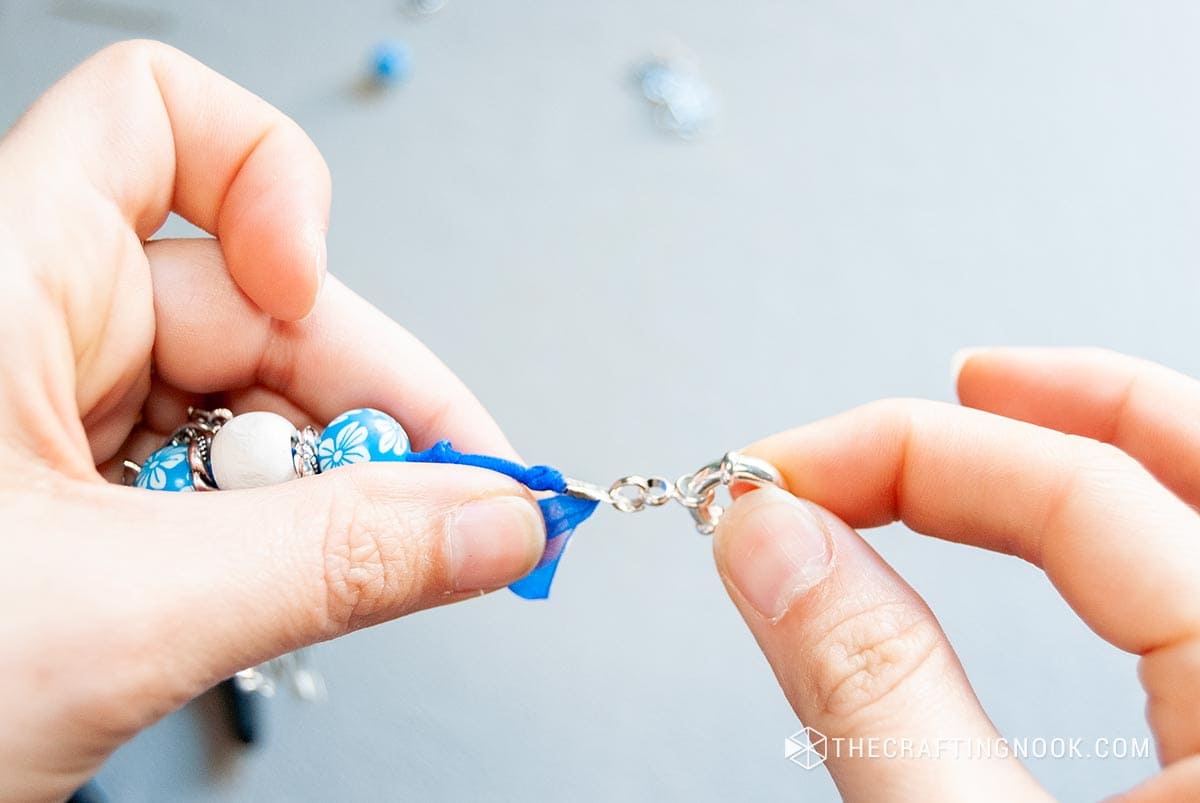
With your pliers, open a little bit one jump ring, enough to insert the cord end ring.
Insert the fold-over crimp end and a clasp piece on each end.
Closed the jump ring again.
Step 7: Trim Excess Ribbon
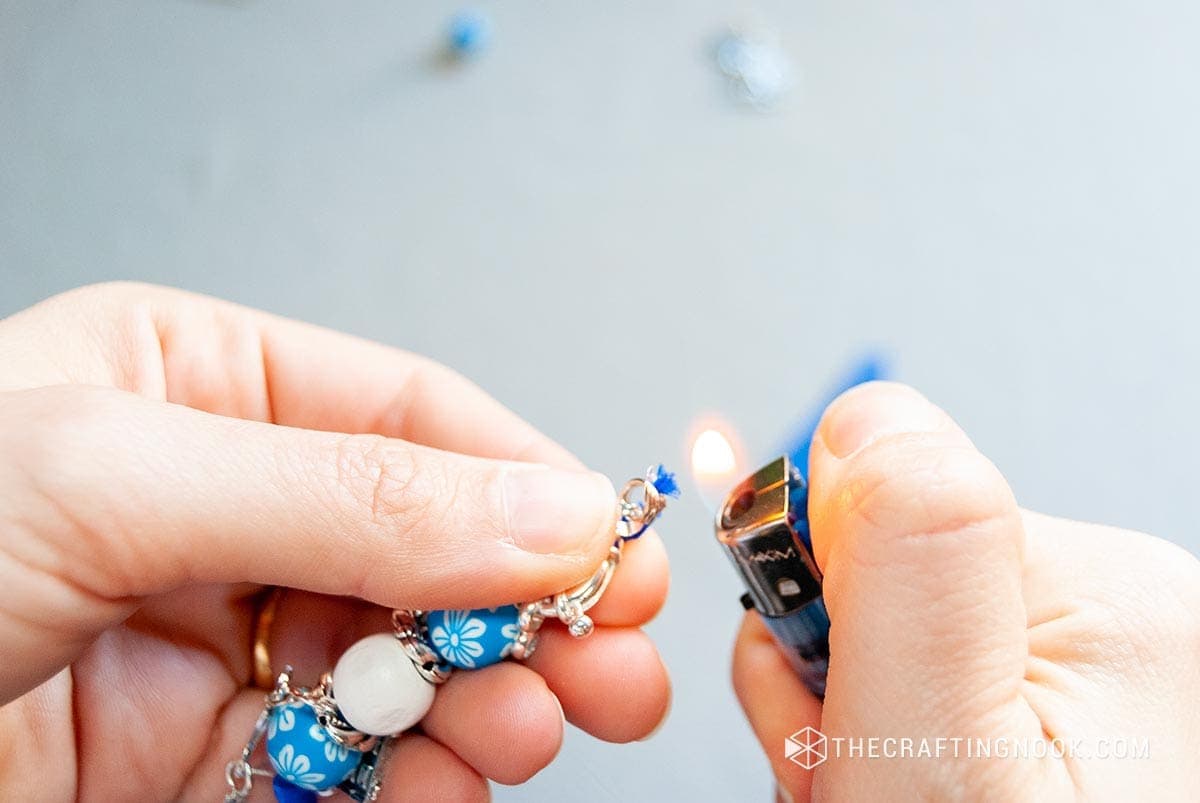
Carefully trim any excess ribbon, ensuring the ends are neat and not fraying.
With a match or lighter, carefully heat the ends to secure them and avoid future fraying.
Step 8: Final Touches
- Take a moment to admire your creation. Adjust the beads and pendants if necessary to ensure they’re evenly spaced.
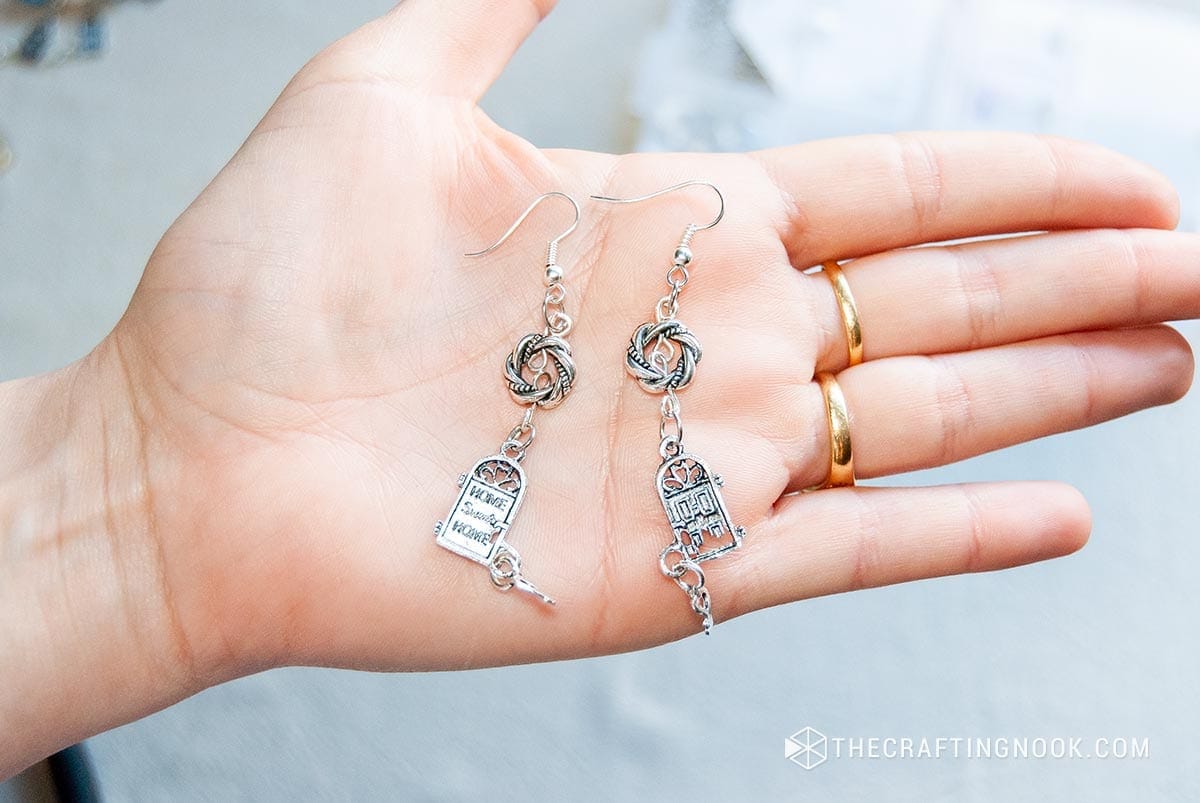
Step 9: Make matching Earrings.
Using the sabe spacers used for the bracelet, insert one eye pin on each side.
With a round-nosed pliers make a loop with the wire left on both ends.
Using jump rings connect one eye pin loop to the pendant and the other eye pin loop to the earring hooks.
You are done!
DONE!!! A super easy ribbon bracelet diy, right?
Crafting Tips:
- To prevent ribbon ends from fraying, gently heat the cut edges with a lighter. This melts the fibers and seals the ends.
- It’s a good idea to lay out your bead pattern on a piece of paper first. This way, you can visualize the design and make adjustments before stringing.
- Jump rings are small metal rings used to connect your charms and beads together. To make sure they’re securely fastened, always use pliers to open and close them, instead of trying to do it with your fingers.
- Experiment with different charm styles: There are so many different types of charms out there that you don’t need to limit to owls! Try mixing and matching different styles to create a unique and personalized look for your jewelry.
- If you’re having trouble attaching the wire to your bracelet or earring hooks, try using pliers to gently bend the wire into the right shape. This will make it easier to attach the pieces together without damaging them.

So, What do you think??? I would love to hear your thoughts!!!
Frequently Asked Questions
Nope! This is a beginner-friendly project that anyone can do. You’ll just need a bit of patience and some basic crafting tools like pliers.
It will depend on your level of experience. In my case, it took me around 15-20 minutes. But even if you are a beginner this project shouldn’t take more than an hour to complete.
Absolutely! You can use different colors, shapes, and materials to create a unique and personalized set of bracelets and earrings that reflect your personal style.
You will need some basic jewelry-making tools, such as pliers, but these are readily available at most craft stores or online retailers and they are not really expensive.
More Jewelry Projects to Try
if you enjoyed this DIY Owls Charm Bracelet and Earrings tutorial, you might also love these other handmade jewelry project ideas too:


Some really cool handmade jewelry pieces from my favorite bloggers:
- Leather Wrap Bracelets with Charm by Amy Latta Creations.
- DIY Studded braid bracelets by A Pumpkin and a Princes.
- T-shirt yarn bracelets by Blue Bear Wood.
✂️ Tutorial
DIY beaded ribbon bracelet with pendants and Earrings
Tools
- scissors
- Flat Nose Pliers
- Bent-nose pliers
- Yarn or embroidery needle
Supplies
- Wooden beads size and color of your choice
- Ring Spacer
- Cute door with key pendants or your favorite pendants
- Organza ribbon complementary color to your beads
- Clasps and jump rings
- Fold-over crip ends.
- Clear nail polish optional for knot securing
Instructions
STEP 1: PREPARE YOUR WORKSPACE
- Set up a clean, well-lit workspace with all your materials within reach. This will make the crafting process more enjoyable and organized.
STEP 2: MEASURE AND CUT THE RIBBON
- Begin by measuring the organza ribbon to your desired bracelet length. It’s essential to consider how tightly or loosely you want the bracelet to fit.
- Add an extra 2-3 inches to the measured length. This extra length will be used for tying knots and attaching the clasps.
STEP 3: THREAD THE RIBBON
- Thread one end of the ribbon through the eye of a large needle if your ribbon is thick. This makes it easier to string the beads and pendants.
STEP 4: STRING THE BEADS AND PENDANTS
- Start by using a yarn needle and insert around 2 inches of the ribbon through the hole.
- Select the first bead and slide it to the center of the ribbon.
- Next, add a separator, which could be a smaller wooden bead or a metal spacer ring like I did. This keeps your beads and pendants evenly spaced.
- The pattern I used was 2 beads, 1 spacer; then 3 beads, 2 spacer and then again 2 beads, 1 spacer leaving around a half inch between each group.
- Make an overhand knot before and after each group of beads. Pull it tight, ensuring the beads don’t slide around.
- If you want to add extra security, you can use a tiny drop of clear nail polish on the knot to hold it in place.
- Repeat the pattern: knot, wooden bead, spacer, bead, knot until you’ve reached your desired bracelet length.
STEP 5: ADD THE PENDANTS
- Open a 6mm jump ring with your flat nose pliers and insert the pendant.
- Insert one spacer in the jump ring and close the jump ring.
- Repeat with all spacers.
STEP 6: ATTACH CLASPS
- Measure your bracelet around your wrist and mark where you want the clasp to be. Make a tight knot on each end before your mark.
- Use fold-over crimp ends on the string ends.
- Place them just before the mark but after the knot because he clasps.
- Placing the ribbon in the cord crimp end, tightened them with a flat nose plier to secure the ribbon well.
- With your pliers, open a little bit one jump ring, enough to insert the cord end ring.
- Insert the fold-over crimp end and a clasp piece on each end.
- Closed the jump ring again.
STEP 7: TRIM EXCESS RIBBON
- Carefully trim any excess ribbon, ensuring the ends are neat and not fraying.
- With a match or lighter, carefully heat the ends to secure them and avoid future fraying.
STEP 8: FINAL TOUCHES
- Take a moment to admire your creation. Adjust the beads and pendants if necessary to ensure they’re evenly spaced.
- DONE!!!! Woot wootLISTO!!! Yupiiiiiiii
STEP 9: MAKE MATCHING EARRINGS.
- Using the sabe spacers used for the bracelet, insert one eye pin on each side.
- With a round-nosed pliers make a loop with the wire left on both ends.
- Using jump rings connect one eye pin loop to the pendant and the other eye pin loop to the earring hooks.
- You are done!
Share and PIN ME!!!
Til’ next time…


FREE WORKBOOK
Keeping your Sweet Home Organized
Learn how to create intentional habits and simple routines to Keep Your Home Organized. Plus freebies, printables, exclusive content, and tips.
Disclaimer: By clicking on the “Yes” button above you are giving me your consent to collect and use your information according to the law and My Policy Privacy. Zero Spam I promise!