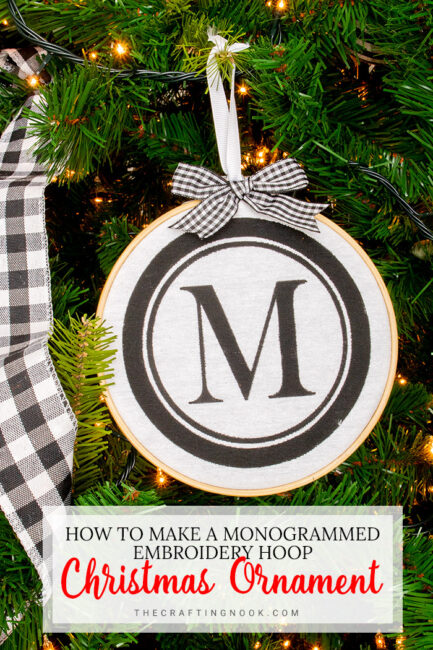
Buffalo Plaid Embroidery Hoop Christmas Ornaments DIY
This post may contain affiliate links. Please read our Disclosure Policy.
These Buffalo Plaid Embroidery Hoop Christmas Ornaments are the easiest DIY embroidery hoop craft you can create to add some elegant yet festive cheer to your tree this Holiday season.
Christmas, Christmas, Christmas… My favorite time of the year and yet the busiest ever! This year I got behind on the Christmas decor but here I am.

Table of Contents
Buffalo Plaid Embroidery Hoop Christmas Ornaments Tutorial
This year flew by so freakin’ fast. Seriously! I feel like I got stolen about 4 months and got a huge pile of projects waiting for me to start. But Hey! I’m SO excited that it’s the Christmas season and I get to enjoy each moment of it.
Do you love handmade your own ornaments? I so do. Here is a beautiful and simple tutorial for making DIY Embroidery Hoop Christmas Ornaments! These are the perfect addition to any Christmas tree!
I created these beautiful ornaments using a trendy Buffalo Plaid print, but they can be customized for any tree and decor. I think it would be so much fun to make these with friends or with our kids!
Every year, I try to make a homemade ornament idea because I love decorating my tree with them, and they’re fun present toppers or small gift ideas. These DIY embroidery hoop ornaments are some of my favorite I’ve ever made, so cute, so easy and so FUN!
This year’s Christmas theme is black and white and buffalo check. I have to confess I couldn’t stay with just the black and white so I added a few accents here and there that you will see soon on the coming posts.
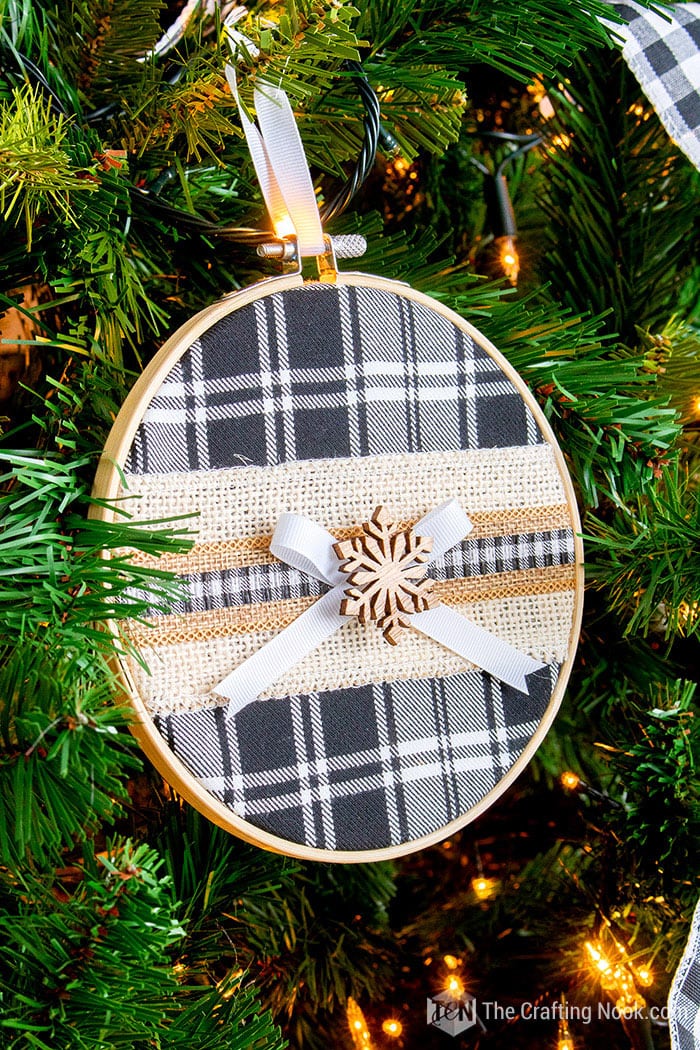
Today’s project is a super easy diy, you can have it done within minutes and there’s no need to have fancy tools. It can also be very low budget if you have most supplies at home. I only had to buy cheap embroidery hoops (just for some ornaments I didn’t need fancy ones).
Now that I’m done, I think I should have made more of these I just LOVE how they look! I made 2 types of embroidery hoop ornaments. These ones with Buffalo plaid fabric and others with a painted monogram. I just love them.
How to Make Buffalo Plaid Embroidery Hoop Christmas Ornaments
Supplies:
- Embroidery hoop (the size of your choice, I used big and small embroidery hoops to make it fun)
- Buffalo plaid fabric (or your favorite one, even scrap fabric works too)
- Burlap Ribbon (light beige, almost white)
- Different Ribbons of your choice in different sizes (I used darker burlap with buffalo check and white grosgrain).
- Snowflake embellishment.
- Optional greenery, berries or any extra decoration you love.
Tools:
- Scissors
- Hot glue gun and glue sticks.
Instructions
Before we begin, be sure to follow us on Pinterest, Facebook, Instagram, and YouTube, and also sign up for our email list (at the end of this post), so you’ll never miss a post!
Step 1: Prepping your supplies
Firstly, measure your embroidery hoop and cut your fabric about an inch larger. You can use any type of fabric, what’s important is that you love it.
I’ve even seen some ornaments made with old sweaters and I think it’s so cute!
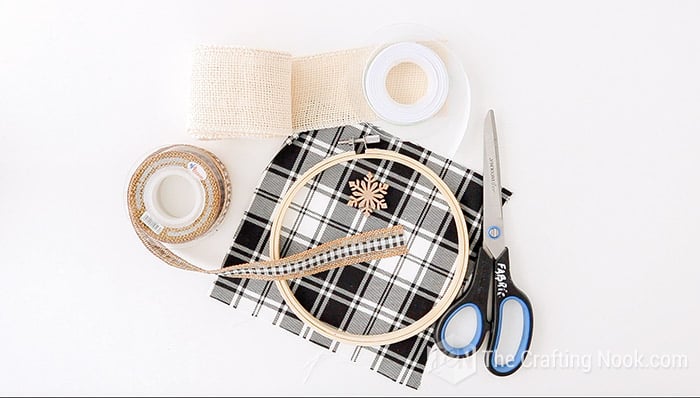
Take the embroidery hoop apart and for now, place the inside hoop on a flat surface.
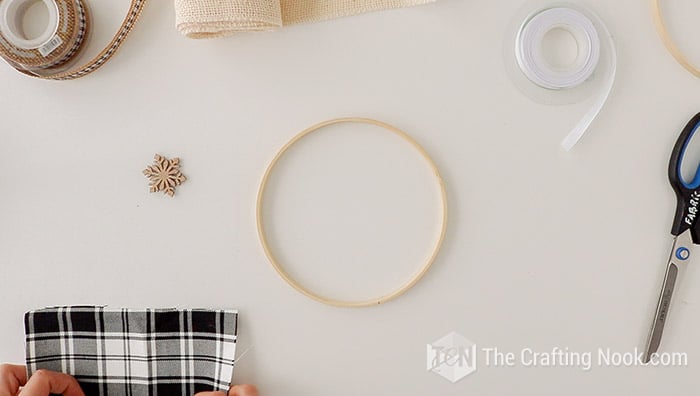
Step 2: Assembling yourEmbroidery Hoop Ornament
Place the fabric on top of the ring as centered as possible.
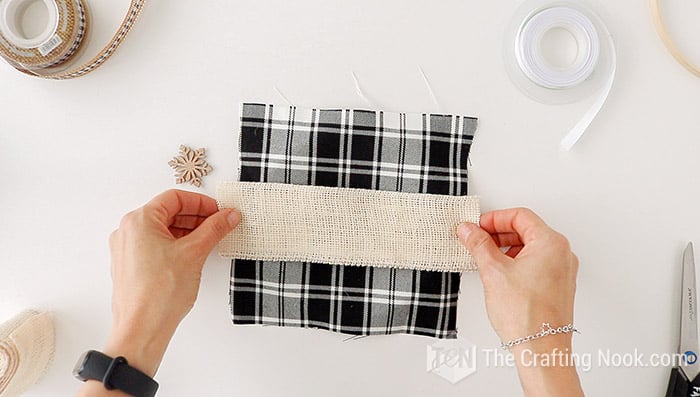
Then cut a piece of your light burlap and place it over the fabric centered.
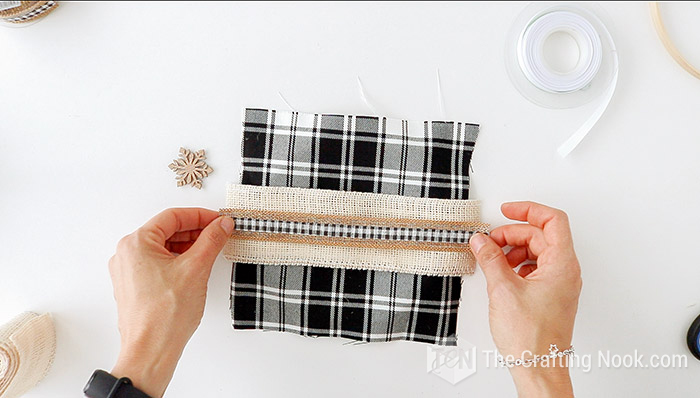
Cut a piece of the next size ribbon, the same width as the previous one. Please it over the burlap ribbon also centered.
Press the outside hoop in place over the fabric.
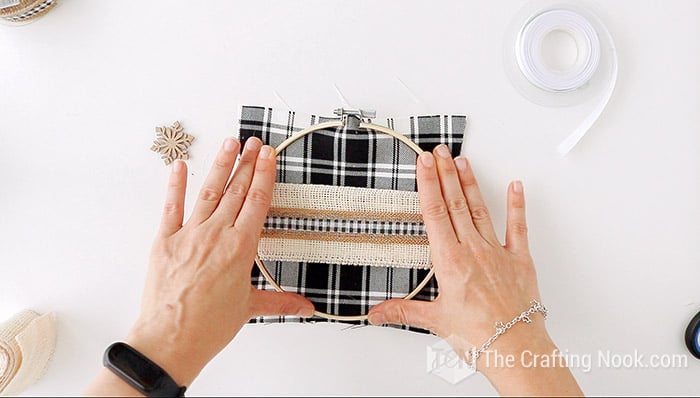
Tighten the screw on the embroidery hoop and pull fabric until the fabric is tight. Be careful in this step to not distort the plaid pattern.
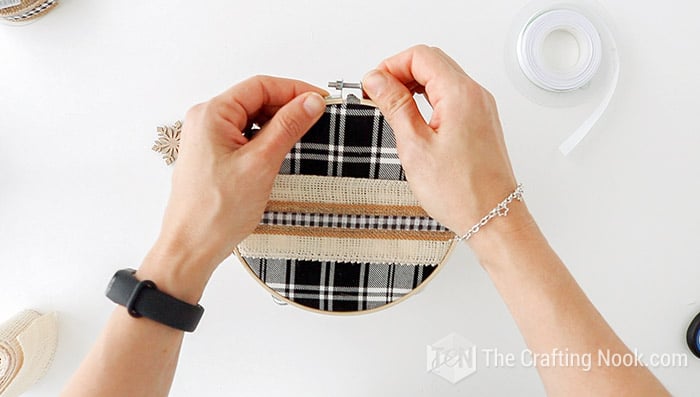
Step 3: Decorating the Ornament
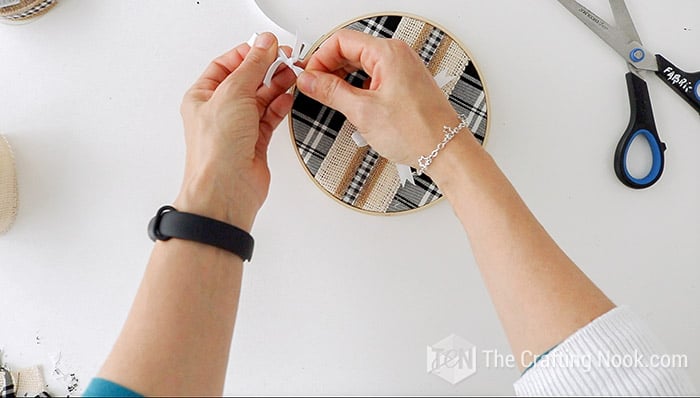
With the ribbon (in my case, white grosgrain ribbon) make a cute ribbon bow.

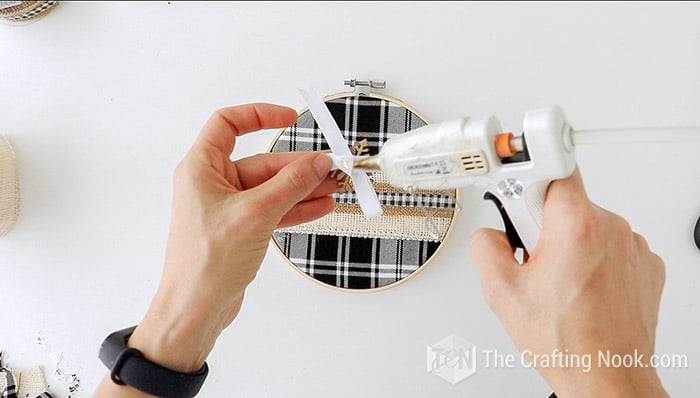
Glue the snowflake of your favorite embellishment in the center of the bow. Set aside for a moment.
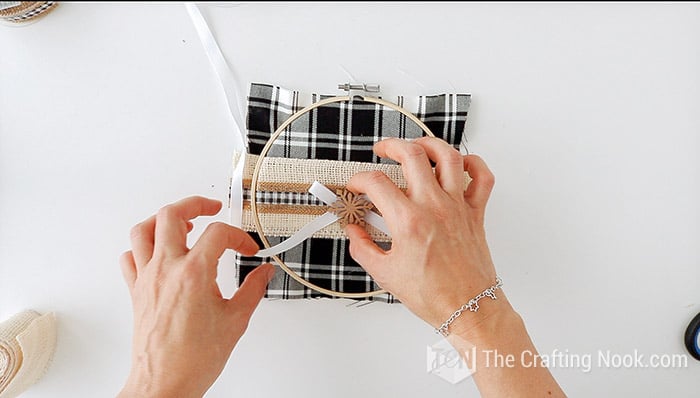
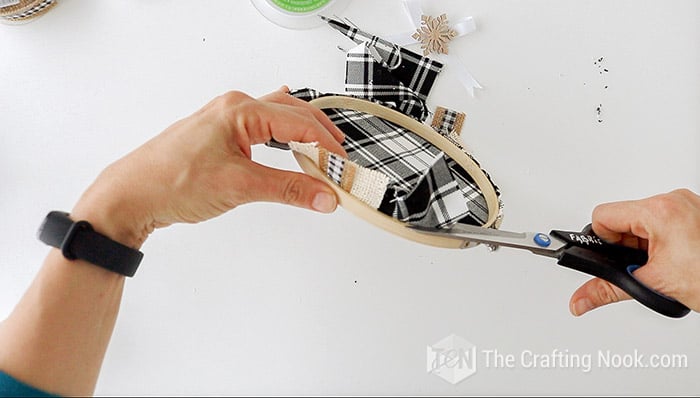
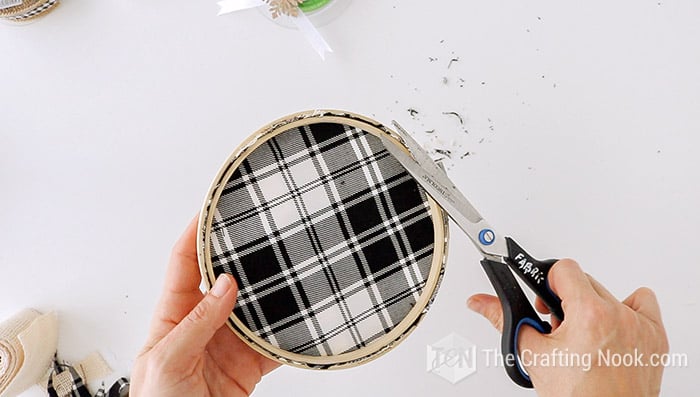
Cut carefully all the remaining fabric from the back of the embroidery hoop
Now glue the bow to the center of your embroidery hoop design.
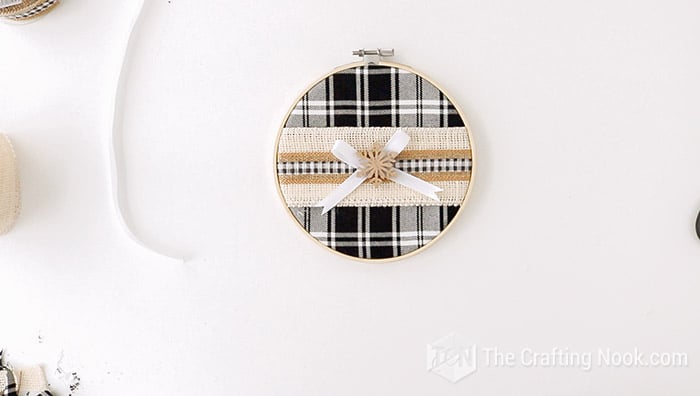
Step 4: Make the Hanger
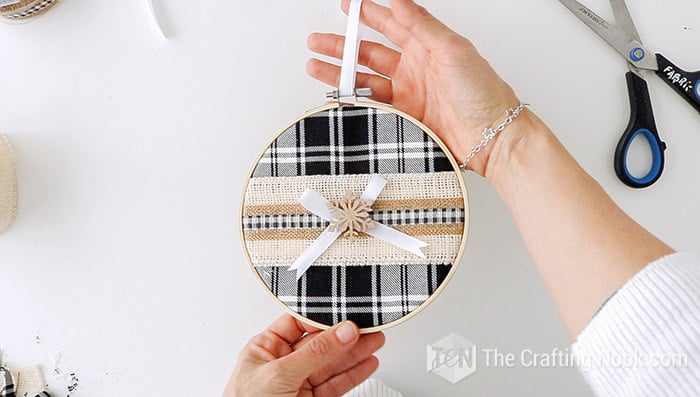
Cut a piece of ribbon bow ribbon (the same one used for the bow) and pass it through the embroidery hoop screw space. Make a tight knot with the ends to create the hanger.
There you go!
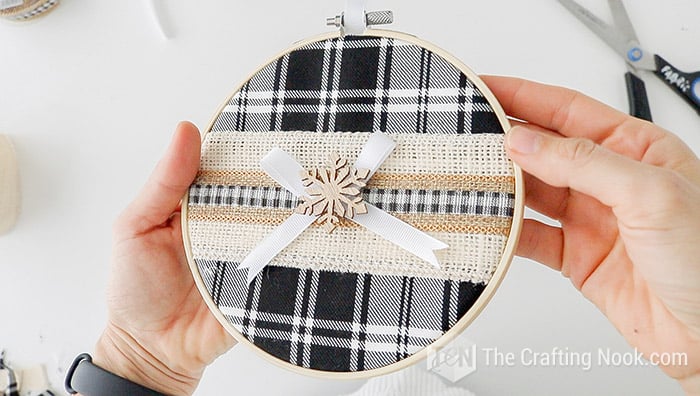
You can make as many as you want with as many different sizes as you desire!
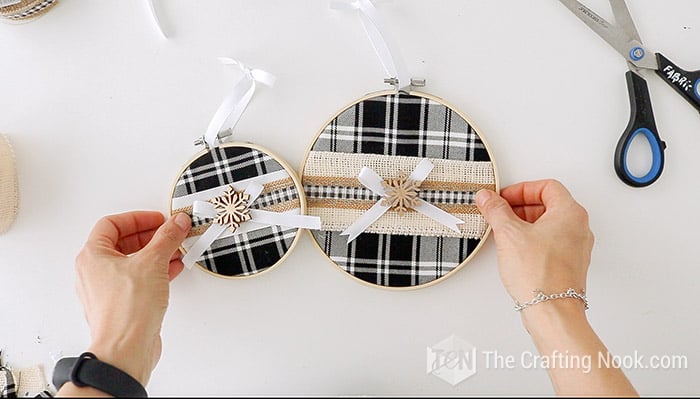
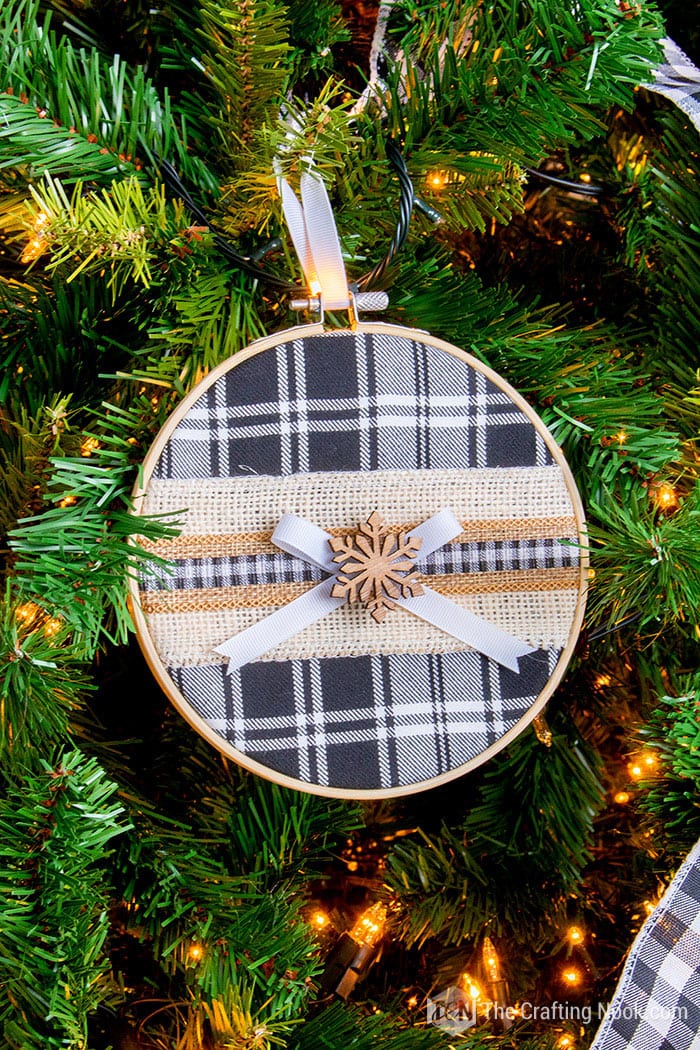
Imagination is your limit! You can adapt this Christmas ornament to your Christmas tree theme and reuse the embroidery hoop over and over again.
Isn’t it cute?
Crafting Tips
There’s no need to calculate and cut a perfect circle to make these ornaments or assemble the hoops. You can just cut a square of fabric slightly larger than the hoop, decorate it as you wish, and then assemble the embroidery hoop. Then turn it front side facing down and cut excess fabric as close to the hoop as possible.
Avoid using glue to assemble the ornament, so when Holiday is over, you can dismantle the ornament and reuse the embroidery hoops for another project.
If you don’t like the embroidery hoop clasp to be visible you can hide it using some cute greenery or a cute bow.

I hope you enjoyed this super easy craft and if you have a cutting machine you will love the next Embroidery hoop Christmas Ornament.
Have a wonderful day everyone!
Frequently Asked Questions
Embroidery hoops and frames are tools used to keep the fabric taut while working on embroidery or other forms of needlework but they have got a lot of popularity for other fun crafts besides embroideries such as wreaths, wall arts, ornaments, and much more.
The versatility. There are so many things you can do with them and we don’t think about them as a craft supply or tool very often unless you actually love embroidery. But the truth is that they can be a GREAT tool and a basic supply for any crafter.
Most likely in a craft store especially those that sell embroidery supplies but you can also get embroidery hoops in department stores in the craft section, Michaels, amazon and why not check in dollar trees too, and thrift stores and second-hand shops?
You can use any type of fabric that you love. Between you and me, the plaid fabric just rocks! But you can use fleece, felt, cotton, solid color, or your favorite patterned ones.
Absolutely! You can go for pretty grosgrain ribbons to satin, organza, yarn, twine, and anything else your creativity calls for! If you happen to go for a solid fabric then a buffalo check ribbon would be a hit!
Absolutely not! In this case, the embroidery hoop is only the tool to create cute ornaments. You just need to decorate what you are going to use for the hoops.
More Christmas Ornaments to Try
Loving these embroidery hoop Christmas Ornaments tutorial? You might also love these other Christmas project ideas too:
✂️ Tutorial
Buffalo Plaid Embroidery Hoop Christmas Ornaments DIY
Tools
- scissors
- Hot glue gun and glue sticks
Supplies
- Embroidery hoop the size of your choice, I used big and small embroidery hoops to make it fun
- Buffalo plaid fabric or your favorite one, even scrap fabric works too
- Burlap Ribbon light beige, almost white
- Different Ribbons of your choice in different sizes I used darker burlap with buffalo check and white grosgrain.
- Snowflake embellishment.
- Optional greenery berries or any extra decoration you love.
Instructions
STEP 1: PREPPING YOUR SUPPLIES
- Firstly, measure your embroidery hoop and cut your fabric about an inch larger. You can use any type of fabric, what’s important is that you love it.
- I’ve even seen some ornaments made with old sweaters and I think it’s so cute!
- Take the embroidery hoop apart and for now, place the inside hoop on a flat surface.
STEP 2: ASSEMBLING YOUR EMBROIDERY HOOP ORNAMENT
- Place the fabric on top of the ring as centered as possible.
- Then cut a piece of your light burlap and place it over the fabric centered.
- Cut a piece of the next size ribbon, the same width as the previous one. Please it over the burlap ribbon also centered.
- Press the outside hoop in place over the fabric.
- Tighten the screw on the embroidery hoop and pull fabric until the fabric is tight. Be careful in this step to not distort the plaid pattern.
STEP 3: DECORATING THE ORNAMENT
- With the ribbon (in my case, white grosgrain ribbon) make a cute ribbon bow.
- Glue the snowflake of your favorite embellishment in the center of the bow. Set aside for a moment.
- Cut carefully all the remaining fabric from the back of the embroidery hoop
- Now glue the bow to the center of your embroidery hoop design.
STEP 4: MAKE THE HANGER
- Cut a piece of ribbon bow ribbon (the same one used for the bow) and pass it through the embroidery hoop screw space. Make a tight knot with the ends to create the hanger.
- There you go! You got yourself a super cute embroidery hoop Christmas ornament!
- You can make as many as you want with as many different sizes as you desire!
My favorite Embroidery Hoop Crafts from my favorite bloggers:
- Bottle Brush Embroidery Hoop Ornament by Kim over at Made in a Day.
- Chalk Embroidery Mini Hoop Ornaments by Bev over at Flamingo Toes
- DIY Christmas Buffalo Check Hoop Wreath by Amanda over at Domestically Creative
Share and PIN ME!

Til’ next time…


FREE WORKBOOK
Keeping your Sweet Home Organized
Learn how to create intentional habits and simple routines to Keep Your Home Organized. Plus freebies, printables, exclusive content, and tips.
Disclaimer: By clicking on the “Yes” button above you are giving me your consent to collect and use your information according to the law and My Policy Privacy. Zero Spam I promise!
