DIY Farmer’s Market Tote using Cricut Explore
This post may contain affiliate links. Please read our Disclosure Policy.
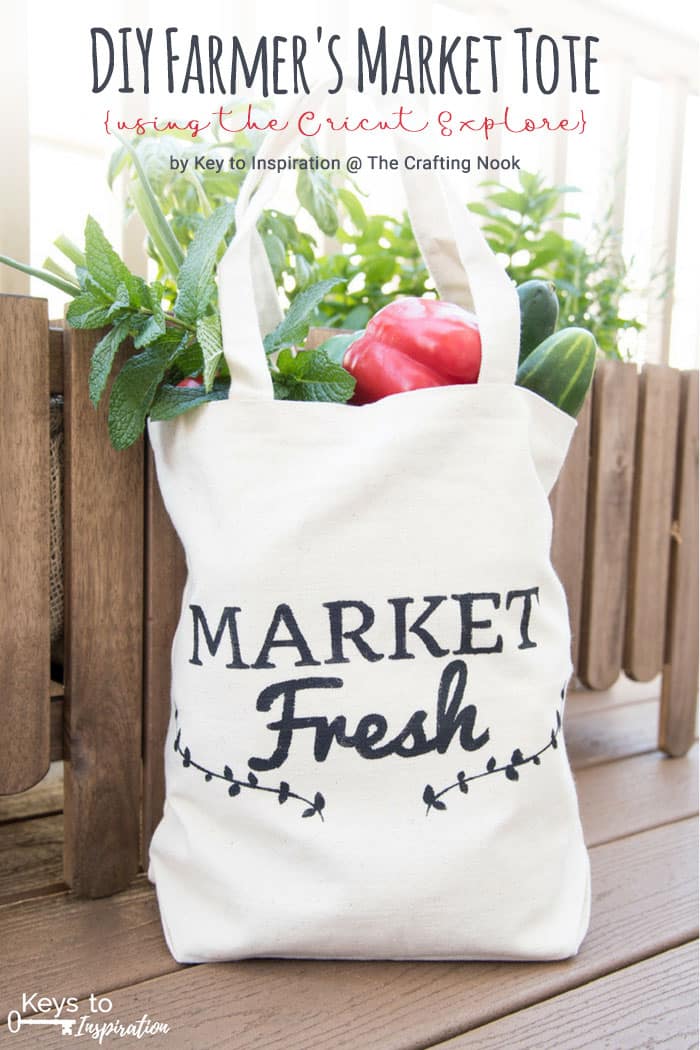
Hi there The Crafting Nook Readers! I’m Christene and I blog over at Keys to Inspiration. I’m so excited to be guest posting today on Cami’s blog! She’s so creative, isn’t she? My blog is all about helping you discover creative, simple, and affordable ways to design a home you love! One of my passions is creating home decor and teaching others how to create too! Even if you don’t think you’re a crafty person, I can show you how easy it is to create beautiful things for your home on a budget. Now that summer is in full swing, I thought I would share a fun DIY project for one of my favorite summer activities – going to the Farmer’s Market, so I made this cute Farmer’s Market Tote.
DIY Farmer’s Market Tote {using the Cricut Explore}

During the summer months, one of my favorite things to do is to visit the local farmer’s market to find the best summer foods! Today I want to show you how you can make this cute farmer’s market tote using the Cricut Explore.
It’s no secret that I’m a huge Cricut Explore fan. I constantly tell my readers that it’s my favorite DIY tool.
If you aren’t familiar with the Cricut Explore, it’s basically an electronic cutting machine that you can use to create just about any project you can imagine. It’s a crafty girl’s dream machine! If you want to learn more about the Cricut Explore, check out this post.
Now, let’s get creating!
DIY Farmer’s Market Tote
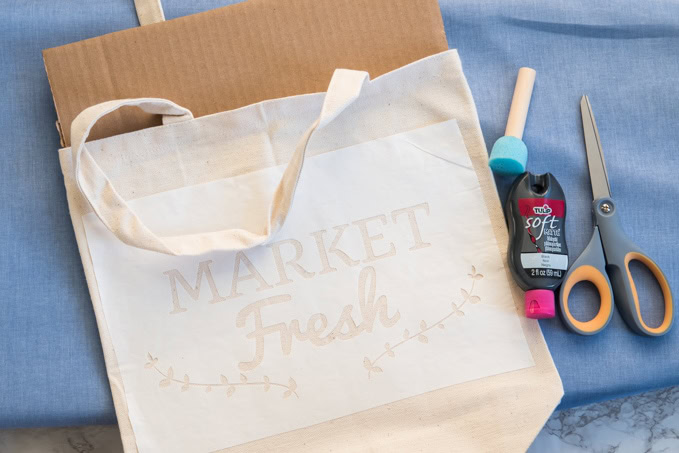
Materials:
- Canvas Tote Bag
- Freezer Paper
- Transfer Tape
- Black Fabric Paint
- Stipple Brush
- Scrap Cardboard
- “Market Fresh” Stencil Image
Tools:
- Cricut Explore Machine
- Regular Cutting Mat
- Cricut Basic Tools Set
- Iron
First, open up Cricut Design Space. For this project, I’m going to be using the new and improved Cricut Design Space 3. It’s still in Beta mode and was just released to the general public, so this is my very first Cricut tutorial using the new Design Space!
Before we can start designing, you will need to download the “Market Fresh” Stencil Image. You can get it for free by clicking here
Start a new project by clicking on the new project button. This will open a new blank canvas for you to work from.
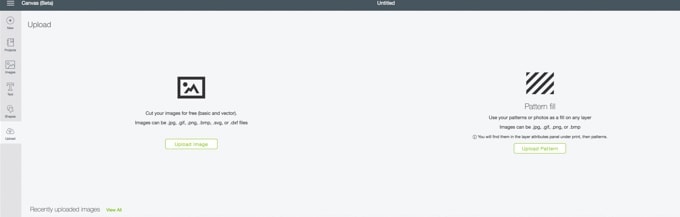
In the Side Menu, select the “Upload” button. This will open the Upload Menu.

For our project, we are going to be uploading the “Market Fresh” Stencil Image. Select the “Upload Image” button and then select “Browse.”
Navigate on your computer to the location where you saved the “Market Fresh” Stencil Image and select it to upload into Cricut Design Space.
Now you will see the image in the preview menu. Before the image can be uploaded, you will need to select the image type. This will help Cricut Design Space to determine how complex the image is. For this image, select “Moderately Complex” and click “Continue.”

Next, you will need to remove all of the white background from the image so that only the design remains. On this menu in the upper left select the “Magic Wand” icon which is called “Select & Erase.”

Once the magic wand is selected, click on the white background of the image to remove it. You will be able to tell when the background is removed because you will see blue and white checkerboard instead. This means that the area is transparent.
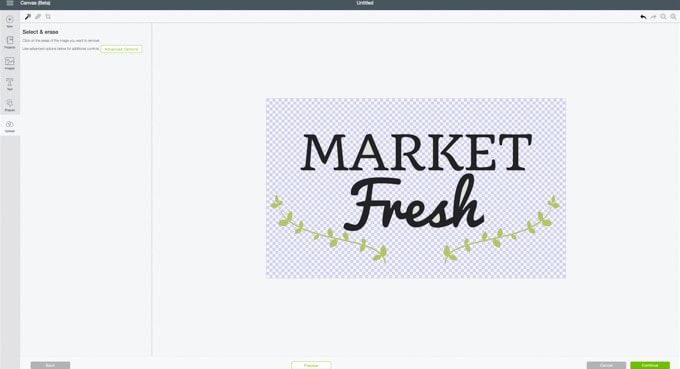
Don’t forget to remove the white background from inside the letters. Once all the background has been removed, your image should look like this.

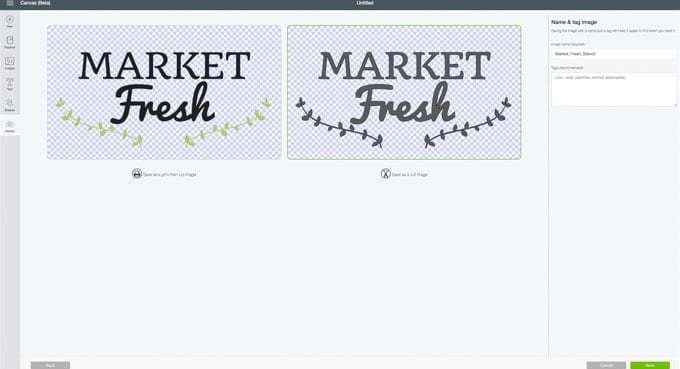
Next, you will need to specify which kind of image this is. Since we are only going to be cutting this image, select the “save as cut image” picture and then click “Save” to finish the upload. Yay! You have successfully uploaded an image into Cricut Design Space.
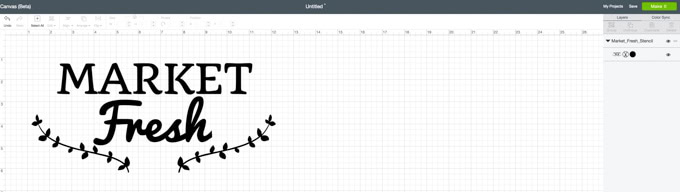
Back in the Upload Menu, select the “Market Fresh” Stencil Image and then select “Insert Images.”
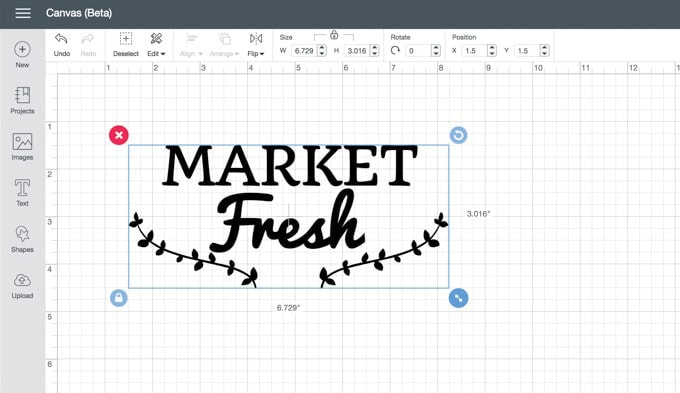
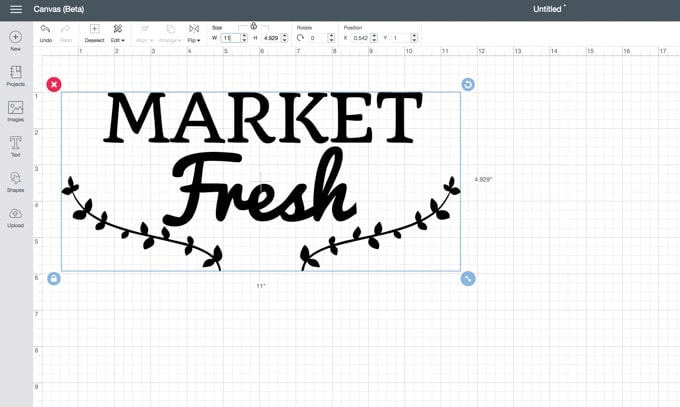
Now you will see the image on your blank canvas design. When an image is selected, you will see a panel appear at the top of the screen. This is called the Edit Panel. In the Edit Panel, under Size, type in 11” for the width to resize the stencil image.
My canvas bag was about 12” wide, so 11” was just the right size. Be sure to measure your canvas bag and size your stencil image accordingly.
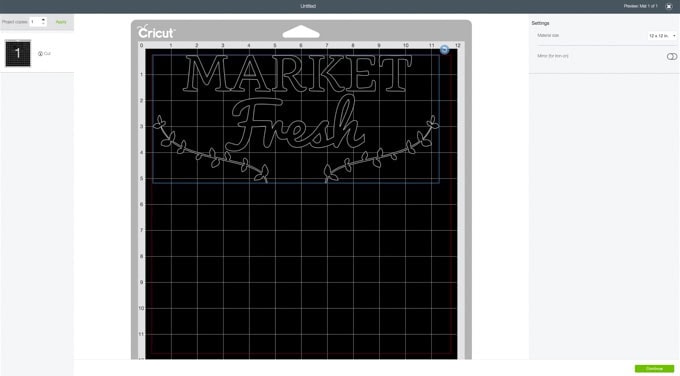
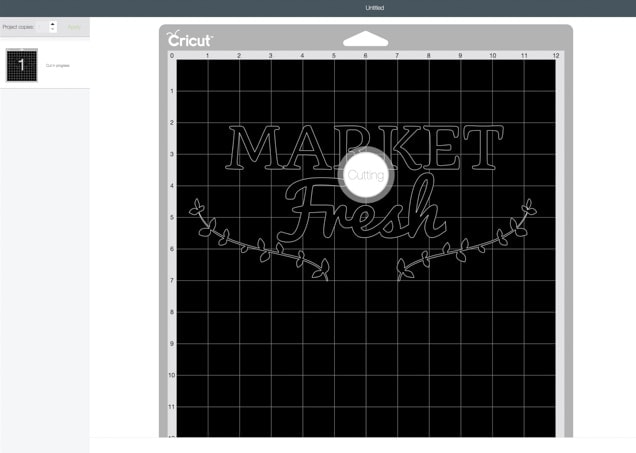
Now it’s time to cut out your stencil. In the top right of the screen, select “Make It.” This will open up the cut Preview Menu.
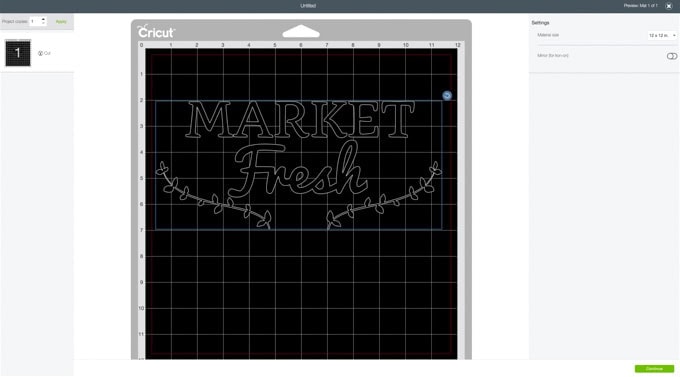
Here is where you will see a preview of how your design will look on the actual cutting mat. From this menu, you can adjust where you want your design to be cut. Because this is a stencil, I wanted a little bit of extra material above my design. I moved my design down slightly on the cutting mat to give me that extra material area.
Now it’s time to prepare your materials and Cricut Explore machine for cutting. Using scissors, cut out a piece of freezer paper that is 12” x 12.” I cut a piece that was larger than the mat and then trimmed it down once it was attached to the mat. I decided to use a regular cutting mat for this project, but I made sure to grab one that had been used already. When you use a brand-new cutting mat, they can be extremely sticky. Super sticky mats can be too rough for delicate materials like freezer paper. If you don’t have a mat that’s been used already, you might want to use the light grip cutting mat (blue cutting mat).
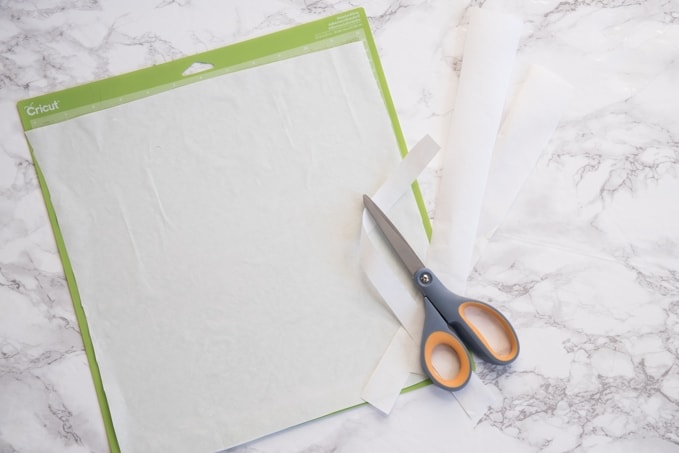
There are two sides to freezer paper – one is shiny and one is matte. Make sure to place the shiny side down on the cutting mat.
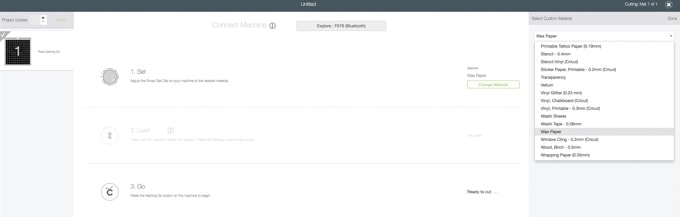
In the next menu in Cricut Design Space, you will be prompted to set the Smart Dial on your Cricut Explore machine. Set the dial to custom and then in this menu, use the “Select Custom Material” drop-down and choose “Wax Paper.” The material settings for wax paper are perfect for cutting freezer paper.
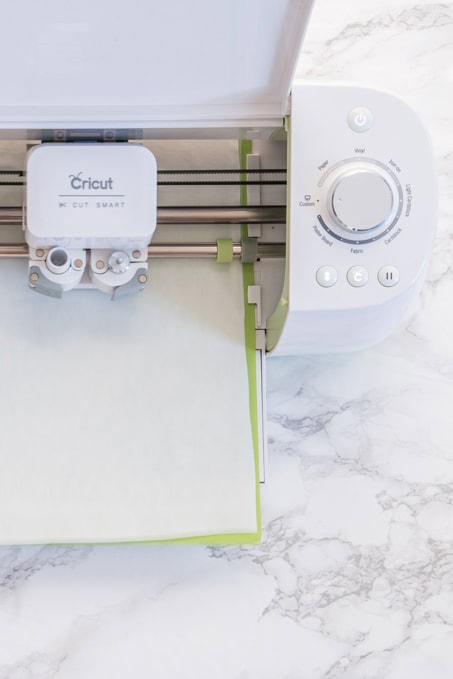
Load the cutting mat into the machine and then press the “Go” button on your Cricut Explore to start the cut. Then, watch as your Cricut Explore brings your design to life!
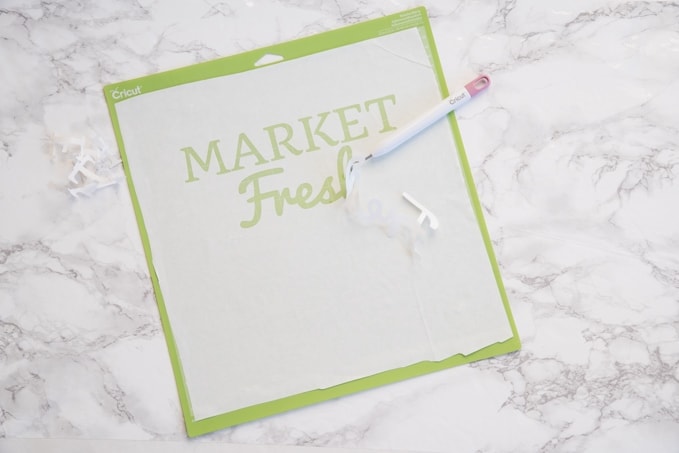
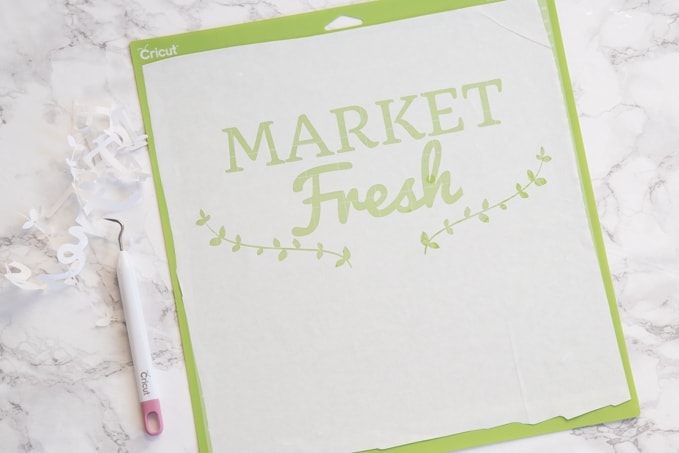
Once the Cricut Explore is finished cutting out your design, remove the cutting mat from the machine. Using the weeder tool, remove the letters from the design so that a stencil of the design is left behind.
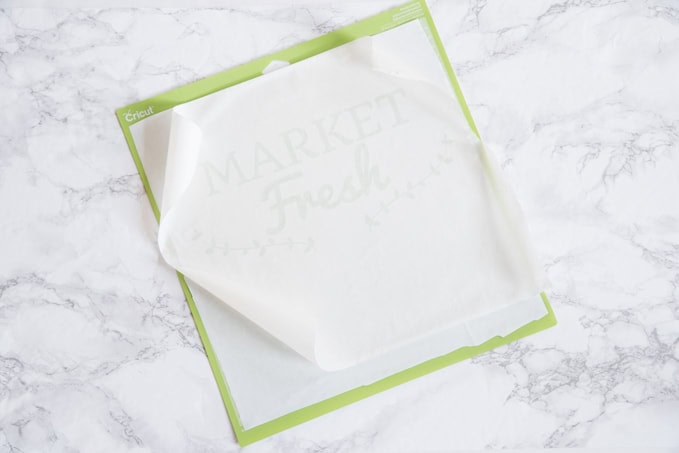
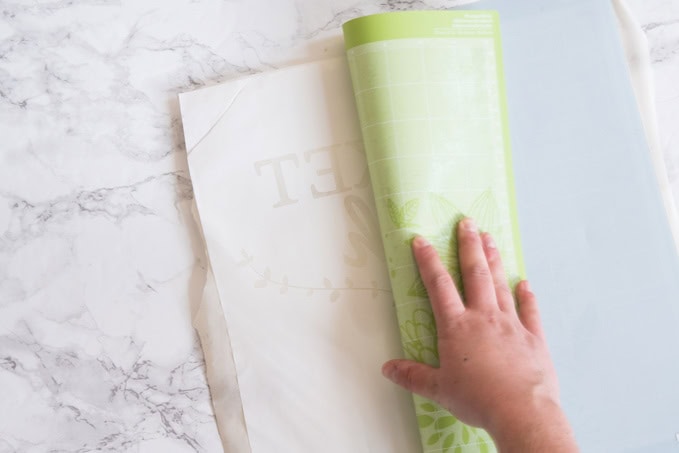
Now you are ready to move the stencil image to your tote bag. Because freezer paper is delicate and thin, don’t try to just peel it right off the cutting mat. First, take a piece of transfer tape and cut it large enough to cover your design. Place the transfer tape over the design and smooth it down. This will help keep all the delicate design cuts in place as you move your stencil.
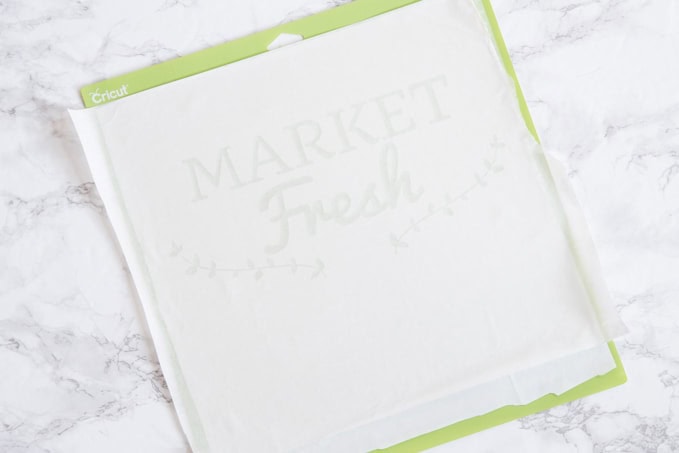
To remove your stencil from the cutting mat, first, flip the mat over. Then, instead of peeling the design away from the mat, peel the mat away from the design. This will help the design to stay flat and not get all warped and curled.
Place your stencil on top of your tote bag and line it up where you want it.
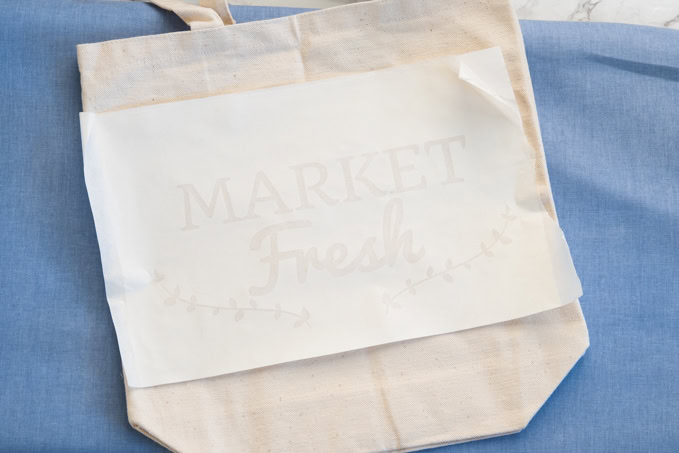
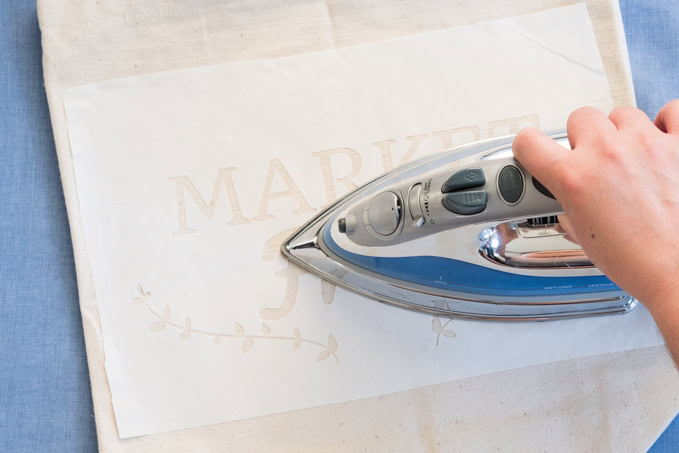
Then, using an iron, iron the stencil onto the canvas tote bag. You can iron directly onto the transfer tape. The heat will bind the freezer paper to the fabric.
PS: I use a budget version of transfer tape that I found on Amazon. It was a great price! This transfer tape has a paper-like finish, unlike some of the more expensive transfer tapes that have a plastic-like finish. I wasn’t concerned about ironing directly onto the transfer tape because it was basically sticky paper. If your transfer tape is a plastic material, ironing directly onto it might melt the material. I highly suggest that you use a paper transfer tape.
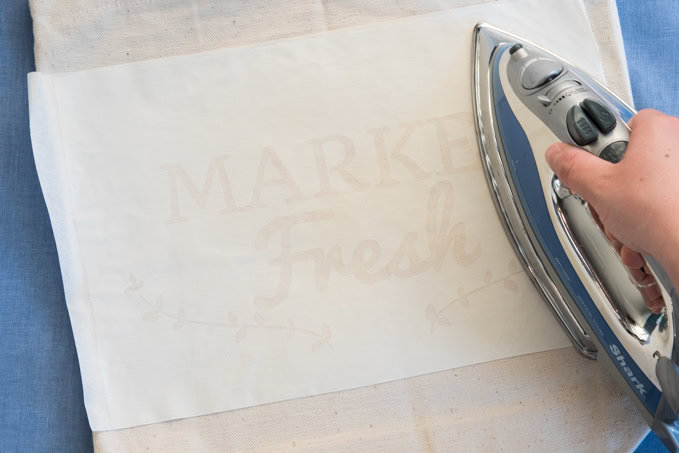
When using the iron, make sure it is set to the linen or cotton setting and make sure the water tank is empty. To get the best results, keep the iron moving for about a minute making sure to apply heat to all areas of your design. Don’t hold the iron in one place for too long because you might burn your design or fabric.
Once you can tell that the freezer paper has bonded to the fabric, carefully peel back the transfer tape. Work slowly and make sure that the little inside pieces of the letters don’t get pulled up with the tape.
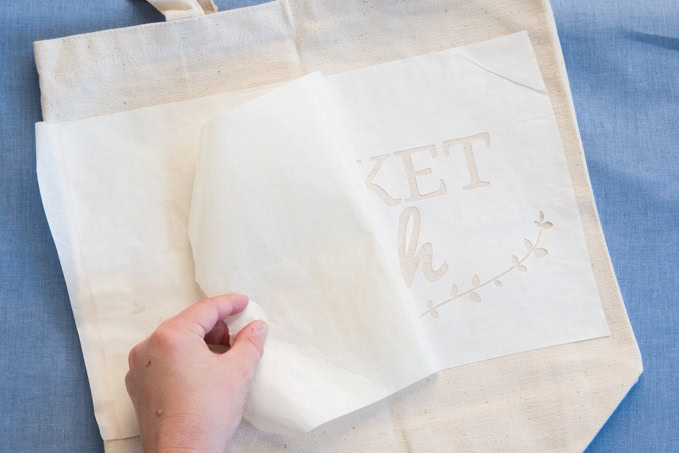
After the tape has been removed, go back over the delicate and smaller parts of the stencil with the iron to make sure the freezer paper has completely adhered to the fabric.
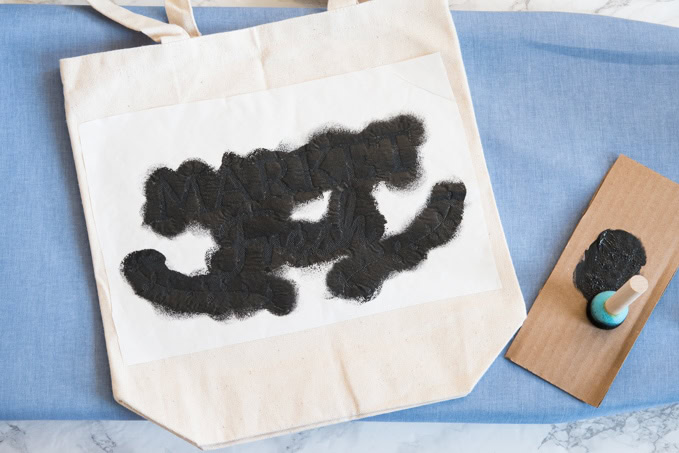
Now it’s time to paint! First, cut a piece a scrap cardboard to fit inside your canvas tote bag. This will keep the paint from bleeding through. I just used an old Amazon box that I had laying around. Am I the only one that constantly has Amazon boxes around her house? #AmazonObsessed!
Using a stipple paint brush, apply matte black fabric paint over the stencil onto your canvas bag. I used a dabbing motion to apply the paint. You don’t want to brush or wipe the paint on because it might get underneath the stencil or pull up those smaller stencil pieces. Apply one even coat over the entire stencil and let everything dry.

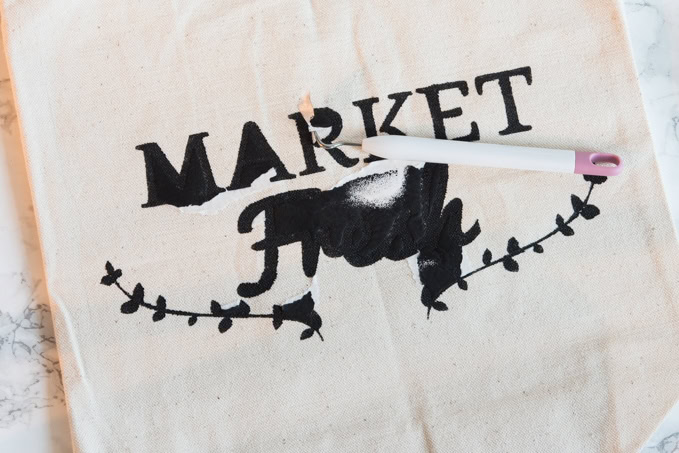
Once your design has completely dried, it’s time to remove the stencil. Starting at one corner, peel up the freezer paper to remove the stencil from the design.
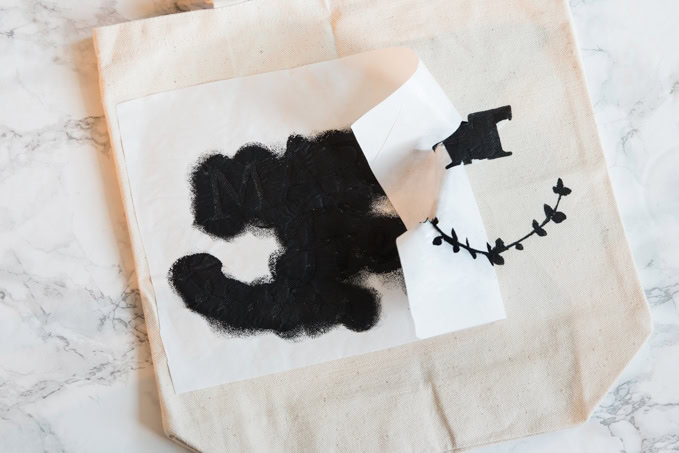
Some of the freezer paper might rip or stick like mine, but that’s ok. Just use the weeder tool again to get under each freezer paper piece and pull it up from the fabric.
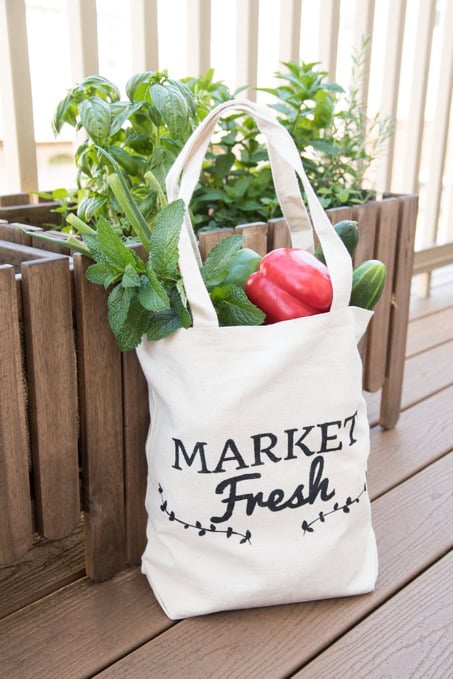
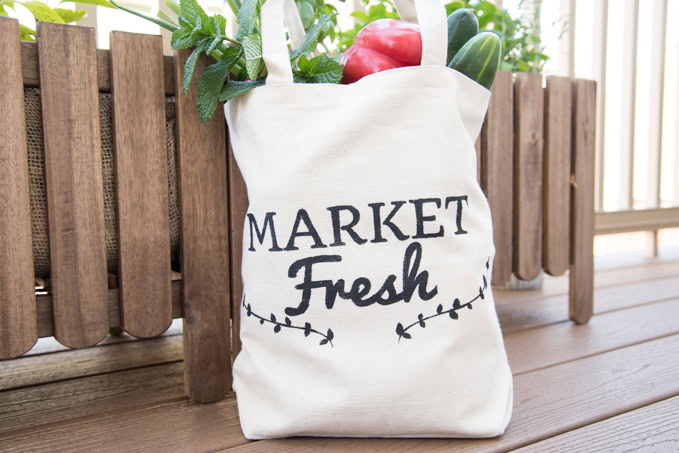
Then, you’re done!

You have a custom Farmer’s Market Tote bag that’s perfect for a Saturday morning adventure.
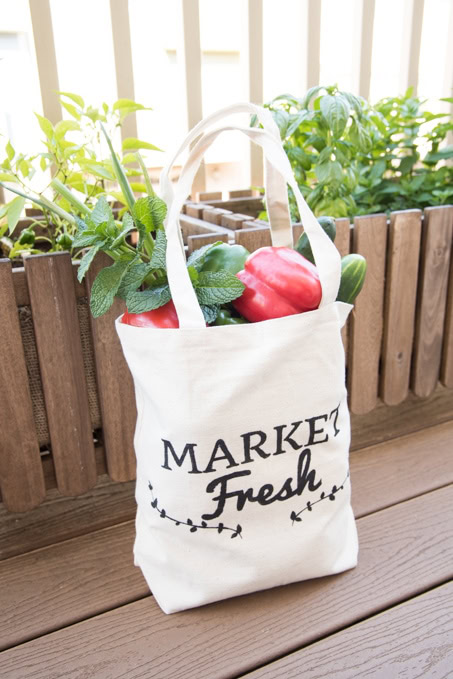
This tote bag was so easy to make and it looks so cute. I can’t wait to take it to the market this summer.

I hope that you enjoyed this Cricut Explore tutorial making a fun DIY Farmer’s Market Tote.
And, if you’d like to see more Cricut Explore tutorials, hop on over to my blog. I’ve got a bunch of fun projects for you to try.
I hope you have a great week!
If you like this Project you might also LOVE these too:


Til’ next time…


FREE WORKBOOK
Keeping your Sweet Home Organized
Learn how to create intentional habits and simple routines to Keep Your Home Organized. Plus freebies, printables, exclusive content, and tips.
Disclaimer: By clicking on the “Yes” button above you are giving me your consent to collect and use your information according to the law and My Policy Privacy. Zero Spam I promise!
I have not tried focusable with my cricut yet Thank you for the post.