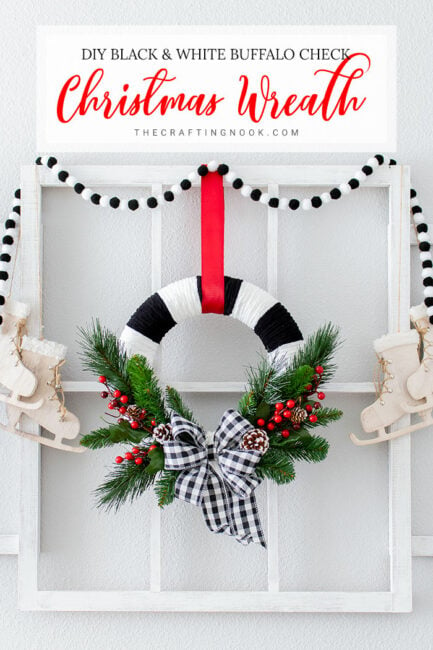
Diy Farmhouse Christmas Wreath
This post may contain affiliate links. Please read our Disclosure Policy.
Make your own beautiful Farmhouse Christmas wreath with this very simple and fun DIY tutorial. Get in the mood for the holidays with a hint of rustic charm and sophistication.
During the holiday season, there’s something truly special about crafting your very own Farmhouse Christmas Wreath for your front door. With only a few old materials and being a little bit creative, you can make lovely things that feel cozy and simple.

Table of Contents
Farmhouse Christmas Wreath
This fun do-it-yourself project is very easy and enjoyable. It’s a great way to spend a cozy afternoon with loved ones too.
Imagine turning a plain wreath base into a fancy work of art that represents the cozy feeling of a farmhouse style. This round decoration includes lots of greenery springs to make it look nice, and it makes your holiday decorations seem more lively. To make it look more rustic, we will add in thick white yarn that looks like snow slowly falling on a winter day.
But what really makes this DIY wreath special is that you can be very creative with it. There are many different ribbons to choose from, so you can make your design special and show off your own style.
If you choose a plaid, lace, or polka dot pattern for your wreath, the options are limitless. This lets you add your own personal style to the wreath.
I’ll take you step by step to make this super cute wreath. We will give helpful tips and tricks, starting from gathering the materials to putting everything together.
This will make it easy even for beginners to make a beautiful wreath that they will feel proud to show off. So, get your scissors, embrace your creative side, and let’s explore the fun of making wreaths together.
Anyway, I’m super happy and excited to finally be sharing my Farmhouse Christmas Wreath with you all.
how To Make a Farmhouse Christmas Wreath
Supplies:
- Wreath foam frame – I made mine with a pool noodle, if you want to learn how, check it out HERE.
- Light beige burlap ribbon – mine was 2 Inches wide x 3 yards
- Natural burlap ribbon – I used about 3 yards
- White yarn – I used 2 types, regular ones as ties and a furry one for the frame.
- 2 Christmas tree sprig
- 1 Cranberry sprig
- Plaid Christmas ribbon – about 1 1/2 Inches wide
- Wooden Merry Christmas Sign.
Tools:
- Scissors
- Wreath Hanger
Instructions:
My wreath foam was homemade, I made it for my Rustic Christmas Wreath and you can find the tutorial to make one if you want to save some money!
The wreath base
1. Start wrapping the wreath foam with my light beige burlap ribbon. Cover about 70% of it.


2. Secure the ends of the burlap ribbon with twine or yarn. This is a great way to secure it because you’ll be able to reuse the wreath foam and the burlap in the future so we don’t want to damage either of them.
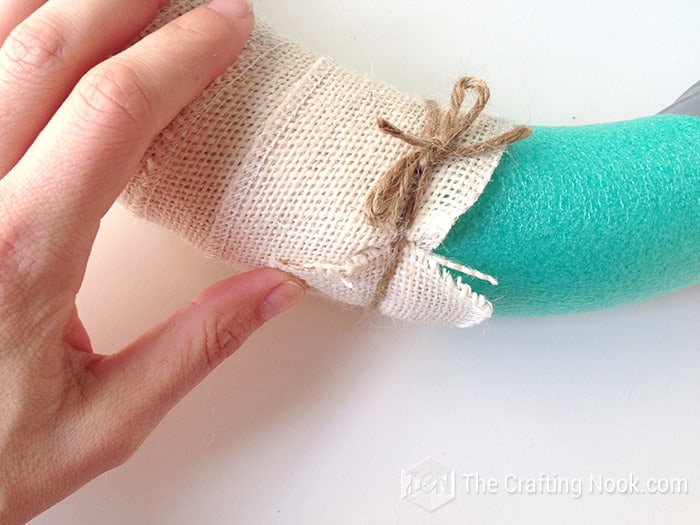

3. Then wrap the wreath with yarn overlapping the burlap on both ends. Here again using the same yar to secure the ends.
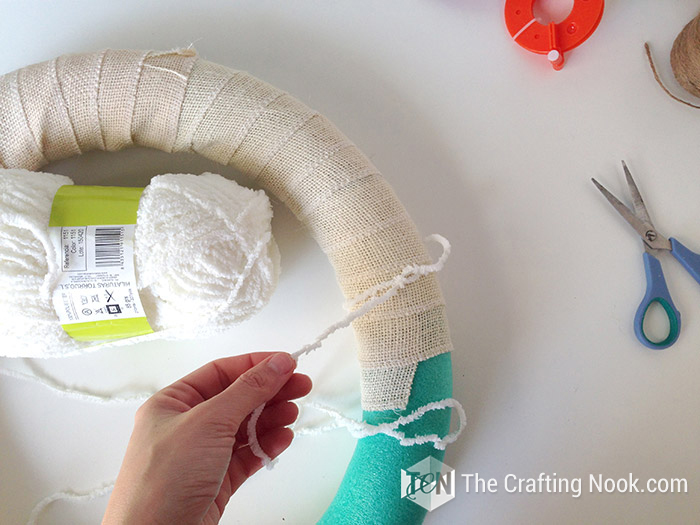


4. When you reach the other end cut the yarn and tuck it into the yarn loops.

5. The wreath base is ready!

The ruffled Side
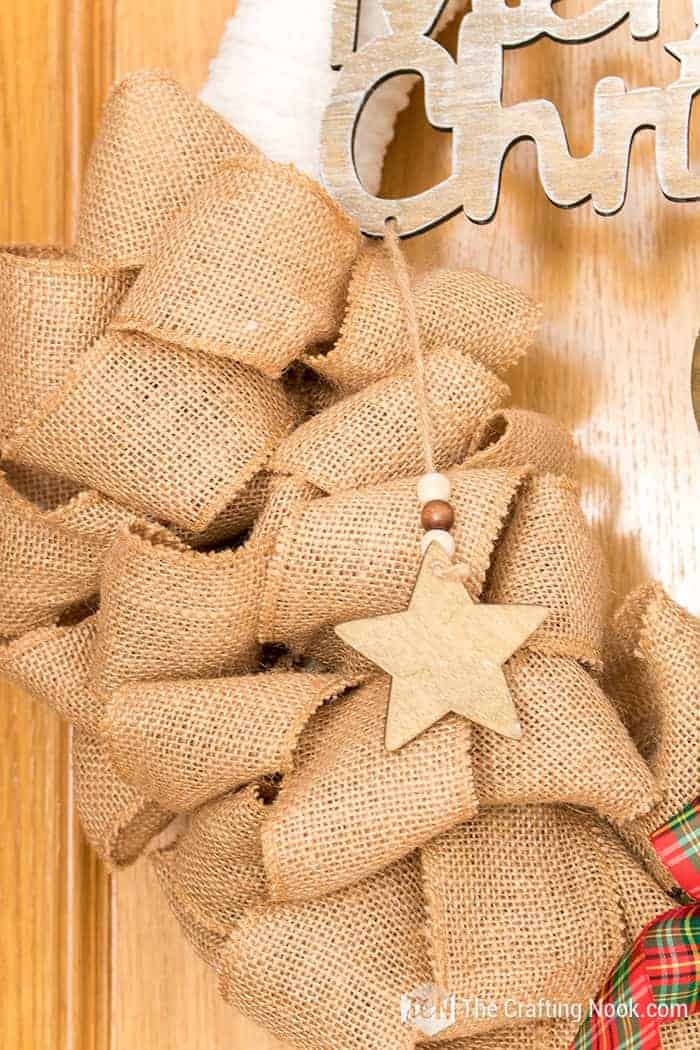
6. For the ruffled part, take the natural color burlap ribbon, and ruffled the end.

7. Place it over the light burlap but about 1 inch away from the yarn.
8. Secured it with white yarn and don’t cut it just yet, you will be looping around to secure each ruffle section.

Don’t worry about the yarn since it won’t be visible at all. You can also use a similar color twine.
9. A few inches away ruffle again and place it anywhere close to the first ruffle.

10. Wrap the yarn or twine a couple of times and tighten it.

11. Keep doing the ruffle and wrap with yarn slightly switching sides until your burlap is over.


12. When you reach the last end of your burlap, ruffle it and wrap it 2 or 3 times to secure it and then turn the wreath back side up.

13. Make a knot like a half bow so you can untie it later.

Ruffles done!

The Greenery side
14. Now, take one of your pine tree springs, and try to curve it a little to match the wreath shape.

15. Then insert it into the yarn loops right below the ruffles.


16. When you get it in the desired place, insert the other spring so it will look like a larger spring. I inserted it between the ruffles and the first sprig.
You should get something like this:

17. Cut a couple of strings of yarn, wire, or twine and secure your springs wrapping them to the back.
What I did was find the central column of the springs and insert the yarn through the branches so it wouldn’t be visible and then tied a knot on the back.

18. Then make a cute bow with a plaid ribbon (or your favorite one) and glue it to the red berries spring and insert it through the yarn loops between tree springs and ruffles as well.


19. When you like the position you are almost done.

20. Time to place your Merry Christmas sign. Decide the place and position of your sign.

21. Using strings of yarn secure the sign on the back of the wreath.


22. Finally, use your plaid ribbon as a hanger for your wreath.

23. Make a knot depending on how high you want your wreath to be on your door. Met hanger is long so I left a little ribbon at the top.

I love bows on the hanger so I put in place the hanger and tied a pretty bow.

24. You are all set! Let’s hang our gorgeous farmhouse Christmas wreath on the door!
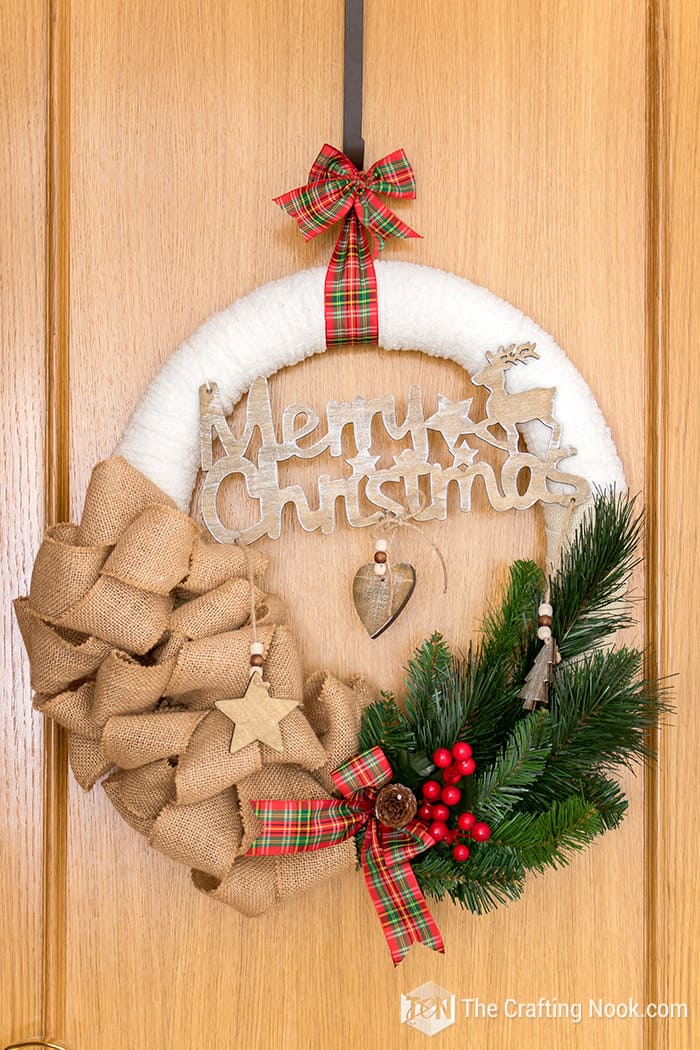
Crafting Tips
- Prepare the burlap by ironing it quickly before you begin. This will make it easier to work with by smoothing out any wrinkles.
- When making a beautiful bow for your wreath, don’t just use one kind of ribbon. Combine and pick out different textures, sizes, and patterns to make things look more interesting and create a feeling of depth and pop of color. Try playing around with different ways of putting ribbons on top of each other and tying them in different styles, like a regular bow or a relaxed knot, to add a special farmhouse feel.
- Instead of just wrapping the yarn around the wreath, you can add some big yarn balls or fringes. These soft decorations will add a warm and playful touch to your farmhouse wreath, reminding you of cozy winter nights by the fire.
- Make your wreath stand out by adding small ornaments that are meaningful to you and your family. Hang small stockings, little wooden snowflakes, pinecones, eucalyptus stems, or special small items in the springs to make a wreath that tells a story and brings back precious memories.
- Make your wreath look even more special by adding battery-operated fairy lights throughout the greenery.
- Make your wreath more special by putting your initials on it. Make a letter out of wood or cardboard, then cover it with thick yarn or burlap. Stick it in the middle or at the bottom of your wreath to make it unique and pretty.
- Try different shapes for wreath forms: Although the typical round shape is traditional, feel free to be creative and try something different like a square, oval, or heart-shaped wreath for a special farmhouse touch.
How pretty and fun to make Farmhouse Christmas Wreath?


Frequently Asked Questions
The size of your wreath is up to you and where you want to put it. Measure the space where you want to hang your wreath and think about how big it should be in relation to that space. A typical diameter for a wreath is usually about 18 to 24 inches wide, but you can change it if you want and have enough room.
Of course. Even though the rustic farmhouse style usually has neutral colors, you can still add splashes of bright colors if you want to. Pick colors that go well with your chosen theme and holiday decorations. You can choose between white or cream burlap, and pick yarn and ribbon in colors that go well together or stand out, to make it look interesting.
You can do as I did and use yarn or twine strings to secure things in place or use thin wire or a special glue gun to stick the greenery to the burlap surface. Wind the wire around the stems of the wreath tightly and make sure it is attached securely to the frame of the wreath. If you are using a hot glue gun, put a little bit of glue on the stems and press them hard onto the wreath. This will make sure they don’t move during the holiday season.
Put the wreath inside or in a safe place that is not in the sun or bad weather. Try not to touch or handle too much, as this could make the materials move around or become loose. If you keep your wreath in a cool and dry place, you can enjoy it for many years.
More Christmas Wreaths To Try
If you enjoyed this Farmhouse Christmas Wreath tutorial, you might also love these other Christmas project ideas too:
✂️ Tutorial

Diy Farmhouse Christmas Wreath
Tools
- scissors
Supplies
- Wreath foam frame – I made mine with a pool noodle if you want to learn how, check it out HERE.
- Light beige burlap ribbon – mine was 2 Inches wide x 3 yards
- Natural burlap ribbon – I used about 3 yards
- White yarn – I used 2 types regular ones as ties and a furry one for the frame.
- 2 Christmas tree sprig
- 1 Cranberry sprig
- Plaid ribbon – about 1 1/2 Inches wide
- Wooden Merry Christmas Sign.
Instructions
- My wreath foam was homemade, I made it for my Rustic Christmas Wreath and you can find the tutorial to make one if you want to save some money!
THE WREATH BASE
- Start wrapping the wreath foam with my light beige burlap ribbon. Cover about 70% of it.
- Secure the ends of the burlap ribbon with twine or yarn. This is a great way to secure it because you’ll be able to reuse the wreath foam and the burlap in the future so we don’t want to damage either of them.
- Then wrap the wreath with yarn overlapping the burlap on both ends. Here again using the same yar to secure the ends.
- When you reach the other end cut the yarn and tuck it into the yarn loops.
- The wreath base is ready!
THE RUFFLED SIDE
- For the ruffled part, take the natural color burlap ribbon, and ruffled the end.
- Place it over the light burlap but about 1 inch away from the yarn.
- Secured it with white yarn and don’t cut it just yet, you will be looping around to secure each ruffle section.
- Don’t worry about the yarn since it won’t be visible at all. You can also use a similar color twine.
- A few inches away ruffle again and place it anywhere close to the first ruffle.
- Wrap the yarn or twine a couple of times and tighten it.
- Keep doing the ruffle and wrap with yarn slightly switching sides until your burlap is over.
- When you reach the last end of your burlap, ruffle it and wrap it 2 or 3 times to secure it and then turn the wreath back side up.
- Make a knot like a half bow so you can untie it later.
- Ruffles done!
THE GREENERY SIDE
- Now, take one of your pine tree springs, and try to curve it a little to match the wreath shape.
- Then insert it into the yarn loops right below the ruffles.
- When you get it in the desired place, insert the other spring so it will look like a larger spring. I inserted it between the ruffles and the first sprig.
- You should get something like this:
- Cut a couple of strings of yarn, wire, or twine and secure your springs wrapping them to the back.
- What I did was find the central column of the springs and insert the yarn through the branches so it wouldn’t be visible and then tied a knot on the back.
- Then make a cute bow with a plaid ribbon (or your favorite one) and glue it to the cranberry spring and insert it through the yarn loops between tree springs and ruffles as well.
- When you like the position you are almost done.
- Time to place your Merry Christmas sign. Decide the place and position of your sign.
- Using strings of yarn secure the sign on the back of the wreath.
- Finally, use your plaid ribbon as a hanger for your wreath.
- Make a knot depending on how high you want your wreath to be on your door. Met hanger is long so I left a little ribbon at the top.
- I love bows on the hanger so I put in place the hanger and tied a pretty bow.
- You are all set! Let’s hang our gorgeous farmhouse Christmas wreath on the door!
Share and PIN ME!!!

Til’ next time…


FREE WORKBOOK
Keeping your Sweet Home Organized
Learn how to create intentional habits and simple routines to Keep Your Home Organized. Plus freebies, printables, exclusive content, and tips.
Disclaimer: By clicking on the “Yes” button above you are giving me your consent to collect and use your information according to the law and My Policy Privacy. Zero Spam I promise!


