Glitter DIY Christmas Wall Art Trio+ Cut File
This post may contain affiliate links. Please read our Disclosure Policy.
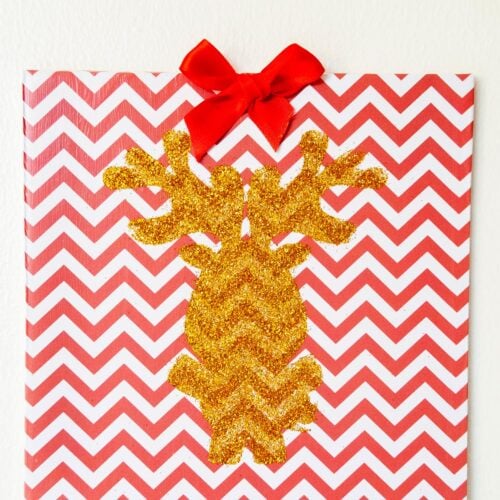
Craft some joy moments this season with this Cute Glitter DIY Christmas Wall Art Trio! Get crafty with lots of glitter, spread the joy, and let’s get crafty together.
I love reindeer and snowmen. They are too cute and since Christmas is all about joy and happiness I made these cute glittered wall art for our living room. I just love them and they are perfect to make with little kids.

Table of Contents
Reindeer, Joy, and Snowman Glitter DIY Christmas Wall Art Trio
I had some leftover of foam board from my HO HO HO DIY Christmas Door Hanger Decoration so, I decided to use them for this project. Also, I love chevron so it would be definitely on it too!

I made this unique holiday decor craft in just one afternoon about 3 hours at the most. The result was quite what I expected and when it was on the wall you couldn’t tell it was foam board. Cool, right?
The best part?
It’s so light, you don’t need nails to hang it, a normal take will do. I used 3M tape so it wouldn’t rip off the wall paint. It worked like a charm.
Thi makes the perfect Christmas wall decor and even a wonderful gift!
How to Make Glitter DIY Christmas Wall Art Trio
Supplies:
- 3 foam board squares {8 x 8 Inches or 20 x 20 cm} – alternatively you can use canvas
- 3 Patterned papers or scrapbooking papers in different colors.
- Mod podge
- Spray glue {optional}
- Glitter
- Satin Ribbon
Tools:
- Cutting Machine – Silhouette Cameo or Cricut. Alternatively, print and cut by hand.
- Scissors and Cutter
- Ruller
- Pencil
- Hot glue gun and glue stick

Instructions:
1. Cover the foam boards with your chosen paper. I used printed digital papers but you can use your own or even scrapbooking papers.
2. Use mod podged to adhere the paper to the foam board squares without leaving bubbles and wrinkles.
3. Let them dry for about 30 min.
4. The apply a sealant coat of mod podge all over the surface of the paper.
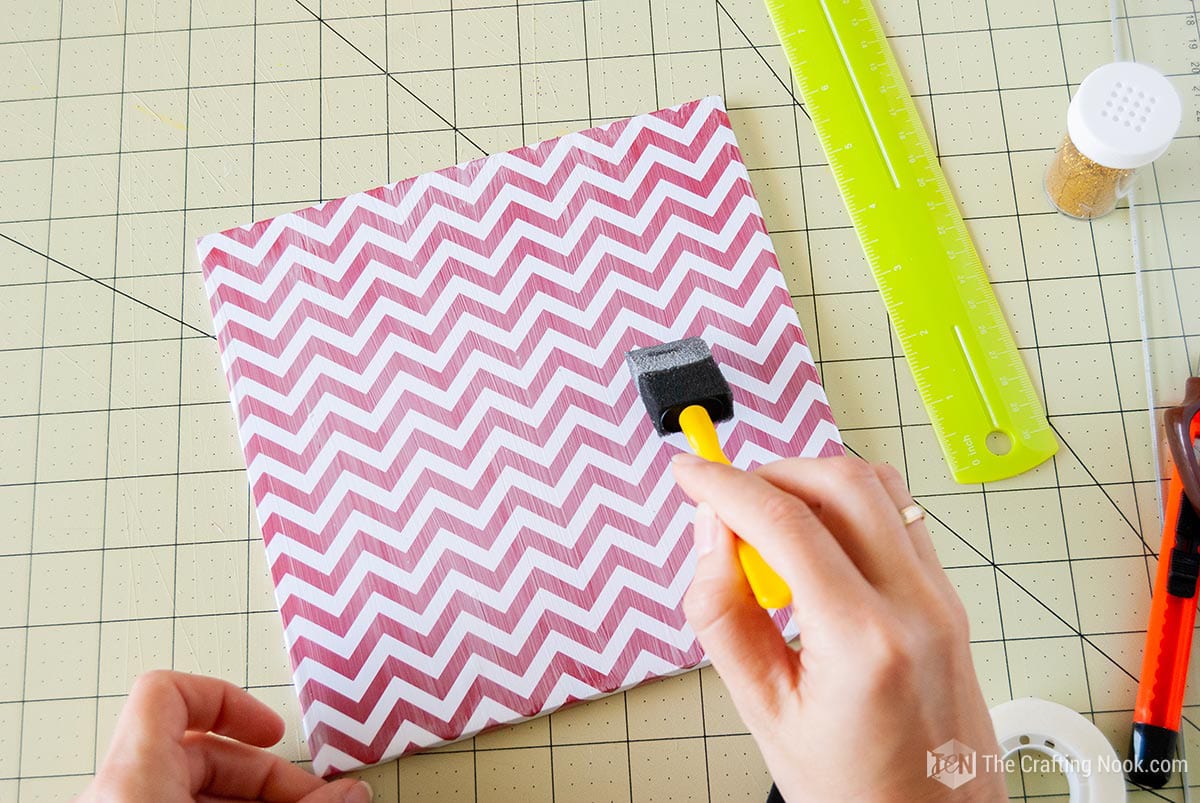
5. Let it dry until it’s fully dry to the touch. For best results consult the product instructions.
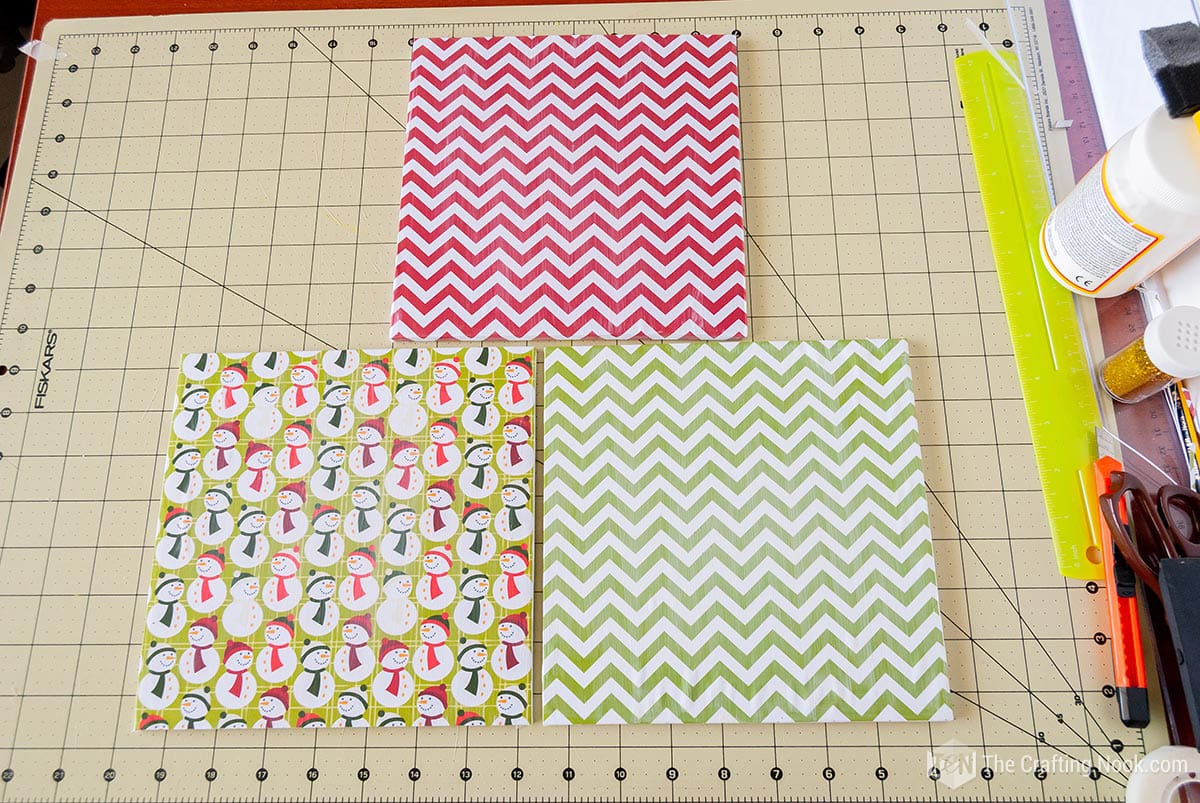
6. Then I made some cutout stencils of a reindeer, a snowman and the word Joy with my silhouette machine. You can create different designs if you would like.
I cut them on regular cardstock because that’s what I had.
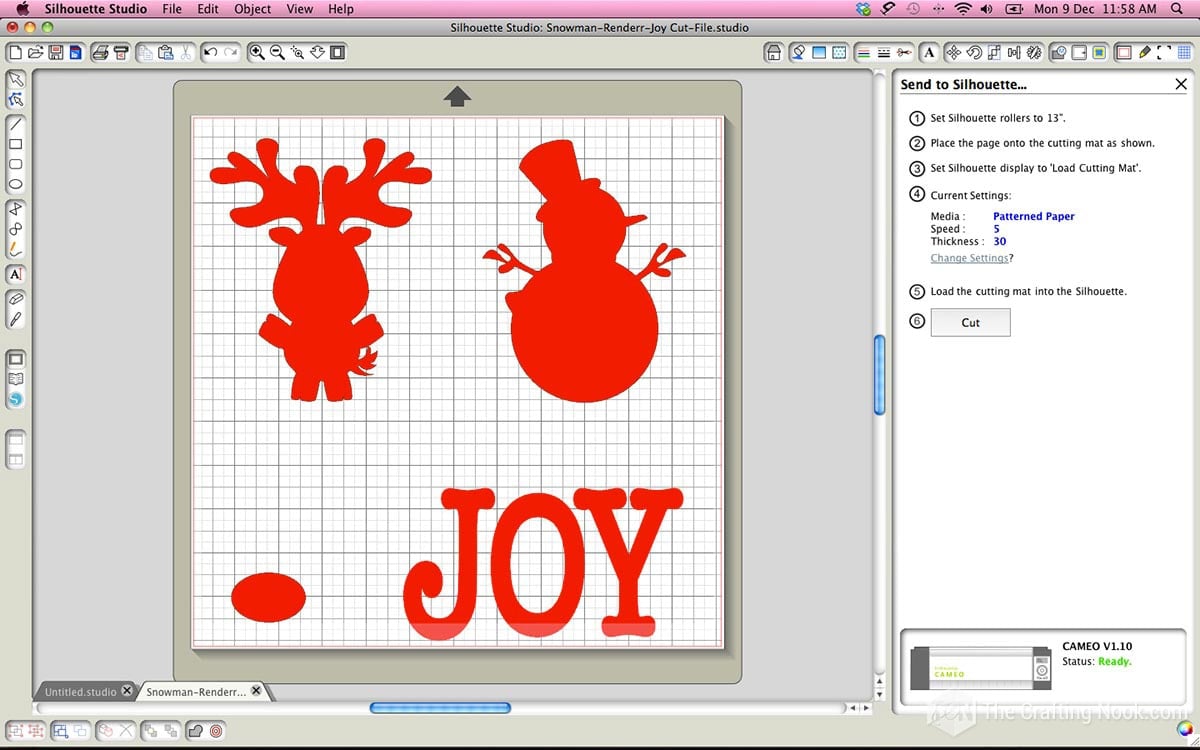
The printable and cut file is available for you to snag it HERE
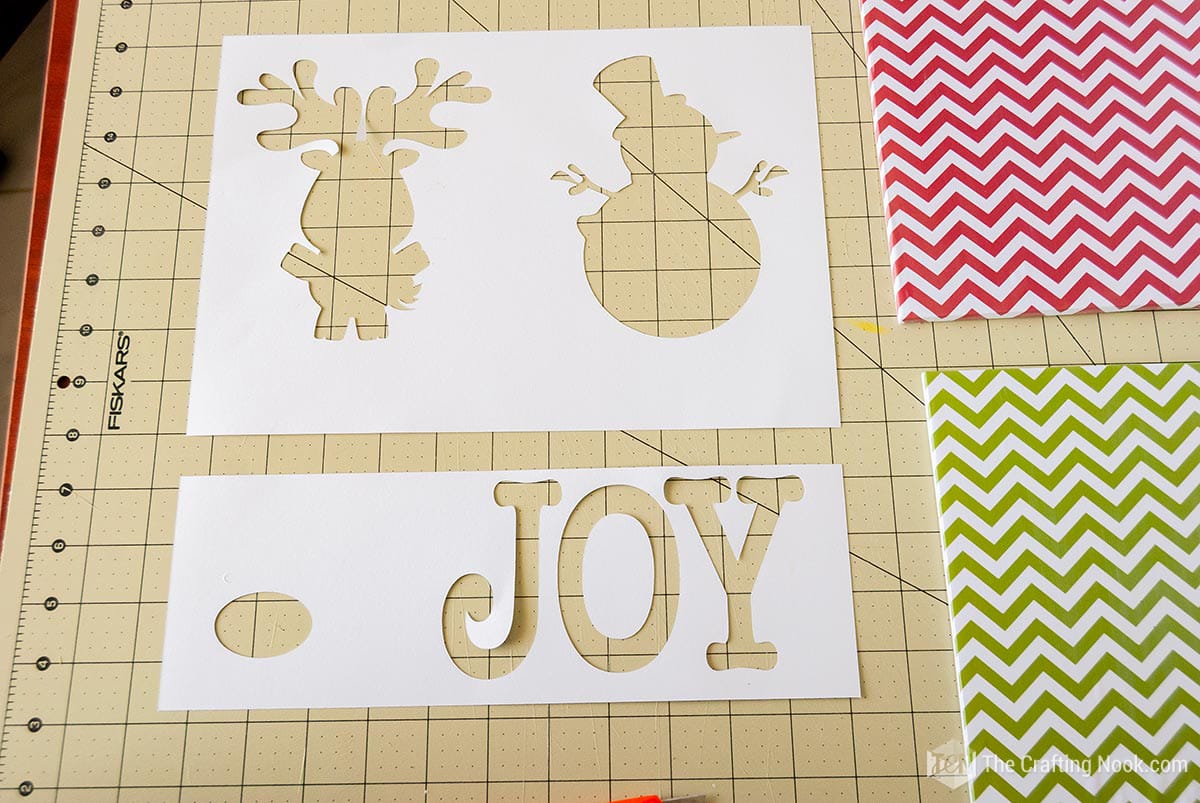
7. Then go outside if possible or close to a window or ventilated area to use the spray mount adhesive.
8. Slightly spray the spray mount on the back of each stencil and placed them centered on the squared prepared foam boards.

The reason I used spray mount is so the stencils would stay in place without damaging the foamboard paper and also avoid the glue leaking in.

9. Then spread some mod podge with the foam brush all over the stencil.

10. Right after that pour the glitter on the mod podge and let it sit like this for a while.

11. Move on to the next 2 wall arts.
12. Then lightly dusted off all the excess glitter by tapping on the top edge over a tray or cardstock sheet.
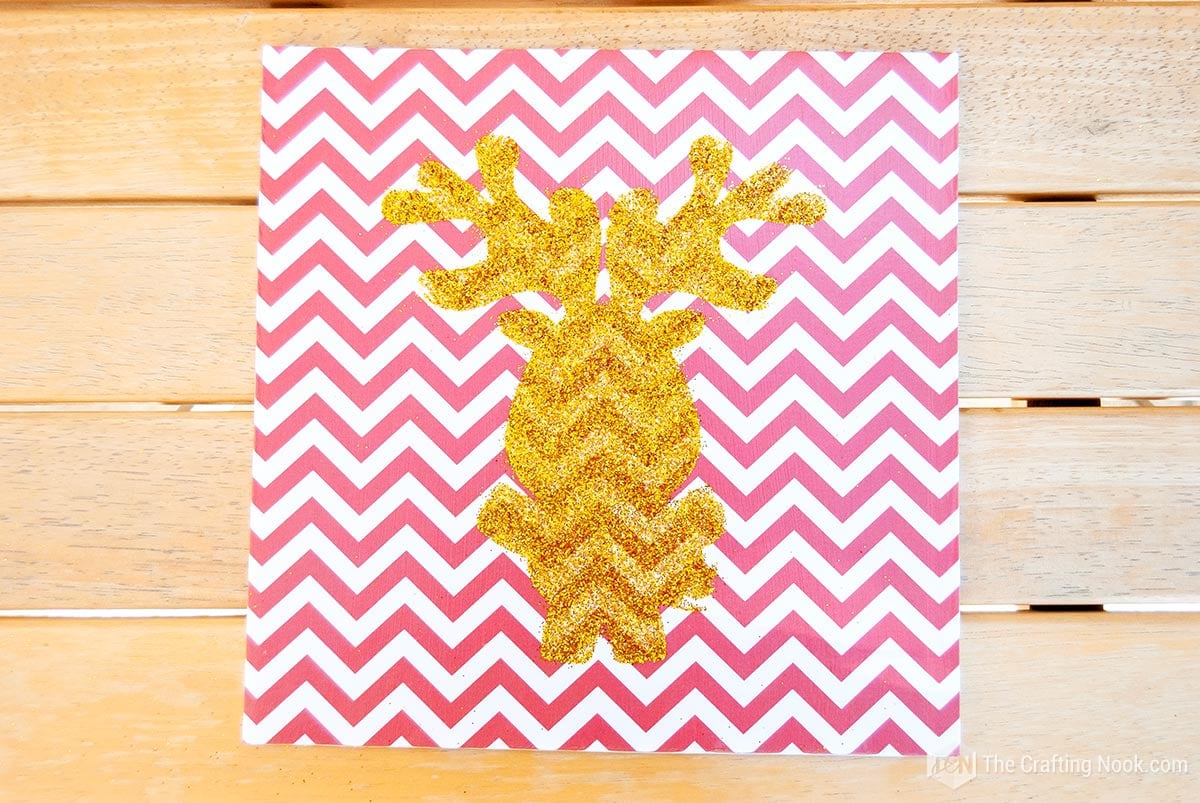
13. Give it a soft brush to remove all the non-glued glitter and around the design because the spray mount might leave some stickiness. But don’t worry, the brush removes any unwanted glitter.
14. Lastly, use a spray that is clear and made of acrylic to protect your glitter artwork and stop it from coming off.
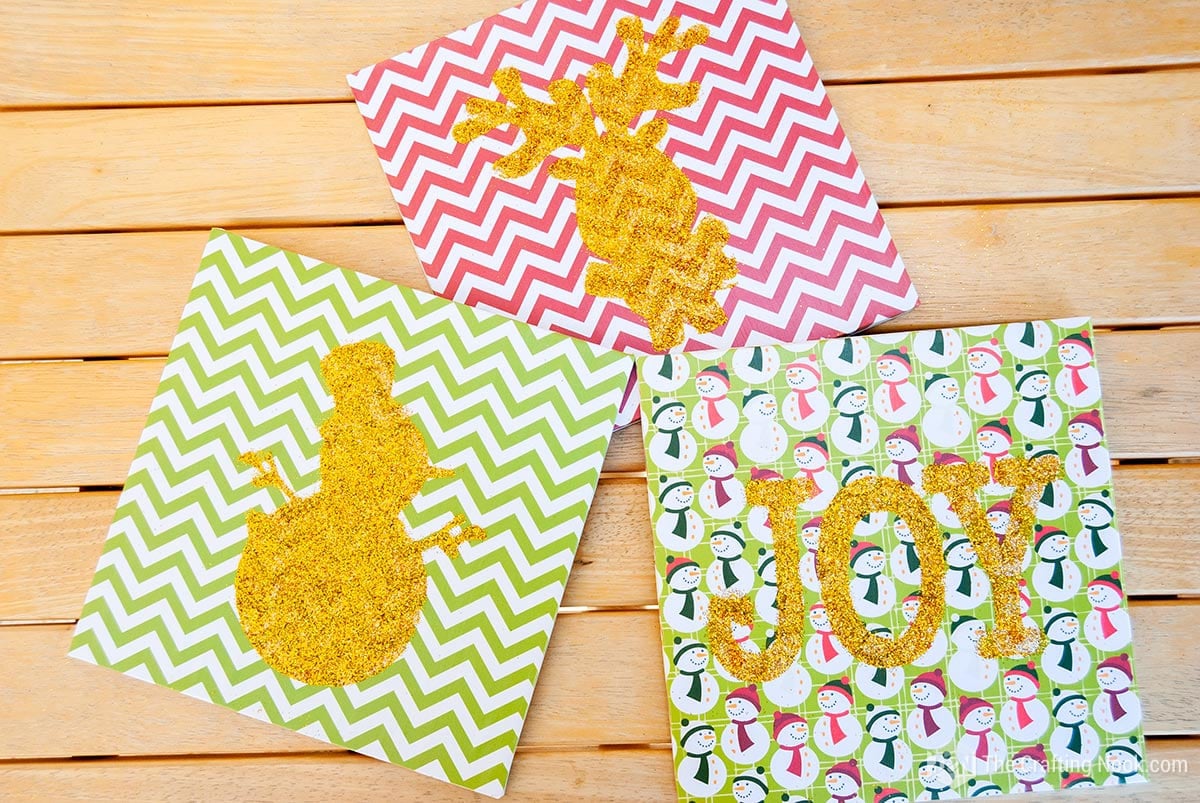
15. Here you have all 3 designs Finished
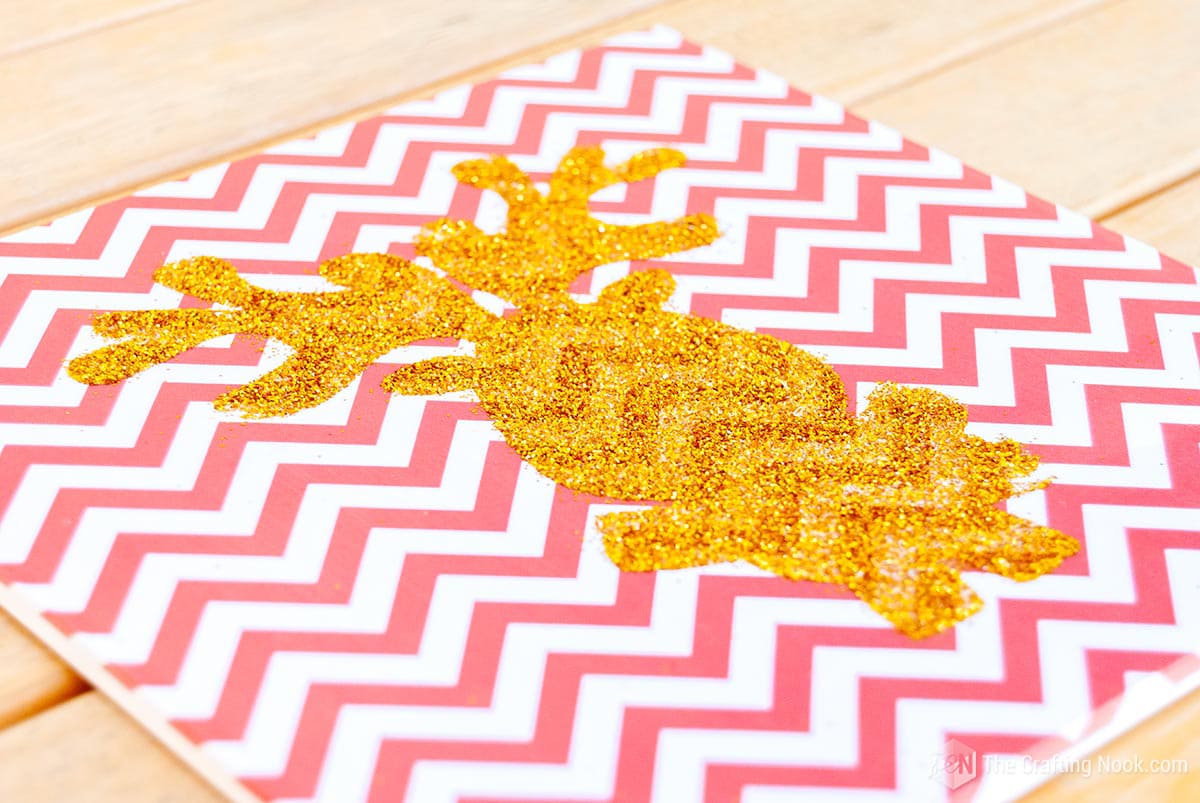

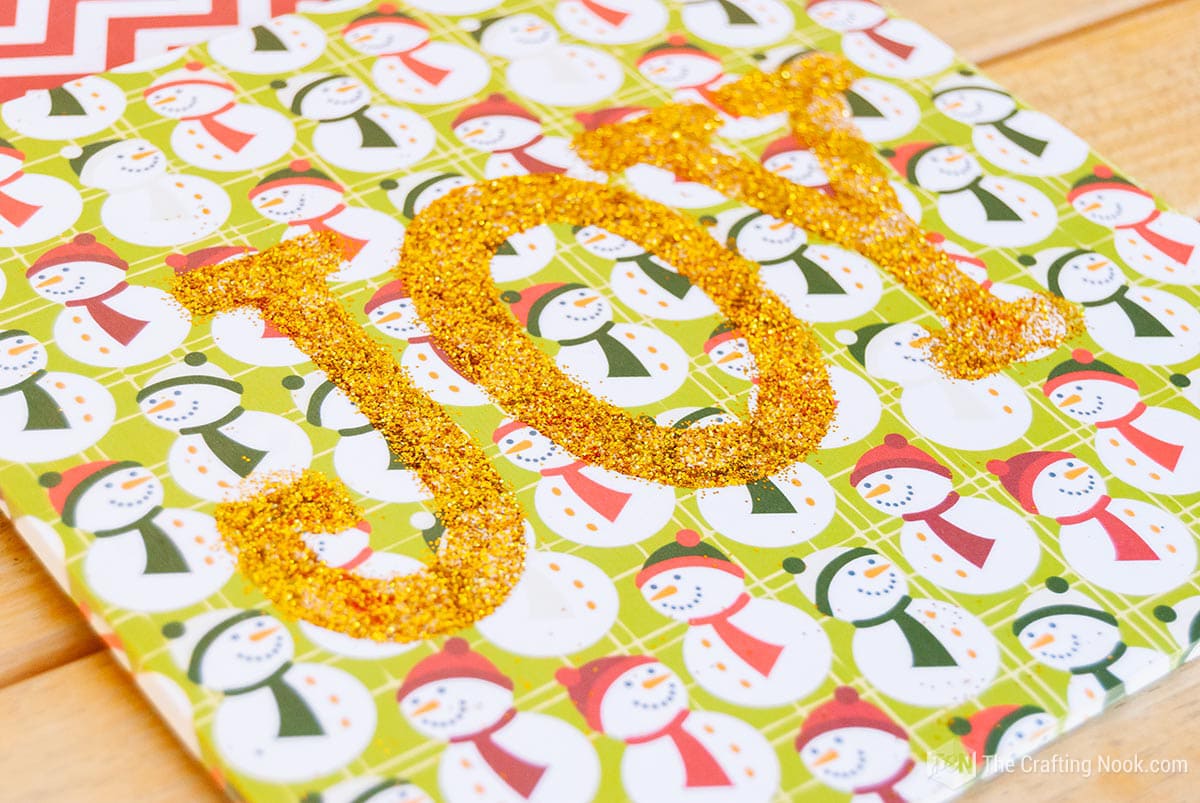
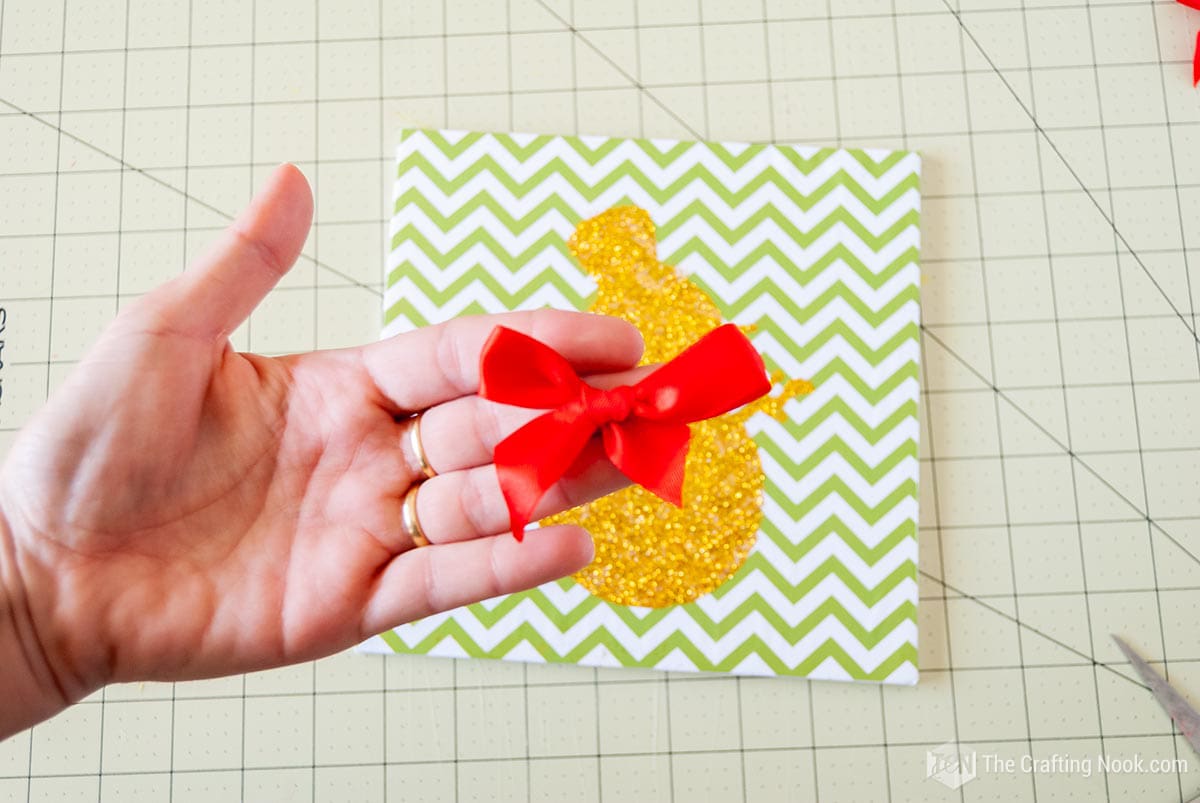
16. The final touch was a cute red satin ribbon bows. Glue it to the top center of each wall art with a dab of hot glue.
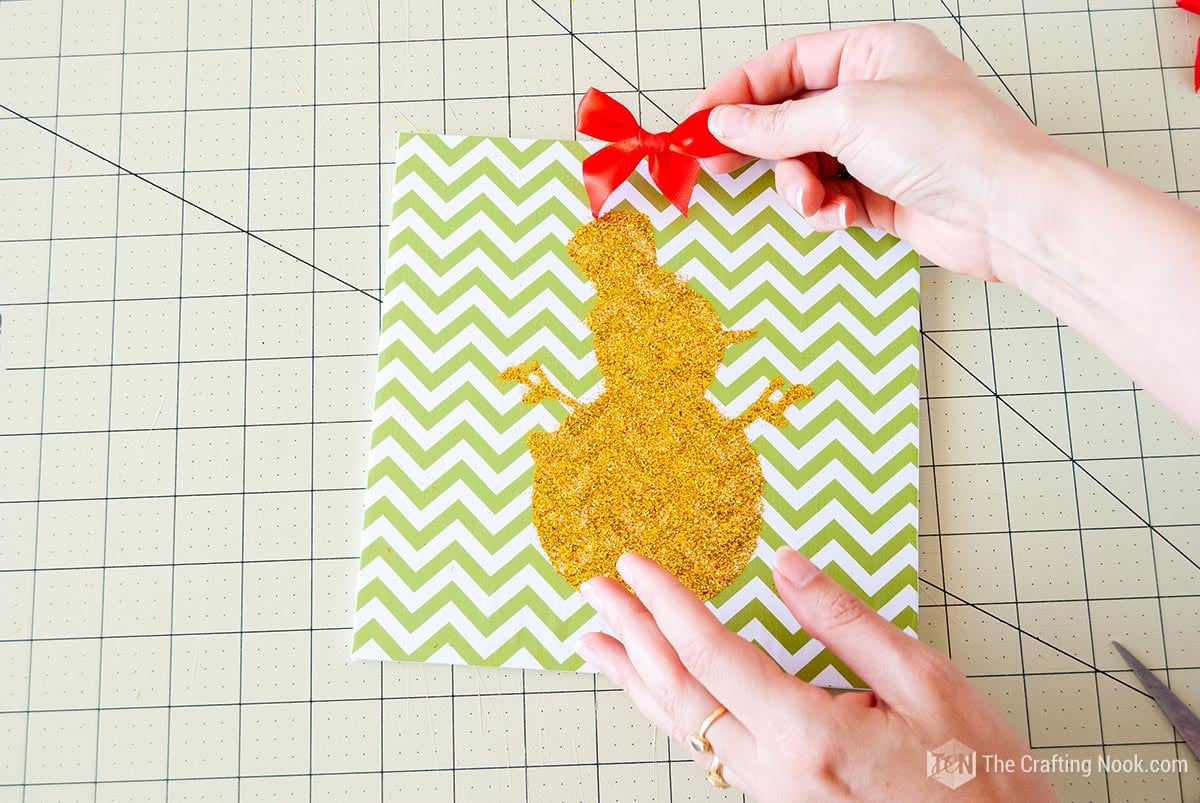
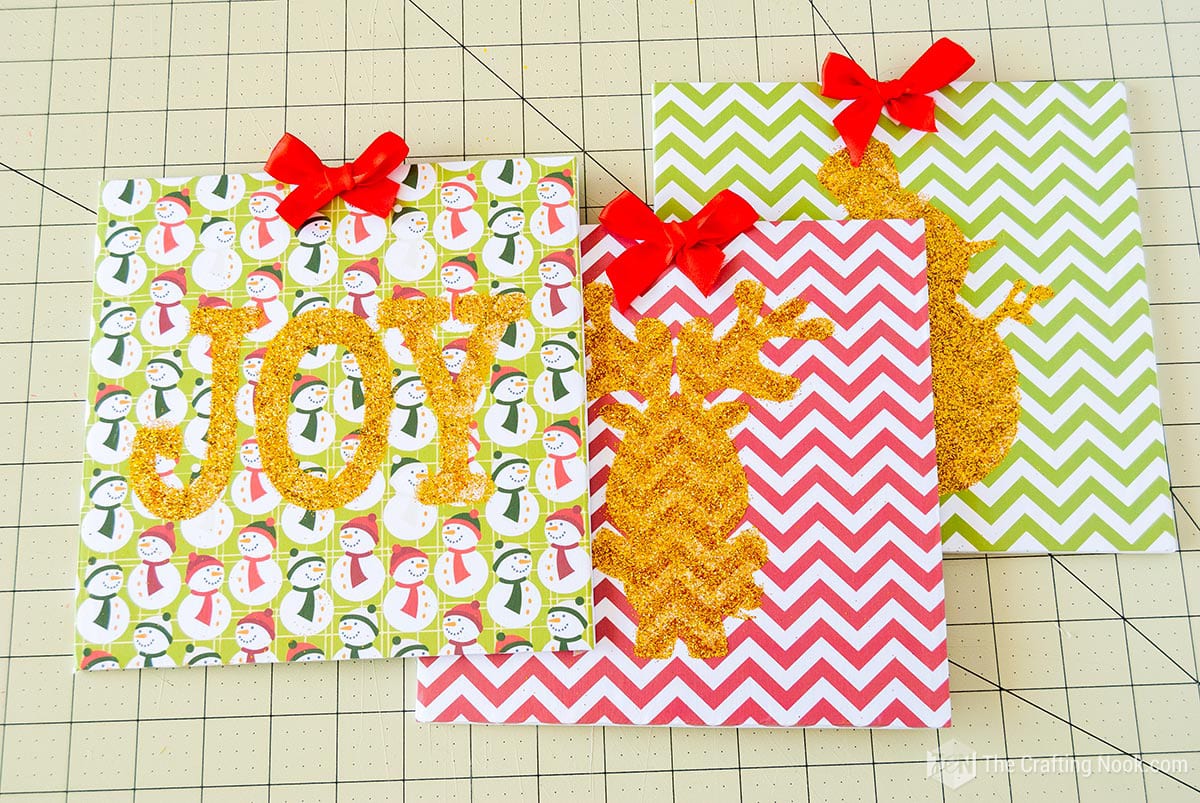
17. Like I mentioned before since they are SO light, I didn’t have to make holes in the wall. I just taped it on the back to the wall and Tadaaaaaa!!!! Super easy!
Crafting Tips
- To stop the foam board from bending, put a thin coat of Mod Podge on both sides before beginning the project.
- You can use the sticky spray instead of the mod podge on the back of the scrapbook paper to make sure it stays firmly on the foam board.
- Before using the stencil, make sure the foam board is completely dry to prevent spreading the glitter.
- Use a lot of Mod Podge as glue for the glitter.
- Wait for the glue and glitter on the wall arts to dry completely before touching them to prevent any smudging or harm.
- To make your wall arts more special, you can decorate them with shiny rhinestones or sequins for a fun and sparkly appearance.
- Use a big box or tray to catch extra glitter, so you don’t have to spend as much time cleaning up.
- Use a soft, dry brush to get rid of any loose glitter without damaging the artwork.
- Try using different types of fancy paper to make interesting and attention-grabbing backgrounds.
- Keep the blade of your Silhouette Cameo sharp so that you can make precise and smooth cuts when using stencils.
So hang it on your wall and you are all done to rock your holiday season!


Frequently Asked Questions
It’s better to use a strong and thick board made of foam, especially one that has a flat and even surface. This makes sure that the artwork stays in one piece and gives a strong foundation for the glitter and scrapbook paper.
Scrapbook paper is thicker and has different patterns and designs, which makes it better for this project than regular paper. It makes your wall arts look more interesting and last longer. However like you see, I used printed digital paper and worked perfectly.
Put a thin and even layer of glue or mod podge on the back of the scrapbook paper. Gently put it on the foam board, making sure there are no folds or air pockets.
No, you don’t need a Silhouette Cameo, but it can cut stencils with great precision and detail. If you don’t have a Cameo, you can use other tools like craft knives or scissors to make your stencils.
Use a big area with a special cloth or container to catch extra glitter. Also, you can spray a little bit of temporary glue on the stencil to reduce the amount of glitter that falls off.
Absolutely! You can try out different types of decorative paper, colors of glitter, and stencil designs to see what you like. Show your creativity and make something special that represents how you like things.
You can use sticky picture hanging strips, hooks, or attach a string or ribbon to the back of the foam board for hanging it easily. These so light, you can even use 3M Adhesive tape.
How do I put up the Christmas decorations on the wall.
A: You can use sticky picture hanging strips, hooks, or attach a string or ribbon to the back of the foam board for hanging it easily. Make sure the art on the wall is put up safely so that no accidents happen.
More Christmas Projects to Try
If you enjoyed this Glitter DIY Christmas Wal Art tutorial, you might also love these other Christmas project ideas too:
✂️ Tutorial
Glitter DIY Christmas Wall Art Trio+ Cut File
Tools
- Cutting Machine – Silhouette Cameo or Cricut. Alternatively, print and cut by hand.
- Scissors and cutter
- Ruller
- Pencil
- Hot glue gun and glue stick
Supplies
- 3 foam board squares {8 x 8 Inches or 20 x 20 cm}
- 3 Patterned papers or scrapbooking papers.
- Mod podge
- Spray glue {optional}
- Glitter
- Satin Ribbon
Instructions
- Cover the foam boards with your chosen paper. I used printed digital papers but you can use your own or even scrapbooking papers.
- Use mod podged to adhere the paper to the foam board squares without leaving bubbles and wrinkles.
- Let them dry for about 30 min.
- The apply a sealant coat of mod podge all over the surface of the paper.
- Let it dry until it’s fully dry to the touch. For best results consult the product instructions.
- Then I made some cutout stencils of a reindeer, a snowman and the word Joy. You can create different designs if you would like.
- I cut them on regular cardstock because that’s what I had.
- Then go outside if possible or close to a window or ventilated area to use the spray mount adhesive.
- Slightly spray the spray mount on the back of each stencil and placed them centered on the squared prepared foam boards.
- The reason I used spray mount is so the stencils would stay in place without damaging the foamboard paper and also avoid the glue leaking in.
- Then spread some mod podge with the foam brush all over the stencil.
- Right after that pour the glitter on the mod podge and let it sit like this for a while.
- Move on to the next 2 wall arts.
- Then lightly dusted off all the excess glitter by tapping on the top edge over a tray or cardstock sheet.
- Give it a soft brush to remove all the non-glued glitter and around the design because the spray mount might leave some stickiness. But don’t worry, the brush removes any unwanted glitter.
- Lastly, use a spray that is clear and made of acrylic to protect your glitter artwork and stop it from coming off.
- Here you have all 3 designs Finished
- The final touch was a cute red satin ribbon bows. Glue it to the top center of each wall art with a dab of hot glue.
- Like I mentioned before since they are SO light, I didn’t have to make holes in the wall. I just taped it on the back to the wall and Tadaaaaaa!!!! Super easy!
This year I’ve been adding some sparkle to the season, haven’t I??? What do you think???? Do you like glitter????
Share and PIN ME!!!

Til’ next time…


FREE WORKBOOK
Keeping your Sweet Home Organized
Learn how to create intentional habits and simple routines to Keep Your Home Organized. Plus freebies, printables, exclusive content, and tips.
Disclaimer: By clicking on the “Yes” button above you are giving me your consent to collect and use your information according to the law and My Policy Privacy. Zero Spam I promise!


