How to Make a DIY Drawer – An Easy Step-By-Step Tutorial
This post may contain affiliate links. Please read our Disclosure Policy.
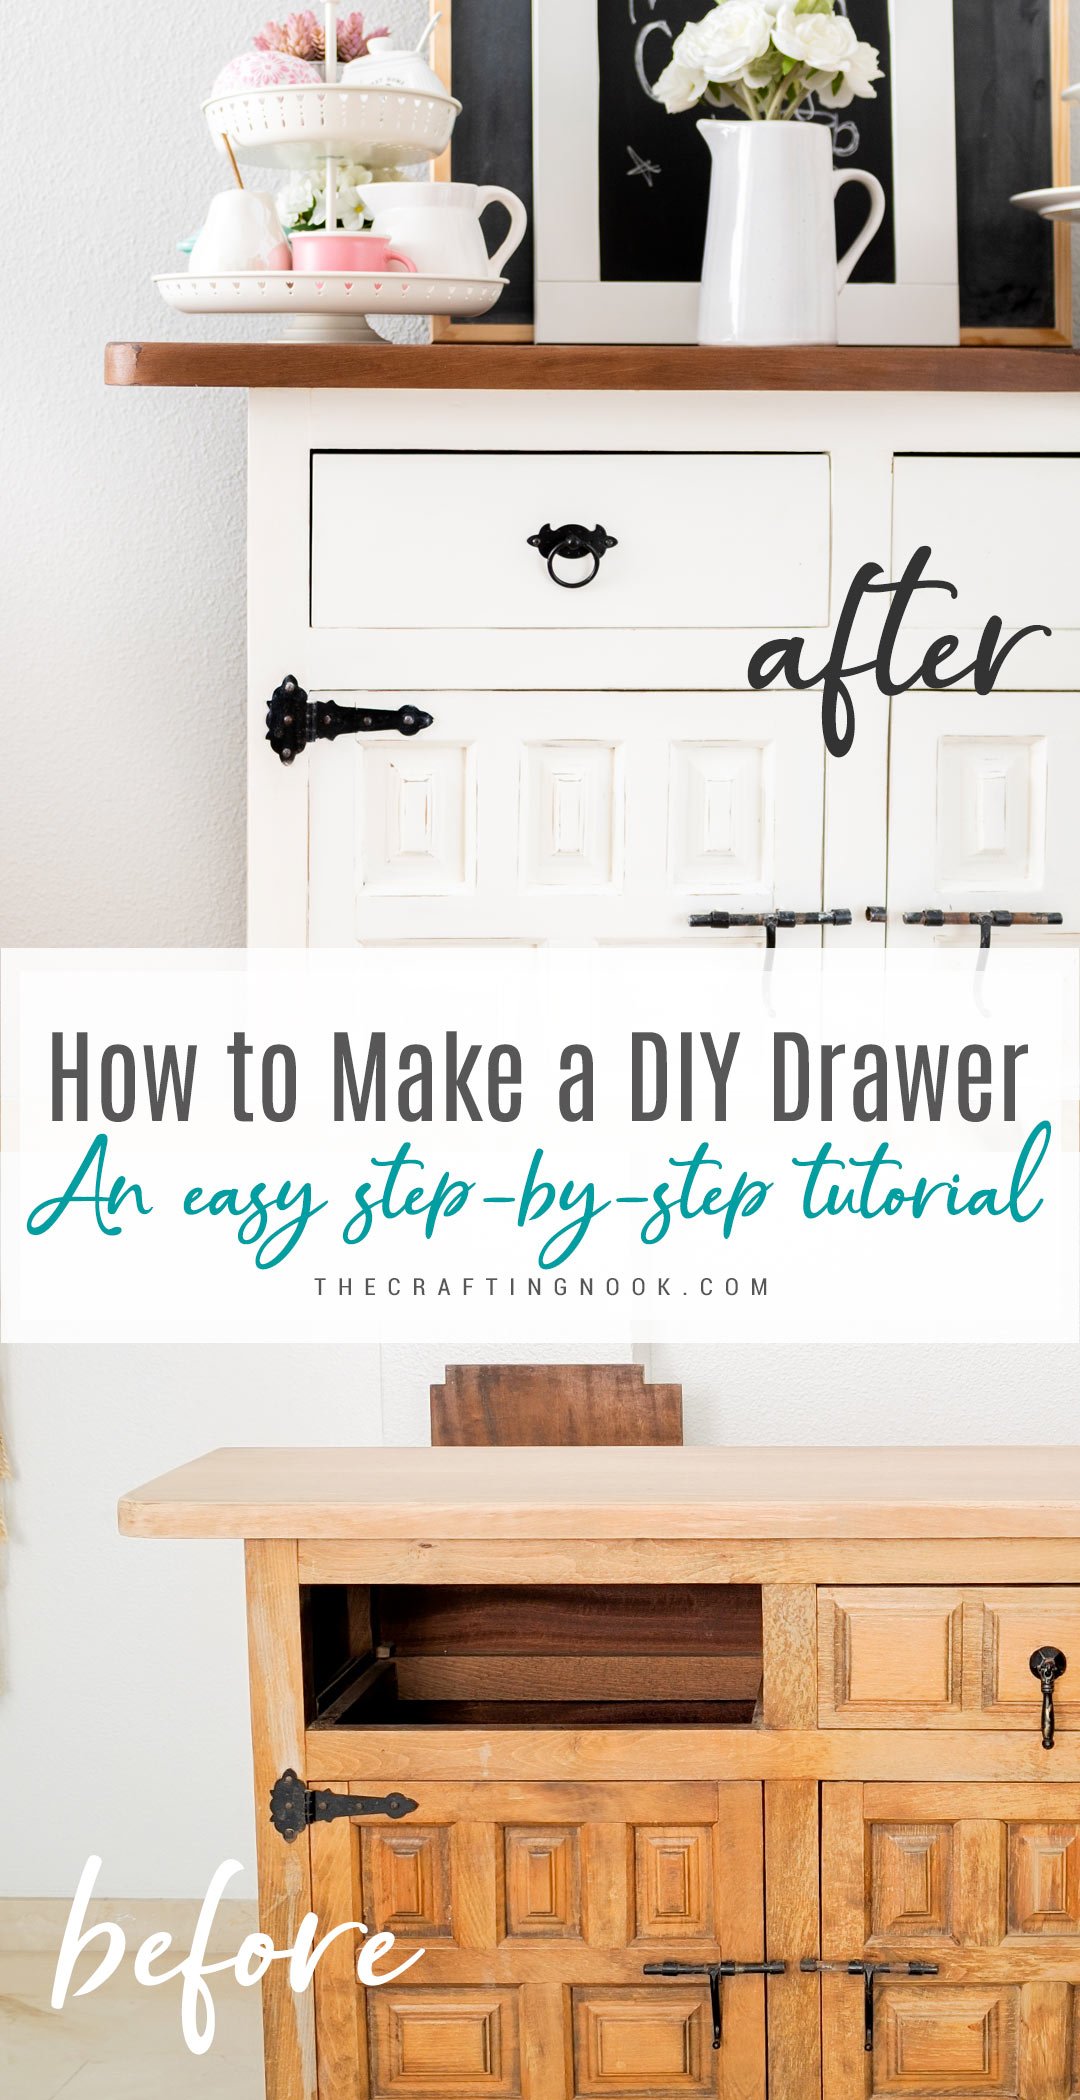
Building a DIY drawer is an easy project that anyone can do but it can be very intimidating. These instructions show how to build drawers that will fit your specific space and be more functional than pre-made versions.
So, Drawers… I mean, DRAWERS! If chalk paint intimidated me, drawers go to a whole new level LOL.

I almost didn’t share this because these drawers are not perfect, I had all kinds of problems building them and so many limitations regarding space, materials, and most importantly, experience.
But then I thought, not everyone has a garage full of tools to make any woodcraft happen. So I decided to share this with you.
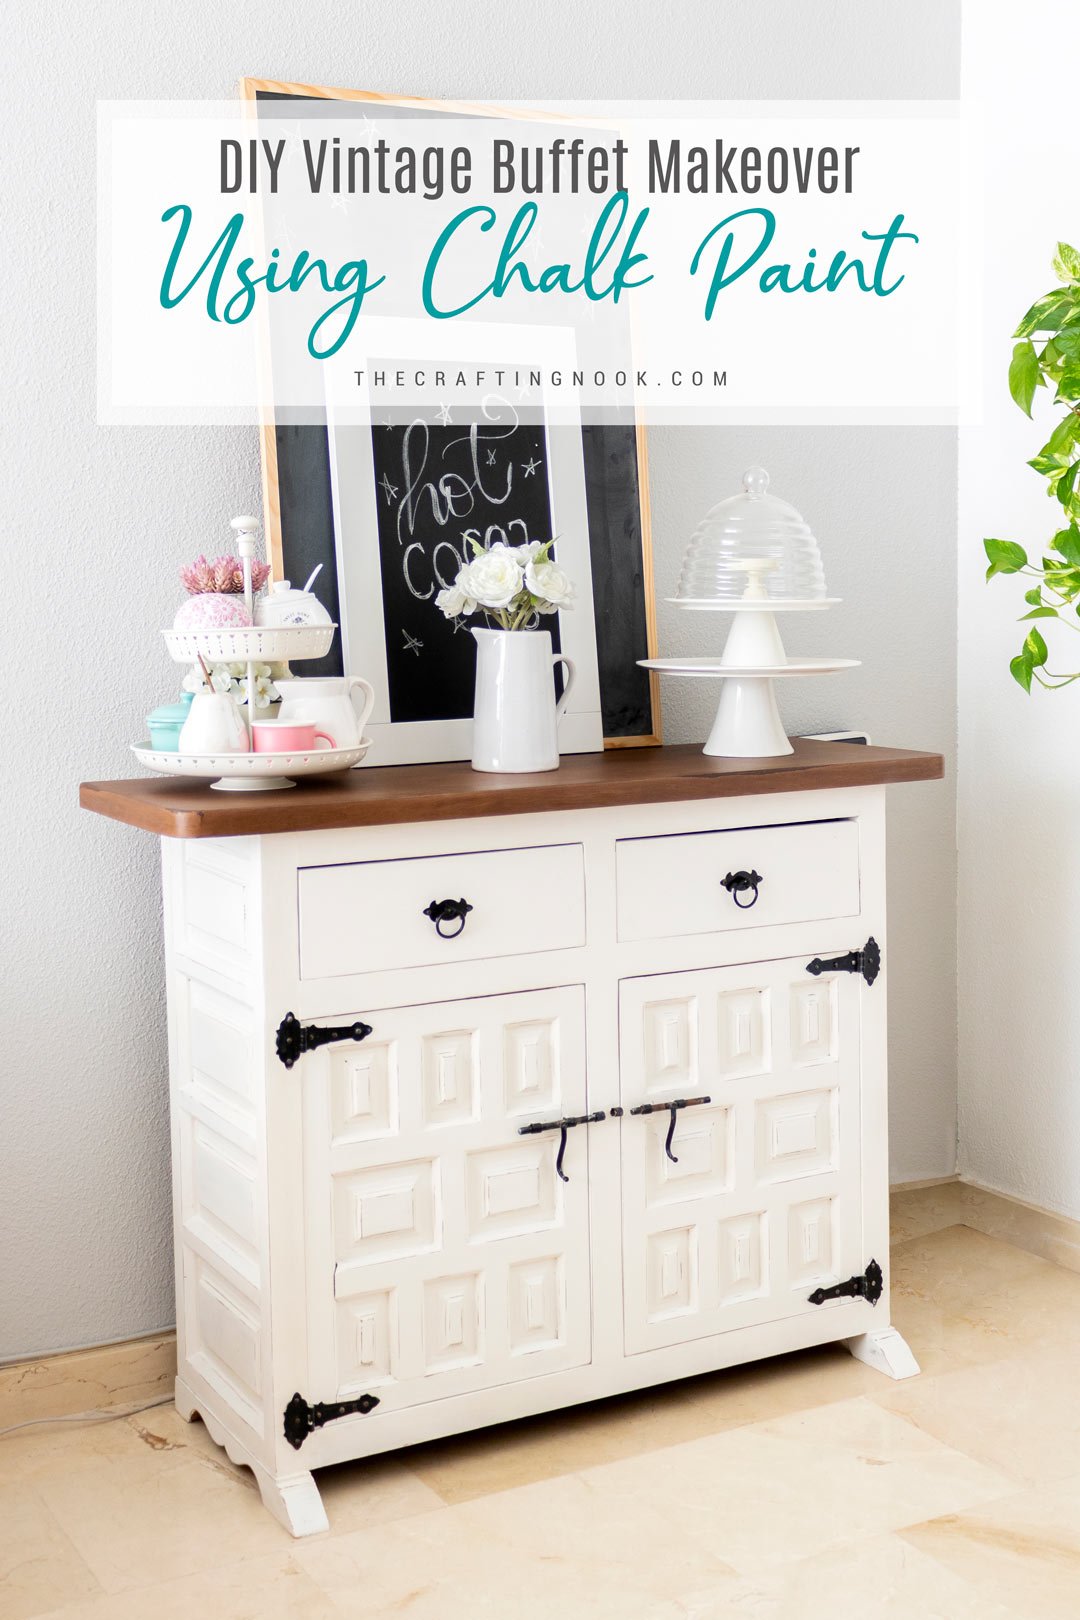
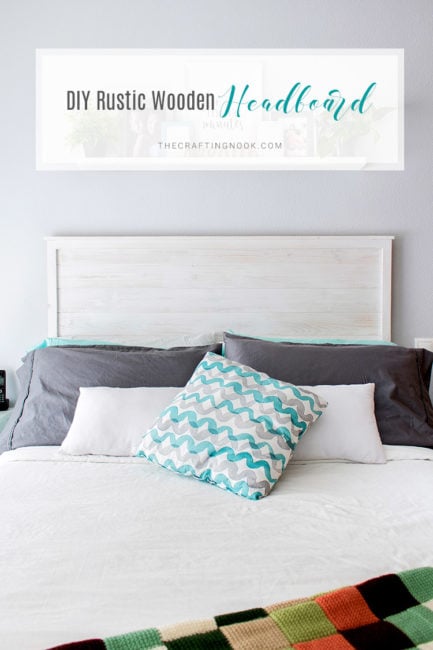
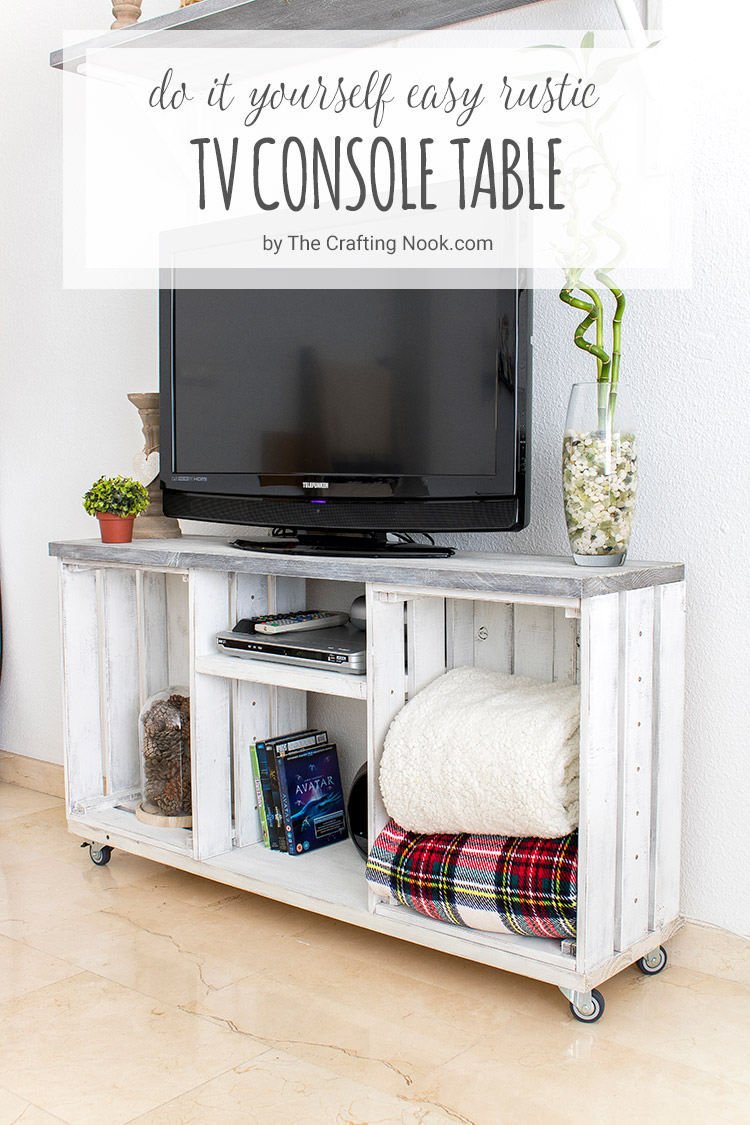
You might also love these other woodworking ideas: Diy Vintage Buffet Makeover Using Chalk Paint, Diy Rustic Wooden Headboard, and DIY Easy Rustic TV Console Table.
Table of Contents
An Easy Step-By-Step tutorial to Make a DIY Drawer
I’ll share what I did and what I would have done differently If I had the tools and space available.
I thought this would be the perfect post to prove what I always say, we can do wonders with basic and limited tools and space. It might not be perfect but what actual craft is?
The whole beauty of handcrafting is the uniqueness given by imperfection.
The story behind this Drawer.
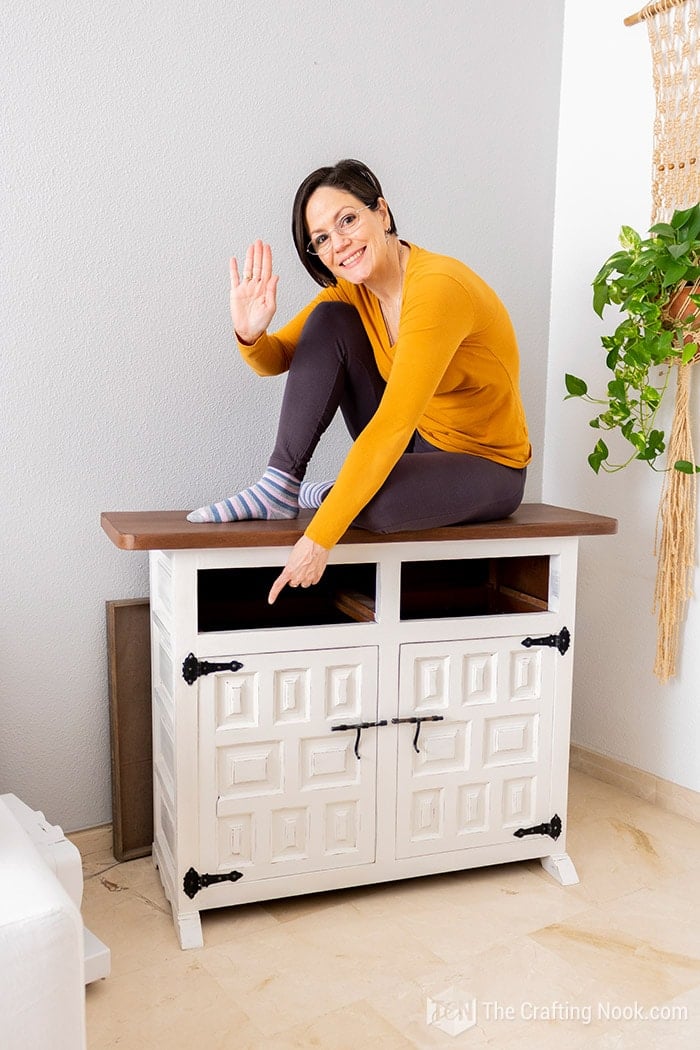
When I got my beautiful vintage buffet, the one that I did a makeover, it came with one missing drawer. I had all kinds of ideas to avoid making the drawers myself. Like, cute baskets, turn that space into a shelf, and so on, but nothing really made me smile.

The shelf was ok, but let’s face it it looks so much better with cute drawers.
The baskets would have done a great job BUT finding baskets that would fit even remotely to look pretty became a huge frustration.
So, I decided to go for it and just embrace the stumbles, mistakes, and anything else that might come with DIYing drawers.
How to Make this DIY Drawer at home
This Basic DIY Drawer tutorial will show you how to build a quick and easy yet strong and beautiful drawer box that can be used in any cabinet or piece of furniture.
Supplies Needed:
These are the boards I used but you might use the one that best fit your project.
- 1 x 5 Sides – 2 @ the size of the drawer depth (minus ¾″ of the depth of front piece)
- 1 x 5 Front – 1 @ at the size of the drawer full-width (2½” less than the width of cabinet opening)
- 1 x 5 Back – 1 @ at the size of the drawer (minus ¾″ for each of the depth of side pieces)
- 1/8 inch Plywood to make the drawer base – 1 @ the internal measurements of the drawer box
- Chalk Paint
- Walnut Wood Stain
- Wax for Chalk paint sealing
- Wood Sealer
- Wood glue
- Wood screws
- Pocket screws
- Brad nails (headless nails)
Tools:
- Drill
- Kreg Jig Pocket wholes kit
- Hammer
- *Awesome if you have a miter saw, circular saw, brad Nailer for your convenience.
Instructions:
Before we begin, be sure to follow us on Pinterest, Facebook, Instagram, and YouTube, and also sign up for our email list (at the end of this post), so you’ll never miss a post!
I created this quick video tutorial to make it easy for you! However, if you are more of a photo step-by-step kind of person just scroll down and keep reading!
Step 1: Preparing To Build Drawers
What To Do First: Organize And Layout The Design
It might sound like an obvious step. But it’s an important one. Planning ahead how you are going to approach the drawer building process is crucial to avoid so many issues and missteps.
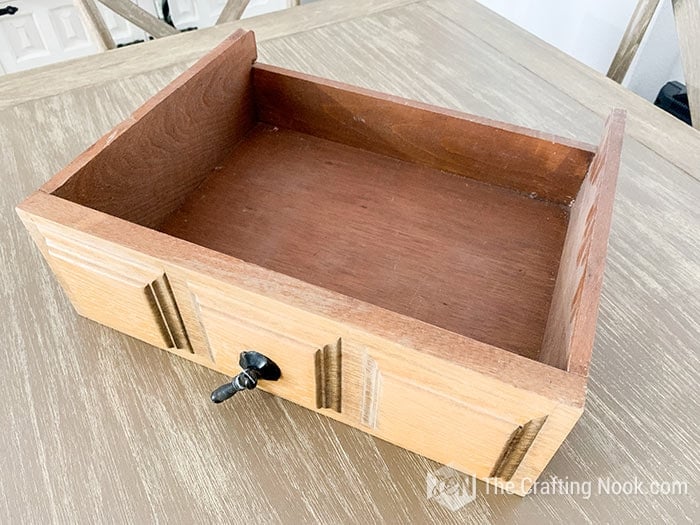
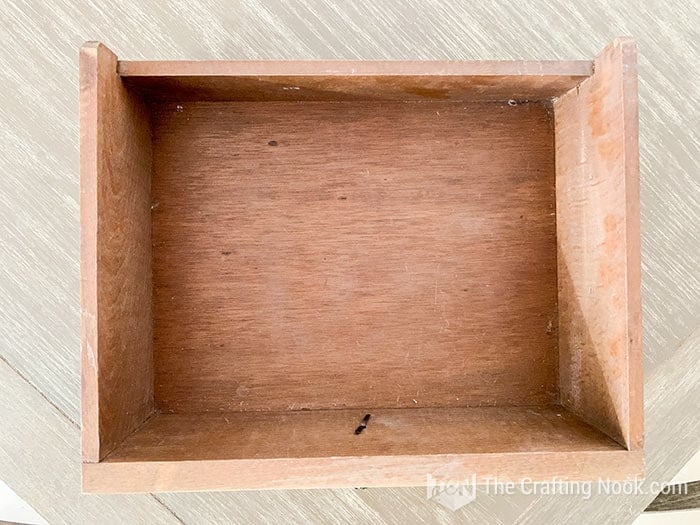
The first thing I did was creating a plan for the drawer. I followed as much as I could the original drawer structure and designed it on paper first so I wouldn’t get measurements and pieces wrong.
Step 2: Measure Your Space
How to Measure for DIY Drawers
Before we can start building our drawers, we need to take a few measurements. To make a drawer box, we need to know its height, width, and length.
Also, we should decide whether to use overlay drawers or inset drawers. In this case, since I was following the pattern of the existing drawer, it’s an inset drawer without the drawer front and drawer slides, so so the measurement was pretty straightforward.
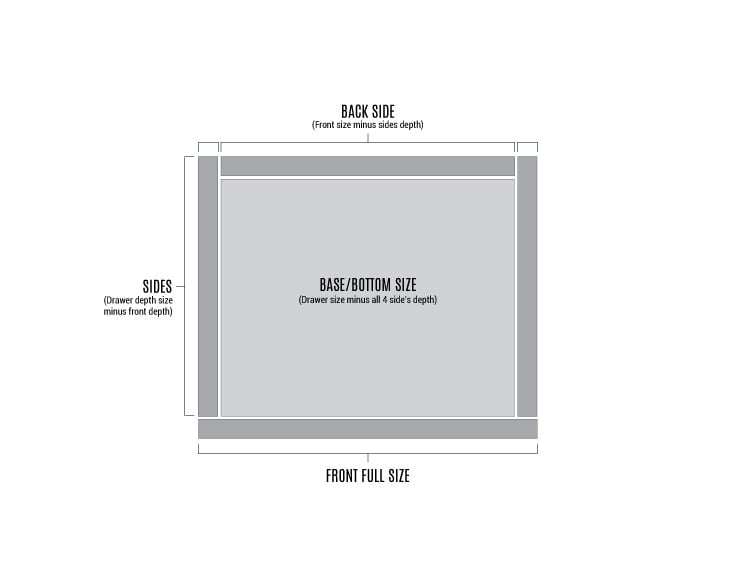
Measure the Opening and the back space too.
It’s best to measure not only the obvious places but ALL of them. It turned out that the space in the buffet for the drawers had different sizes on the left and right, drawer front and back. Needless to say, I had only measured the width of the front of the drawer opening.
It turned out that the width of the drawer on the back side was slightly narrower so it didn’t fit in!!! I had to sand a LOT to make it fit LOL.
Everything is a lesson, right?
But hey! In the end, the drawers turned out great, they fit, they look good, and do the work.
Step 3: Cut the Parts
So, since I don’t have big tools, I had my boards cut at the hardware store where I bought the wood. But if you have a miter saw just cut your boards and base of the drawer.

Step 4: Build The DIY Drawer Box
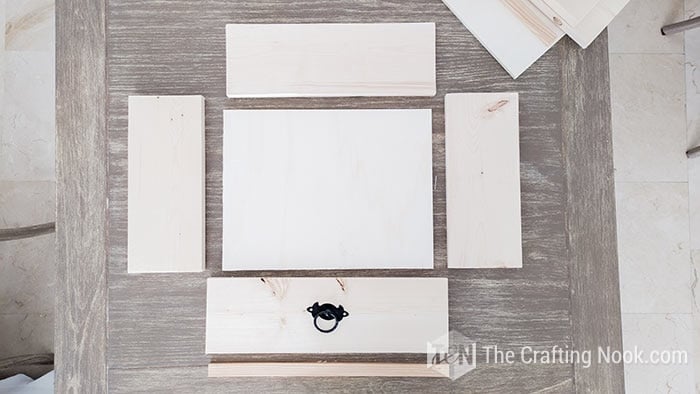
Step 5: Drill the Pocket Holes
Place the 1×5 sides and back pieces on the work surface. Using a pocket hole jig, drill two pocket holes in one end of both side boards and in each end of the back board.
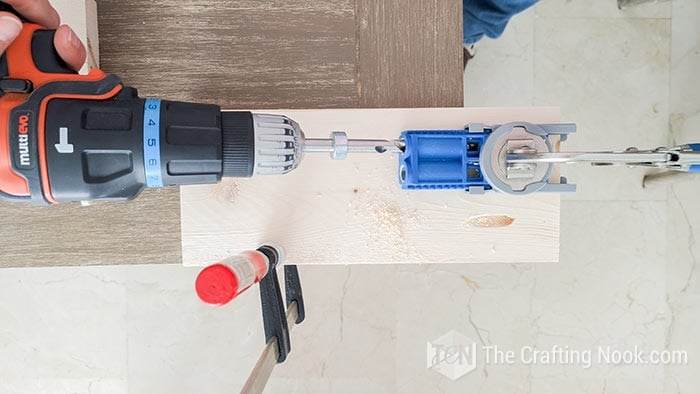

If you are new to Kreg Jig, you can learn with this great tutorial here.
Step 6: Assemble the Sides and front
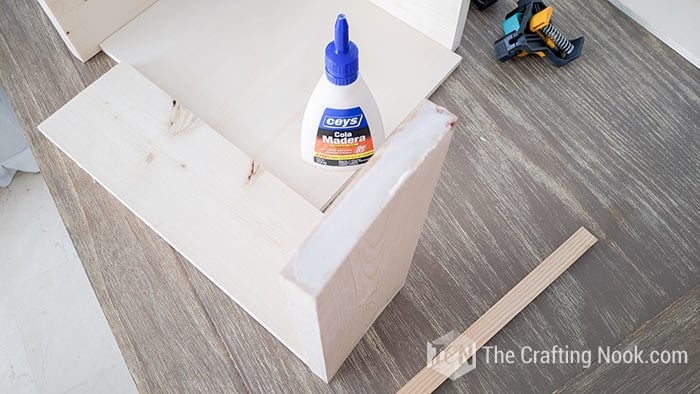
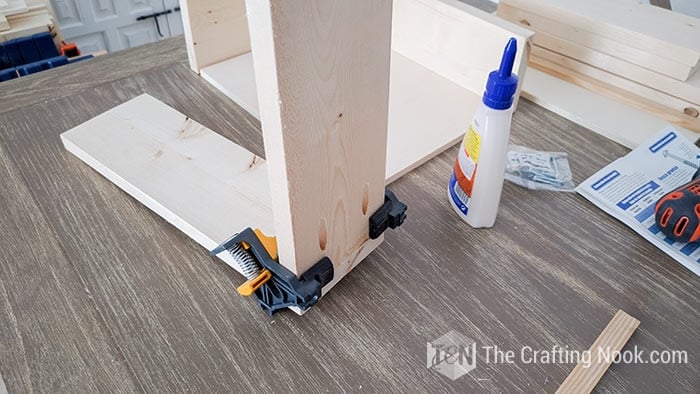
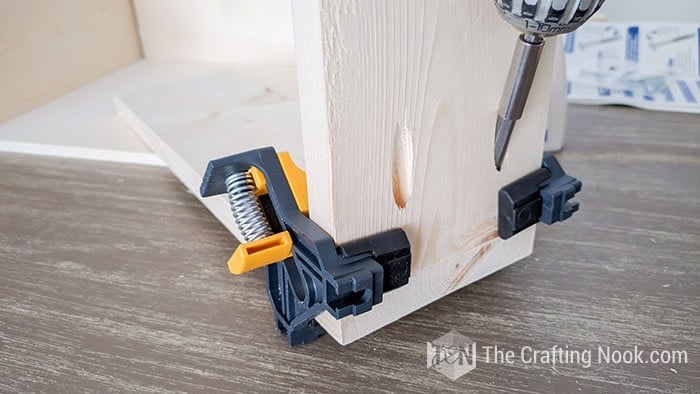
So, apply glue to the end of your side boards that have pocket holes and position on the sides (pocket holes facing outside the drawer box), clamp and attach using 1-¼” pocket screws.
Step 7: Assemble the Back
Use wood glue on both ends of your back boards with pocket holes and position between the sides of your drawer box (pocket holes facing outside the drawer box), clamp and attach using 1-¼” pocket screws.
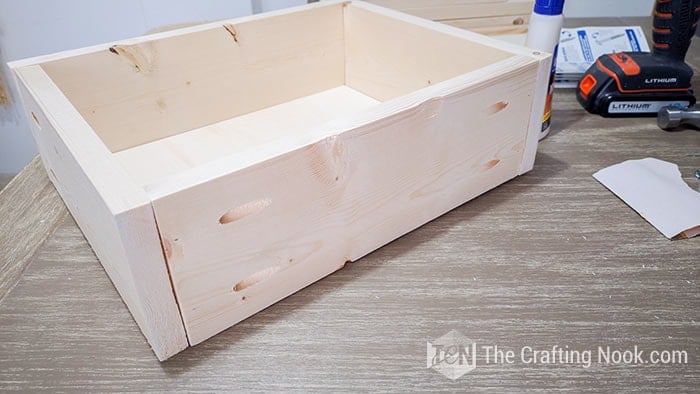

Step 8: Insert the Plywood Base
Since I don’t have a router or any tool to make the dado for the base, I decided to secure the base with nails, that’s why my base is slightly thicker than usual. 3 brad nails on each side are good enough.
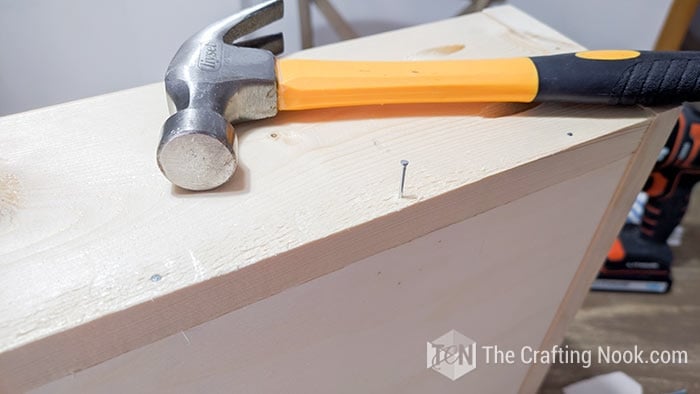
I don’t have a brad Nailer so I used the good old hammer! Being very careful to not bend the nails and not hit a finger, it got the job done!
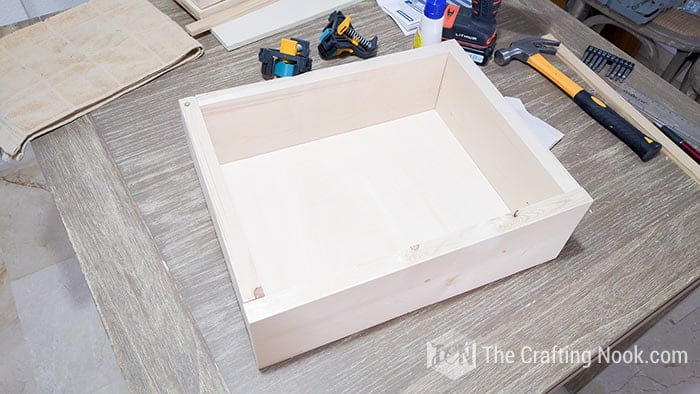
Jenn from Build Basics uses cleats which I thought was very clever but learned about when my first drawer was already built. But so doing this next time!
I did an extra step (not necessarily a must) just because I wanted the front to be slightly higher than the rest of the drawer box. So, I added an extra board that would add 1/8″to the neigh.
Basically, the problem was the size available was shorter than the drawer opening, so I bought this one that was the exact thickness and width I needed.
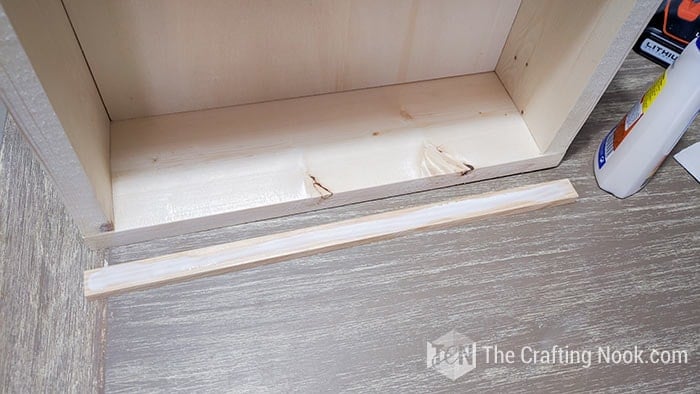
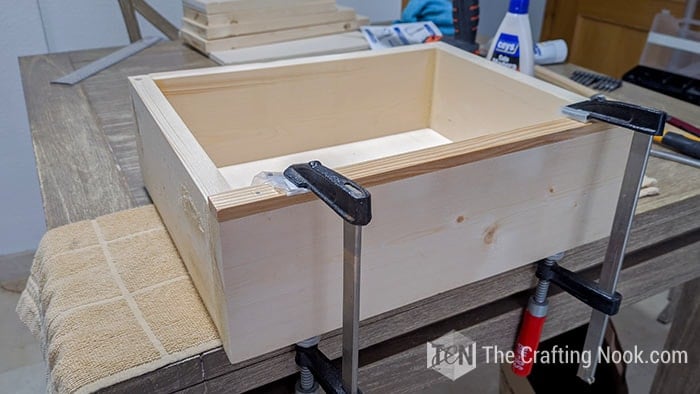
Once painted it won’t be even noticeable!
Step 9: Test if the drawer fits
This step is so important especially if you plan on painting the drawer. I’m glad I did because as I mentioned earlier, the back space for the drawer was narrower than the opening so the drawer wouldn’t go all the way in.
We had to sand a lot and even use a wood plane to make it fit. And we did!!!
Step 10: Paint your DIY Drawer
Once you make sure your drawers fit perfectly, it’s time to paint them.
But firstly, I did 2 very important steps: I filled imperfections, cracks and holes with wood putt.
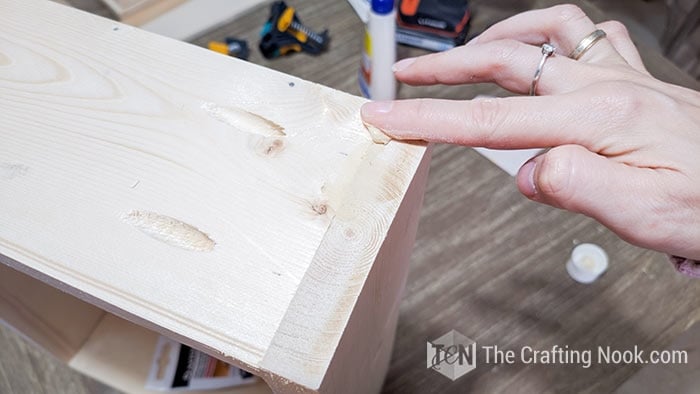
And then I decided where the hardware would be placed, marked the positions of the screws, and drilled the holes.
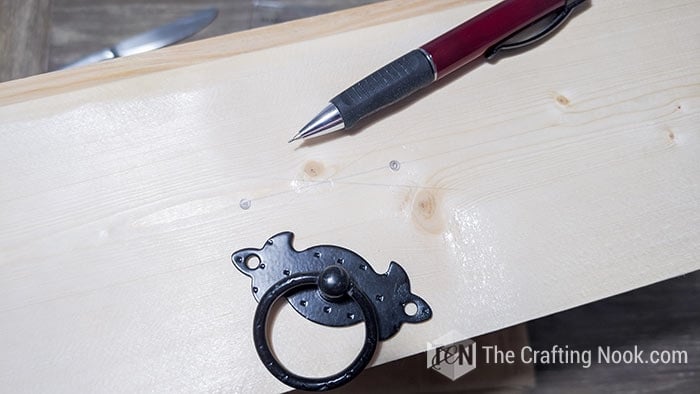

I gave it a quick sanding to remove excess of wood putty and give the surface a smooth finish.
I wiped off the whole drawer box to remove rests of sand, dust, dirt and anything that would mess up the painting process.
Then I applied masking tape to the front side so it wouldn’t get stained.

I painted the whole drawers outside and inside of the drawers (except the front of the drawer box) with walnut wood stain to match the same style of the buffet.
Before moving on to the front, I let the wood stain dry very well.
Once the stain was dry, I used the masking tape to cover the stained wood from getting painted with chalk paint.
Then painted the front with chalk paint. Following the instructions of the can, I firstly wiped off any dust, dirt, or grease from the wood.
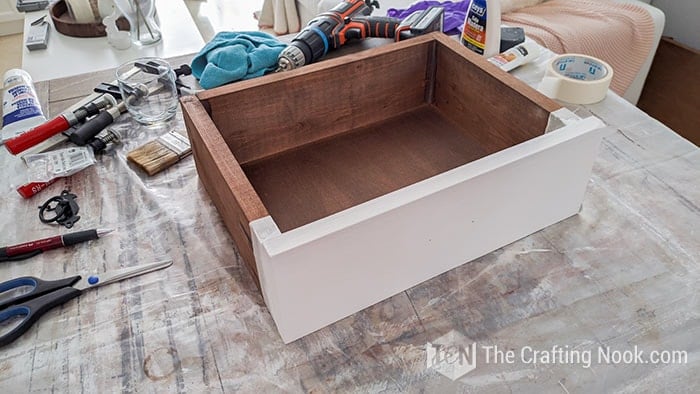
Applied 2 coats of chalk paint letting it dry before coats.
Finally, I sealed the wood stain with 2 coats of the same waterproof sealer I used for the top of the buffet and the front with wax.
I let it all rest overnight.
For a detailed tutorial on how to paint with wood stain and chalk paint, visit DIY Vintage Buffet Makeover.
Step 11: Install the Hardware
Once the drawer box was all painted and ready to go, it was time to install the hardware.
I tried my best to find some that would be as close as possible to the original but I couldn’t find the same so I chose these that are still back rustic/vintage and so pretty.
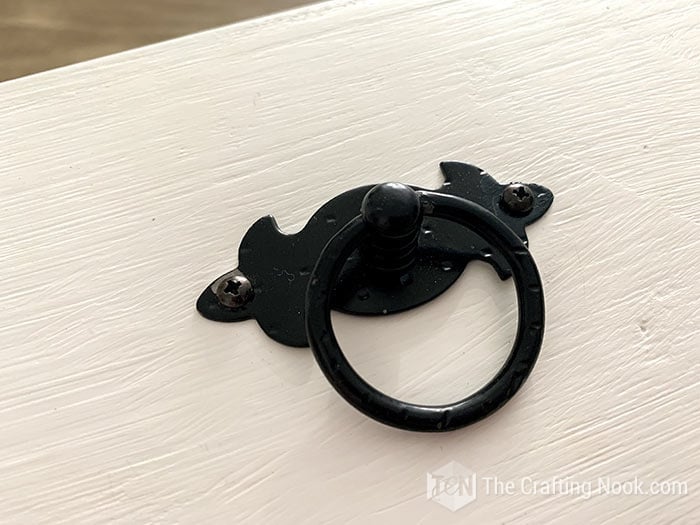
Thankfully, it was super easy to install. a couple of wood screws and we were done!

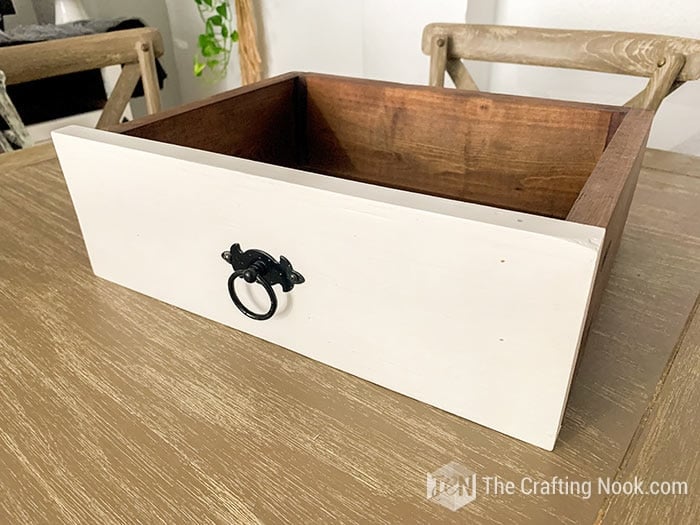
Step 12: Install your brand new drawers
The time is finally here. Time to put the drawers in their place and enjoy the magic!!!
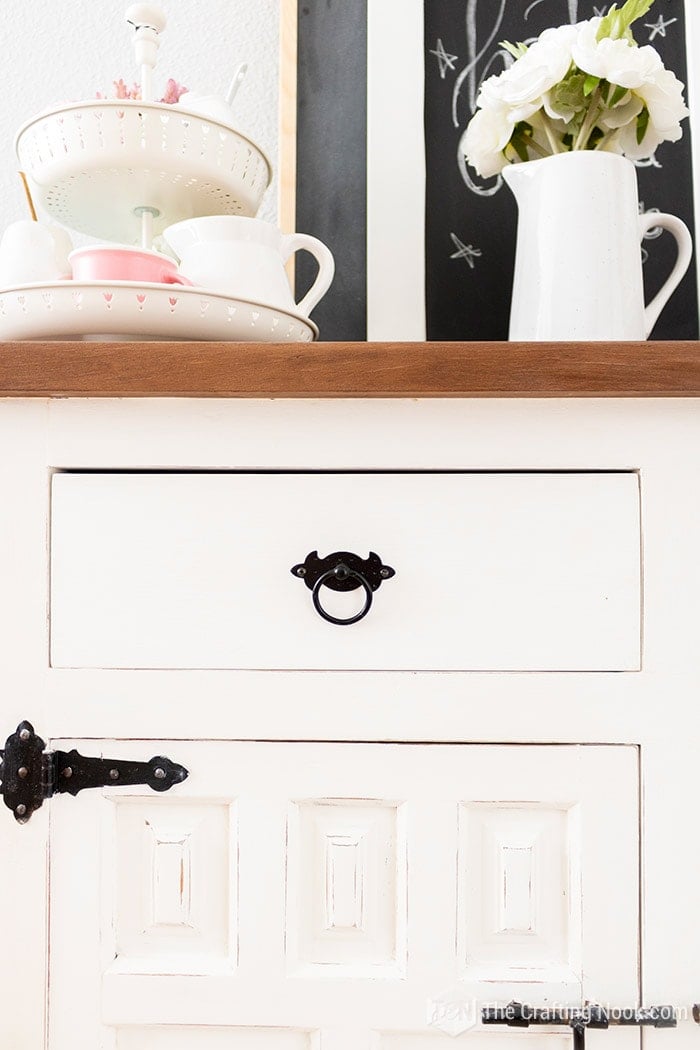
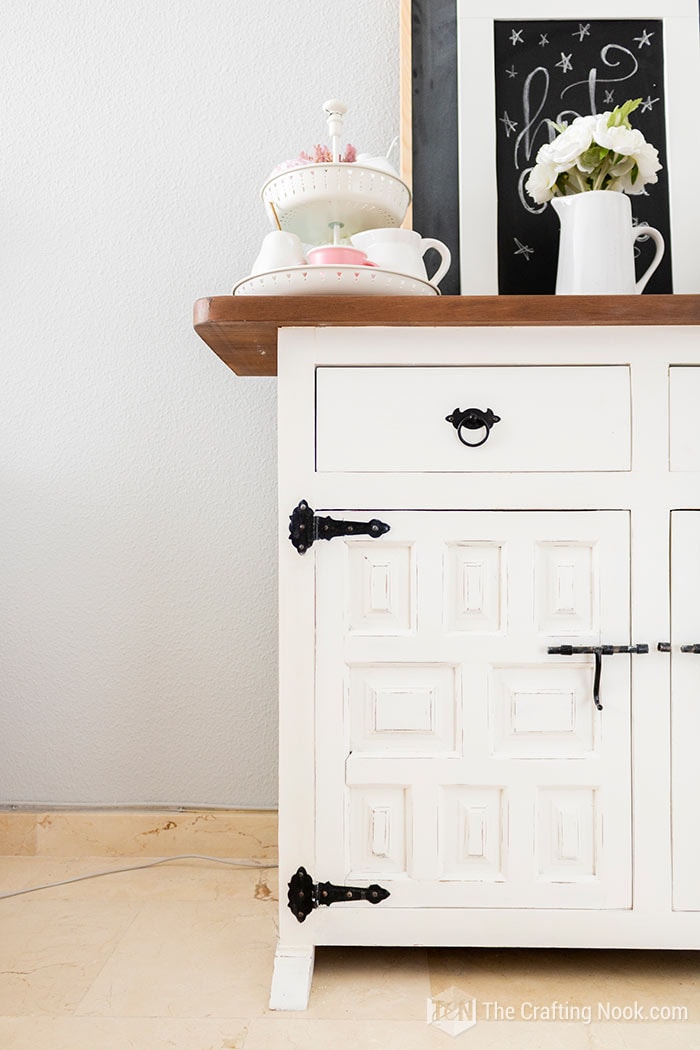
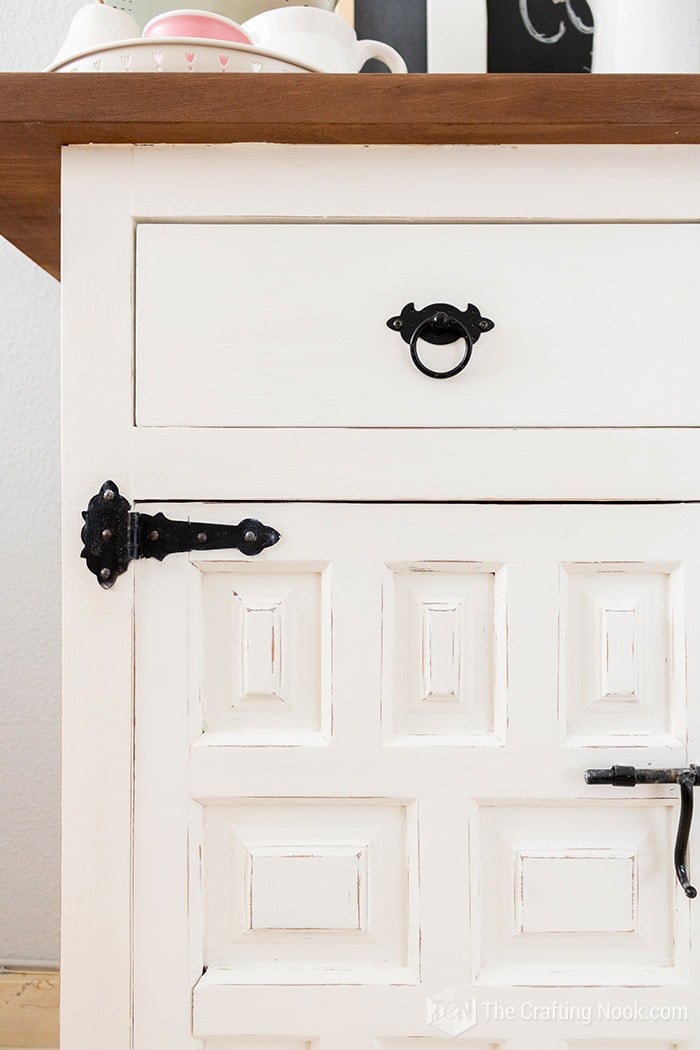
OMG! I loved how it turned out, despite the imperfections, stumbles, and awkwardnesses!!!

What Kind of Wood Should I Use?
Firwood is gorgeous but not ideal for this kind of craft, here is very common the firwood which is very similar to pinewood but even lighter and has a huge tendency to bend.
The perfect kind of wood for this type of project are boards like a 1×4 or plywood to make drawer boxes. According to Scott from Saws on Skates, it’s easier to make the sides of drawer boxes with boards rather than plywood because it saves you time and effort cutting your drawer pieces.
Sadly, most places here that offer to cut wood, have a minimum width to cut and it’s larger than the drawer’s pieces I needed which gave me no choice but to use pre-cut wood boards.
And guess what? They don’t have plywood or normal boards already cut in planks only firewood. GRRR!
So, I use what I got!
Final Thoughts
The first thing that came to mind when I finished is that I made it! Maybe not the way a carpenter would have done it but I reached my point. You can do things with limited space and tools and make it work.
Next time I will definitely use cleats for the base of the drawer.
I love how inset drawer fronts look but given the opportunity to make more drawers, I would like to make them with overlay drawer fronts because it seems to makes it easy to ensure the front of the drawer will be perfect despite anything that might happen while building the drawer box.
I definitely don’t want to use firewood for this kind of project ever again, too light and bendy which made it hard for me to have a clean drawer box.
Hope you liked this tutorial as I gave full disclosure of all the stumbles, non-expert ideas, and how I finally made it happen.
If you would like to keep your brand-new drawer organized and mess-free, you can check out my Drawer dividers tutorial.
Frequently Asked Questions
There are so many places where it might be so useful to have drawers. Nightstand, kitchen cabinets, closet, bathroom vanity, dresser, coffee table, buffet… If you like handcrafts, especially woodcraft, then adding/replacing drawers might be the perfect solution for storage space.
You definitely can! I did it. It will depend on where you want to add the drawers, the space available, and how complex you want the mechanism to be.
The original drawer didn’t have slides so I just followed the pattern. If the drawer space is adequate for it, you can always go for a drawer without slides.
The perfect kind of wood for this type of project are boards like a 1×4 or plywood to make drawer boxes. According to Scott from Saws on Skates, it’s easier to make the sides of drawer boxes with boards rather than plywood because it saves you time and effort cutting your drawer pieces.
More Furniture Projects to Try
If you loved this DIY drawer tutorial, you might also love these other furniture project ideas too:
✂️ Tutorial

How to Make a DIY drawer
Tools
- Drill
- Kreg Jig Pocket wholes kit
- Hammer
- *Awesome if you have a miter saw, circular saw, brad nailer for your convenience.
Supplies
These are the boards I used but you might use the one that best fit your ptoject.
- 1 x 5 Sides – 2 @ the size of the drawer depth minus ¾″ of the depth of front piece
- 1 x 5 Front – 1 @ at the size of the drawer full-width 2½” less than the width of cabinet opening
- 1 x 5 Back – 1 @ at the size of the drawer minus ¾″ for each of the depth of side pieces
- 1/8 inch Plywood to make the drawer base – 1 @ the internal measurements of the drawer box
- Chalk Paint
- Walnut Wood Stain
- Wax for Chalk paint sealing
- Wood Sealer
- Wood glue
- Wood screws
- Pocket screws
- Brad nails headless nails
Instructions
STEP 1: PREPARING TO BUILD DRAWERS
- WHAT TO DO FIRST: ORGANIZE AND LAYOUT THE DESIGN
- It might sound like an obvious step. But it’s an important one. Planning ahead how you are going to approach the drawer building process is crucial to avoid so many issues and missteps.
- The first thing I did was creating a plan for the drawer. I followed as much as I could the original drawer structure and designed it on paper first so I wouldn’t get measurements and pieces wrong.
STEP 2: MEASURE YOUR SPACE
- HOW TO MEASURE FOR DIY DRAWERS
- Before we can start building our drawers, we need to take a few measurements. To make a drawer box, we need to know its height, width, and length.
- Also, we should decide whether to use overlay drawers or inset drawers. In this case, since I was following the pattern of the existing drawer, it’s an inset drawer without the drawer front and drawer slides, so so the measurement was pretty straightforward.
- Plan illustration of how I measured and designed the new drawer
- MEASURE THE OPENING AND THE BACK SPACE TOO.
- It’s best to measure not only the obvious places but ALL of them. It turned out that the space in the buffet for the drawers had different sizes on the left and right, drawer front and back. Needless to say, I had only measured the width of the front of the drawer opening.
STEP 3: CUT THE PARTS
- So, since I don’t have big tools, I had my boards cut at the hardware store where I bought the wood. But if you have a miter saw just cut your boards and base of the drawer.
- STEP 4: BUILD THE DIY DRAWER BOX
- Set all the pieces in place to make sure everything fits and that there’s no piece missing.
- Put the drawer together in a sample way.
- Adjust if needed
STEP 5: DRILL THE POCKET HOLES
- Place the 1×5 sides and back pieces on the work surface. Using a pocket hole jig, drill two pocket holes in one end of both side boards and in each end of the back board.
STEP 6: ASSEMBLE THE SIDES AND FRONT
- So, apply glue to the end of your side boards that have pocket holes and position on the sides (pocket holes facing outside the drawer box), clamp and attach using 1-¼” pocket screws.
STEP 7: ASSEMBLE THE BACK
- Use wood glue on both ends of your back boards with pocket holes and position between the sides of your drawer box (pocket holes facing outside the drawer box), clamp and attach using 1-¼” pocket screws.
STEP 8: INSERT THE PLYWOOD BASE
- Since I don’t have a router or any tool to make the dado for the base, I decided to secure the base with nails, that’s why my base is slightly thicker than usual. 3 brad nails on each side are good enough.
- I don’t have a brad nailer so I used the good old hammer! Being very careful to not bend the nails and not hit a finger, it got the job done!
- I did an extra step (not necessarily a must) just because I wanted the front to be slightly higher than the rest of the drawer box. So I added an extra board that would ad 1/8″to the neight.
STEP 9: TEST IF THE DRAWER FITS
- This step is so important especially if you plan on painting the drawer. I’m glad I did because as I mentioned earlier, the back space for the drawer was narrower than the opening so the drawer wouldn’t go all the way in.
- We had to sand a lot and even use a wood plane to make it fit. And we did!!!
STEP 10: PAINT YOUR DIY DRAWER
- Once you make sure your drawers fit perfectly, it’s time to paint them.
- But firstly, I did 2 very important steps: I filled imperfections, cracks and holes with wood putt.
- And then I decided where the hardware would be placed, marked the positions of the screws, and drilled the holes.
- Marking where the hardware scres should be.
- I gave it a quick sanding to remove excess of wood putty and give the surface a smooth finish.
- I wiped off the whole drawer box to remove rests of sand, dust, dirt and anything that would mess up the painting process.
- Then I applied masking tape to the front side so it wouldn’t get stained.
- I painted the whole drawers outside and inside of the drawers (except the front of the drawer box) with walnut wood stain to match the same style of the buffet.
- Before moving on to the front, I let the wood stain dry very well.
- Once the stain was dry, I used the masking tape to cover the stained wood from getting painted with chalk paint.
- Then painted the front with chalk paint. Following the instructions of the can, I firstly wiped off any dust, dirt, or grease from the wood.
- Applied 2 coats of chalk paint letting it dry before coats.
- Finally, I sealed the wood stain with 2 coats of the same waterproof sealer I used for the top of the buffet and the front with wax.
- I let it all rest overnight.
- For a detailed tutorial on how to paint with wood stain and chalk paint, visit DIY Vintage Buffet Makeover.
STEP 11: INSTALL THE HARDWARE
- Once the drawer box was all painted and ready to go, it was time to install the hardware.
- I tried my best to find some that would be as close as possible to the original but I couldn’t find the same so I chose these that are still back rustic/vintage and so pretty.
- Mark where you want the hardware to go. Drill the holes first and then install the hardware screws.
STEP 12: INSTALL YOUR BRAND NEW DRAWERS
- The time is finally here. Time to put the drawers in their place and enjoy the magic!!!
Share and PIN me
Til’ next time…


FREE WORKBOOK
Keeping your Sweet Home Organized
Learn how to create intentional habits and simple routines to Keep Your Home Organized. Plus freebies, printables, exclusive content, and tips.
Disclaimer: By clicking on the “Yes” button above you are giving me your consent to collect and use your information according to the law and My Policy Privacy. Zero Spam I promise!
