Hello Craft Party Friend!
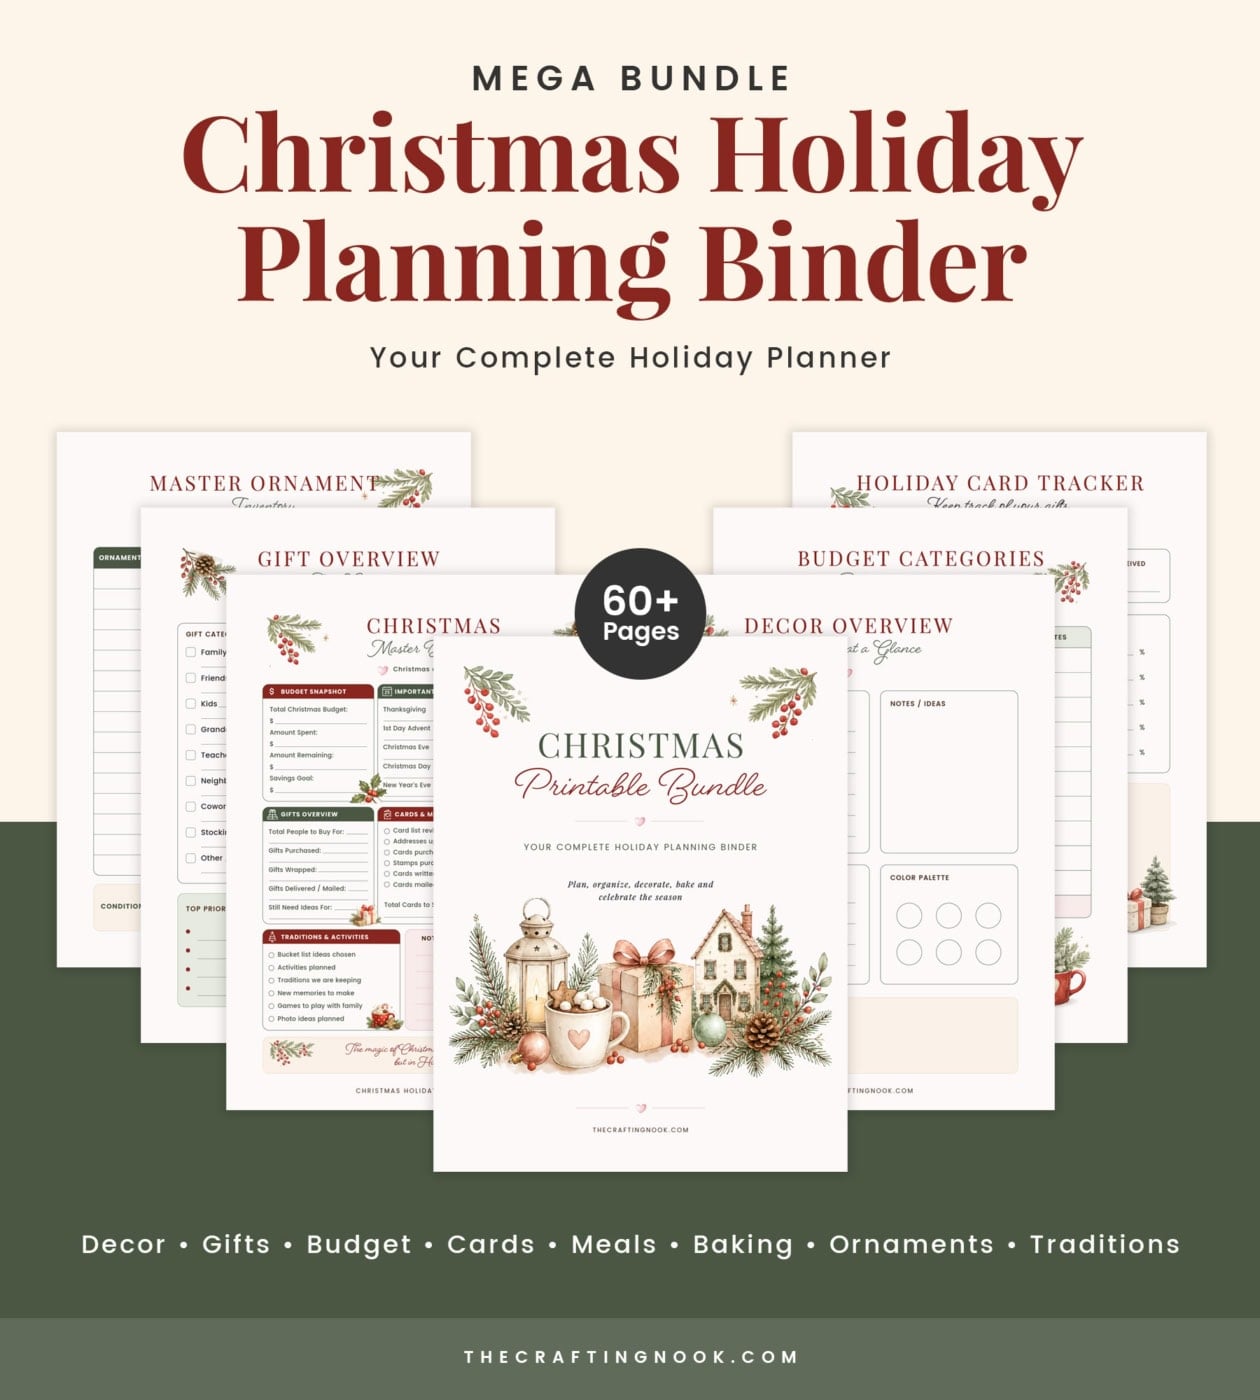
Christmas Holiday Planning Binder
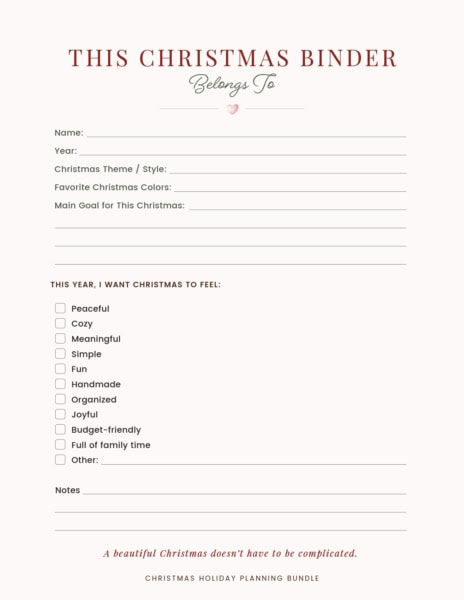
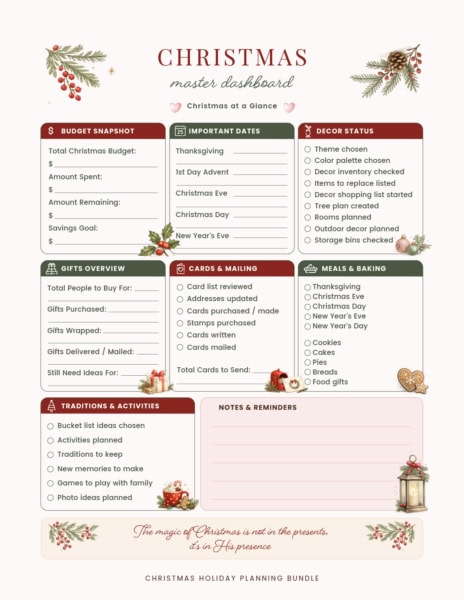
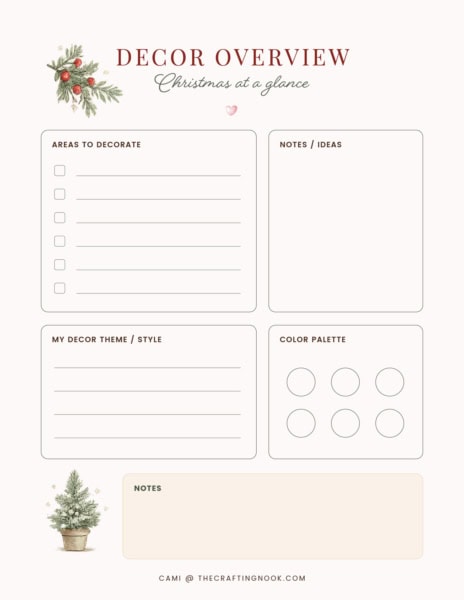
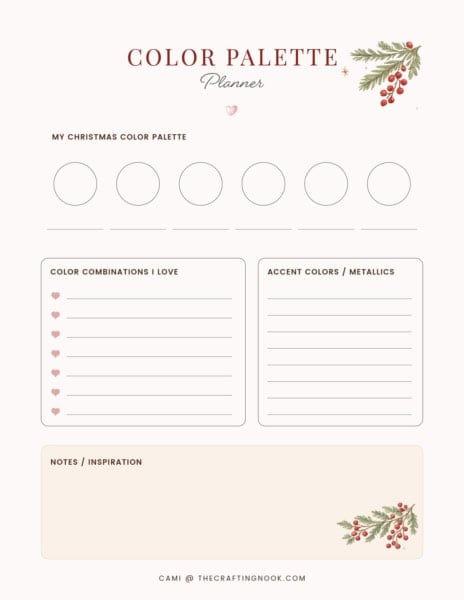
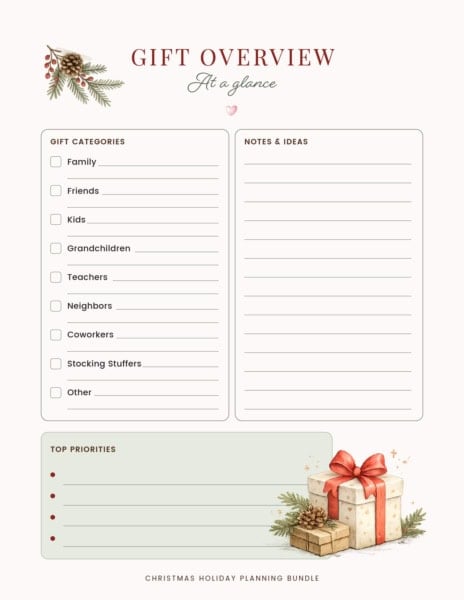
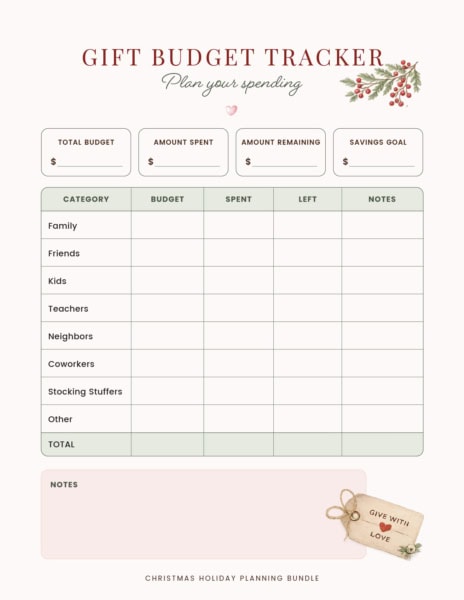
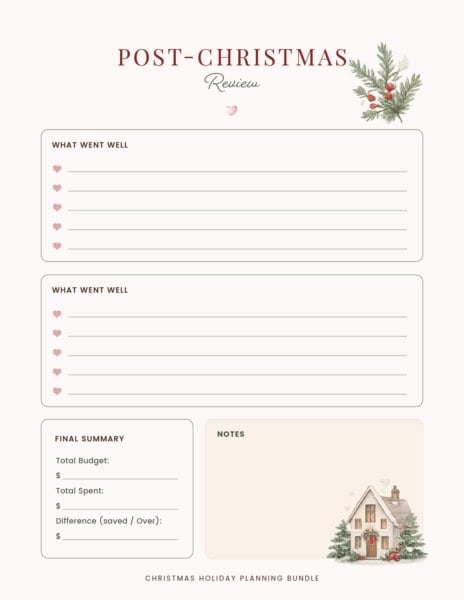
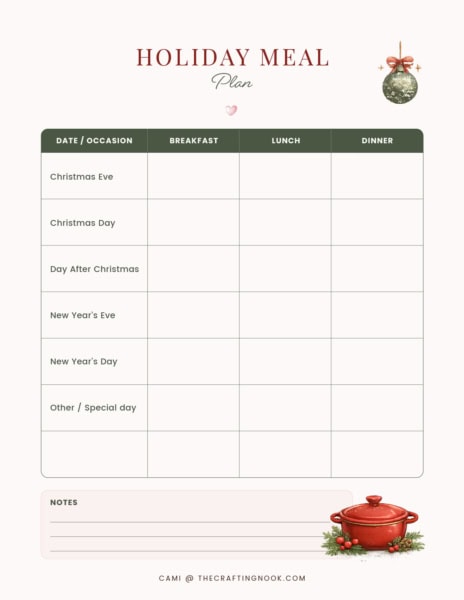
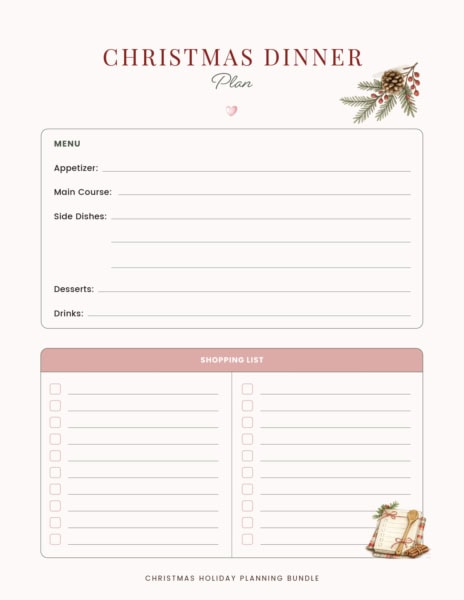
A practical printable binder with over 60 sheets to you plan the rest of the season. The Christmas Holiday Planning Binder is the perfect planner, helping you keep your Christmas decor, gifts, budget, cards, meals, baking, ornaments, traditions, and notes for next year all in one place. These printable pages are designed to help you feel more organized and enjoy the season with a little more peace.
Regular Price $27
What’s inside
Instant digital download. Print only the pages you need.

This is perfect if you want to:
No complicated system. No pressure to use every page. Just pretty, practical pages you can print and use in the way that works best for you.
Leave me a lovely Review!
No reviews yet. Want to be the first?