DIY Limewashed look with Dry brush painting technique
This post may contain affiliate links. Please read our Disclosure Policy.
Did you know that you could get a limewashed really similar look on wood without the original Limewash technique? The answer is YES! I created that look using the dry brush painting technique.
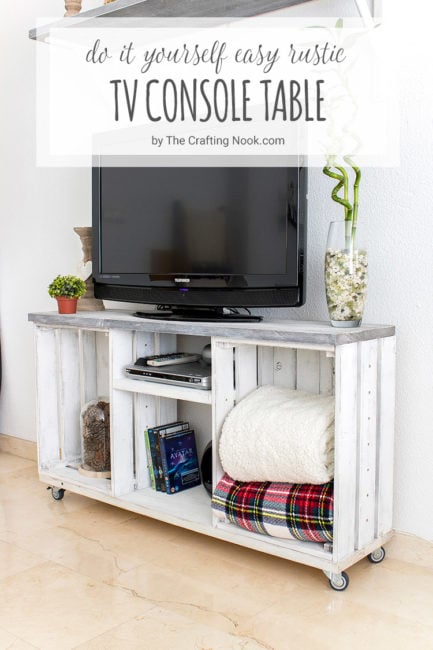
Even though it’s not exactly the same, they look really similar. I have a dining table that is limewashed (probably not the original technique either) and I wanted to replicate that look on the TV Console Table I was creating.

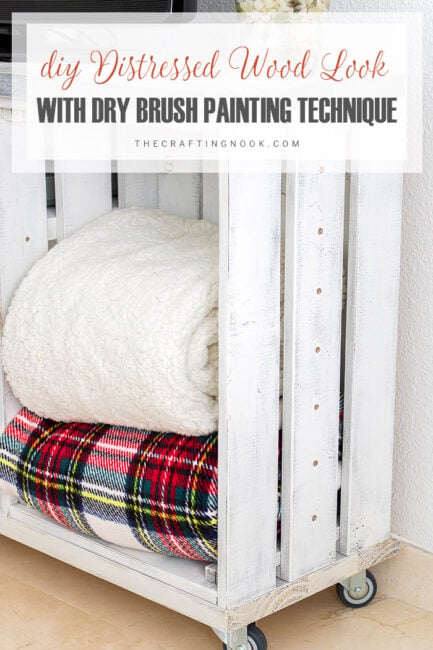
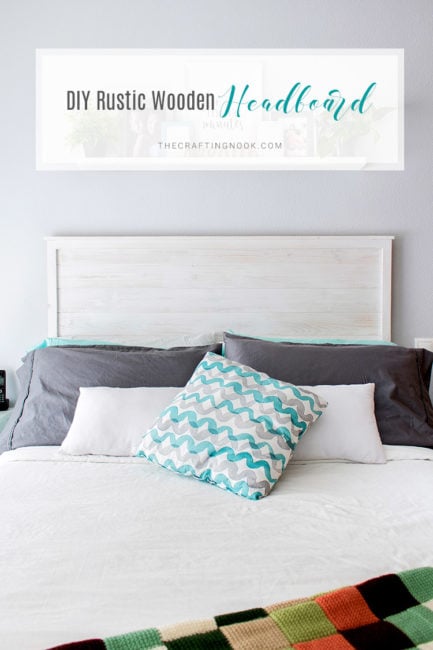
You might also love these other Woodworking ideas: DIY Distressed Wood Look with Dry Brush Painting Technique, DIY Easy Rustic TV Console Table, and DIY Rustic Wooden Headboard.
Table of Contents
CREATE A Limewashed look with Dry brush painting technique
After a few trials and errors, I could get this look. I didn’t quite get the color right but I still loved the result.
After I published my Rustic TV Console Table I got many questions about how I painted it. I thought the best way to explain was through a detailed tutorial and a video.
The hardest part was giving this technique a name since it’s not actual limewash or whitewashed but the dry brush is a way too wide concept and the wood look was too similar to limewash. Confusing right? Yeah, I think so too.

The best idea I could think of is naming it Lime washed look with Dry brush painting technique because that’s what it is anyway.
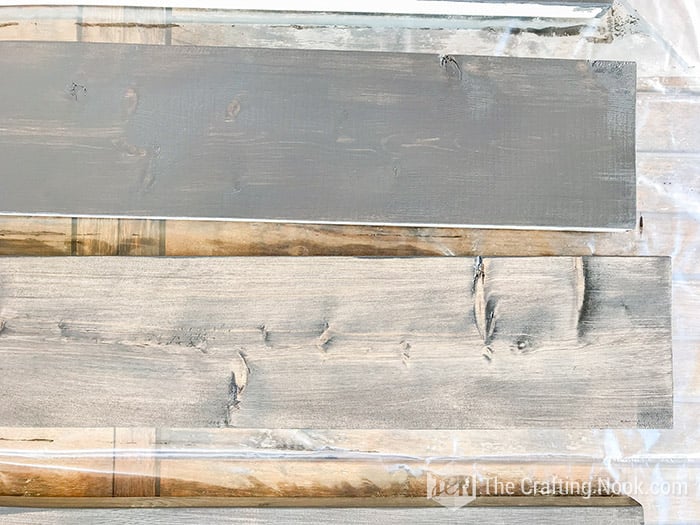
I used this technique for the top of my tv console table and then the aged wood technique for the bottom part which I’ll share in another post soon.
So, let’s explain a few details here first before moving on.
What is LimeWash?
According to Home Guides, In the days before furniture finishes were developed, a common way to preserve wood was to wash it with a mixture of lime and water. When a limewash contained proper amounts of salt, calcium carbonate and water, it fixed itself in the wood and provided protection from insects and rot.
But the technique comes even before that, limewash is a very ancient paint made from limestone which has been crushed, burnt and slaked with water to make lime putty. The lime putty is matured for several months before being thinned with water to make limewash.
This technique was also used for painting brick walls and outdoor walls.
Nowadays there are so many ways to create the Limewash look and it has gotten very popular. This technique is often called or confused with whitewash. Some explanations seem to define them as the same and others make some differences.
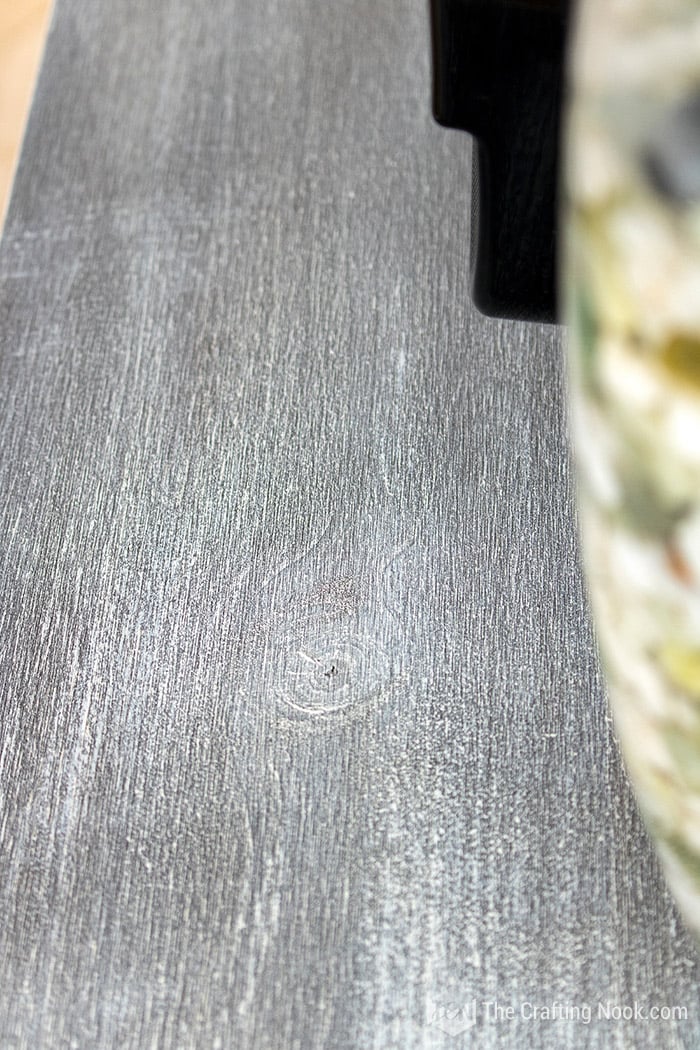
What I like about it the most is that in most cases, the limewash technique accents the wood marks. You can clearly see 2 shades: one as the base and another creating the wood lines. I love that.
That’s exactly what I could achieve with the dry brush painting technique. I’m crazy in love with this look. So, in love that I made a few other pieces already to decorate my home.
What is Dry Brushing?
The dry brushing technique is a coloring technique used to finish any surface in an uneven way that creates irregularity associated with aged materials. You add layers until you get the desired result or look.
I’ve used it in so many different craft projects. Clay painting is one of them and the of course, wood which is my favorite medium.
This tutorial was created while I was applying the technique to some shelves I made and the video was taken while making the TV Console Table.
How to create a Limewashed look with Dry brush painting technique
In this tutorial, I’ll show you how I created a limewashed wood look by applying the dry brush painting technique in a very light way to a wood board and a crate I used for my TV Console Table.
So, let’s get started.
supplies:
- Wood board.
- Dark wood stain (I created mine 50-50 sand grey paint and water)
- White Cotton latex paint
- 2 brushes.
- Plastic or paper plate
- Paper
- Sandpaper (I used 150-grit)
- Brass-bristle scrub brush
- Piece of cloth
- Spray Mata te Clear Varnish
dry brushing Paint Alternatives
Well, What I’ve learned is that quality matters. So, whatever you choose make sure it’s good quality.
Then I’ve seen that latex and acrylic paint do really well. However, I use special furniture paint because it combines everything I need, durability, varnish, etc., although I still use a wood spray matte varnish to finish.
Chalk paint is not really as good as acrylic or latex for a dry brush effect and texture because of the nature of the paint mix.
Instructions:
I made this video tutorial for you of my painting process. If you are more of a step-by-step written detailed tutorial, just scroll down a little bit and keep reading.
Before we begin, be sure to follow us on Pinterest, Facebook, Instagram, and YouTube, and also sign up for our email list (at the end of this post), so you’ll never miss a post!
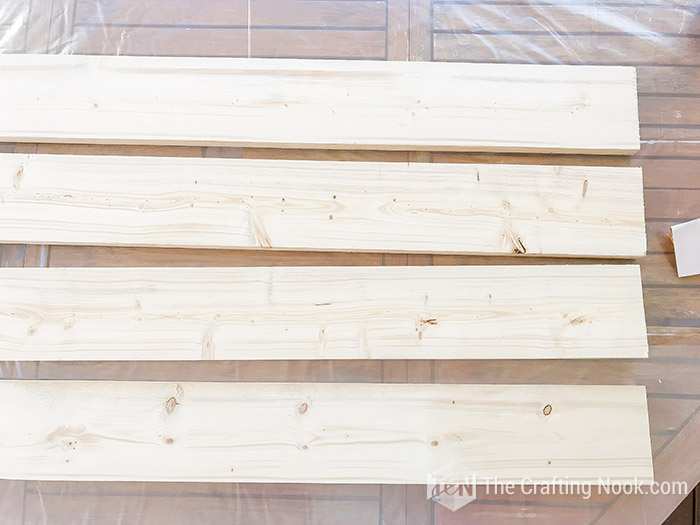
Step 1: Prep Work
Firstly, let’s avoid splinters from getting into our fingers. Sand all the edges (I used 150-grit). Only the edges because we don’t want the surface of our board to get too soft.

Once the edges are done, let’s enhance the whitening effects of dry brushing by opening the wood pores with the brass-bristle scrub brush before applying it.
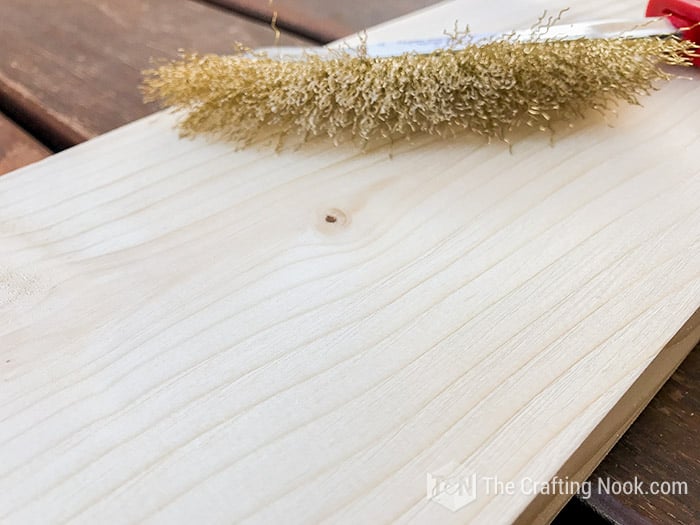
Work the brush along the wood grain to avoid unsightly cross-grain scratches.
Clean the sanding dust off thoroughly before applying the wood stain.
Step 2: Staining the wood
DIY Limewash. If you plan to use paint as stain then prepare your stain diluting 50-50 your dark chosen paint and water. Mix well.
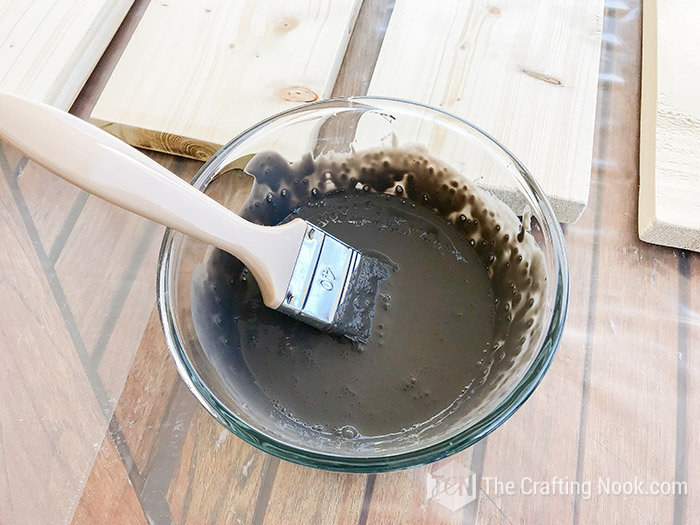
With a brush, apply your stain all over your wood board.
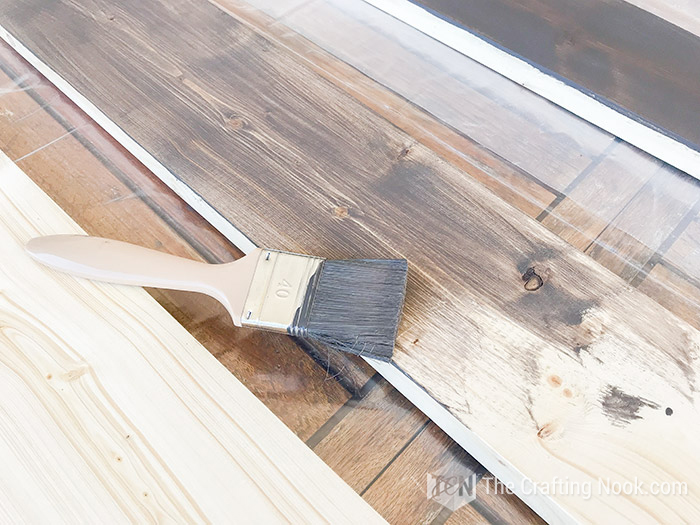
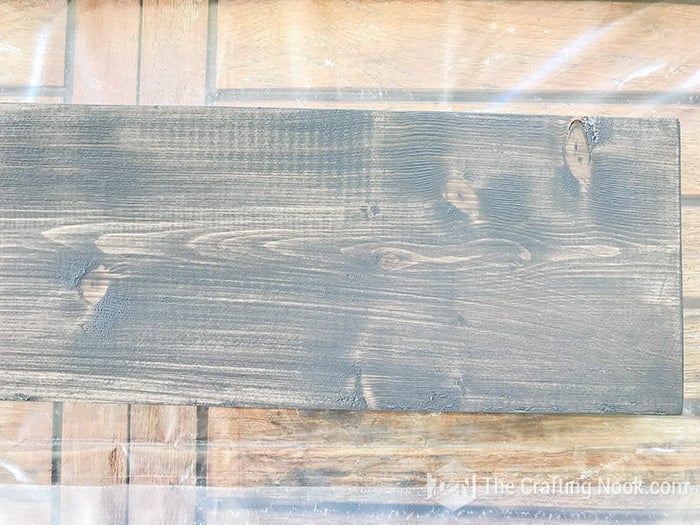
It may take more than one application of stain to get the look you’re after. I wanted it slightly dark so it wouldn’t lighten much after dry brushing.
Let it dry completely. It may take a few hours.
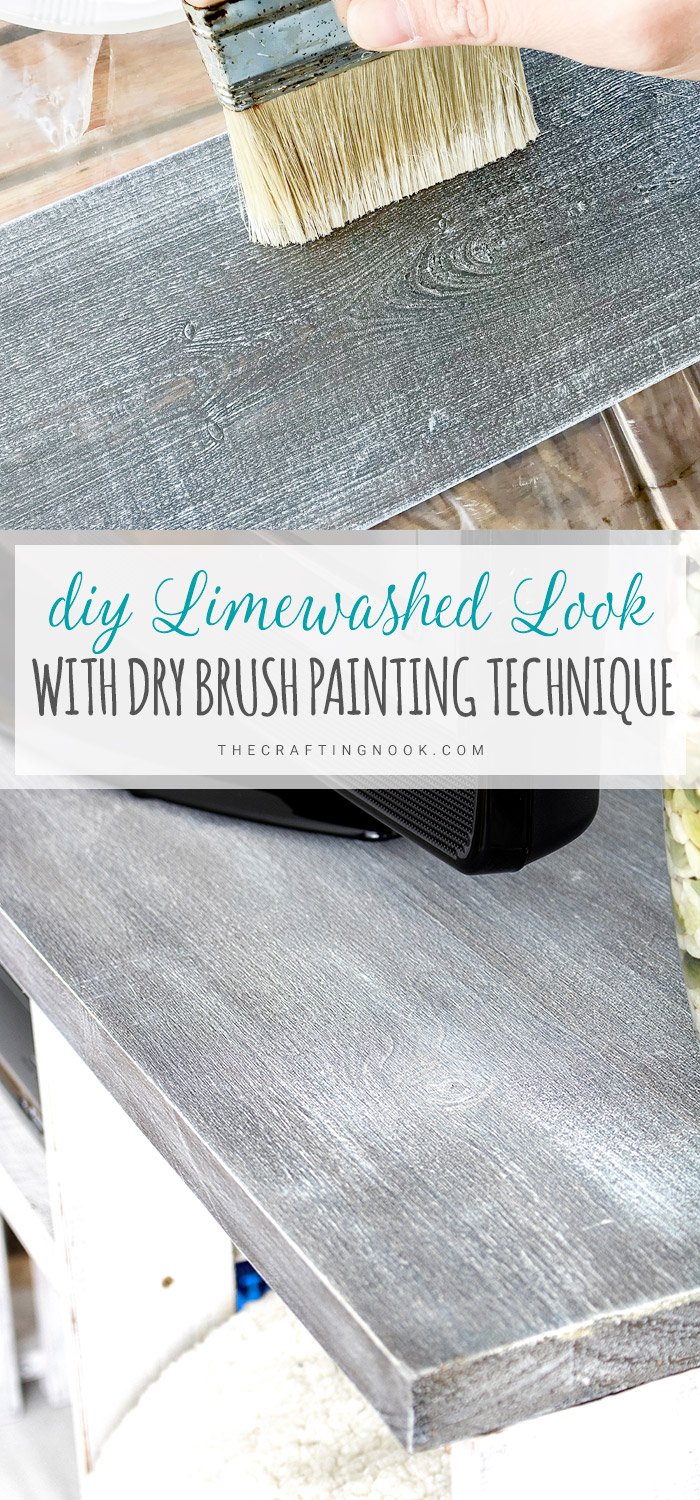
Step 3: Applying Dry Brushing Technique
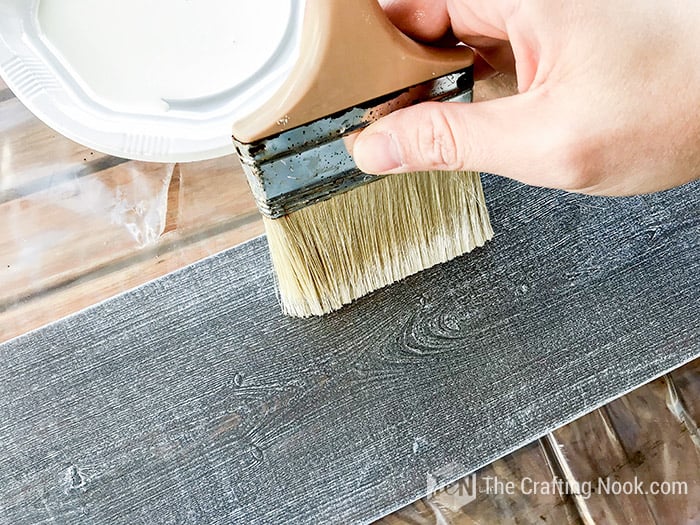
Then dribble a very small amount of paint on the plastic or paper plate.
Now, very gently dab the tip of your dry paintbrush into the paint and dabbed it on a piece f paper or paper towel to remove any excess paint.
You want to keep the tip of your paintbrush “dry” and not saturated with paint, so I suggest starting off with just a tiny bit of paint and adding more as you get comfortable with the technique.

See how most of the bristles are still separated and not soaked in paint? This is what you are going for.

Use short, quick brush strokes in both directions (along the wood grain and across them) to give it a texture and accent the wood lines.
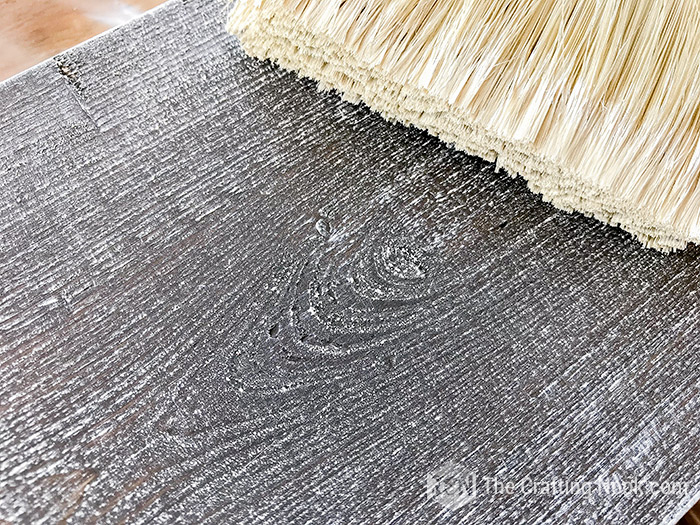

This allowed me to brighten up the wood without completely covering the whole design which gives it so much character.
There’s no right or wrong way to dry brush; so, get creative with your painting, you might discover looks you didn’t even know you could love!
Let it dry once finished.
Then let’s do the same with another brush but with a dark color. But this time will be really short brush strokes here and there to create slightly darker (depth) spots.
When you are happy with the result, let it dry overnight.
Step 4: Spray varnish to finish your work
Finally, when your piece is completely dry, spray your clear matte varnish to protect and finish your masterpiece.
Why spray?
Because if you use a brush to varnish, the dry brushed paint will start blending. Even though it looks pretty too, it’s not the final finish you are looking for in this case.
Let it dry and you are done!

Your limewash look effect is ready to rock!
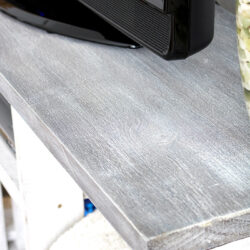
The finished limewashed console table.

Isn’t it super easy and looks amazing?
Now, it’s your time to get creative and bring your crafty and creative side to use!
Frequently Asked Questions
In its simplest form, limewash is lime putty diluted by water to turn it into a milky consistency. Limewash is a finish that gets its textural veneer from added sandstone aggregate. This finish has an almost chalky look to it
The dry brushing technique is a coloring technique used to finish any surface in an uneven way that creates irregularity associated with aged materials. You add layers until you get the desired result or look.
I’ve seen that latex and acrylic paint do really well. However, I use special furniture paint because it combines everything I need, durability, varnish, etc, although I still use a wood spray matte varnish to finish the pieces. Chalk paint is not really as good as acrylic or latex for a dry brush effect and texture because of the nature of the paint mix.
More Woodworking Projects to try
If you liked this Limewashed look with dry brushing tutorial, you might also love these other woodworking project ideas too:
✂️ Tutorial
Diy Limewashed Look With Dry Brush Painting Technique Tutorial
Tools
- Brass-bristle scrub brush
- Protective eyeware
Supplies
- Wood board.
- Dark wood stain I created mine 50-50 sand grey paint and water
- White Cotton latex paint
- 2 brushes.
- Plastic or paper plate
- Paper
- Sandpaper I used 150-grit
- Piece of cloth
- Spray Mata te Clear Varnish
Instructions
STEP 1: PREP WORK
- Firstly, let’s avoid splinters from getting into our fingers. Sand all the edges (I used 150-grit). Only the edges because we don’t want the surface of our board to get too soft.
- Once the edges are done, let’s enhance the whitening effects of dry brushing by opening the wood pores with the brass-bristle scrub brush before applying it.
- Work the brush along the wood grain to avoid unsightly cross-grain scratches.
- Clean the sanding dust off thoroughly before applying the wood stain.
STEP 2: STAINING THE WOOD
- DIY Limewash. If you plan to use paint as stain then prepare your stain diluting 50-50 your dark chosen paint and water. Mix well.
- With a brush, apply your stain all over your wood board.
- It may take more than one application of stain to get the look you’re after. I wanted it slightly dark so it wouldn’t lighten much after dry brushing.
- Let it dry completely. It may take a few hours.
STEP 3: APPLYING DRY BRUSHING TECHNIQUE
- Then dribble a very small amount of paint on the plastic or paper plate.
- Now, very gently dab the tip of your dry paintbrush into the paint and dabbed it on a piece f paper or paper towel to remove any excess paint.
- You want to keep the tip of your paintbrush “dry” and not saturated with paint, so I suggest starting off with just a tiny bit of paint and adding more as you get comfortable with the technique.
- See how most of the bristles are still separated and not soaked in paint? This is what you are going for.
- Use short, quick brush strokes in both directions (along the wood grain and across them) to give it a texture and accent the wood lines.
- This allowed me to brighten up the wood without completely covering the whole design which gives it so much character.
- There’s no right or wrong way to dry brush; so get creative with your painting, you might discover looks you didn’t even know you could love!
- Let it dry once finished.
- Then let’s do the same with another brush but with a dark color. But this time will be really short brush strokes here and there to create slightly darker (depth) spots.
- When you are happy with the result, let it dry overnight.
STEP 4: SPRAY VARNISH TO FINISH YOUR WORK
- Finally, when your piece is completely dry, spray your clear matte varnish to protect and finish your masterpiece.
- Let it dry and you are done!
Other Wood Painting Techniques from my favorite bloggers:
- How to whitewash Wood in 3 Simple Ways by Ananda over at A Piece of Rainbow.
- Build A Wood Pallet Wall Tutorialby Kelly over at The Kelly Homestead.
- How to Weather Wood by Ashley over at Cherished Bliss.
Hope you enjoyed this tutorial and if you did don’t forget to share with friends!
Til’ next time…


FREE WORKBOOK
Keeping your Sweet Home Organized
Learn how to create intentional habits and simple routines to Keep Your Home Organized. Plus freebies, printables, exclusive content, and tips.
Disclaimer: By clicking on the “Yes” button above you are giving me your consent to collect and use your information according to the law and My Policy Privacy. Zero Spam I promise!