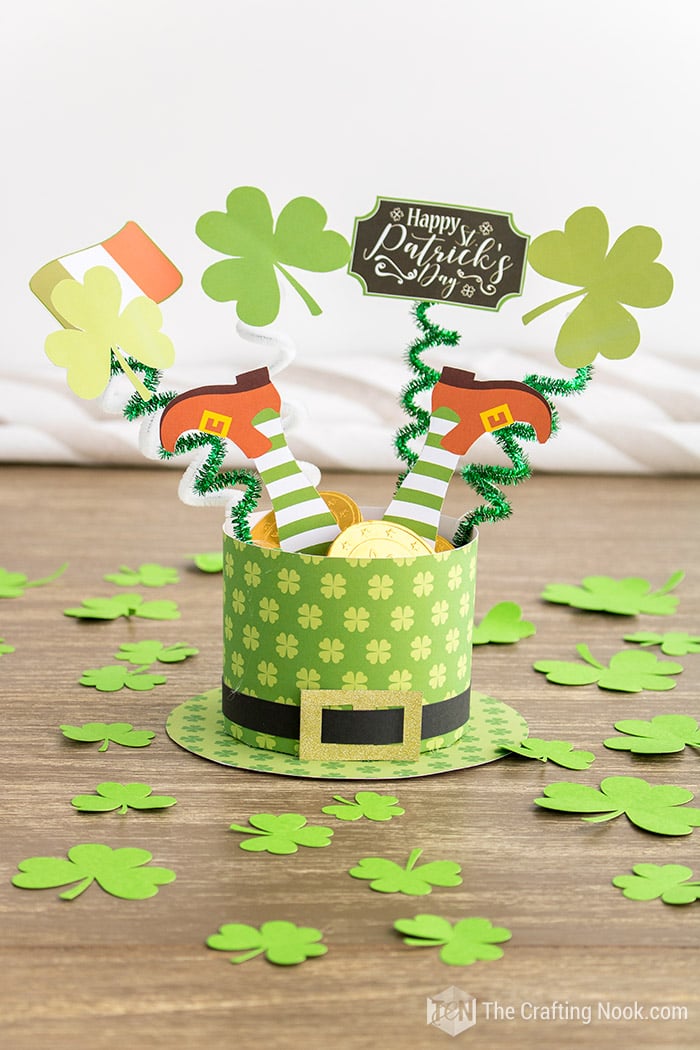
Lucky Hat St. Patrick’s Day Favor Box (free Printables)
This post may contain affiliate links. Please read our Disclosure Policy.
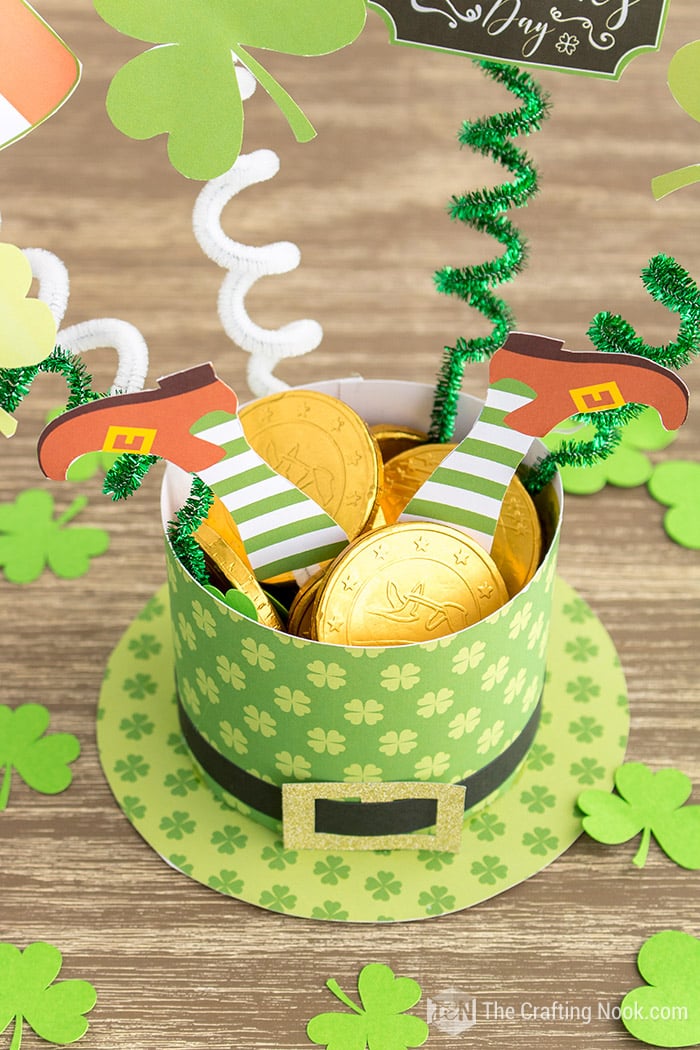
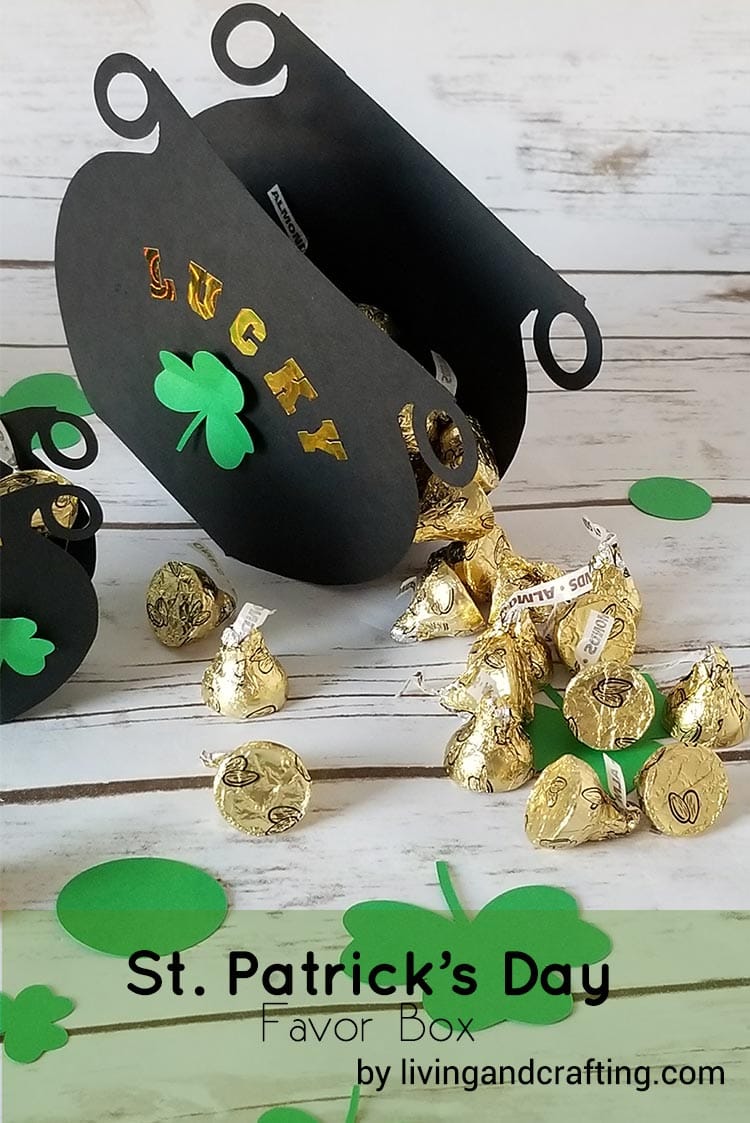
This Lucky Hat St. Patrick’s Day Favor Box is super easy and fun to make especially involving the kids in the process! You should definitely give it a try, Besides you will get free printables and cut Files!
Getting so close to St. Patrick’s Day. Can you believe that? Already? Are you even ready? I’m almost there. This year I made this cute Lucky Hat St. Patrick’s Day Favor Box for my girl to celebrate with lots of gold chocolate coins.

Table of Contents
Lucky Hat St. Patrick’s Day Favor Box (with free Printables)
Nothing says celebration more than a cute a full of candy favor box! These green hats make such perfect party favors too.
This craft can be made in two ways. The first is just printing the free printable and cut them the items yourself which is not hard at all. It’s all ready to cut and assemble.
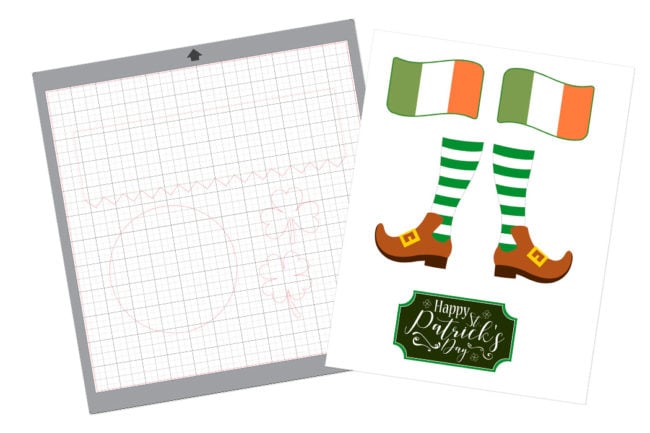
The second is a cutting file so you can cut the hat pieces and the clovers on your favorite cardstock. Since not everyone has a cutting machine I decided to for the manual way to make this cute St. Patrick’s Day Favor Box so anyone can make it too.
This fun craft is not too messy, and the pieces that could fall on the floor would be easy be picked up by hand or vacuumed, making it a great craft to do with the whole family.
It took me about an hour or so to make it. If I had help I would have made it in a lot less. Unless it’s weekends It’s hard for me to get my girl’s help since she’s at school the whole day and when she gets home there’s not enough light to take photos.
As a confession I need to get more organized so I can make crafts with her on weekends, she’s so fun to craft with.
Anyway, if you get those cute little helpers you will have tons of fun making this St. Patrick’s Day Favor Box.
How to Make a Lucky Hat St. Patrick’s Day Favor Box
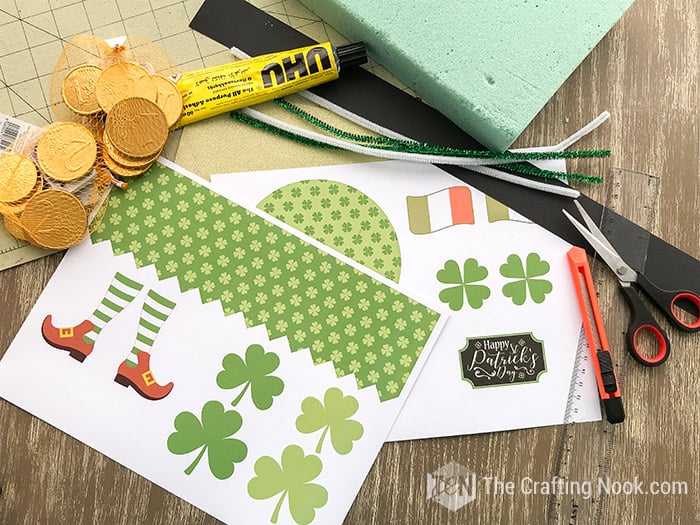
Supplies:
- A small piece of Floral Foam Block.
- White thick cardstock
- Glue
- Hot glue gun
- A strip of black cardstock
- White and green Pipe Cleaners
- Lots and lots of Gold Chocolate Coins!
- Scissors, ruler, cutter, and pencil.
Grab your cute freebies printables HERE
Grab your free cut Files + Printable items HERE
Instructions:
Before we begin, be sure to follow us on Pinterest, Facebook, Instagram, and YouTube, and also sign up for our email list (at the end of this post), so you’ll never miss a post!
Prep Work: Cutting all the pieces
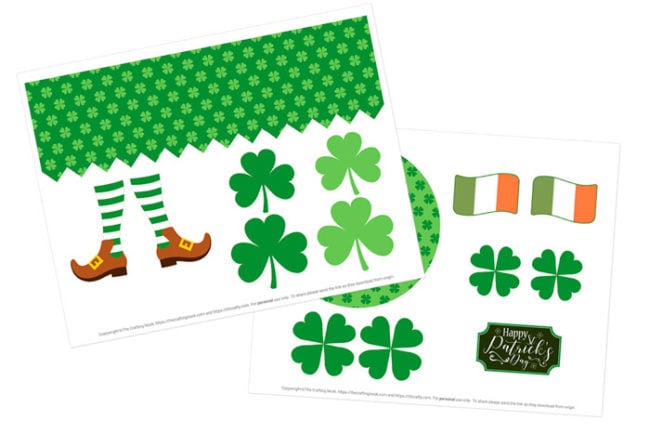
1. Of course, the first step is printing your cute printable, I recommend printing in high quality so it looks really bright and pretty.
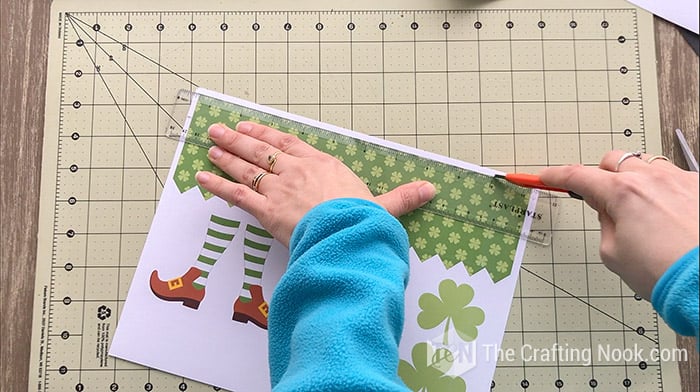
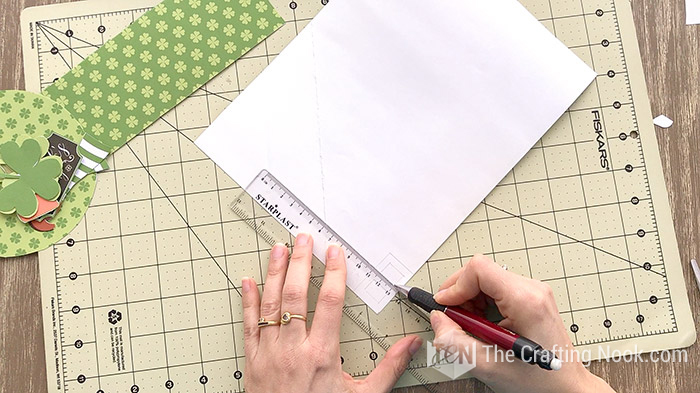
2. Start by cutting the hat body. If you want a clean cut on the top edge then use a roller and a cutter (over a cutting mat) and cut the top edge. Don cut the sides just yet.
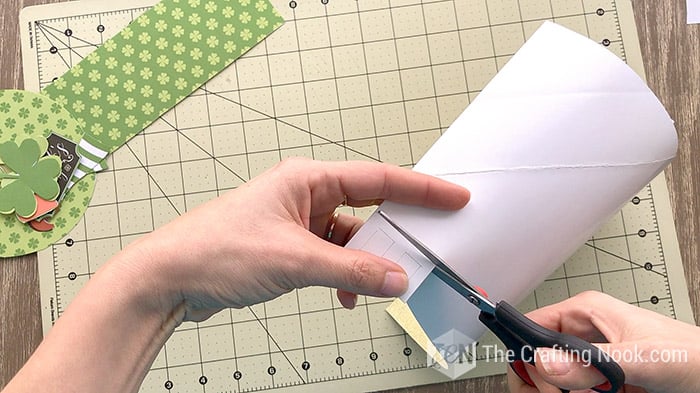
3. Cut the base flaps with either scissors or a cutter.
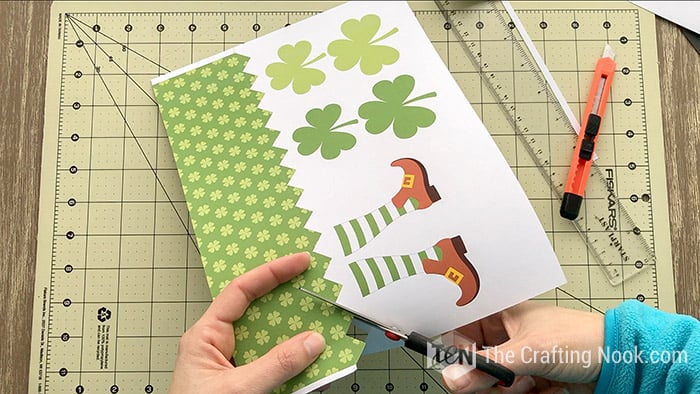
4. Then cut just one of the sides. The other one will work as gluing flap.
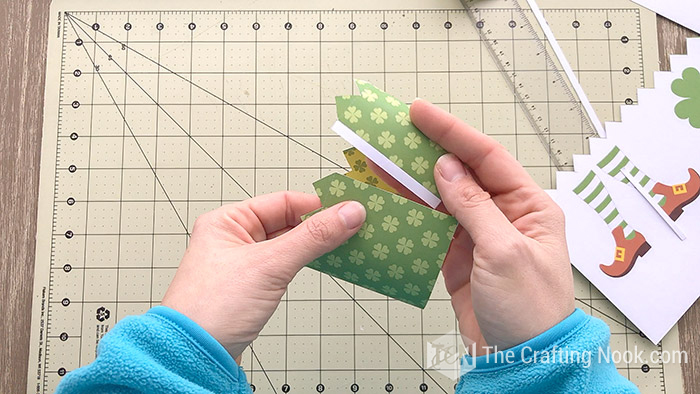
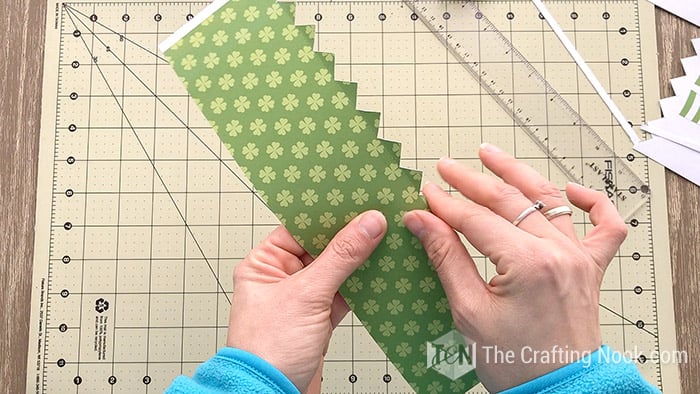
5. Using your ruler as a guide, fold the base flaps inwards. (please forgive my paper, I recycled my cardstock after a failed printing attempt). Set aside.
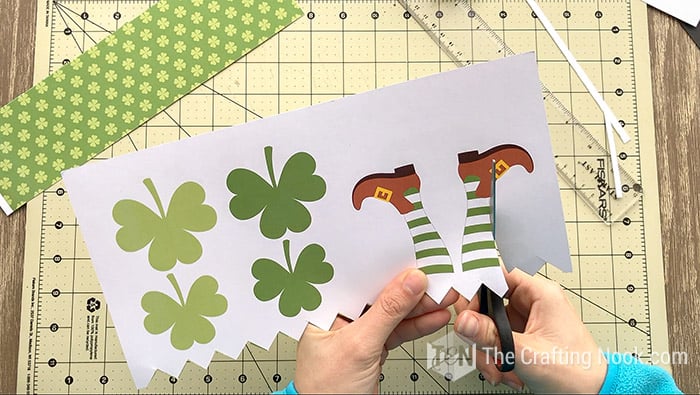
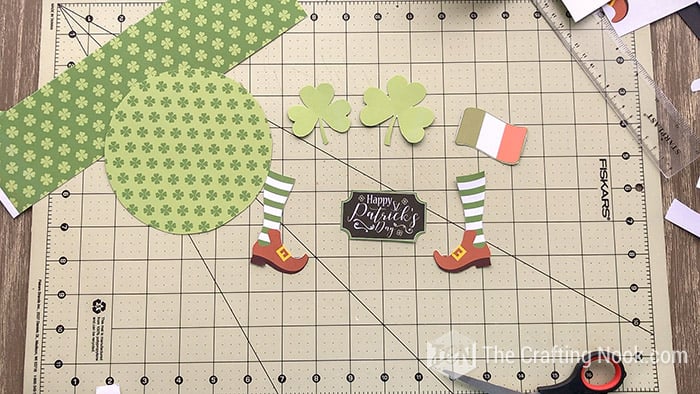
6. Cut all the items you want to use. I added a few extra ones.
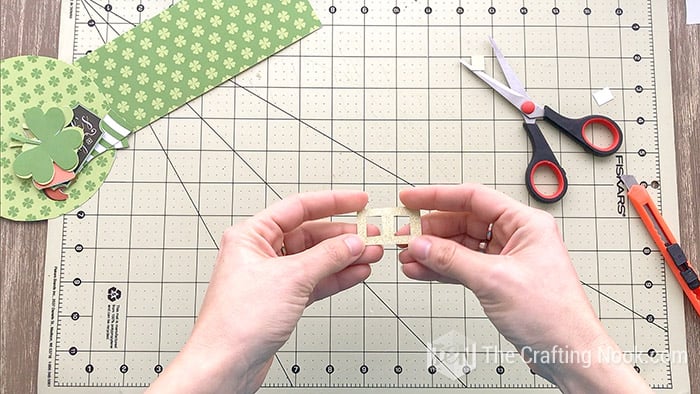
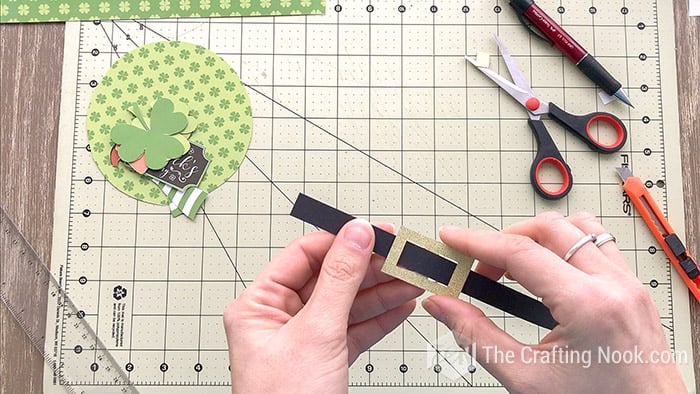
7. Then turn your gold cardstock right side facing table, and draw a belt buckle. Nothing fancy.
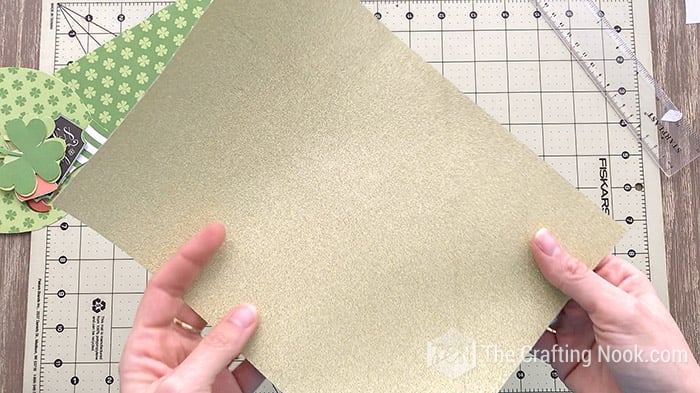
8. Cut and set aside.
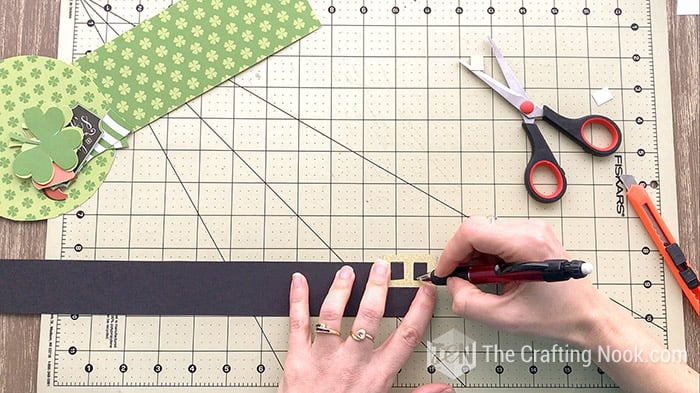
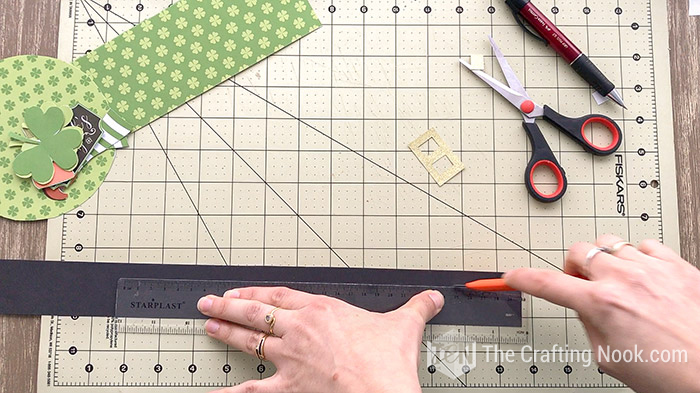
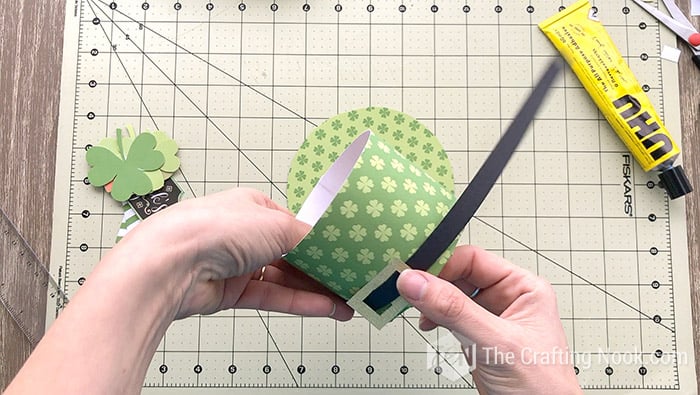
9. Then cut a strip of black cardstock, make sure it fits inside your belt buckle. Set aside.
Assembling the cute treat boxes.
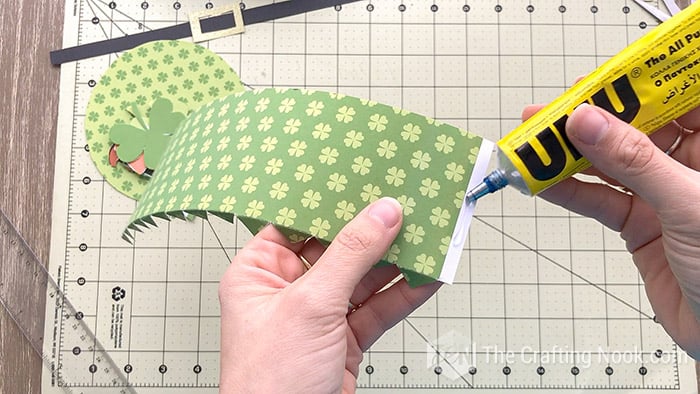
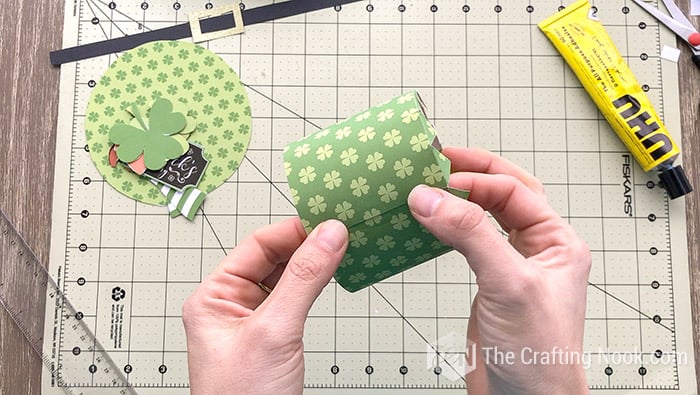
10. Apply a small line of glue on the white flap of your hat’s body. Glue both ends together making sure no white part shows up.
11. Put in pace your hat’s belt making sure the closing ends match the hat’s body end. Glue them both together.

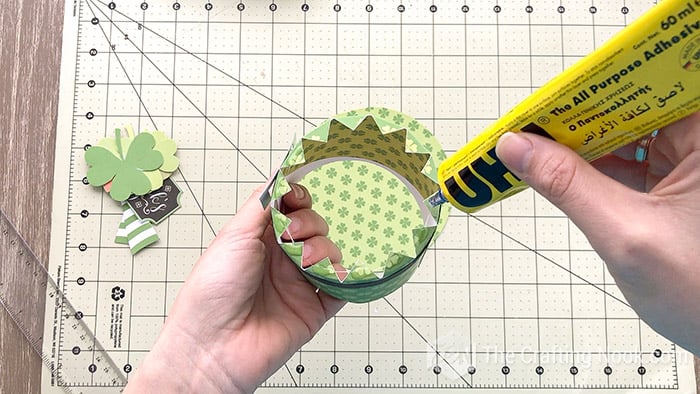
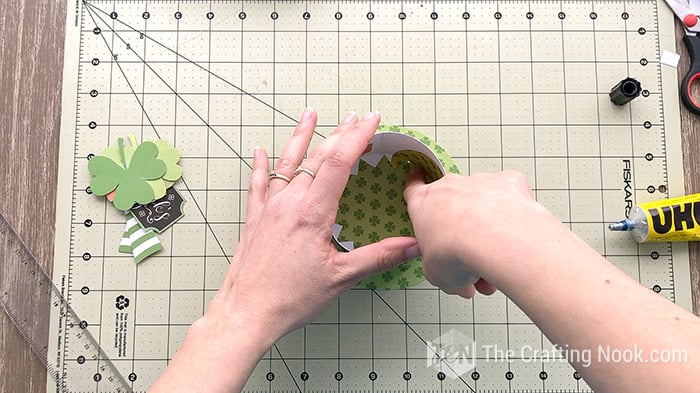
12. Then apply glue to the base flaps of the hat and glue it to the hat’s base.
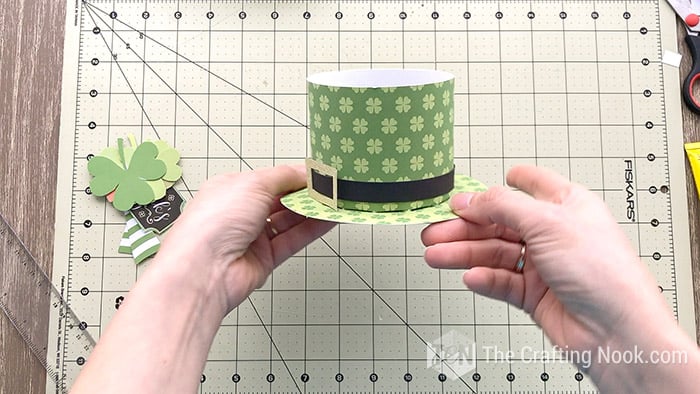
14. Let it dry and you get this:
15. Set aside.
Filling and decorating the St. Patrick’s Day Favor Box
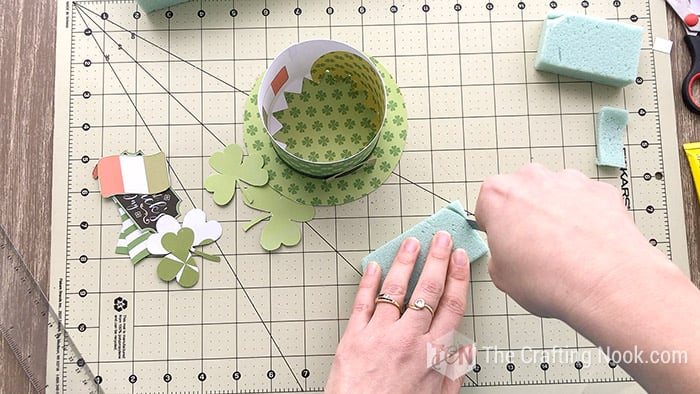
16. Cut a piece of Floral Foam Block that will fit perfectly inside the hat.
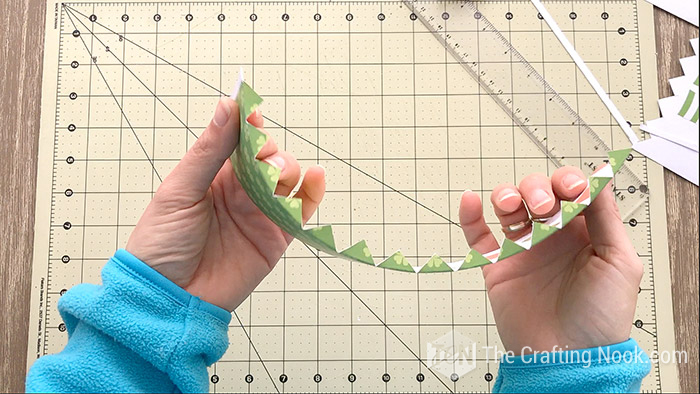
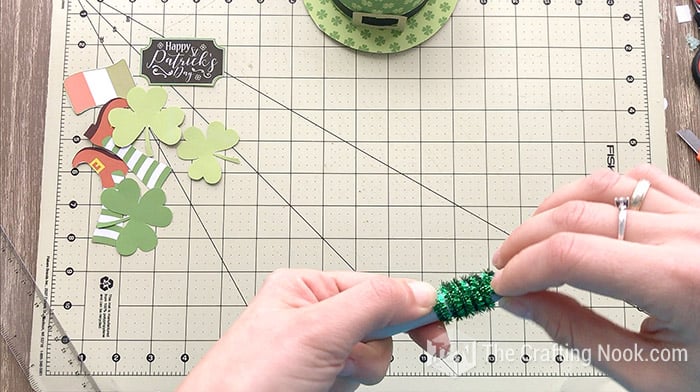
17. With your pipe cleaners, measure the hat’s height and bend it 90º.

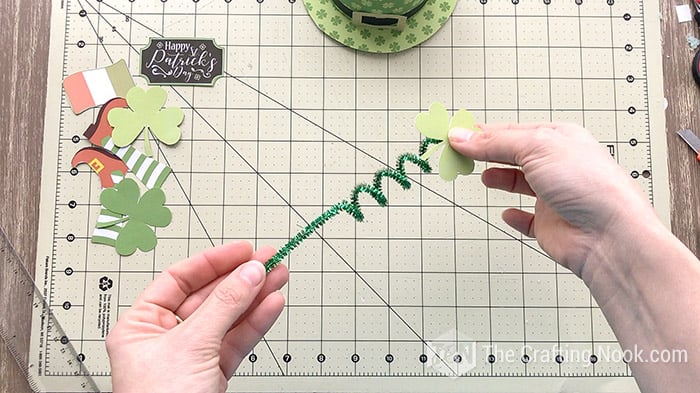
18. Then using a marker or any thick round element you have handy, wrap the pipe cleaner around a few times until you have only about 1/8 inch.
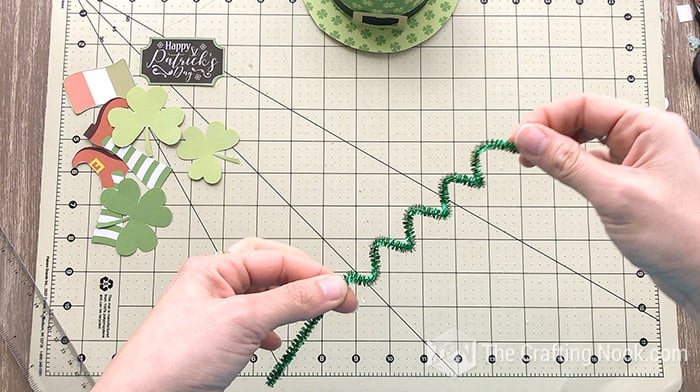
19. Release the pipe cleaner and stretch it a bit. Repeat with as many pipe Cleaners as items you want to add.
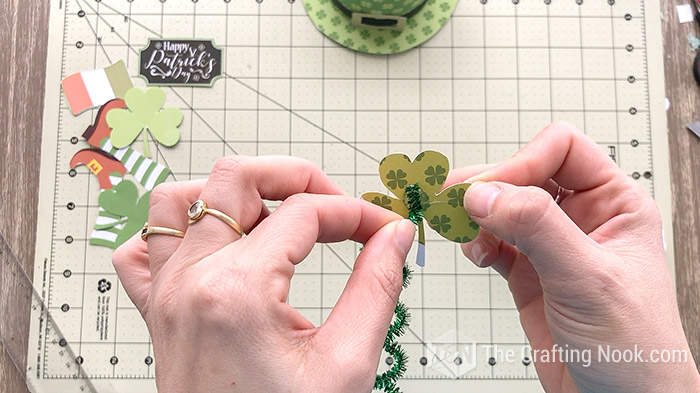
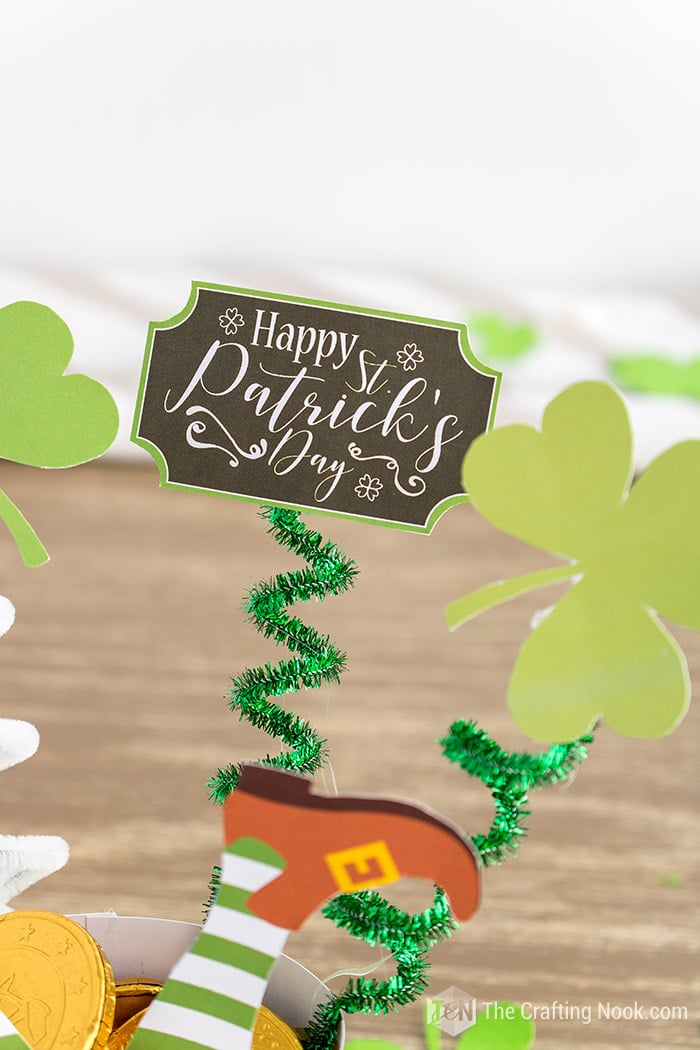
20. Glue the tip to the clovers and the sign and any other item.
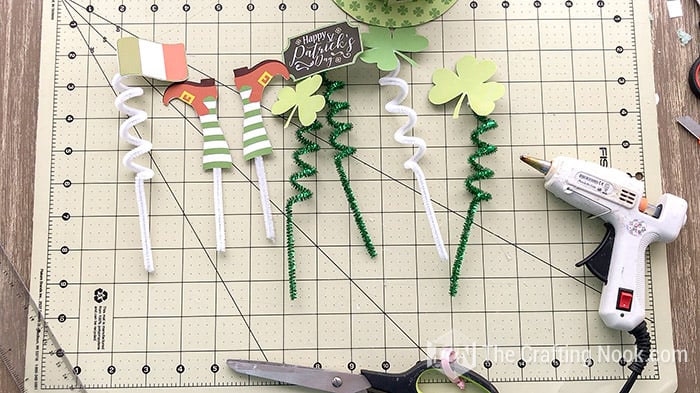
21. Cut a couple of strips of straight pipe cleaner about the same height as the hat. Glue the legs upside down.
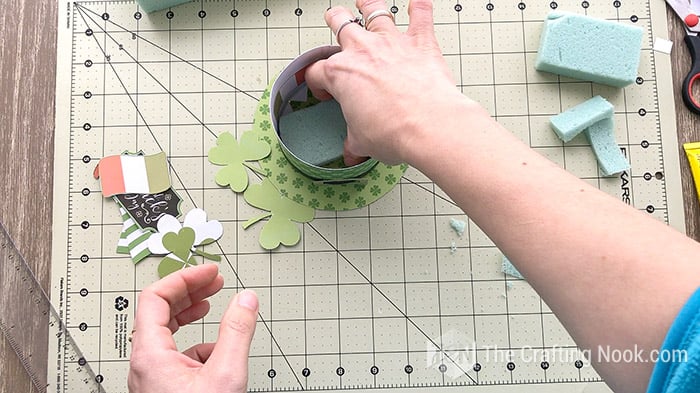
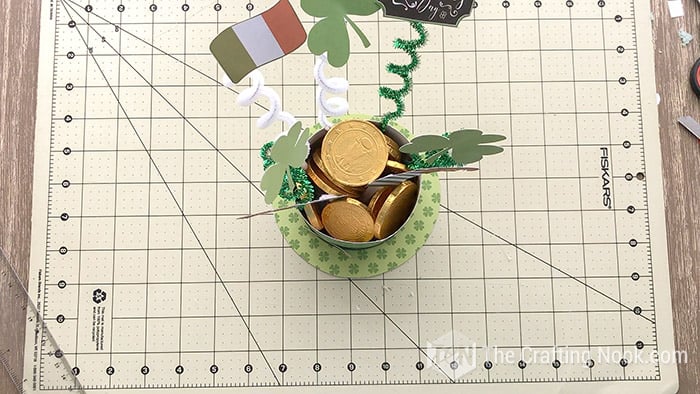
22. Then pinch the floral foam with the free end of the pipe cleaners. I tried to pinch around the floral foam block so I would have enough space for the chocolate coins.

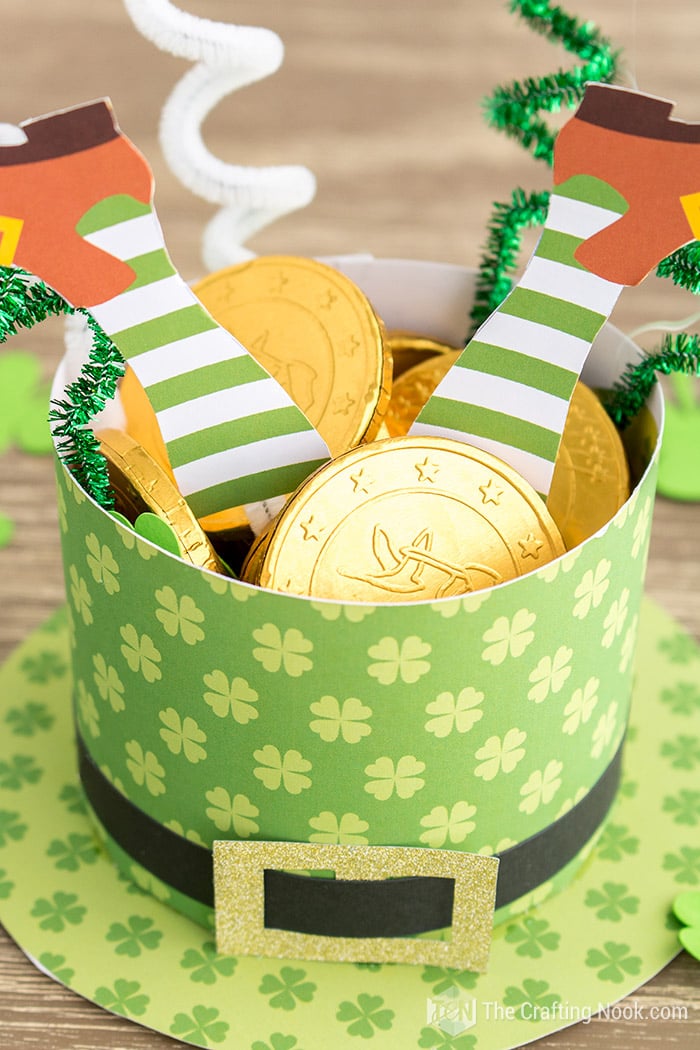
23. Insert the floral foam block back to the hat and finally put all your chocolate coins in your hat!
Woot! You got a super cute Lucky Hat St. Patrick’s Day Favor Box.
Kids will love this! Make as many as you like and use them as gifts too!

Frequently Asked Questions
I used plain white cardstock because I was going to print all the pieces. But If you want to use something different and don’t want to print it all , then you could use scrapbook paper, pattern paper, or any type of cardstock you like for the hat and shamrocks for example.
Your kids’ favorite candies of course, from simple gold coins to the favorite chocolate, cookies, sweets, or even snacks if your family is not that into sweets. Actually, you are in luck, you can even do this candy-free too by putting a special gift mixed with fun confetti.
More St. Patrick’s Day Project Ideas to Try
Also if you enjoyed this cute St. Patrick’s Day Favor Box, you might also love these other St. Patrick’s Day project ideas too!

✂️ Tutorial

DIY Lucky Hat St. Patrick’s Day Favor Box
Tools
- Scissors, ruler, cutter, and pencil.
- Hot glue gun and glue sticks
- Cutting machine (Cricut or Silhouette Cameo) *Optional
Supplies
- A small piece of Floral Foam Block.
- White thick cardstock
- Glue
- A strip of black cardstock
- White and green Pipe Cleaners
- Lots and lots of Gold Chocolate Coins!
Instructions
PREP WORK: CUTTING ALL THE PIECES
- Of course, the first step is printing your cute printable, I recommend printing in high quality so it looks really bright and pretty.
- Start by cutting the hat body. If you want a clean cut on the top edge then use a roller and a cutter (over a cutting mat) and cut the top edge. Don cut the sides just yet.
- Cut the base flaps with either scissors or a cutter.
- Then cut just one of the sides. The other one will work as gluing flap.
- Using your ruler as a guide, fold the base flaps inwards. (please forgive my paper, I recycled my cardstock after a failed printing attempt). Set aside.
- Cut all the items you want to use. I added a few extra ones.
- Then turn your gold cardstock right side facing table, and draw a belt buckle. Nothing fancy.
- Cut and set aside.
- Then cut a strip of black cardstock, make sure it fits inside your belt buckle. Set aside.
ASSEMBLING THE CUTE TREAT BOXES.
- Apply a small line of glue on the white flap of your hat’s body. Glue both ends together making sure no white part shows up.
- Put in pace your hat’s belt making sure the closing ends match the hat’s body end. Glue them both together.
- Then apply glue to the base flaps of the hat and glue it to the hat’s base.
- Let it dry and you get this:
- Set aside.
FILLING AND DECORATING THE ST. PATRICK’S DAY FAVOR BOX
- Cut a piece of Floral Foam Block that will fit perfectly inside the hat.
- With your pipe cleaners, measure the hat’s height and bend it 90º.
- Then using a marker or any thick round element you have handy, wrap the pipe cleaner around a few times until you have only about 1/8 inch.
- Release the pipe cleaner and stretch it a bit. Repeat with as many pipe Cleaners as items you want to add.
- Glue the tip to the clovers and the sign and any other item.
- Cut a couple of strips of straight pipe cleaner about the same height as the hat. Glue the legs upside down.
- Then pinch the floral foam with the free end of the pipe cleaners. I tried to pinch around the floral foam block so I would have enough space for the chocolate coins.
- Insert the floral foam block back to the hat and finally put all your chocolate coins in your hat!
- Woot! You got a super cute Lucky Hat St. Patrick’s Day Favor Box.
Other St. Patrick’s Day fun craft Tutorials I love from my favorite bloggers
- Leprechaun Stick Puppet by I Heart Crafty Things.
- Leprechaun Traps by The Best Ideas for kids.
- How To Make Paper Four Leaf Clovers Using Craft Punches by DIY Inspired.
- Four-leaf Clover Paper Shamrock Wreath by The Craft Patch.
PIN AND SHARE

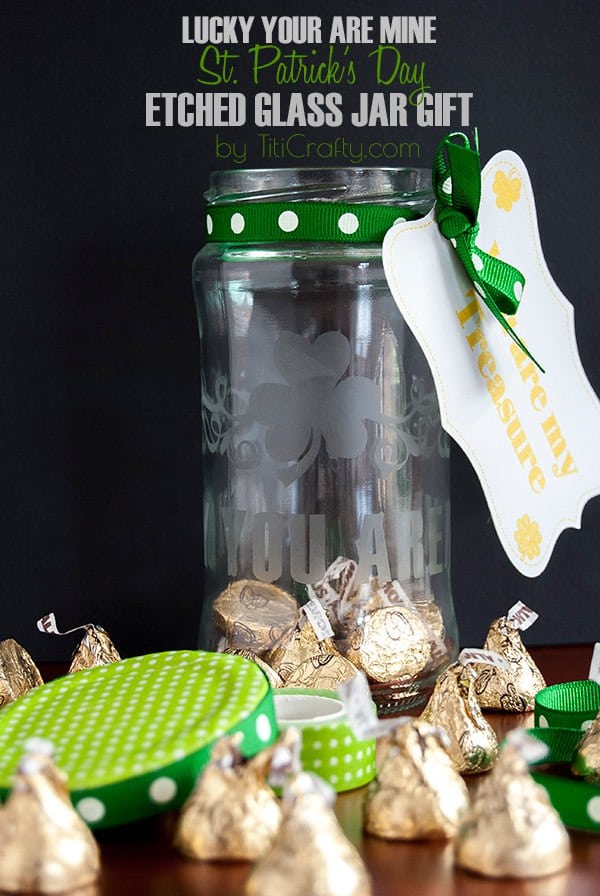
Let me know your thoughts about this in comments. And… If you want another cute Favor box idea check my friend Karina’s Blog for a super cute Pot of Gold St. Patrick’s Day Favor Box
Til’ next time…


FREE WORKBOOK
Keeping your Sweet Home Organized
Learn how to create intentional habits and simple routines to Keep Your Home Organized. Plus freebies, printables, exclusive content, and tips.
Disclaimer: By clicking on the “Yes” button above you are giving me your consent to collect and use your information according to the law and My Policy Privacy. Zero Spam I promise!
When I download the file the only thing that downloads is one page consisting of the of legs, flags and sign. No hat.
Hi Diana, You probably downloaded the cut file plus printable. There are 2 options. The free cut files + printable and only printables. When you download the printables you will get the whole thing. The reason is because not everyone has a cutting machine. On the post you will see an image of what contains each donloadable link.
Hopes this helps,
Cami
I love your St Patrick’s Day favor box. When I click on the free printables I receive an error message. It says site not found. Would you please update the link or email the free printables to me? I really want to make this favor box.
Thanks,
LeAnne
Hi LeAnne, Thank you for letting me know! I appreciate that. The links have been fixed! You can now download your freebies!
Best of luck!
I love those leprechaun legs! Thanks so much.
Thank you so much! These are fun indeed! So glad you like them!
Hugs
I love all your favor box projects! kids just like it when they reach inside boxes or bags and get treats.
Yup! That’s right! And These holidays and celebrations are all about them! So glad you like these!!!
Hugs
I found you cute Lucky Hat St Patrick’s Day Favor Box however the free printables were not available. Is there any way you could email them to me or update the site? Thanks so much!
Leanne
LCARY2004@SBCGLOBAL.NET