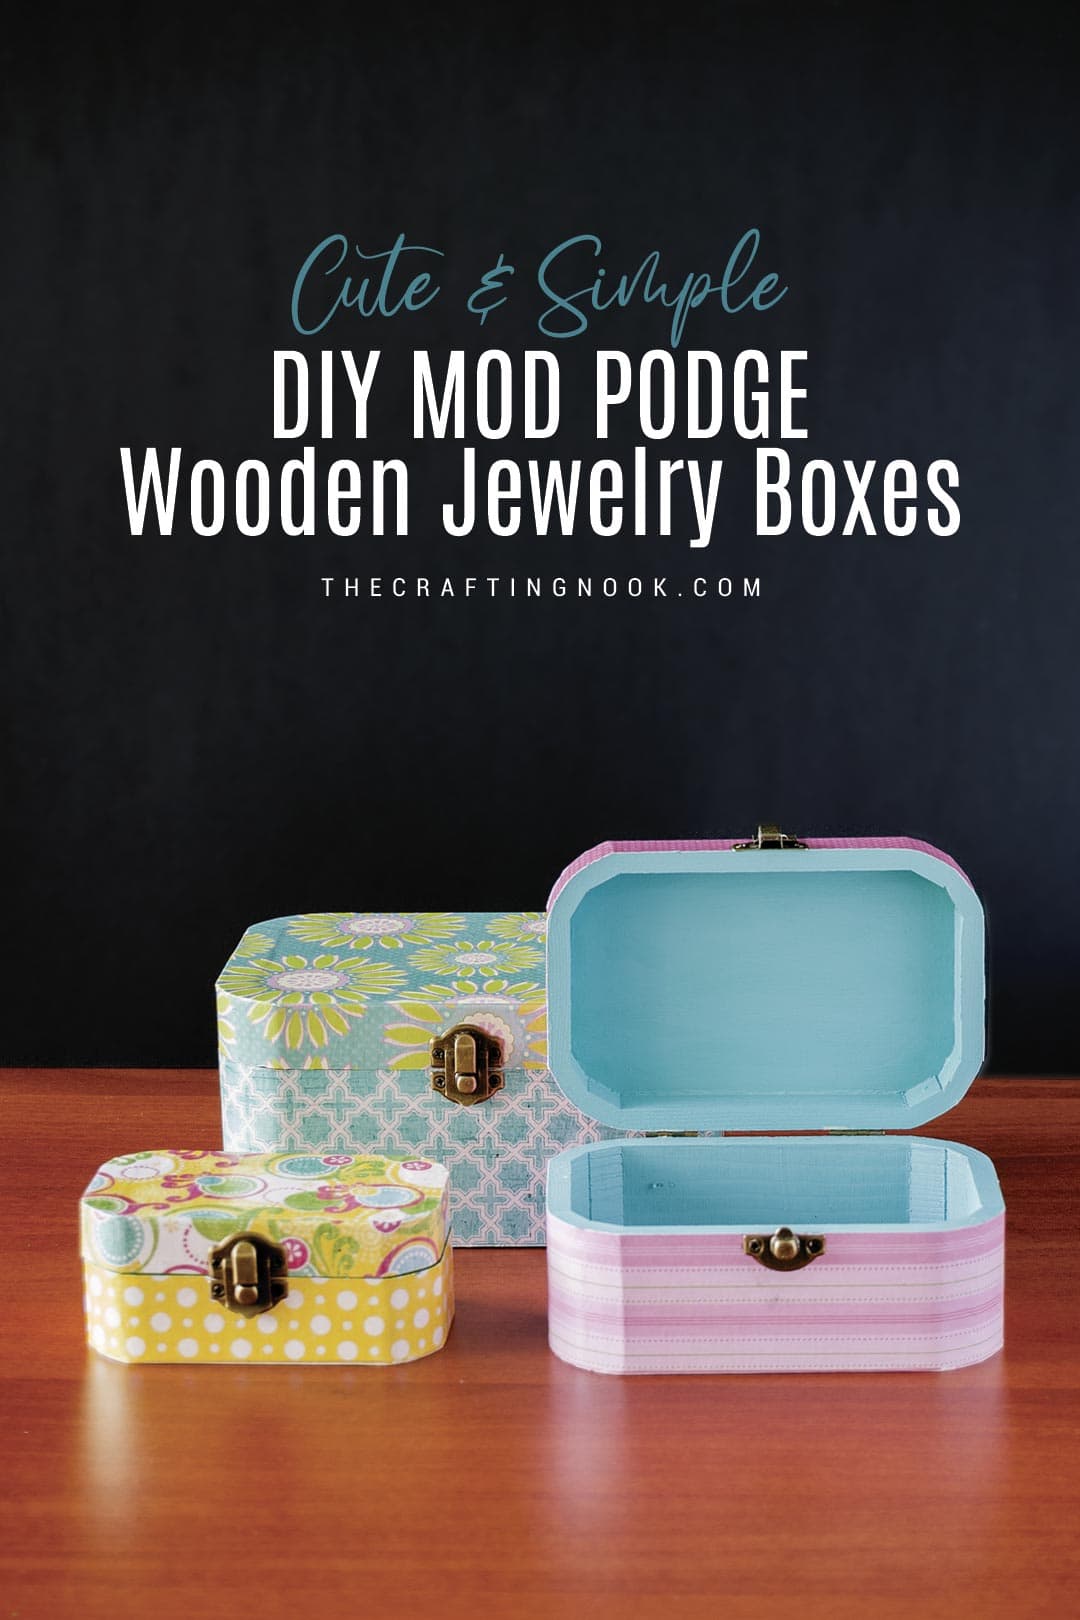
How to Mod Podge a Box with Scrapbook Paper
This post may contain affiliate links. Please read our Disclosure Policy.
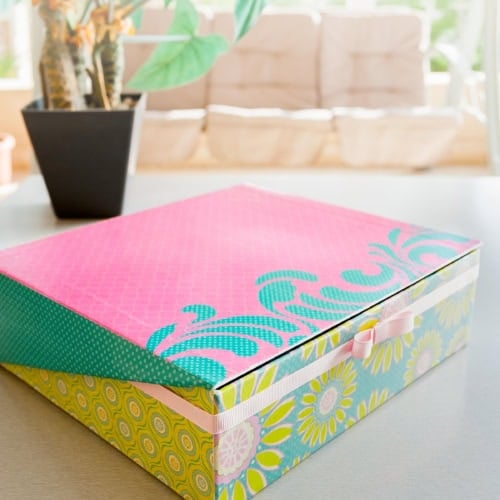
Learn how to Mod Podge a box into a stylish storage solution with this simple DIY tutorial! Using Mod podge, scrapbook paper and a few basic supplies, you can transform any old box into a beautiful, customized piece perfect for storing cards, photos, and craft supplies. Dive into this budget-friendly project and let your creativity fly!
There’s no need to spend a lot of money on storage items. Upcycle those unused boxes by giving them a pretty look and new purpose. This mod podge upcycled box is perfect to store cards, photos, and even craft supplies!
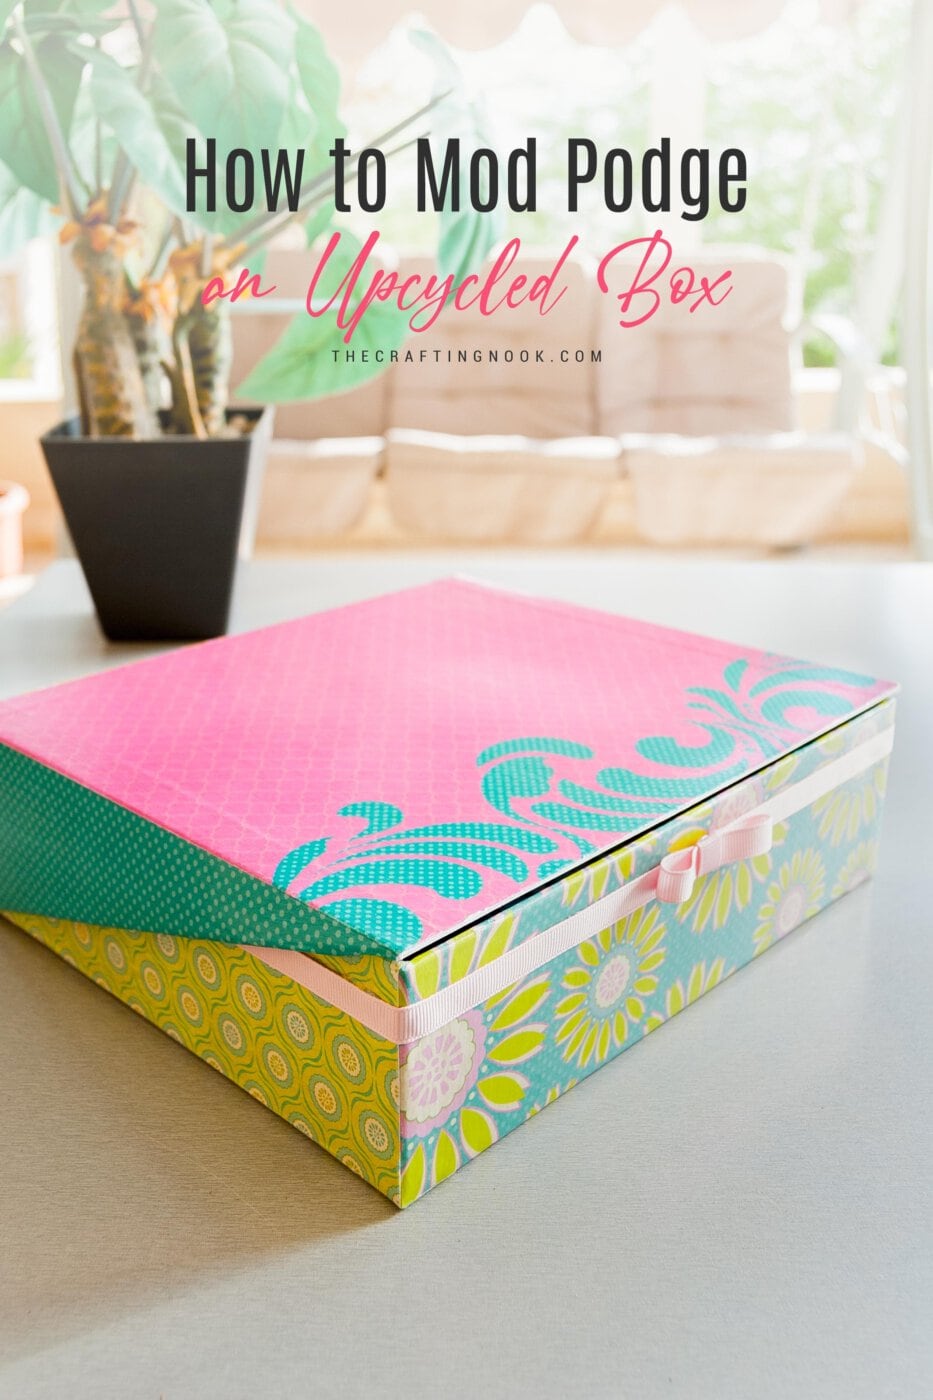
Table of Contents
Upcycled Box with Mod Podge and Scrapbook Paper.
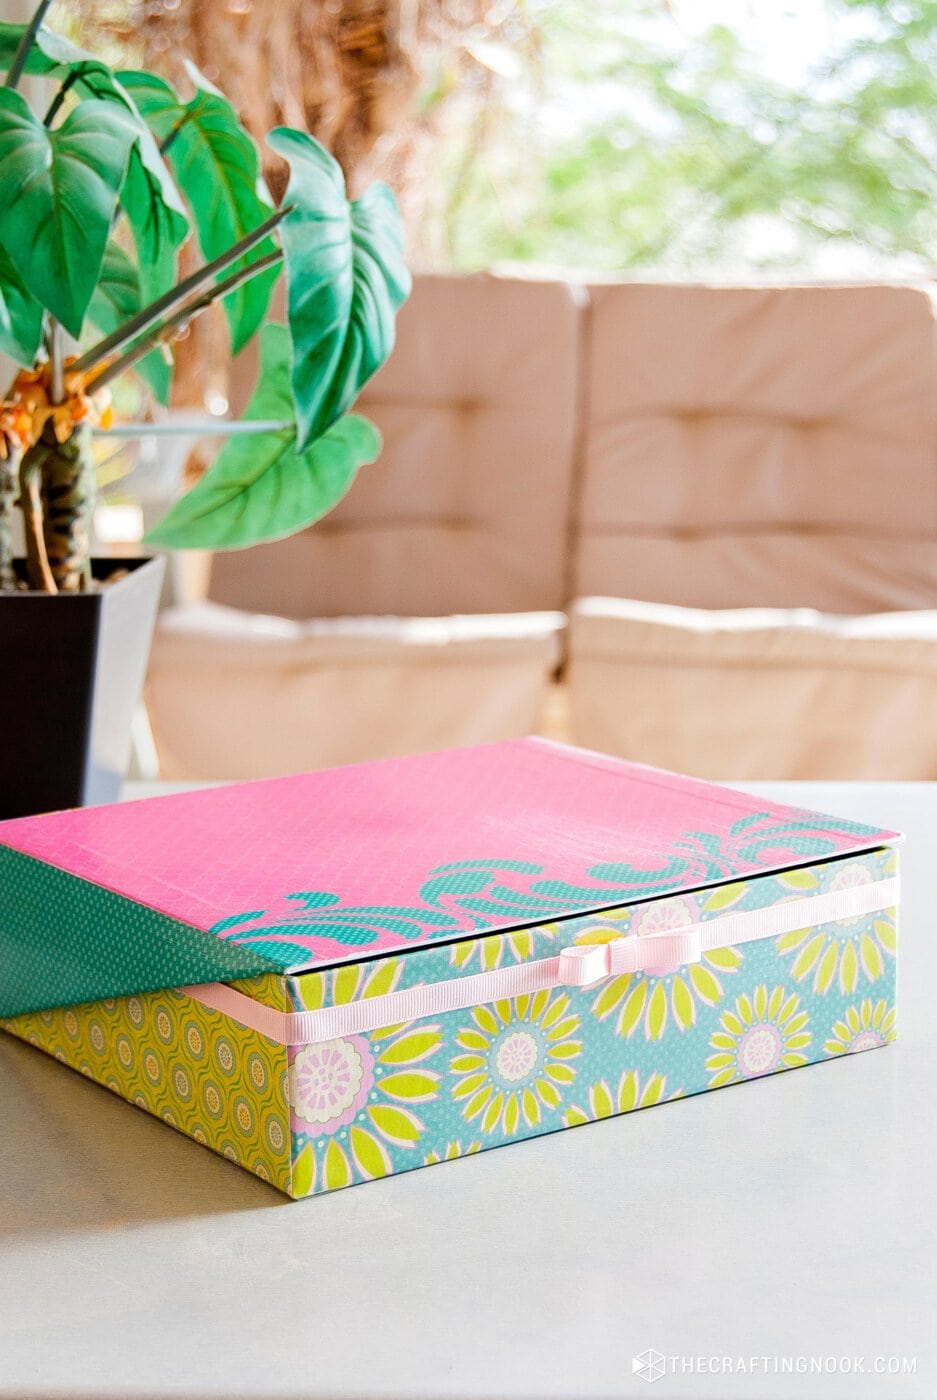
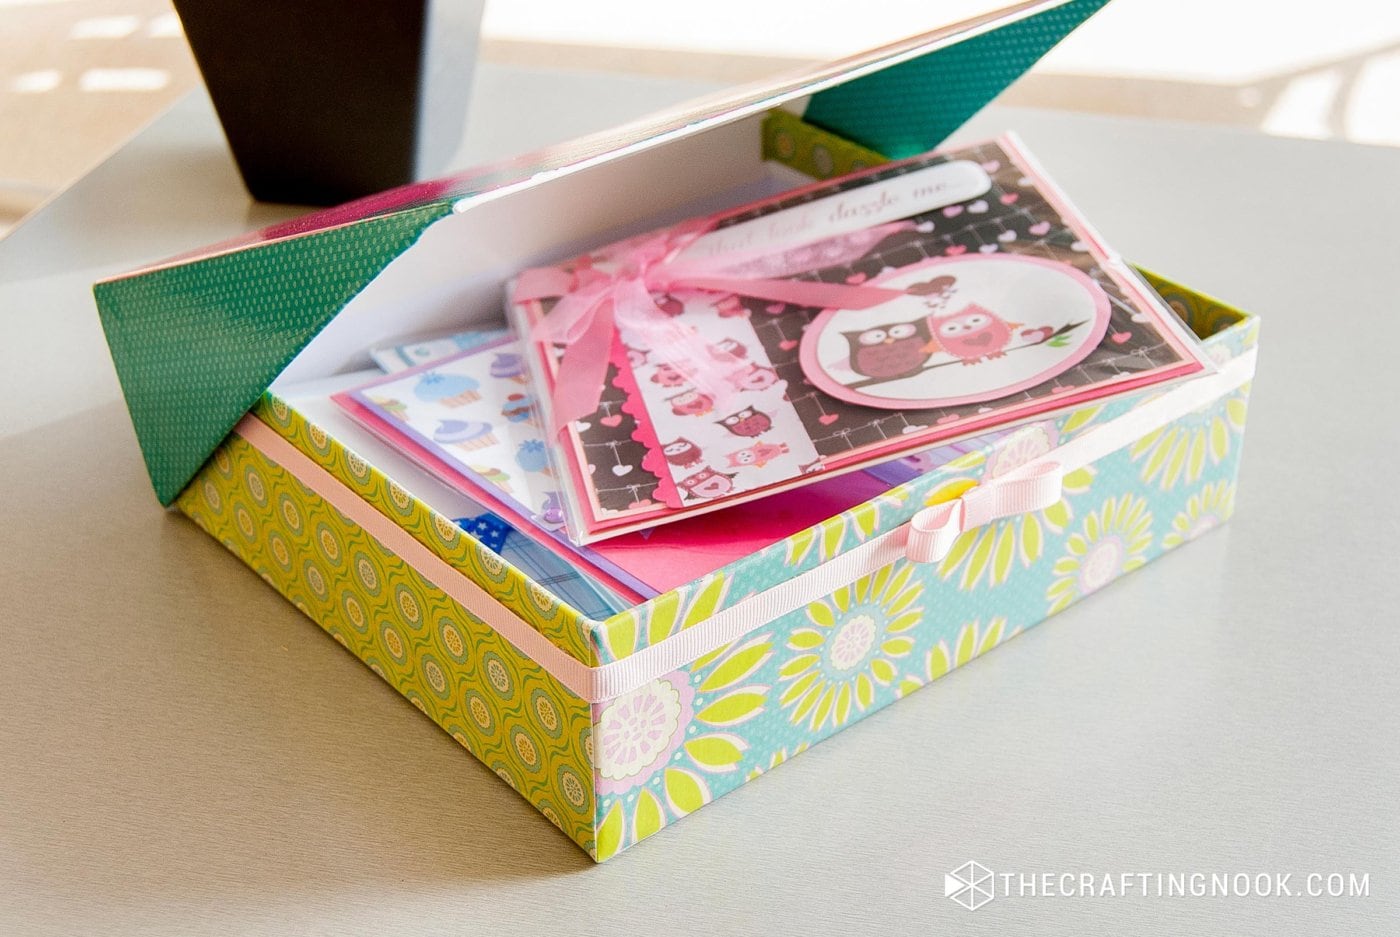
Upcycling is always a good thing. Especially boxes. They make an awesome storage solution, great gift boxes and also decorative giving them a little love. Mod podge is one great and fun solution. I made this cute mod podge upcycled box to store all my handmade cards. An Inexpensive craft and useful item.
I love making crafty handmade cards I think that’s the most thoughtful gift we can give to someone special.
The problem was that I used to keep them in any box I could find and they were not pretty or practical. Then a few weeks ago, my mom was throwing away this super cute perfume gift box. Thankfully, I was there just in time to save it. I knew I could use it for something.
Not long after, I learned about Mod Podge and immediately fell in love with it. I learned how to use Mod Podge with Amy from Mod Podge Rocks. She has a great way to explain things and I quickly became in love with Mod Podge!
Then I thought I could definitely mod podge my rescued box to turn it into a gorgeous and cheerful one for all the cards I made both for sale and for my own personal use.
If you are not familiar with Mod Podge, it is a versatile crafting medium widely used in various DIY projects, particularly for decoupage. It acts as a glue, sealer, and finish all in one.
You can use almost any type of box. You can use a cardboard box, shoe boxes, wooden boxes and as I did, perfume giftboxes.
How to Mod-Podge a Box with Scrapbook Paper
Here is how I made it.
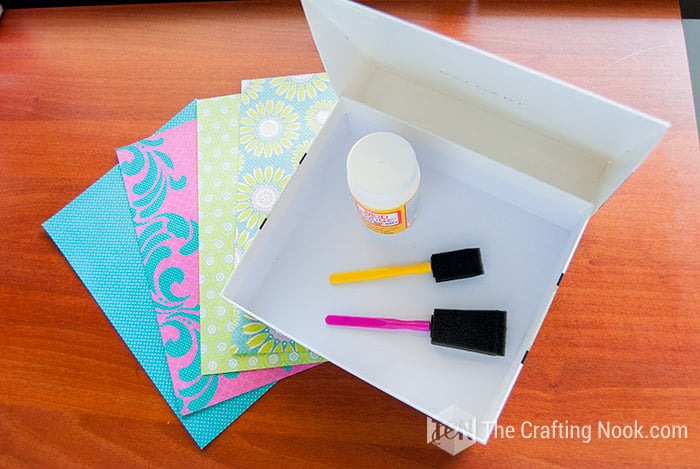
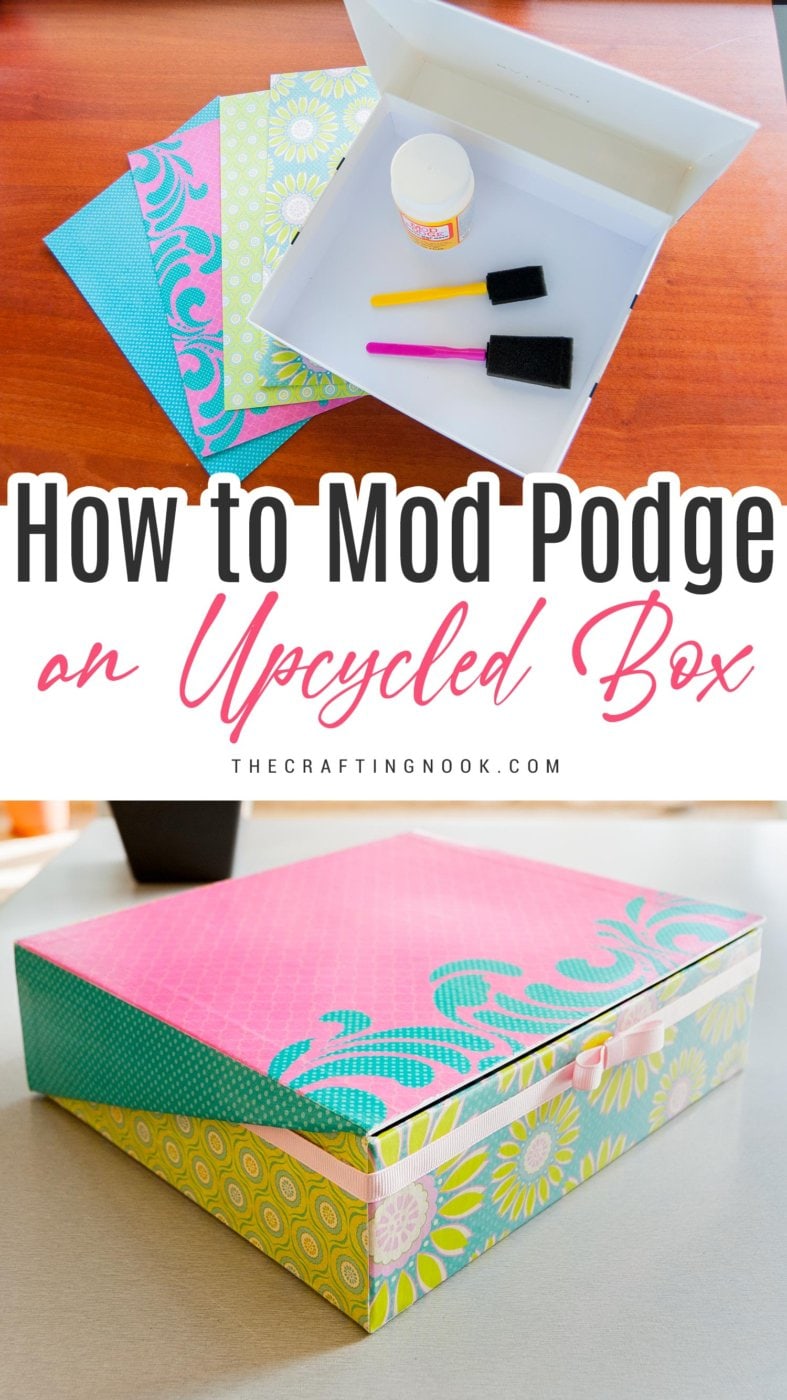
Supplies:
- A box – New or reused
- Scrapbook paper – or any pretty paper you have
- Mod Podge
- Foam brushes
- Ribbon (optional)
Tools:
- Scissors
- Hot glue gun and glue sticks
Instructions:
You probably notice this box has a particular shape, but the easy steps I’m explaining here work for common boxes just the same. Let’s start this box makeover.
1. Firstly, start with the sides of the box. Add a layer of Mod Podge to one side of the box and line up the sheet of paper. With a scrapper make sure you remove air bubbles and the paper lays flat without any wrinkles. Continue the process all the way around the box.
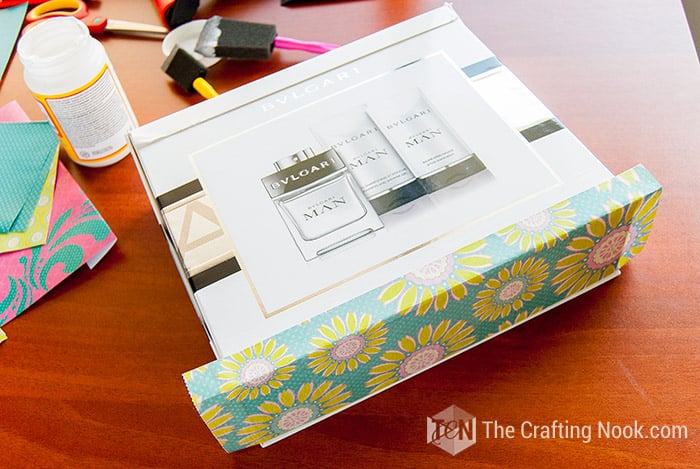
2. I usually cover 2 opposite sides first leaving a flap about an inch to fold them to the next side. And then I cover the other two sides with the paper in the same size as the space with no flaps.
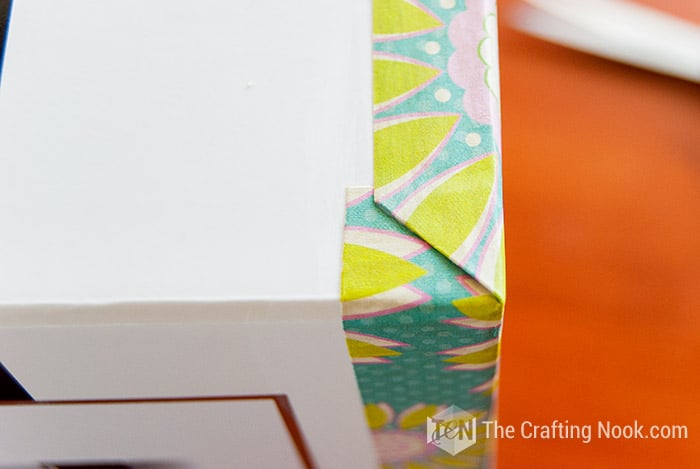
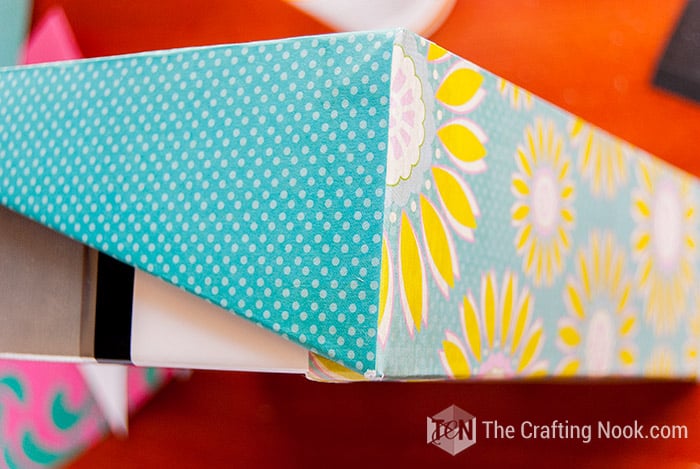
3. Then, leave about an inch of paper to fold to the inside of the box making sure every side is the same size so it looks nice.
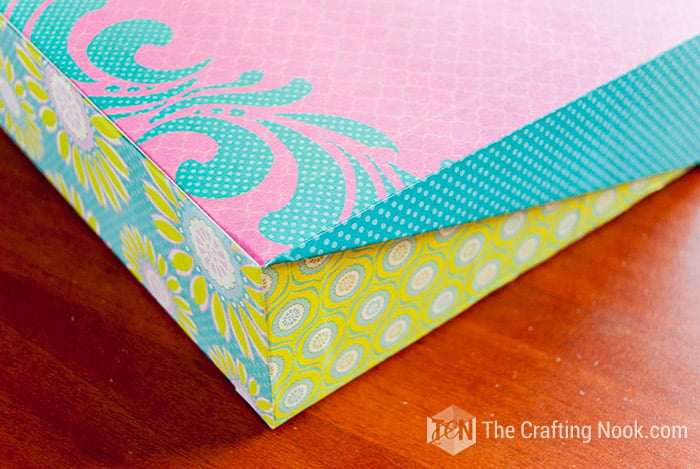
Using different but coordinated scrapbooking papers, it’s easy to make it fun and colorful.
If you are working with a box like show boxes, you do the same process on both, the box and the lid. In my case, my box was one piece so I went along with it.
4. Next, when all the sides are covered, cover the top of the box lid without a flap.
5. Then go for the bottom. I just used plain white cardstock but you can use the paper you like the most.
6. Let everything dry 30 minutes.
7. Once you have the box and the lid ready, it’s time to seal.
8. Apply a layer of mod podge on both the box and lid. I recommend using a cup or something to support the box and lid upside down so they can dry without touching anything.
9. Let everything dry for about 2 hours or overnight.

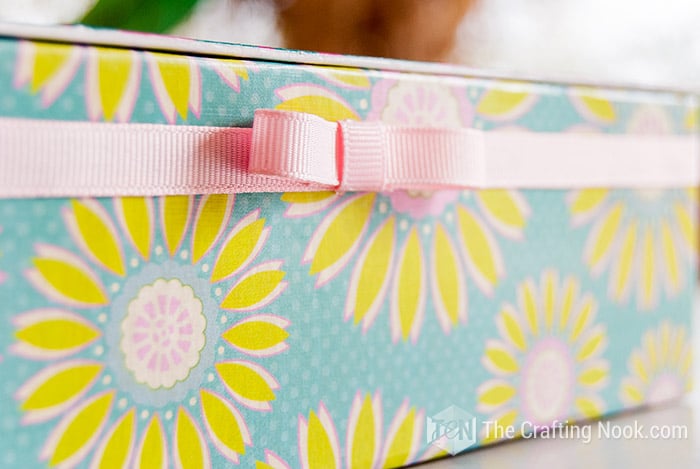
10. Lastly, I added the final touch: a cute pink ribbon and a simple bow. Starting on the back, about an inch from the edge of the box (or on the middle of the lid sides), apply hot glue in sections and glue the ribbon as straight as possible. Continue until you meet the other end of the ribbon on the back.
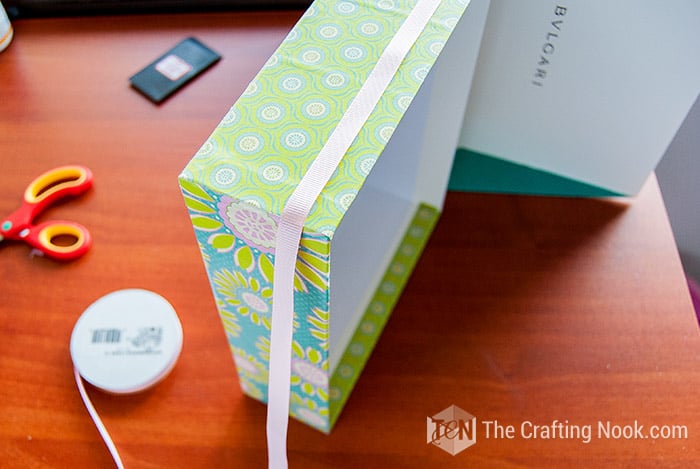
11. On the front of the box glue the ribbon bow on the center of the ribbon.
Since the inside was already all white I left it as it was. Depending on the purpose you are giving it, you could cover the inside of the box with felt so what you store, is safer.
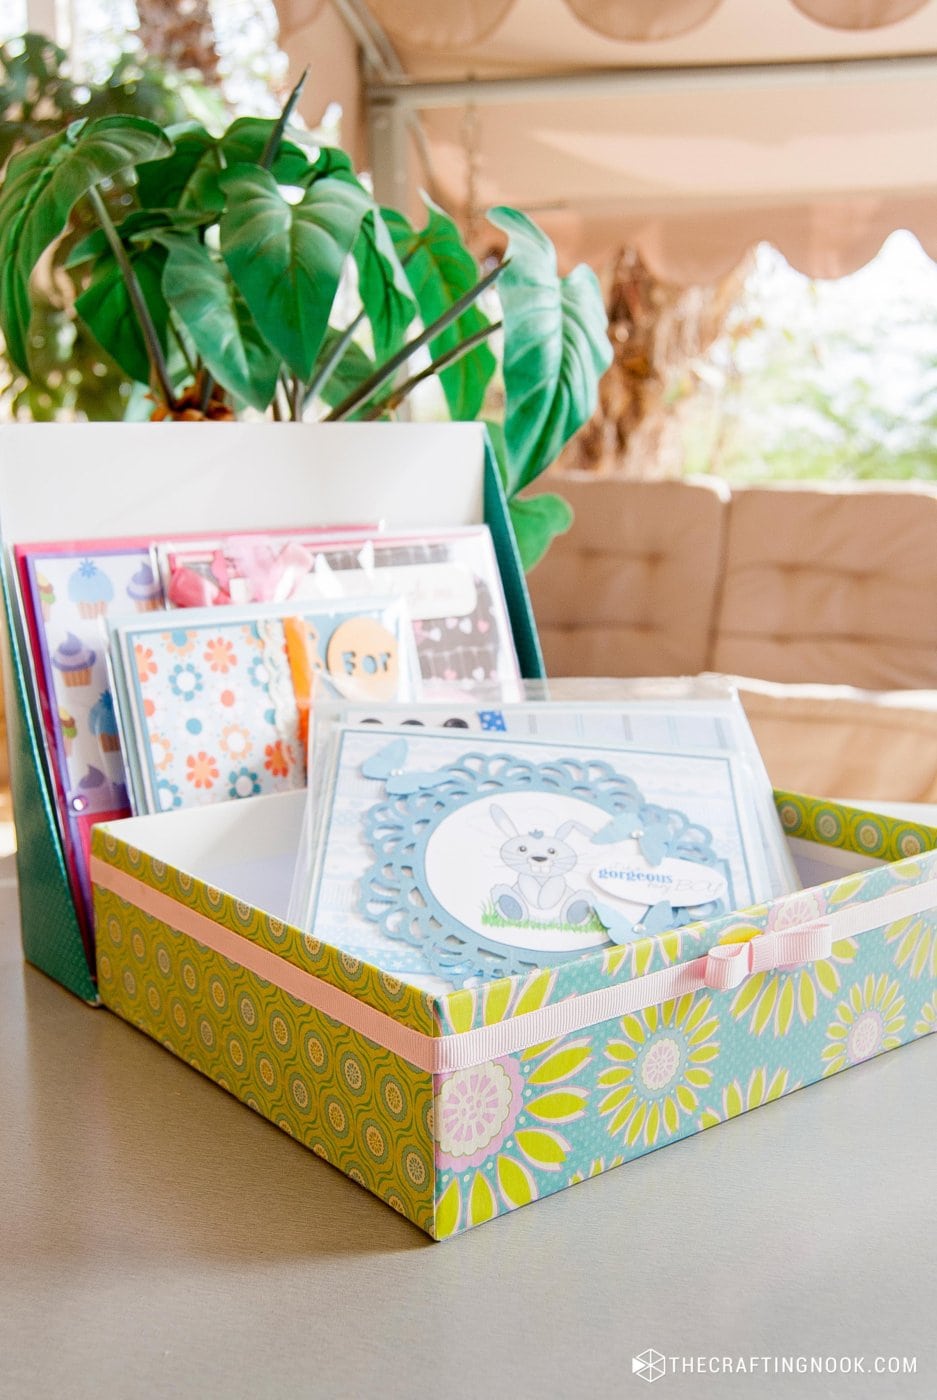
There you go! Your cute upcycled mod podge box is ready. You can use it for a number of things. Jewelry, craft supplies, important memories.

Crafting Tips
- If you don’t have a scraper, use an old credit card to smooth out any air bubbles. The firm edge helps achieve a seamless finish.
- Lightly sand the edges of the paper once the Mod Podge is dry. This smooths out any rough edges and gives a professional finish.
- Create and Mod Podge personalized labels for the box. This adds a custom touch and makes it easy to identify the contents.
- Apply a small amount of Mod Podge to the corners and edges to reinforce them and prevent wear and tear over time.
- Feel free to add your own personal touch, you can add photos, different types of papers and ribbons, fabric instead of paper even glitter here and there.
I love it! I feel prouder to show off my cards now!
What do you think??? Isn’t Mod Podge addicting??? I love it.
Other uses for this upcycled Mod Podge box
- Photo Keepsake Box: Store cherished photographs and memorabilia.
- Craft Supplies: Perfect for organizing small craft items like beads, buttons, and ribbons.
- Jewelry Organizer: Use it to store and display your favorite jewelry pieces.
- Stationery Holder: Keep pens, notepads, and other stationery items neatly in one place.
- Gift Box: Create a beautiful, reusable gift box for special occasions.
- Recipe Box: Store your favorite recipes on index cards.
- Sewing Kit: Keep needles, thread, and other sewing essentials organized.
- Office Supplies: Use it for paperclips, sticky notes, and other office supplies.
- Memory Box: Collect and store special keepsakes and souvenirs.
- Makeup Organizer: Keep your makeup and beauty products tidy.
Frequently Asked Questions
For this project, you can use regular Mod Podge (Gloss, Matte, or Satin finish). If you want a durable, shiny finish, Gloss is a good choice. Matte will give you a flat, non-shiny finish, and Satin provides a soft sheen.
Yes, you can use wrapping paper, but it’s thinner and more prone to tearing. Be extra careful when smoothing out air bubbles and wrinkles.
To prevent air bubbles, apply Mod Podge evenly and use a scraper or an old credit card to smooth out the paper as you go. Work slowly and methodically, smoothing from the center outwards.
Yes, painting the box a base color can add an extra layer of interest, especially if the paper doesn’t cover every inch. Just make sure the paint is fully dry before you start Mod Podging.
Allow each coat of Mod Podge to dry for at least 20-30 minutes before applying another layer. For the final sealing coat, let it dry for a couple of hours or overnight for best results.
Yes, Mod Podge is non-toxic and safe for kids to use under adult supervision. Ensure they are in a well-ventilated area and avoid ingestion.
For added durability, apply multiple coats of Mod Podge, allowing each coat to dry thoroughly. You can also finish with a clear acrylic sealer for extra protection.
More Mod Podge Projects to Try
Loving this Mod Podge a Box Tutorial? you might also love these other mod podge project ideas too:


✂️ Tutorial
How to Mod Podge a Box with Scarpbook Paper
Tools
- scissors
- Hot glue gun and glue sticks
Supplies
- A box – New or reused
- Scrapbook paper – or any pretty paper you have
- Mod Podge
- Foam brushes
- Ribbon optional
Instructions
- Firstly, start with the sides of the box. Add a layer of Mod Podge to one side of the box and line up the paper. With a scrapper make sure you remove air bubbles and the paper lays flat without any wrinkles. Continue the process all the way around the box.
- I usually cover 2 opposite sides first leaving a flap about an inch to fold them to the next side. And then I cover the other two sides with the paper in the same size as the space with no flaps.
- Then, leave about an inch of paper to fold to the inside of the box making sure every side is the same size so it looks nice.
- Using different but coordinated scrapbooking papers, it’s easy to make it fun and colorful.
- Next, when all the sides are covered, cover the top of the lid without a flap.
- Then go for the bottom. I just used plain white cardstock but you can use the paper you like the most.
- Let everything dry 30 minutes.
- Once you have the box and the lid ready, it’s time to seal.
- Apply a layer of mod podge on both the box and lid. I recommend using a cup or something to support the box and lid upside down so they can dry without touching anything.
- Let everything dry for about 2 hours or overnight.
- Lastly, I added the final touch: a cute pink ribbon and a simple bow. Starting on the back, about an inch from the edge of the box (or on the middle of the lid sides), apply hot glue in sections and glue the ribbon as straight as possible. Continue until you meet the other end of the ribbon on the back.
- On the front of the box glue the ribbon bow on the center of the ribbon.
- Since the inside was already all white I left it as it was. Depending on the purpose you are giving it, you could cover the inside of the box with felt so what you store, is safer.
- There you go! Your cute upcycled mod podge box is ready. You can use it for a number of things. Jewelry, craft supplies, important memories.
Notes
Share and PIN ME!!!!
Til’ next time…


FREE WORKBOOK
Keeping your Sweet Home Organized
Learn how to create intentional habits and simple routines to Keep Your Home Organized. Plus freebies, printables, exclusive content, and tips.
Disclaimer: By clicking on the “Yes” button above you are giving me your consent to collect and use your information according to the law and My Policy Privacy. Zero Spam I promise!