DIY Love Wood Letter Blocks for Valentine’s Day
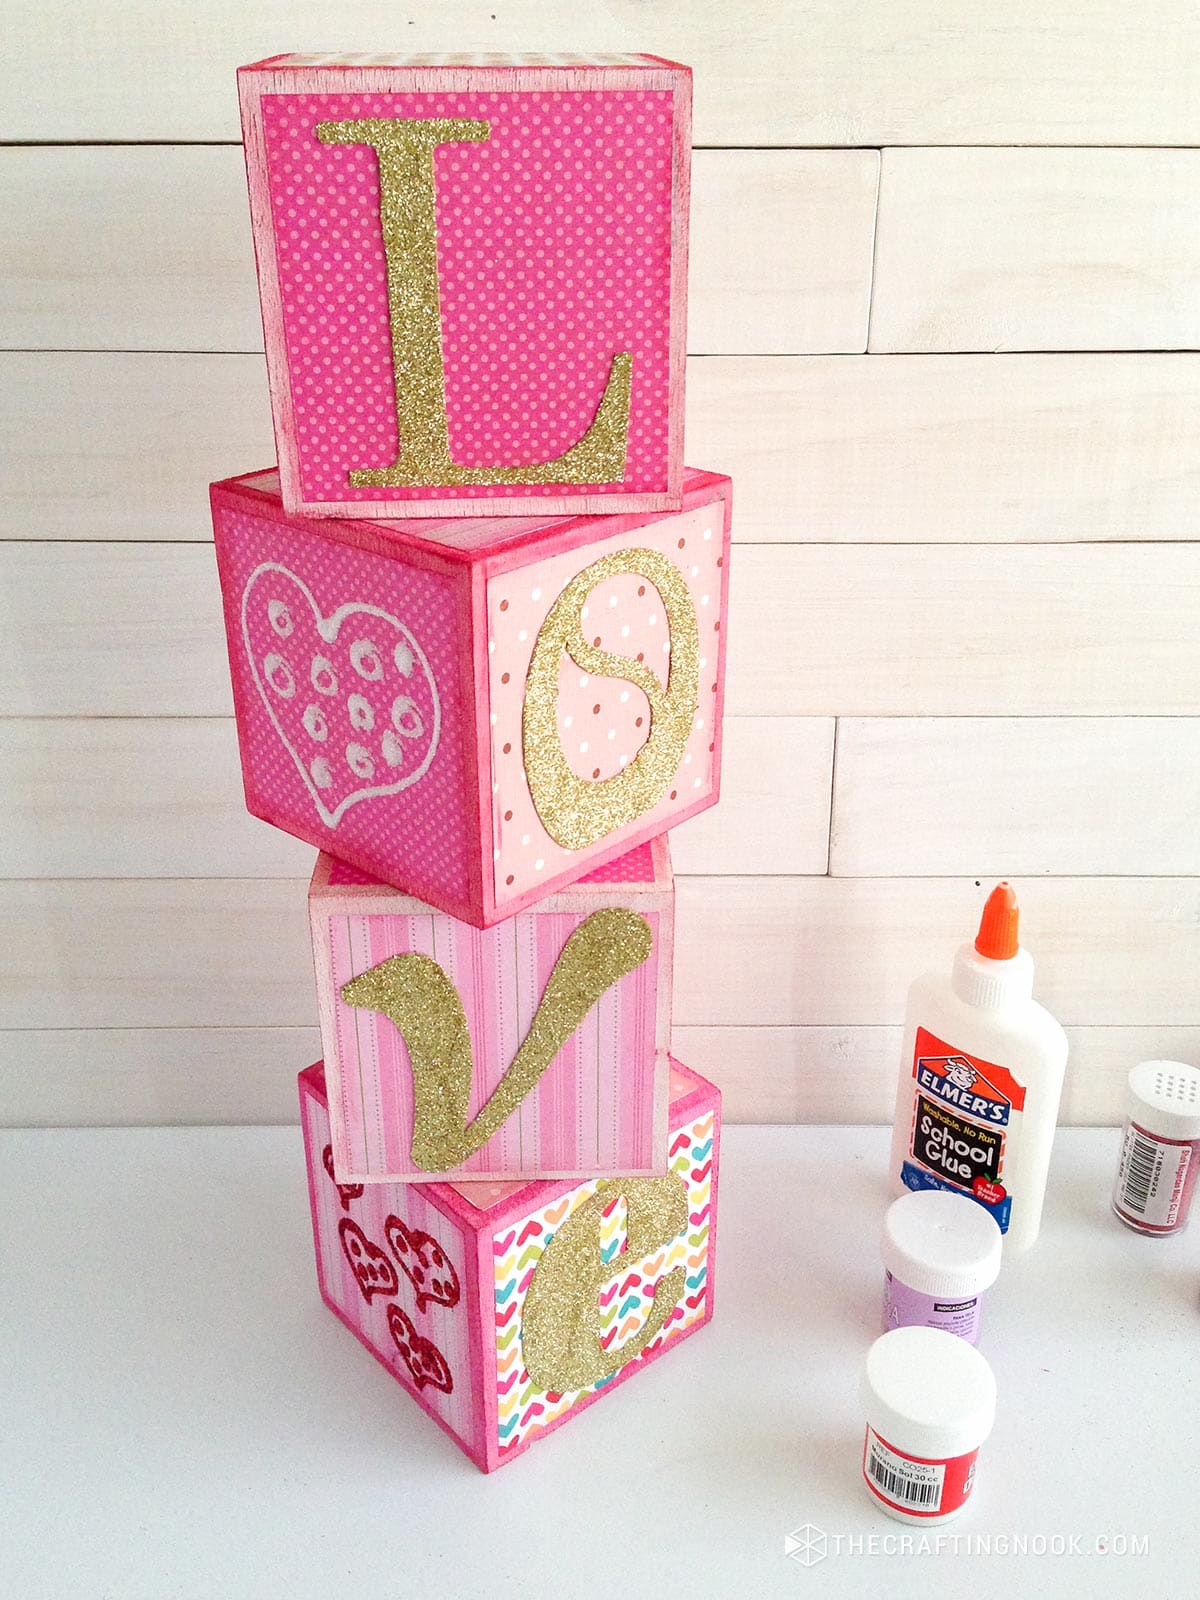
Craft love with your own hands! Make these adorable DIY Love Wood Letter Blocks for Valentine’s Day. Easy steps and lots of paint and glittery fun, perfect for crafting solo or with the kiddos!
With Valentine’s Day approaching so fast only inspiration is in the air! While searching for inspiration for our mantel I came across this cute idea of Valentine’s Day DIY Love Wood Letter Blocks and I told myself that’s perfect for our home!
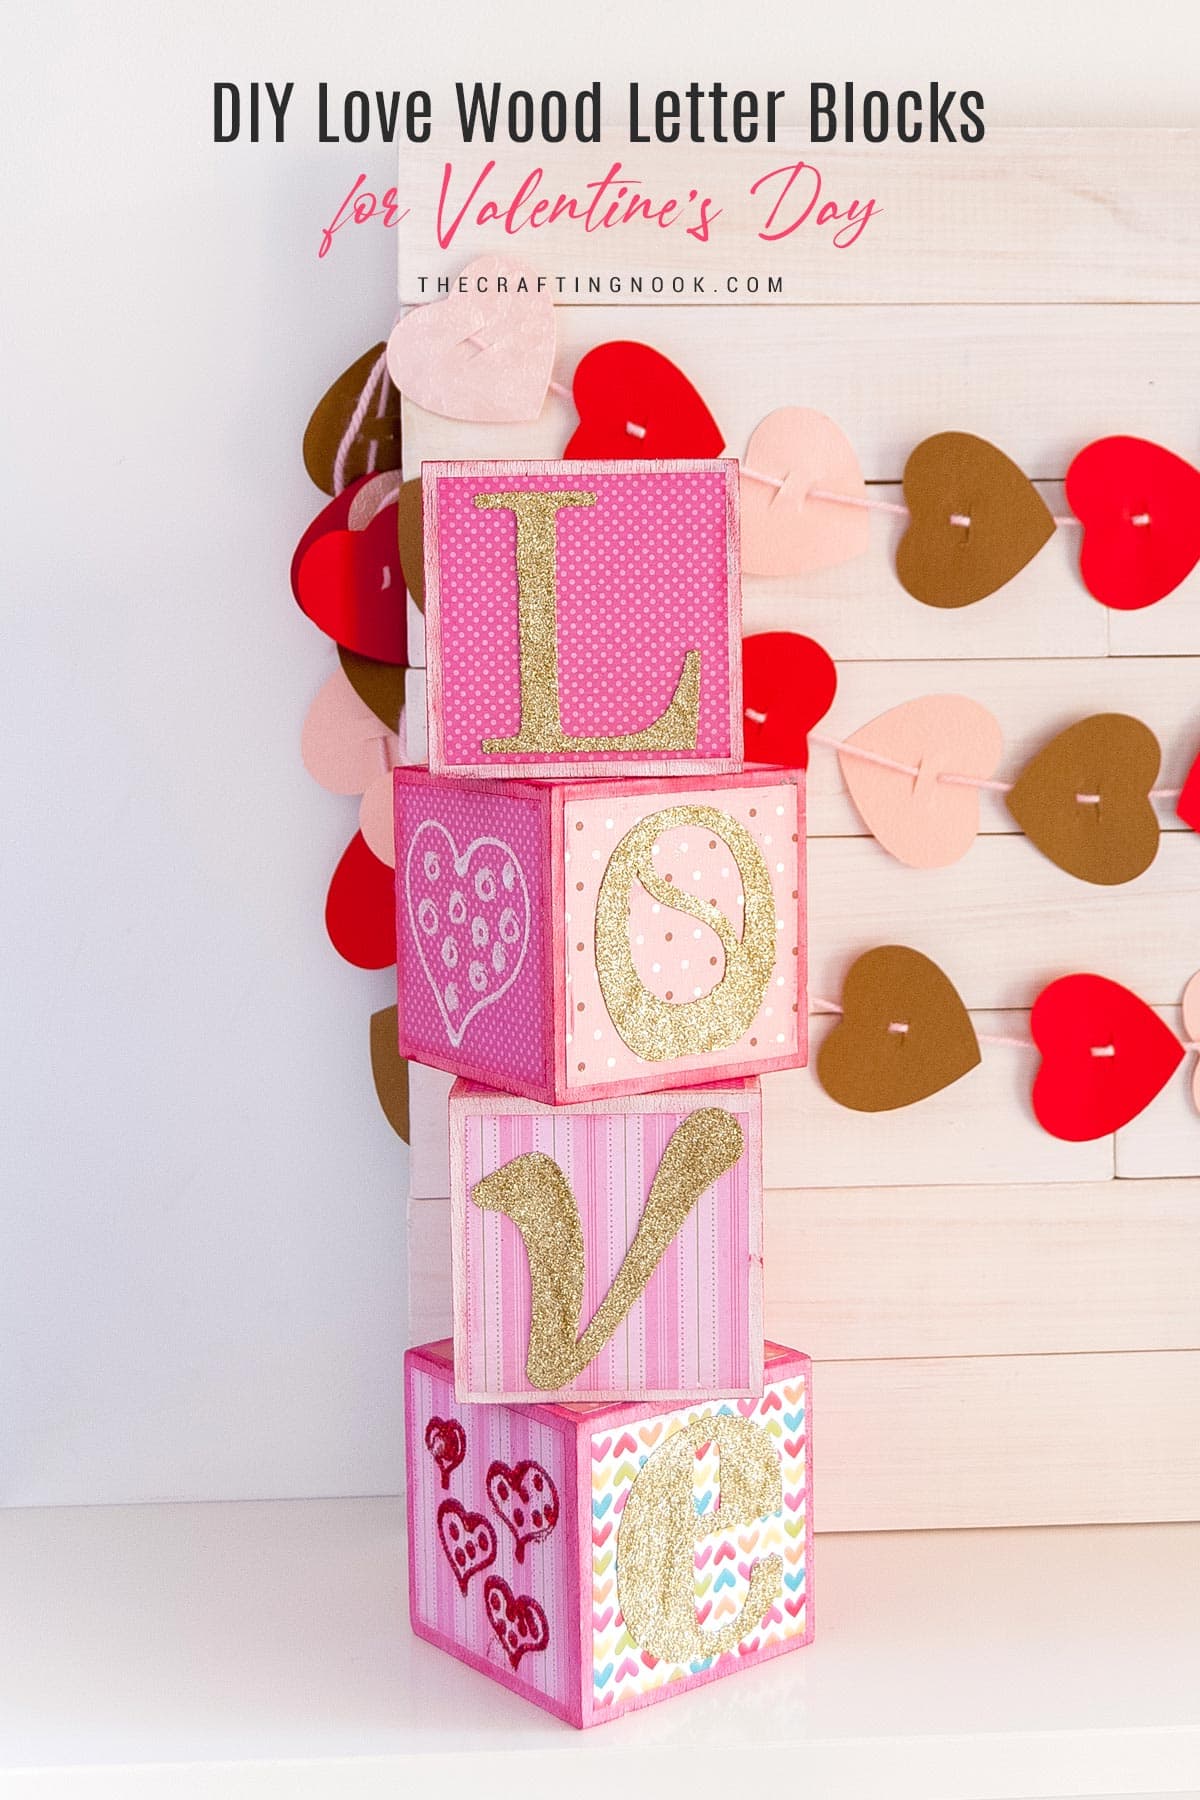
Table of Contents
Love Wood Letter Blocks Tutorial for Valentine’s Day
I’ve been wanting to make some seasonal message sin blocks but really never had the chance nor the supplies at the moment. This year I said… Ok, I’m making it! Hope you like it.
This post may contain affiliate links. Please read our Disclosure Policy.
Also, they make a great gift, a cute decoration for a nursery room and an excellent family craft activity.
The post that inspired me to make these cuties belongs to Memories by Me. She made some really cute blocks using photos of her wedding. So so cute!
I didn’t use any photos but I did use some cute scrapbook papers, letters, and lots of glitter LOL.
I loooove the final result. It’s easy and fun to make but it does take some time to finish them since there are lots of drying time in the process. It took me around 3-4 hours to make these. Working with paint and glue means letting it dry so, that’s mostly what makes the process longer!
How to Make Cute Love Wood Letter Blocks
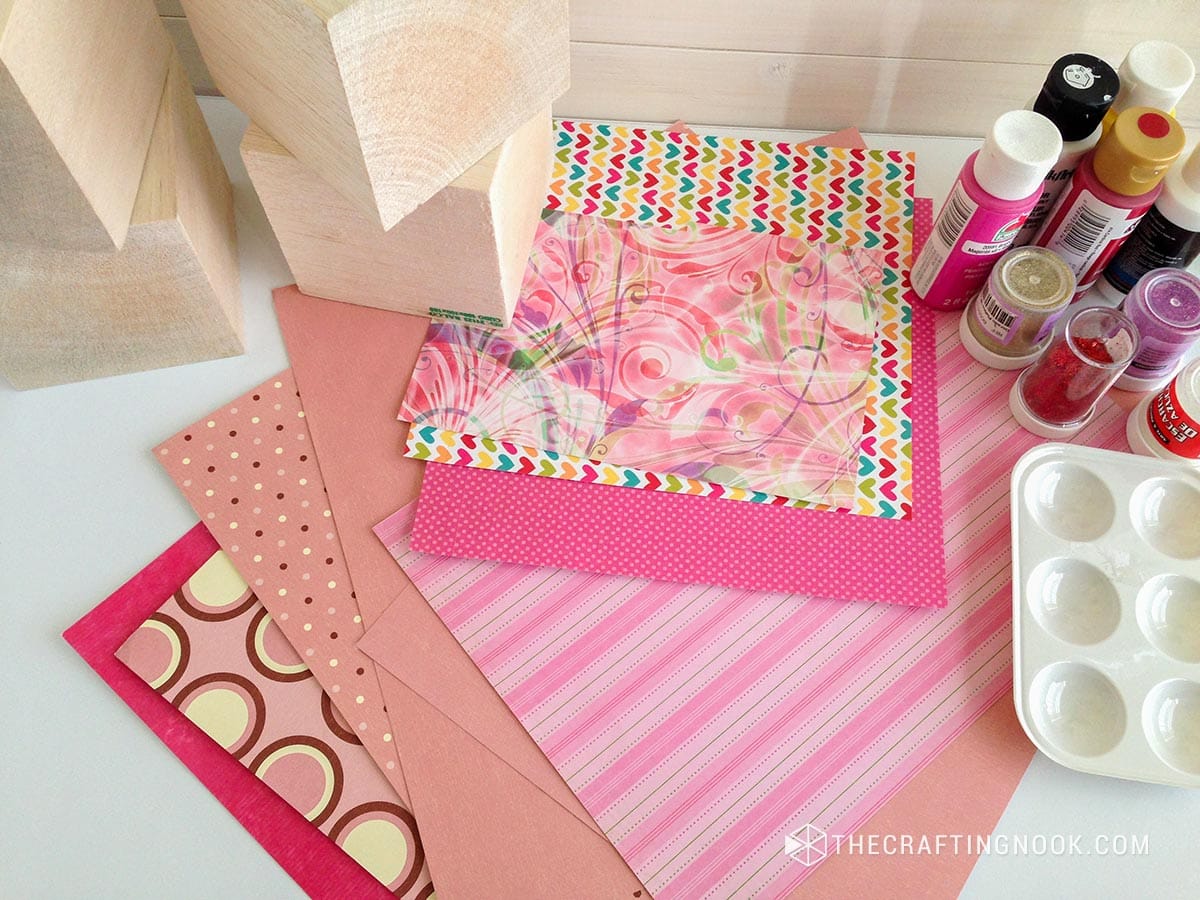
Supplies:
- 4 Wooden blocks {size of your choice}
- Different scrapbook papers
- White glue and adhesive spray.
- Glitter {color of your choice}
- Acrylic paint {colors of your choice}
- Brushes
- Gold cardstock
Tools:
- Cutting machine or a Printer – for the letters. If you have a Silhouette Cameo or Cricut, it would save you some time but you can definitely use your favorite fonts, print them, and cut them by hand.
- Scissors and craft knife.
Instructions:
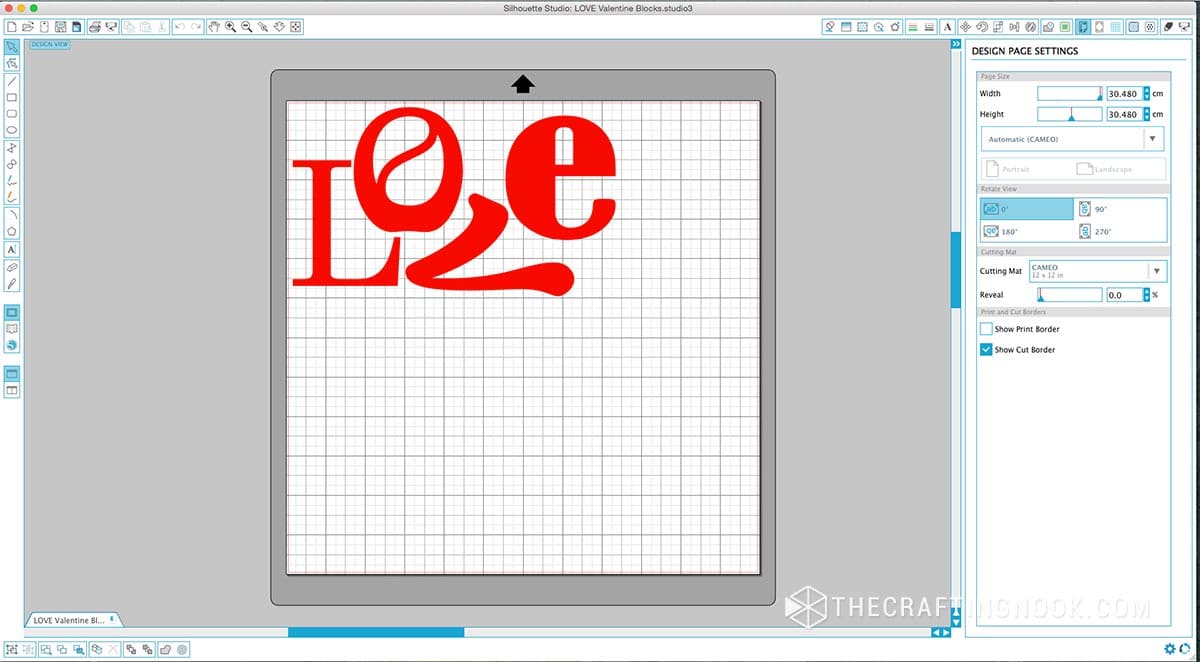
Step 1: Prepping a cutting the design
Firstly, I made my Love letters. I chose to make each letter in a different font.
If you have a cutting machine, define the right settings on the cutting machine app for the type of cardstock you’re cutting.
Load your cardstock on the mat and onto the cutting machine.
If don’t have a cutting machine, you can always print them and cut them or transfer the letter design later directly to the blocks.
If you like this LOVE design you can get the printable and cutting files HERE.
Step 2: Paint and decorate your Blocks
Once you have all cutouts we start working with the blocks.
Remove all dust from your blocks.
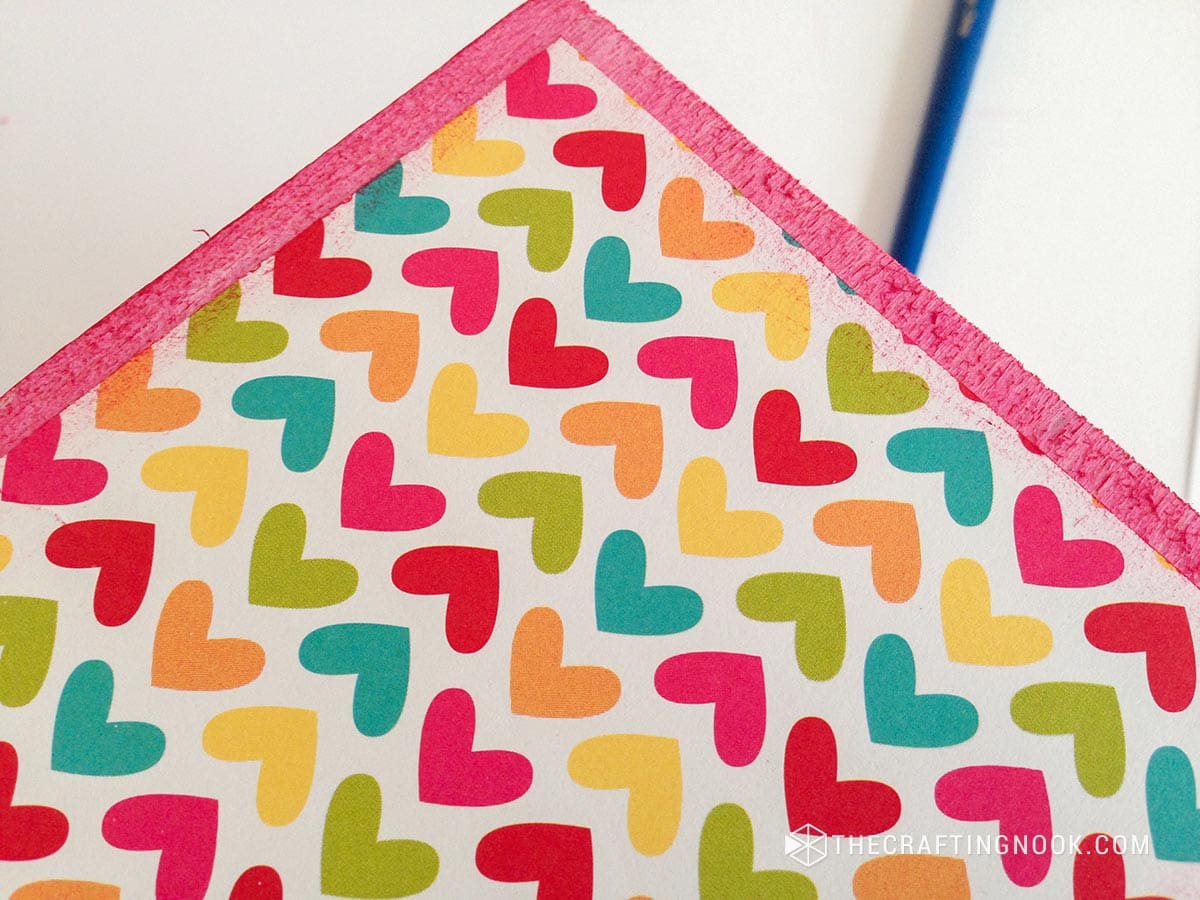
Cut some scrapbook paper pieces. I cut mine 1 cm (about 1/2 inch) smaller than the blocks.

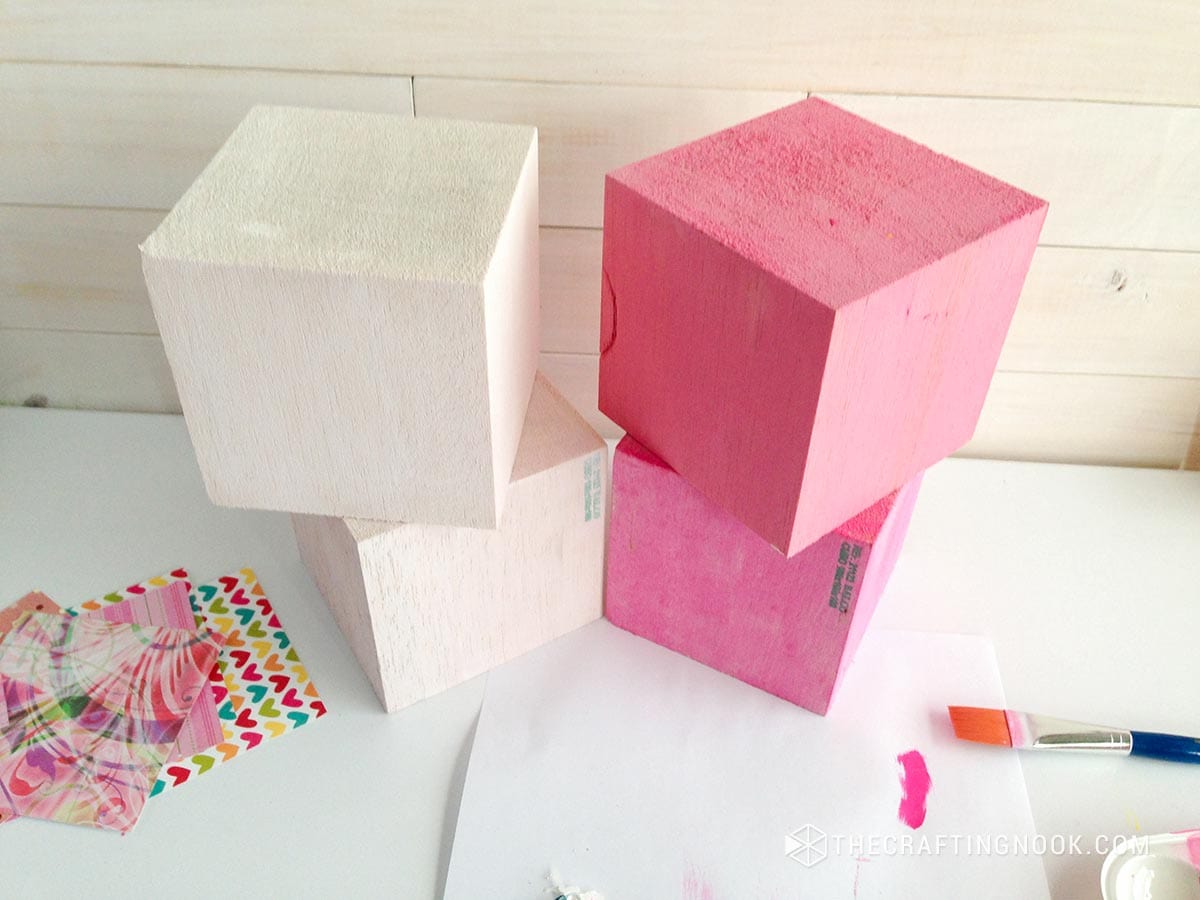
I used pink and white for the blocks. I painted 2 blocks in white and 2 in pink.
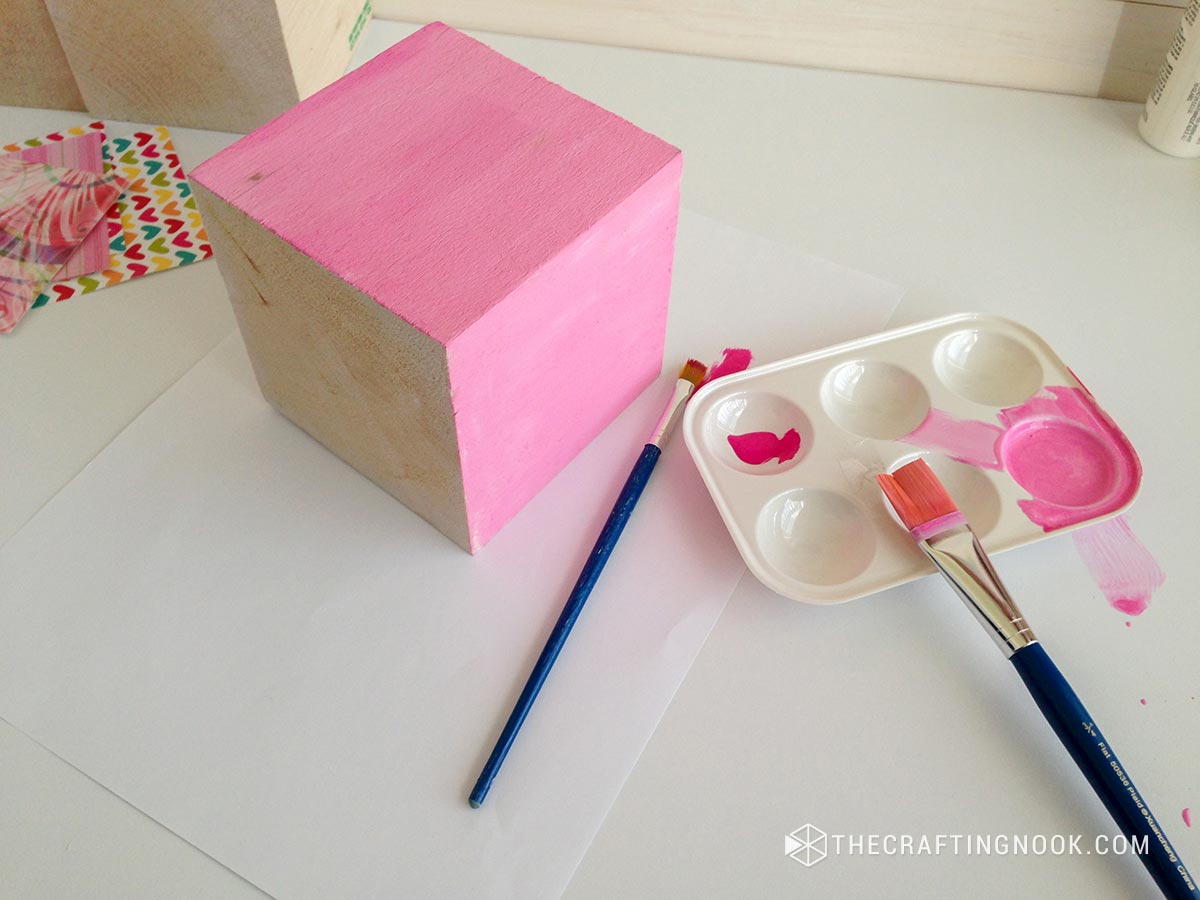
I prepared my pink using some magenta, and a drop of yellow and white. I also went against all the painter’s ideas and added water to make it thinner so it would be more like a stain.
Paint all the blocks, as you like and let them dry completely. These are mine:
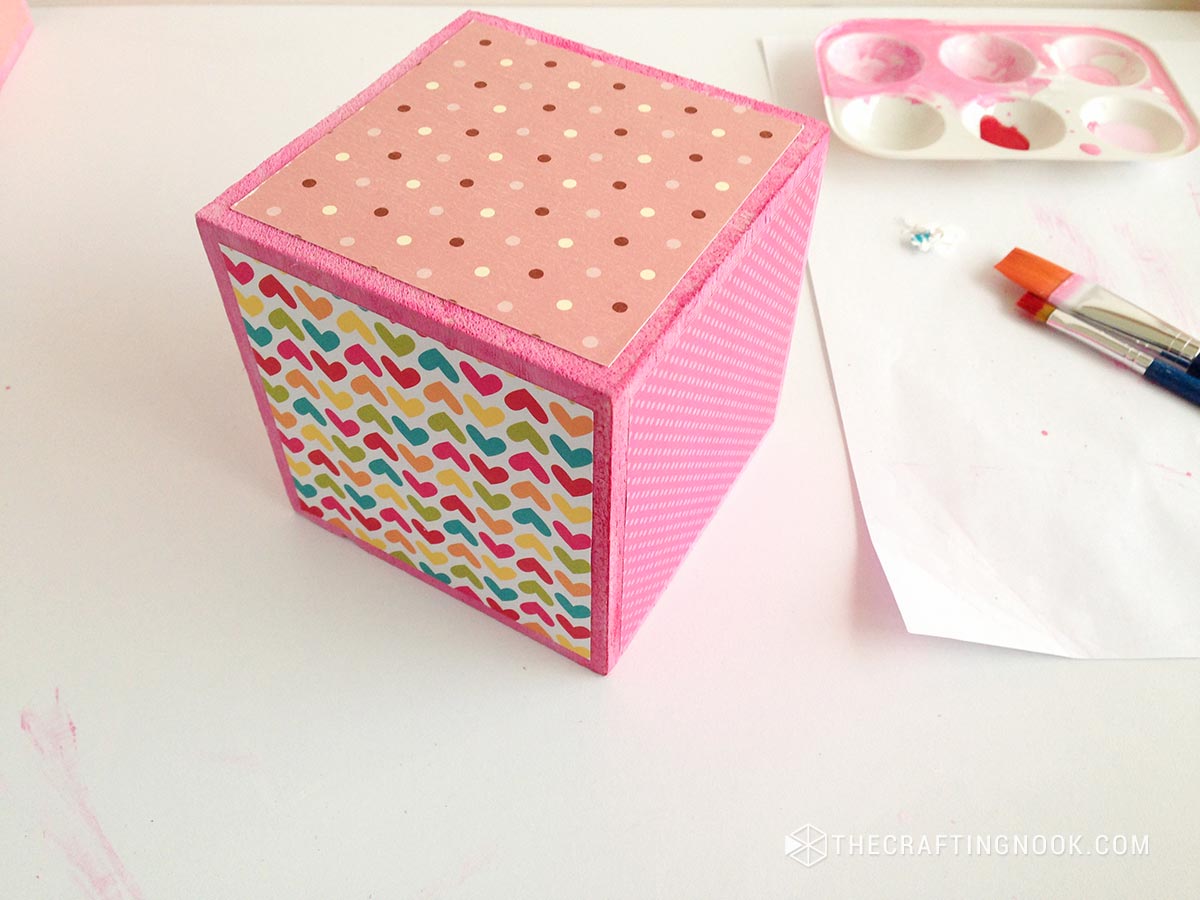
Glue your scrapbook papers to each side of the block. Except for the base (unless you want to).
I used adhesive spray, but you can use your preferred glue. I applied the spray outside because of the strong scent. I always recommend doing this outside the house.
Place each piece on each side of the block and let it dry for a few minutes.
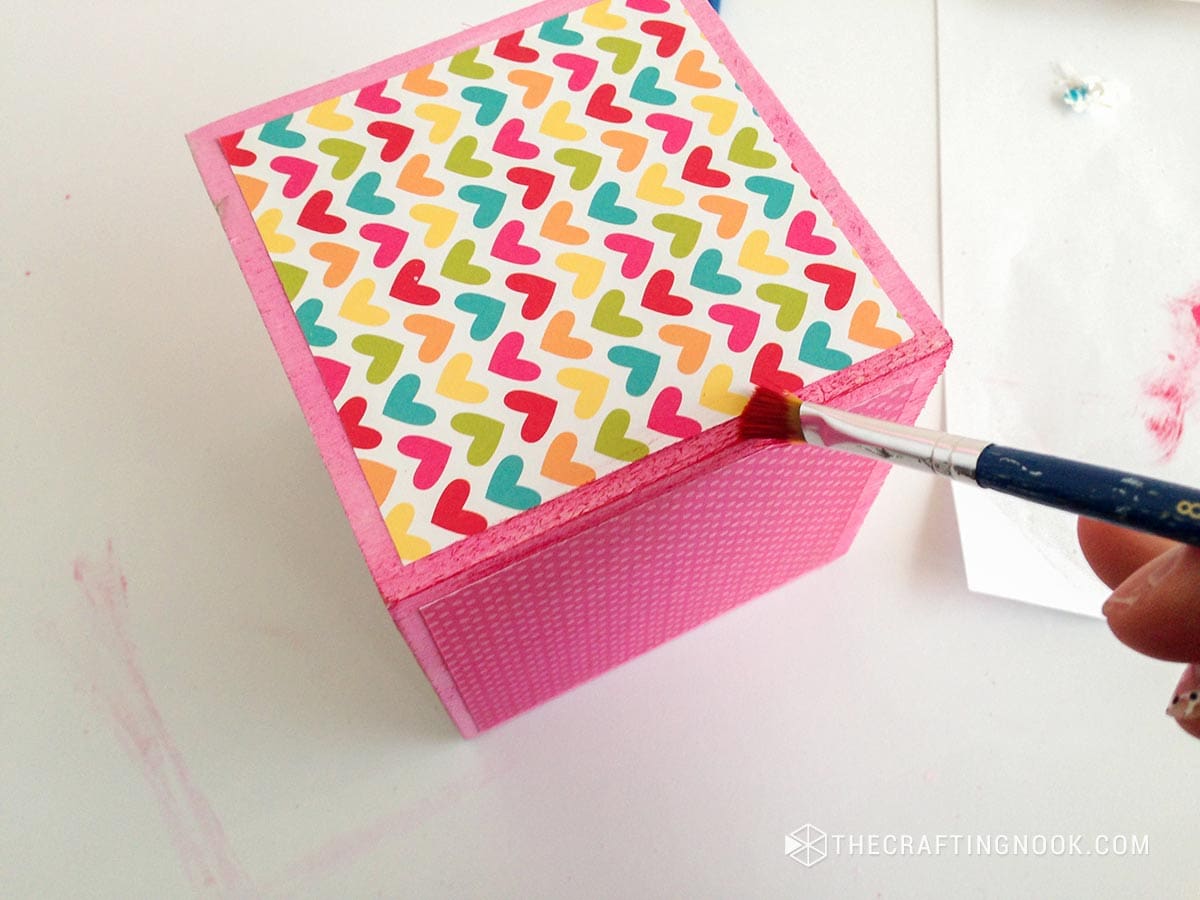
Then using a darker pink and a small brush, take some paint in the brush and spread it on paper until the brush gets drier. This is called the dry brush technique.

Roughly brush the edges of the blocks and close to the edges of the paper as well to give a kind of an old wornout look.

Step 3: Applying the Letters
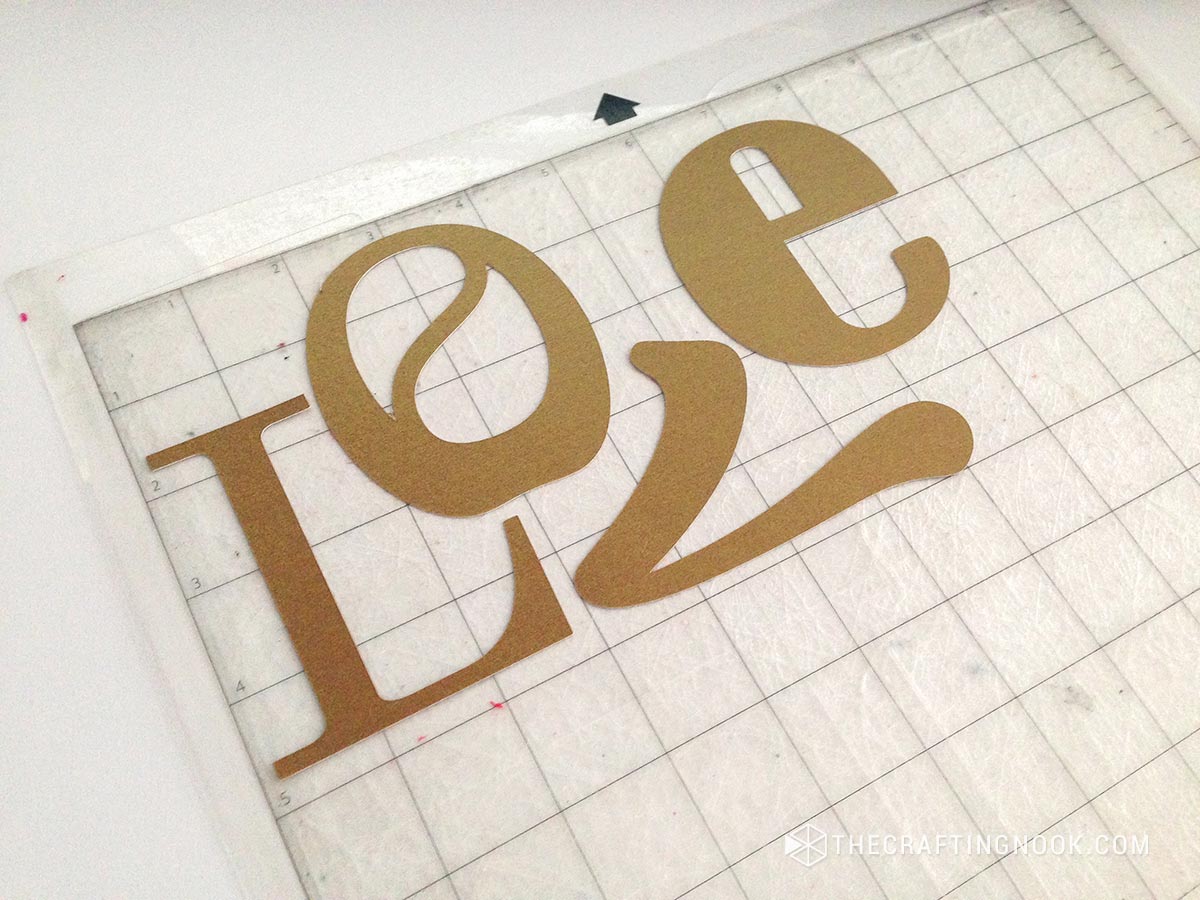
When done, work on the letters. I cut the letters on gold cardstock but you can use any color or do the letter directly on the blocks. It’s totally up to you.

In this case, I spread some glue all over the gold letter and then spread some glitter on it. I just realized I waned to be more sparkly but you can leave the gold cardstock as is.
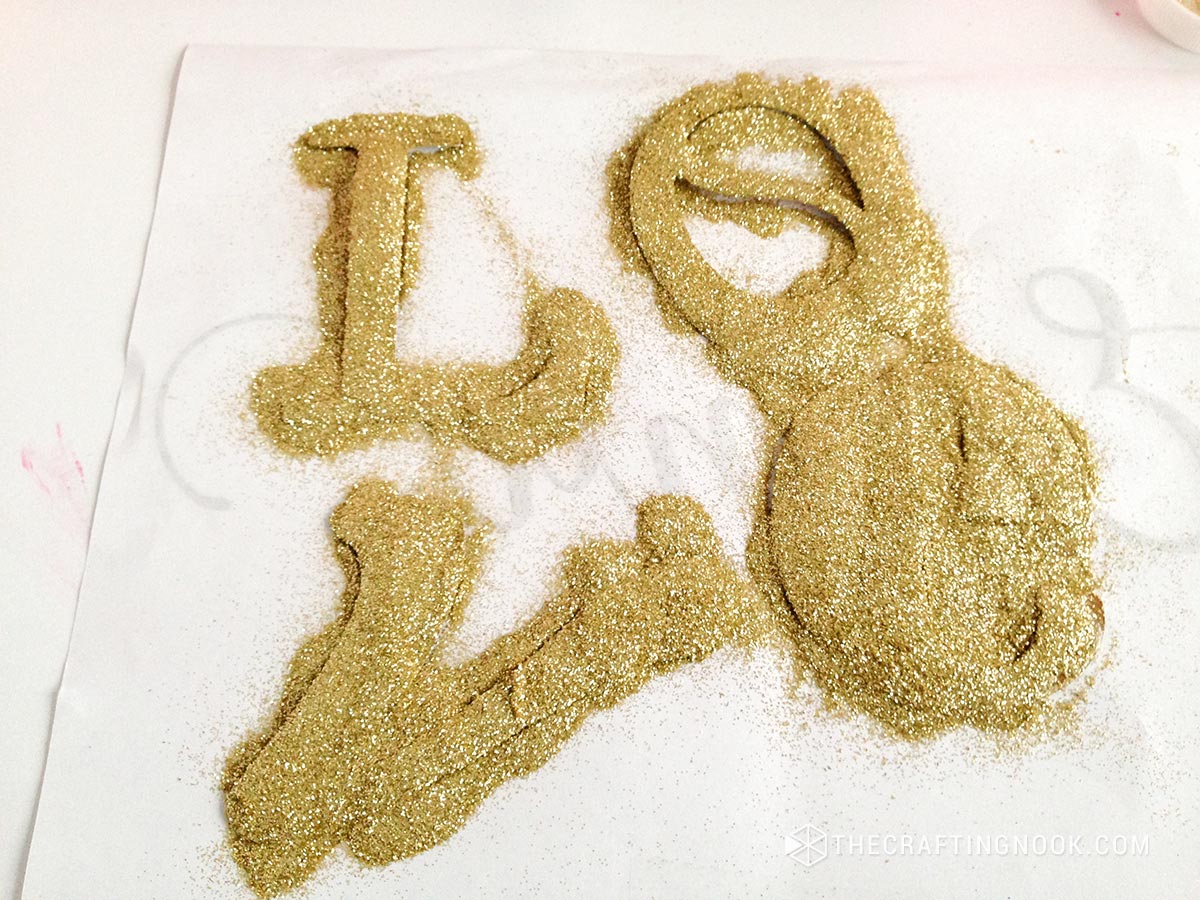
Let the glitter sit for a few minutes {you can even place a piece of paper on top and – make some pressure with your hand so the glitter sticks well.
Remove all the glitter from the letters and put the remaining glitter back in the container.
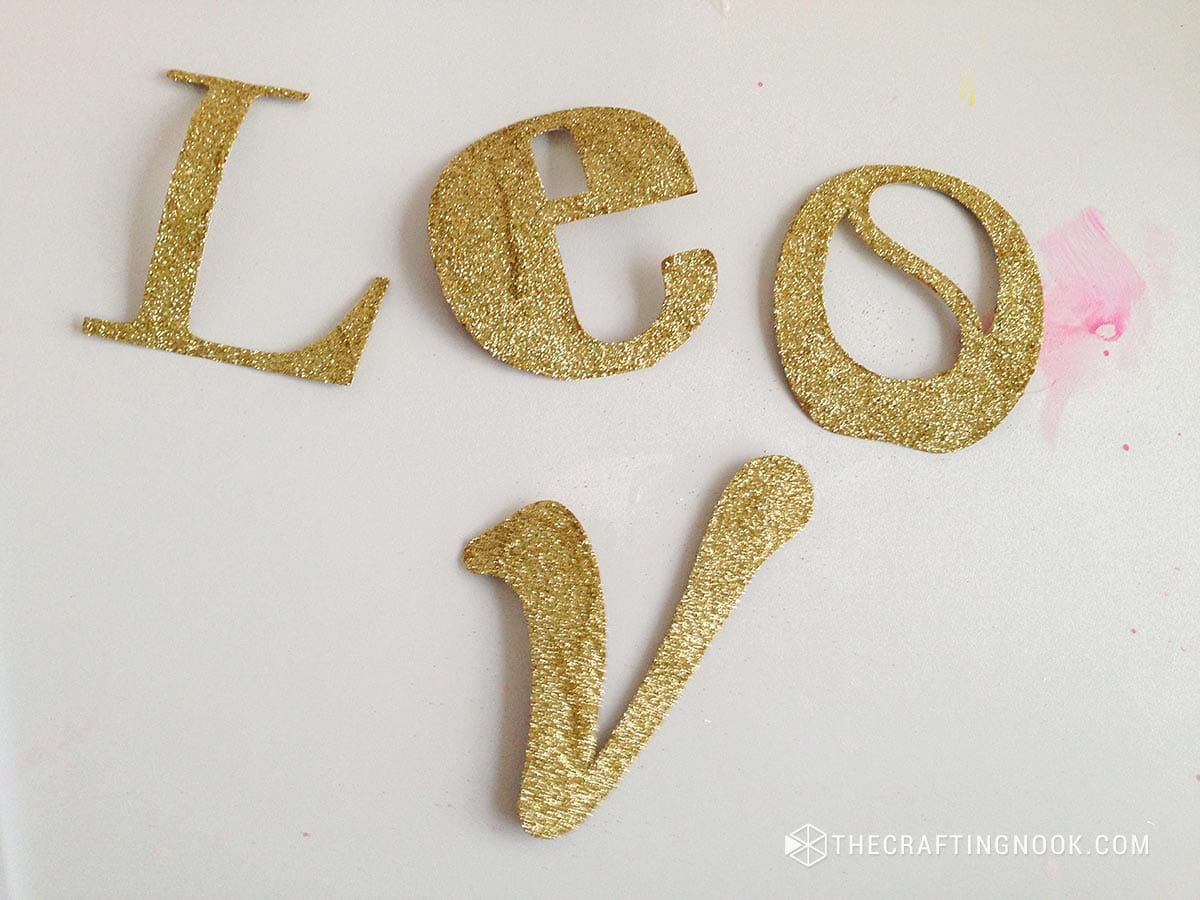
Let it dry well.
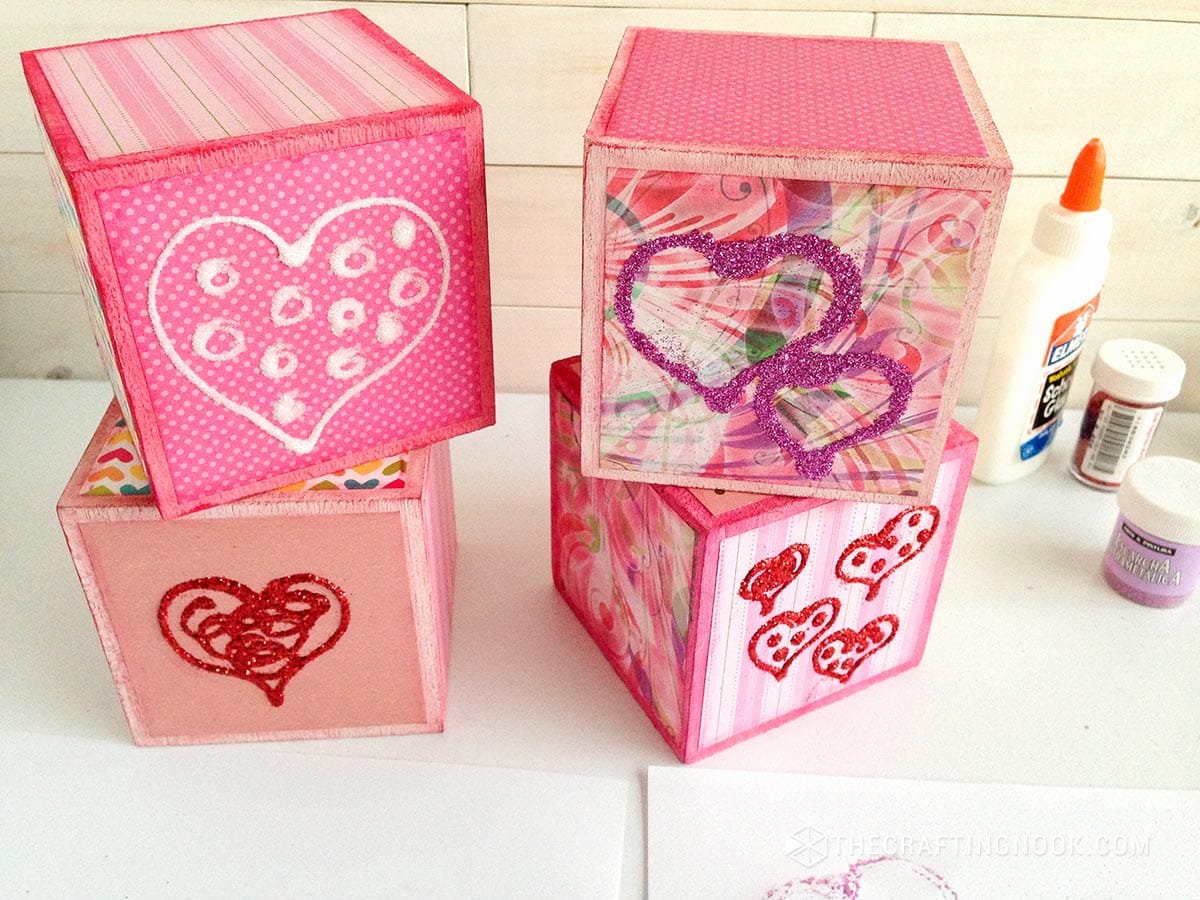
When dry, glue each letter to your blocks. I used in this case white glue.
Again let it dry well.

Then I played around making hearts with white glue on the other sides of each block and glittering them.
Let them dry!
In this step I even let my girl participate and add the glitter and tell what shapes she wanted. Lots of fun including the kids!!!

Step 4: Decorate your Home!
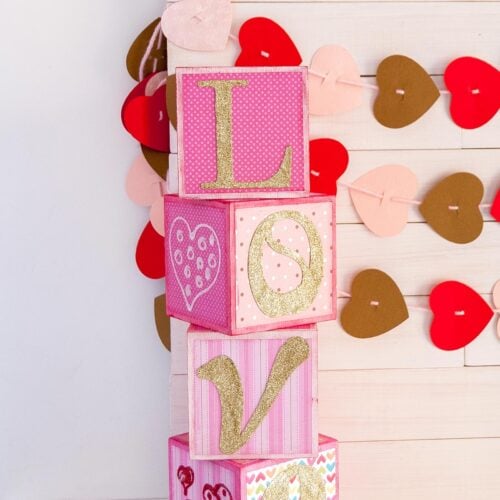
Your DIY Valentine’s Day wood letter blocks are ready to decorate your mantel or any other place you like!!!

Crafting Tips
- Instead of sprinkling glitter, try using a small squeeze bottle for more precision. It reduces mess and gives you better control over the glitter placement.
- Alternatively, ditch the brushes and use natural sponges for a different textured effect. It adds depth and a playful touch to your Letter Blocks.
- If you are planning on reusing this for a few years, to prevent glitter fallout, apply a thin layer of clear sealant or Mod Podge after the glitter has dried. It keeps the sparkle intact and minimizes glitter transfer.
- Instead of cardstock, you can create personalized stencils for the letters using adhesive vinyl or contact paper.


Hope you enjoyed this project tutorial. This project is also super kid-friendly. Would love to hear your opinion in the comments!
Frequently Asked Questions
Absolutely and I encourage it! It’s a fantastic family project. Opt for non-toxic materials, and larger blocks, and let the little ones unleash their creativity alongside you.
Try using glitter glue or shimmer spray for a mess-free sparkle. It’s a tidy alternative that still brings the glamour without the glittery aftermath.
The crafting journey takes about 3-4 hours. Enjoy the process, take your time.
Absolutely! Get eco-friendly by repurposing old cards, magazines, drawings, for the letters or using leftover wooden pieces.
Definitely! Customize the colors and themes to match any celebration – birthdays, anniversaries, or just a “because” moment. Let your creativity run wild!
More Valentine’s Day Projects to Try
If you like this DIY Wood Letter Blocks tutorial, you might also love these other Valentine’s Day project ideas too:


✂️ TUTORIAL
DIY Love Wood Letter Blocks for Valentine’s Day
Tools
- Cutting machine or a Printer –for the letters. If you have a Silhouette Cameo or Cricut, it would save you some time but you can definitely use your favorite fonts, print them, and cut them by hand.
- Scissors and craft knife
Supplies
- 4 Wooden blocks {size of your choice}
- Different scrapbook papers
- White glue and adhesive spray.
- Glitter {color of your choice}
- Acrylic paint {colors of your choice}
- Brushes
- Gold cardstock
Instructions
STEP 1: PREPPING A CUTTING THE DESIGN
- Firstly, I made my Love letters. I chose to make each letter in a different font.
- If you have a cutting machine, define the right settings on the cutting machine app for the type of cardstock you’re cutting.
- Load your cardstock on the mat and onto the cutting machine.
- If don’t have a cutting machine, you can always print them and cut them or transfer the letter design later directly to the blocks.
- Love letters already cut
STEP 2: PAINT AND DECORATE YOUR BLOCKS
- Once you have all cutouts we start working with the blocks.
- Remove all dust from your blocks.
- Cut some scrapbook paper pieces. I cut mine 1 cm (about 1/2 inch) smaller than the blocks.
- I used pink and white for the blocks. I painted 2 blocks in white and 2 in pink.
- I prepared my pink using some magenta, and a drop of yellow and white. I also went against all the painter’s ideas and added water to make it thinner so it would be more like a stain.
- Paint all the blocks, as you like and let them dry completely. These are mine:
- Glue your scrapbook papers to each side of the block. Except for the base (unless you want to).
- I used adhesive spray, but you can use your preferred glue. I applied the spray outside because of the strong scent. I always recommend doing this outside the house.
- Place each piece on each side of the block and let it dry for a few minutes.
- Then using a darker pink and a small brush, take some paint in the brush and spread it on paper until the brush gets drier. This is called the dry brush technique.
- Roughly brush the edges of the blocks and close to the edges of the paper as well to give a kind of an old wornout look.
STEP 3: APPLYING THE LETTERS
- When done, work on the letters. I cut the letters on gold cardstock but you can use any color or do the letter directly on the blocks. It’s totally up to you.
- In this case, I spread some glue all over the gold letter and then spread some glitter on it. I just realized I waned to be more sparkly but you can leave the gold cardstock as is.
- Let the glitter sit for a few minutes {you can even place a piece of paper on top and – make some pressure with your hand so the glitter sticks well.
- Remove all the glitter from the letters and put the remaining glitter back in the container.
- Let it dry well.
- When dry, glue each letter to your blocks. I used in this case white glue.
- Again let it dry well.
- Then I played around making hearts with white glue on the other sides of each block and glittering them.
- Let them dry!
- In this step I even let my girl participate and add the glitter and tell what shapes she wanted. Lots of fun including the kids!!!
STEP 4: DECORATE YOUR HOME!
- Your DIY Valentine’s Day wood letter blocks are ready to decorate your mantel or any other place you like!!!
- You are done, Enjoy!!!
Share and PIN ME!!!

Til’ next time…


FREE WORKBOOK
Keeping your Sweet Home Organized
Learn how to create intentional habits and simple routines to Keep Your Home Organized. Plus freebies, printables, exclusive content, and tips.
Disclaimer: By clicking on the “Yes” button above you are giving me your consent to collect and use your information according to the law and My Policy Privacy. Zero Spam I promise!