

DIY Burlap Wreath for Fall
This post may contain affiliate links. Please read our Disclosure Policy.
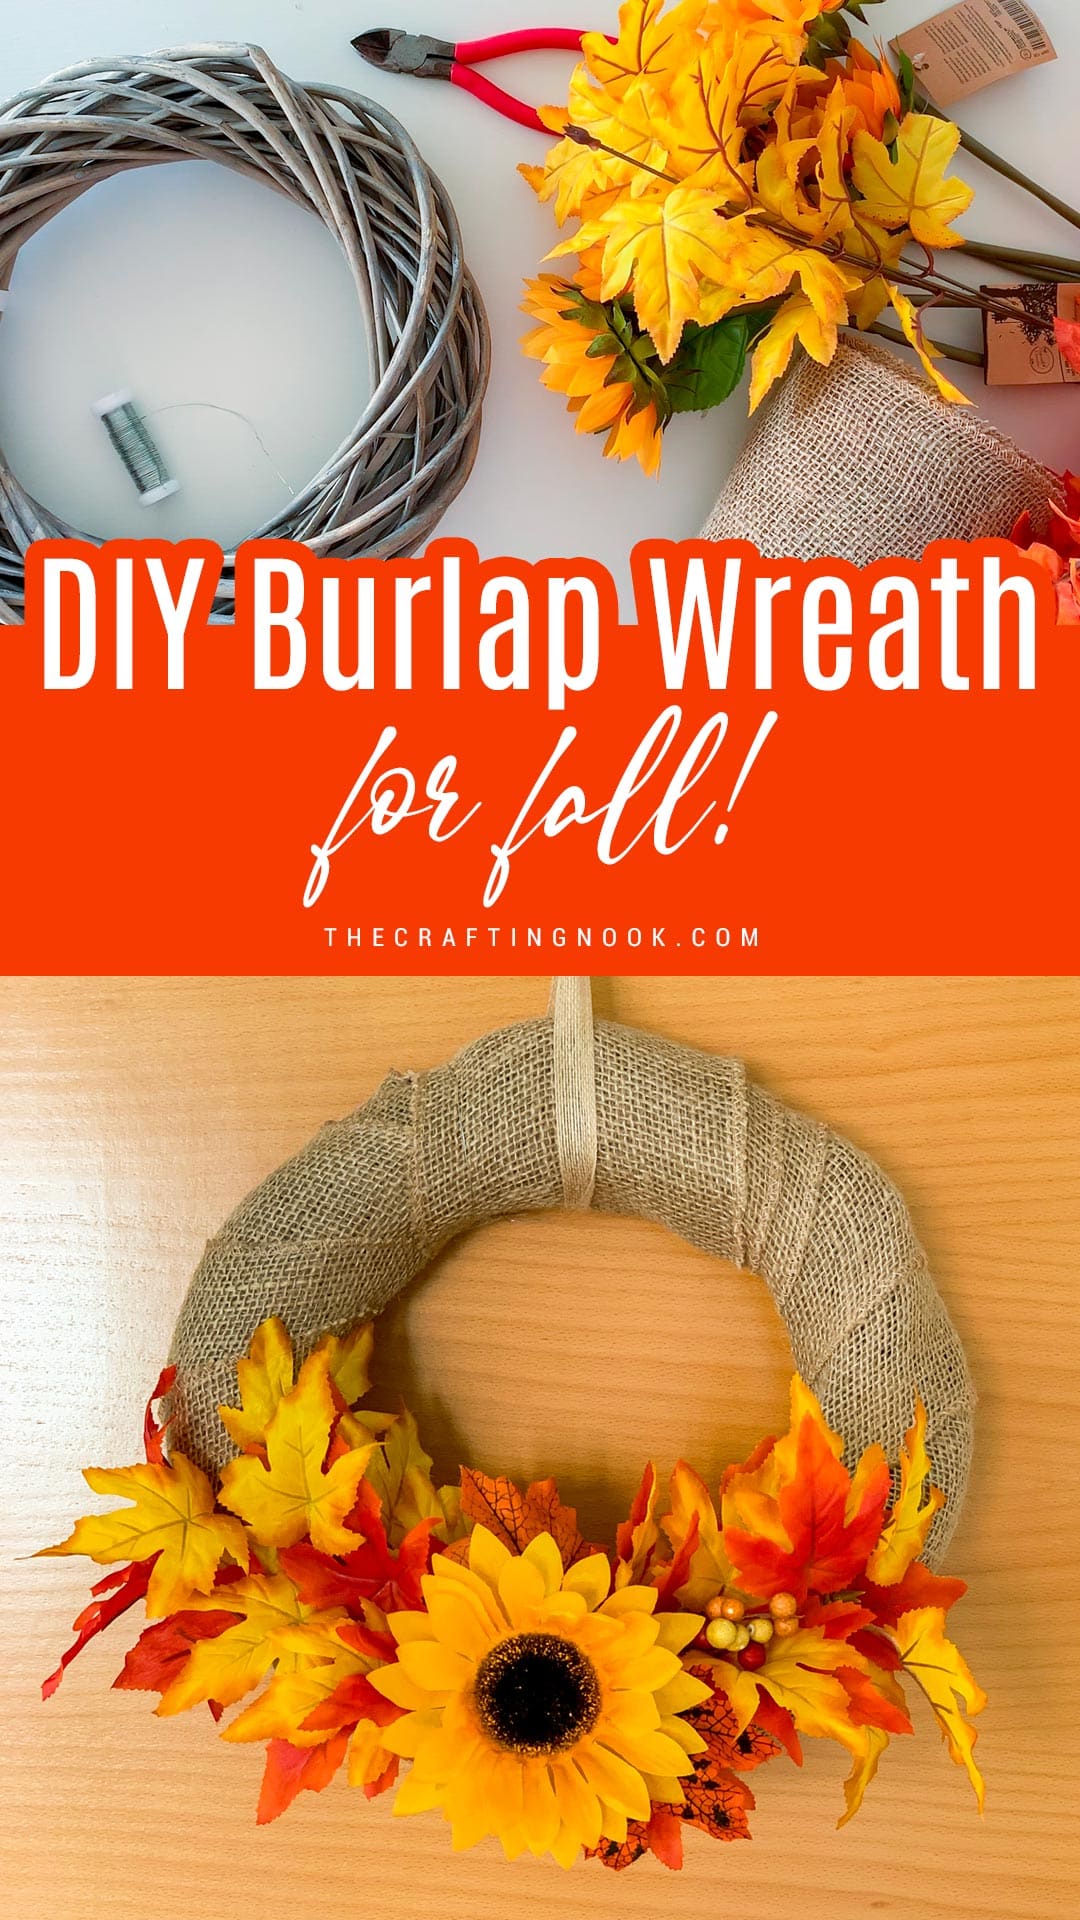
This DIY burlap wreath for fall is simple, rustic, and one of my favorite kinds of seasonal projects because nothing is permanently attached. I used burlap ribbon, faux fall leaves, sunflowers, and floral wire, so when fall is over I can take everything apart and reuse the pieces somewhere else.
It’s also a very special little project because I made it in collaboration with my mom. We both love crafting, and every now and then we make projects together and share them on each other’s blogs. If you prefer reading in Spanish, you can also find her version of this fall wreath on her blog.
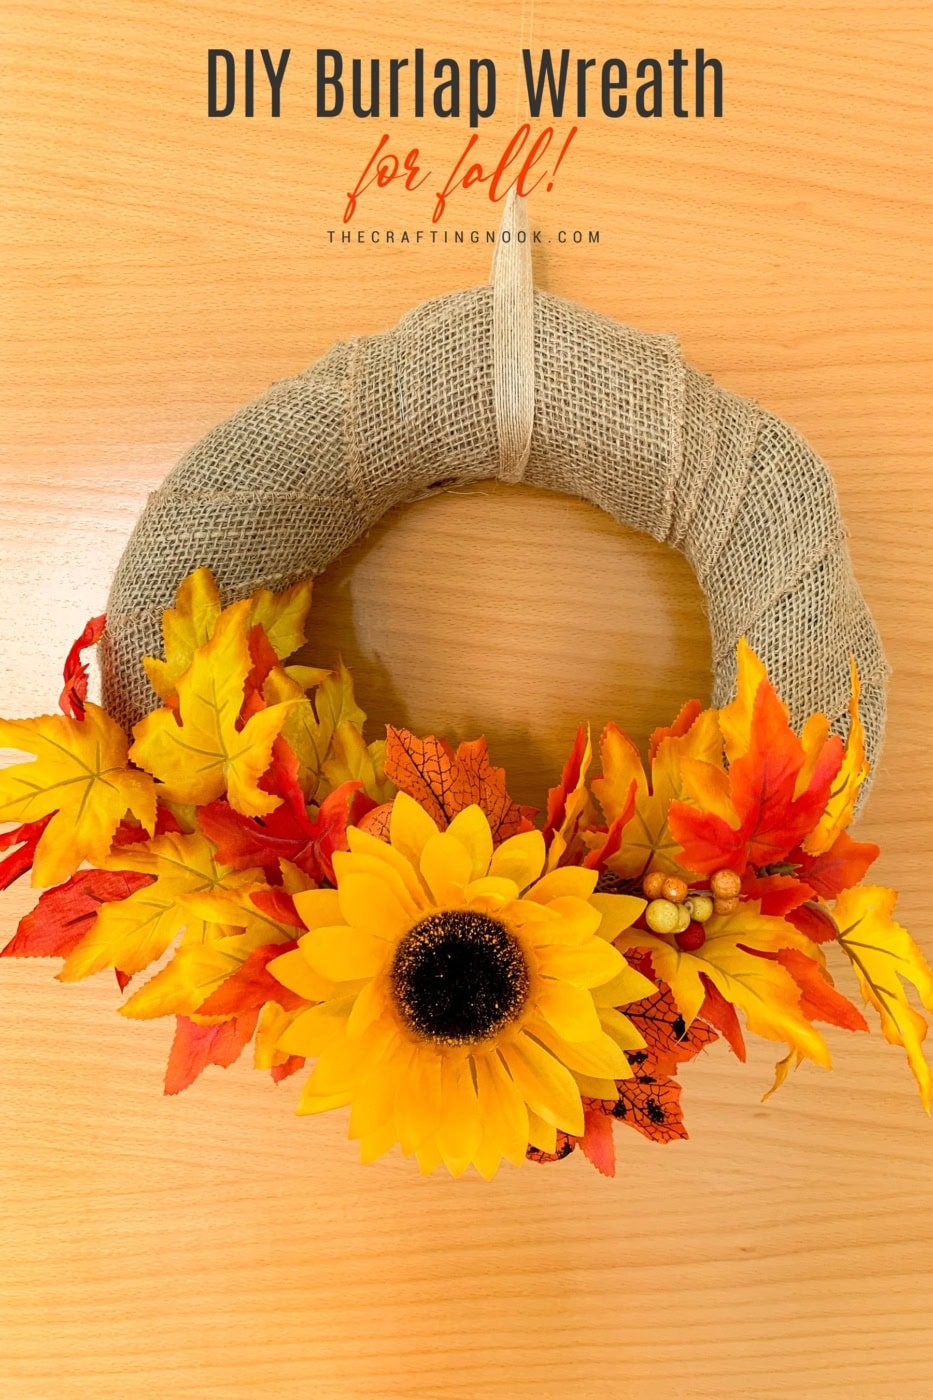
Table of Contents
Why I Love This Fall Burlap Wreath
There’s a lot to love about a project that looks pretty but doesn’t require a pile of supplies or a glue gun.
- Reusable. This might be my favorite part. I can save the wreath form and decorations for another project instead of storing another finished wreath all year.
- No glue needed. Everything is attached with floral wire, so the wreath can be changed or taken apart later.
- Easy to customize. Change the leaves, flowers, berries, or ribbon to work with the colors you already use for fall.
- Uses simple supplies. Most of these are easy to find at craft stores, dollar stores, or even tucked away in your own craft stash.
- Quick to make. Once your supplies are ready, you can put the wreath together in about 30 to 45 minutes.
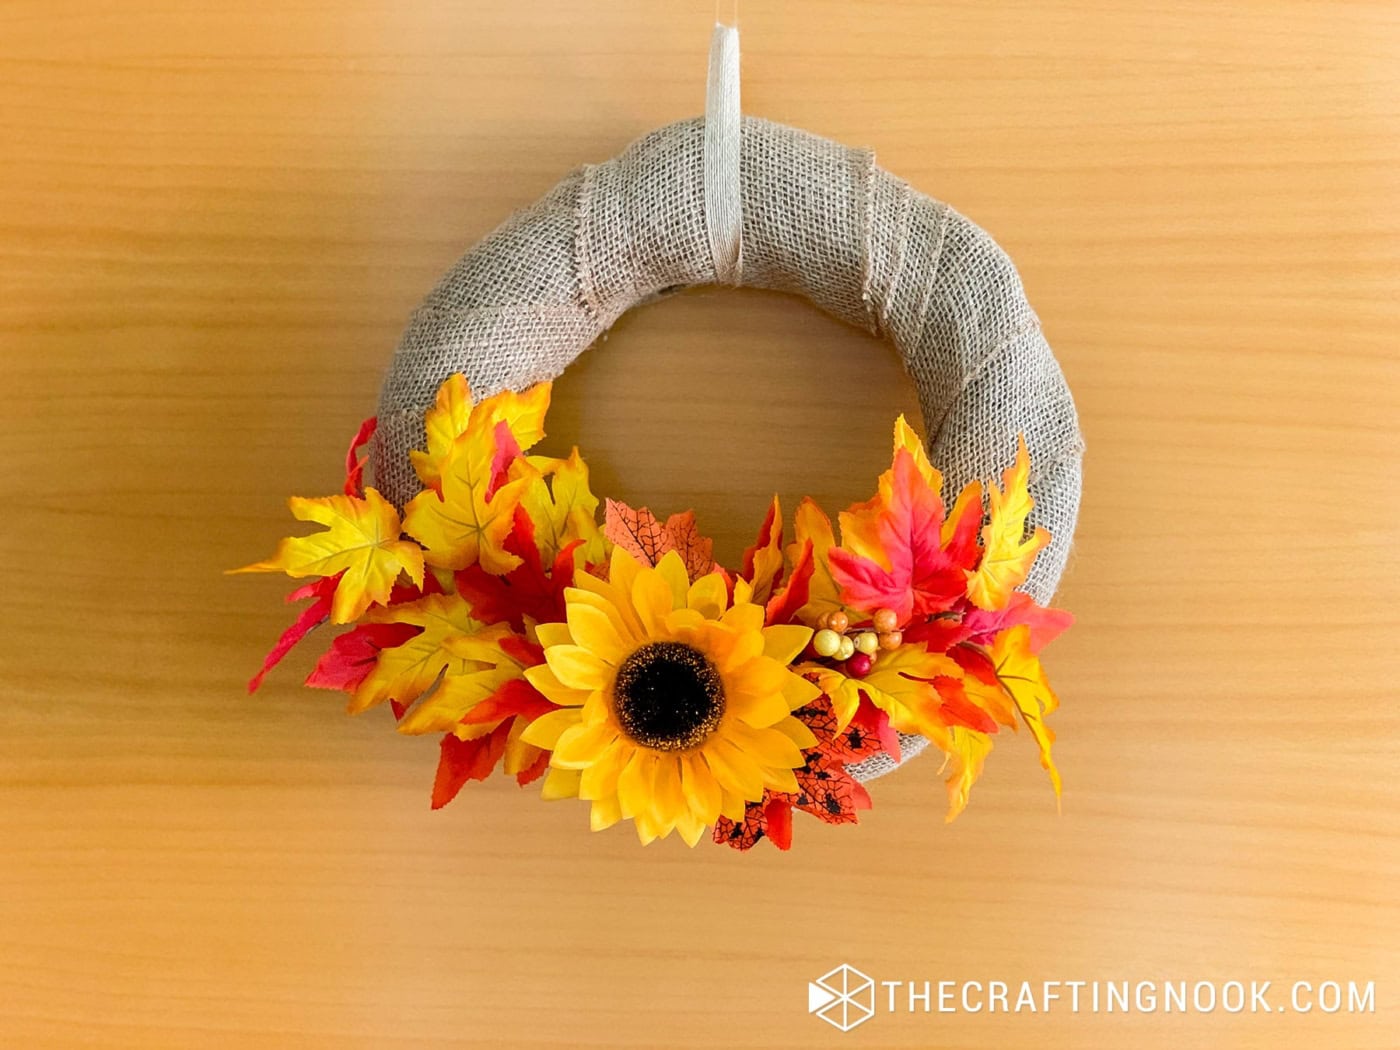
How to Make a DIY Burlap Wreath for Fall
The complete simplified tutorial is in the how-to card below, but here’s exactly how I put mine together.
This cute project is a collaboration with my mom! We make things together and also publish on each other’s blogs! If you want to read this post in Spanish, go check out her blog!
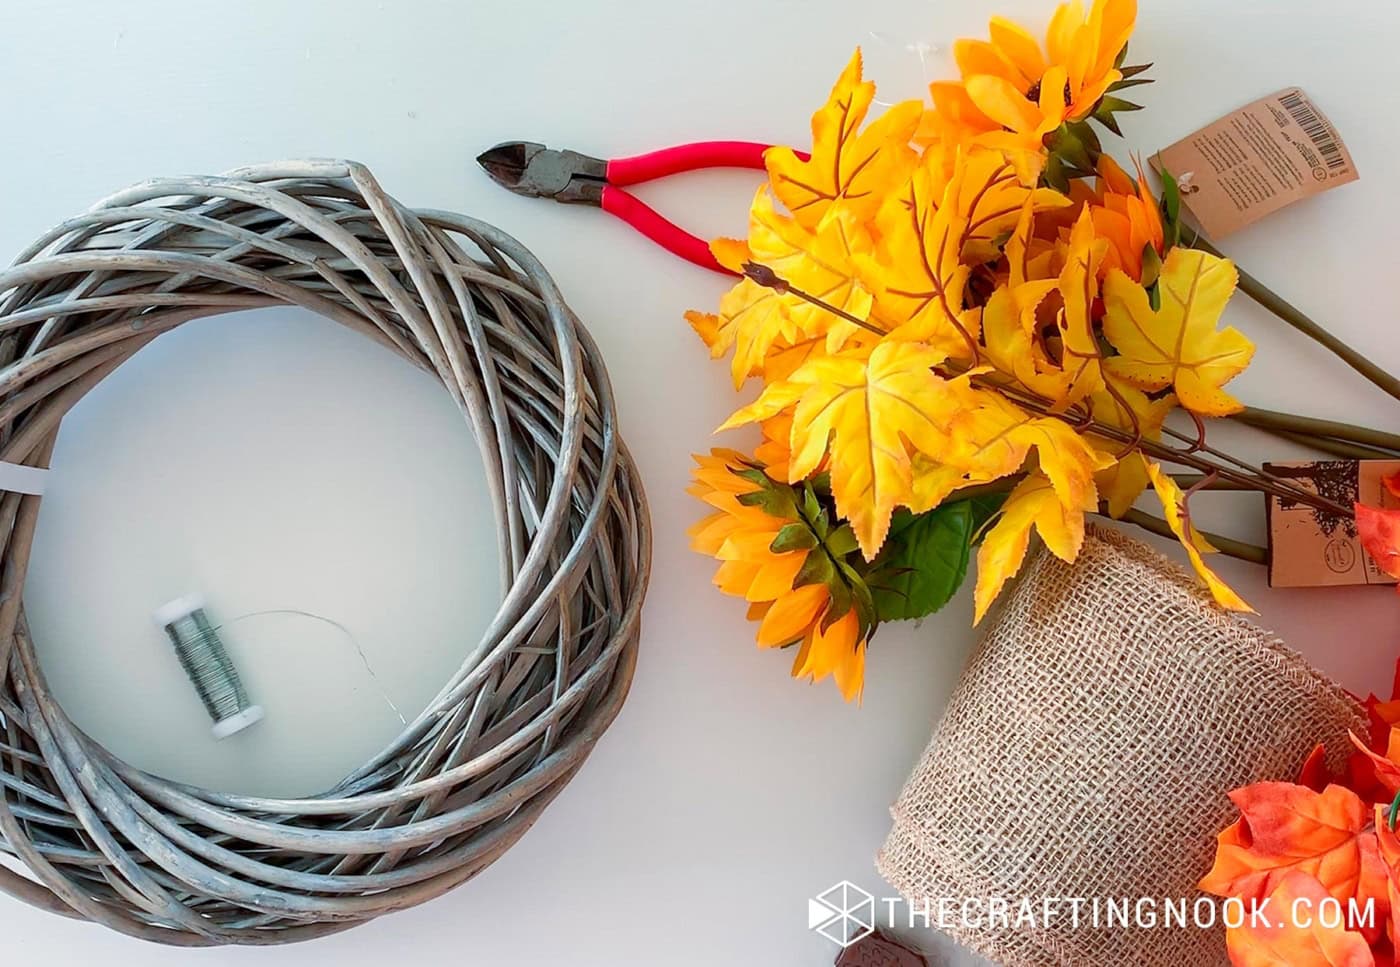
Supplies:
- Grapevine wreath base: Mine was about 12 inches. A larger or smaller one works too.
- Wide burlap ribbon: About 4 to 5 inches wide, enough to wrap around the wreath form.
- Thin rustic ribbon: For hanging the finished wreath.
- Faux fall leaves branches: I used a mixture of yellow, orange, and red.
- Faux sunflowers: Optional, but I love the brighter color they bring to all the deeper fall tones.
- Faux berries or small fall accents: I tucked a few into mine for a little more texture.
- Floral wire: This holds everything together without making the decorations permanent.
Tools:
- Wire cutters – for trimming the wire.
- Scissors
Instructions:
Step 1: Wrap the Wreath With Burlap
Start with the wide burlap ribbon and wrap it around the grapevine wreath base, overlapping the ribbon slightly as you work your way around.
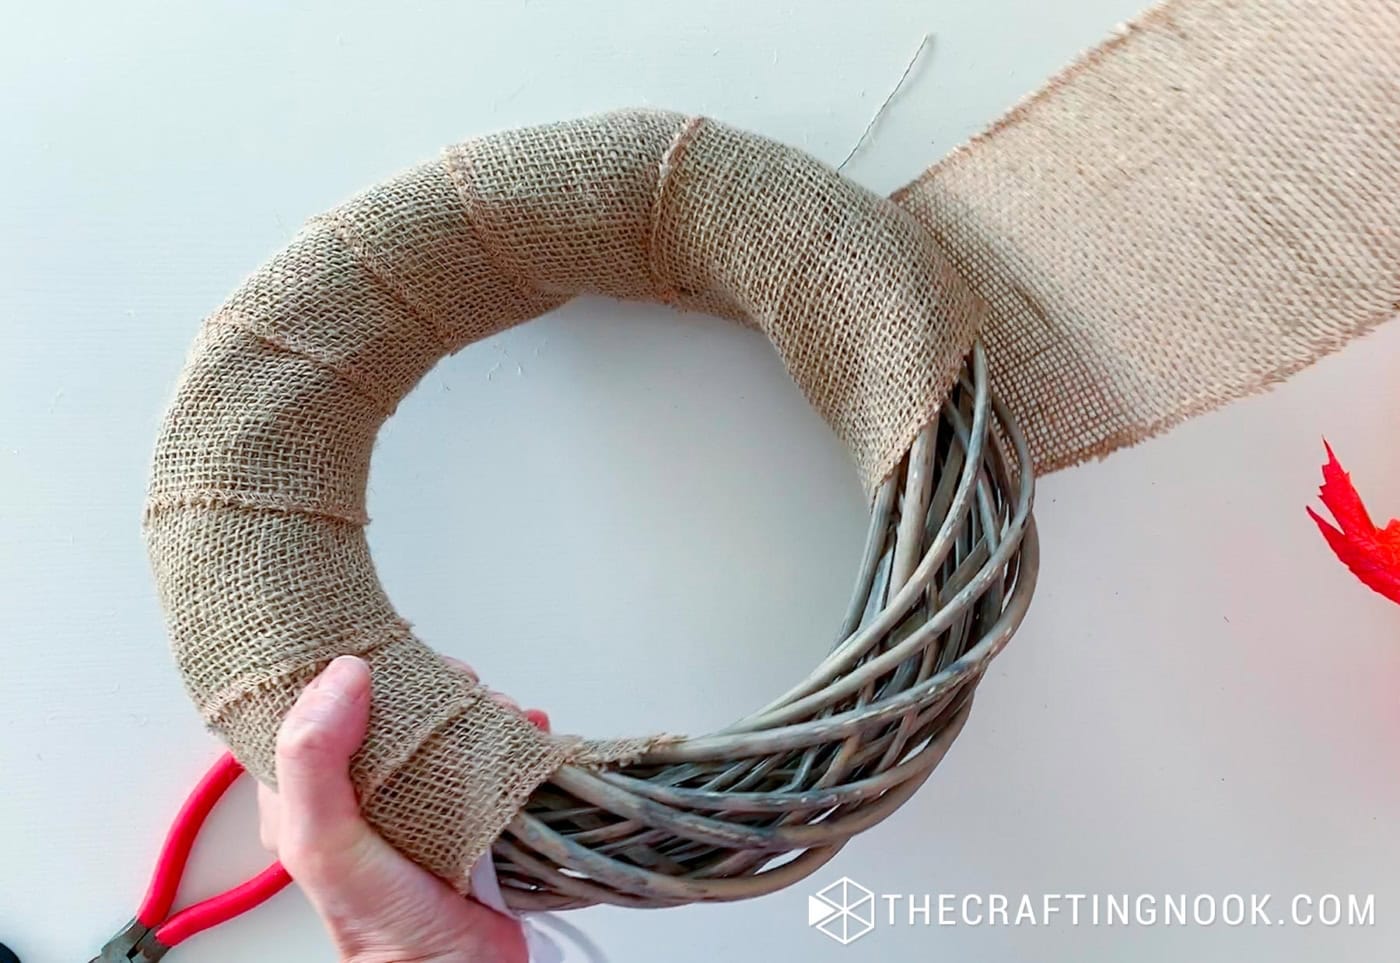
I like to keep it snug enough that it stays in place, but I don’t pull it extremely tight. A little of the grapevine showing here and there doesn’t bother me either. It actually works nicely with the rustic look of the burlap.
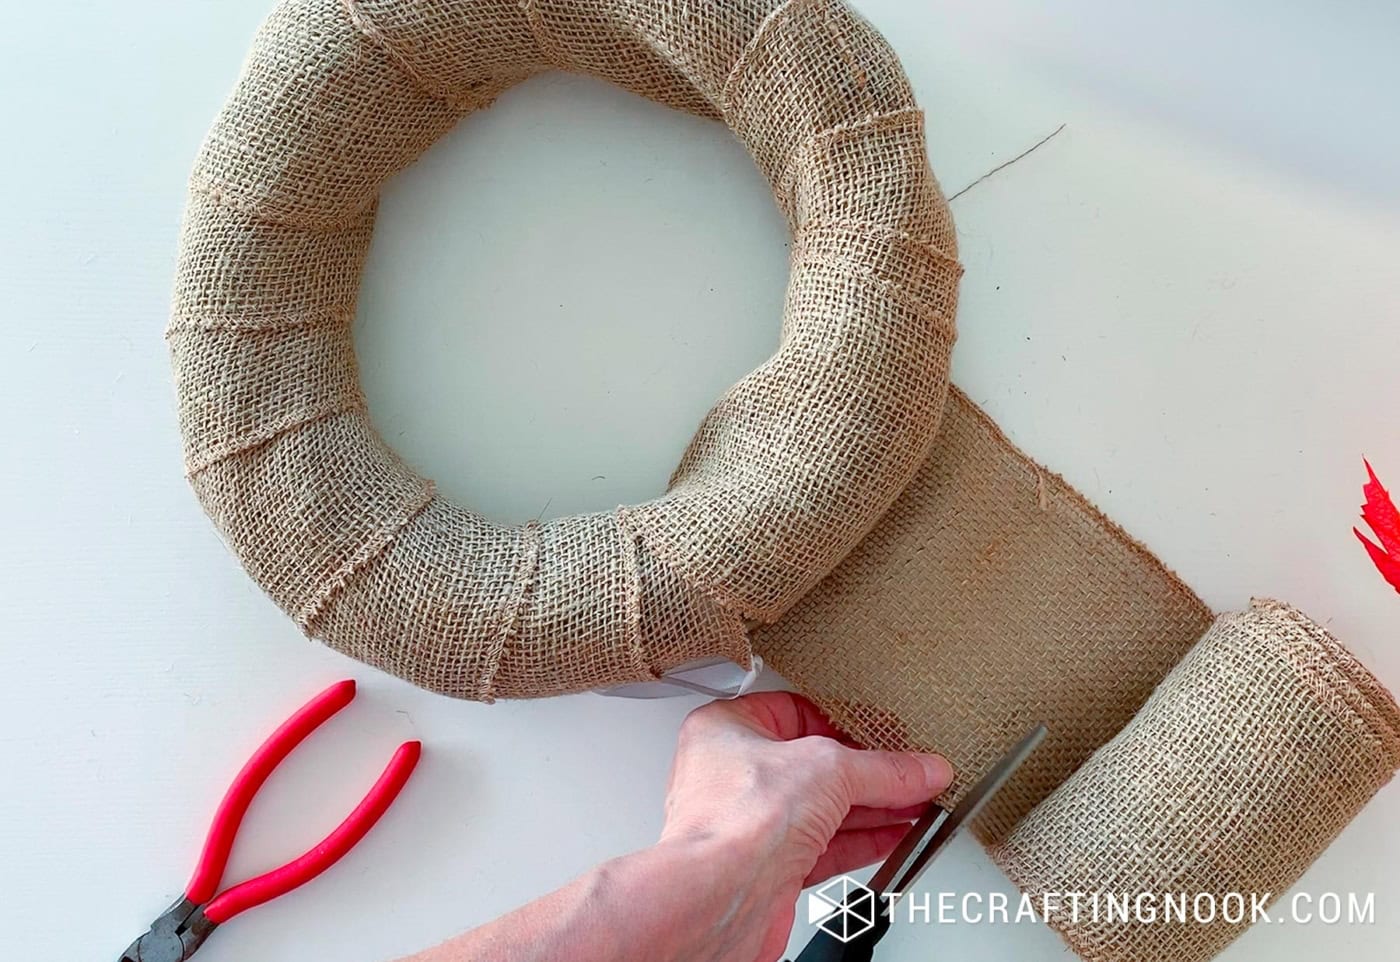
When you get back to your starting point, tuck the end of the ribbon behind the wreath. You can secure it with a small piece of floral wire instead of glue.
Step 2: Arrange the Fall Leaves
Before attaching anything, lay your leaves, flowers, berries, and other accents on the wreath and play with the arrangement.
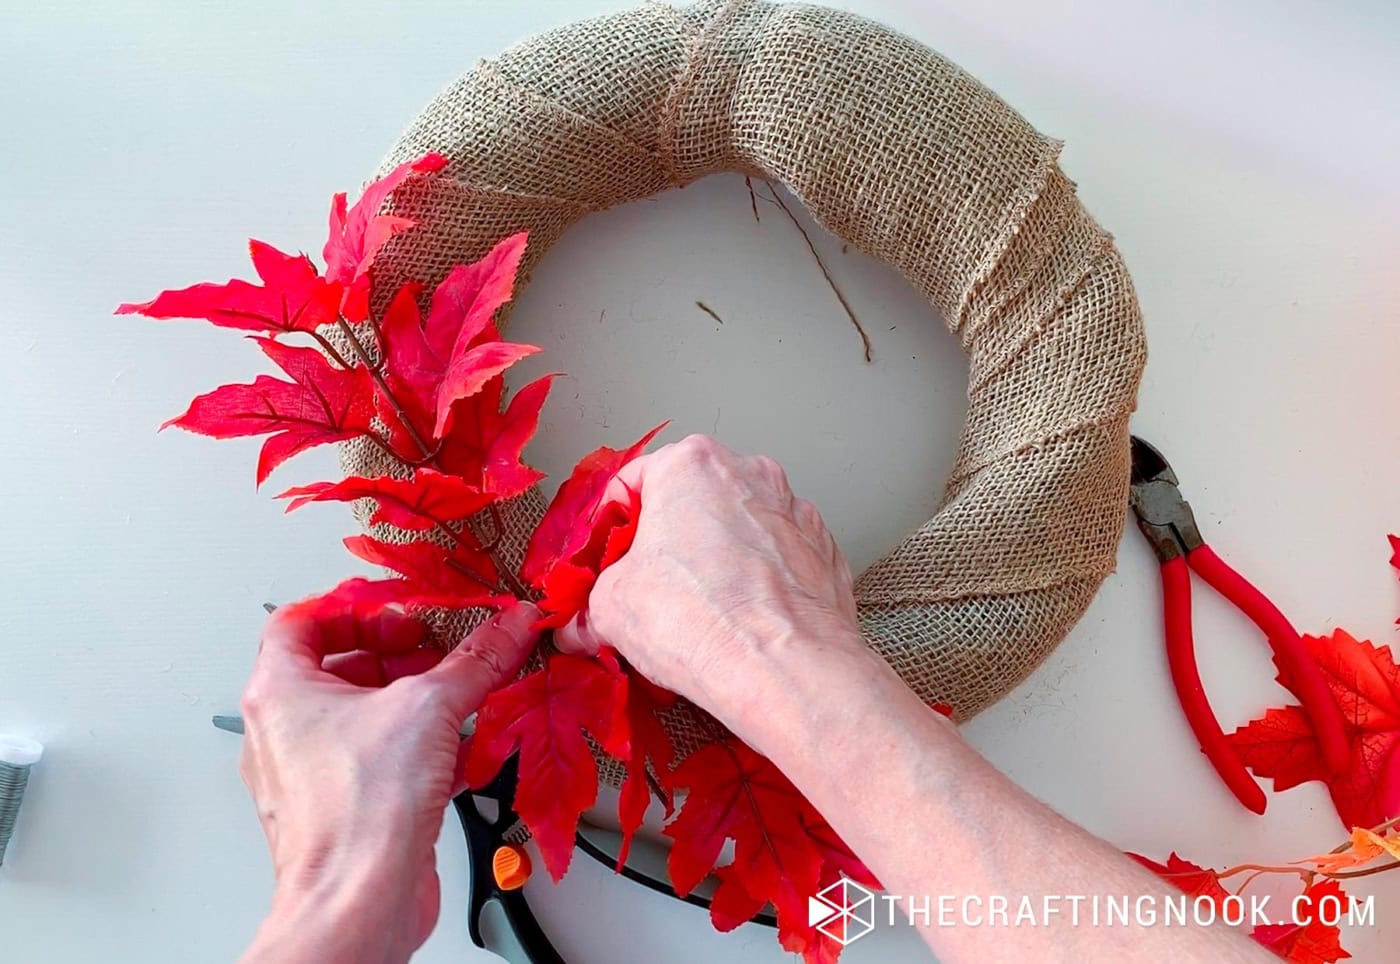
I grouped most of mine around the bottom and slightly toward one side instead of covering the entire wreath. I prefer that asymmetrical look because you can still see plenty of the burlap.
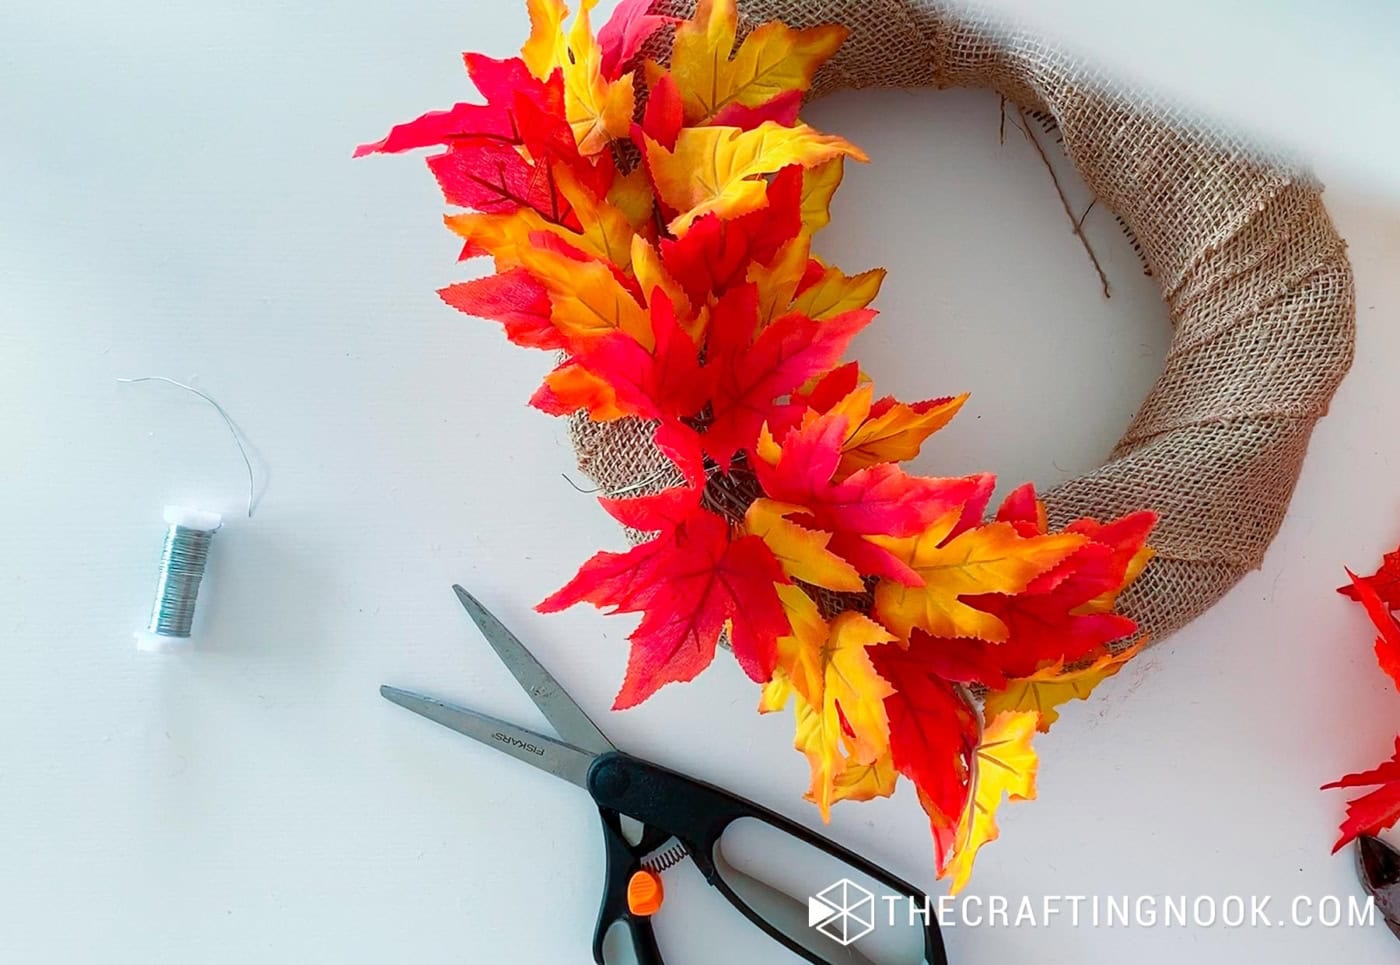
Gently bend and shape the faux leaf stems before placing them. This little adjustment makes a big difference, especially when the leaves come straight out of the package looking very flat.
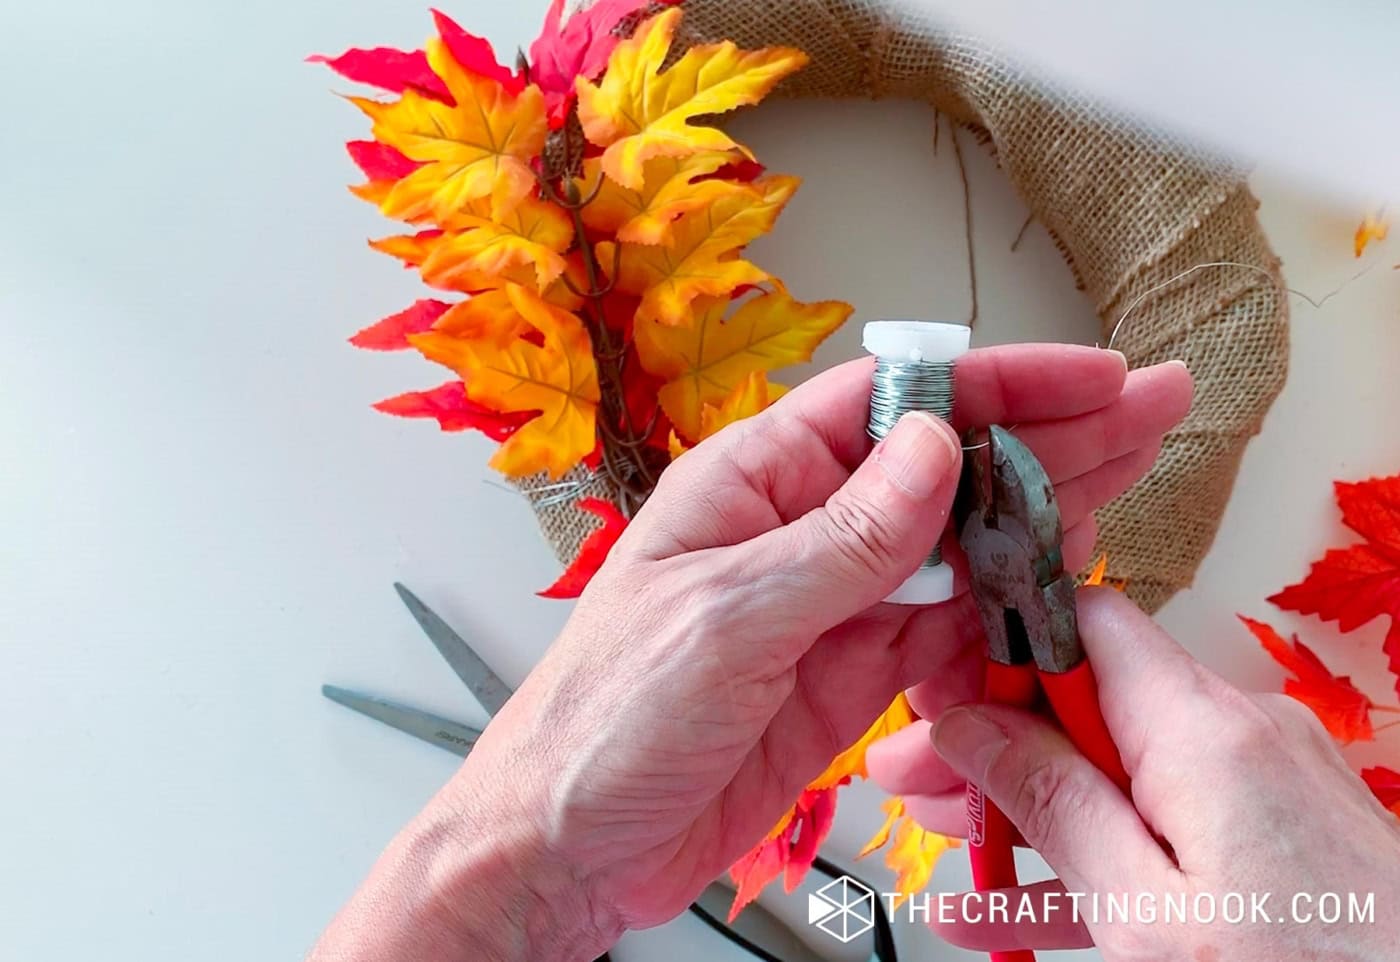
I used several leaf colors along with a small bunch of berries in earthy tones. Keep moving things around until the arrangement feels balanced.
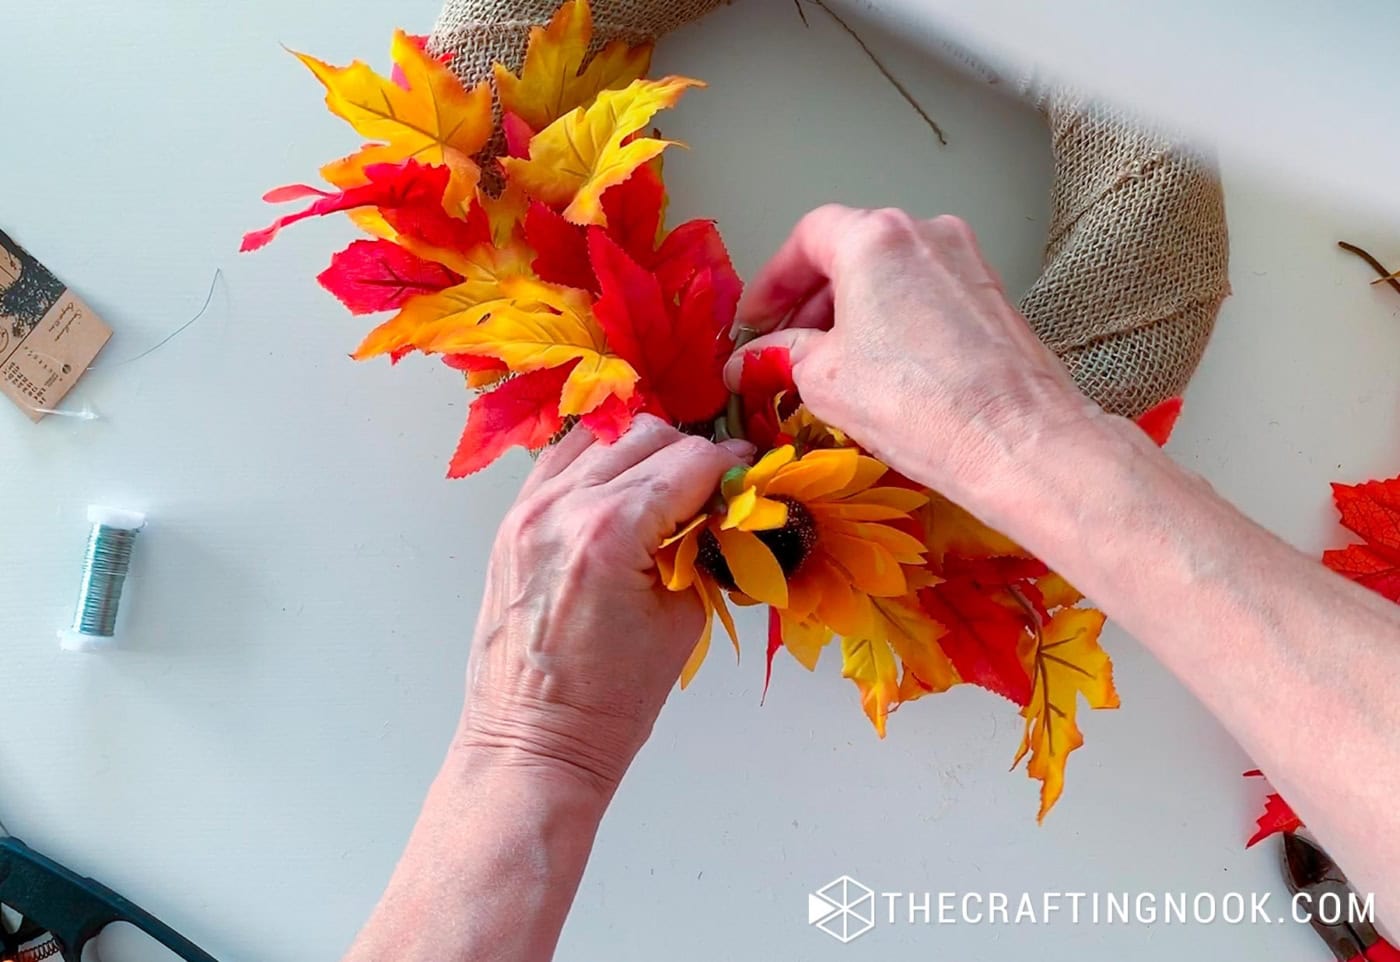
Once you like where everything sits, wrap floral wire around the stems and then around the wreath base. Twist the wire securely at the back.
Step 3: Add the Sunflowers
Nestle the faux sunflowers among the leaves.
I used one larger sunflower as the main focal point and added a smaller flower nearby to balance it. You can absolutely use only one flower if you prefer a simpler wreath.
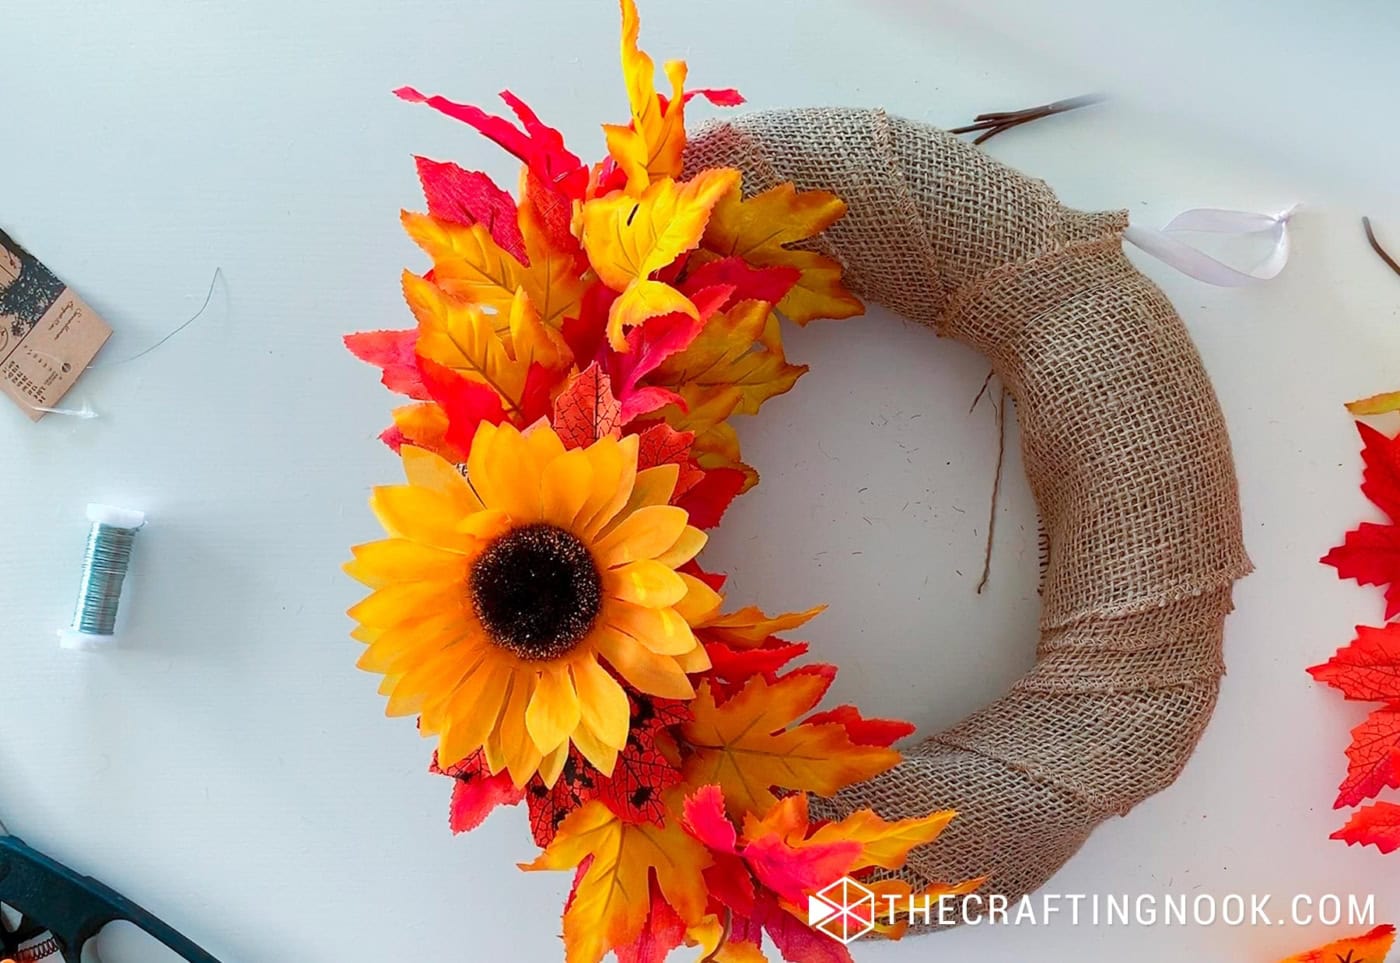
Attach each flower with floral wire in the same way as the leaves, wrapping around the stem and wreath base and securing the ends behind the wreath.
I find wire especially handy here because I can still shift the flowers slightly after attaching them if something looks a little off.
Step 4: Add the Hanging Ribbon
Cut a piece of thinner rustic ribbon for hanging. Mine was around 10 inches long, but the length will depend on where and how you plan to hang your wreath.
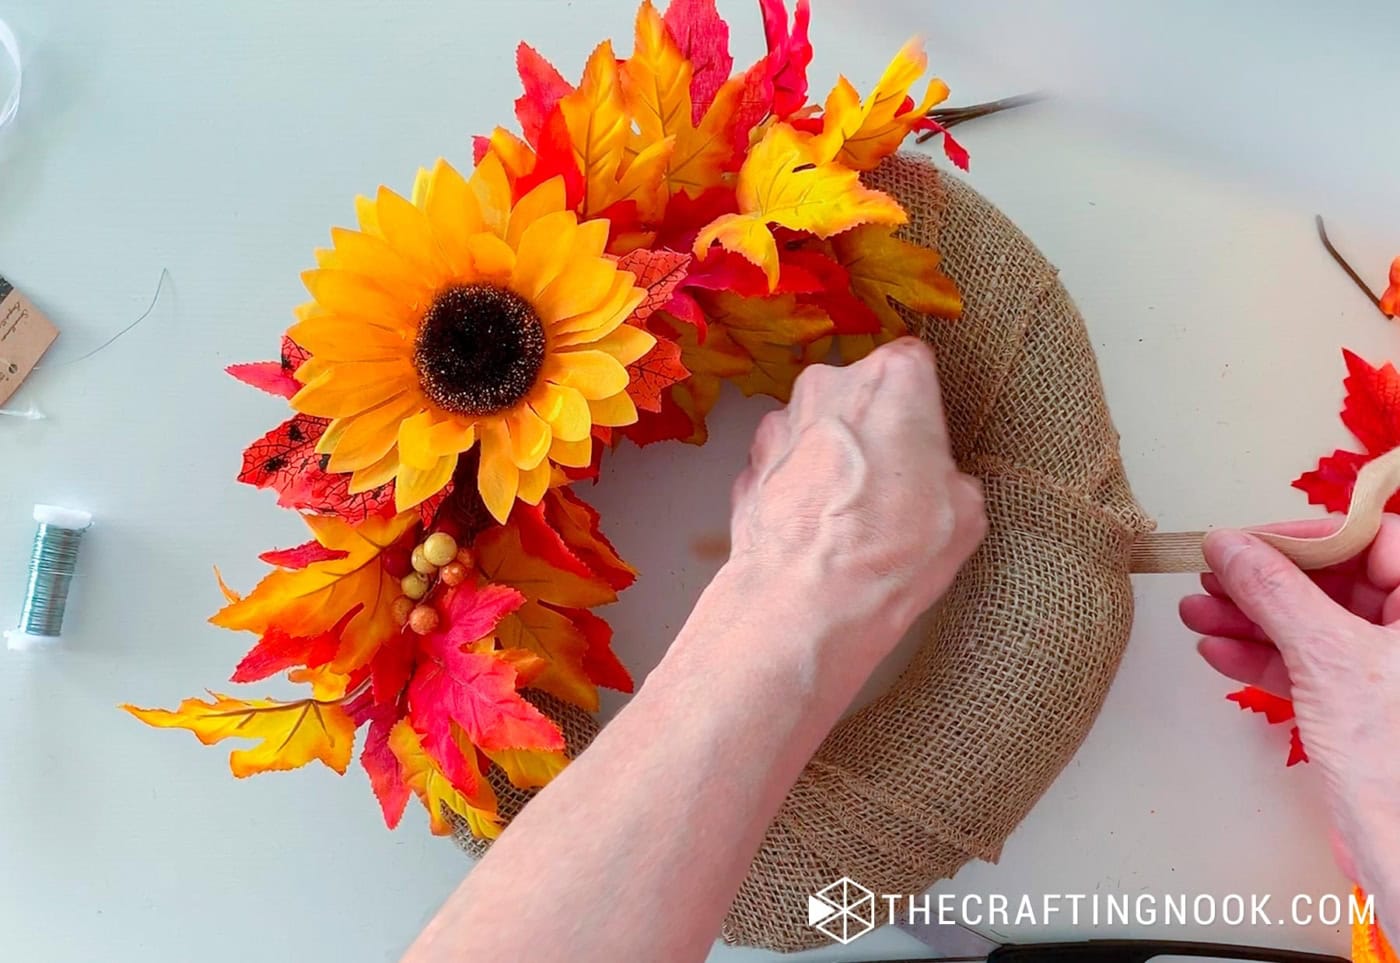
Loop the ribbon around the top of the wreath and tie the ends securely.
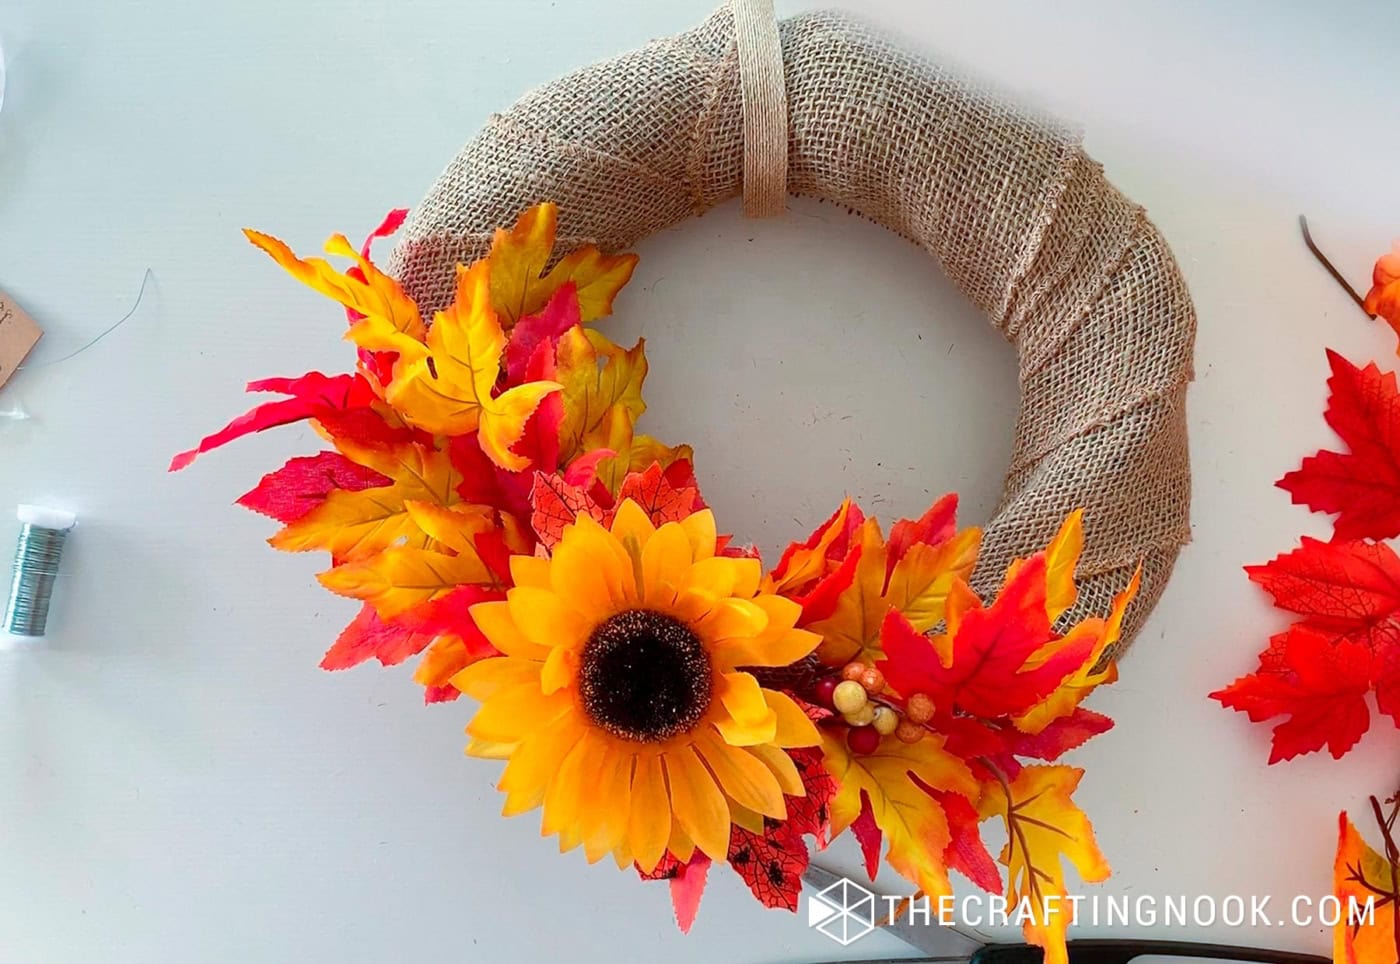
Before cutting anything shorter, hang the wreath temporarily and check the height. It’s much easier to shorten the ribbon than discover afterward that you cut it too short.
Step 5: Adjust Everything
Now take a look at the wreath from a few feet away.
Move any leaves that are sticking out strangely, fluff the flowers, and adjust the berries or smaller pieces until everything looks balanced.
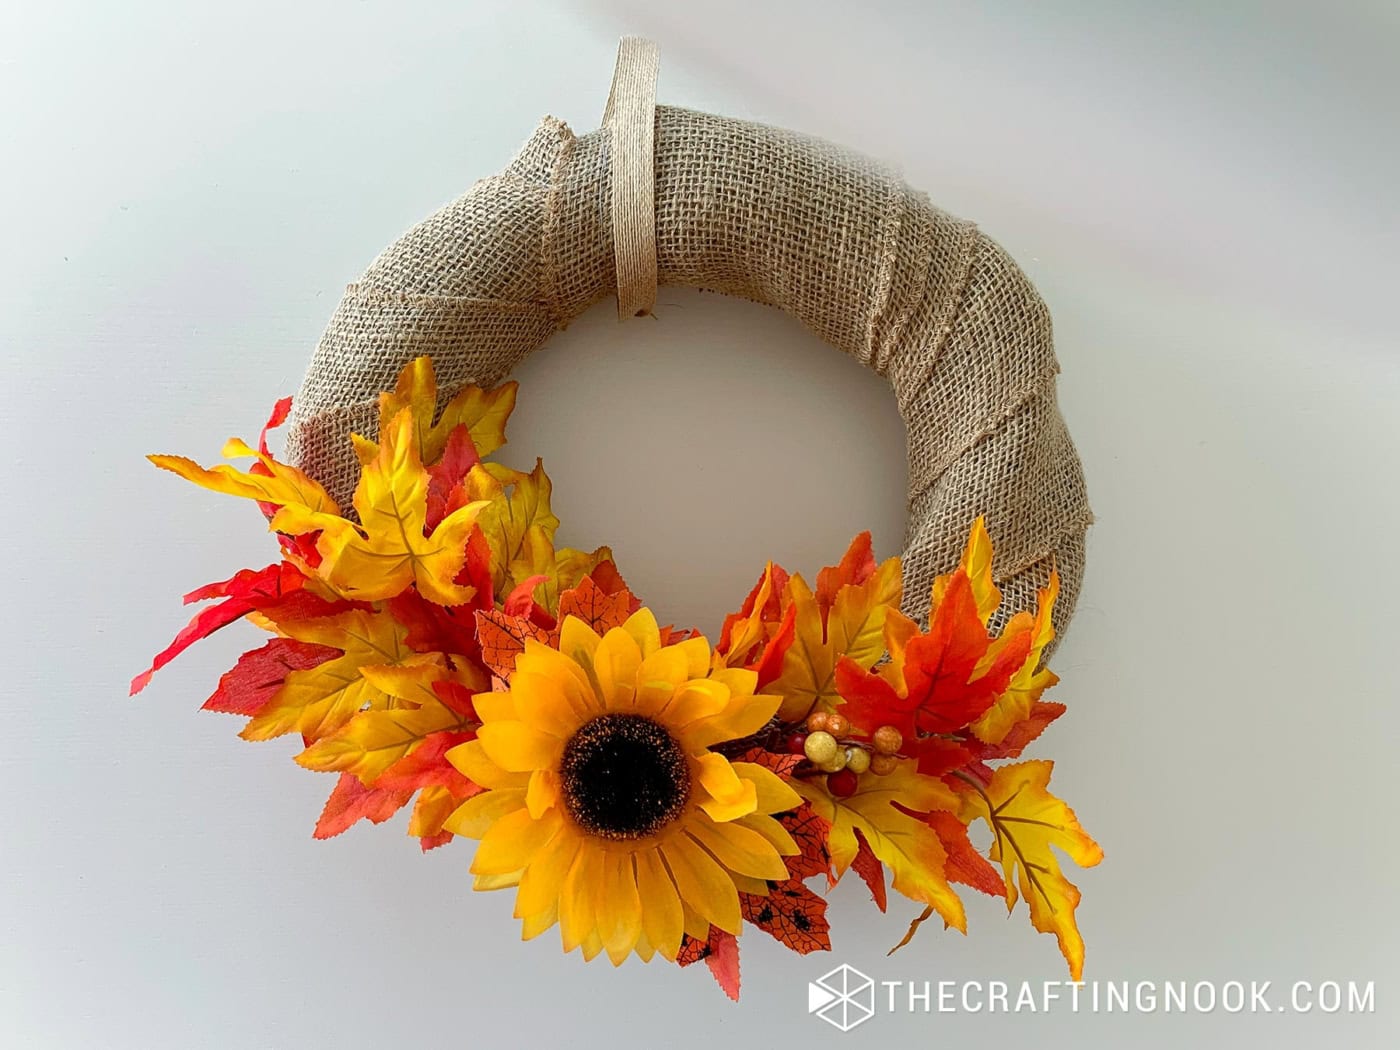
This is another reason I like using floral wire instead of glue. Nothing is completely committed. If a sunflower needs to move an inch to the left, I can just move it.
And that’s it!
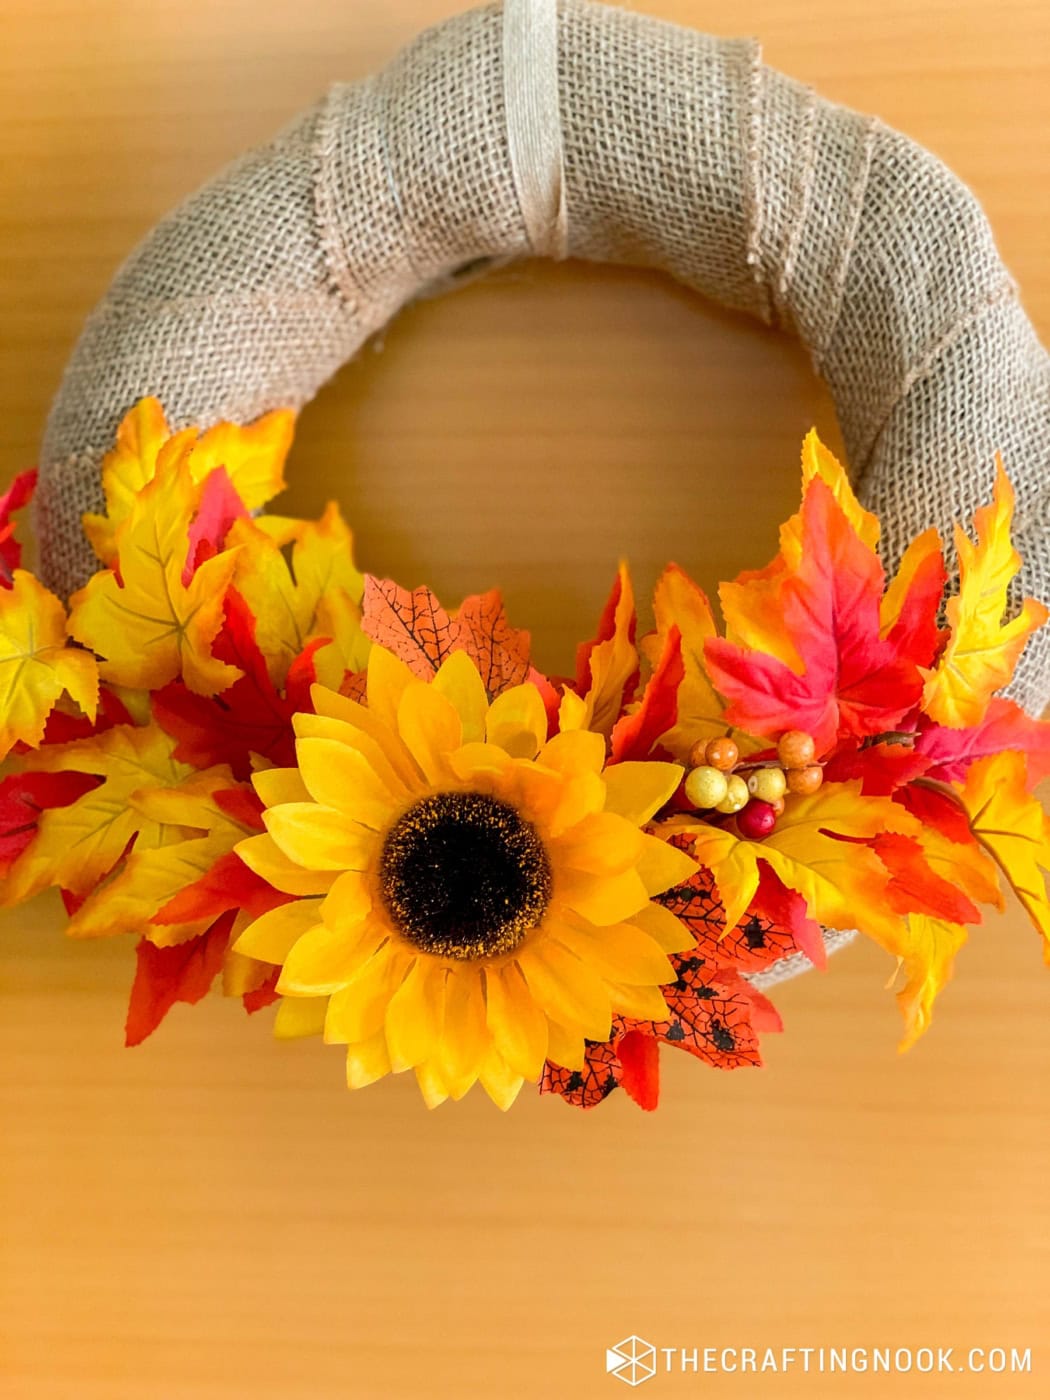
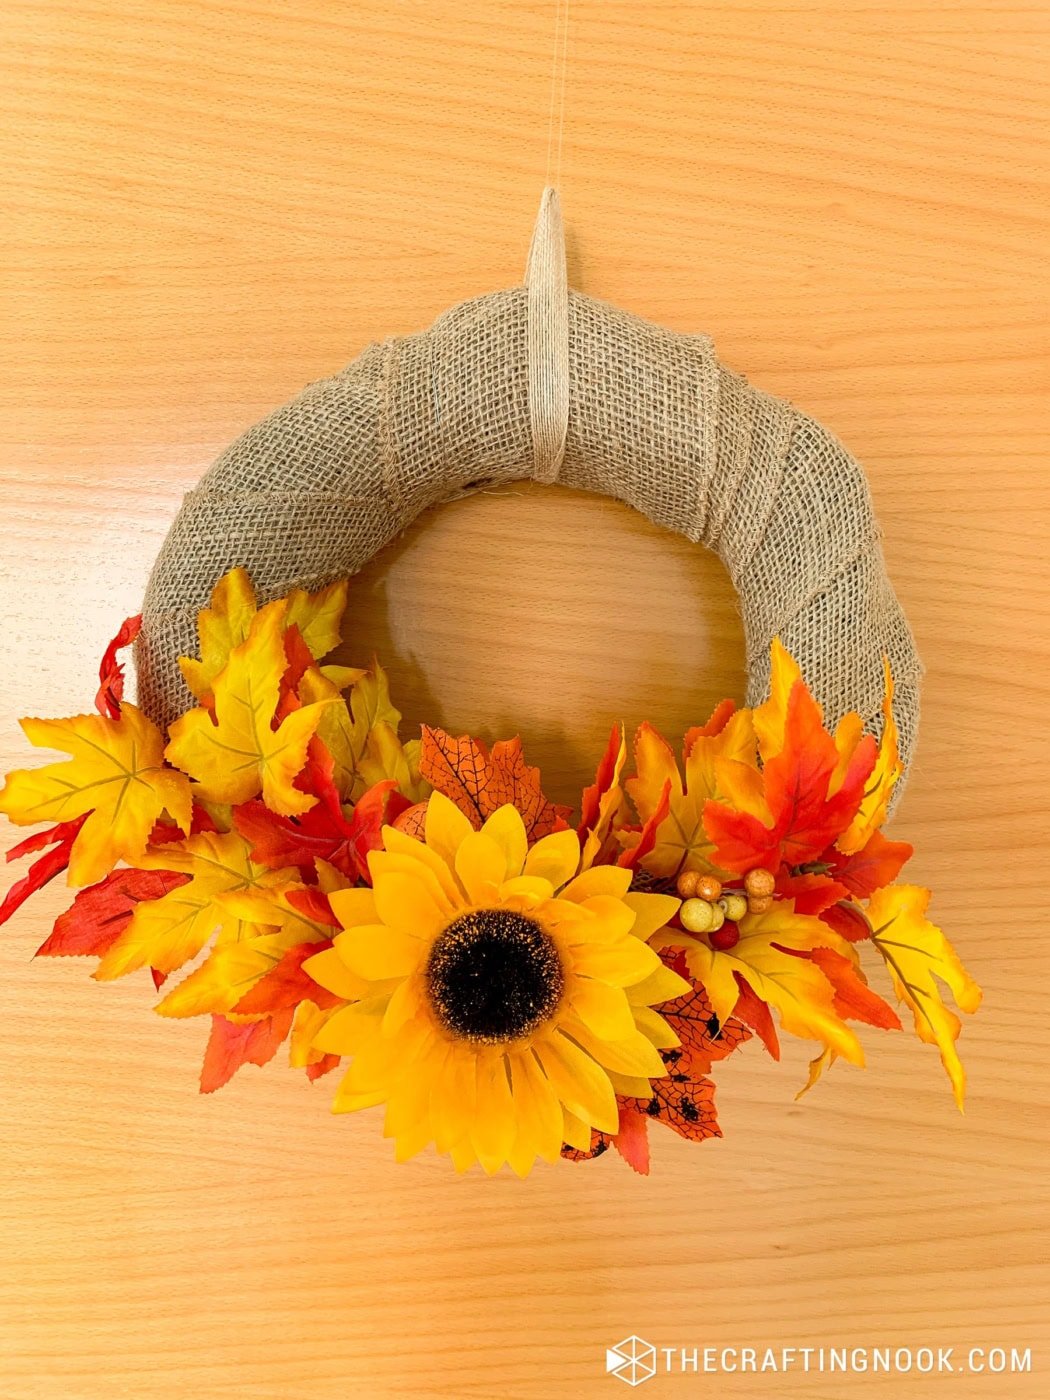
You have a simple rustic fall wreath ready to hang, and when the season is over, you can remove the decorations and save everything for another project.
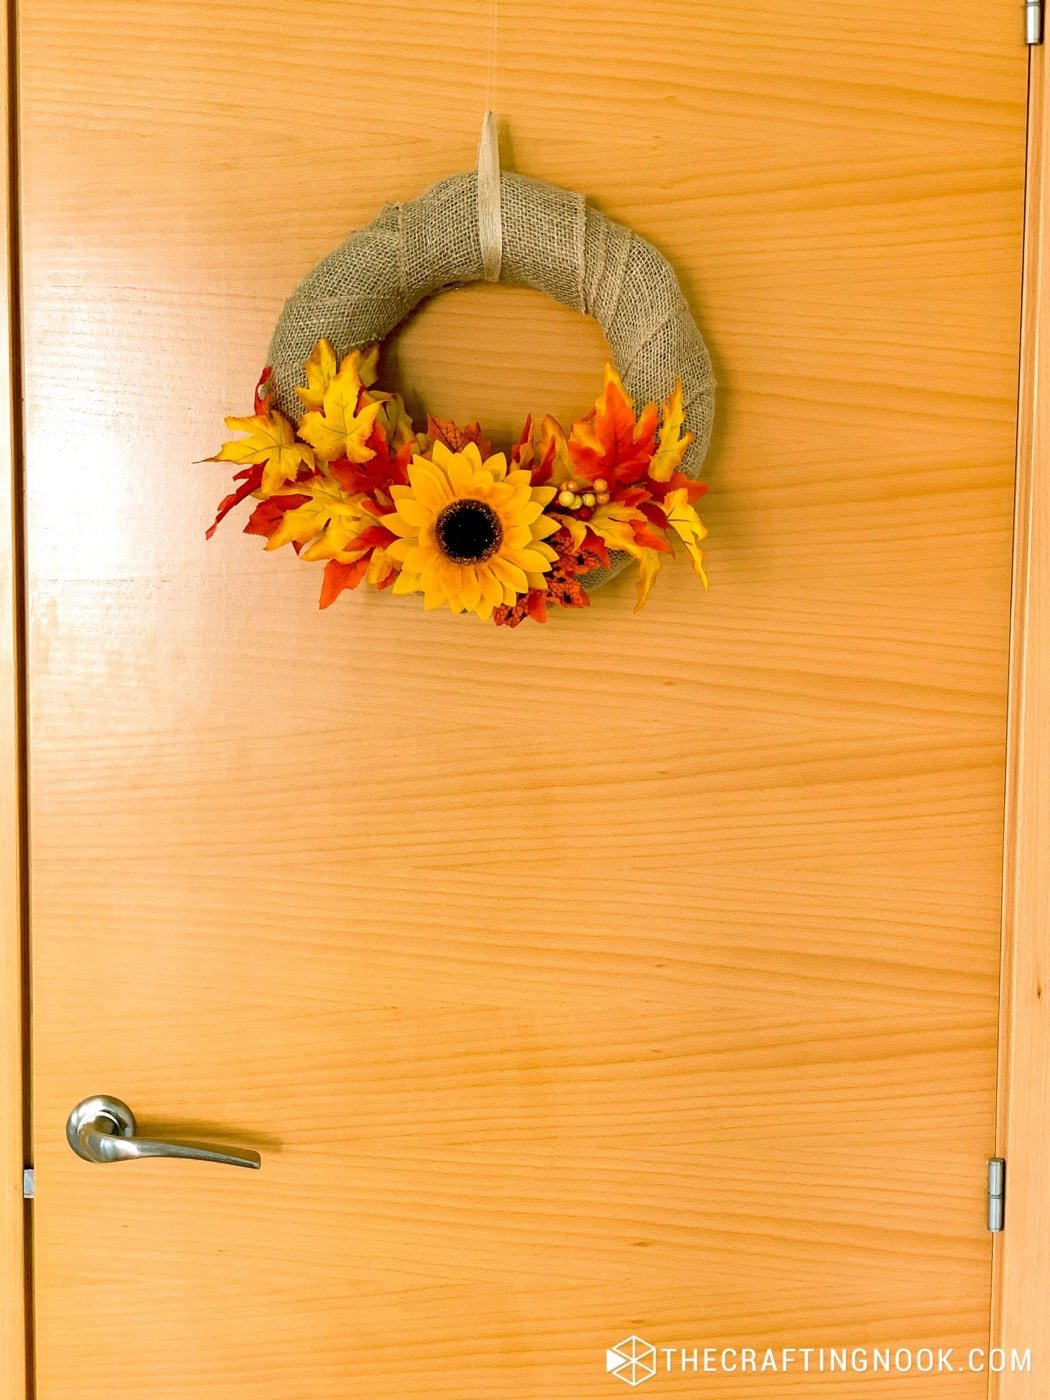
Once you’re satisfied, your wreath is ready to hang!
Crafting Tips
A few small details can make the finished wreath look much more natural.
- Shape faux leaves before attaching them. Bend the stems and leaves slightly instead of leaving everything perfectly flat.
- Arrange first, attach second. I always work out the placement before reaching for the floral wire.
- Don’t feel like you need to fill the entire wreath. Leaving some burlap visible keeps the design from getting too busy.
- Use different sizes. One larger flower mixed with smaller leaves, berries, or accents creates a nicer focal point.
- Hide the wire behind the wreath. Twist the ends at the back and trim away excess wire with wire cutters.
- Check thrift stores and dollar stores. I’ve found all kinds of little seasonal picks, pinecones, ornaments, faux foliage, and ribbon that can work beautifully in wreaths.
- Let kids help with the arranging. They can choose leaves and flowers or help decide where everything should go. Just supervise the wire cutting and attaching.
Easy Ways to Change It Up
The basic wreath can stay the same while the decorations change quite a bit.
- Add natural elements. Tuck in a few clean, dry pinecones, acorns, or small branches for a more earthy look.
- Add a little sign. A small wooden letter or a mini “Hello Fall” sign can sit among the leaves.
- Change the focal point. Instead of sunflowers, try a small faux pumpkin, fall bow, or another seasonal flower.
- Add a subtle fall scent. Hide a few cinnamon sticks or a small scented sachet behind the leaves where it won’t show.
Wreath Form and Supply Substitutions
You don’t have to use exactly the same supplies I used.
A foam wreath form or wire wreath form can replace the grapevine wreath. Just keep in mind that the way you secure the decorations may need a little adjusting depending on the base.
You can also use jute twine instead of floral wire for some of the decorations. Choose a color similar to the burlap so it disappears into the wreath.
And if you don’t have burlap ribbon, try another wider fabric ribbon. Plaid flannel can give the wreath a completely different fall look, while lace creates something softer and more delicate.
How to Store and Reuse Your Fall Wreath
Since there’s no glue holding mine together, I have two options when fall is over.
I can store the wreath assembled in a wreath box or large container, or remove the wire and take everything apart. The wreath base, burlap, flowers, and leaves can all go back into my craft supplies for another project.
If you plan to reuse faux flowers and leaves, don’t crush them into a small container. Give them enough room to keep their shape.
Frequently Asked Questions
No. A foam or wire wreath form works too. I like grapevine because it already has a rustic look and gives the floral wire plenty of little places to grab onto.
Absolutely. If you want the decorations to stay permanently attached, hot glue is an easy option. I chose floral wire because I wanted to be able to reposition the pieces and reuse everything later.
Wrap the floral wire around the stems and wreath base several times, then twist it securely at the back. If something still moves, add another small piece of wire rather than tightening one piece so much that it bends the stem.
Mine takes about 30 to 45 minutes once all the supplies are ready. The part that takes me the longest is usually deciding exactly where I want the flowers and leaves.
It depends on the materials you use. Faux foliage and burlap can fade or become damaged with repeated exposure to rain and direct sunlight. I would use mine on a covered porch or protected door rather than somewhere completely exposed to the weather.
More Fall Projects To Try
Like this DIY Burlap Wreath tutorial? You might definitely love these other Fall project ideas too:


If you make your own version of this wreath, I’d love to see how you decorate it. Leave me a comment below with a rating star and tag me on Instagram so I can see what you made!
✂️ Tutorial
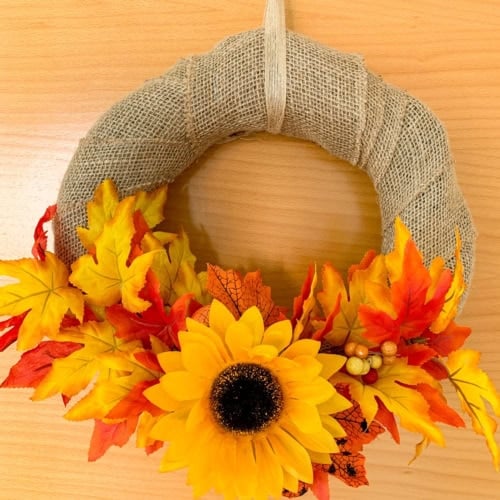
DIY Burlap Wreath for Fall

Tools
- Wire cutters – for trimming the wire.
- scissors
Supplies
- Grapevine wreath base – mine was about 12 inches but feel free to go larger or smaller and even a different material.
- Wide burlap ribbon to cover the base – about 4-5 inches wide
- Thin rustic ribbon – for hanging the wreath
- Faux fall leaves – a mix of yellow orange, and red gives that lovely autumn feel
- Faux sunflowers – optional but they add such a bright pop of color
- Floral wire – for attaching the decorations
Instructions
- Wrap the grapevine wreath with wide burlap ribbon, overlapping slightly as you go. Secure the end at the back with floral wire.
- Arrange the faux fall leaves around the lower half of the wreath until you like the placement.
- Secure the leaves to the wreath with floral wire, wrapping it around the stems and wreath base.
- Add the sunflower and any berries or extra fall accents, then attach them with more floral wire.
- Cut a piece of thin rustic ribbon and loop it around the top of the wreath for hanging.
- Adjust the leaves, flowers, and accents as needed, then hang and enjoy.
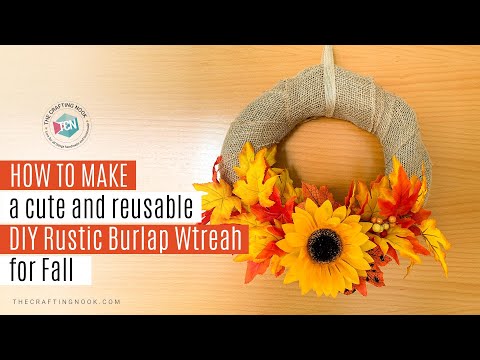
Video
Share and PIN ME!!!
Til’ next time…


FREE WORKBOOK
Keeping your Sweet Home Organized
Learn how to create intentional habits and simple routines to Keep Your Home Organized. Plus freebies, printables, exclusive content, and tips.
Disclaimer: By clicking on the “Yes” button above you are giving me your consent to collect and use your information according to the law and My Policy Privacy. Zero Spam I promise!