DIY Red and Gold Christmas Ornament Shadow Box
This post may contain affiliate links. Please read our Disclosure Policy.
You don’t need to be a craft professional to create gorgeous holiday decorations. This lovely Christmas Ornament Shadow Box DIY is super easy to make and will look festive and adorable in your home.
It’s not a secret that Christmas is my favorite time of the year. If I hadn’t been creative or crafty all year long this is when everything comes to me! I just love it!
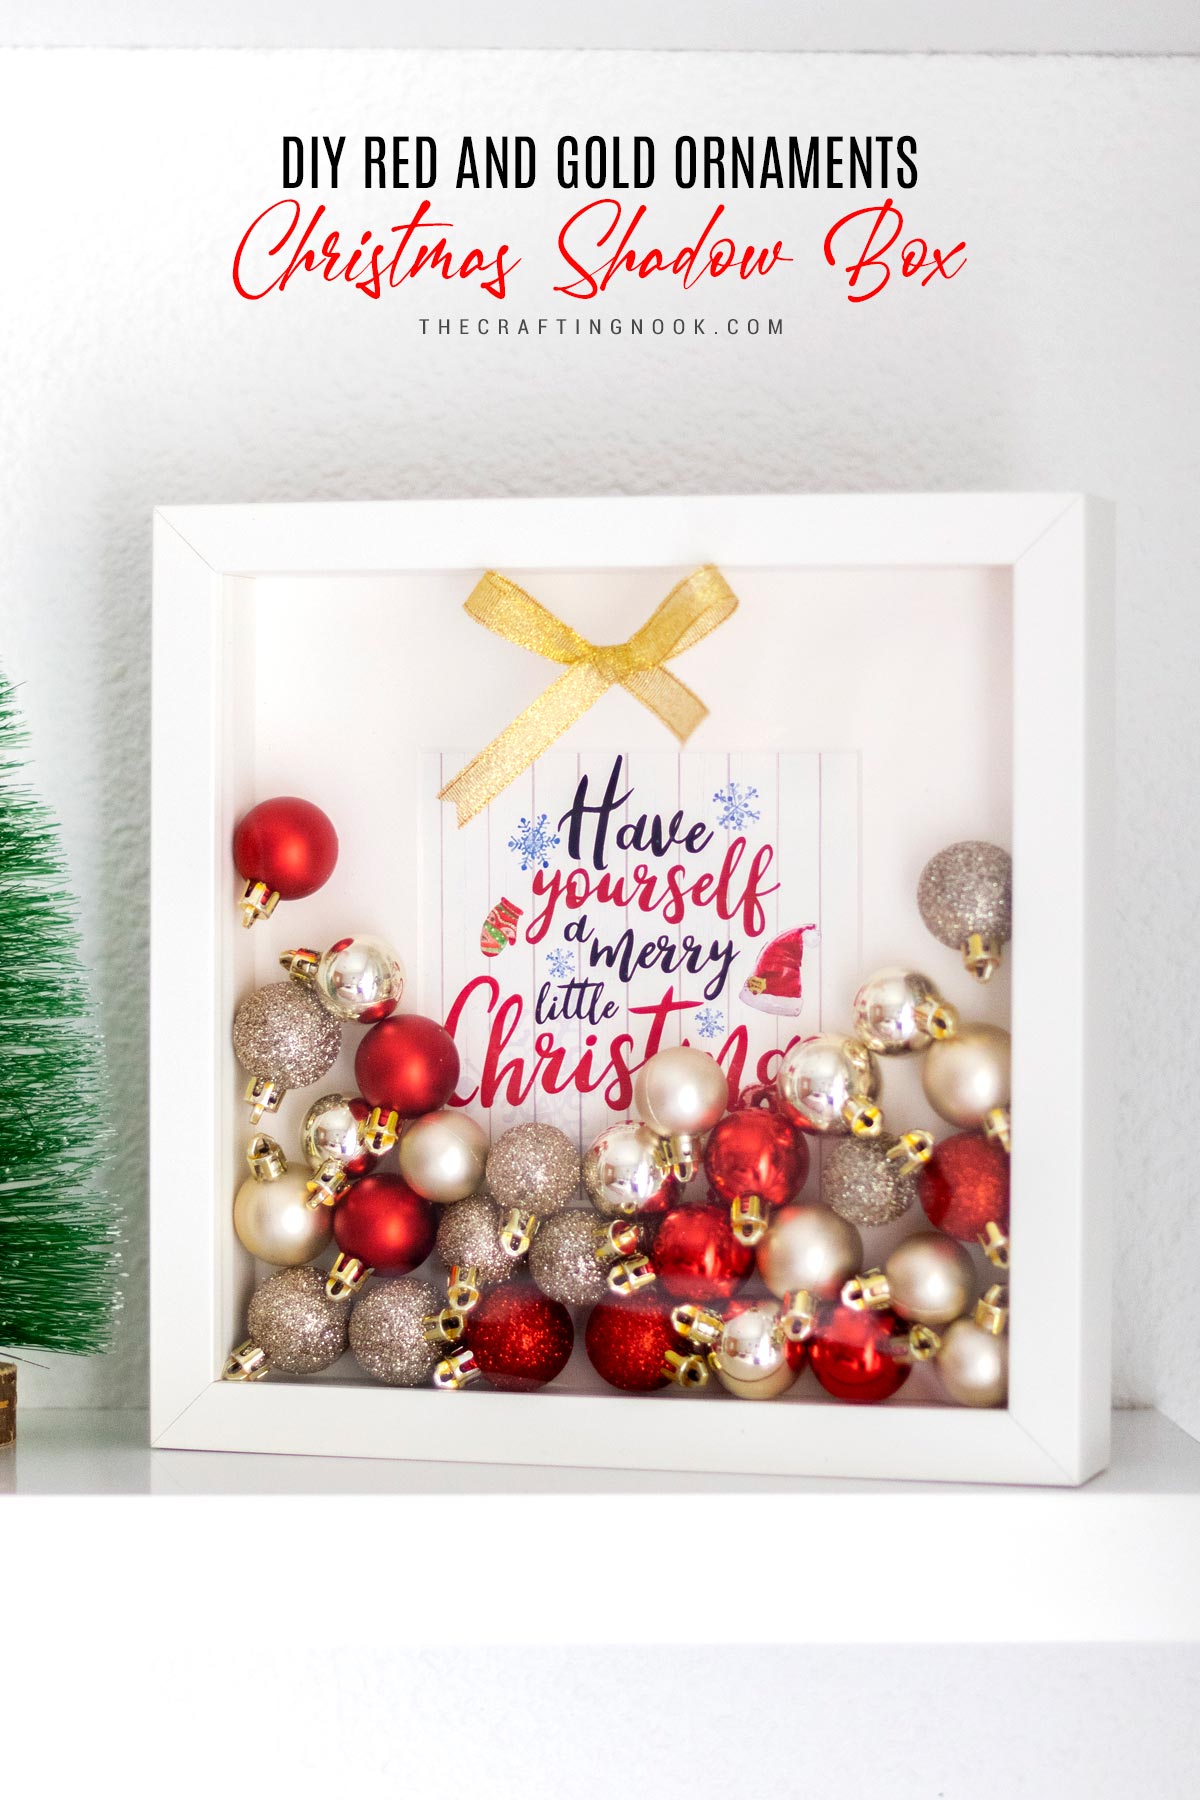
Table of Contents
Christmas Ornament Shadow Box for decoration
This time of year always brings out the craftiness within me. I love Christmas and I love to create myself as many decorations for my home as I can as well as gifts for friends and family.
I recently shared e blog posts about making your own Elegant Christmas Ornaments. If by any chance you missed them, make sure to go back and check them out, you will love them!
To me, there is nothing like decorating my Christmas tree and my home with my own handmade items.
I absolutely love shadow boxes. I find them so decorative and fun to make.
This one was made last year at the last minute and I never got to share it.
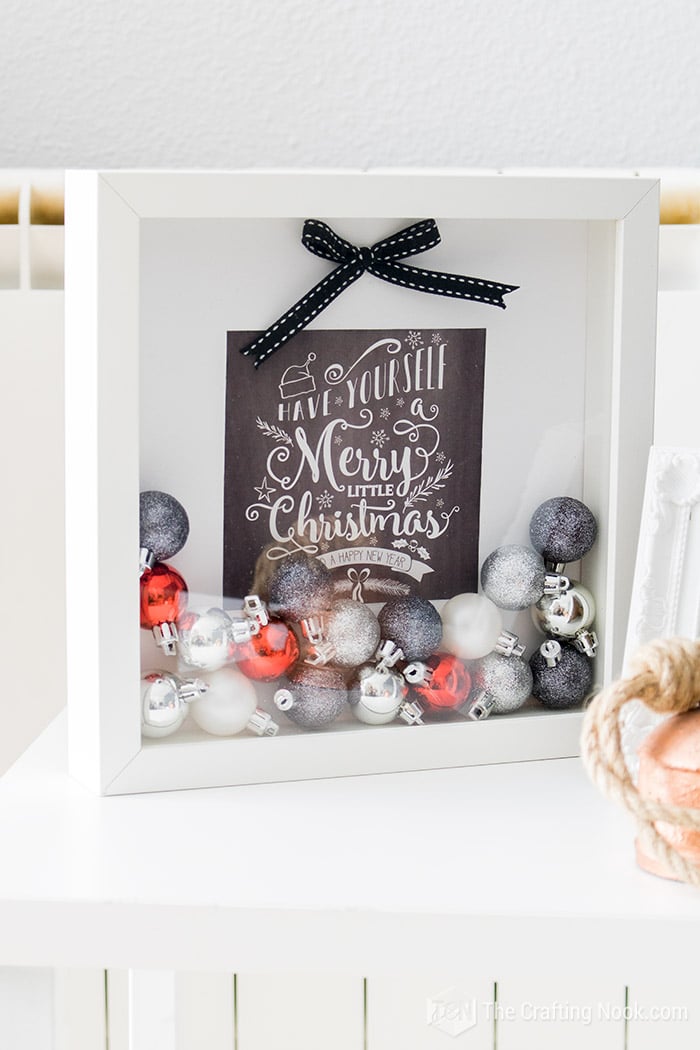
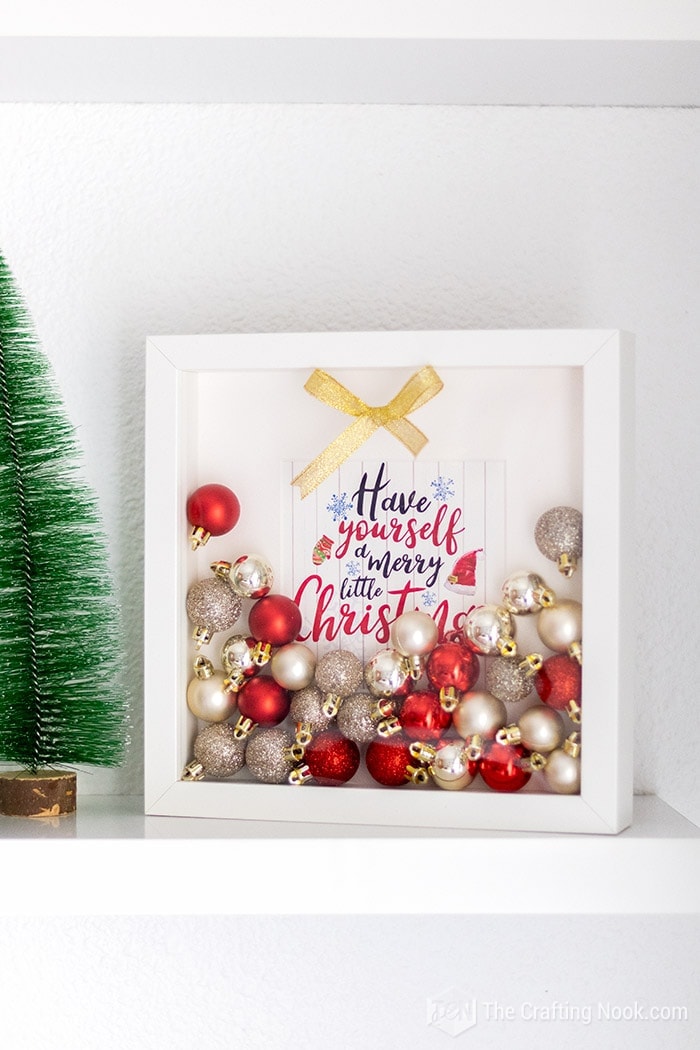
This year I made it again with different colors and decided I wanted to share it.
I love sharing ideas with you that are very simple to make, mostly inexpensive, and easy enough. The best part is that you can always tweak them to meet your needs and your creative abilities so you can make them your own.
I absolutely love sharing some ideas that might just spark your imagination and get your creative mojo flowing.
Hope you have lots of fun with this.
The Shadow Boxes above were made using a 9×9 (23x23cm) Ikea Ribba white decorative Shadow Box. These shadow boxes were very easy to make and I only needed a few supplies.
There are so many possibilities with what you can put inside a shadow box. Using your own imagination and using things that you already have on hand if possible, you can create such meaningful, fun and so decorative pieces (if you are a crafter, you probably have boxes of goodies on hand!).
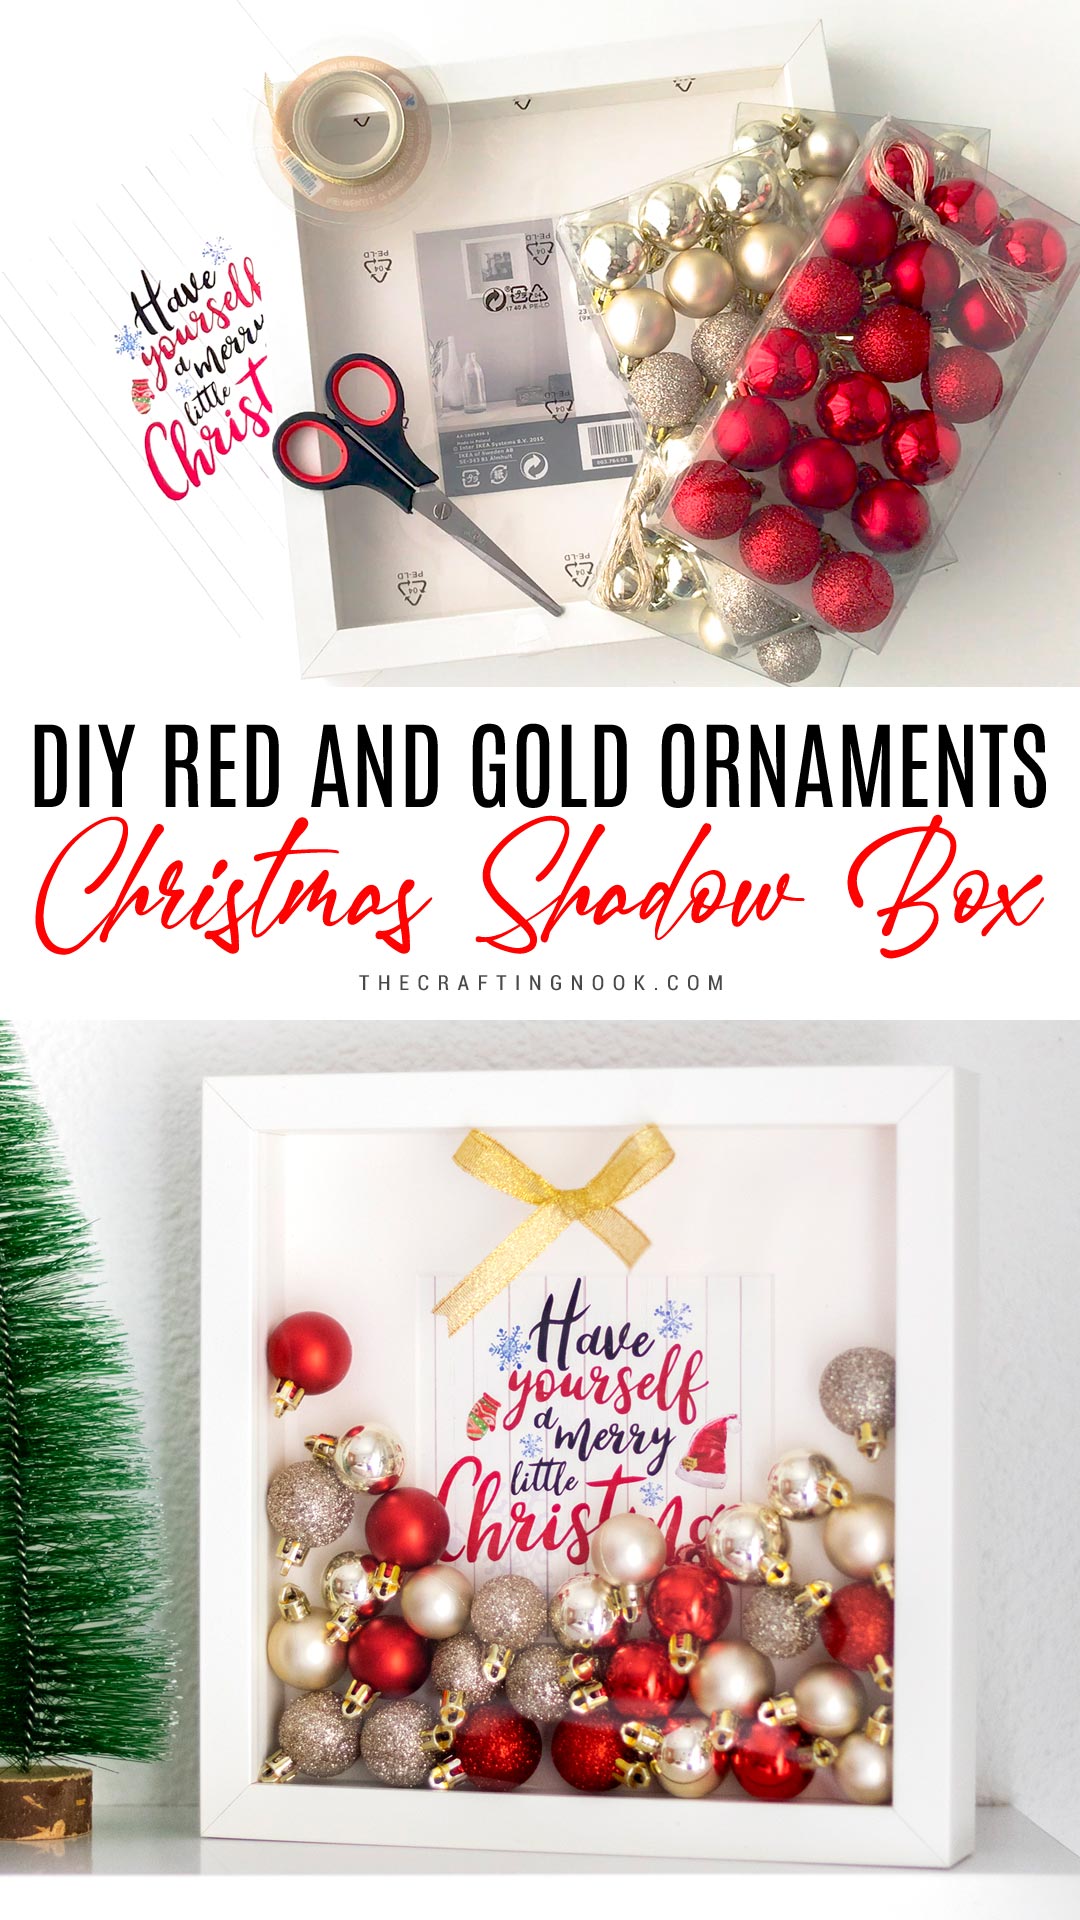
For this Christmas Shadow Box, I just used a printable sentiment that you can snag if you like it, a Shadowbox frame, a cute bow, and lots of small Christmas ornaments in gold and red colors.
How to make an Ornament Show Box for Christmas
This project is so crazy easy and fun to make! No special items or tools.
So, let’s get started!
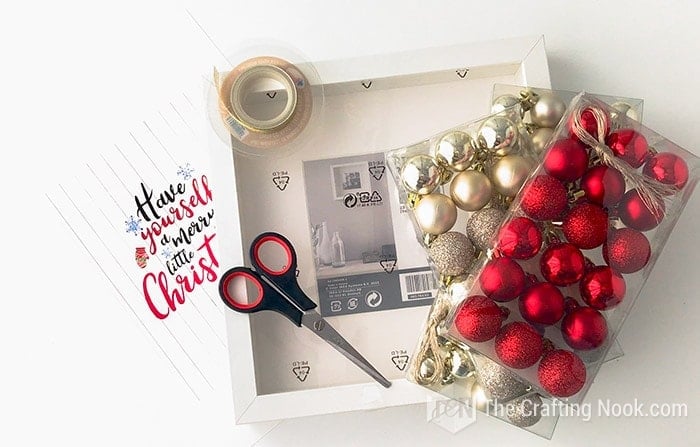
Supplies needed:
- 1 Shadow box frame (I used a white Ikea Ribba 9×9)
- A sentiment printable
- Sorted small Christmas ornaments (very small)
- Adhesive take (just a tiny bit)
- Gold ribbon
Tools:
- Hot glue
- Scissors.
- Printer
Instructions:
I made this quick video to show you how to make this cute and elegant Christmas ornament. Keep scrolling for a more detailed tutorial.
Step 1: Prep Work
Firstly, unpack your shadow box if you haven’t yet removed all protective plastics and separate all the main pieces.
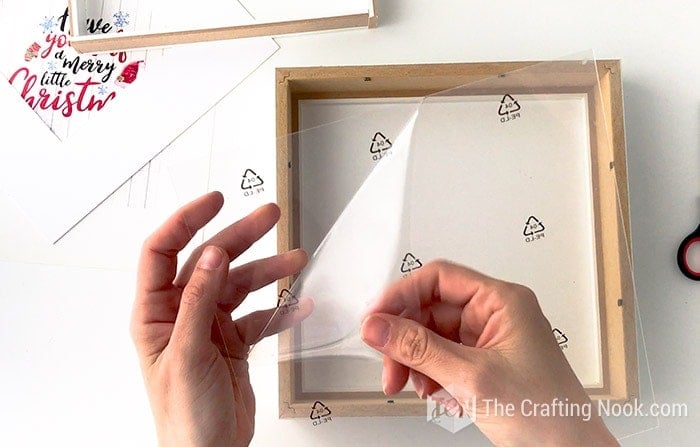
Print your sentiment. I recommend measuring your available space and adjusting the printable design to fit it. Within the printer setting, you can reduce it by a percentage or you can set it up on an app like canva.
STEP 2: Preparing your sentiment
Take the window mat and adjust it to taste your printable sentiment.
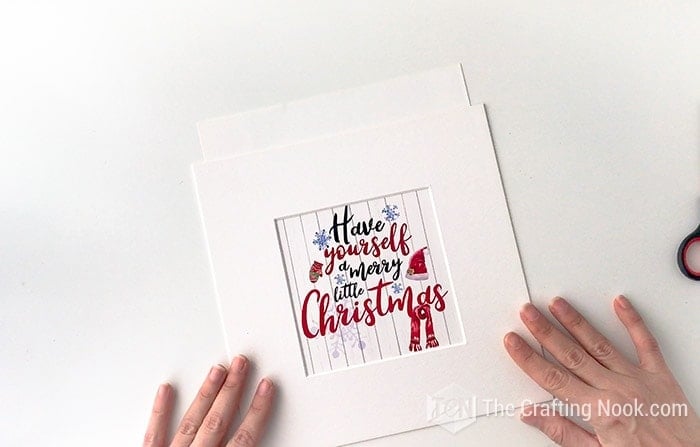
Cut any excess paper.
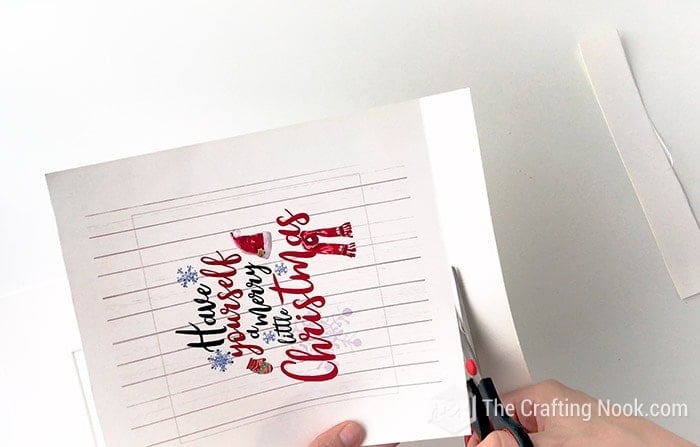
Secure sentiment to the back of the window mat with a couple of small pieces of adhesive tape so it doesn’t move around.
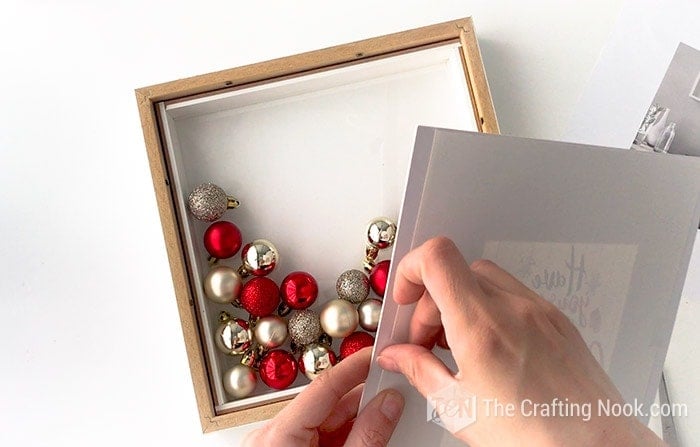
STEP 3: Fill your frame up with ornaments
Next, take your frame and start adding your Christmas ornaments. Add as many as you like but make sure you can read the sentiment.
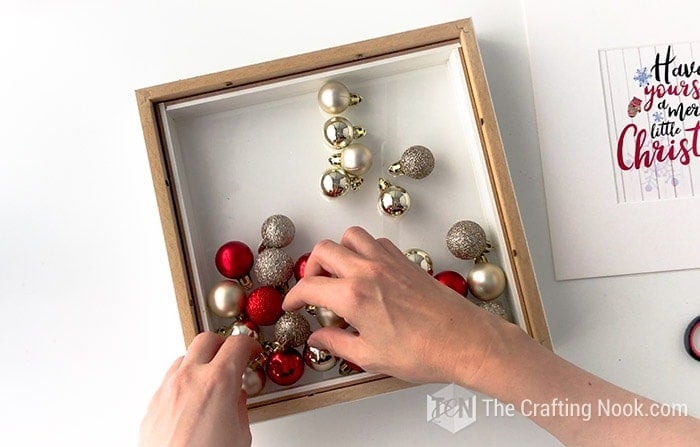
In my case, the word Christmas got a little covered but since all the rest was visible, you get to know what it says.
Just play around with it until you like it!
STEP 4: Close your Frame
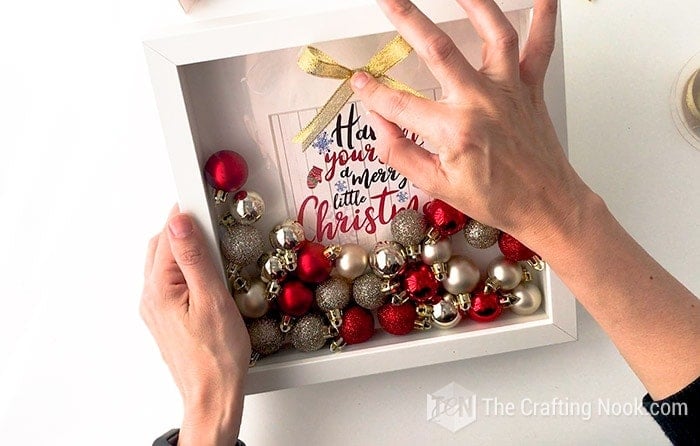
Put your window mat with sentiment back in place then put back the back cover.
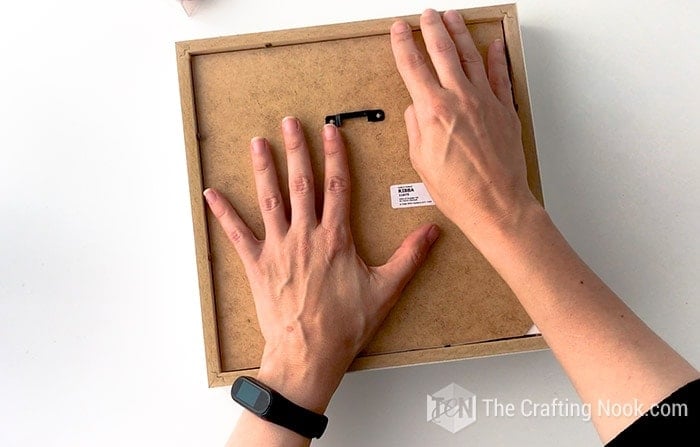
Turn it over.

Step 5: Add a final touch
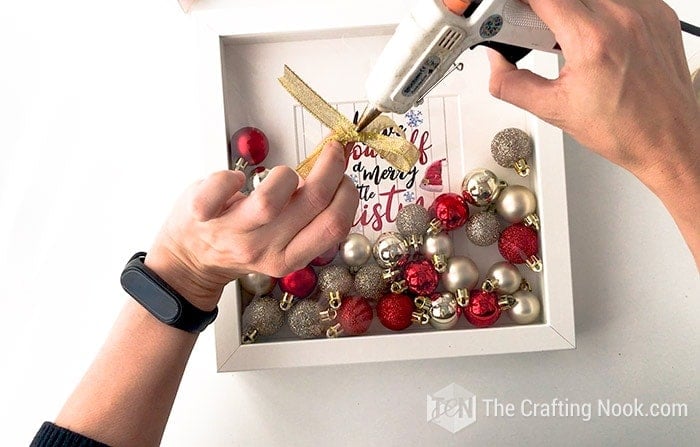
Cut a small piece of adhesive tape. Put it right where you would like the bow to be.
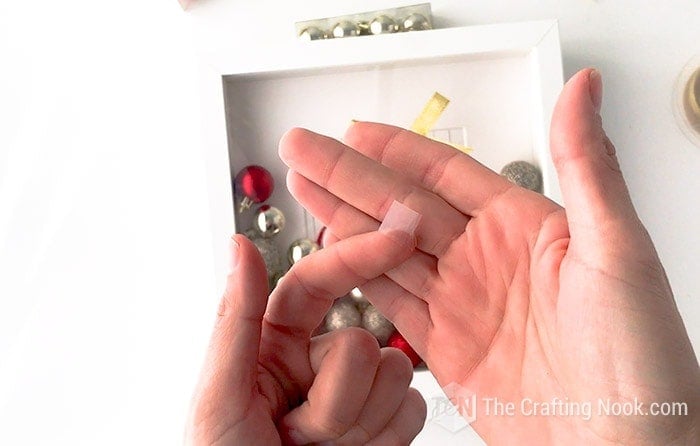
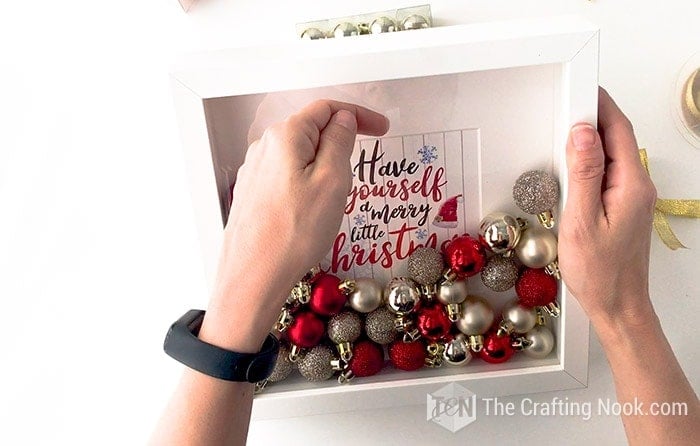
Lastly, you can glue your bow with hot glue without damaging the clear material. In this case, it was not glass, so I didn’t want it to melt or deform with the heat and be able to remove it when Christmas is over.
You are good to go!

You can shake your Ornament Shadow Box a little bit to rearrange the ornaments or just leave it as it is.
Put it where you will see it and make you smile every time.
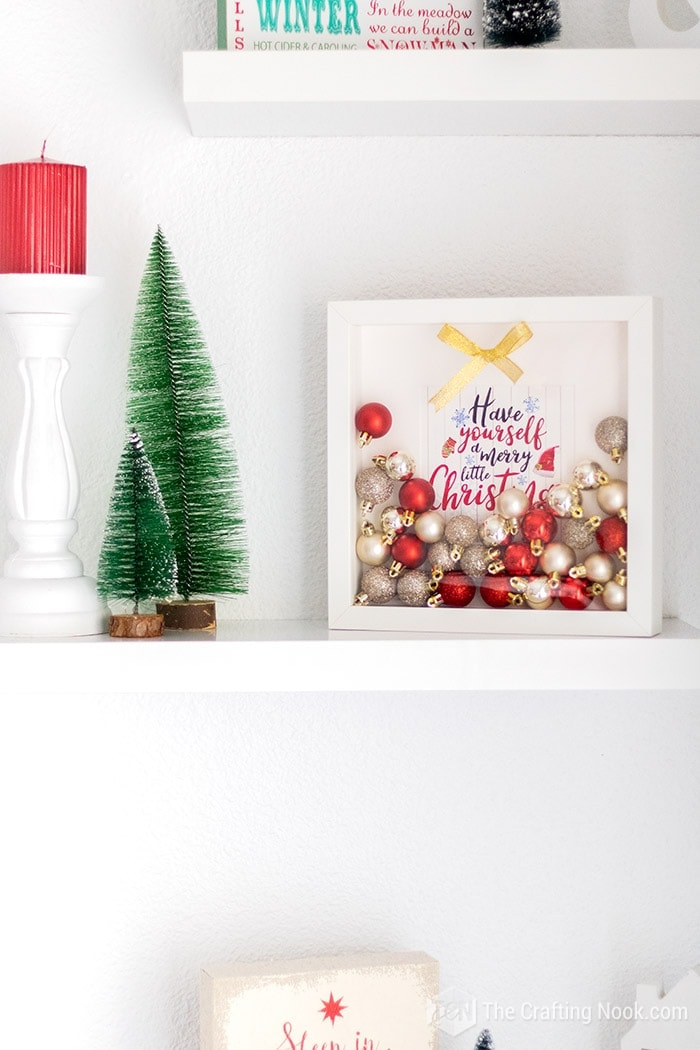
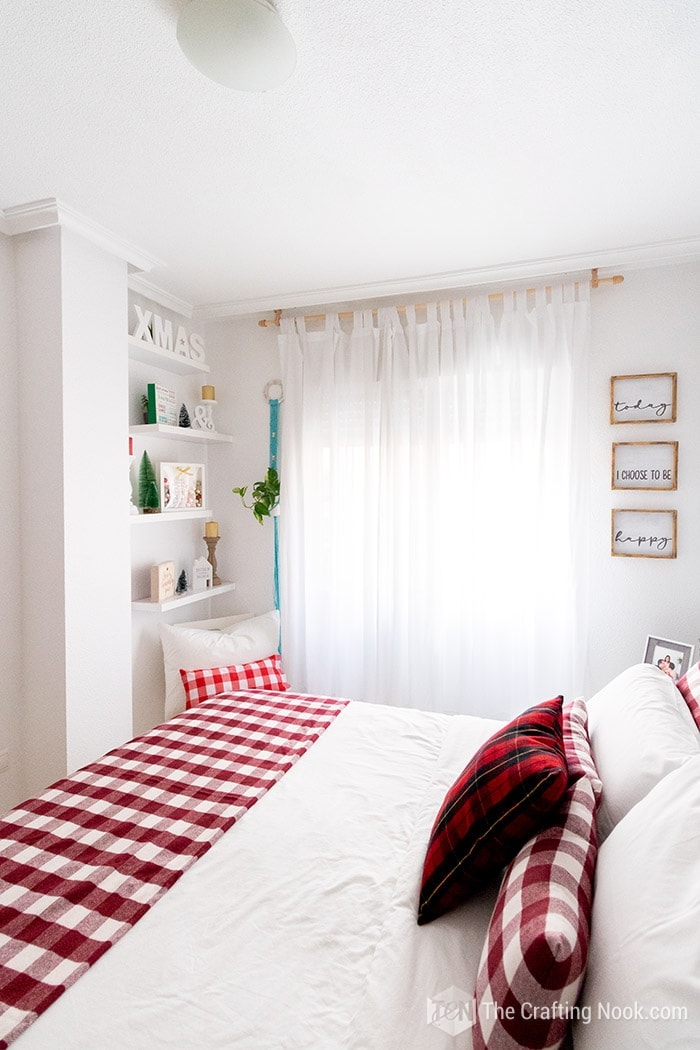
I put it in my bedroom and I so love waking up and looking at it!
Now it’s your turn to get crafty.
I truly hope you like this idea and that it inspires you to create one for yourself!
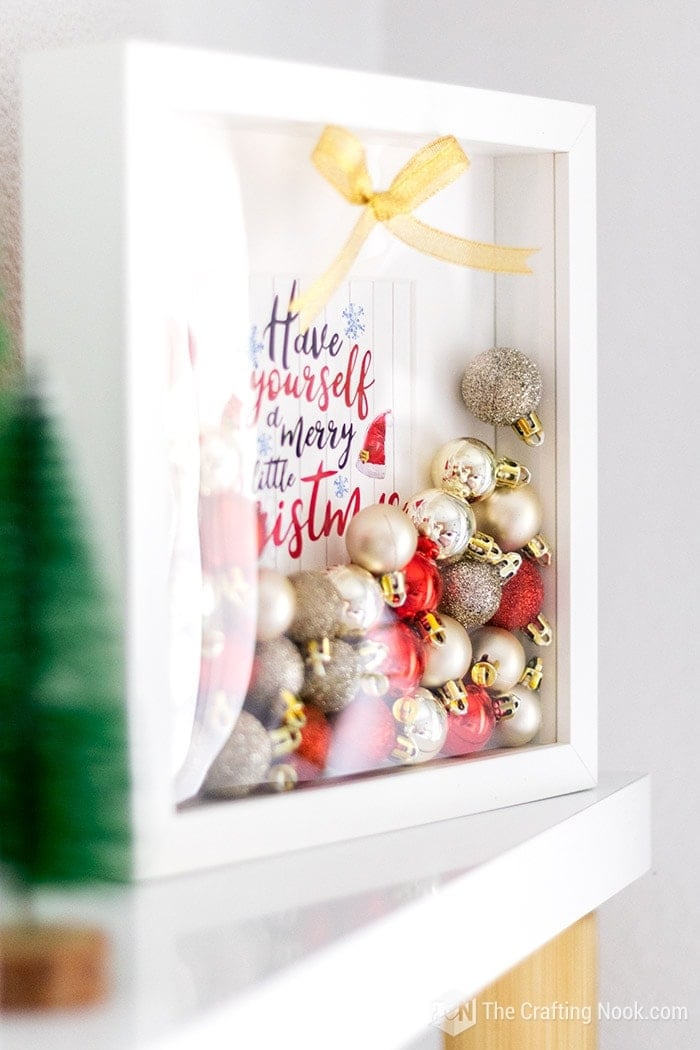

Doesn’t it look super cute on my shelves?
I just love it!
Frequently Asked Questions
Well, although I used small regular baubles, you can use any type of ornaments that are small enough to fit in. You can use wooden or plastic snowflakes, reindeer silhouettes, faux snow, mini-Christmas trees, and so much more. I have made other types of shadow boxes like this hidden pot of gold shadow box and my butterfly shadow box as examples.
Although I share a free printable for this project, you can use any backing you want. I love the look of burlap as your backing for a more rustic look, also linen looks so pretty. You can print other types of patterns, use old book pages, and fabric scraps, or just a white cardboard piece just to name a few.
Although I used the Ikea Ribba, you can use any frame that has enough space between the glass and the backing.
More Christmas Decor to Try
Loving this Christmas ornament Shadow Box craft? I’m sure you will love these other Christmas projects even more!
✂️ Tutorial

DIY Christmas Ornament Shadow Box
Tools
- Hot glue
- scissors
- Printer
Supplies
- 1 Shadow box frame I used a white Ikea Ribba 9×9
- A sentiment printable
- Sorted small Christmas ornaments very small
- Adhesive take just a tiny bit
- Gold ribbon
Instructions
STEP 1: PREP WORK
- Firstly, unpack your shadow box if you haven’t yet removed all protective plastics and separate all the main pieces.
- Print your sentiment. I recommend measuring your available space and adjusting the printable design to fit it. Within the printer setting, you can reduce it by a percentage or you can set it up on an app like canva.
STEP 2: PREPARING YOUR SENTIMENT
- Take the window mat and adjust it to taste your printable sentiment.
- Cut any excess paper.
- Secure sentiment to the back of the window mat with a couple of small pieces of adhesive tape so it doesn’t move around.
STEP 3: FILL YOUR FRAME UP WITH ORNAMENTS
- Next, take your frame and start adding your Christmas ornaments. Add as many as you like but make sure you can read the sentiment.
- In my case, the word Christmas got a little covered but since all the rest was visible, you get to know what it says.
- Just play around with it until you like it!
STEP 4: CLOSE YOUR FRAME
- Put your window mat with sentiment back in place then put back the back cover.
- Turn it over.
STEP 5: ADD A FINAL TOUCH
- Cut a small piece of adhesive tape. Put it right where you would like the bow to be.
- Lastly, you can glue your bow with hot glue without damaging the clear material. In this case, it was not glass, so I didn’t want it to melt or deform with the heat and be able to remove it when Christmas is over.
- You are good to go!
- You can shake your Ornament Shadow Box a little bit to rearrange the ornaments or just leave it as it is.
- Put it where you will see it and make you smile every time.
Here are some other shadow box craft ideas from my favorite bloggers:
- Unicorn Wall Art Tutorial by Sarah over at Craft with Sarah.
- Winter Twinkle Display Tutorial by Allison over at Dream a Little Bigger.
- Diy Birch Shadow Box Paper Craft by Ananda over at A piece of Rainbow
If you found this tutorial inspiring, don’t forget to PIN and share it with friends!
Til’ next time…


FREE WORKBOOK
Keeping your Sweet Home Organized
Learn how to create intentional habits and simple routines to Keep Your Home Organized. Plus freebies, printables, exclusive content, and tips.
Disclaimer: By clicking on the “Yes” button above you are giving me your consent to collect and use your information according to the law and My Policy Privacy. Zero Spam I promise!


