DIY Hair Clip Holder for Kids
This post may contain affiliate links. Please read our Disclosure Policy.
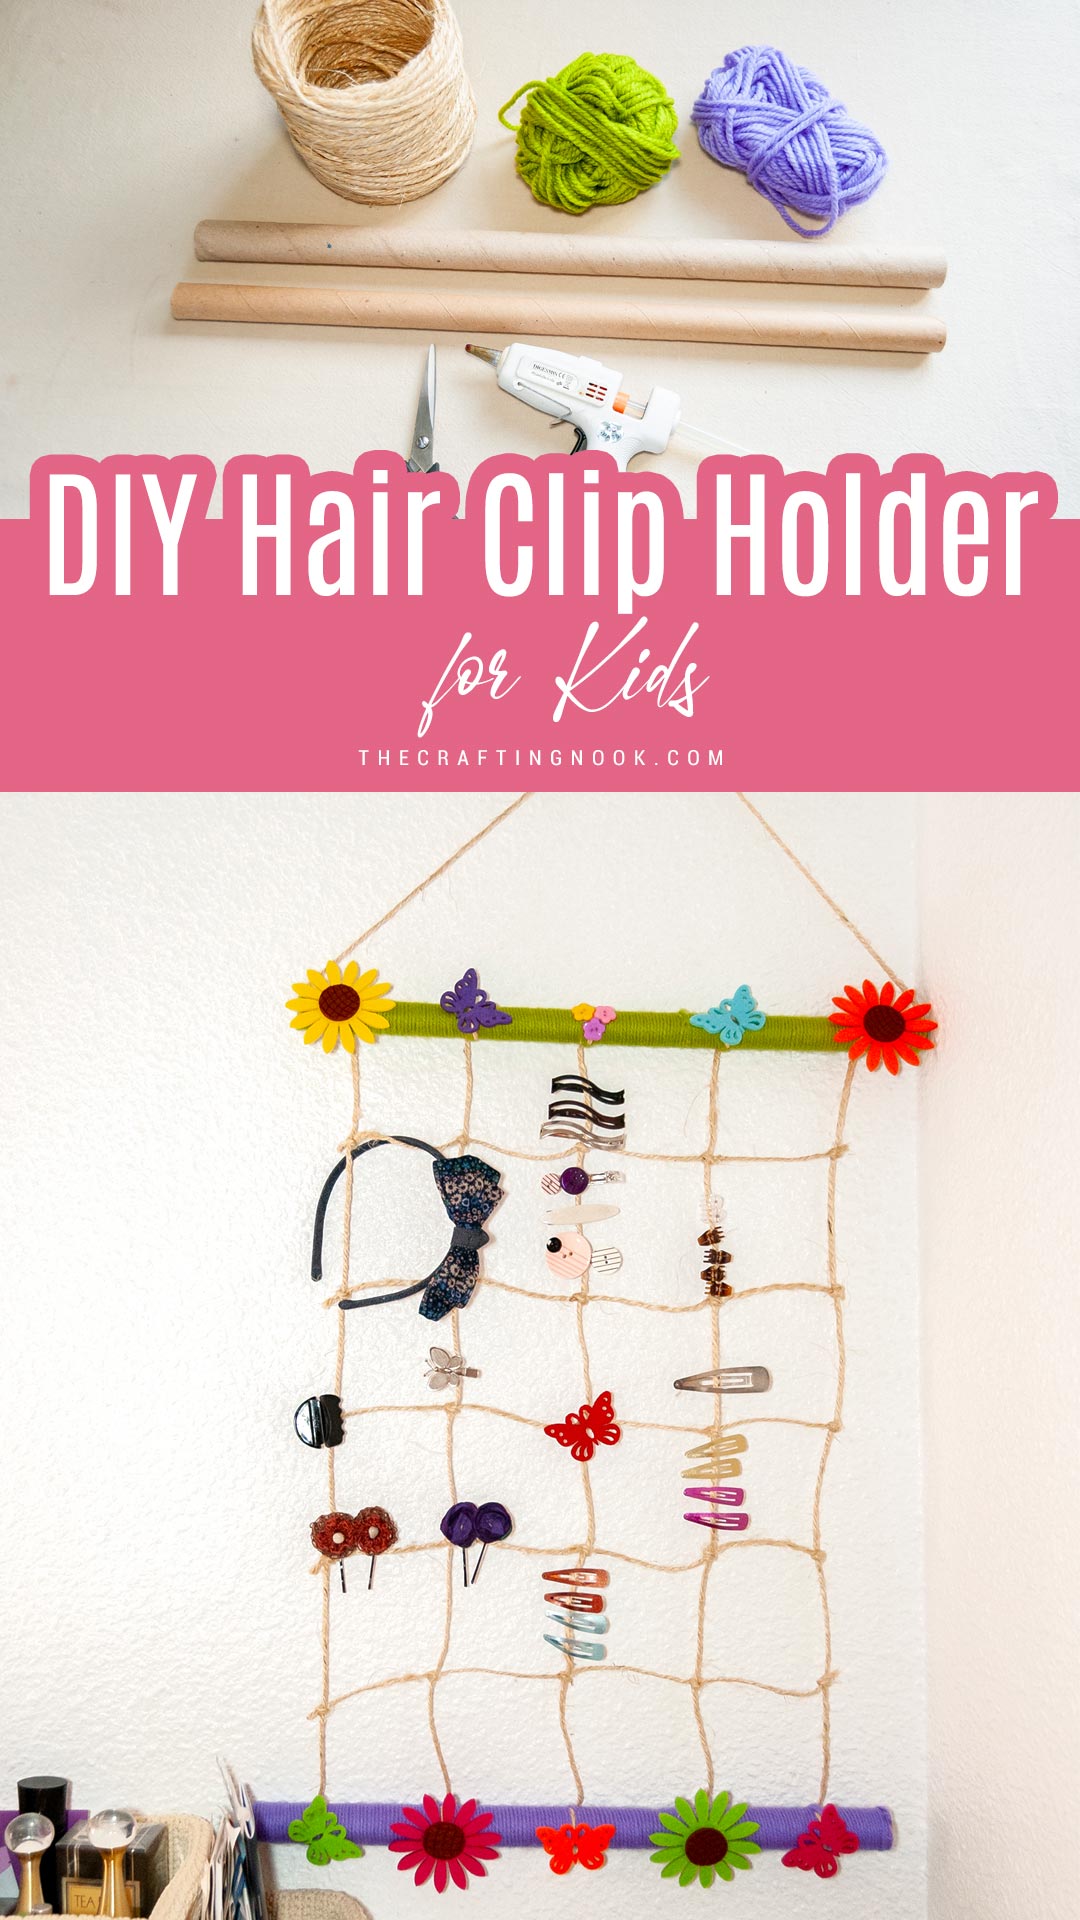
Make this easy DIY Hair Clip Holder for kids to keep hair clips organized & add a cute touch to your room! This is a fun craft project for all ages.
My mom bought something like this somewhere during one of her trips and I just loved it. I thought it would be so easy to make so I waited for the perfect opportunity to make it The day came and I put my hands on it to make this cute and easy Hair Accessory Holder LOL.
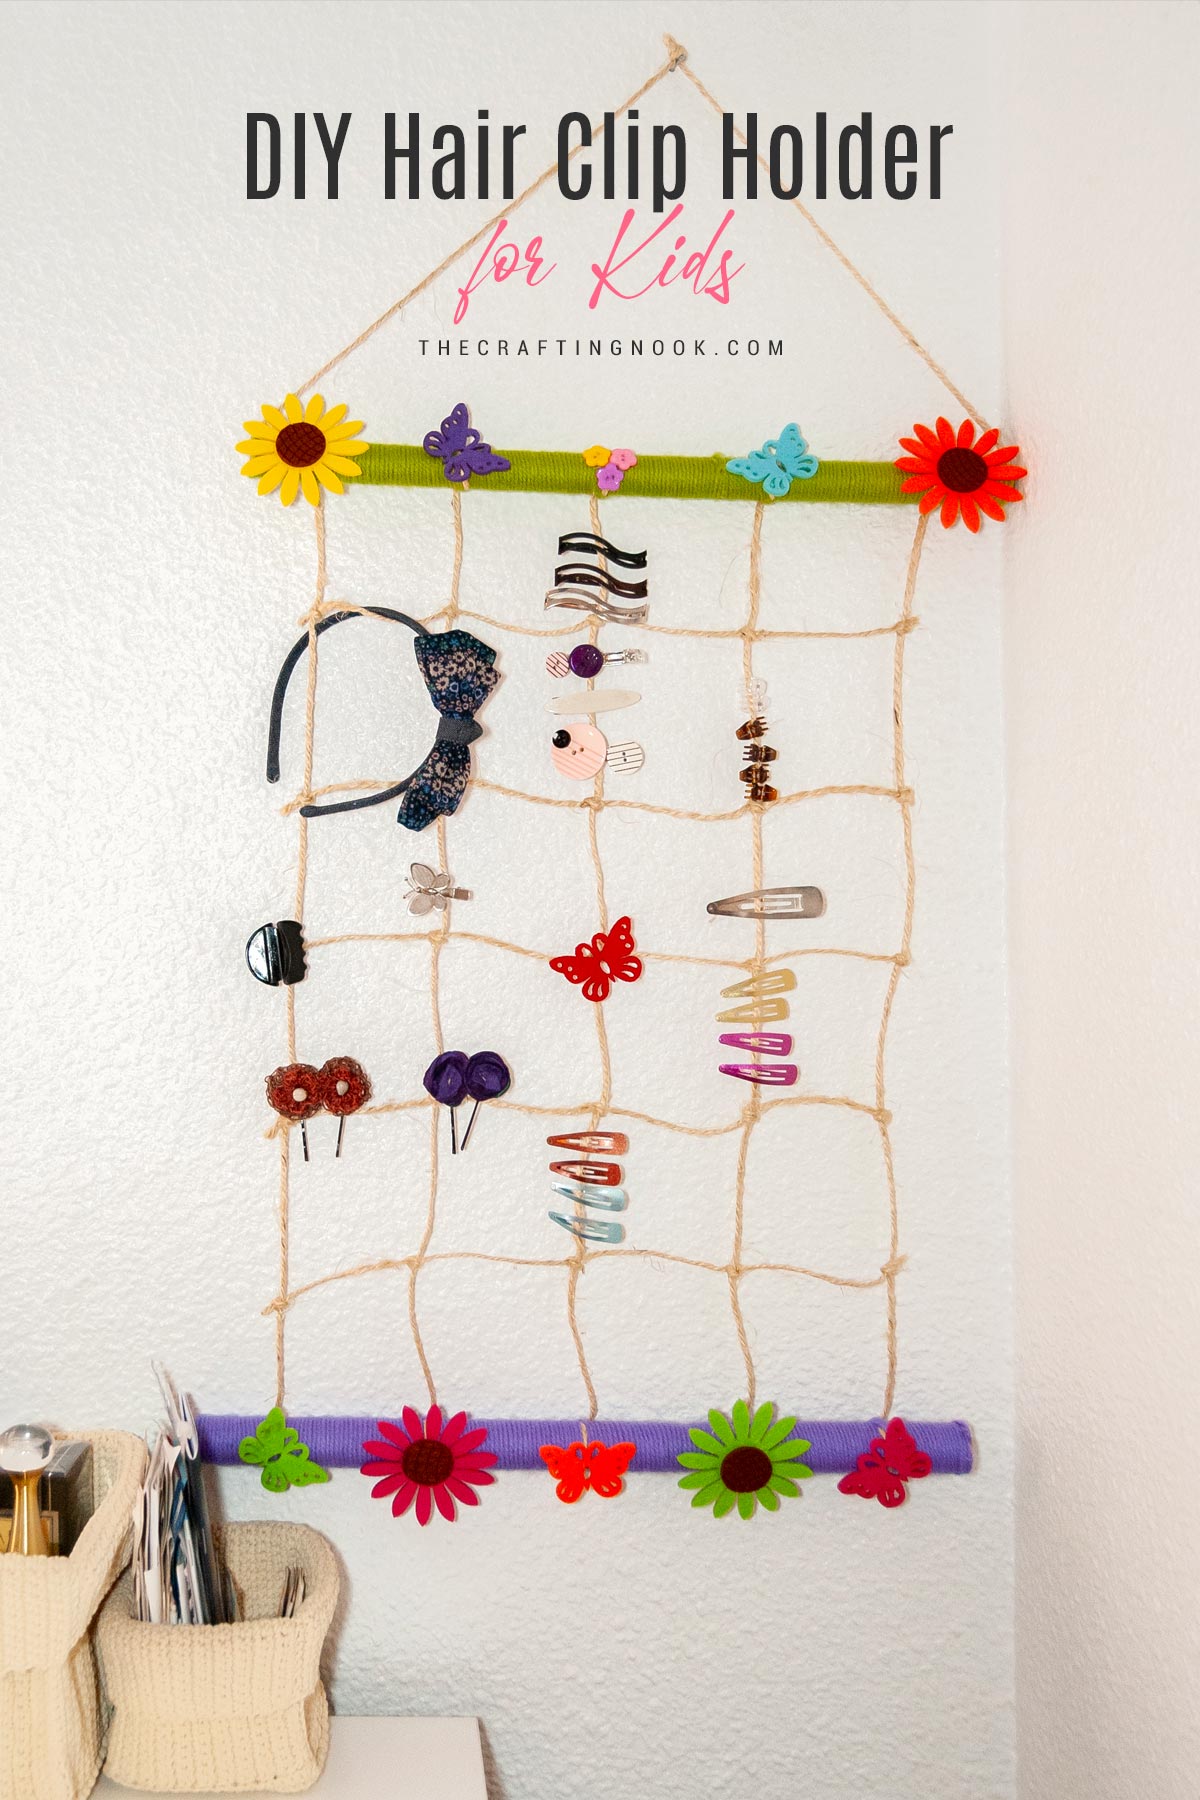
Table of Contents
DIY Hair Clip Holder Tutorial
Tired of your little girl’s hair clips ending up scattered and lost? Say hello to the perfect solution: the DIY Hair Clip Holder! This adorable creation not only keeps her hair accessories neatly organized but also adds a charming touch to her room.
Wondering what to do with those leftover cardstock tubes? Repurpose them for this project to create a cute and functional accessory holder. It’s not just about tidying up—it’s about adding a sprinkle of creativity to her space.
Imagine those hectic mornings, scrambling to find the right hair clip amidst the chaos. With this DIY holder, all her clips and hair bows are beautifully displayed, making it easy for her to pick the perfect one in seconds.
It’s like having her own little hair accessory boutique right at home while having a nice wall decor! So, gather your supplies and let’s create something special together—her hair clips are about to find their very own cozy corner.
This fun hair clip holder is super helpful to keep all your hair accessories handy, organized, and in sight. This is just like my Earring Holder I posted a while ago. When you keep you stuff in boxes, containers, drawers, or anything like that you just don’t use them all and of course, keep buying and buying because you don’t even remember what you have LOL.
So, I made this super, super easy Hair clip holder with just a few supplies and some decorating elements.
How to make a Twine hair clip holder
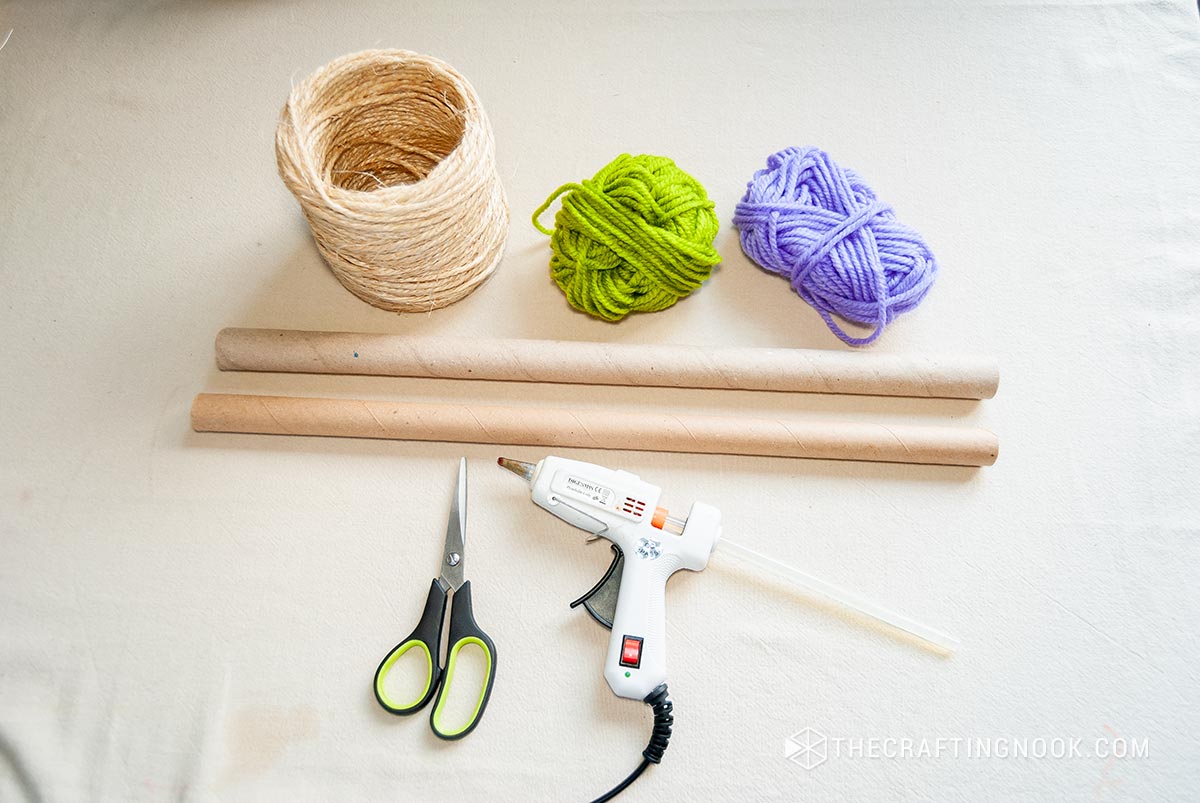
Supplies:
- Twine
- Yarn (choose colors that match your room decor or your personal style)
- White glue
- Decorating Items
- (like felt flowers, butterflies, buttons, or any other embellishments you love)
- 2 Contact paper tubes (you can also substitute with wooden sticks or other similar materials)
Tools:
- Hot glue gun and glue sticks
- Scissors
Instructions:
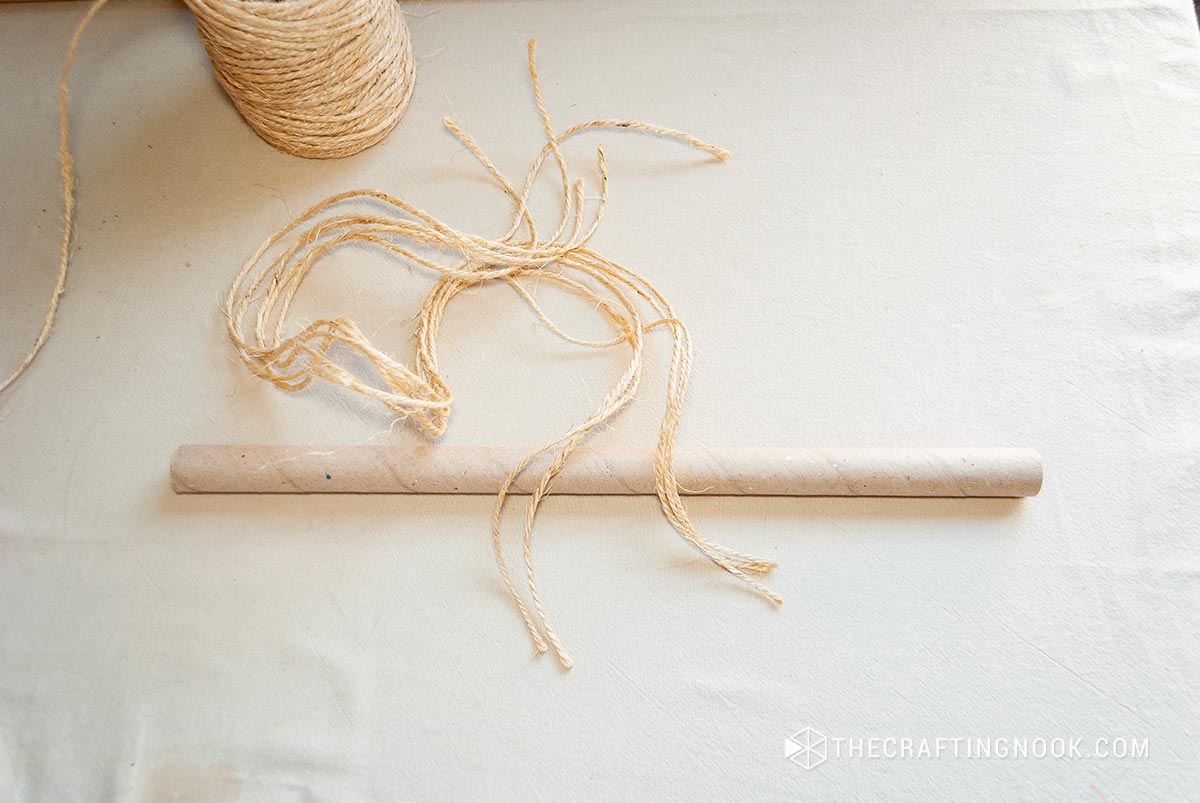
Step 1: Prep work
Cut 10 strips of twine (5 longer than the other 5), I can’t give you the exact length because it is going to depend on how long and how wide you want it.
Clean your cardstock tubes (or wood sticks if you decide to use them).
Step 2: Prepare the Base
Take the contact paper tubes and cut them to your desired length if different than the original.
These will serve as the top and bottom bases of your hair clip holder. You can adjust the length according to how many hair clips you want to store or the available space in your room.
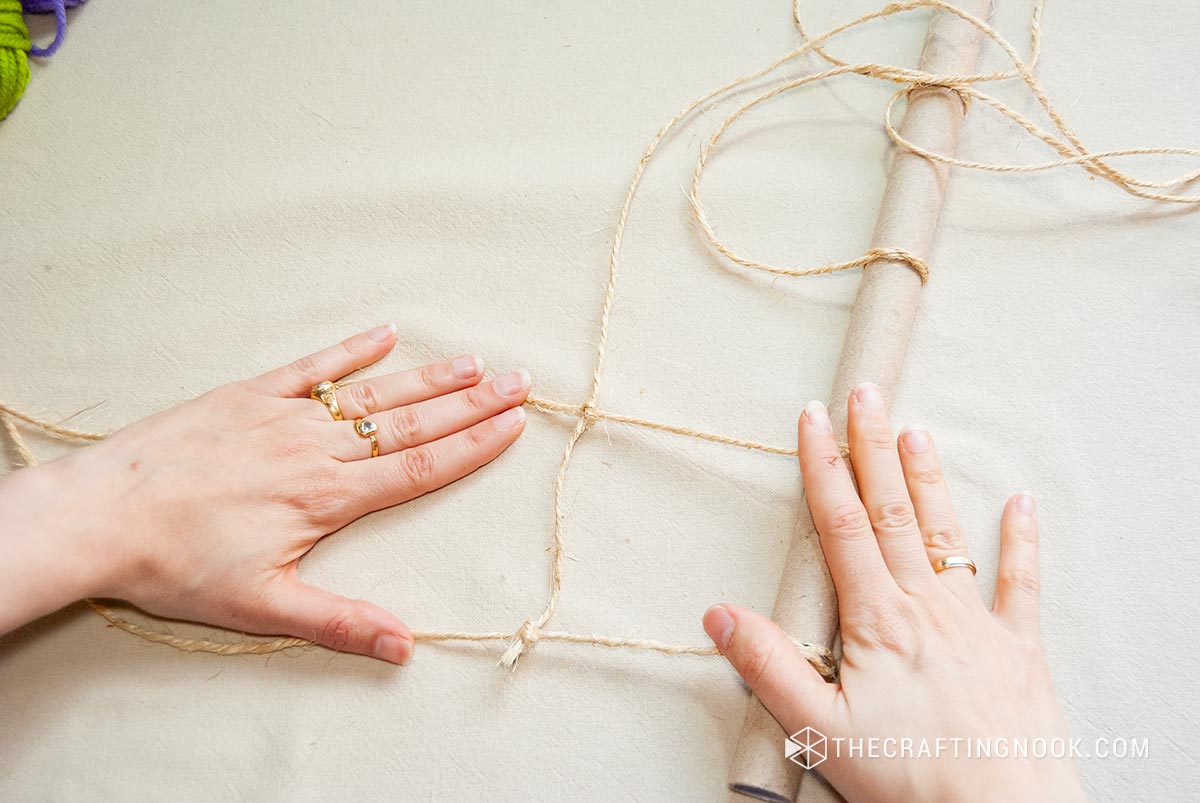
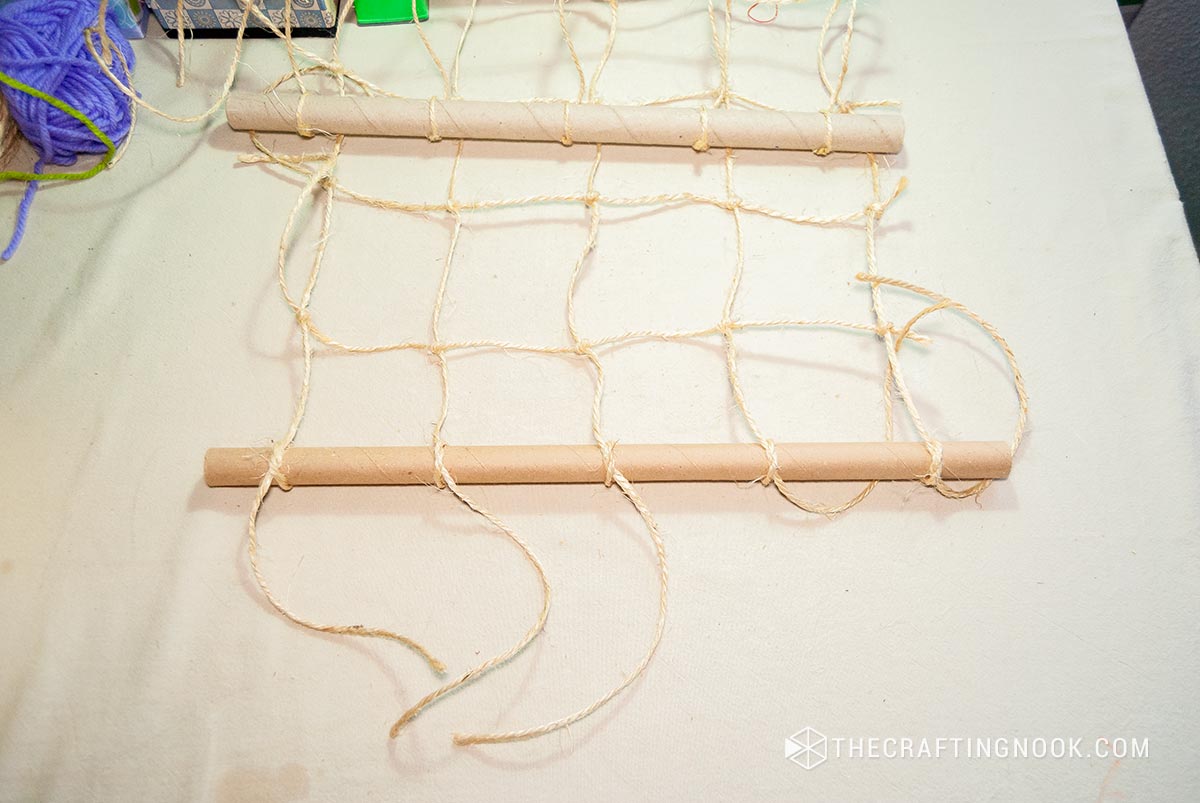
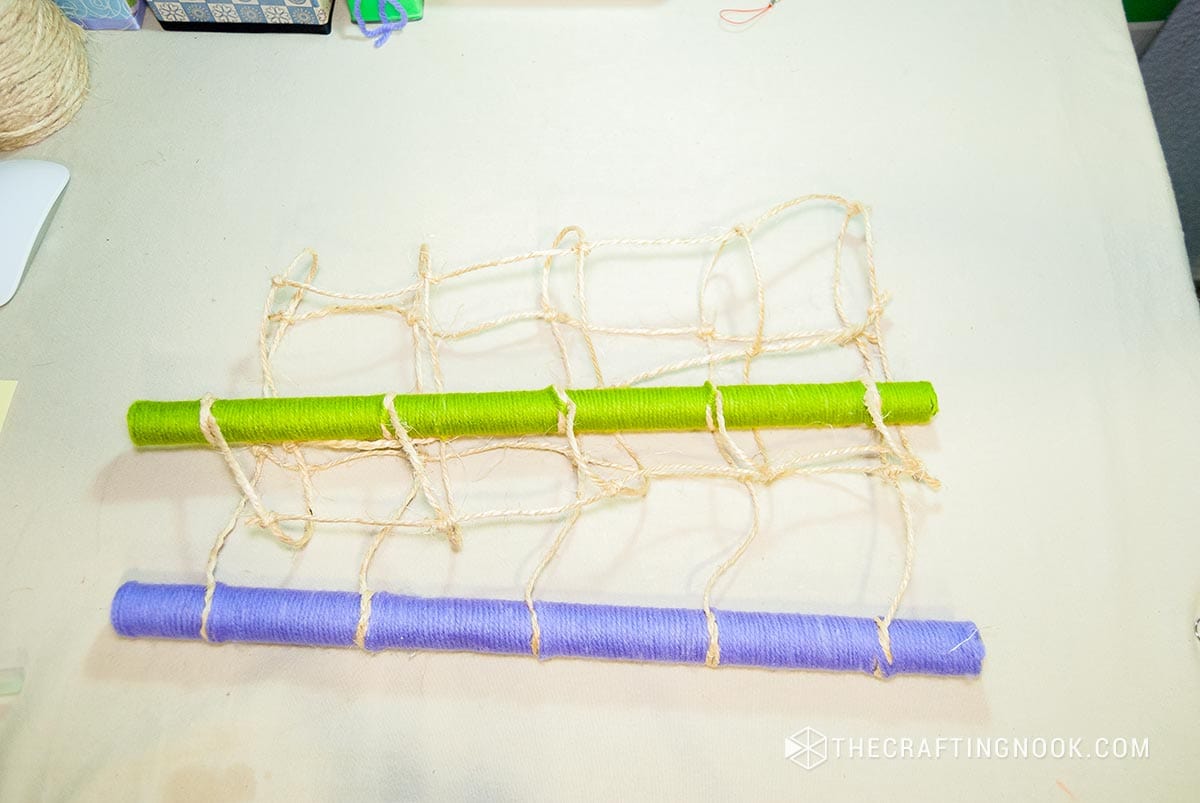
Step 3: Create the Twine Grid
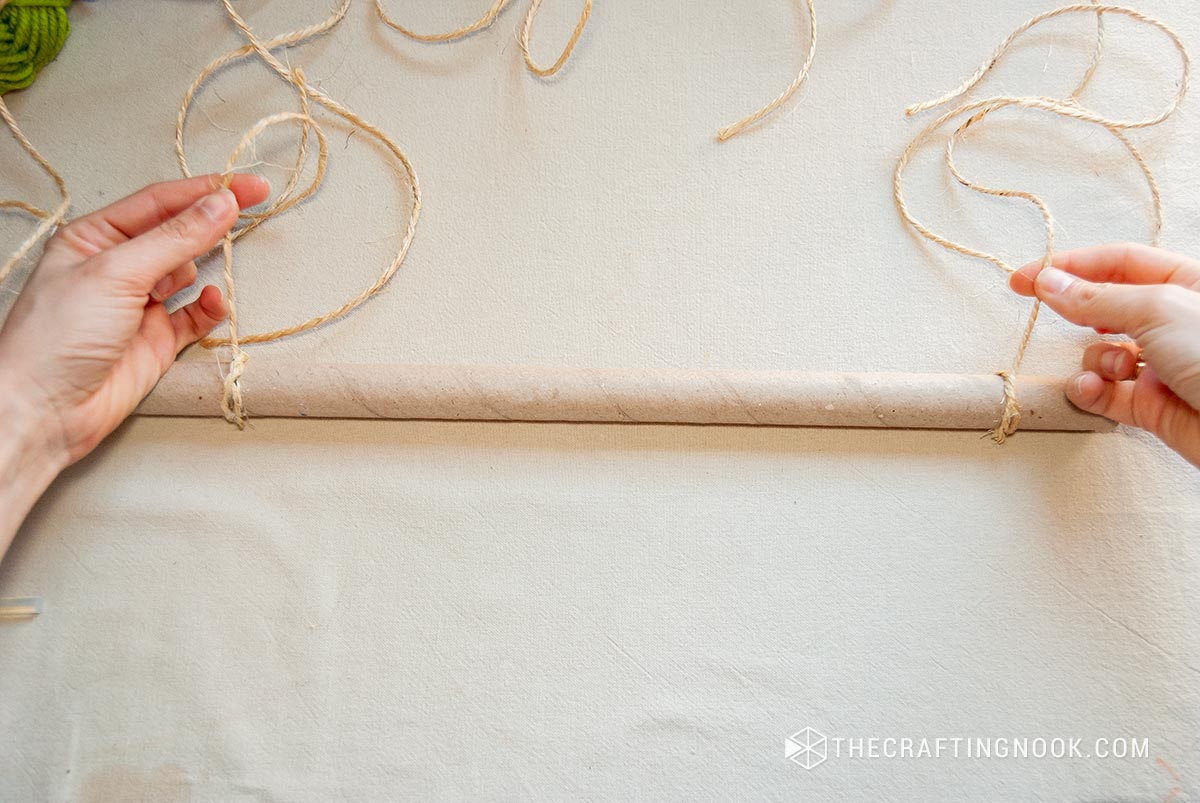
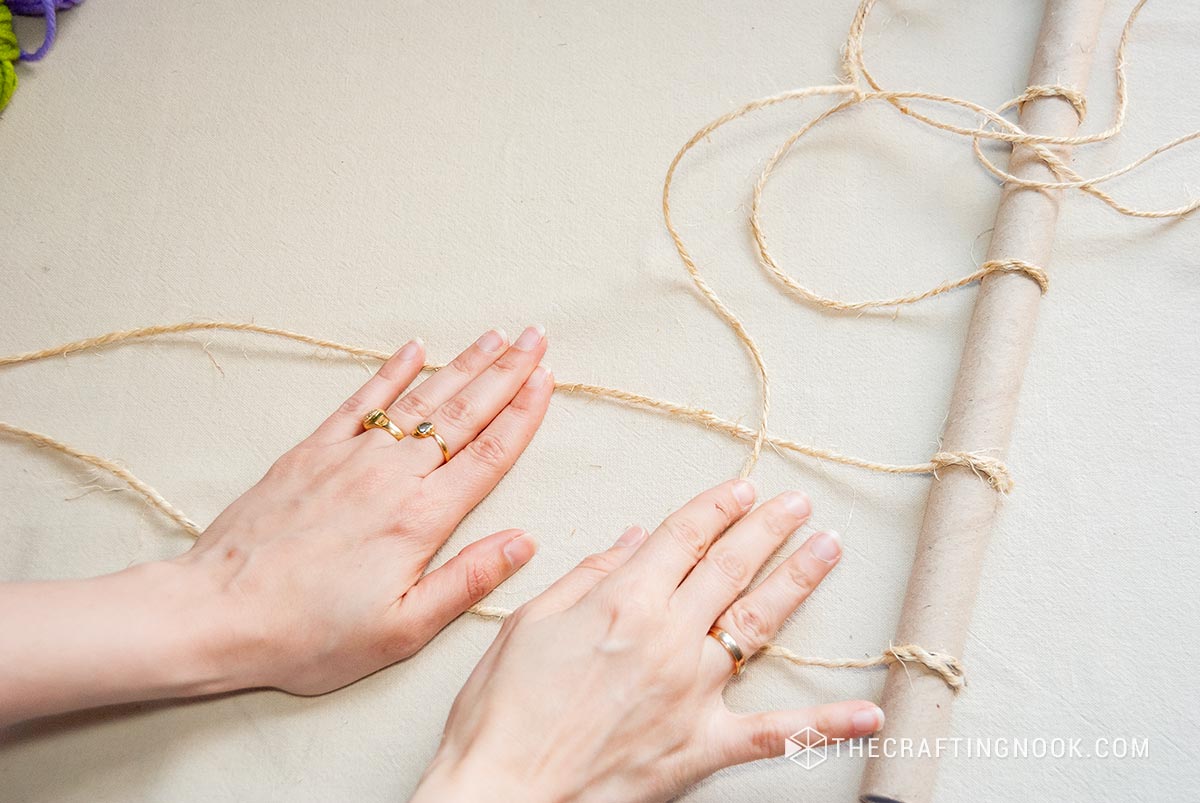
Lay out the vertical and horizontal twine strings evenly spaced apart to achieve the desired length and width.
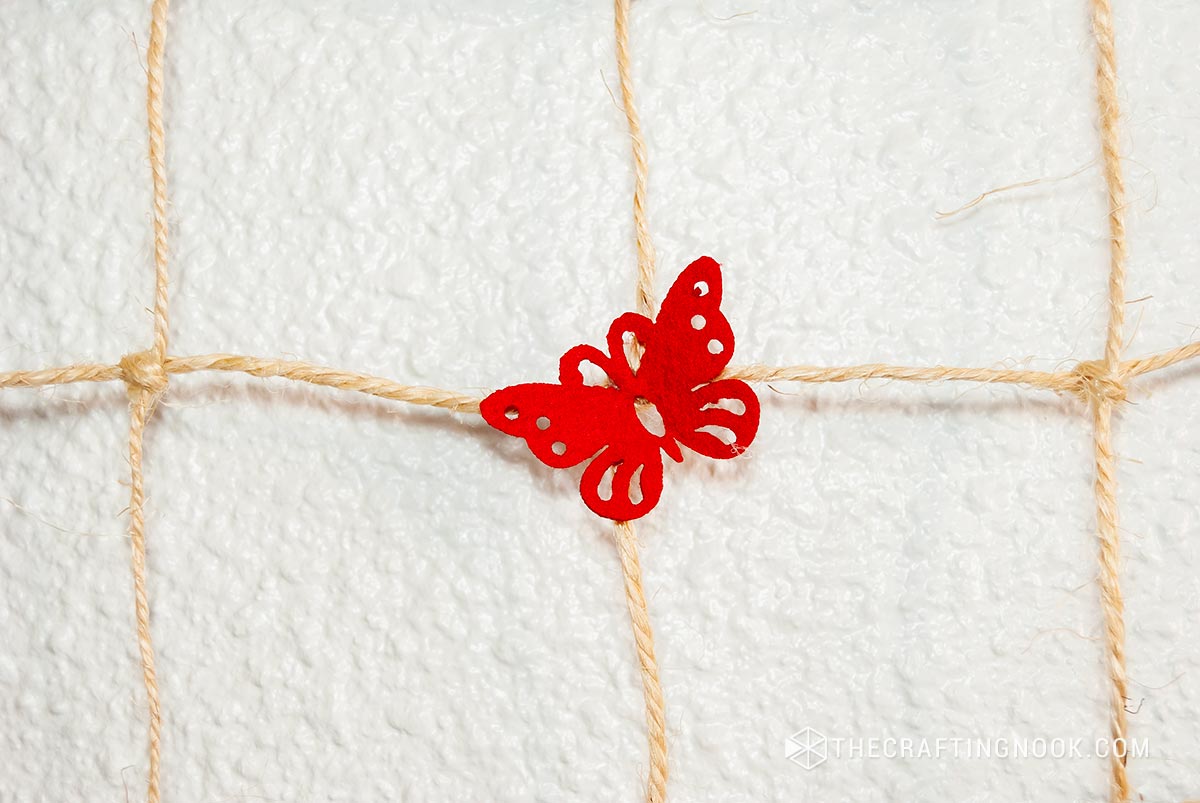
Leave at least an inch from the edges of the tube to ensure stability. Secure each intersection with a knot.
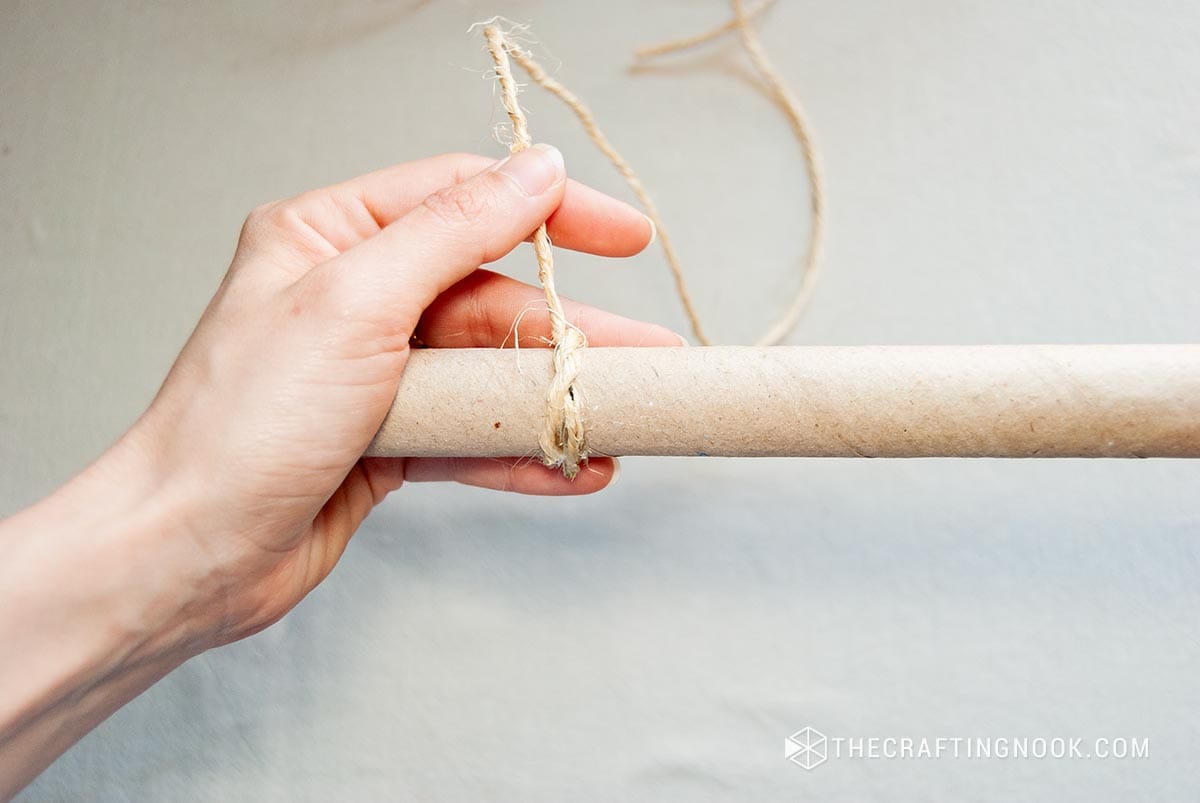
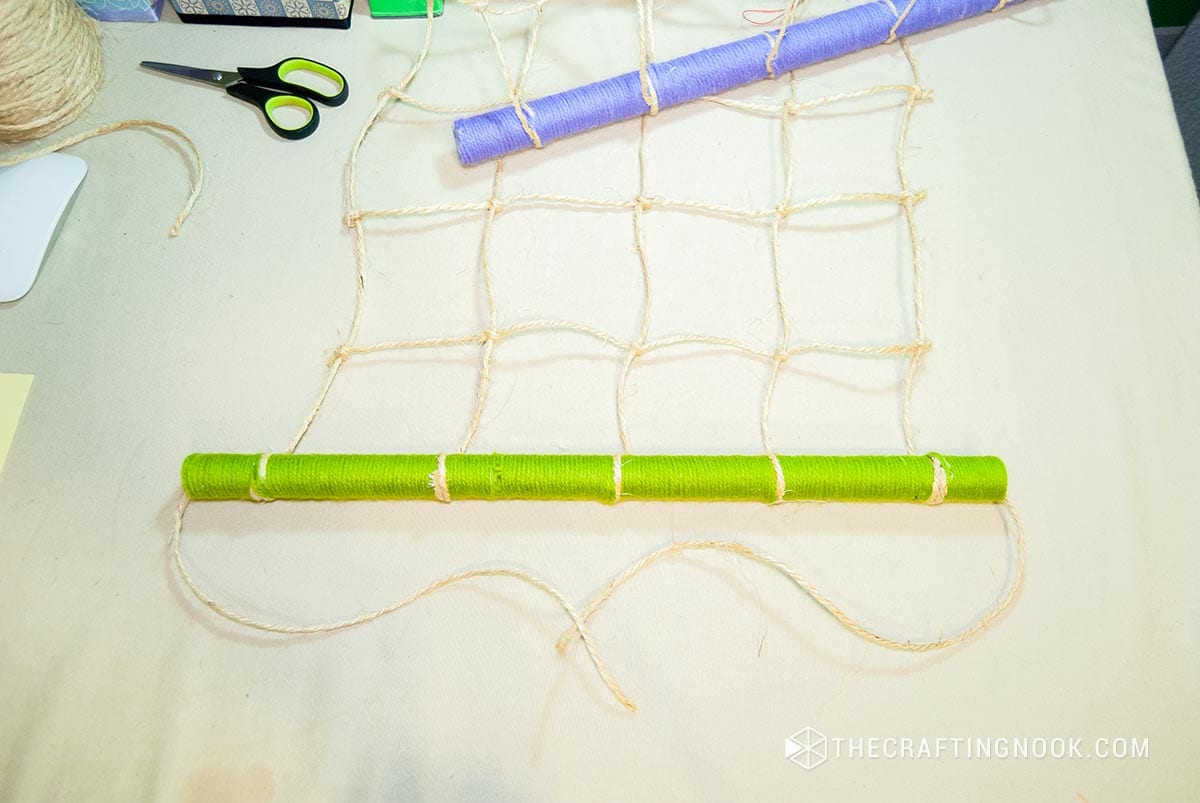
Start attaching each vertical string to the top base tube. A simple knot will do and secure with hot glue.
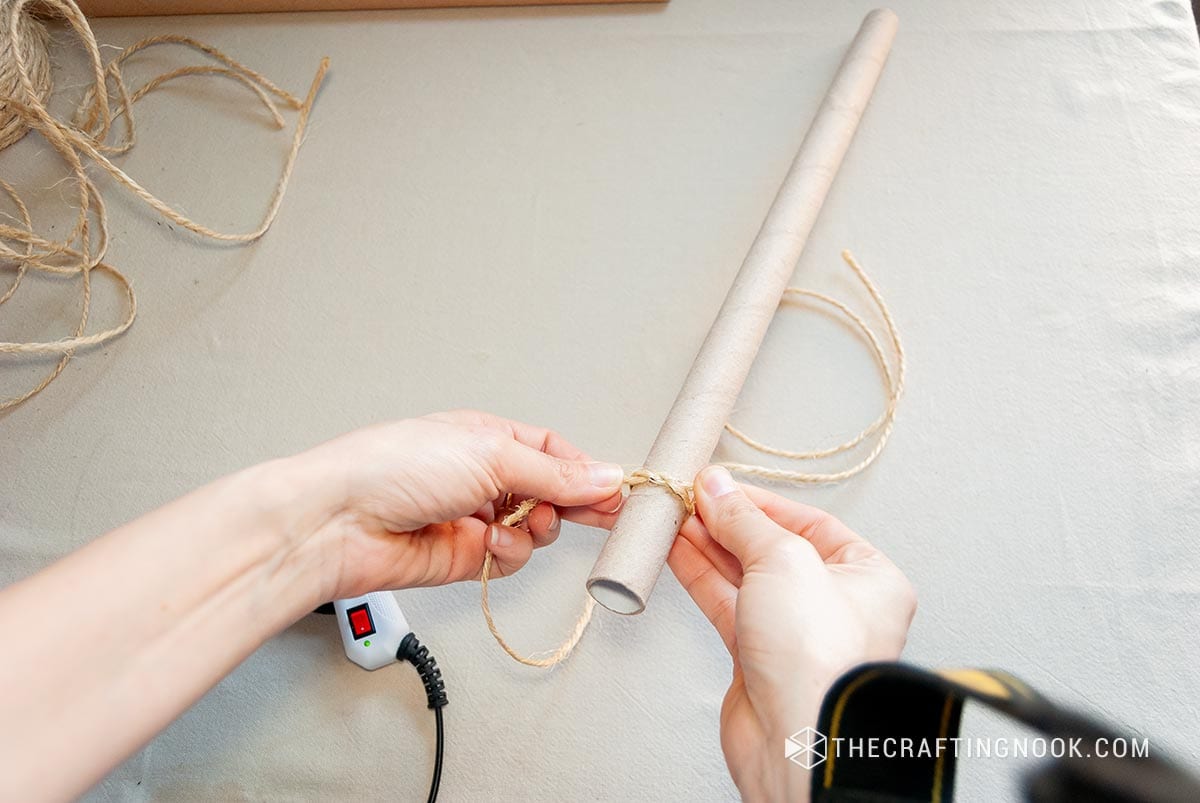
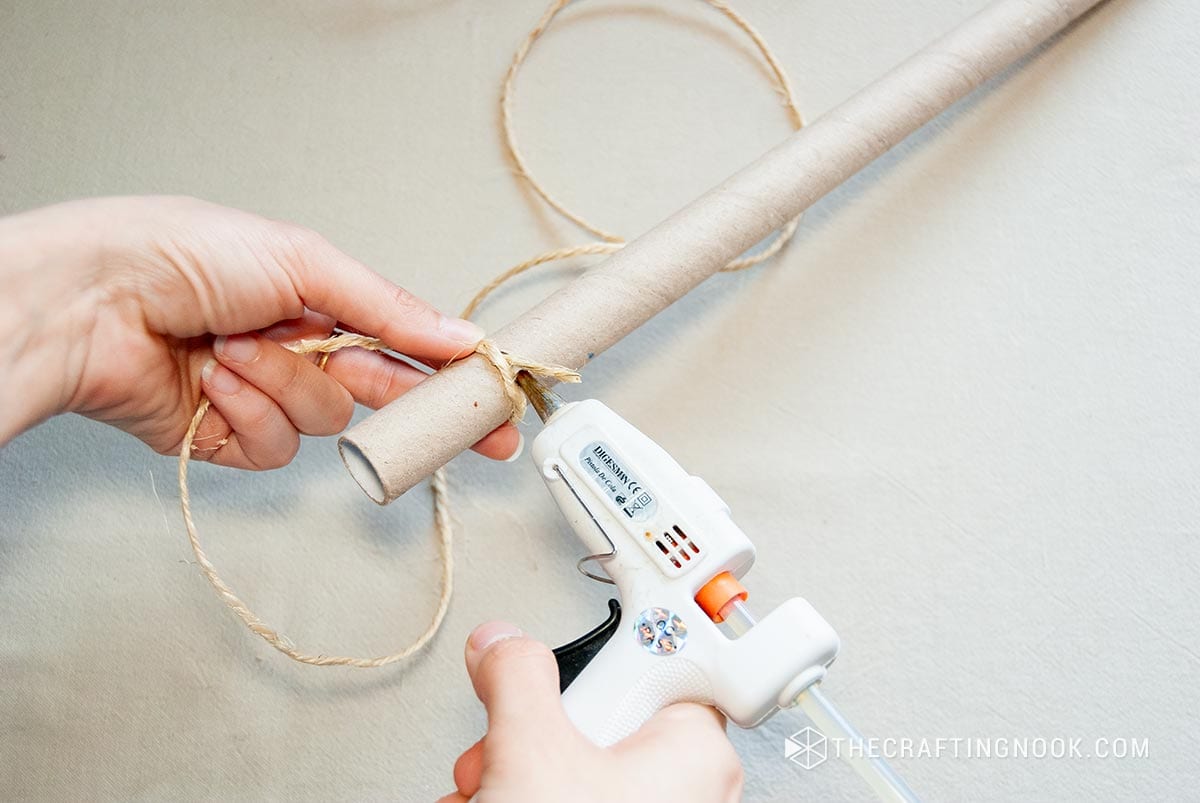
I usually start with both ends and then work on the internal strings of the grid.
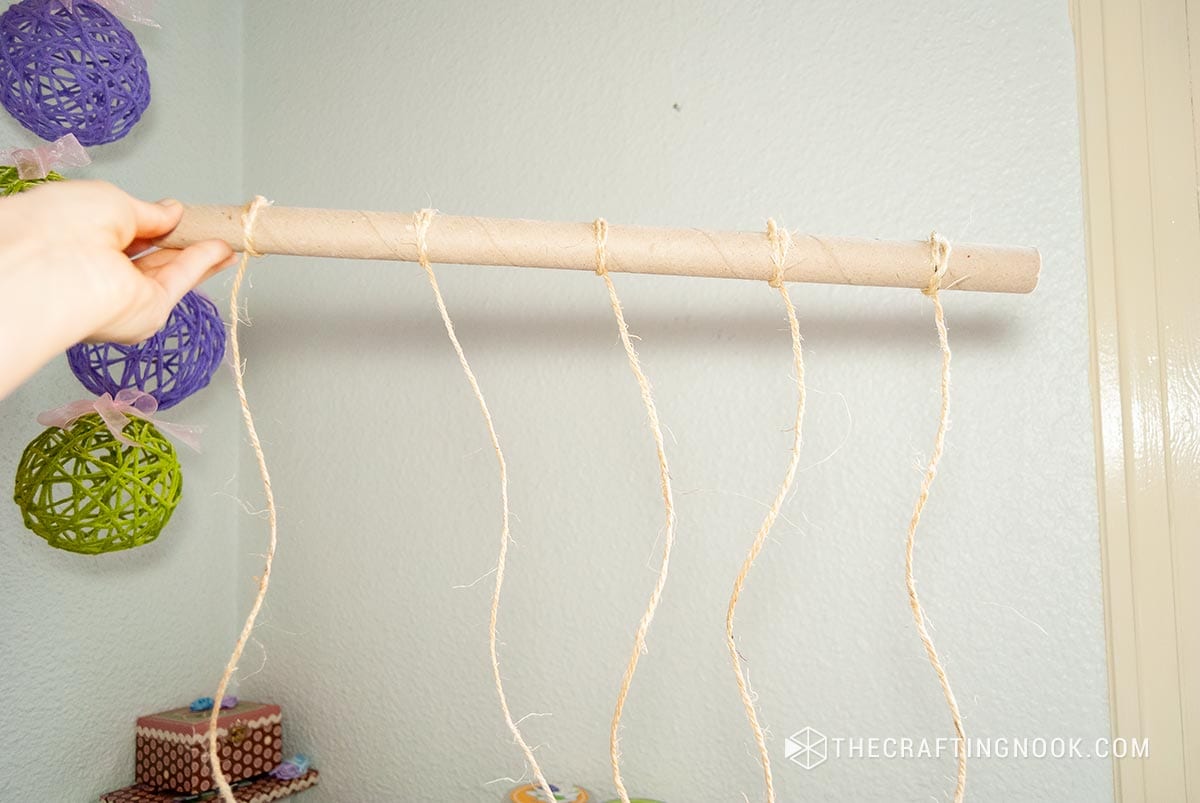
Once you have all the vertical twine strings secured in place, it’s time to start actually creating the grid.
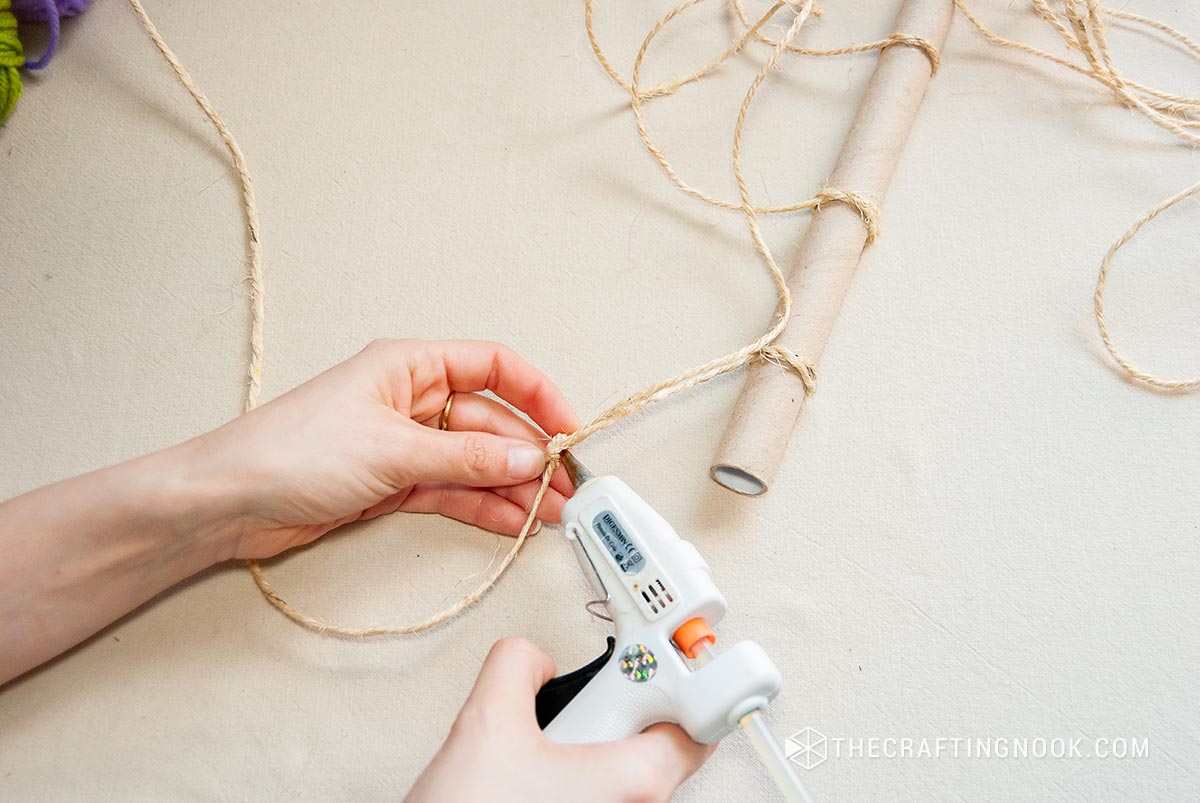
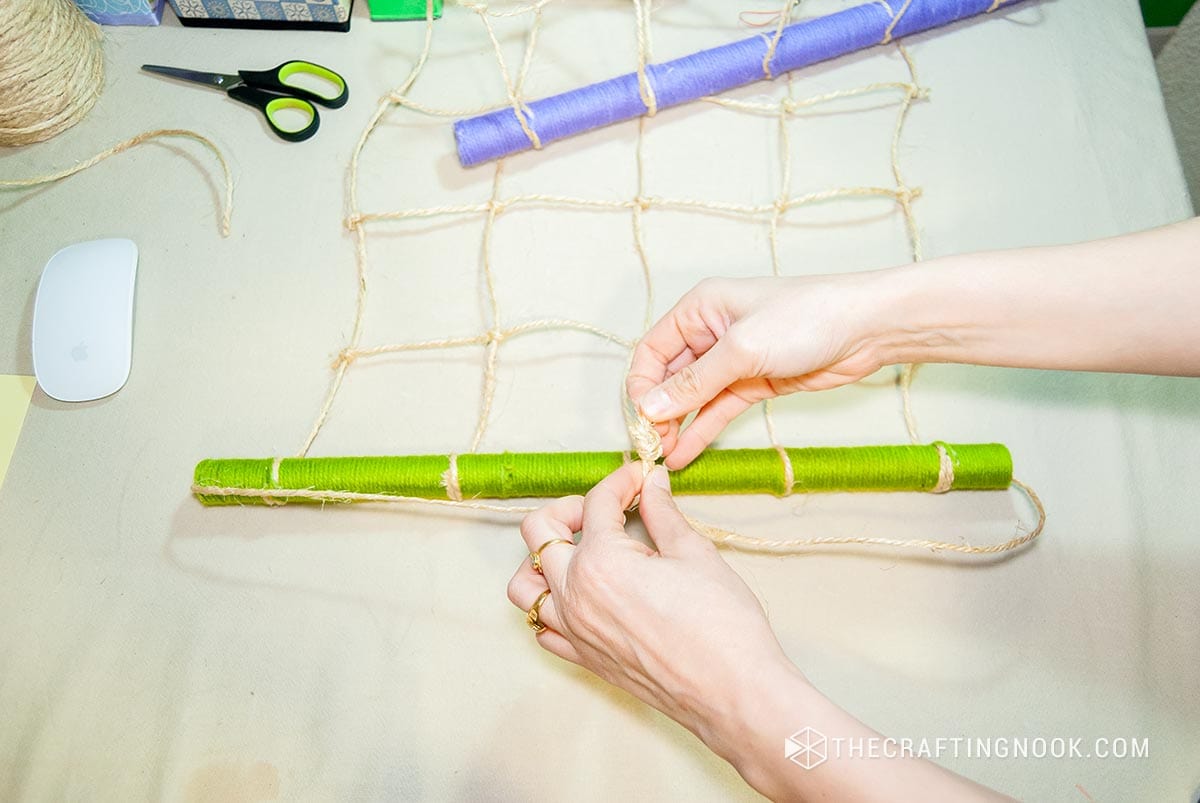
Start with one of the side strings at the desired spacing and make a tight knot.
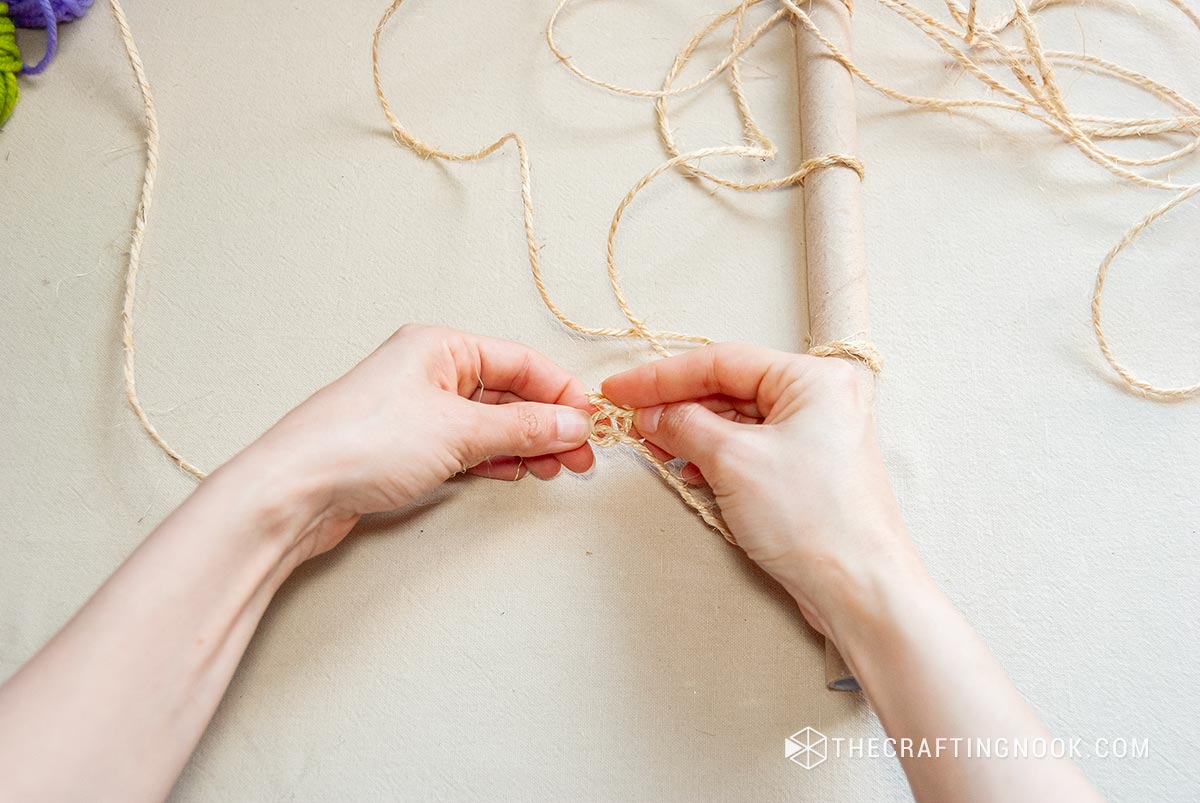
Secure the knot with a tiny dab of glue.
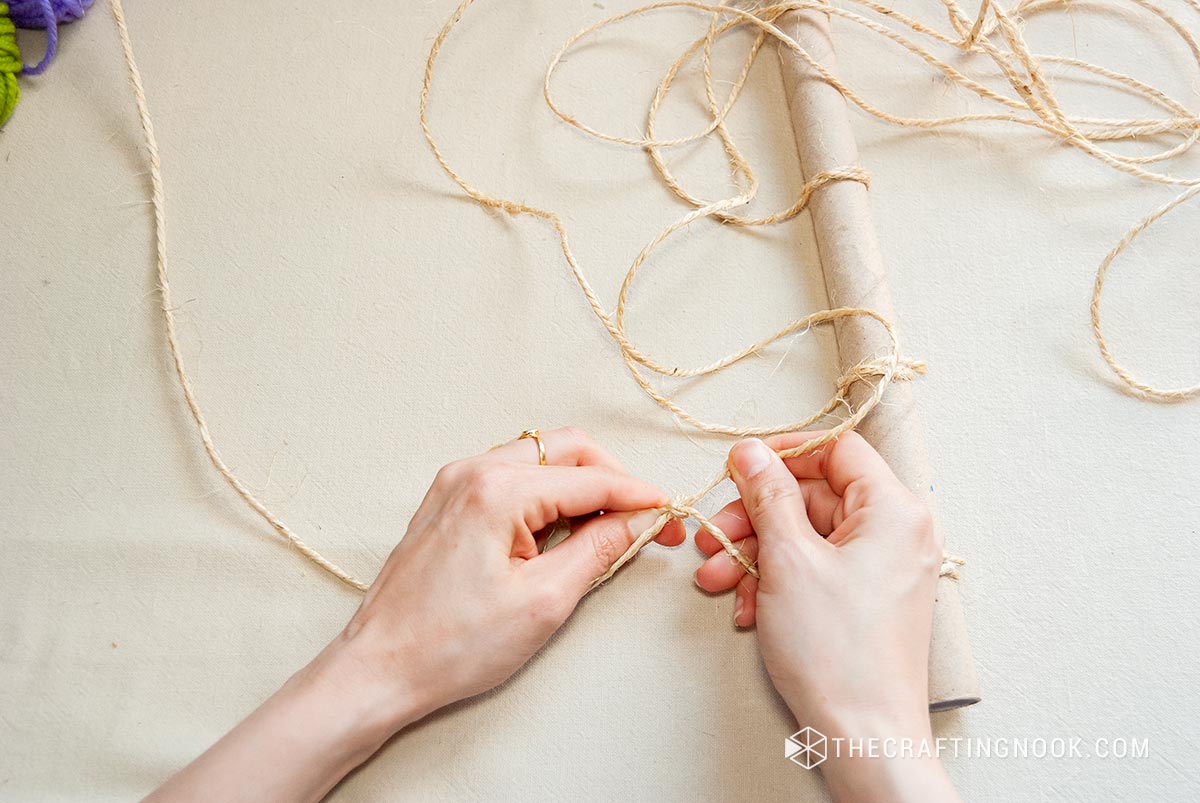
Move on to the next vertical string
Keep moving from string to string making a know more or less at the same distance.
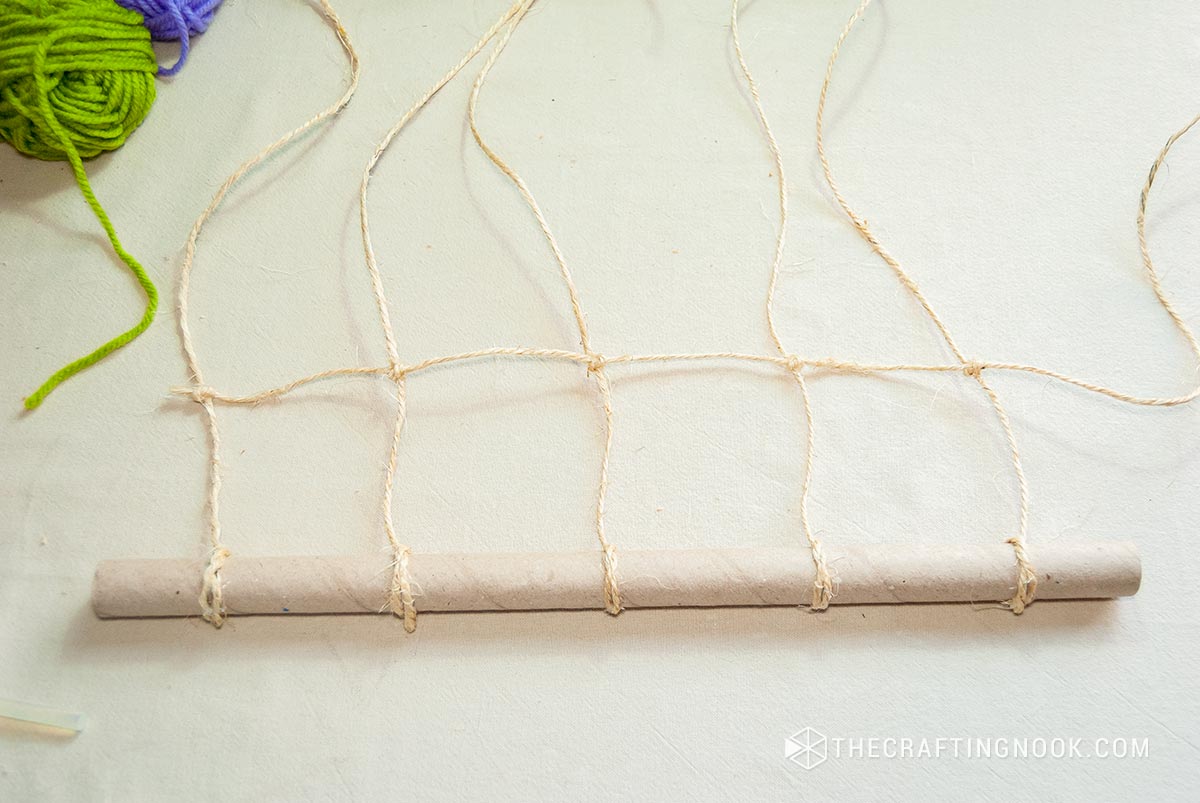
Then Start over with the following 4 strings.
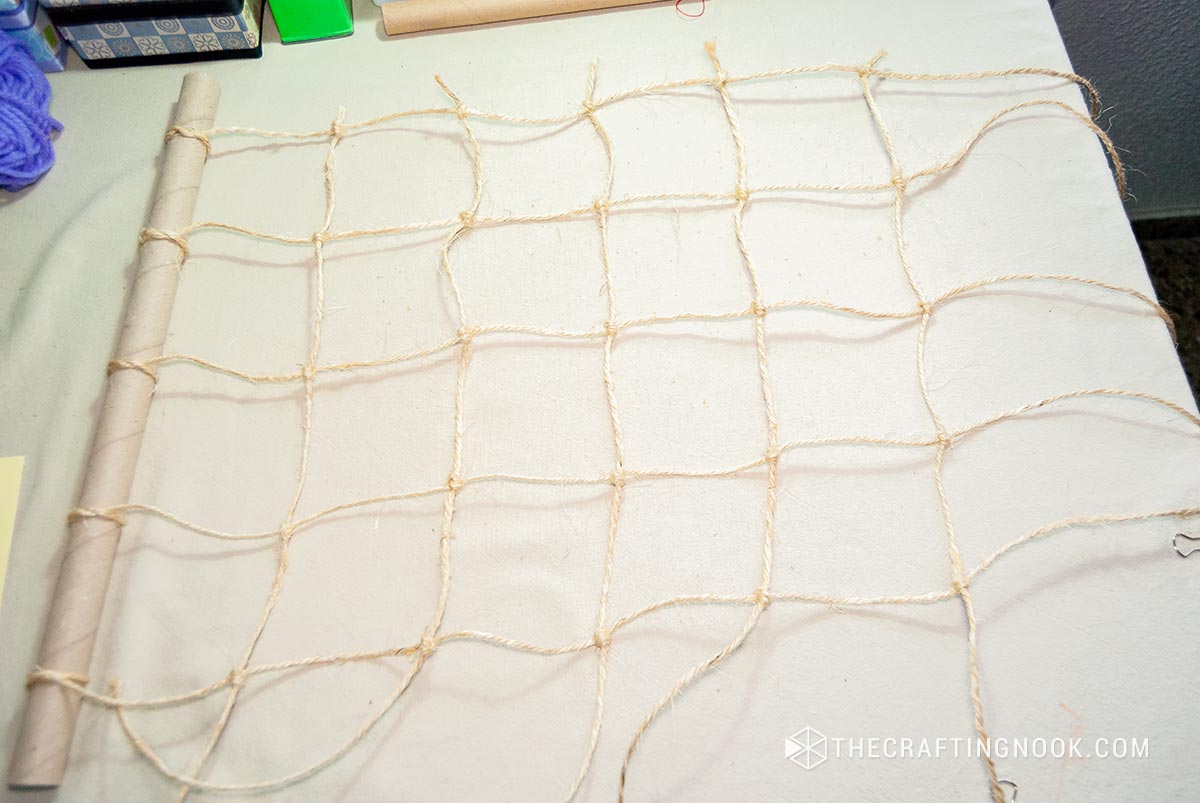
Step 4: Attach the Grid to the Bases
Attach the vertical strings to the bottom base using knots and secure them in place with hot glue just like you did for the top. Make sure the grid is taut and evenly spaced.
Cut out all excess twine and secure with a tiny dab of hot glue.
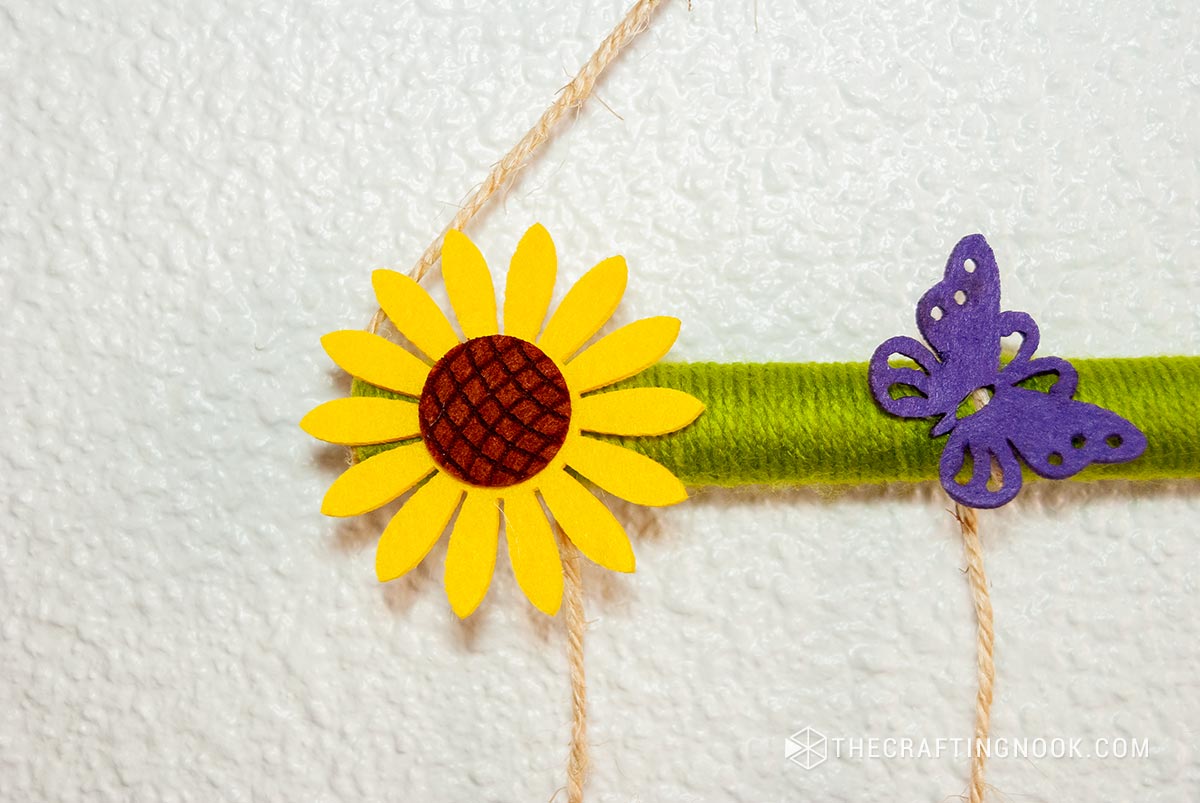
Step 5: Wrap the Tubes with Yarn
Wrap each of the contact paper tubes with yarn in your chosen colors.
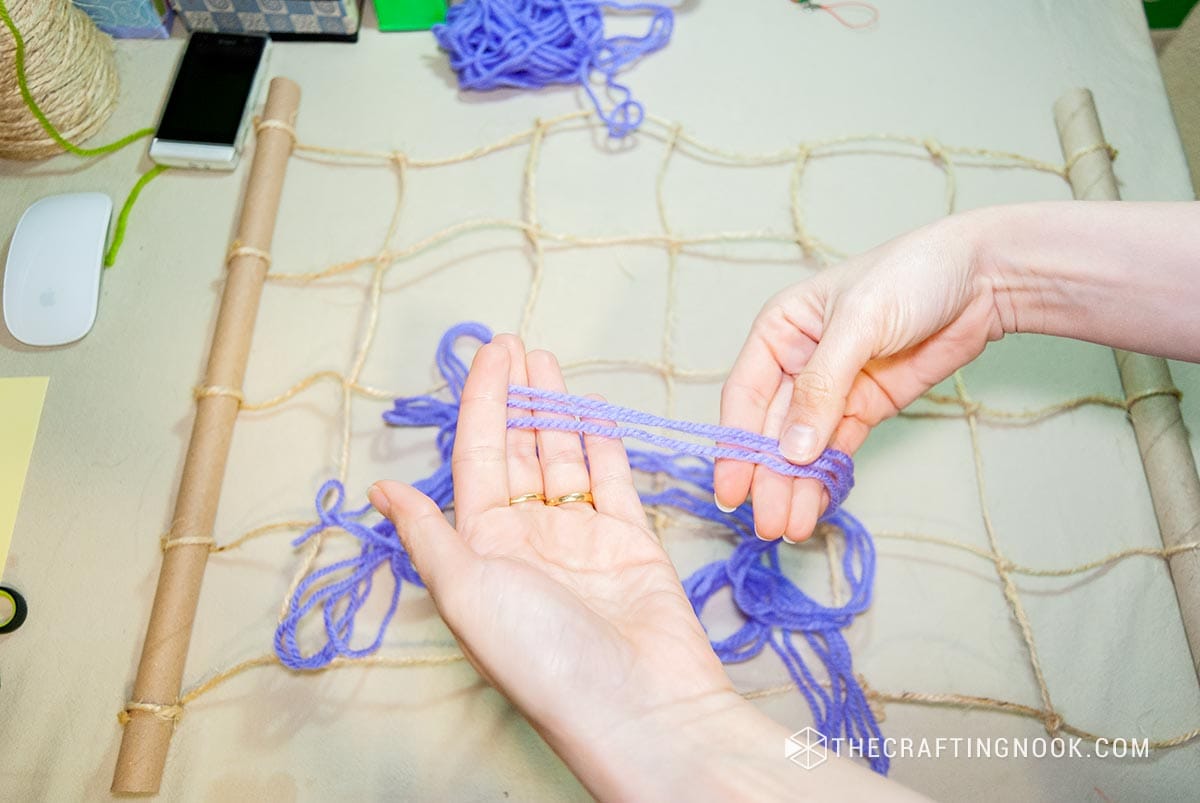
Use white glue to secure the yarn in place as you wrap it around the tubes. This will add a decorative touch to your hair clip holder.
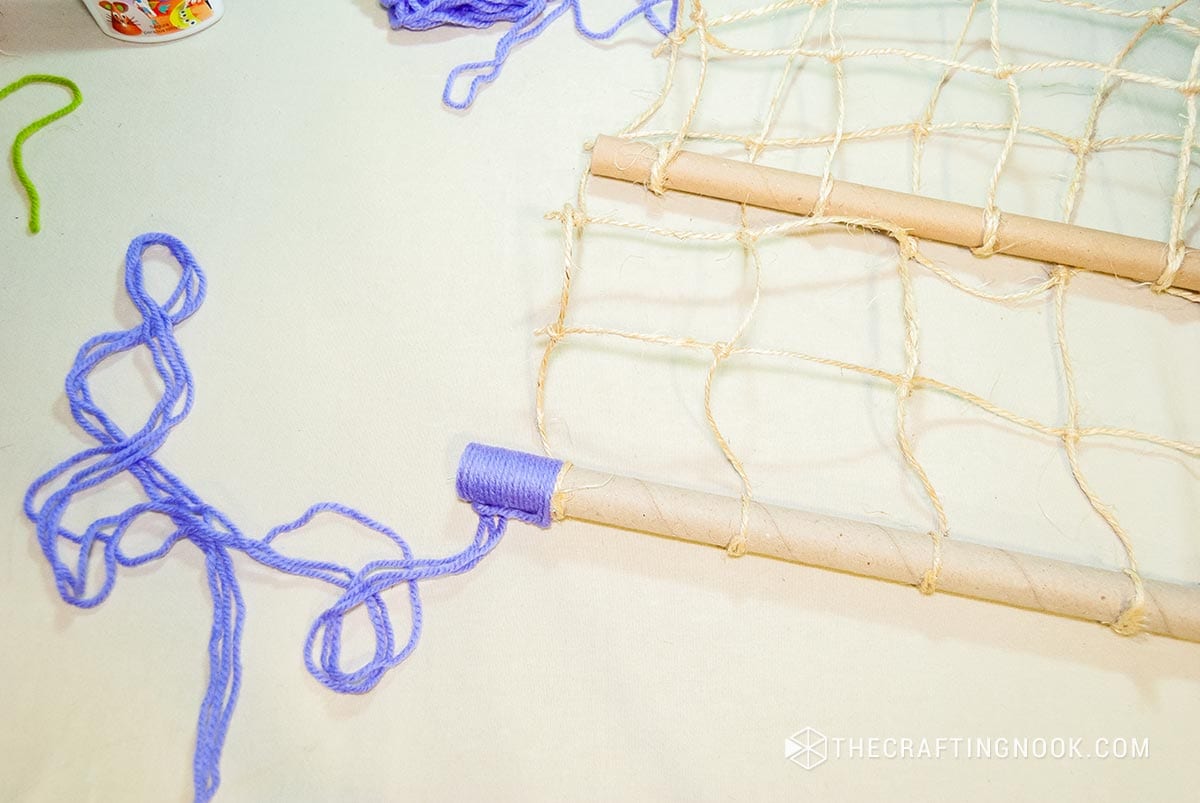
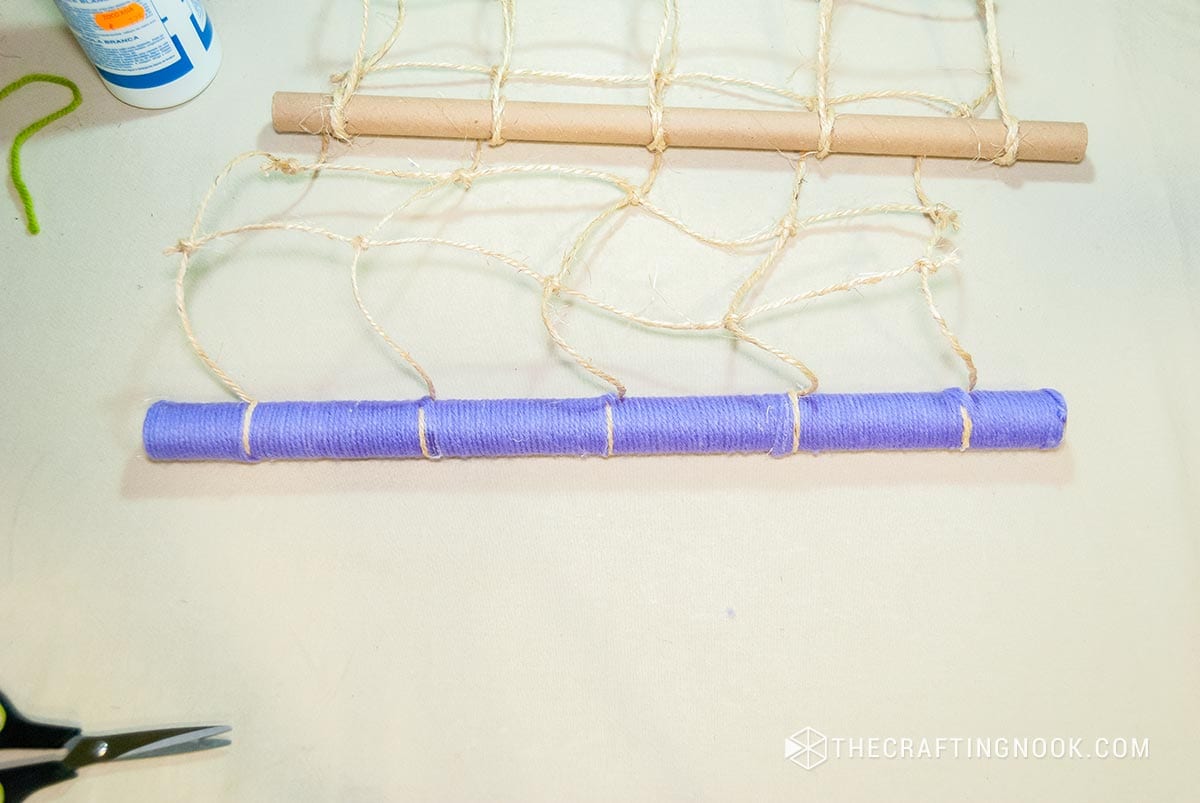
I used 2 colors but you can mix and match or make all in one color. Imagination is the limit.
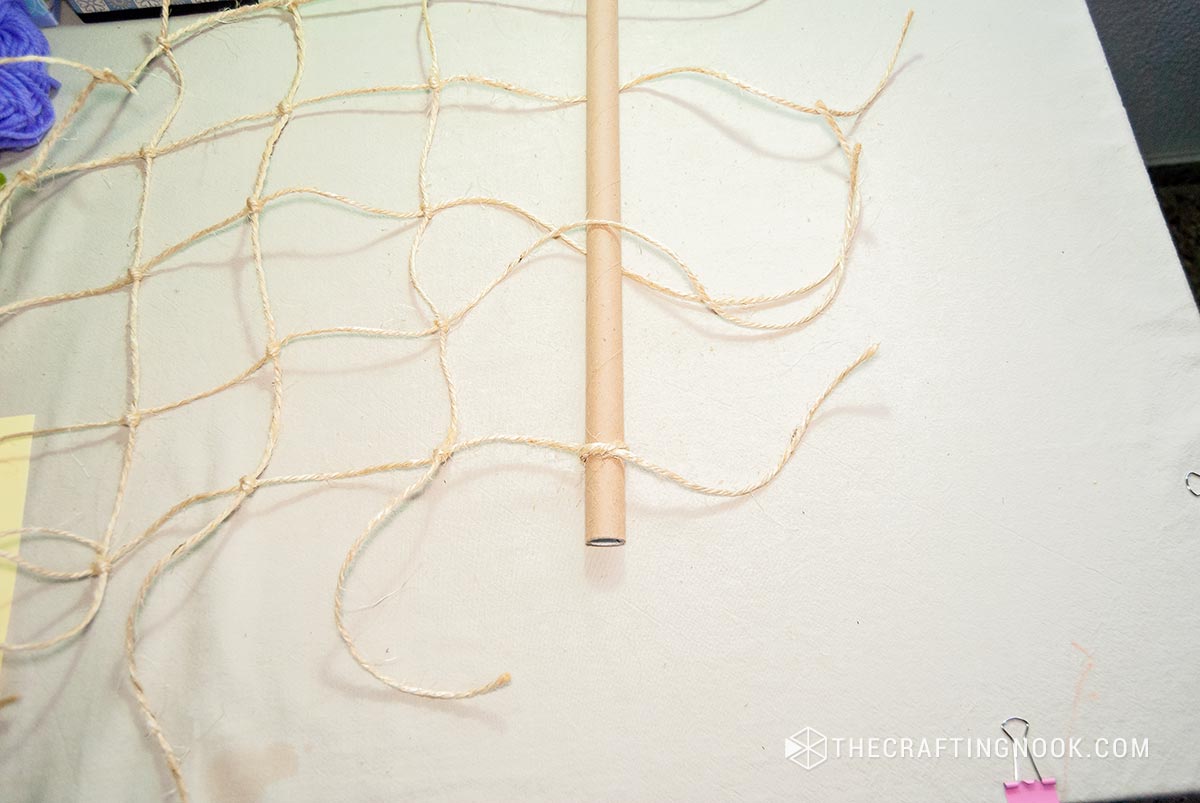
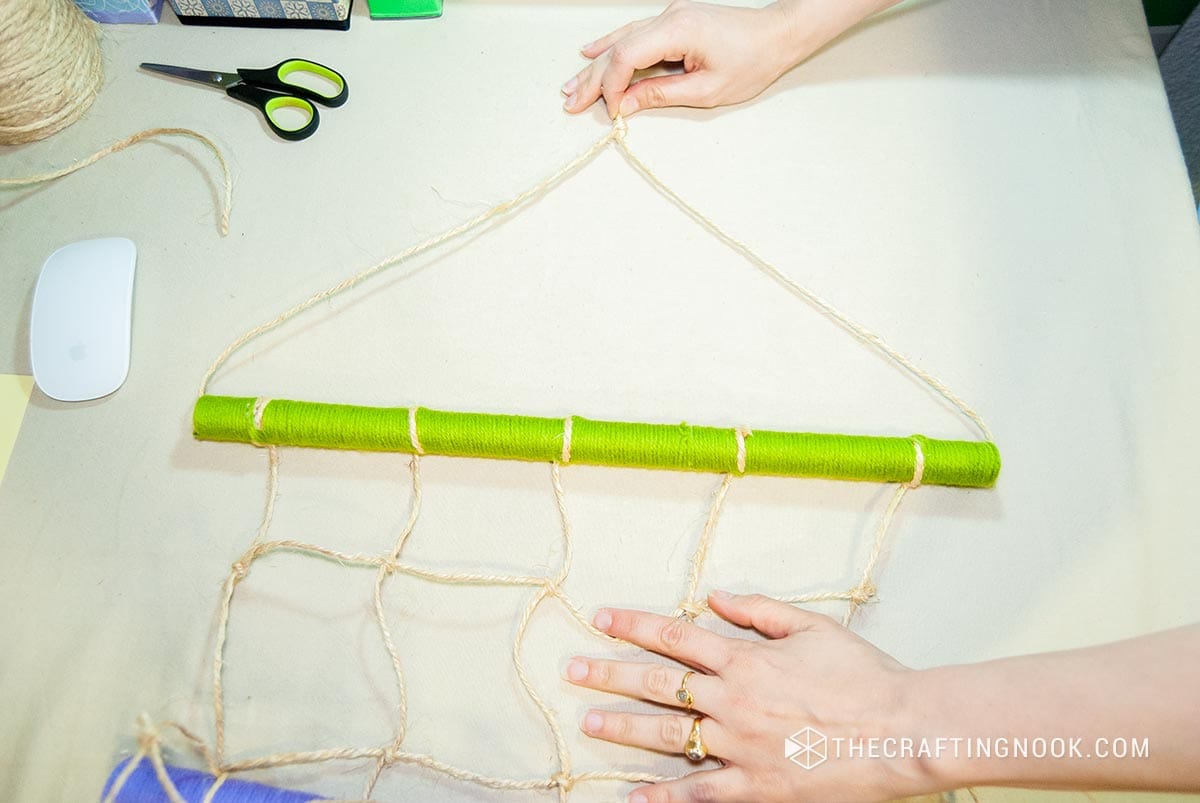
Cut an additional string of twine log enough to go through inside the cardstock tube and create a triangle for the hanger.
Cut and make a knot. You can hide the knot inside the tube or leave it at the top. I left mine as the project is all about knots!
There you go!
Step 6: Decorate
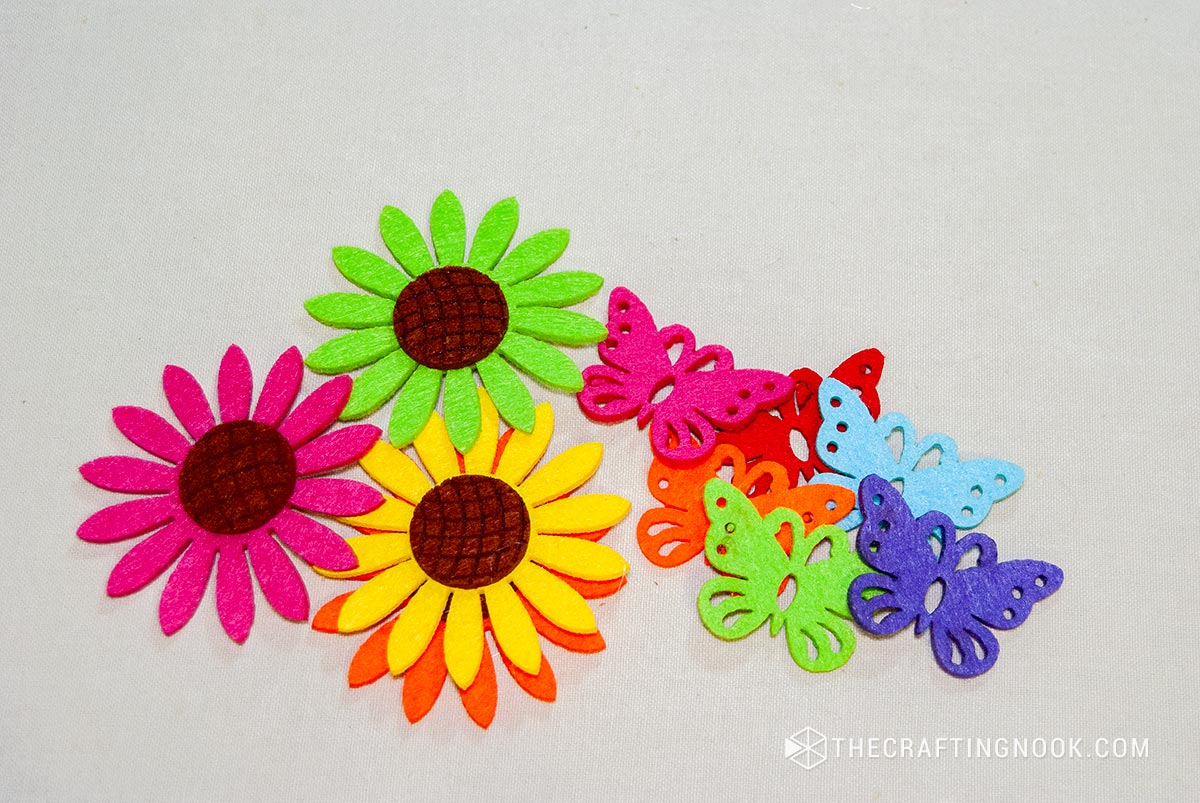
Get creative and decorate your hair clip holder with felt flowers, butterflies, buttons, or any other decorative items you have on hand.
Use hot glue to attach these decorations securely to the wrapped tubes.
Step 7: Final Touches
Once you’re happy with the decoration, let everything dry completely. Trim any excess yarn or twine if necessary.
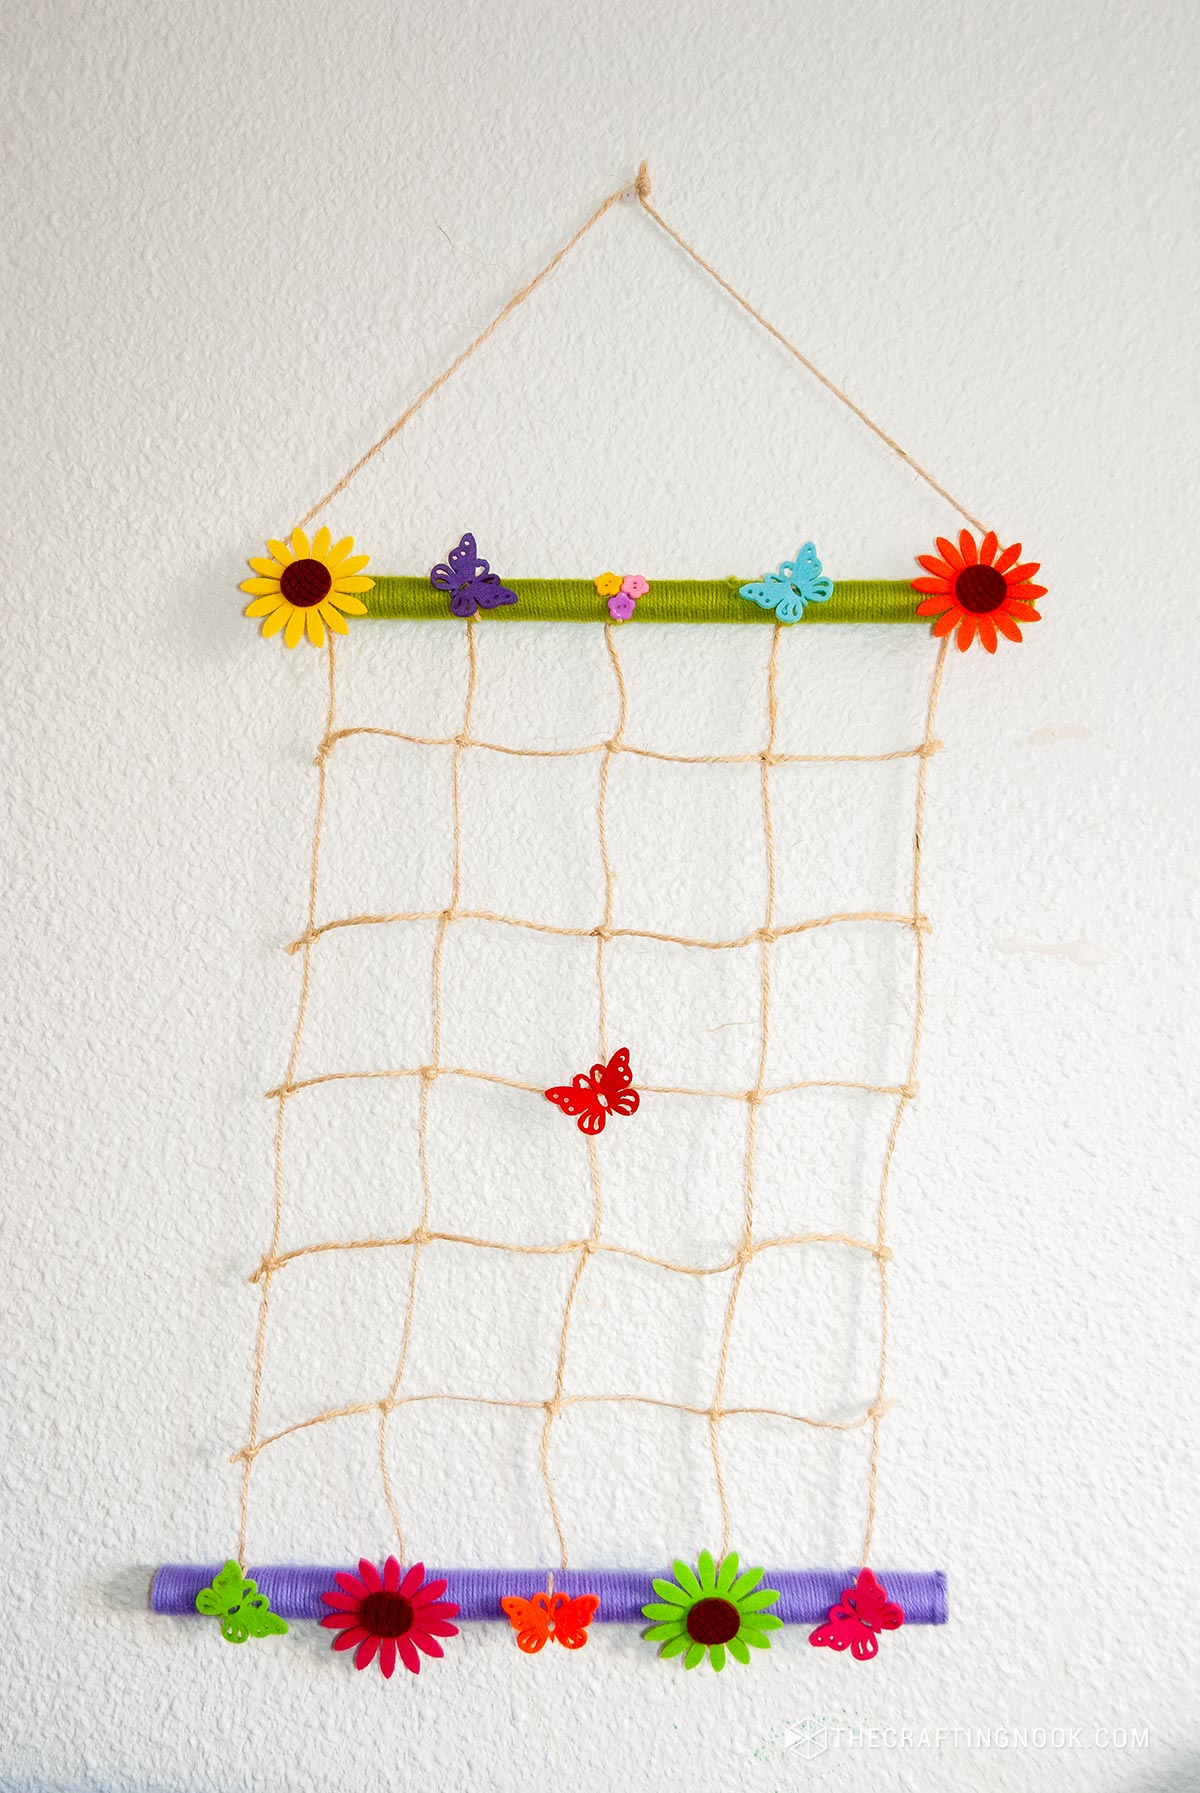
Your DIY Hair Clip Holder is now ready to use!
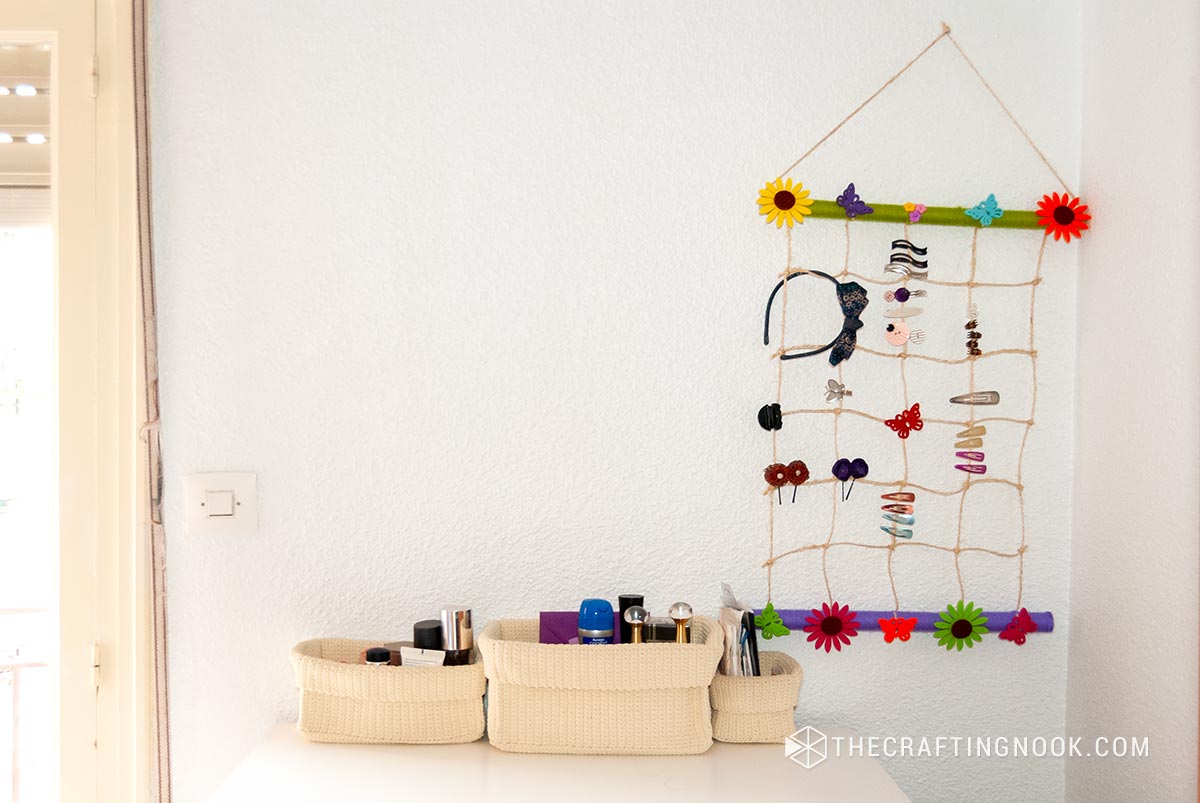
Step 8: Organize Your Kid’s Hair Clips
Place your hair clips and headbands on the twine grid of your holder. Now you have a cute and functional way to keep your sweet little girl’s hair accessories organized and easily accessible.
Enjoy using your new hair clip holder and feel free to customize it with your own unique touches!
Crafting Tips
- Add a personal touch to the hair clip holder by incorporating your child’s initials into the design. Cut out small felt letters and attach them to the yarn-wrapped tubes. Not only does this add a unique touch, but it also helps personalize their space.
- Make the most out of your hair clip holder by turning it into a dual-purpose organizer. Hang S hooks to the bottom base of the holder to hang hair elastics, and hair bands. This maximizes storage space and keeps all hair accessories neatly in one place.
- Create a color-coded grid using different shades of yarn to categorize hair clips by type, color, or size. For example, use pink yarn for pink hair clips, blue yarn for blue clips, and so on. This makes it easy for your child to quickly locate the exact clip they need.
- Add a whimsical touch to the holder by incorporating glow-in-the-dark elements, such as beads flowers, animals, etc. Charge them under a bright light during the day, and watch them glow softly at night, creating a magical ambiance in your child’s room.
Alternatives and Substitutions
You can use wooden sticks instead of cardstock tubes. whatever you have handy that is sturdy enough to make the top and base will do.
If you don’t like or don’t have twine you can definitely use yarn.
Frequently Asked Questions
Absolutely! You can use wooden dowels, PVC pipes, or even repurpose old containers like oatmeal canisters. Get creative and use whatever you have on hand.
To prevent the yarn from slipping, secure the starting end with a dab of hot glue or double-sided tape. Wrap the yarn tightly around the tube, applying a small amount of glue intermittently to keep it in place.
It’s best to spot clean the holder with a damp cloth to avoid damaging the yarn or decorations. For best result use a duting tool often.
The number of hair clips the holder can hold depends on the size of the grid and the spacing between each square. But trust me ut can hold plenty hair clips!
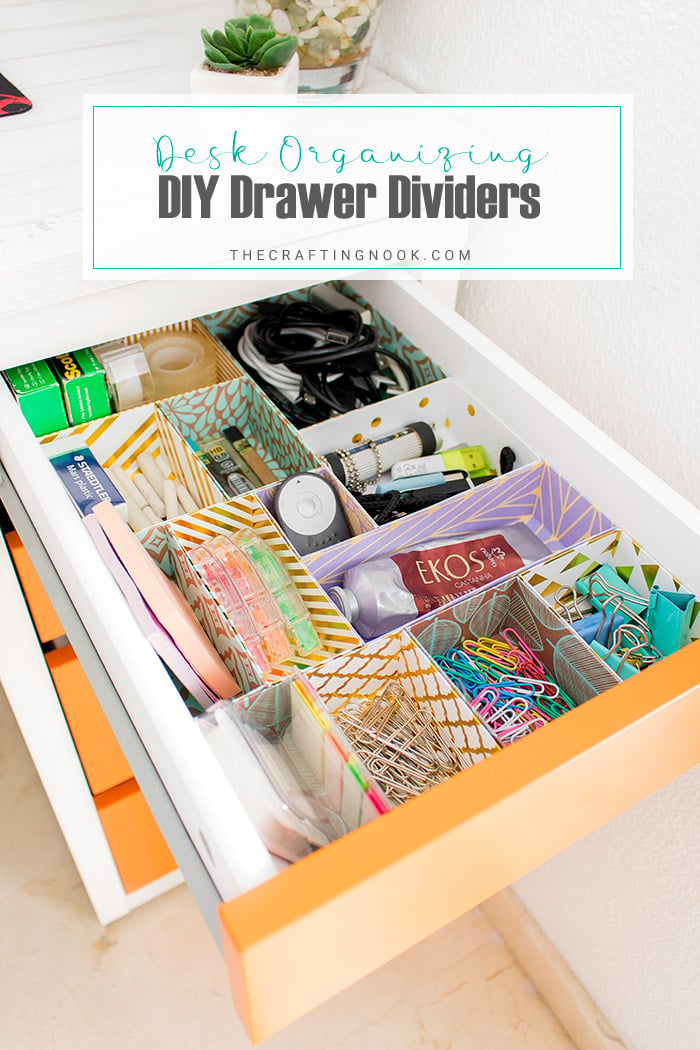
More Organization DIY Projects To Try
If you enjoyed this DIY Hair clip Holder tutorial, you might find super fun these organizing ideas too:


✂️ Tutorial
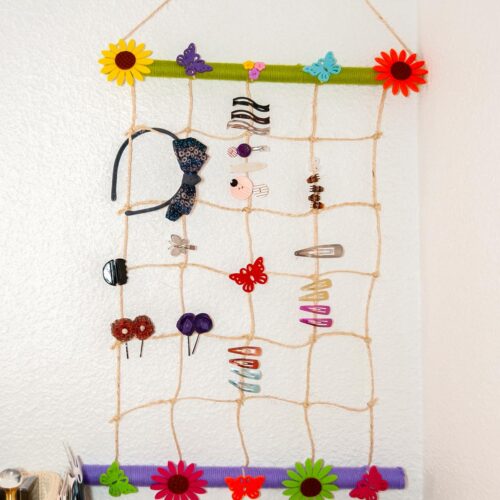
DIY Hair Clip Holder for Kids
Tools
- Hot glue gun and glue sticks
- scissors
Supplies
- Twine
- Yarn choose colors that match your room decor or your personal style
- White glue
- Decorating Items
- like felt flowers, butterflies, buttons, or any other embellishments you love
- 2 Contact paper tubes you can also substitute with wooden sticks or other similar materials
Instructions
STEP 1: PREP WORK
- Cut 10 strips of twine (5 longer than the other 5), I can’t give you the exact length because it is going to depend on how long and how wide you want it.
- Clean your cardstock tubes (or wood sticks if you decide to use them).
STEP 2: PREPARE THE BASE
- Take the contact paper tubes and cut them to your desired length if different than the original.
- These will serve as the top and bottom bases of your hair clip holder. You can adjust the length according to how many hair clips you want to store or the available space in your room.
STEP 3: CREATE THE TWINE GRID
- Lay out the vertical and horizontal twine strings evenly spaced apart to achieve the desired length and width.
- Leave at least an inch from the edges of the tube to ensure stability. Secure each intersection with a knot.
- Start attaching each vertical string to the top base tube. A simple knot will do and secure with hot glue.
- I usually start with both ends and then work on the internal strings of the grid.
- Once you have all the vertical twine strings secured in place, it’s time to start actually creating the grid.
- Start with one of the side strings at the desired spacing and make a tight knot.
- Secure the knot with a tiny dab of glue.
- Move on to the next vertical string
- Keep moving from string to string making a know more or less at the same distance.
- Then Start over with the following 4 strings.
STEP 4: ATTACH THE GRID TO THE BASES
- Attach the vertical strings to the bottom base using knots and secure them in place with hot glue just like you did for the top. Make sure the grid is taut and evenly spaced.
- Cut out all excess twine and secure with a tiny dab of hot glue.
STEP 5: WRAP THE TUBES WITH YARN
- Wrap each of the contact paper tubes with yarn in your chosen colors.
- Use white glue to secure the yarn in place as you wrap it around the tubes. This will add a decorative touch to your hair clip holder.
- I used 2 colors but you can mix and match or make all in one color. Imagination is the limit.
- Cut an additional string of twine log enough to go through inside the cardstock tube and create a triangle for the hanger.
- Cut and make a knot. You can hide the knot inside the tube or leave it at the top. I left mine as the project is all about knots!
- There you go!
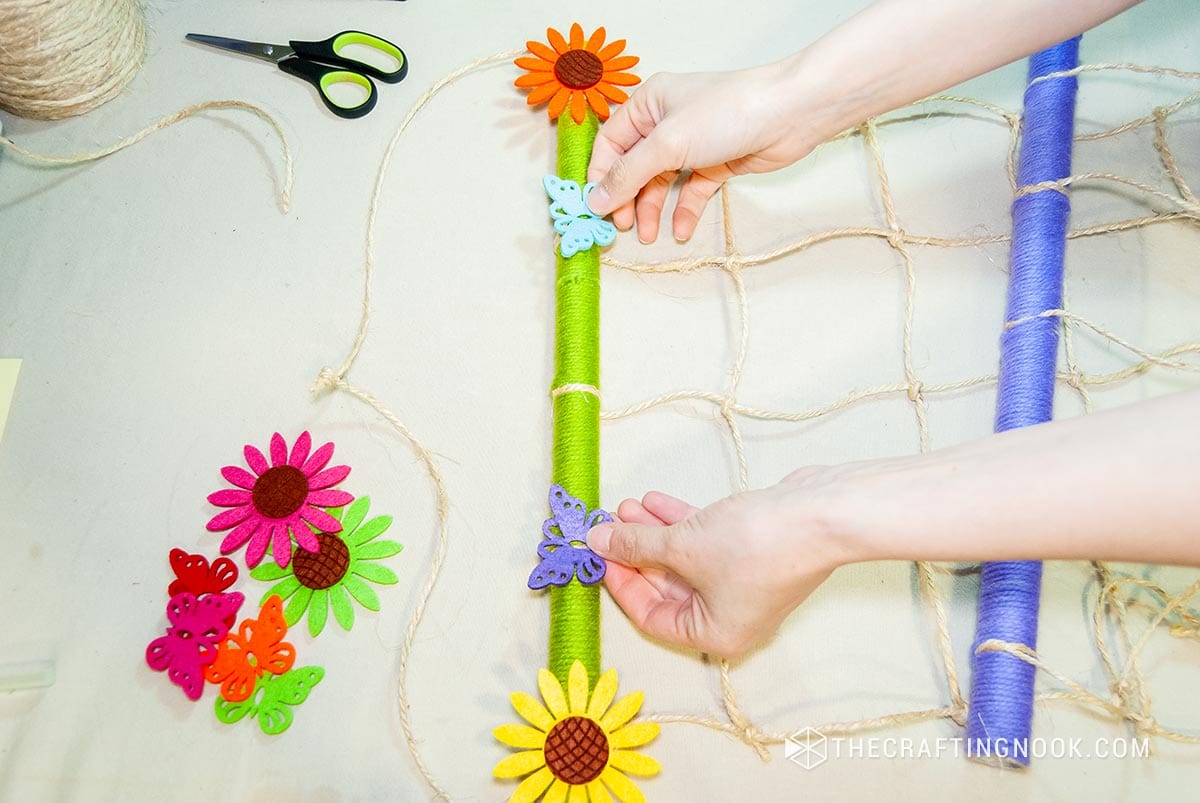
STEP 6: DECORATE
- Get creative and decorate your hair clip holder with felt flowers, butterflies, buttons, or any other decorative items you have on hand.
- Use hot glue to attach these decorations securely to the wrapped tubes.
STEP 7: FINAL TOUCHES
- Once you’re happy with the decoration, let everything dry completely. Trim any excess yarn or twine if necessary.
- Your DIY Hair Clip Holder is now ready to use!
STEP 8: ORGANIZE YOUR KID’S HAIR CLIPS
- Place your hair clips and headbands on the twine grid of your holder. Now you have a cute and functional way to keep your sweet little girl’s hair accessories organized and easily accessible.
- Enjoy using your new hair clip holder and feel free to customize it with your own unique touches!
Notes
- Add a personal touch to the hair clip holder by incorporating your child’s initials into the design. Cut out small felt letters and attach them to the yarn-wrapped tubes. Not only does this add a unique touch, but it also helps personalize their space.
- Make the most out of your hair clip holder by turning it into a dual-purpose organizer. Hang S hooks to the bottom base of the holder to hang hair elastics, and hair bands. This maximizes storage space and keeps all hair accessories neatly in one place.
- Create a color-coded grid using different shades of yarn to categorize hair clips by type, color, or size. For example, use pink yarn for pink hair clips, blue yarn for blue clips, and so on. This makes it easy for your child to quickly locate the exact clip they need.
- Add a whimsical touch to the holder by incorporating glow-in-the-dark elements, such as beads flowers, animals, etc. Charge them under a bright light during the day, and watch them glow softly at night, creating a magical ambiance in your child’s room.
Share and PIN ME!!!
Til’ next time…


FREE WORKBOOK
Keeping your Sweet Home Organized
Learn how to create intentional habits and simple routines to Keep Your Home Organized. Plus freebies, printables, exclusive content, and tips.
Disclaimer: By clicking on the “Yes” button above you are giving me your consent to collect and use your information according to the law and My Policy Privacy. Zero Spam I promise!
This is such a cool project. I love it! You are so right – when my things are stored in boxes I almost always forget about them too!
Andrea // CocoDrizzle
Hey Andrea, Oh yeah in boxes you forget what you have and don’t use them as much as when you can always see them!!! Thanks so much for your sweet visit!
HUGS
Cool… You know what I love the most here – it is a 3-in-1 project.Art,craft and function in one place, at a time.
Love it.
Anima
I handn’t seen it that way… yayyyy that’s great to know! Thanks so much for pointing that out and for your sweet visit!
Have a wonderful week!
XOXO
creative! i’m loving your baskets on your dresser too!
The gang at My Personal Accent thinks your post about the DIY Hair Clip Holder is fantastic and we would like to invite you to party with us at starting at 5:00 Thursday nights at our new Blog Strut Peacock Style Link Party to share your creative ideas. Come on over!! http://wp.me/p2Vf55-XA
Thanks so much How exciting!!! yayyy I’ll stop by!!!
xoxo
Cami
Oh!!! SWEET!! Love it Cami! I’m going to have to make some for my girls!
Yayyyy I would love to see it, how exciting!!! Thanks so much for stopping by Christine!!!
xoxo
Cami
Thank you for sharing your innovative idea with all of us. I don’t speak any Spanish but the pictures seemed clear enough to me. Sande @ My Personal Accent.
My girls would LOVE this! Thank you so much for sharing at Monday Funday this week! Have a good one!Take care, Trish
Yayyyy Ladies Thanks so much, That is a prefect project for kids, so easy and so fun!!!
Hugs
Cami
This is an awesome tutorial. Great directions. I’d love to have you share at What to do Weekends. Pinned also. Lindahttp://www.craftsalamode.com/2013/07/what-to-do-weekends-29.html
This is an awesome idea and lovely ! So many possibilities of what one can hang on there :-) Pinned !
Thanks so much Linda. Yes the possibilities are endless. I’m happy you pinned LOL! Yayyy
xoxo
Cami
That is an adorable clippie holder well done
Me encanta! Lo hare! Un beso!
Que original! Me lo apunto para hacer con mi hija! Te he descubierto a traves de la pagina facilisimo.es Enohorabuena por tu blog, me gusta mucho! Un besazo!
Muchisimas gracias Eva, Me encanta que hayas pasado por aca y me hayas dejado un comentario tan lindo!!! Si lo hacen me encantaria ver que tal queda!!!
Besos
Cami
Nice idea!!! I think this is better than having them all shovef in one container as it saves the clips from getting tangled up. More accessible too. May have to try this. Thanks for sharing :)
I know, right?… and it was a fun project to make too! Thanks so much for your sweet comment!
Hugs
Cami