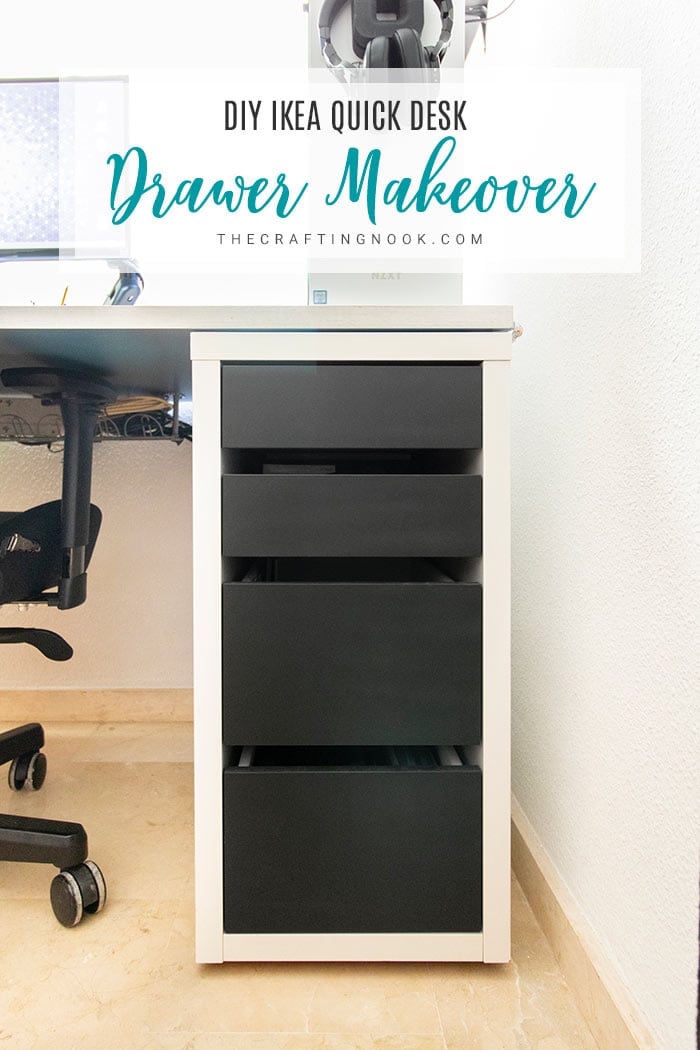
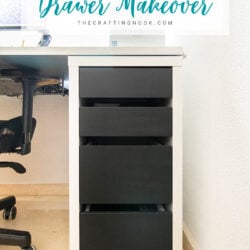
DIY Easy Ikea Micke Desk Drawer Makeover
This post may contain affiliate links. Please read our Disclosure Policy.
This Ikea Mike desk drawer makeover is such a crazy easy project to take on. You will be able to have it done in one day and it will completely transform the look of your old drawer.
I have to confess this Ikea piece of furniture (Micke) was handed to me a while ago. It was going to go to the trash and I decided to take it with the idea of transforming it.
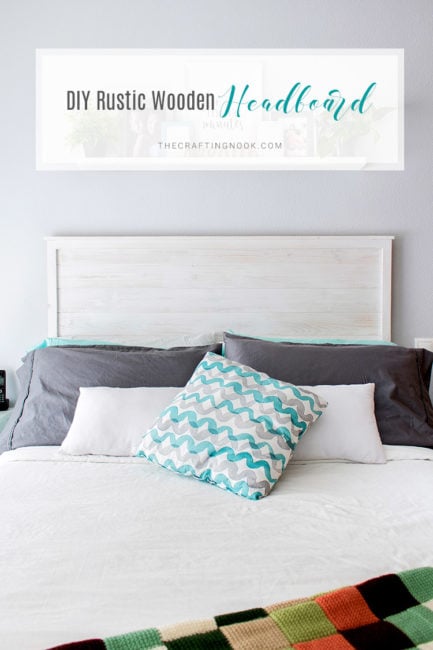
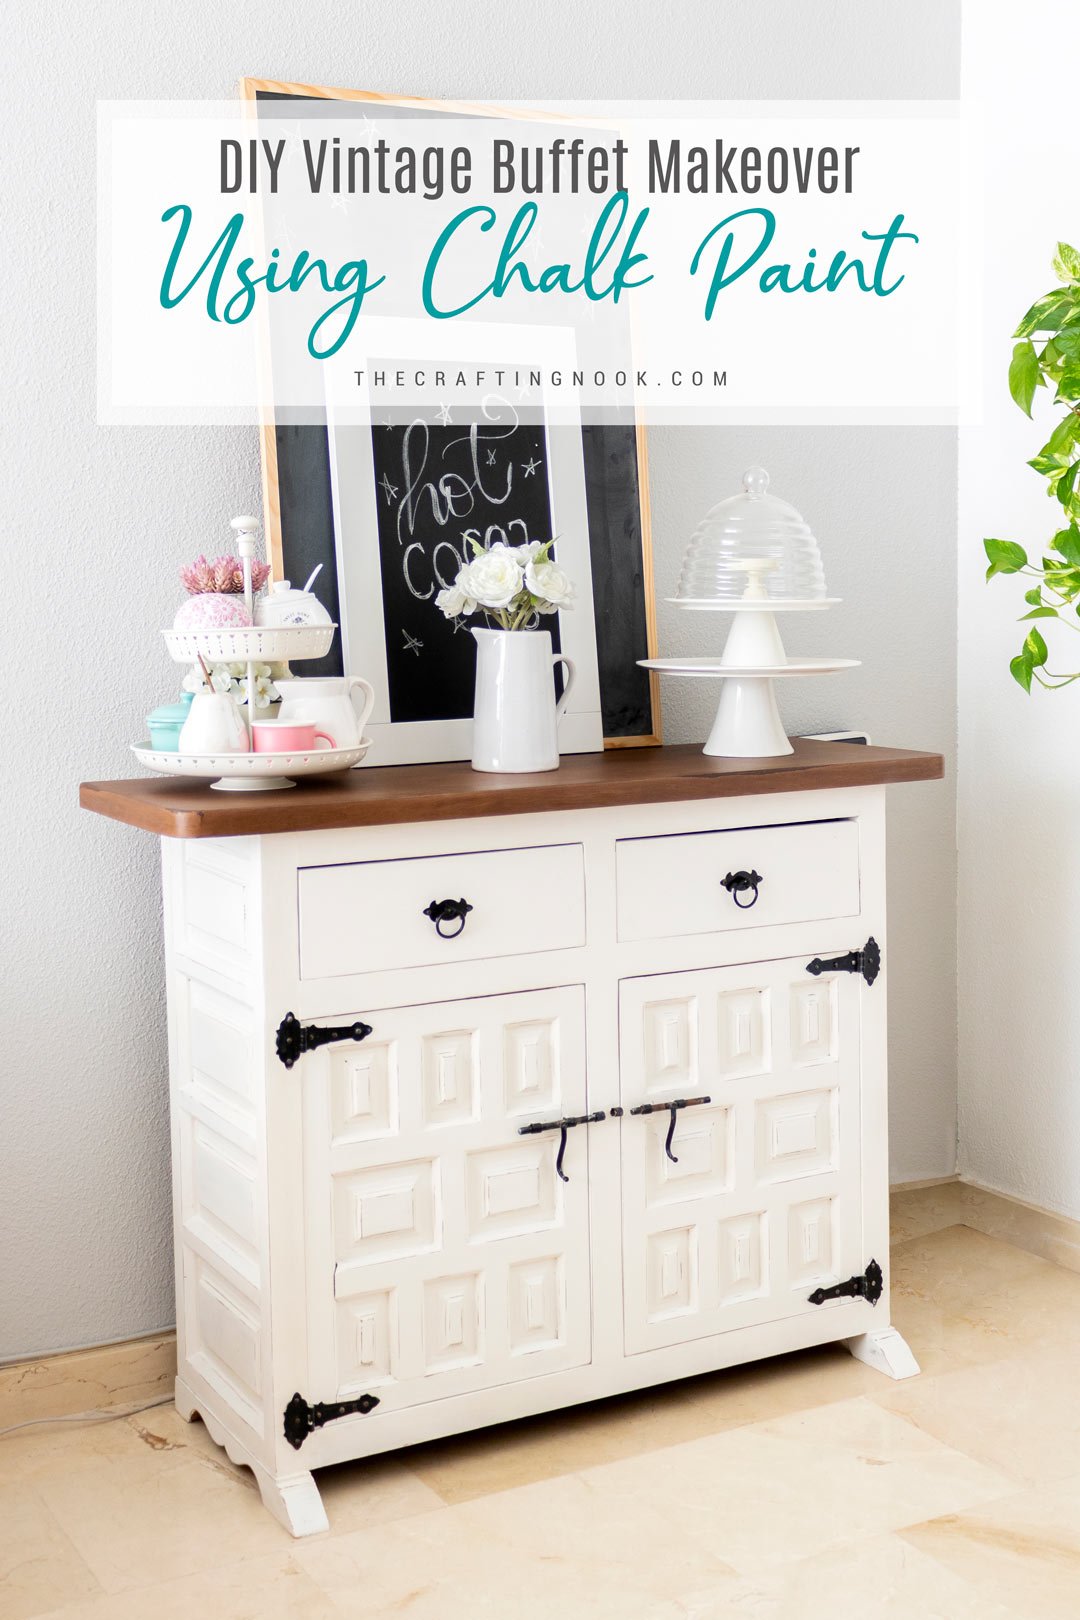
You might also love these other furniture ideas: Trofast IKEA Hack: Installing a door to hide the messy drawers, Gamer Room Decor: Our Office-Guest Room Makeover, and DIY Vintage Buffet Makeover using Chalk Paint.
Table of Contents
Easy Ikea Micke Desk Drawer Makeover
The problem with this piece was that I don’t really like the orange color but since it was free, I thought that I might be able to transform it and make it more me by changing the color a little bit and who knows something else?

I wasn’t sure how I was going to make it happen. I’m not very expert on painting furniture especially when they are laminated. I had heard that Ikea’s furniture is not easy to paint but I was determined to try something.
I’ve heard so many times that chalk paint is the best paint because you don’t even need to prime or sand so I thought that would be my first go.
I’ve only used chalk paint a few times and so far, I’ve loved it. I love the finish; I love the look and I thought it would be a great idea for this project. Thankfully it turned out great and I’m so excited!
At first, I thought I would paint it in grey, maybe kind of fun light gray to make it a little bit more neutral but then the gaming room project came along and my husband and I thought that maybe this drawer would be the perfect addition to the whole room decor mood.
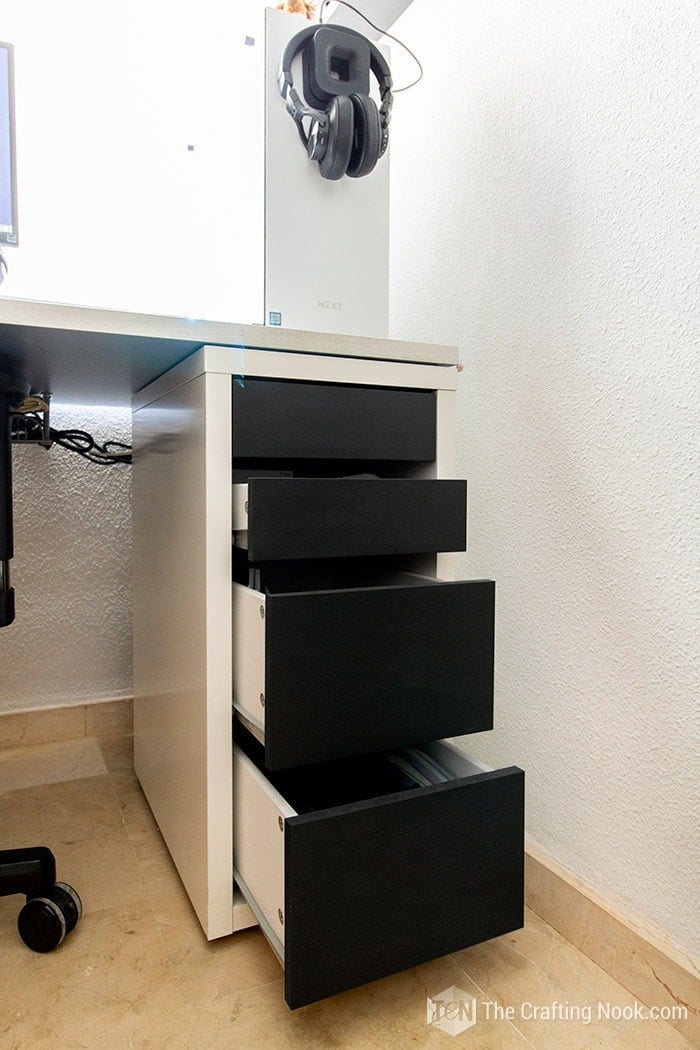
The whole gaming room theme was to make it black and white so we decided that the drawers would be black and the rest would be white.
Again, this DIY project is absolutely and crazy easy to make. I wasn’t sure if I should share the tutorial but then I thought maybe some people have some old or ugly drawers around the house looking for an idea to make it prettier, so even though it’s super silly, I thought why not?
How to Paint the Ikea Micke Drawers
Supplies:
- A drawer unit (Mine is the Micke one and I think this orange one doesn’t even exist anymore)
- Chalk Paint (I used Rust-Oleum in Spray)
- Clear Varnish (I also used in Spray)
- Sandpaper (I used it even though they say I didn’t need to)
- Screwdriver or power drill (or the specific tool needed for your drawer)
- Piece of Cloth
Instructions:
Before we begin, be sure to follow us on Pinterest, Facebook, Instagram, and YouTube, and also sign up for our email list (at the end of this post), so you’ll never miss a post!
Step 1: Prep Work
So as I met before it’s supposed to not need sanding but I did it anyway. Just in case you know, to make sure the surface is rough enough so the paint can hold. Call me paranoid LOL.
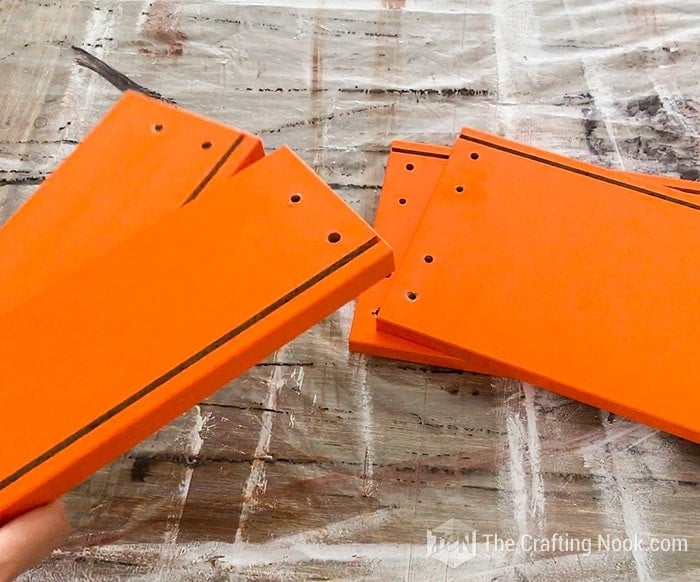
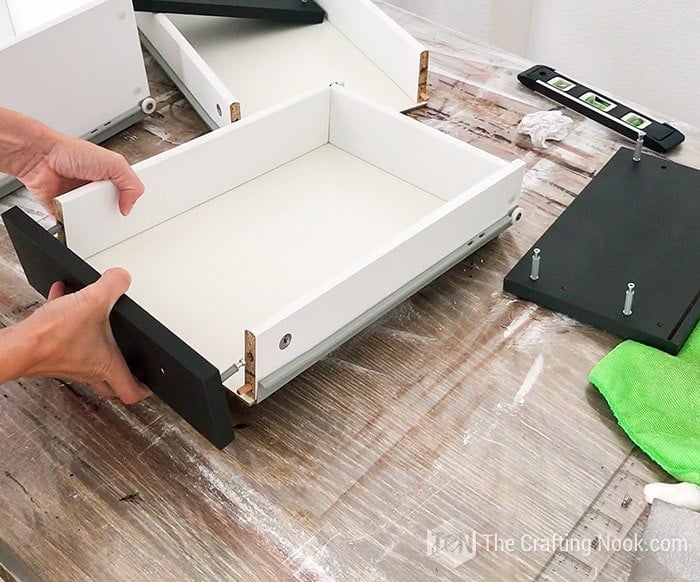
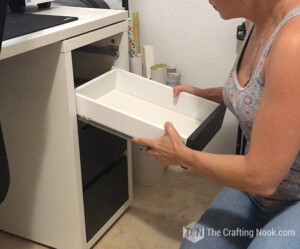
Firstly, remove all the drawer fronts of the desk. Use the screwdriver or the specific tool you need and detach the front part of your drawer.
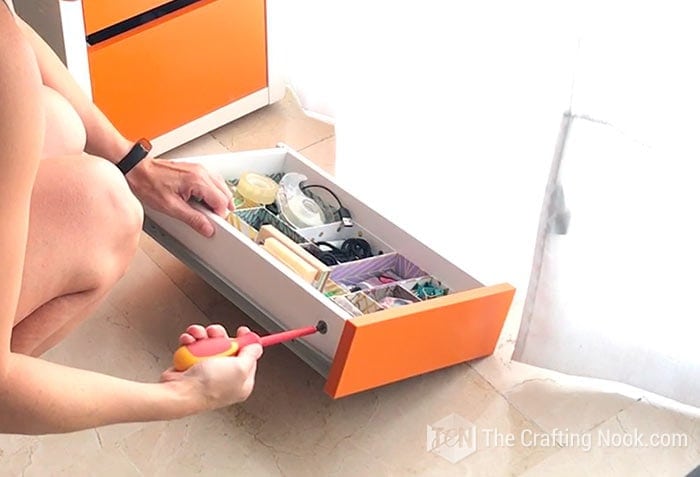
If yours is like this one and has these screw pins make sure you remove them from the front piece as well.
Remove drawer pulls, knobs, handles, or any hardware your drawers might have.
Step 2: Sanding the pieces
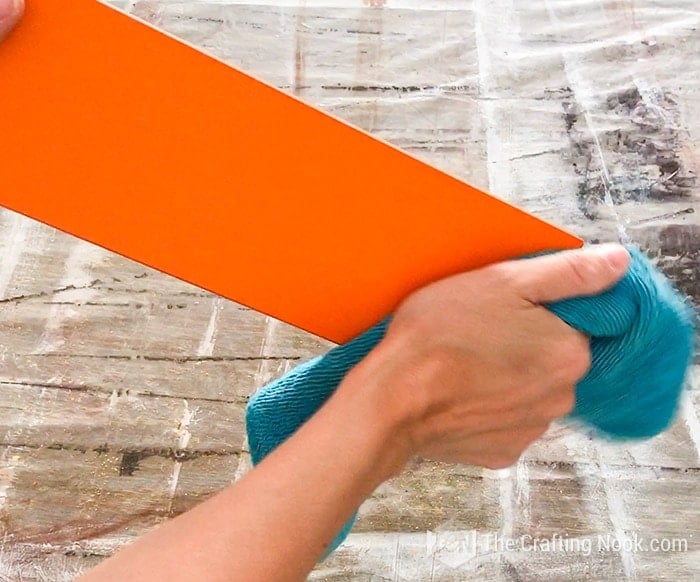
Once you have all the pieces of your drawers detached let’s go to a well-protected table and let’s start sending each piece.
I used 150 grit sandpaper for this. I didn’t want it to be too rough and sanded each piece carefully.
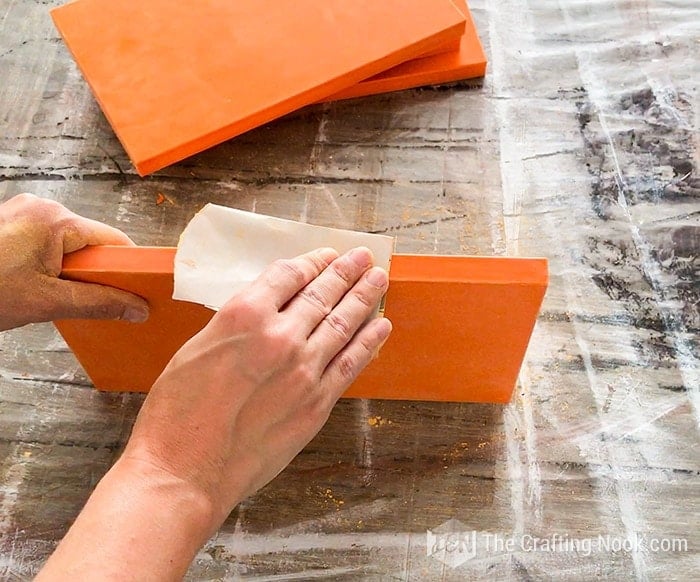
Then clean well to remove all the dust left by the sanding. it’s a good idea to use a slightly damped piece of cloth or towel.
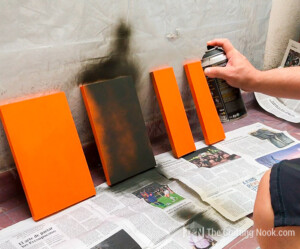
Step 3: Time to paint.
If like me, you are using spray paint, I suggest going to a ventilated space.
Protect the surface where you are going to paint using either cardboard, drop cloth, plastic, or newspaper.
Lay all your pieces a little close together and start spraying them respecting the distance instructed by your product.

Try not to overspray all at once so you avoid drops or paint accumulation in some areas.
Let them dry, turn them over and spray again.
It doesn’t have to get completely covered in your first coat and that’s okay. it took me about three coats of paint to get it completely covered letting it dry well between coats.
Finally, I sprayed the clear varnished over the pieces. this step is mostly to make sure nothing scratches the painted surface and I recommend using a matte varnish.
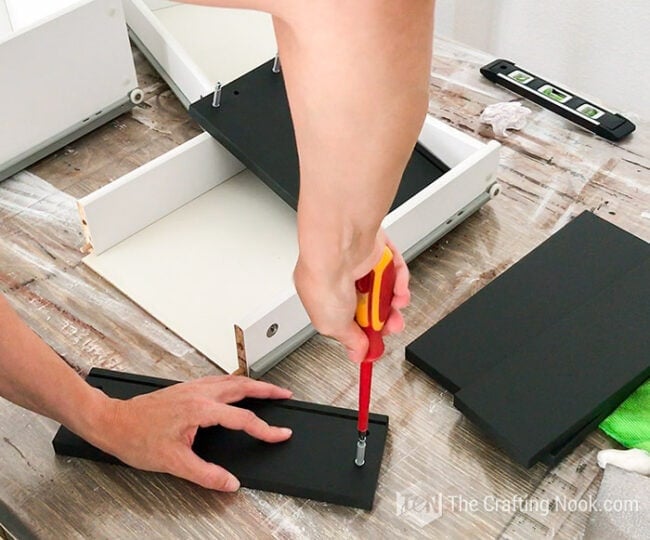
Step 4: Assembling the drawers
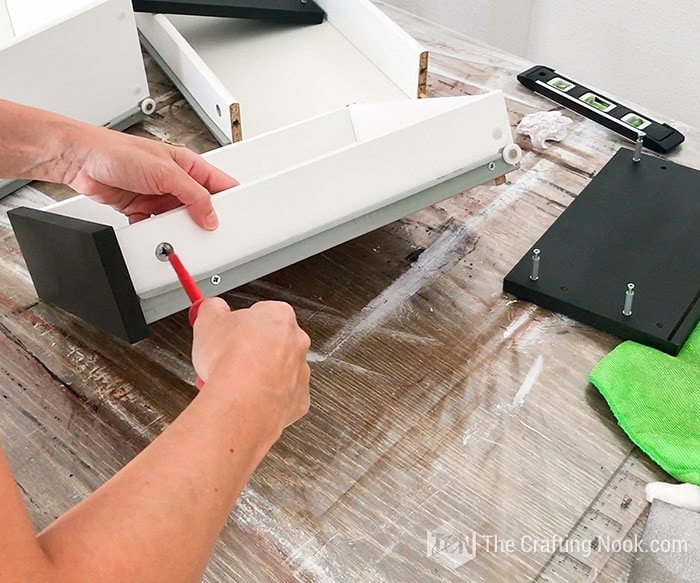
Now that you have all your front pieces dry and ready, it’s time to reassemble the drawers.
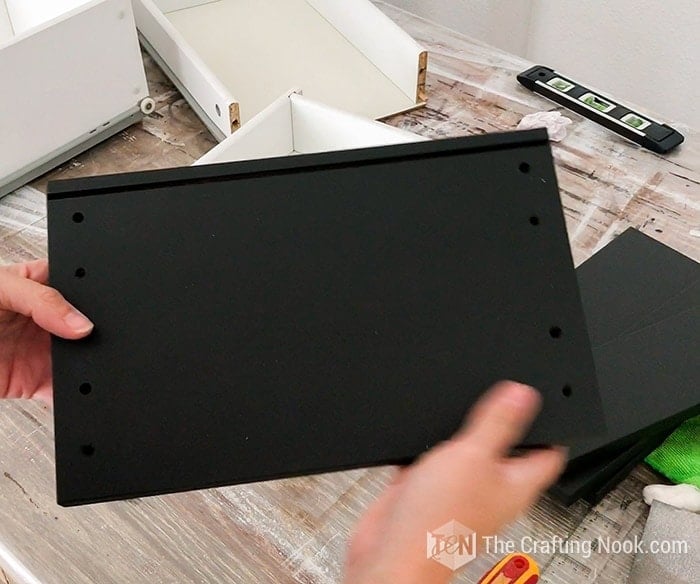
Put back the screws or screw pins, and install back the front of each drawer.
Step 5: Putting Drawers Back
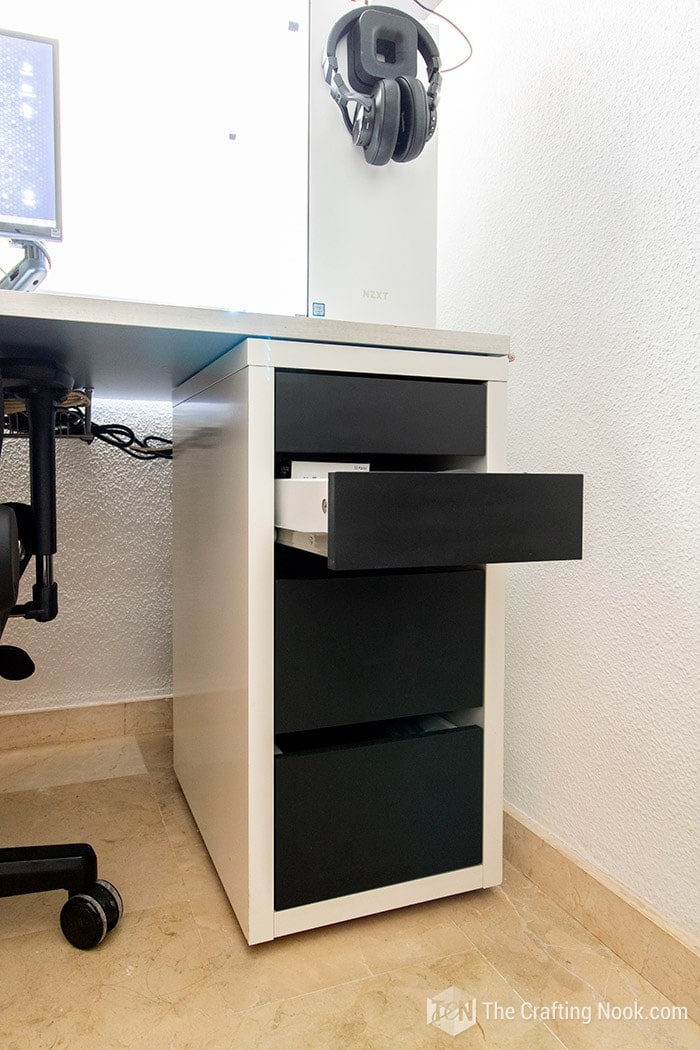
Lastly, let’s put our pretty drawers back on the desk.

Violà!!!

There you go!
We decided not to add any new hardware and leave it as is but you can definitely go for it. Depending on the color you went for you might even love some leather pulls, or maybe metallic handles, or any you love!
Before…
After…

I also gave it a very thorough cleaning of the whole desk to remove stains and old stuck dirt.

Now it looks like new and has a new placement on my husband’s office desk!
What do you think?
Well, my friends, hope you enjoyed this simple and easy Ikea Desk Drawer Makeover!
Like I always say, I am a true believer that if I can be crafty anyone can.
Frequently Asked Questions
I chose Chalk Paint because it’s simpler to apply. No sanding or primer is needed, although I did sand a little bit. You can definitely use other types of paint, preferably furniture-specific paints making sure you prime the surface properly.
I can’t speak for all Ikea furniture pieces. I’ve read that some Ikea surfaces are harder than others to paint but in my experience when in doubt, sand and prime it! You can also test in a hidden area to make sure it works.
You can paint straight onto Ikea furniture, but I don’t recommend it unless you are using good quality Chalk Paint, you may not get the results you want if you don’t prime the surface first. You should use a primer if you want a smooth and consistent surface that will last for a long time.
More Furniture project Ideas to try:
Loving this Drawer makeover idea? I’m sure you might love these other furniture projects too:
✂️ Tutorial
DIY Easy Ikea Desk Drawer Makeover Tutorial
Tools
- Screwdriver (or the specific tool needed for your drawer)
Supplies
- 1 Piece A drawer chest Mine is the Micke one and I think this orange one doesn’t even exist anymore
- 1 Piece Chalk Paint I used Rust-Oleum in Spray
- 1 Piece Clear Varnish I also used in Spray
- 1 Piece Sandpaper I used it even though they say I didn’t need to
- 1 Piece of Cloth any color
Instructions
- Firstly, remove all the drawers from the desk. Using the screwdriver or the specific tool you need and detach the front part of your drawer.

- If yours is like this one and has these screw pins make sure you remove them from the front piece as well.
- Once you have all the pieces of your drawers detached let’s go to a well-protected table and let’s start sending each piece.
- I used 150 grit sandpaper for this. I didn’t want it to be too rough and sanded each piece carefully.
- Then green well hp’s to remove all the dust left by the sanding. it’s a good idea to use a slightly damped piece of cloth or towel.
- Now it’s time to paint.
- If like me, you are using spray paint, I suggest going to a ventilated space.
- Protect the surface where you are going to paint using either cardboard, plastic or newspaper.
- Lay all your pieces a little close together and start spraying them respecting the distance instructed by your product.
- Try not to overspray all at once so you avoid drops or paint accumulation in some areas.
- Let them dry, turn them over and spray again.
- It doesn’t have to get completely covered in your first coat and that’s okay. it took me about three coats to get it completely covered letting it dry between coats.
- Finally, I sprayed the clear varnished over the pieces. this step is mostly to make sure nothing scratches the painted surface and I recommend using a matte varnish.
- Now that you have all your front pieces dry and ready, it’s time to reassemble the drawers.
- Lastly, let’s put our pretty drawers back on the desk.

Some Other Ikea Hacks from bloggers I love:
- Ikea Kallax Kitchen Island Hack by Jen Lou Meredith.
- IKEA Dresser Hack by Angela Marie Made.
- A Modern Ikea Malm Dresser Makeover by A Crafted Passion.
- DIY Platform Bed with Storage by Hey There Home.
If you found this Ikea Micke Drawer Makeover inspiring, please don’t forget to PIN and share it with friends.

Til’ next time…


FREE WORKBOOK
Keeping your Sweet Home Organized
Learn how to create intentional habits and simple routines to Keep Your Home Organized. Plus freebies, printables, exclusive content, and tips.
Disclaimer: By clicking on the “Yes” button above you are giving me your consent to collect and use your information according to the law and My Policy Privacy. Zero Spam I promise!