DIY Monogrammed Embroidery Hoop Ornaments for Christmas
This post may contain affiliate links. Please read our Disclosure Policy.
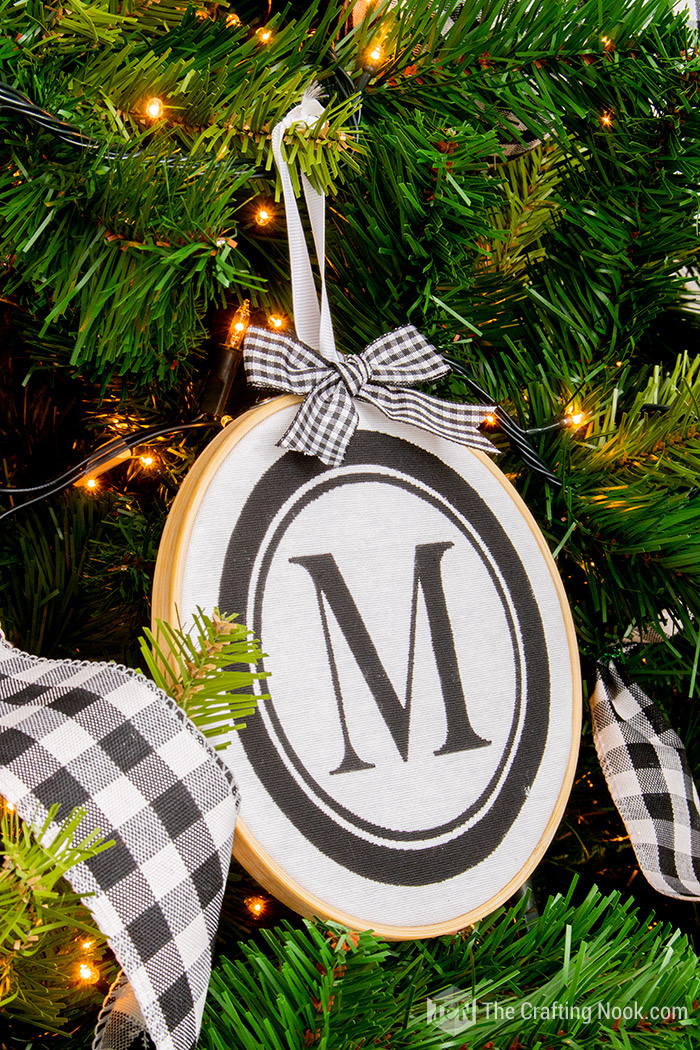
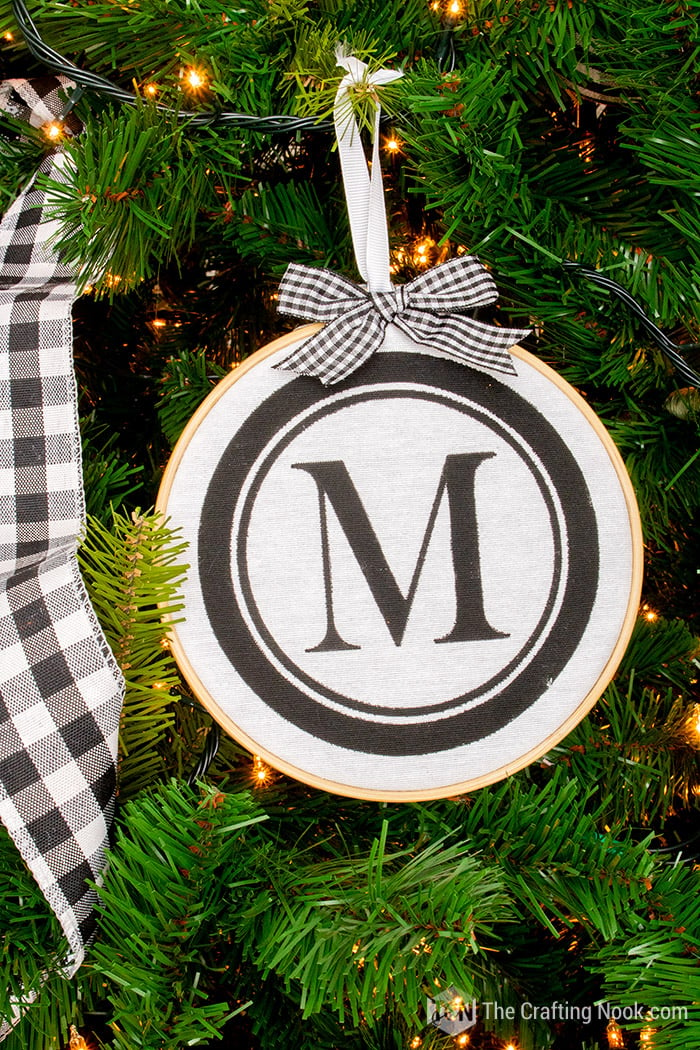
These monogrammed embroidery hoop ornaments are cute, fun, and easy to make. Make them as gifts for your friends and family or for your Christmas Tree. Either way, these DIY monogrammed embroidery hoop ornaments make the best personalized touch for your Holiday season decor.
Don’t you just love to have something really personal on your Christmas tree? I certainly do. In the past years, I’ve used wooden monograms, Snow globes with family moments photos, and so on. I love having something that really belongs to us.

Table of Contents
DIY Monogrammed Embroidery Hoop Ornaments
This year I tried something different, still monogrammed but in a different way. I’ve seen so many cute ideas made with embroidery hoops and I thought I could use them to create our personal homemade ornaments.
I decided to go with a monogram again but this time painted in fabric and placed in the embroidery hoop. I went for a simple yet elegant design with only black and white colors.
This project might work best if you have a cutting machine. If you don’t have one, then you might be able to find pre-made stencils for letters and shapes. So it’s possible to make it work.
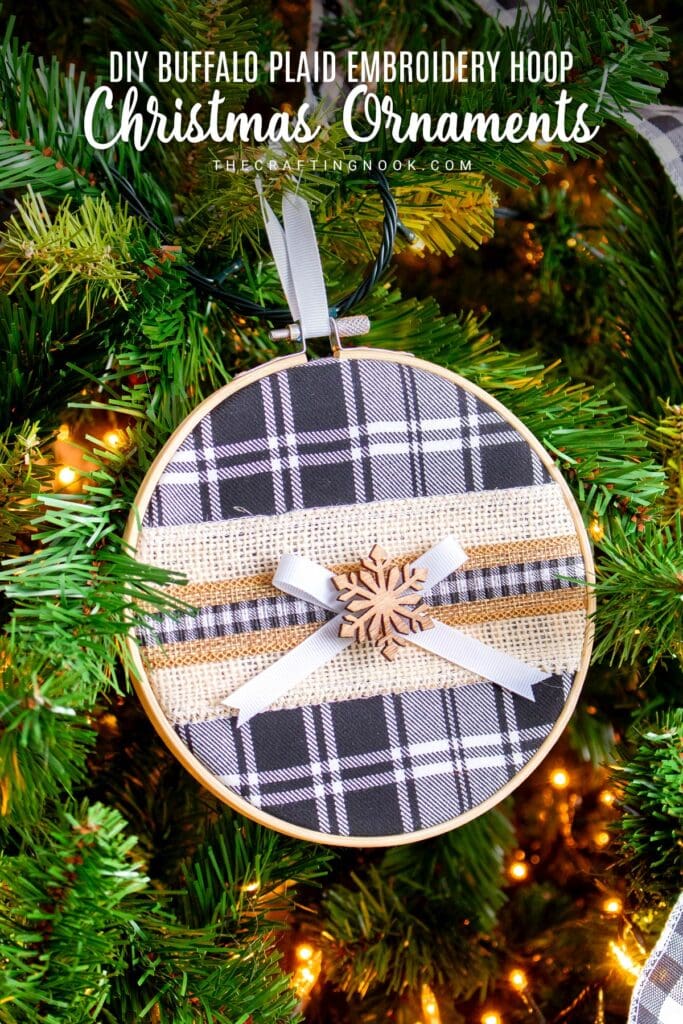
If you want a simpler embroidery hoop Christmas ornament that won’t require this type of tool you can check out my Buffalo plaid Embroidery hoop Christmas Ornament.
It’s super simple to make even though I could have used a simpler strategy. You see, I’m on a very tight budget and besides de embroidery hoops I didn’t want to spend more on this project because I know I had supplies I could use.
The truth is that originally, the idea would have been using heat transfer vinyl but I didn’t have enough black HTV. Then freezer paper wouldn’t work on this design and then I didn’t have stencil material either.
UGH, I was about to drop it when I thought: “MAYBE, just MAYBE contact paper could work”. I made a quick test on a piece of fabric and guess what????
IT WORKED!!!! It actually worked.
The contact paper was sticky enough to stay on the fabric so I could paint it all. A great low-budget option for a stencil. I ended up using it on a few other projects LOL.
But just a few heads up before using contact paper:
- I used cotton canvas fabric so I don’t know if contact paper would stick on any fabric. I know for sure 100% synthetic fabrics won’t work.
- I used good quality contact paper (sadly transparent, I didn’t have any other) but the idea was to save money so it worked. If you have a solid color one will be awesome!
- Using good quality fabric paint is a great plus.
How to Make Monogrammed Embroidery Hoop Ornaments
Supplies:
- Embroidery hoop – the size of your choice
- White cotton canvas fabric – or your favorite one
- Black fabric paint – or your chosen color
- Vichy or buffalo check Ribbon – black and white or your favorite one
- White Ribbon or alternatively baker’s twine for hanger.
- A piece of pipe cleaner.
- Contact paper or stencil material
- Transfer Tape
Tools:
- Scraper
- Ruler
- Brush
- Scissors
- A cutting machine –Silhouette Cameo or Cricut.
instructions:
Preparing the design
1. Firstly cut a piece of your fabric 1 inch larger than your embroidery hoop.
2. Create your design on your cutting machine app and send it to cut using the most basic vinyl setting you have and still lower the force just a bit just in case so it won’t cut through the backing.
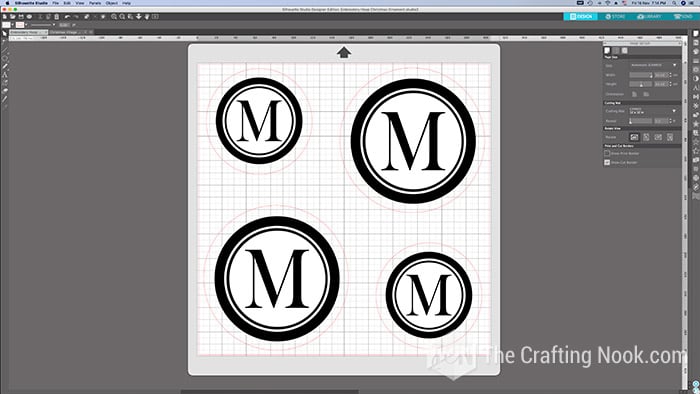
3. Cut the necessary contact paper or stencil vinyl and place it on your mat. Insert it into your machine and let’s cut!
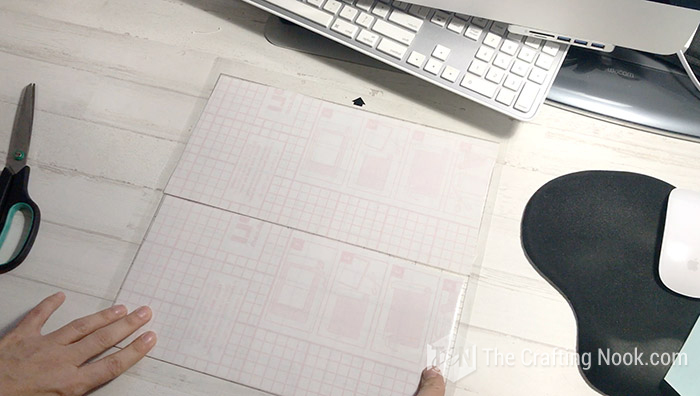

4. Once the design was cut, using the hook tool peel away the negative space, so all that remains on the vinyl backing is the design.
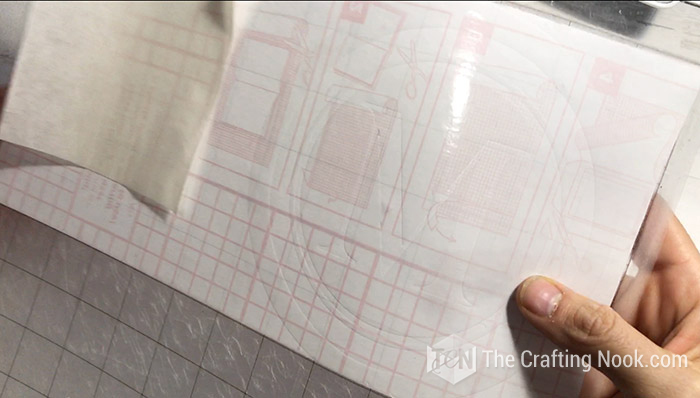
5. Then I cut bigger pieces of transfer paper and applied them to each design and smooth it down using a scraper tool.

6. Time to apply my designs to the fabric. Make sure it’s really clean and without dust.
7. Here comes the tricky part. Just the scrapper was not enough for me. I used a ruler and scrapped really hard the design onto the fabric.
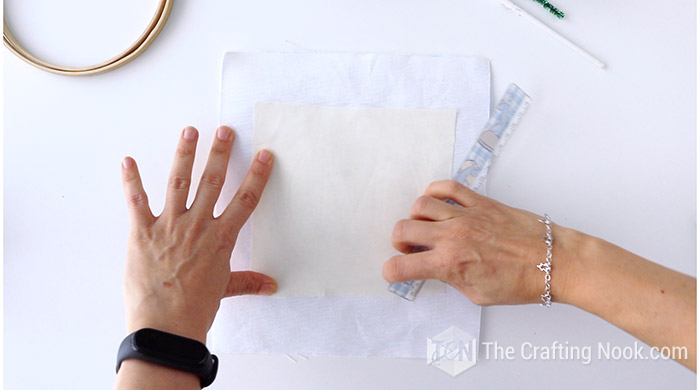
8. Then carefully start lifting the transfer paper and make sure that all the vinyl is adhered down on the fabric. If something is coming back on the transfer paper, place it back and rub again the vinyl firmly and try lifting it again. Help with your hook or even nails to make it stay on the fabric.
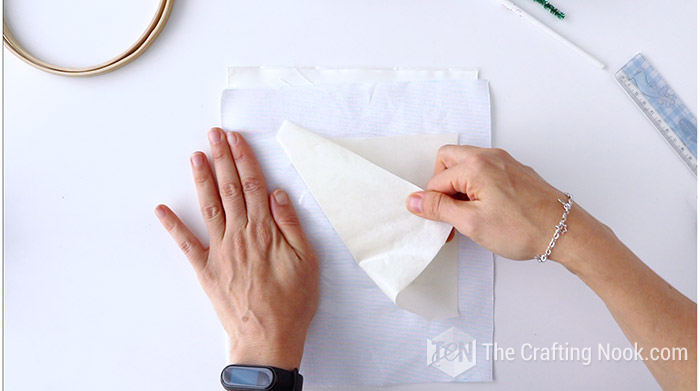
9. Go really slowly and carefully. Don’t rush this. Once you removed all the transfer paper, using your scraper or ruler rub a little more on critical spots such as tips, corners, and any tricky spots.
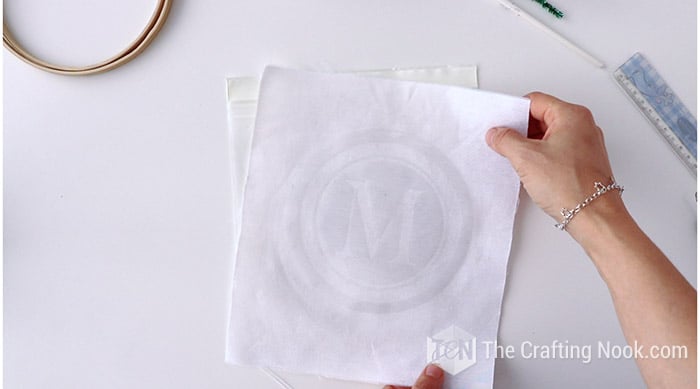
10. Repeat with each design. I made 4.
11. Once you are ready, it’s time to paint.
12. Paint your design making sure you don’t paint outside the design. Don’t forget to protect your working surface with a piece of plastic. I used a zip-Lock the size of the fabric.

13. I like makings strokes always towards the center of the available space rather than against the vinyl to avoid the paint pushing the paint underneath the protected area. Not always it’s possible but I do this whenever I can.
14. When you are ready let it dry.

15. Then carefully peel off your contact paper or vinyl. Your design should be ready and gorgeous.
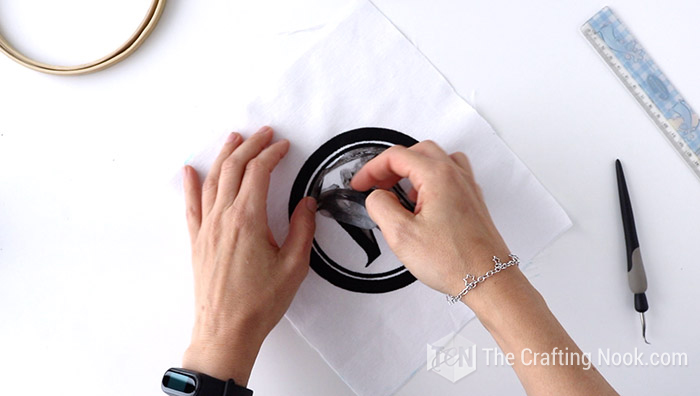
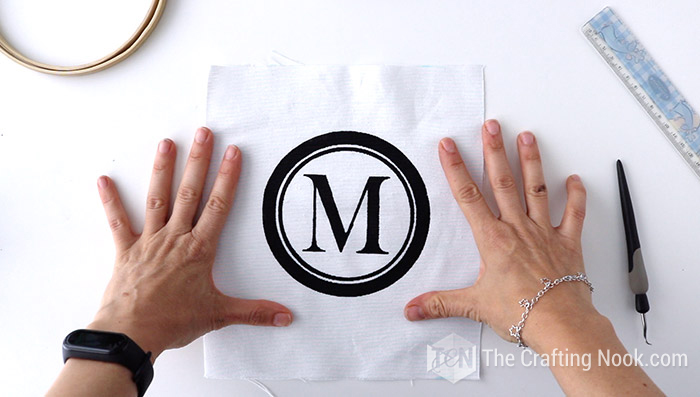
Assembling the embroidery hoop ornament
16. Take the embroidery hoop apart and for now, place the inner hoop on a flat surface.
18. Place the fabric on top of the inner circle hoop as centered as possible. In my design, this was fairly easy since it was rounded.
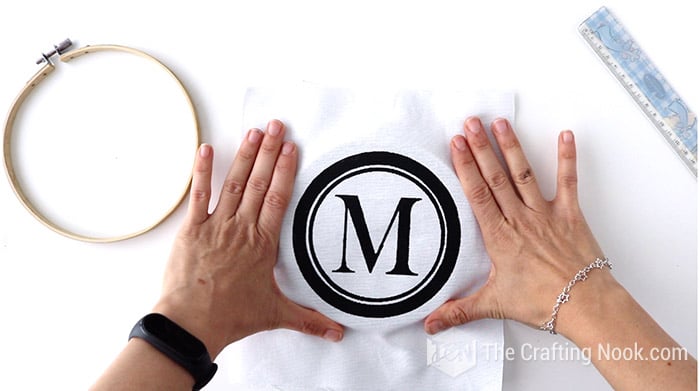
19. Press the outer hoop in place over the fabric on top of the hoop.
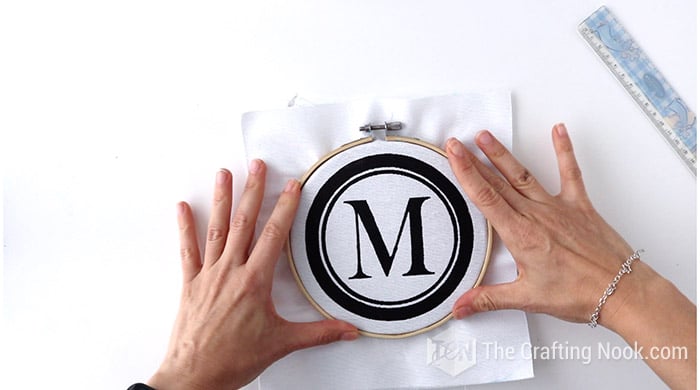
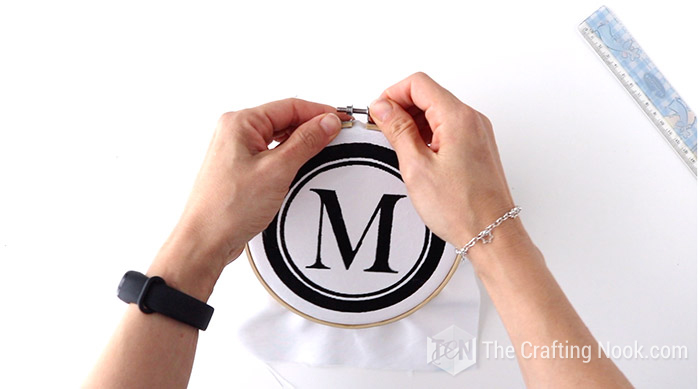
20. Tighten the screw on the embroidery hoop and pull the fabric until it’s tight. Be careful in this step to not distort the design.
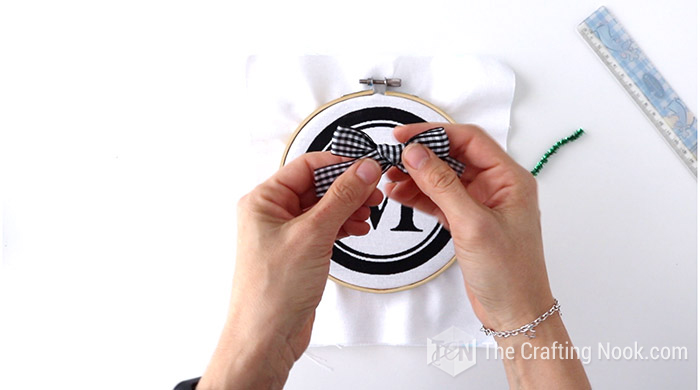
21. With your buffalo check ribbon make a cute bow.
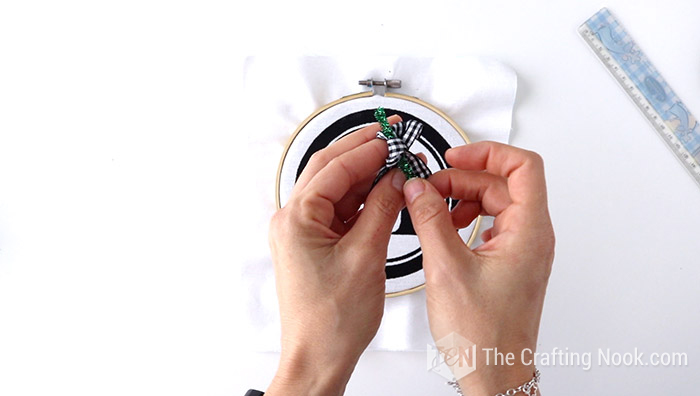
22. Decide which Ould be the front side of the bow and insert your piece of pipe cleaner on the back through the bow knot.
23. Carefully, cut all the remaining fabric around the back of your embroidery hoop.
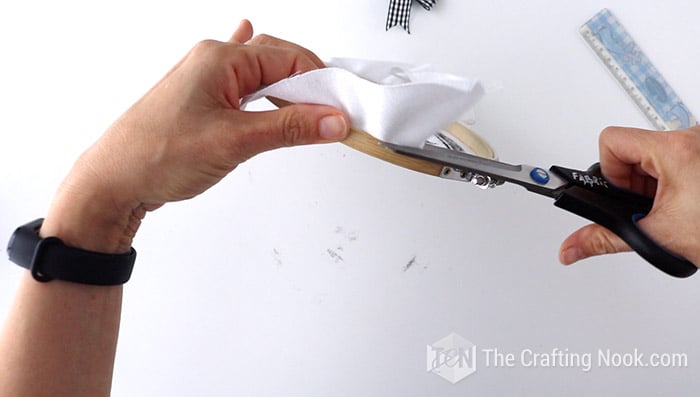
24. Cut a string of ribbon and pass it through the embroidery hoop screw space. Make a tight knot with the ends to create the hanger.
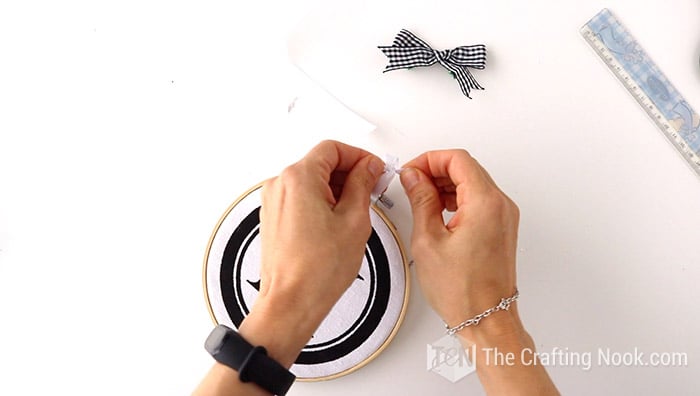
25. Then place the bow on the front right where the screw is and tighten it with the pipe cleaner on the back. I do it like this so I don’t have to glue it and damage the embroidery hoop.

There you go! One cute monogrammed embroidery hoop ornament ready for the Christmas tree.
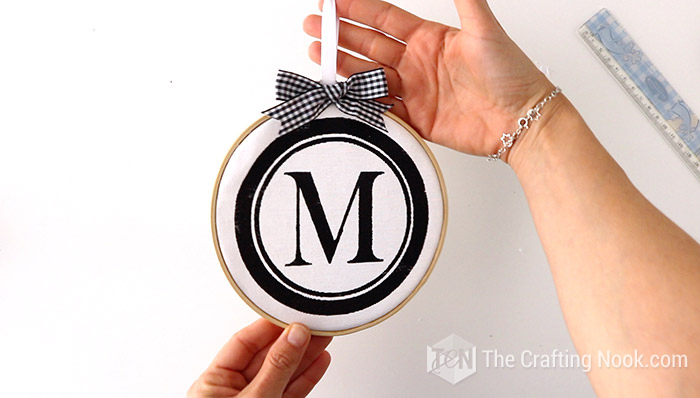
Isn’t it so so cute and elegant?
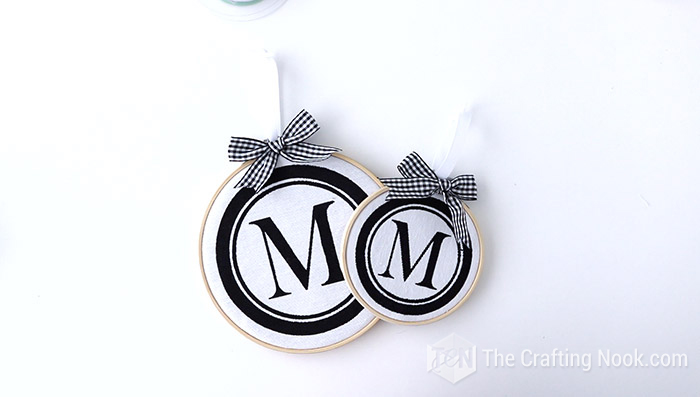
You can make it in any size, with any design you like. Imagination is the limit!
Crafting Tips
There’s no need to calculate and cut a perfect circle to make these ornaments or assemble the hoops. You can just cut a square of fabric slightly larger than the hoop, decorate it as you wish as centered as possible, and then assemble the embroidery hoop. Then turn it front side facing down and cut excess fabric as close to the back of the embroidery hoop as possible.
Try makings strokes always towards the center of the blank space rather than against the vinyl edges to avoid the paint being pushed underneath the stencil area. That creates sharper edges.
Avoid using glue to assemble the ornament, so when Holiday is over, you can dismantle the ornament and reuse the embroidery hoops for another project.


Frequently Asked Questions
Embroidery hoops and frames are tools used to keep the fabric taut while working on embroidery or other forms of needlework but they have got a lot of popularity for other fun crafts besides embroideries such as wreaths, wall arts, ornaments, and much more.
The versatility. There are so many things you can do with them and we don’t think about them as a craft supply or tool very often unless you actually love embroidery. But the truth is that they can be a GREAT tool and a basic supply for any crafter.
Most likely in a craft store especially those that sell embroidery supplies but you can also get embroidery hoops in department stores in the craft section, Michaels, amazon and why not check in dollar trees too, and thrift stores and second-hand shops?
You can use any type of fabric that you love. You can use Canvas, fleece, felt, cotton, solid color, or your favorite patterned ones too.
Absolutely! You can go for pretty grosgrain ribbons to satin, organza, yarn, twine, and anything else your creativity calls for! If you happen to go for a solid fabric then a buffalo check ribbon would be a hit! Alternatively, you can use another type of decorations like greenery, berries, snowflakes, etc.
Absolutely not! In this case, the embroidery hoop is only the tool to create cute ornaments. You just need to decorate what you are going to use for the hoops.
More Christmas Ornaments to Try
Loving these monogrammed embroidery hoop Ornaments tutorial? You might also love these other Christmas project ideas too:
✂️ Tutorial

DIY Monogrammed Embroidery Hoop Ornaments for Christmas
Tools
- Scraper
- Ruler
- Brush
- scissors
- A cutting machine –Silhouette Cameo or Cricut.
Supplies
- Embroidery hoop – the size of your choice
- White cotton canvas fabric – or your favorite one
- Black fabric paint – or your chosen color
- Vichy or buffalo check Ribbon – black and white or your favorite one
- White Ribbon or alternatively baker’s twine for hanger.
- A piece of pipe cleaner.
- Contact paper or stencil material
- Transfer Tape
Instructions
PREPARING THE DESIGN
- Firstly cut a piece of your fabric 1 inch larger than your embroidery hoop.
- Create your design on your cutting machine app and send it to cut using the most basic vinyl setting you have and still lower the force just a bit just in case so it won’t cut through the backing.
- Cut the necessary contact paper or stencil vinyl and place it on your mat. Insert it into your machine and let’s cut!
- Once the design was cut, using the hook tool peel away the negative space, so all that remains on the vinyl backing is the design.
- Then I cut bigger pieces of transfer paper and applied them to each design and smooth it down using a scraper tool.
- Time to apply my designs to the fabric. Make sure it’s really clean and without dust.
- Here comes the tricky part. Just the scrapper was not enough for me. I used a ruler and scrapped really hard the design onto the fabric.
- Then carefully start lifting the transfer paper and make sure that all the vinyl is adhered down on the fabric. If something is coming back on the transfer paper, place it back and rub again the vinyl firmly and try lifting it again. Help with your hook or even nails to make it stay on the fabric.
- Go really slowly and carefully. Don’t rush this. Once you removed all the transfer paper, using your scraper or ruler rub a little more on critical spots such as tips, corners, and any tricky spots.
- Repeat with each design. I made 4.
- Once you are ready, it’s time to paint.
- Paint your design making sure you don’t paint outside the design. Don’t forget to protect your working surface with a piece of plastic. I used a zip-Lock the size of the fabric.
- I like makings strokes always towards the center of the available space rather than against the vinyl to avoid the paint pushing the paint underneath the protected area. Not always it’s possible but I do this whenever I can.
- When you are ready let it dry.
- Then carefully peel off your contact paper or vinyl. Your design should be ready and gorgeous.
ASSEMBLING THE EMBROIDERY HOOP ORNAMENT
- Take the embroidery hoop apart and for now, place the inner hoop on a flat surface.
- Place the fabric on top of the inner circle hoop as centered as possible. In my design, this was fairly easy since it was rounded.
- Press the outer hoop in place over the fabric on top of the hoop.
- Tighten the screw on the embroidery hoop and pull the fabric until it’s tight. Be careful in this step to not distort the design.
- With your buffalo check ribbon make a cute bow.
- Decide which Ould be the front side of the bow and insert your piece of pipe cleaner on the back through the bow knot.
- Carefully, cut all the remaining fabric around the back of your embroidery hoop.
- Cut a string of ribbon and pass it through the embroidery hoop screw space. Make a tight knot with the ends to create the hanger.
- Then place the bow on the front right where the screw is and tighten it with the pipe cleaner on the back. I do it like this so I don’t have to glue it and damage the embroidery hoop.
- There you go! One cute monogrammed embroidery hoop ornament ready for the Christmas tree.
- You can make it in any size, with any design you like. Imagination is the limit!
There are some of my favorite Embroidery hoop crafts from my favorite crafters!
- Bottle Brush Embroidery Hoop Ornament by Kim over at Made in a Day.
- Chalk Embroidery Mini Hoop Ornaments by Bev over at Flamingo Toes
- DIY Christmas Buffalo Check Hoop Wreath by Amanda over at Domestically Creative
Share and PIN ME!

Til’ next time…


FREE WORKBOOK
Keeping your Sweet Home Organized
Learn how to create intentional habits and simple routines to Keep Your Home Organized. Plus freebies, printables, exclusive content, and tips.
Disclaimer: By clicking on the “Yes” button above you are giving me your consent to collect and use your information according to the law and My Policy Privacy. Zero Spam I promise!
