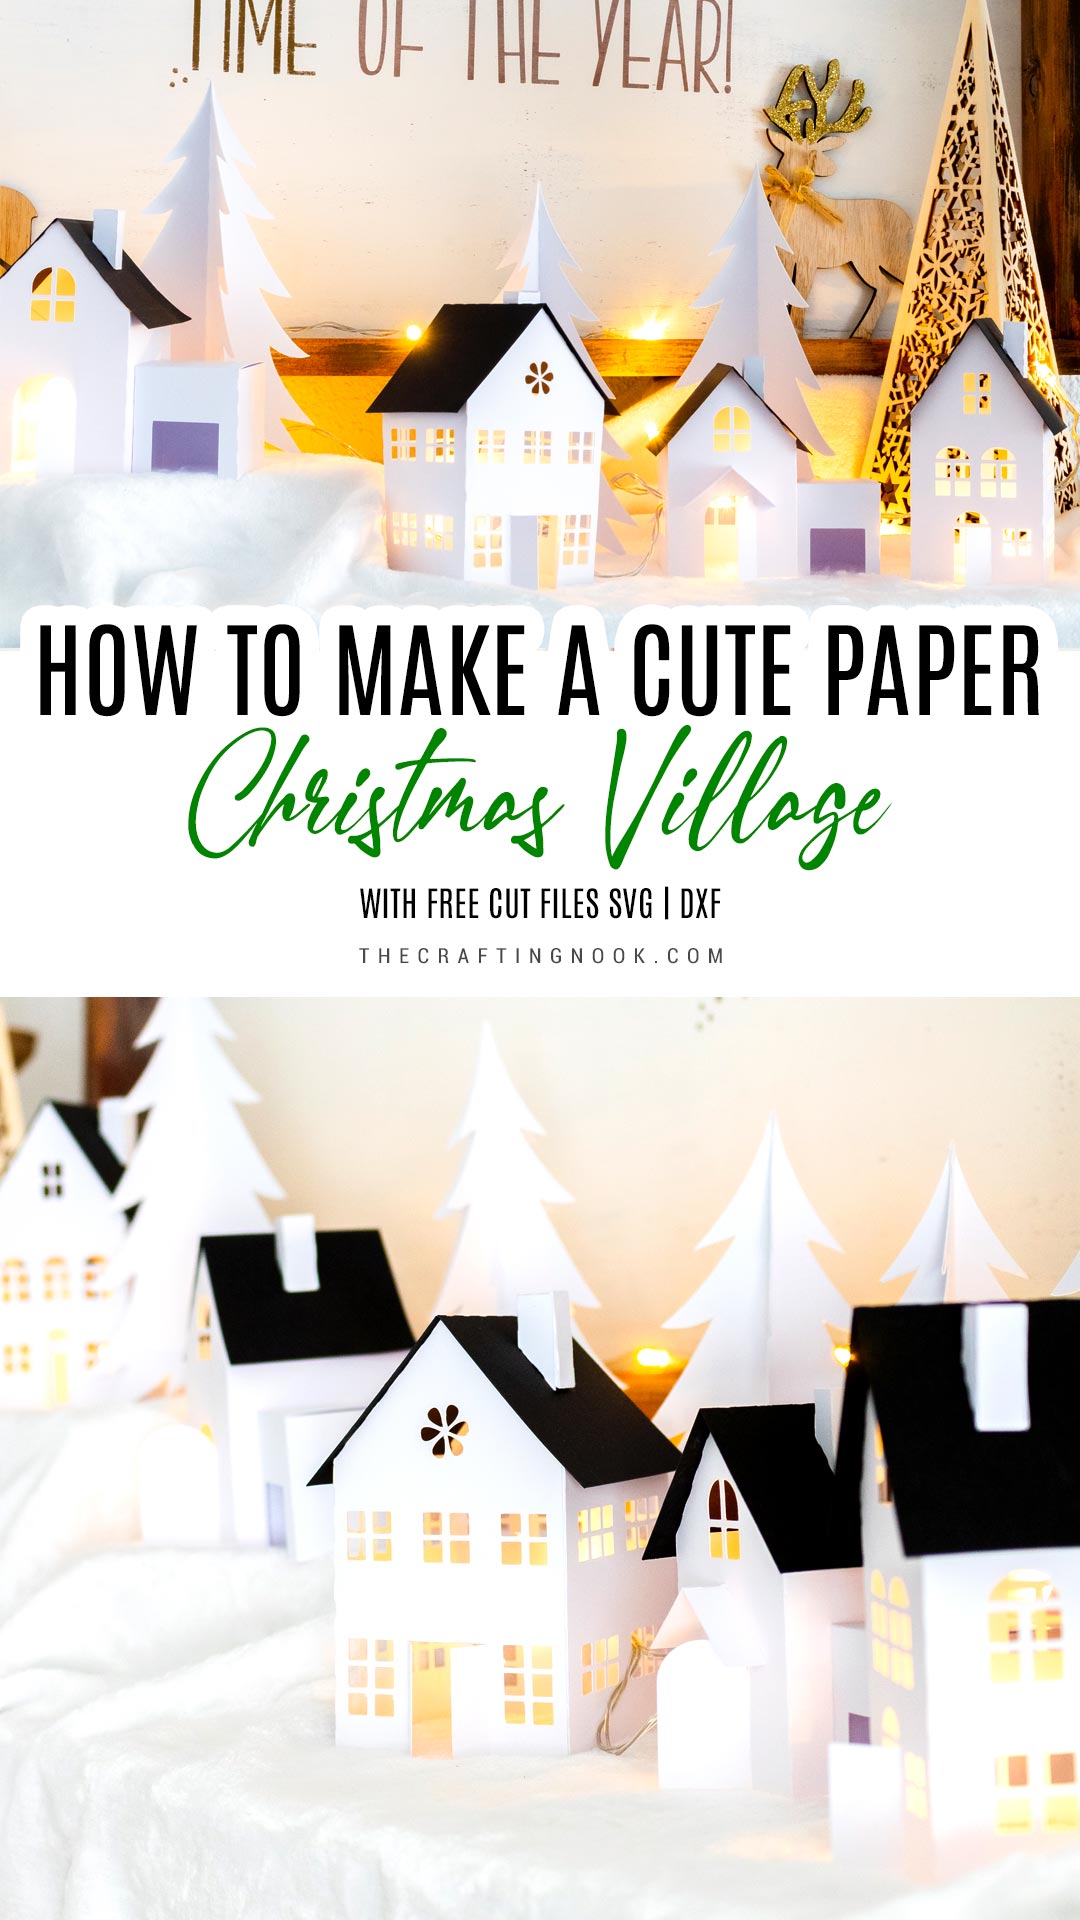
DIY Paper Christmas Village (+ Free Cut Files)
It’s amazing what can be done with just paper and glue. This cute paper Christmas village is a perfect holiday season night craft and a special Christmas decor for sure.
Time is flying, and at this rate, we’ll be saying goodbye to this year in no time. Is that just me or did this year flew by in a blink? Today’s project is a special one.
Table of Contents
Creating a Cute Paper Christmas Village
I’ve been wanting to make a paper Christmas Village for so long and I finally made it and guys, I just love it so much!
This post may contain affiliate links. Please read our Disclosure Policy.
Even though this project is so much easier with a cutting machine, it doesn’t mean you can’t make it by hand instead, using the Christmas village templates free printables. Of course, it will take more time and patience but it’s doable.
I created 2 types of houses, 2 complex and 2 simpler so anyone could make it.

How to Make this Paper Village
Gather all your tools and materials, then let’s get crafty.
Once your templates are cut, follow the instructions, and assemble your paper Christmas village by folding the tabs and gluing them together with a contact glue or low-temperature hot glue gun if you prefer.
Supplies:
- Cardstock (White for the house and black for the roofs or your favorites, glitter paper looks so cute!)
- Contact glue (I Love UHU) or light temperature glue tool and glue stick.
- Light string.
- Fleece (to simulate the snow)
- Any other decoration you might have and want to add.
Tools
- Cutting Machine (preferably or a printer and an X-acto)
- Scissors.
Instructions:
Step 1: Getting Your Paper Houses Cut:
Snag your cut files to your computer and then open them in your electronic cutting machine app. In my case, I used the Silhouette Cameo app studio.
The files include a pdf version, dxf files, and SVG files for your convenience.

NOTE:
Just please keep in mind that for Cricut users, I’ve heard the SVG get a bit messed up in their app. Score lines/fold lines turn into solid lines which are read as cut lines and sometimes the elements don’t show in the right size. So there’s that.
Before we begin, be sure to follow us on Pinterest, Facebook, Instagram, and YouTube, and also sign up for our email list (at the end of this post), so you’ll never miss a post!
Drop your designs on your design space in your app and arrange them to fill your paper, but leaving room at the edge for cutting.
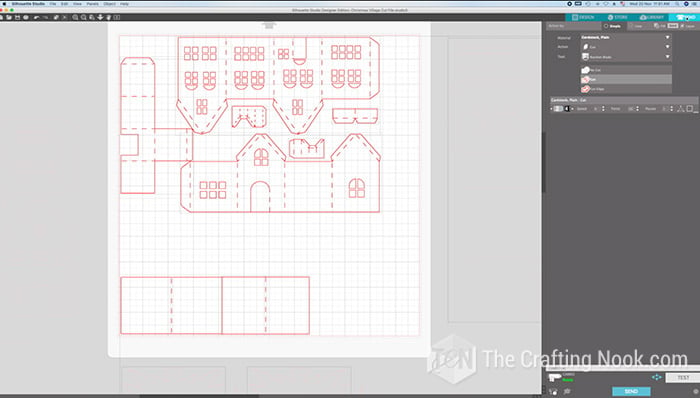
When you are ready, get your cutting settings ready to go (blade, cardstock type, etc).
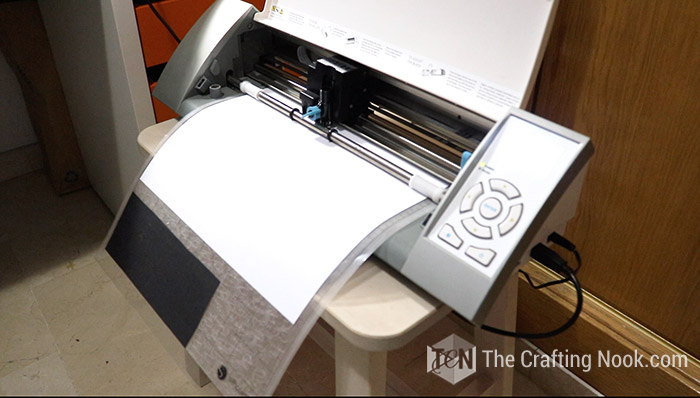
On the cutting mat (sticky side up) place your cardstock (or is it card stock???) on the sticky side of the cut mat. I wanted to make the roofs black so I separated the white cardstock at the top and the back at the bottom.
Load cutting mat on your machine once your design is locked and ready.
Double-check the settings mentioned above.
Click “Send” — watch the cutting magic begin!
Step 2: Assembling your Christmas Village houses
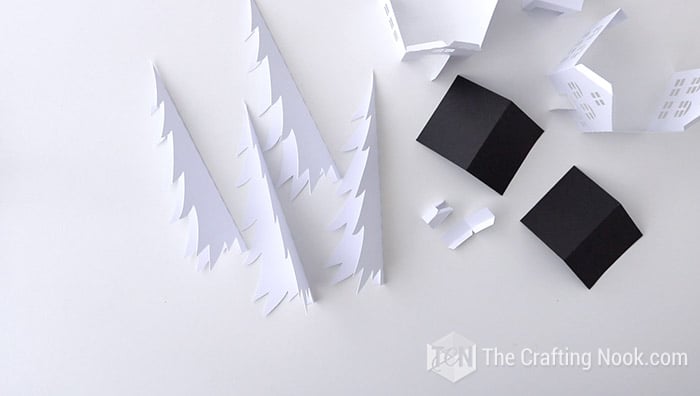
When you remove the paper you will reveal your designs, it’s so cool. A good cut will just lift right off.
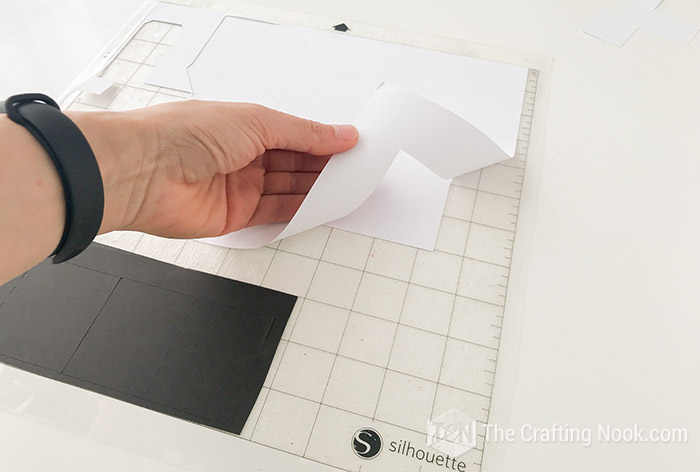
Then carefully lift your designs off of your cutting mat.
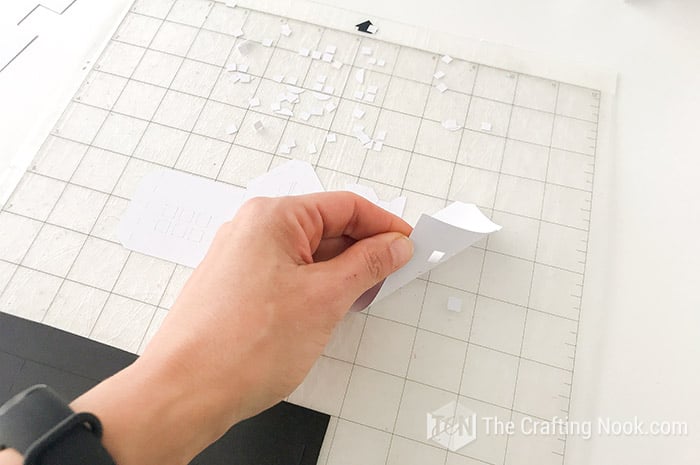
Remove the excess paper around your designs and windows because sometimes it happens when the cuts are small.
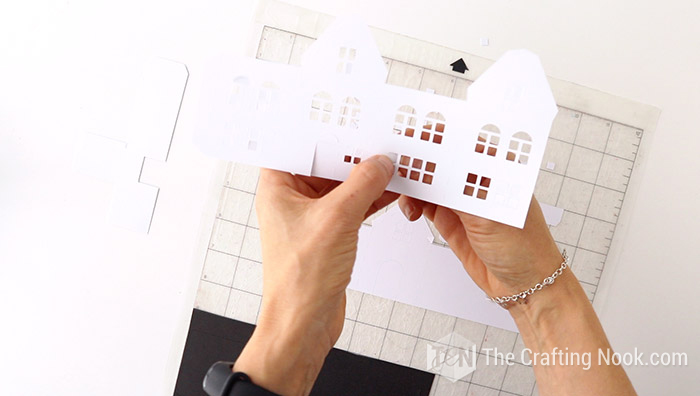
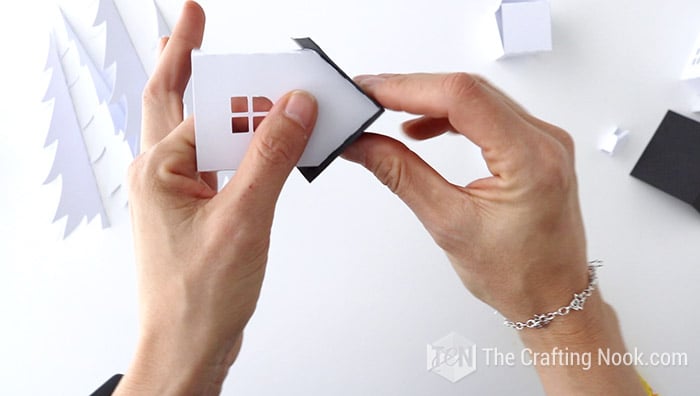
Then start folding along the dashed lines and you’ll see exactly how the house should come together.
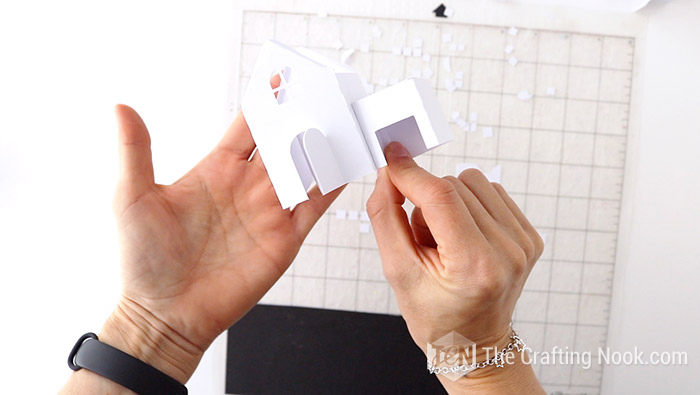
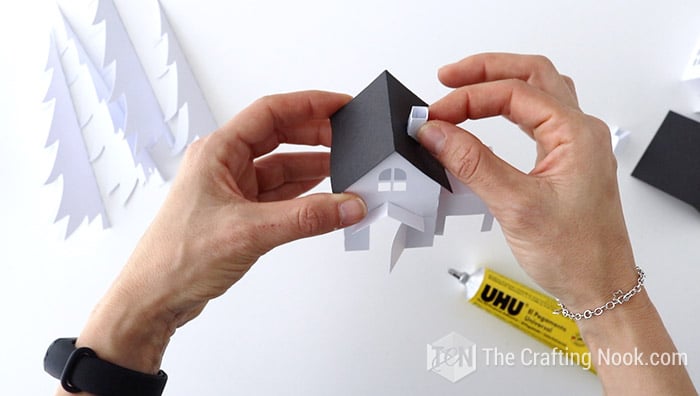
Start gluing your flaps and securing tricky spots.
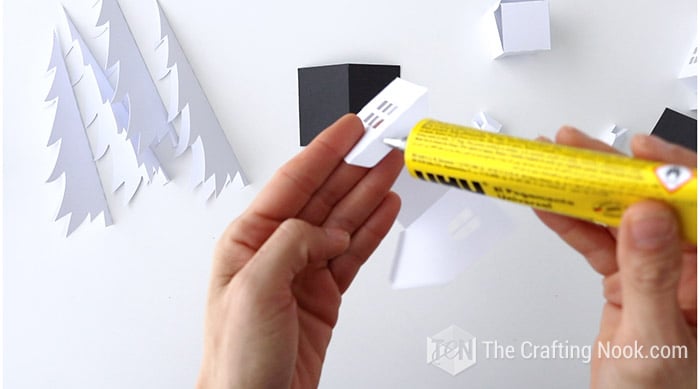
Roof and chimney are one of those. I like to turn the house over and using a pen or the back of your hook tool to secure the flaps from the inside.
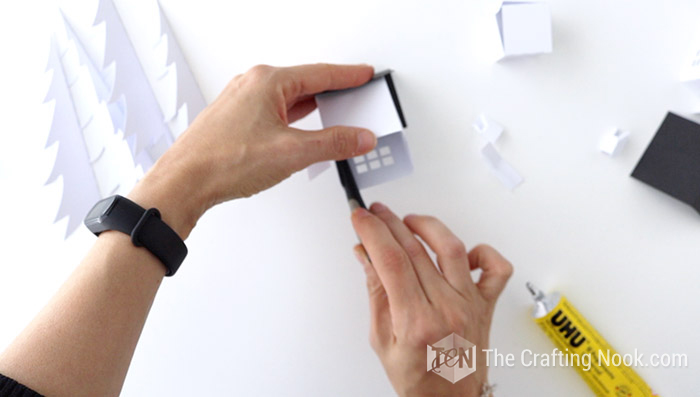
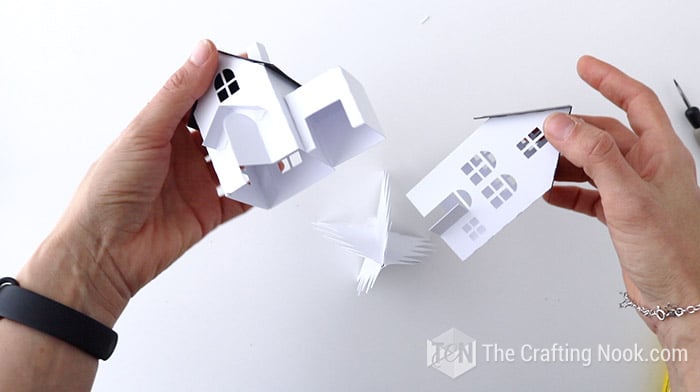
Carefully fold and glue each part of the house like garages on the side of the house and other parts.
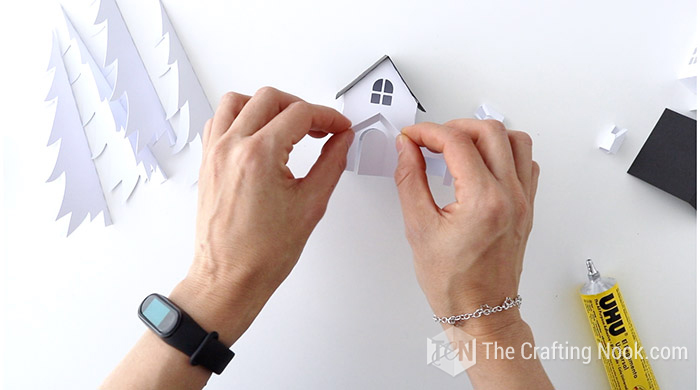
If you want to go the extra mile you can cut pieces of vellum paper or tissue paper and cover the windows on the inside of the houses. I thought about that too late.
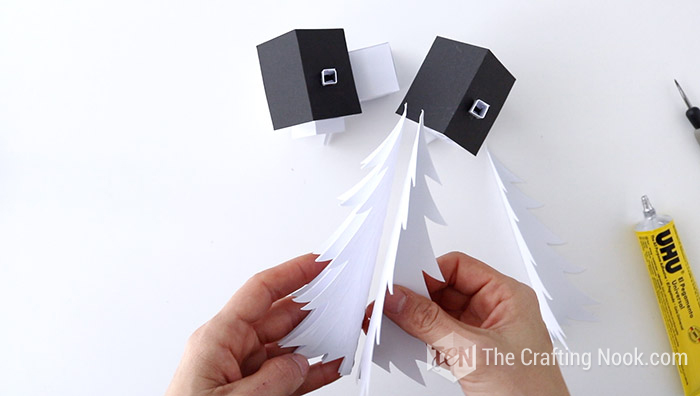
Step 3: Assembling your Village Trees
For the trees, fold them in half and glue side by side of the tree until they meet the first one again. You can glue 3 or 4 pieces.
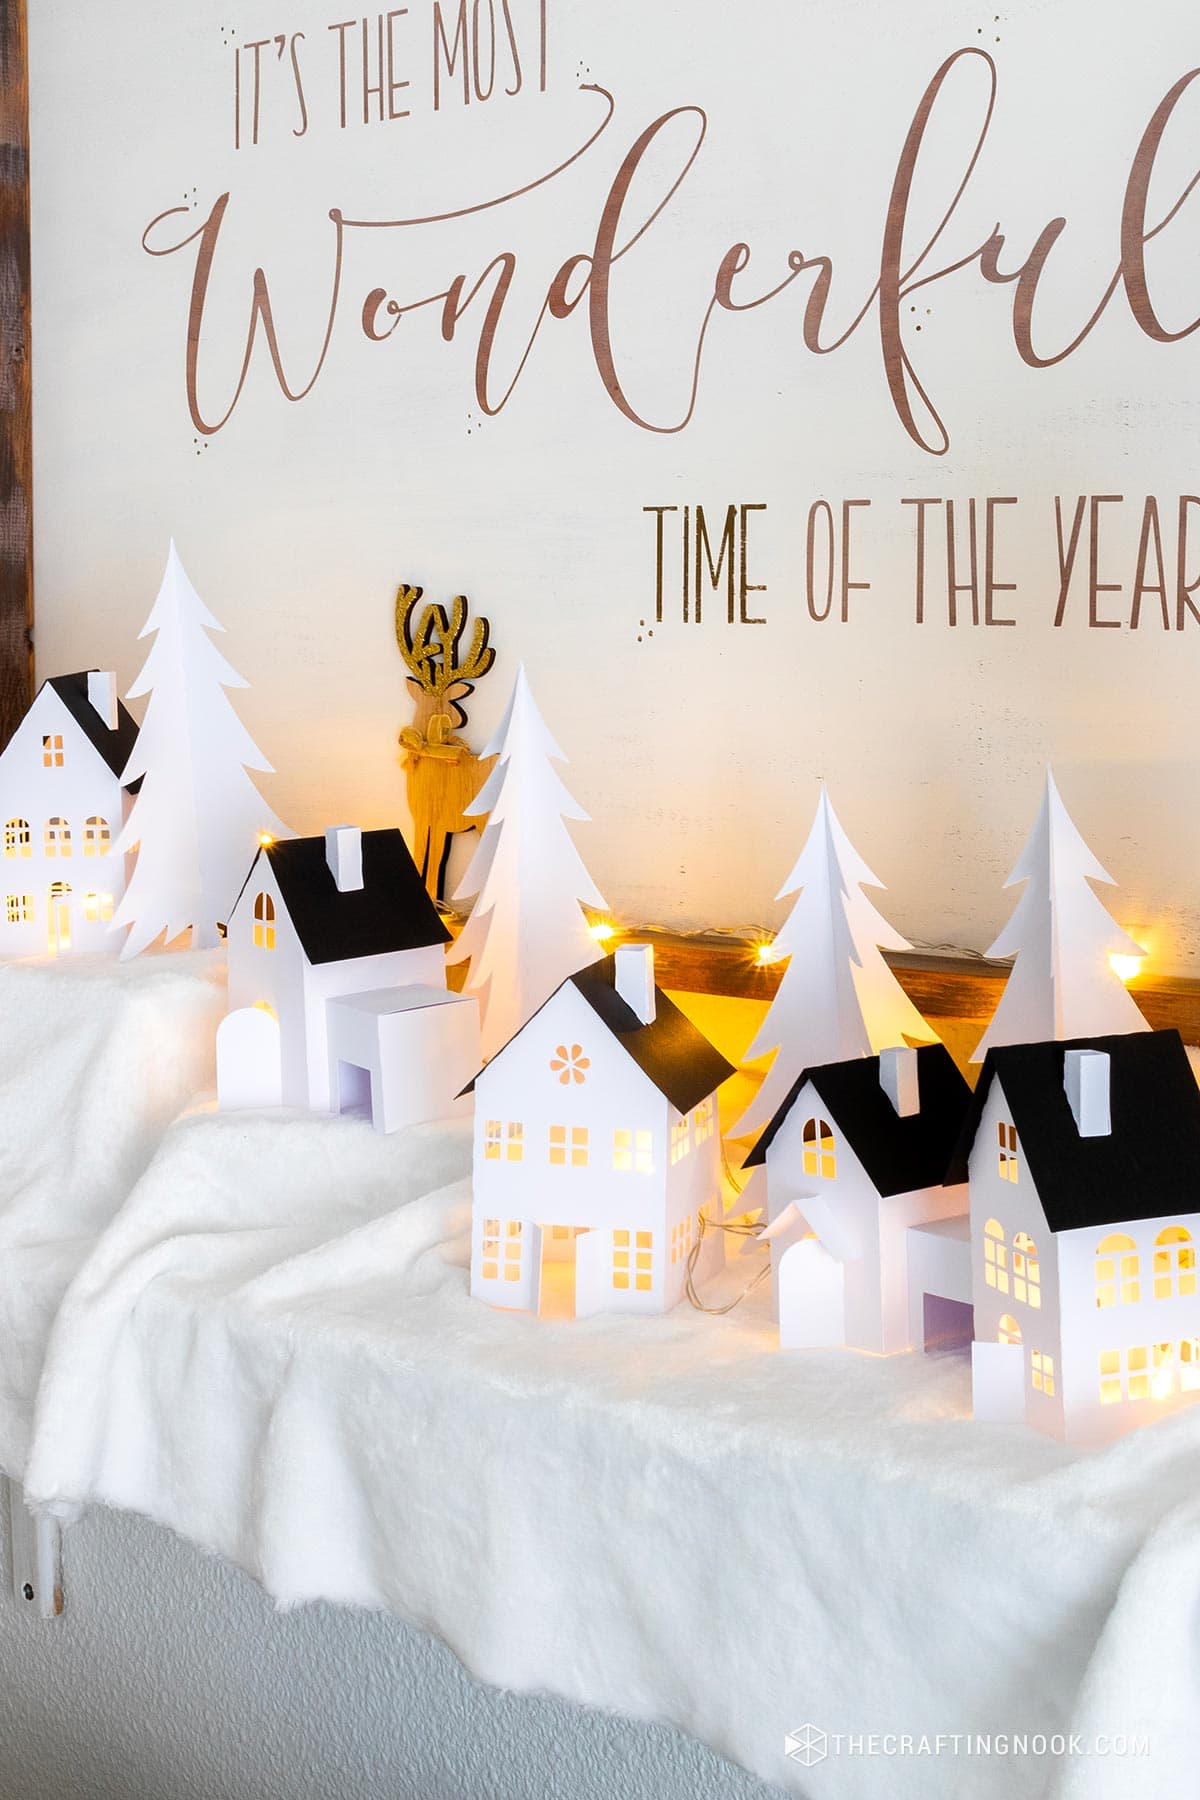
Step 4: Putting the Christmas Village together
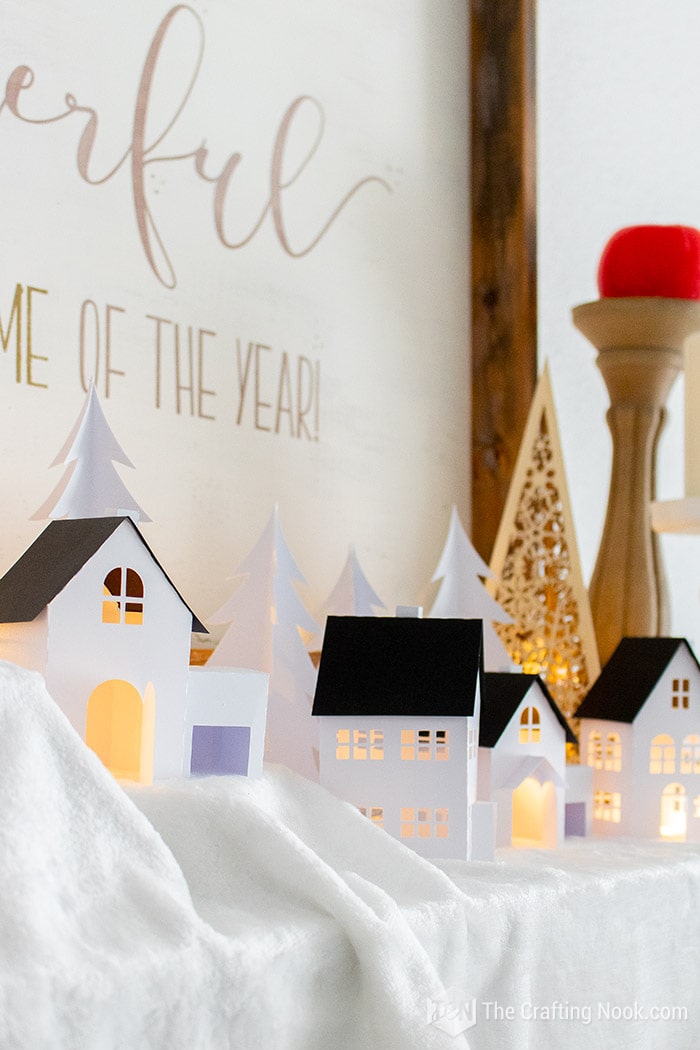
The last part and in my opinion the most exciting one is putting the Christmas Village together.
I decided to make my Christmas village in my special place… My mantel!
I used fleece as my “snow” and created hills with card boxes underneath them.
Then place houses and trees along the space to create a cute vignette on my mantel.

I wanted to lighten up the houses but didn’t want to use battery candles because I thought it would be so annoying to turn each one on and off so I went for a light string. It even gives a vibe of fairy lights, so magical!
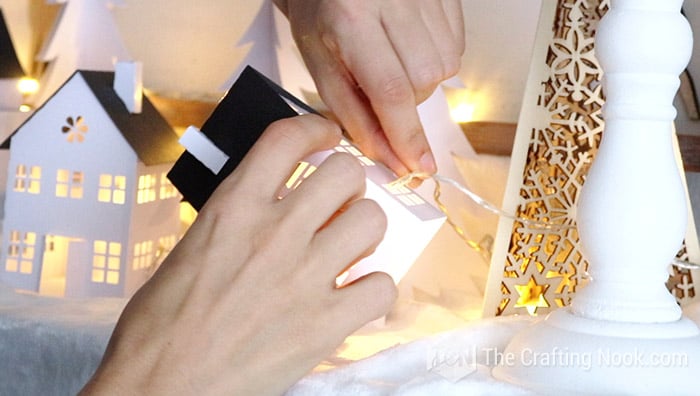
I place it along the mantel inserting some of the led bulbs through the back windows. Here if you had added the vellum or tissue paper, you can just cut them a bit exactly where you need the light to go through.
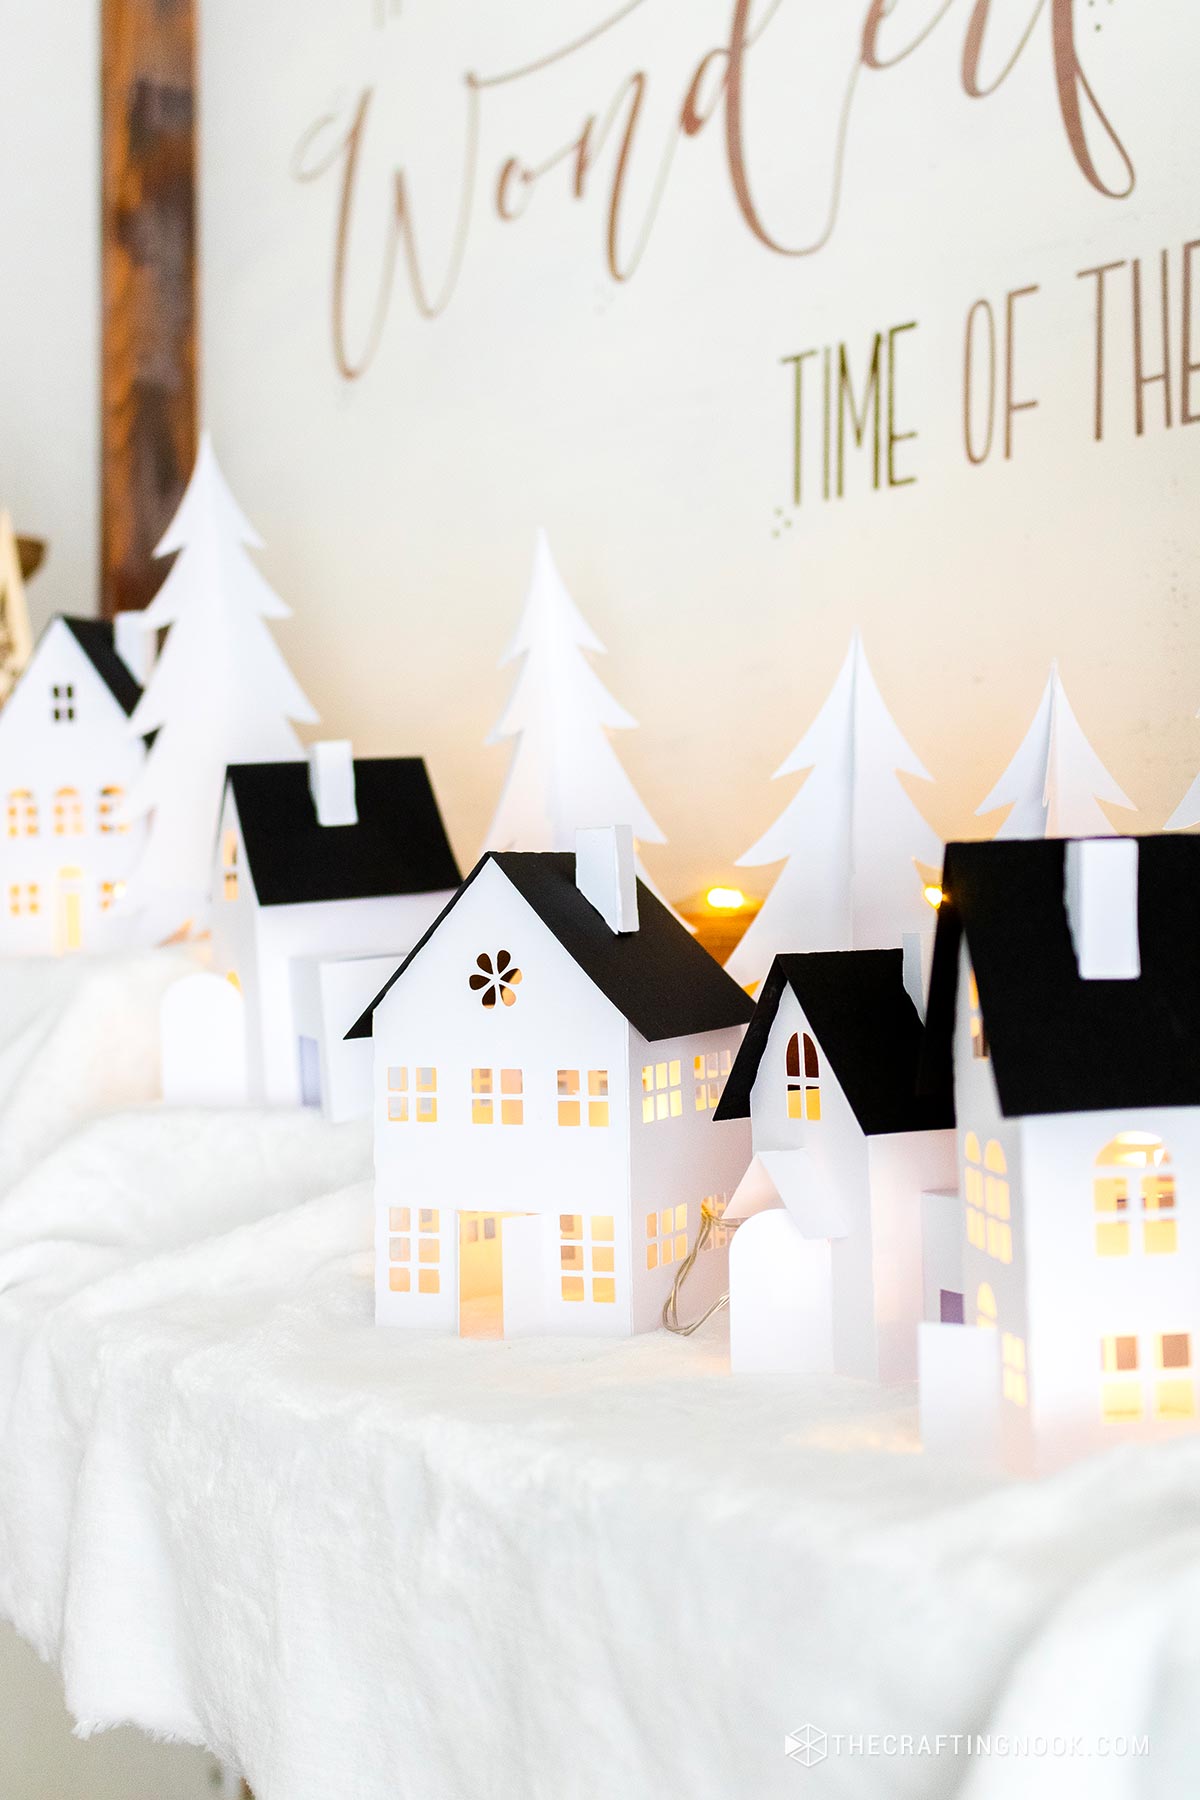
When I turned it on WOW! How magical and beautiful it looked.
Some of the lights went through the trees and to the back so there was a magical light everywhere!
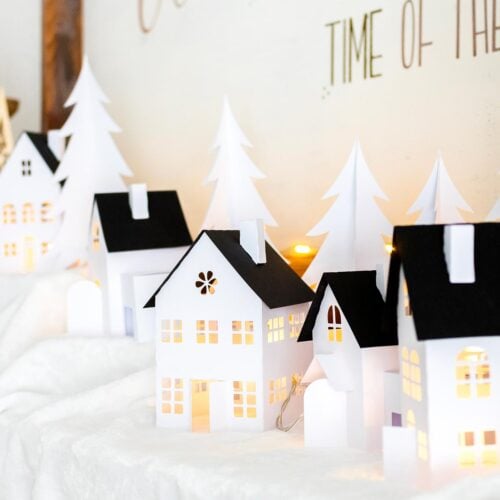
I absolutely LOVE how it turned out.


I hope I inspire you to make yours.
You can also find so many different gorgeous houses at the Silhouette store if you have a Silhouette and there are also many websites where you can find another type of house for DIY Christmas Village.
Frequently asked questions
Anything less than 160-180 gsm (59-65 LB Cover) might not hold too well depending on the size of the house. It also depends on how thick your cutting machine can cut, or your printer can print and your hands can cut. So I would suggest sticking to medium-weight cardstock.
That will also depend on the quality of the cardstock. I’ve experienced that normal white glue tends to wrinkle the cardstock. So, I recommend hot glue, UHU glue (contact glue), cold silicone (some brands are better than others), and even double-sided tape. Other glues like tacky glue I have no experience so I would recommend trying and testing. Feel free to share your experience with different glues so I can update this post.
You can cut the houses and even the trees with a cutting machine, like Silhouette Cameo or Cricut. But you can also cut them by hand using scissors or an X-acto knife with patience.
More Christmas Projects to Try
If you love this Paper Christmas Village tutorial, I’m sure you will love these other Christmas Project ideas too:


✂️ Tutorial
Diy Paper Christmas Village Tutorial
Tools
- Cutting Machine (Cricut or Silhouette) Printer and an X-acto
- scissors
Supplies
- Cardstock White for the house and black for the roofs or your favorites, glitter paper looks so cute!
- Contact glue I Love UHU or light temperature glue tool and glue stick.
- Light string.
- Fleece to simulate the snow
- Any other decoration you might have and want to add.
Instructions
STEP 1: GETTING YOUR PAPER HOUSES CUT:
- Snag your cut files to your computer and then open them in your electronic cutting machine app. In my case, I used the Silhouette Cameo app studio.
- The files include a pdf version, silhouette files, and SVG files for your convenience.
- When you are ready, get your cutting settings ready to go (blade, cardstock type, etc).
- On the cutting mat (sticky side up) place your cardstock (or is it card stock???) on the sticky side of the cut mat. I wanted to make the roofs black so I separated the white cardstock at the top and the back at the bottom.
- Load cutting mat on your machine once your design is locked and ready.
- Double-check the settings mentioned above.
- Click “Send” — watch the cutting magic begin!
STEP 2: ASSEMBLING YOUR CHRISTMAS VILLAGE HOUSES
- When you remove the paper you will reveal your designs, it’s so cool. A good cut will just lift right off.
- Then carefully lift your designs off of your cutting mat.
- Remove the excess paper around your designs and windows because sometimes it happens when the cuts are small.
- Then start folding along the dashed lines and you’ll see exactly how the house should come together.
- Start gluing your flaps and securing tricky spots.
- Roof and chimney are one of those. I like to turn the house over and using a pen or the back of your hook tool to secure the flaps from the inside.
- Carefully fold and glue each part of the house like garages on the side of the house and other parts.
- If you want to go the extra mile you can cut pieces of vellum paper or tissue paper and cover the windows on the inside of the houses. I thought about that too late.
STEP 3: ASSEMBLING YOUR VILLAGE TREES
- For the trees, fold them in half and glue side by side of the tree until they meet the first one again.
- You can glue 3 or 4 pieces.
- Let them dry.
STEP 4: PUTTING THE CHRISTMAS VILLAGE TOGETHER
- The last part and in my opinion the most exciting one is putting the Christmas Village together.
- I decided to make my Christmas village in my special place… My mantel!
- I used fleece as my “snow” and created hills with card boxes underneath them.
- Then place houses and trees along the space to create a cute vignette on my mantel.
- I wanted to lighten up the houses but didn’t want to use battery candles because I thought it would be so annoying to turn each one on and off so I went for a light string. It even gives a vibe of fairy lights, so magical!
- I place it along the mantel inserting some of the led bulbs through the back windows. Here if you had added the vellum or tissue paper, you can just cut them a bit exactly where you need the light to go through.
Notes
The files shared include a pdf version, silhouette files, and SVG files for your convenience.
Here I have some Christmas Inspiration for Paper Crafts from my favorite bloggers:
- DIY Paper Christmas Trees by Carrie over at Dream Green DIY
- DIY Paper House Christmas Ornaments by Lia over at Lia Griffith
- DIY Paper Christmas Ornaments by Dinah over at DIY Inspired
If you love this project as much as I do, don’t forget to PIN and share it with friends!
Til’ next time…


FREE WORKBOOK
Keeping your Sweet Home Organized
Learn how to create intentional habits and simple routines to Keep Your Home Organized. Plus freebies, printables, exclusive content, and tips.
Disclaimer: By clicking on the “Yes” button above you are giving me your consent to collect and use your information according to the law and My Policy Privacy. Zero Spam I promise!