DIY Pom Pom Garland for Valentine’s Day
This post may contain affiliate links. Please read our Disclosure Policy.
A DIY pom pom garland is a quick and easy craft and a super fun way to add a whimsical element to your home. It doesn’t take big crafty skills to do this DIY project, so I’d encourage you to give it a try and even get your kids involved in making it! Learn how to make one with this easy tutorial.
If you are looking for a super easy craft for Valentine’s Day, look no more I got you covered!

Table of Contents
Valentine’s Day Easy Pom Pom Garland Tutorial
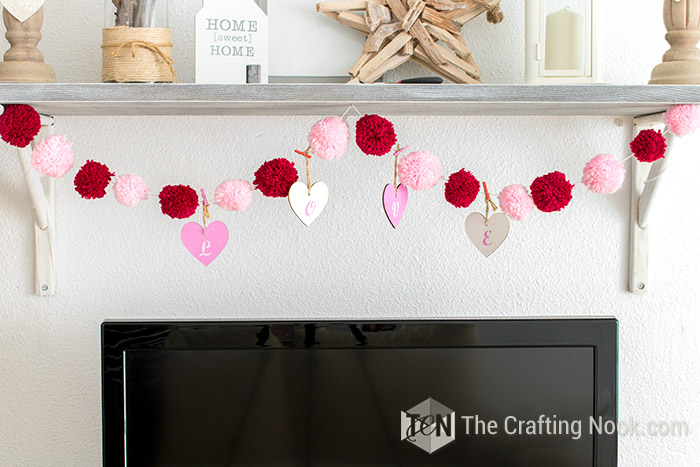
This Valentine’s Day Love and Pom pom Garland is not only easy, but it’s also fun, colorful, and possibly recycled if you are like and never throw away past handmade decorations.
If my front door can get a wreath then my living room deserves a loving and fun decoration too, right? Valentine’s Day is a special day even though we celebrate Love every day. As I said in my previous post, It’s the perfect excuse to add some bright colors to our home after Christmas and celebrate Love in an extra special way.
This year I decided to reuse all my elements from last year’s V-Day Wreath. So, I made this cute and simple 10-minute pom pom garland diy! Nothing like a Love and Pom Pom Garland to cheer up our Mantel, don’t you agree?
I never throw away handmade decor unless it’s damaged or way too worn out. After making our cute Rustic valentine’s Day wreath last year I stored all the elements and a dear friend of mine reminded me of that and suggested a recycled V-Day decor. Why not?
This garland is seriously the easiest ever if you have the elements handy. If not then add a few more minutes to make about 16 pom poms and some cute hearts with L O V E letters.
This garland looks so cute in the home decor, you can place it hanging from your mantel or entryway table, from your bed’s headboard, or anywhere you like.
How to make a DIY Pom Pom Garland
DIY yarn pom pom garlands are REALLY simple and easily customizable. You get to choose the color, various sizes, and density of your pom poms, as well as the length of the garland and pom pom spacing, so you should be able to match your style perfectly.
Woot, let’s do this!
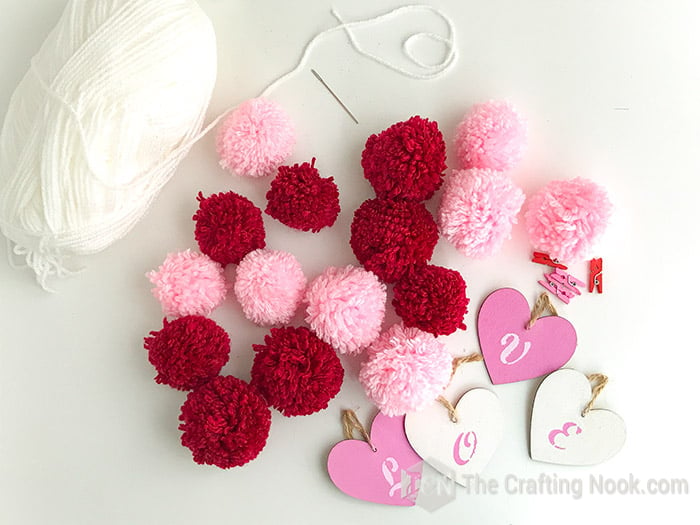
Supplies:
- White yarn or twine if you want a more rustic look.
- 16 pom poms (8 pink, 8 red and the size of pom poms are totally up to you) or more if you prefer.
- 4 wooden hearts ornaments with L O V E letters painted on each (with hangers)
- Mini Clothe pins
Tools:
- Sharp scissors
- An embroidery or tapestry needle
Instructions:
Before we begin, be sure to follow us on Pinterest, Facebook, Instagram, and YouTube, and also sign up for our email list (at the end of this post), so you’ll never miss a post!
Step 1: Prepare the pom poms
Firstly, if you haven’t already made all the pom poms. You can make them with pom pom maker or with cardstock. Follow these tutorials to make your own pom poms. Make sure they are fluff and ready to go trimming any weird strings of yarn. You can also play with the size of the pom poms.
Step 2: Prepare the garland string
Then cut a long piece of yarn. the length of the string will depend on where you will hang it, so make sure is long enough to go from one end to the other of your mantel or preferred place plus 2 inches on each end for attaching.
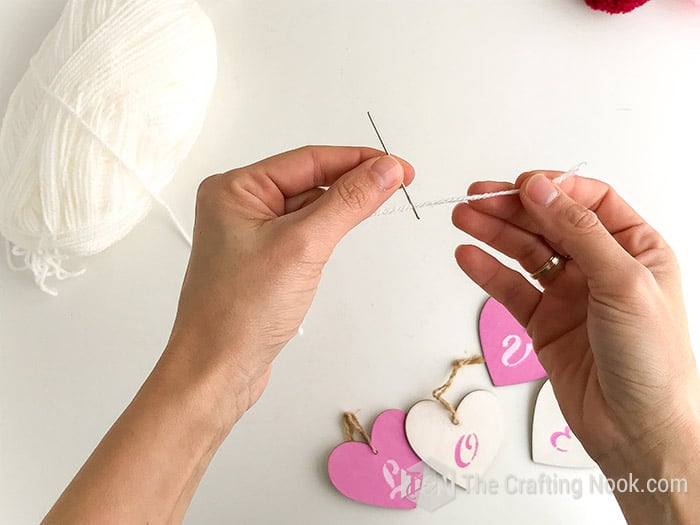
Insert the end of your yarn into your needle hole. If it’s too thick, use a piece of thread, insert a loop through the hole, then insert the end of the yarn through the thread loop and then pull back the thread and bring the yarn with it. See video.
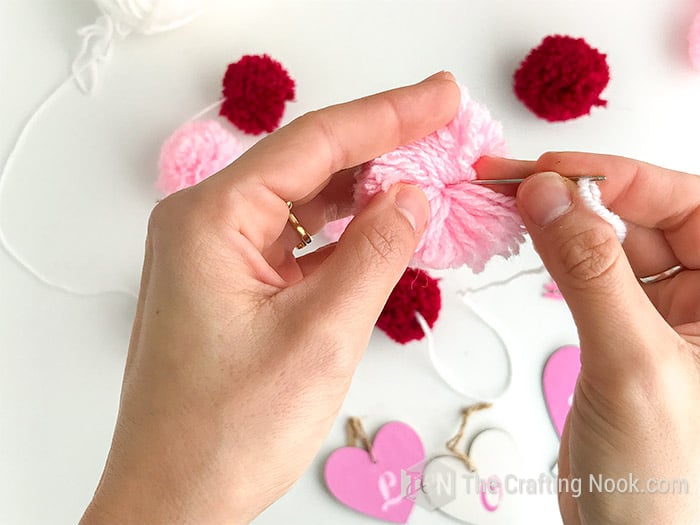
Step 3: Start inserting the string through the pom poms
Then insert the threaded needle through the center of your fluffy pom poms.
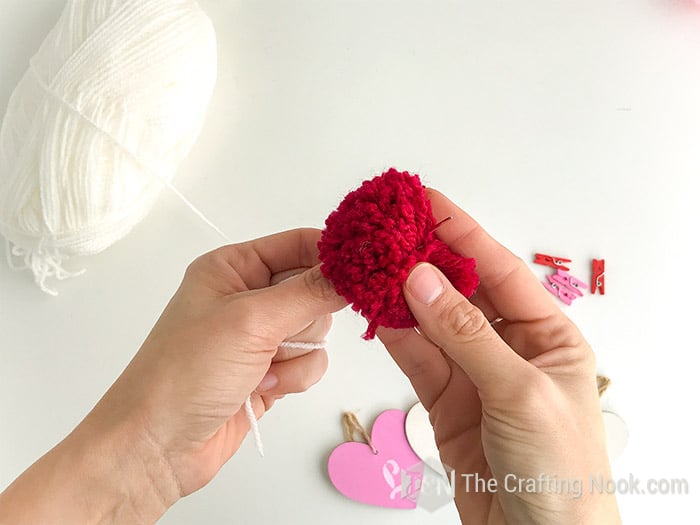
The best way to do this is to make sure you find the heart or center of the pom pom where all the strands of yarn converge.

Insert right there your threaded needle and then push it through until you see the need on the other side.
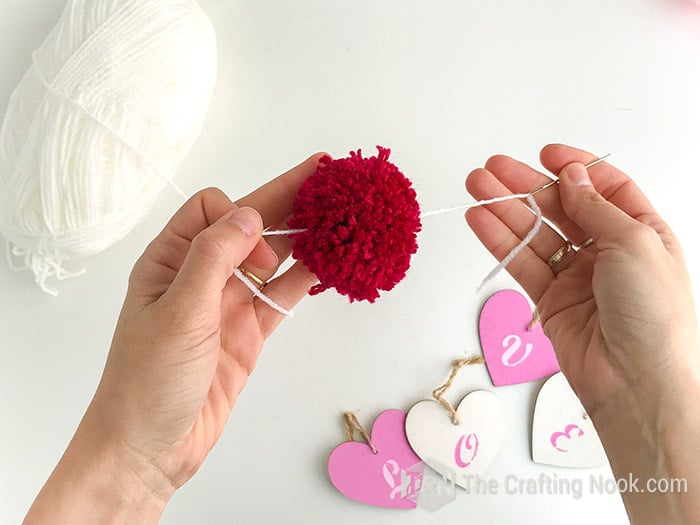
Then pull the needle out and push the pom pom down close to the other end of the long piece of string.
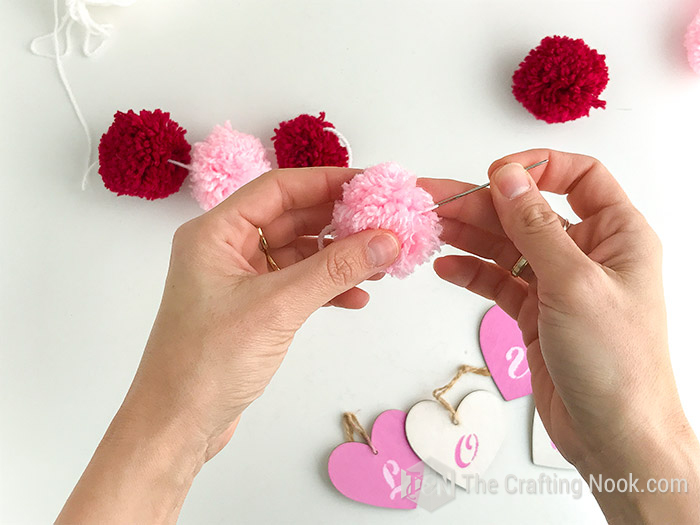
Repeat the process with all your pom-poms alternating colors.
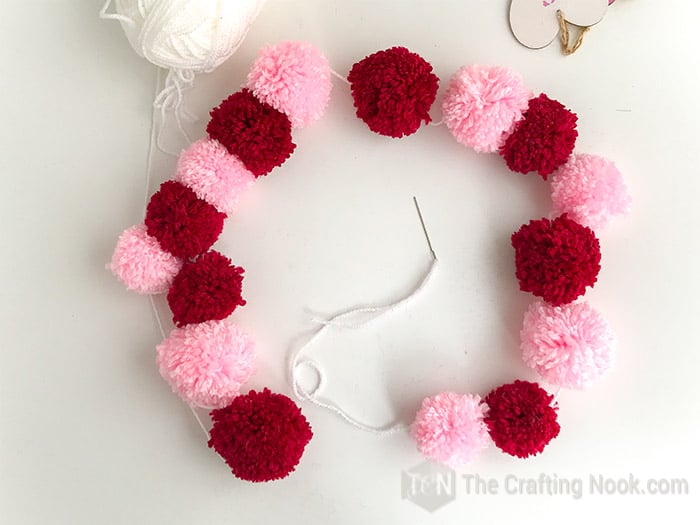
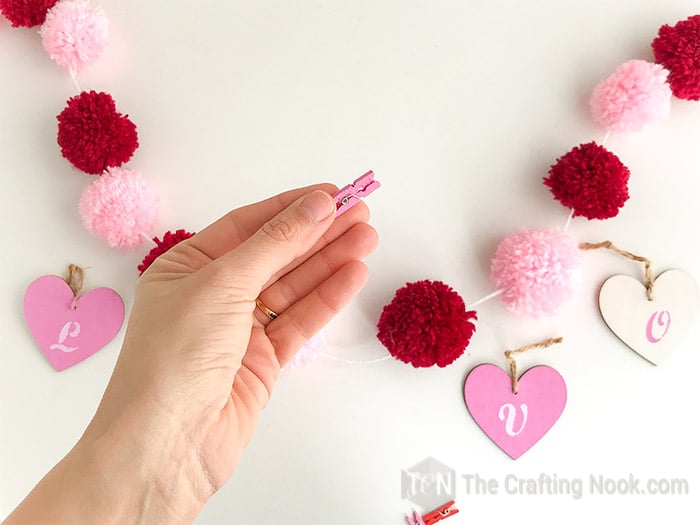
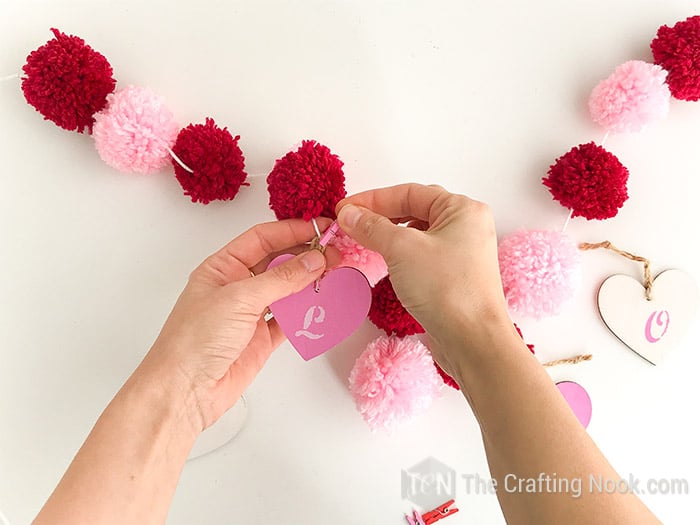
Step 4: Hang the heart ornaments
Spread them evenly along the length of your garland and decide where your hearts will be.
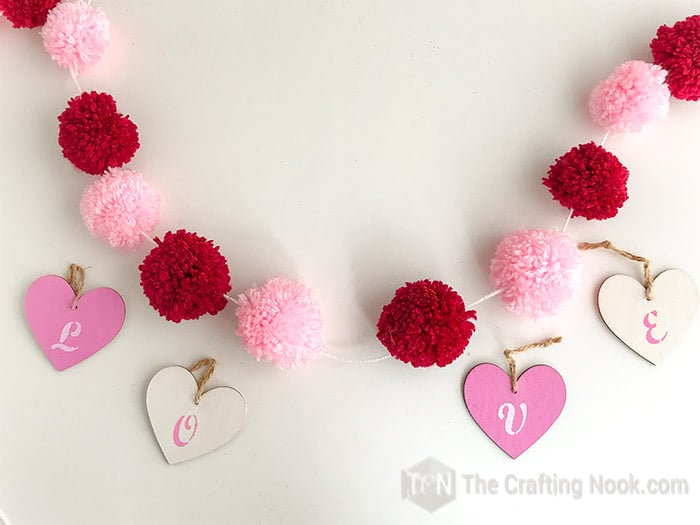
Using your mini clothespins secure your heart charms on the yearn between pom-poms. If you want to learn how I made these cute wooden hearts check out this post.

Step 5: Let’s get hanging!
Lastly, hang your garland. Woot!
Voila! There you go!
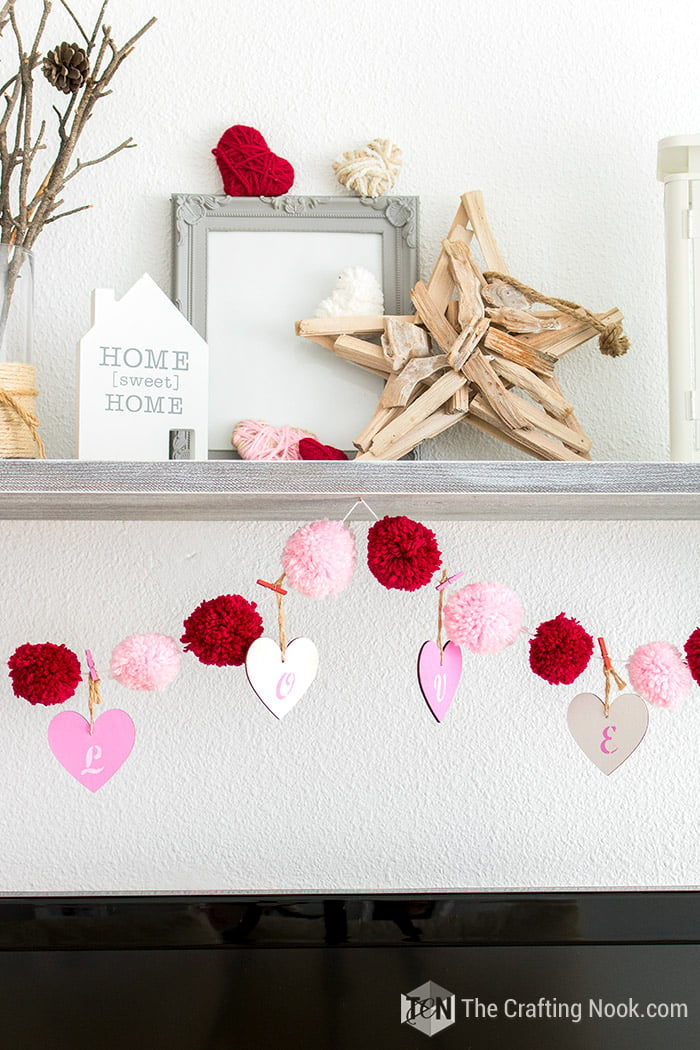
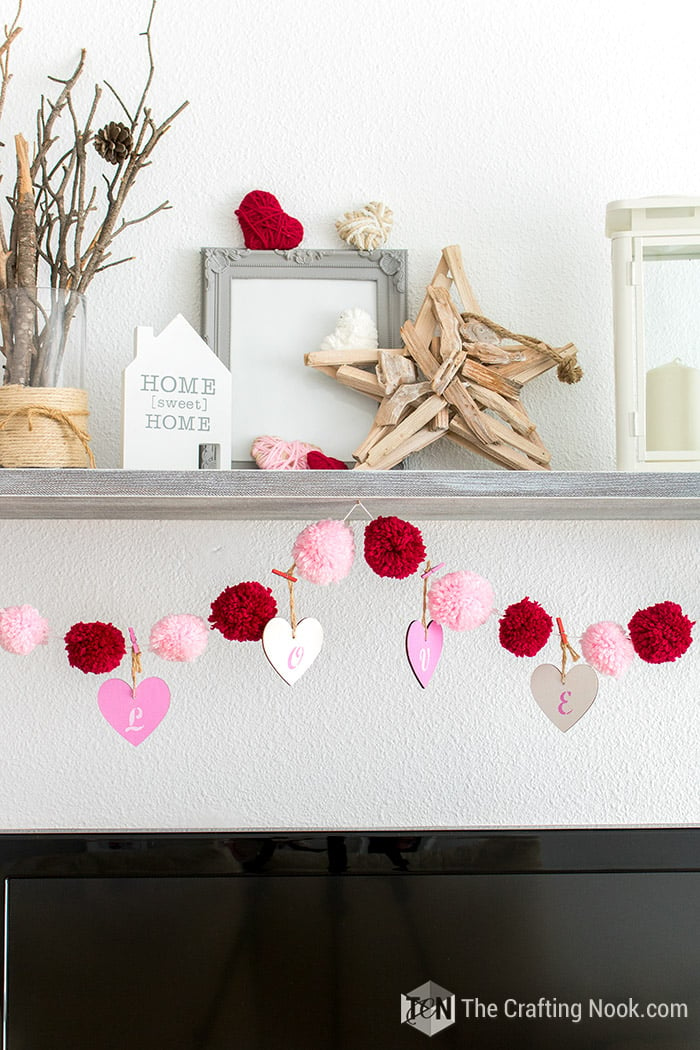
I love how my place looks. Such a cheerful and colorful look.
Where to Hang the Garland
There are many different places to hang and enjoy a diy pom pom garland in your home. Here are a few of my favorites options:
- On the mantel
- On the bed headboard
- On shelves
- From the Ceiling
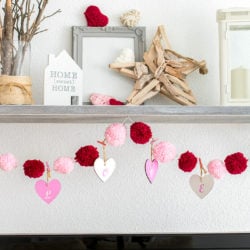
Here is ours hung on the mantel during the winter season:
Frequently Asked Questions
The best way to do this is to make sure you find the heart or center of the pom pom where all the strands of yarn converge. Insert right there your threaded needle and then push it through until you see the need on the other side. Then pull the needle out and push the pom pom down close to the other end of the long piece of string.
There are multiple ways to make a pom pom, but I find these to be the easiest, especially for this project. With a pompom maker, with cardboard circles, with your hands, and with a fork. The three firsts are my favorites.
For a very basic 5 feet or so garland, I’d say 30-40 small pom poms, 16 – 25 medium pom poms, and 10 – 15 large pom poms. This can vary if you use a combination of pom sizes on your garland. I used 16 since my garland was slightly less than 5 feet.
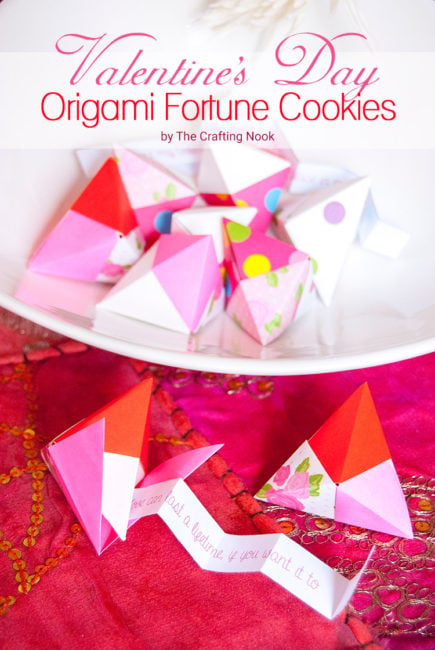
More Valentine’s Day Projects to try
If you like this Love DIY Pom Pom Garland tutorial, you might also love these other Valentine’s Day project ideas too:


What other Valentine’s Day Garland can you make besides pom pom garland?
Oh my! imagination is the limit. You can do so many different styles with different colors and materials. But I can point out a few of my favorite ones:
- Valentine’s Day Garland made by Chelsea over at Two Twenty One
- Fabric Heart Garland made by Jessica over at Cutesy Crafts
- Felt Scallop Heart Garland Valentine’s Day Project made by Jen Over at Tatertots and Jello.
✂️ Tutorial
DIY Pom Pom Garland for Valentine’s Day
Tools
- Sharp scissors
- An embroidery or tapestry needle
Supplies
- White yarn or twine if you want a more rustic look.
- 16 pom poms 8 pink, 8 red and the size of pom poms are totally up to you or more if you prefer.
- 4 wooden hearts ornaments with L O V E letters painted on each with hangers
- Mini Clothe pins
Instructions
STEP 1: PREPARE THE POM POMS
- Firstly, if you haven’t already made all the pom poms. You can make them with pom pom maker or with cardstock. Follow these tutorials to make your own pom poms. Make sure they are fluff and ready to go trimming any weird strings of yarn. You can also play with the size of the pom poms.
STEP 2: PREPARE THE GARLAND STRING
- Then cut a long piece of yarn. the length of the string will depend on where you will hang it, so make sure is long enough to go from one end to the other of your mantel or preferred place plus 2 inches on each end for attaching.
- Insert the end of your yarn into your needle hole. If it’s too thick, use a piece of thread, insert a loop through the hole, then insert the end of the yarn through the thread loop and then pull back the thread and bring the yarn with it. See video.
STEP 3: START INSERTING THE STRING THROUGH THE POM POMS
- Then insert the threaded needle through the center of your fluffy pom poms.
- The best way to do this is to make sure you find the heart or center of the pom pom where all the strands of yarn converge.
- Insert right there your threaded needle and then push it through until you see the need on the other side.
- Then pull the needle out and push the pom pom down close to the other end of the long piece of string.
- Repeat the process with all your pom-poms alternating colors.
STEP 4: HANG THE HEART ORNAMENTS
- Spread them evenly along the length of your garland and decide where your hearts will be.
- Using your mini clothespins secure your heart charms on the yearn between pom-poms. If you want to learn how I made these cute wooden hearts check out this post.
STEP 5: LET’S GET HANGING!
- Lastly, hang your garland. Woot!
- Voila! There you go!
I’m sure you will go crazy with so many ways you can add Valentine’s Day to your decor!
Share and PIN ME!

Til’ next time…


FREE WORKBOOK
Keeping your Sweet Home Organized
Learn how to create intentional habits and simple routines to Keep Your Home Organized. Plus freebies, printables, exclusive content, and tips.
Disclaimer: By clicking on the “Yes” button above you are giving me your consent to collect and use your information according to the law and My Policy Privacy. Zero Spam I promise!
This is super cute. I think I will be adding this to my decor for next year. Sadly there isn’t enough time to bust this one off before Valentines this year.
Thank you so much! You can always get a pretty and cute garland with past valentine’s day stuff if you keep them of course. I never throw away stuff I handmade LOL.
Thank you for stopping by!!!
Hugs