Rustic Spring DIY Felt Flower Wreath (with video)
This post may contain affiliate links. Please read our Disclosure Policy.
This DIY Rustic Spring Felt Flower Wreath is the perfect project for your front door to welcome Spring to your home. It’s easy, pretty, and inexpensive. Learn how to make your own felt flower wreath with these simple steps.
If you love Spring as much as I do and also love wreaths, you will so love this Easy Spring Wreath. Not only it’s pretty and easy, but it’s also a low-budget project! I’ll walk you through the process through images and a video.

Table of Contents
Easy DIY Rustic Spring Wreath Tutorial
I’m super excited today because I’m crazy in love with my newest wreath creation. After making my pretty and easy DIY Felt Flowers I used them to decorate my Rustic Spring Wreath you are seeing right now!!!!
I wanted to keep a little bit of the farmhouse style in this floral wreath.
I’ve got to be honest. I’m not crazy about summer. I’ll explain later. BUT Spring, Oh Spring! I just love it. Flowers blooming everywhere, trees getting bright green, fresh scent. I just love it. Of course, stop wearing heavy outfits has something to do with it too LOL {wink ;)}
As for summer, well, I don’t have central AC, just a couple of portable ones and trust me on this, spending the day at over 105º is not fun. I do love going to the beach and spending the day at the pool but at the end of the day, I have to go home LOL. So, that’s my truth. How about you?
Hope this fun and pretty project gives you inspiration and sparks your creativity!
How to make this Felt Flower Wreath
Let’s start!
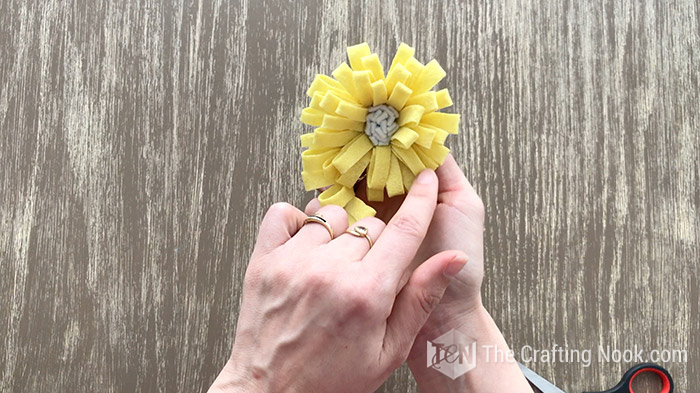
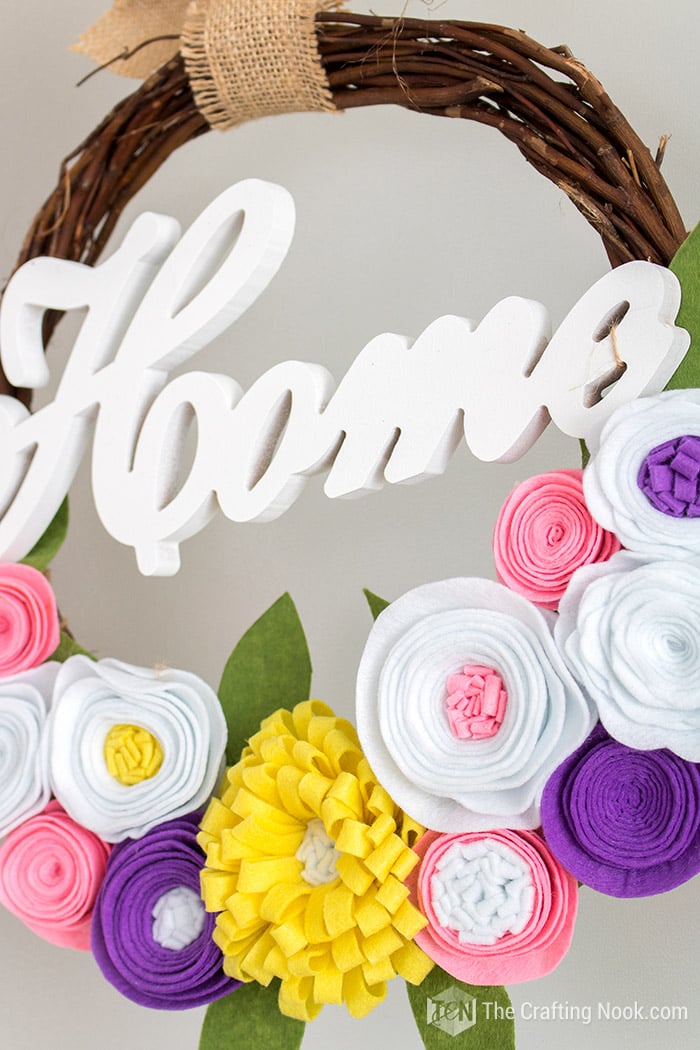
For ths wreath I used some felt flowers I had previously made. I used large flowers and smaller flowers. One of my favorites is rosette felt flowers
Craft Supplies:
- Felt Flowers and leaves (you can use other type of faux flowers too)
- Grapevine Wreath Base
- Green felt
- Twine
- Burlap ribbon
- Pencil
- “Home” wood sign.
*White Spray Paint is Optional if your sign isn’t white like mine.
Tools:
- Sharp pair of scissors
- Hot glue gun and glue sticks
Step by Step Instructions:
Before we begin, be sure to follow us on Pinterest, Facebook, Instagram, and YouTube, and also sign up for our email list (at the end of this post), so you’ll never miss a post!
Check out the video tutorial I prepared for you. However, if you are more of a read-and-see-photos kind of person, then just scroll down and keep reading.
The first thing you need to do is make as many felt flowers as you want to use on your spring wreath. You can check out my felt flowers tutorial here.
Step 1: Prep work
Once you have the felt flowers ready, using your wreath as your base trace on green felt the shape of the space you want to decorate on your wreath.
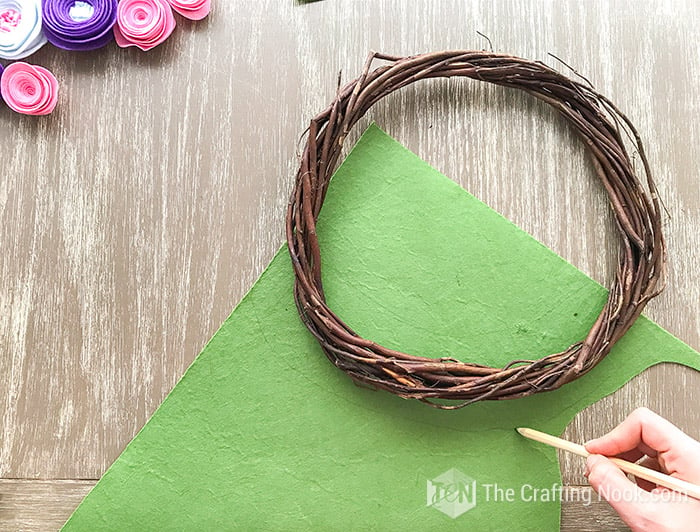
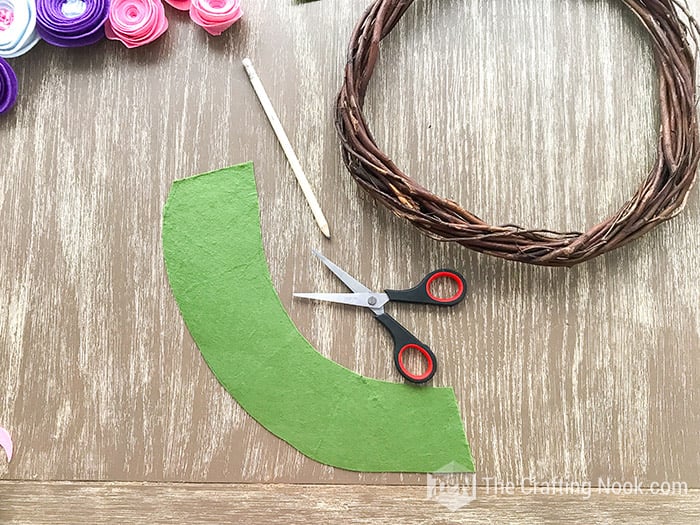
Cut it off.
Also, cut some felt leaf shapes, and let’s start.
Step 2: Arranging the Felt flower
I started with both ends by gluing some felt leaves on each. This is optional, you can start however you like.

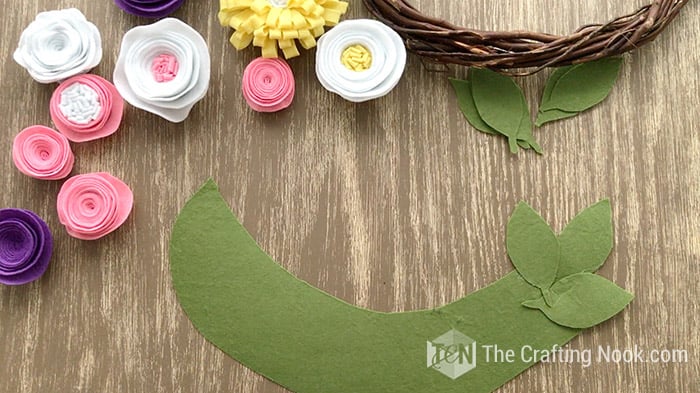
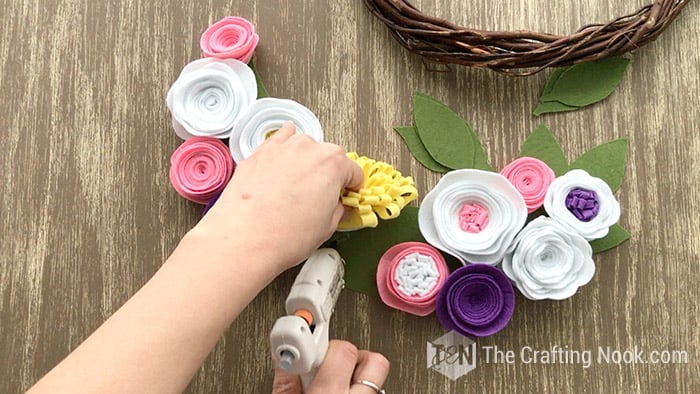
Then make your composition over the green felt base. Arrange your felt flowers as you love. Just play around with the flowers and leaves.
Once you are happy with your opposition, start gluing each flower in place. Also, apply some glue between flowers on the touching sides.
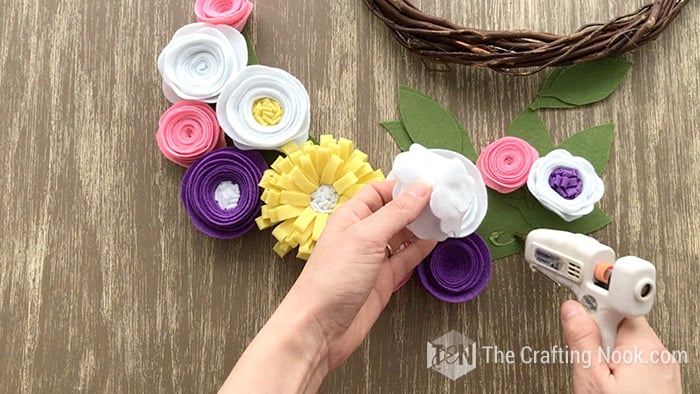
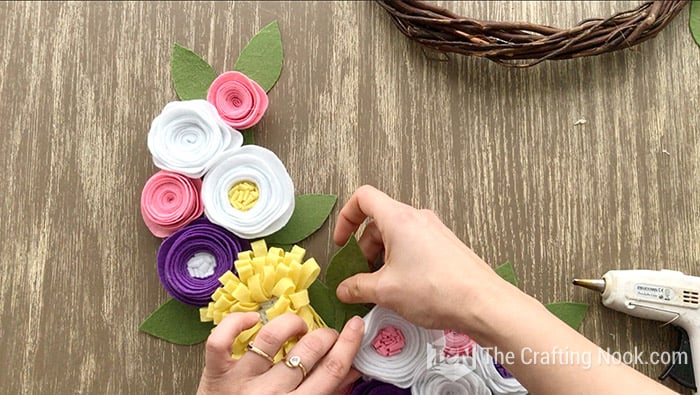
Then glue the leaves every now and then where you had planned it.
Step3: Assembling the rustic wreath
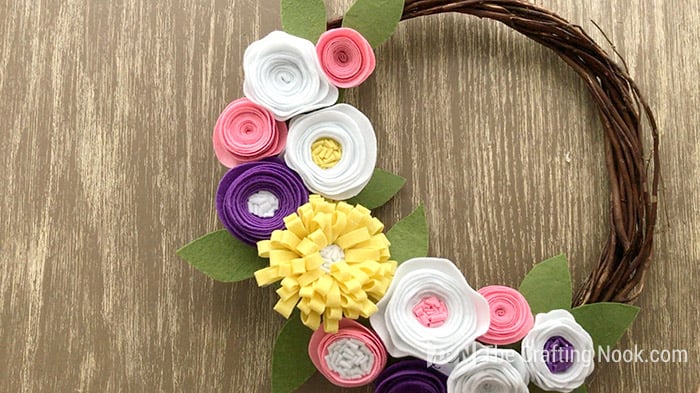
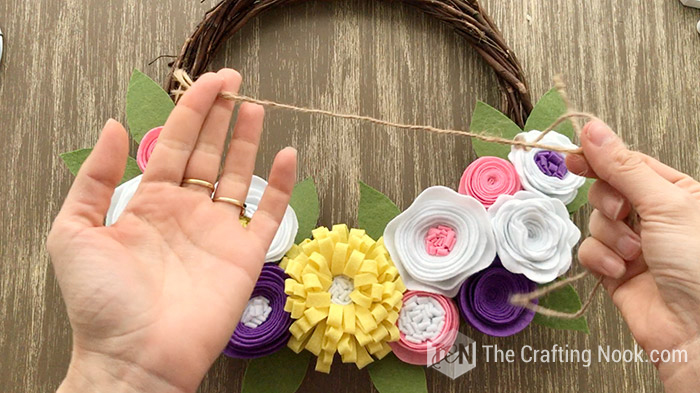
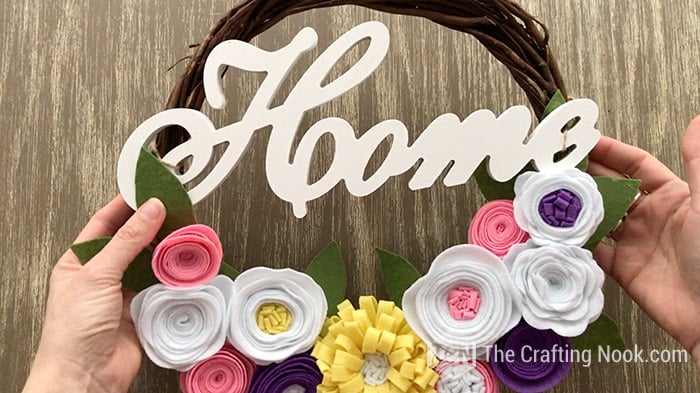
Now you have your bouquet. Place them on the wreath and make sure everything fits and looks as you like.
Place your sign right above the bouquet and make sure you like how it looks. Adjust placement if needed.

Since I like to re-invent my wreath for every season or holiday, I never use hot glue or anything permanent to affix things to the wreath. I rather use twine, yarn, even wire but nothing that would damage the wreaths. It makes taking it apart and making another one so much easier!
So, once you are happy with your wreath so far, cut some strips of twine (I used 5 in total).
Turn over your bouquet and glue one strip of twine on each end and another one on the center.
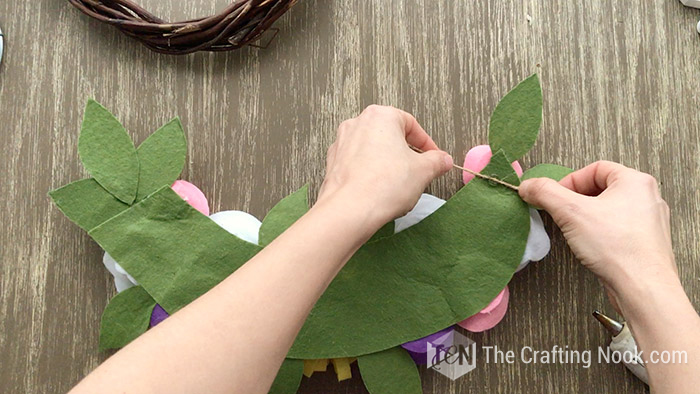
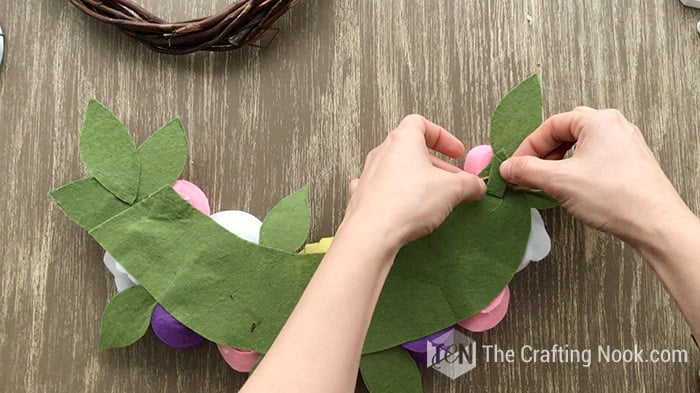

I covered each glued twine strip with a piece of the same green felt to make it stronger.
Place your wreath on the back of the bouquet and tie a bow with each twine strip.
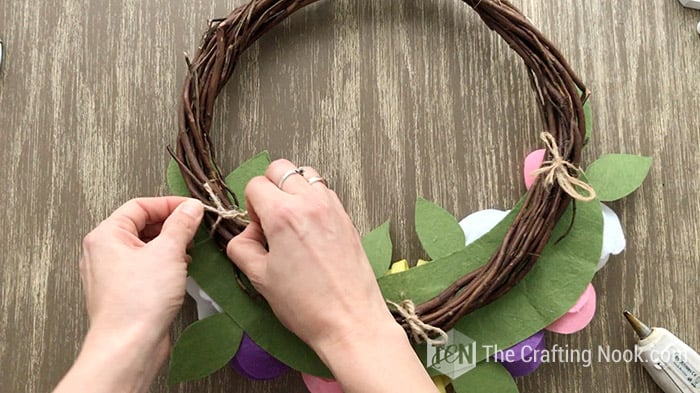
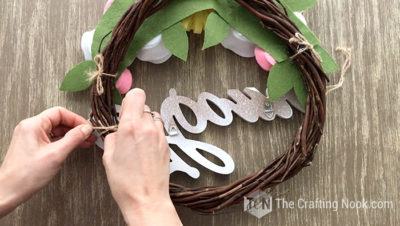
Turn it over and place your “Home” sign where you want it and with 2 strips of twine tie it on the back like you did the bouquet. I used the holes on the “H” and the “e” to insert the twine.


There you go!
You are only one step closer to be ready!
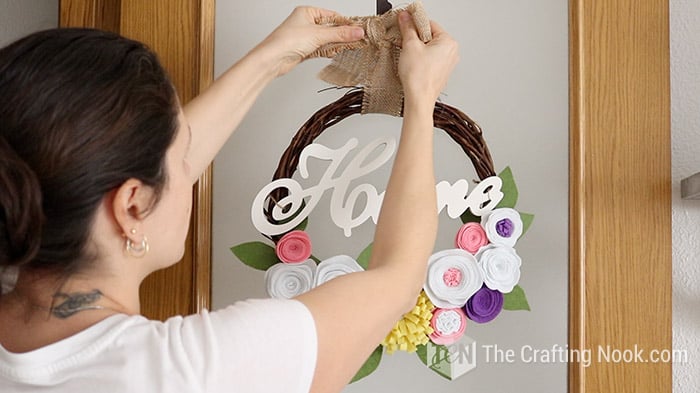
Step 4: Hanging the Spring wreath
Use your burlap ribbon to hang your wreath on your door!!!!
That’s it!
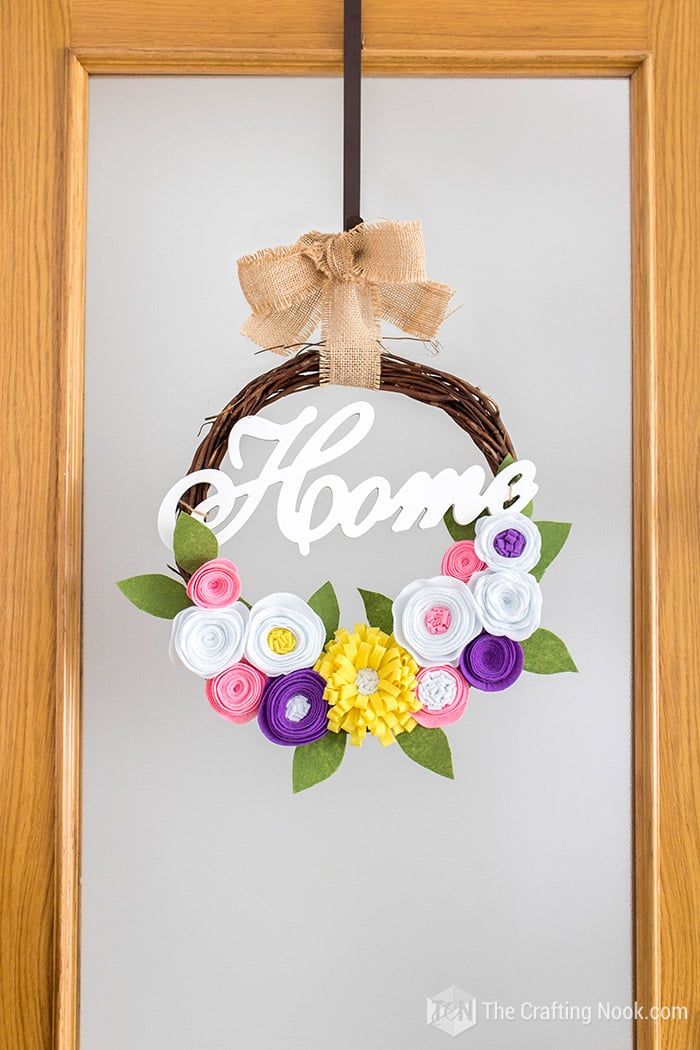
I’m in love with my felt flower wreath, hope you like it too.
Crafting Tips & Tricks
- Always play around with different sizes of felt flowers to add depth and dimension to your wreath.
- Don’t be afraid to mix and match your favorite colors for a vibrant and eye-catching look.
- Before securing everything in place, try different arrangements to find the perfect look that you love.
- Add some drops of essential oils to your felt flowers to make your entrance scent inviting.
- You can add things like mini eggs or butterflies that match the season to make it even more festive.

Variations and alternatives
If you don’t have or don’t want to use Felt, paper flowers any other type of faux flowers will do the work. This kind of simple spring wreath can look so pretty with tulips, daffodils, hydrangeas, daisies, etc. Any spring flowers will bring this wreath to life.
Wreath form, You can use a foam wreath or even a wire frame wreath instead of the grapevine frame. All of them can be found at a dollar store. But you would need to cover it first with a pretty ribbon or burlap if you want to keep it rustic.
Decorations, If you want to add additional decorations or add more color, you can use butterflies, greenery, burlap bow, easter decorations, etc..
Frequently Asked Questions
To make your felt flowers you will need different colors of felt. You’ll also need a pair of scissors and a hot glue gun, fabric glue, or needle and thread.
Well, I’m tempted to say any kind, but actually, it will depend on the project. Since most of my projects are for my own home, I use normal felt (wool felt if I find it at a good price) I find in my local craft stores. Felt comes in a variety of qualities so if you are using it to sell products, I recommend higher quality for durability.
You can use a foam wreath or even a wire frame wreath instead of the grapevine frame. All of them can be found at a dollar store. But you would need to cover it first with a pretty ribbon or burlap if you want to keep it rustic.
The time may vary depending on your crafting speed and the complexity of your design, but generally, it can be completed in a few hours.
More Spring Project Ideas to try
If you liked this Cute DIY Felt Flower Wreath tutorial, you might also love these other Easy Spring Craft projects too:


You can also find other gorgeous DIY wreath ideas such as DIY Gorgeous Felt Leaf Wreath for Christmas, DIY Felt Flowers Spooky Halloween Wreath, Ombre Felt DIY Valentine Heart Wreath among many others.
Some other DIY spring wreath ideas I love from my favorite bloggers
- DIY Colorful Rustic Spring Wreath by Living and Crafting.
- Easter Eggs Wreath by A Pumpkin and a Princess.
- Rainbow Tulip Wreath by The Craft Patch.
- Bicycle & Butterfly Wreath by Artsy Fartsy Mama
- Succulent Wreath by Succulents and Sunshine
✂️ Tutorial

Easy DIY Rustic Spring Wreath
Tools
- Hot glue gun
Supplies
- 10-12 Felt Flowers and leaves
- 1 Grapevine Wreath
- 1 Green felt
- Twine as needed
- 1 yard Burlap ribbon
- Hot glue bars as needed
- 1 “Home” Cut-out wood sign.
- 1 White Spray Paint *Optional if your sign isn’t white like mine.
Instructions
- Using your wreath as your base trace the shape of the space you want to decorate on your wreath.
- Cut it off and Let’s start.

- I started with both ends by gluing some leaves on each. This is optional, you can start however you like.
- Then make your composition over the green felt base. Arrange your Felt flowers as you love and in a way you will remember. Just play around with the flowers and leaves.

- Once you are happy with your opposition, start gluing each flower in place. Also apply some glue between flowers on the touching sides.
- Then glue the leaves every now and then where you had planed it.
- Now you have your bouquet. Place them on the wreath and make sure everything fits and looks as you like.
- Place your sign right above the bouquet and make sure you like how it looks. Adjust placement if needed.
- Since I like to re-invent my wreath for every season or holiday, I never use hot glue or anything permanent to affix things to the wreath. I rather use twine, yarn, even wire but nothing that would damage the wreaths. It makes taking it apart and making another one so much easier!
- So, once you are happy with your wreath so far, cut some strips of twine (I used 5 in total).
- Turn over your bouquet and glue one strip of twine on each end and another one on the center.
- I covered each glued twine strip with a piece of the same green felt to make it stronger.

- Place your wreath over the back of the bouquet and tie a bow with each twine strip.
- Turn it over and place your “Home” sign where you want it and with 2 strips of twine tie it on the back like you did the bouquet. I used the holes on the H and the e to insert the twine.

- There you go!
- You are only one step closer to be all ready!
- Use your burlap ribbon to hang your wreath on your door!!!!


Share and PIN ME!!!!

Til’ next time…


FREE WORKBOOK
Keeping your Sweet Home Organized
Learn how to create intentional habits and simple routines to Keep Your Home Organized. Plus freebies, printables, exclusive content, and tips.
Disclaimer: By clicking on the “Yes” button above you are giving me your consent to collect and use your information according to the law and My Policy Privacy. Zero Spam I promise!