DIY Felt Flowers Spooky Halloween Wreath
This post may contain affiliate links. Please read our Disclosure Policy.
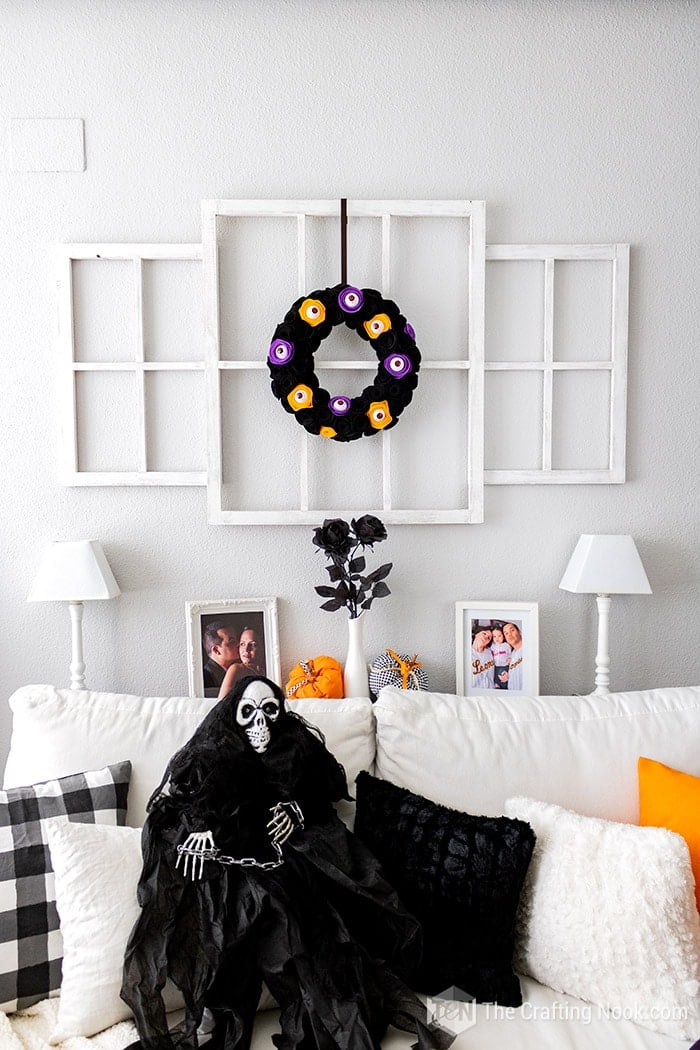
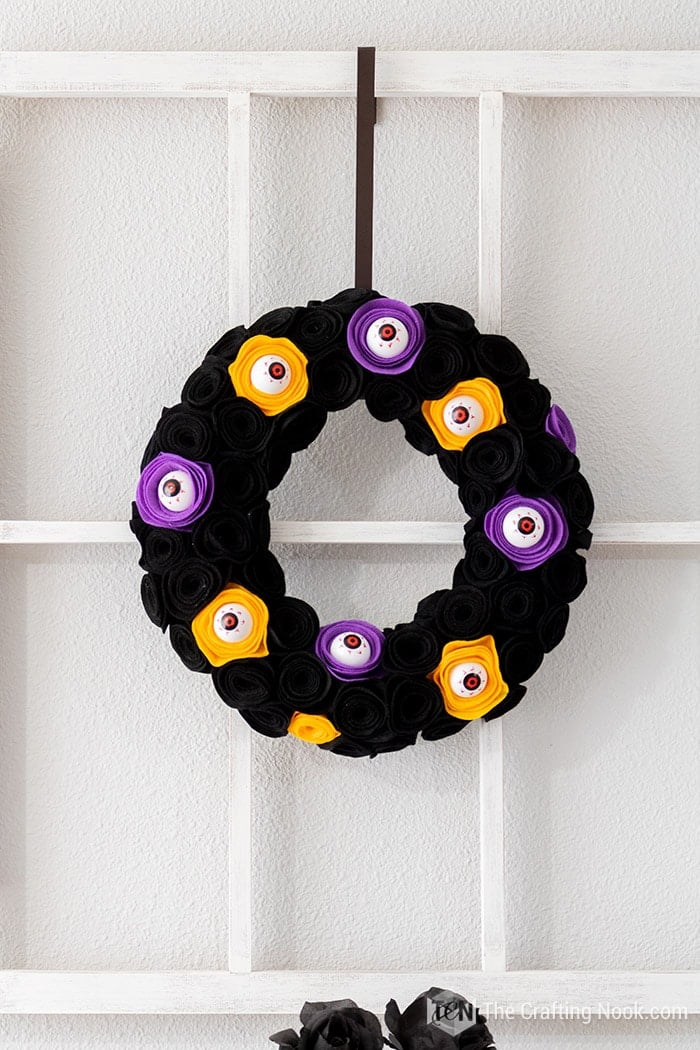
This super Spooky Halloween Wreath is one fun and easy project to make and decorate your front door this year. Made with felt flowers and some spooky eyeballs on a wreath foam.
I spent a bit more time than expected on this Halloween wreath. The process of making it wasn’t difficult, but it required more time and lots more felt flowers than I thought.

That’s why I’m sharing it sooner rather than later than I originally intended. But it’s okay to pin and make it next year if you don’t have time to make it this year.
Table of Contents
Spooky Halloween Wreath made with Felt Flowers
Halloween is quickly approaching, and this year I plan on being prepared! I hadn’t made any Halloween decorations for the past 2 years and we were really looking forward to having fun crafting for Halloween this year.
This year we chose to combine Halloween and fall so we could enjoy both for a longer time. It turned out super cute! You can check out our Fall Halloween home decor here.

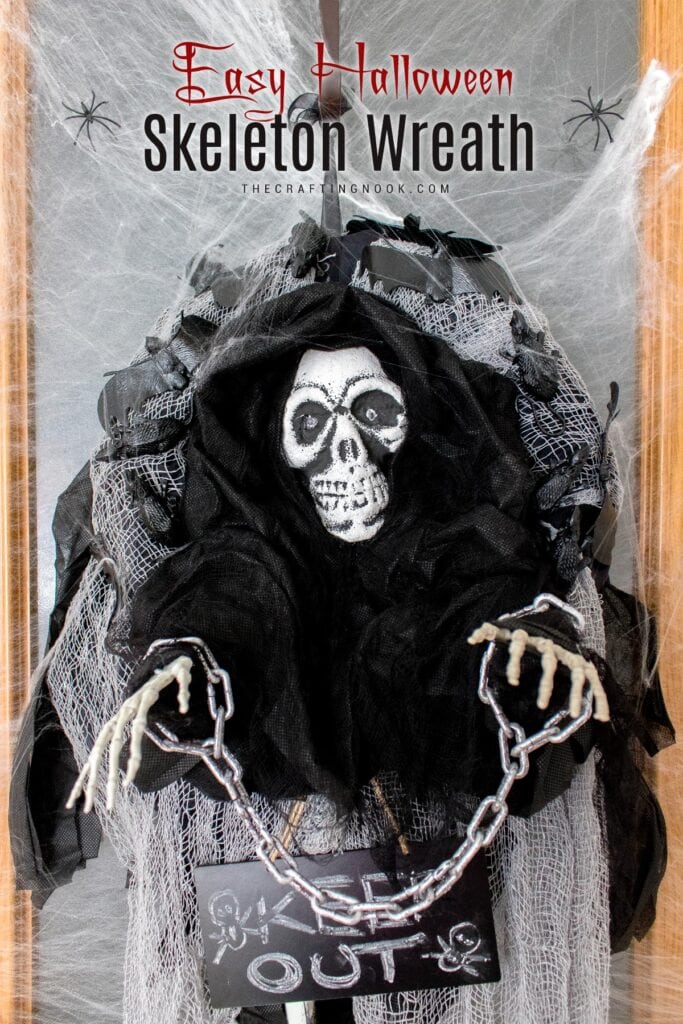
My last Halloween decor was actually pretty creepy but so much fun. We made this really scary Halloween wreath using a skeleton and lots of plastic rats and bats! LOL. Fun!
How to make this Spooky Halloween Wreath
This spooky wreath was inspired by KC over at Real Creative, Real Organized and added my twist to make it extra spooky!
Supplies:
- About 2 yards of black felt (it could be more or less depending on the diameter of your circles)
- Around 1/2 yard of purple felt
- About 1/2 yard of orange felt
- Wreath foam
- 8 Plastic spooky eyeballs
- Hot glue tool
Tools:
- Pencil or fabric chalk
- Sharp scissors
Instructions:
I created this fun video tutorial if you like this kind of style! If you are more of a step-by-step photo kind of person, scroll down a bit and keep reading.
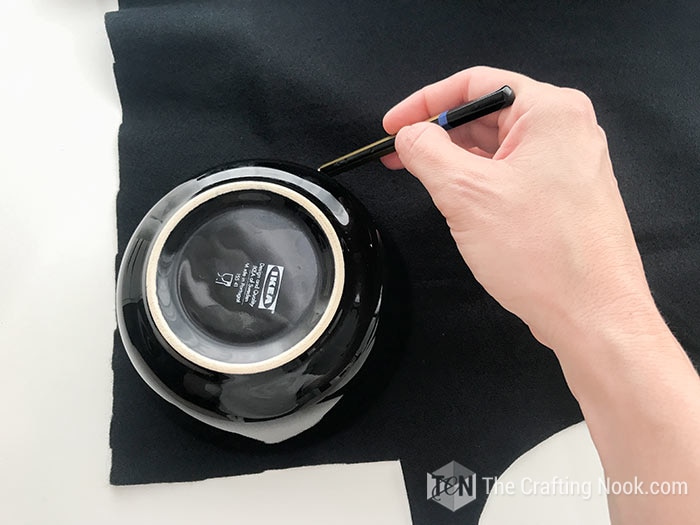
Step 1: Start by cutting as many black circles as you can. I made around 70 felt black flowers. A few orange and purple. I used 4 of each for eyeball flowers. I used a small bowl to draw the circle shape.
Step 2: Check out my Felt Flowers Blog post for the detailed instructions for the regular felt flowers and start making your black flowers.
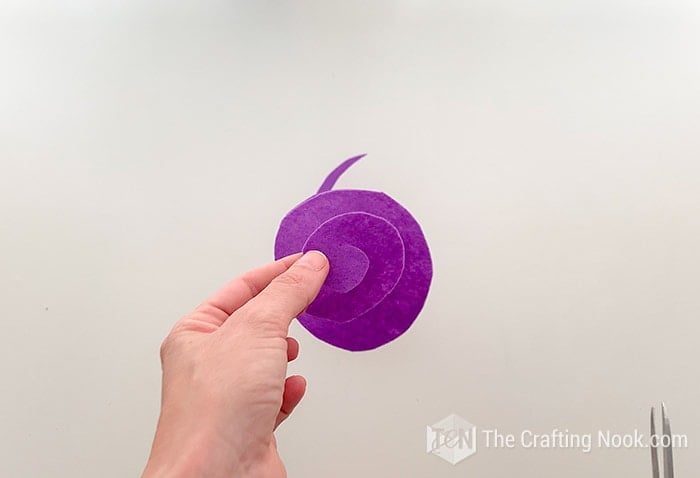
Step 3: Let’s make the eyeball flowers. Follow the same instructions to cut the spiral on the felt circles.
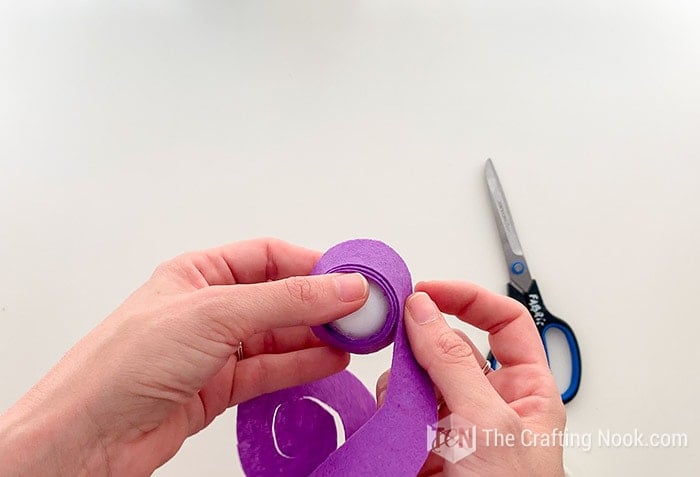
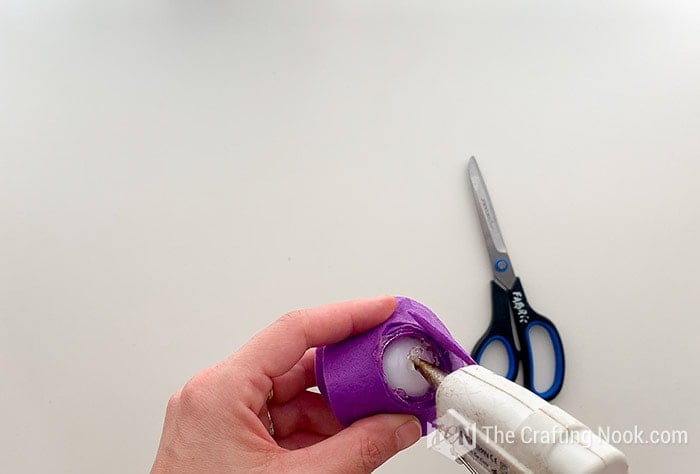
Step 4: Grab your plastic eyeball and around the middle of the ball (around the eye) start gluing the felt flower starting by the external tip. Add glue around so the felt won’t slip.

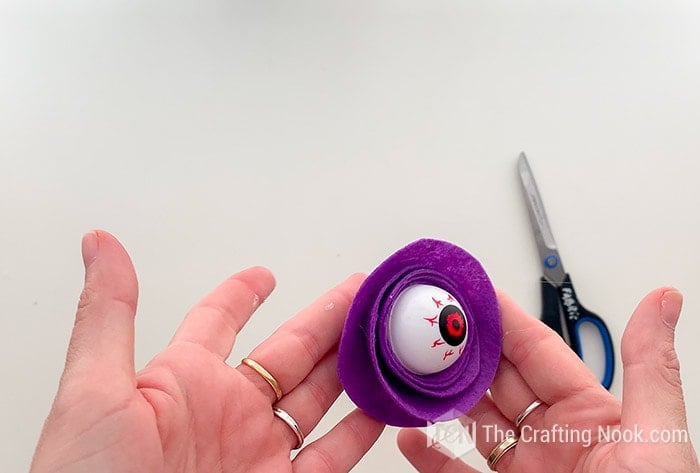
Step 5: Make loops with the felt until you reach the end. Add glue every now and then to keep felt in place and at the end add hot glue to the edges of the felt and on the eyeball back and glue the end of the felt to cover the loops and ball.

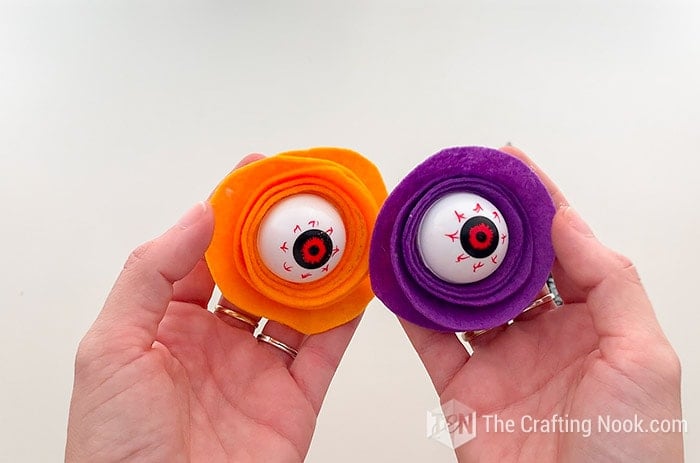
Step 6: Make more of these with purple and orange felt.
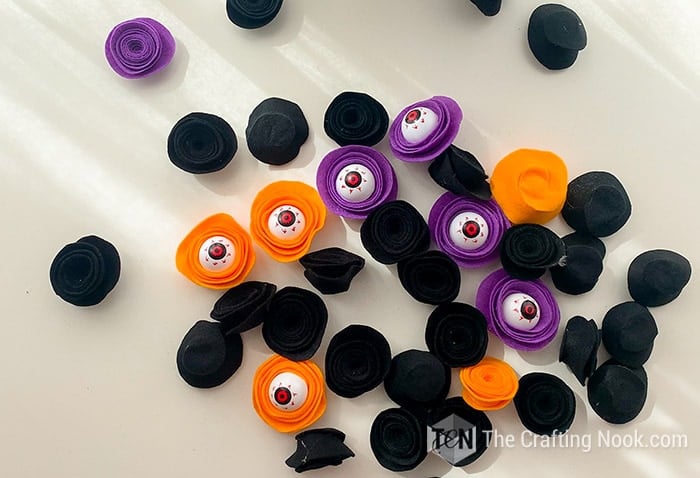
Step 7: Start gluing your felt flowers and eyeball flowers to your wreath foam. I surrounded each eyeball flower with lots of black felt flowers and then added the next eyeball one and so on.
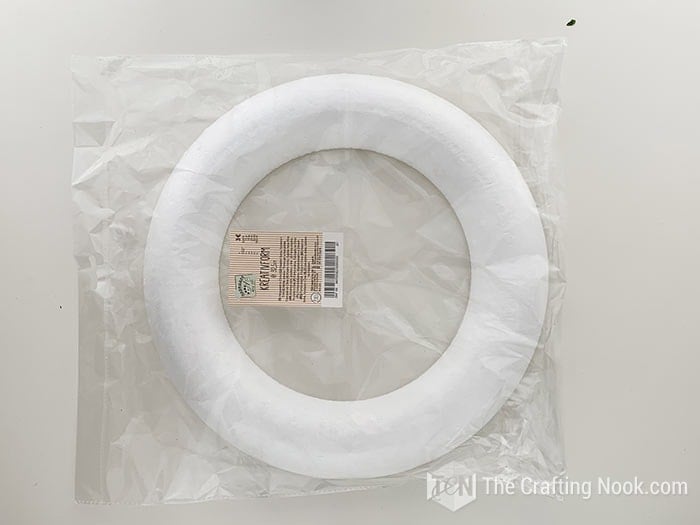
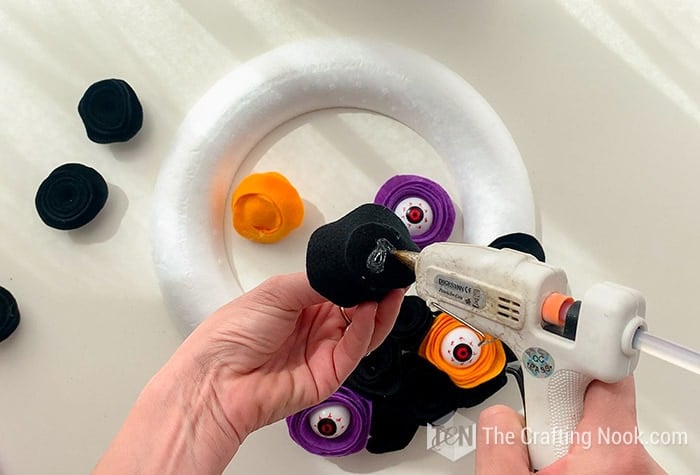
Step 8: Keep moving along the wreath foam making sure you cover the whole thing.


Step 9: If you get empty spaces cut smaller circles of black felt and insert them in the black spaces like in the video.

Step 10: Once you filled the whole wreath it’s time to go and hang your awesome spooky Halloween Wreath on your door or mantel.
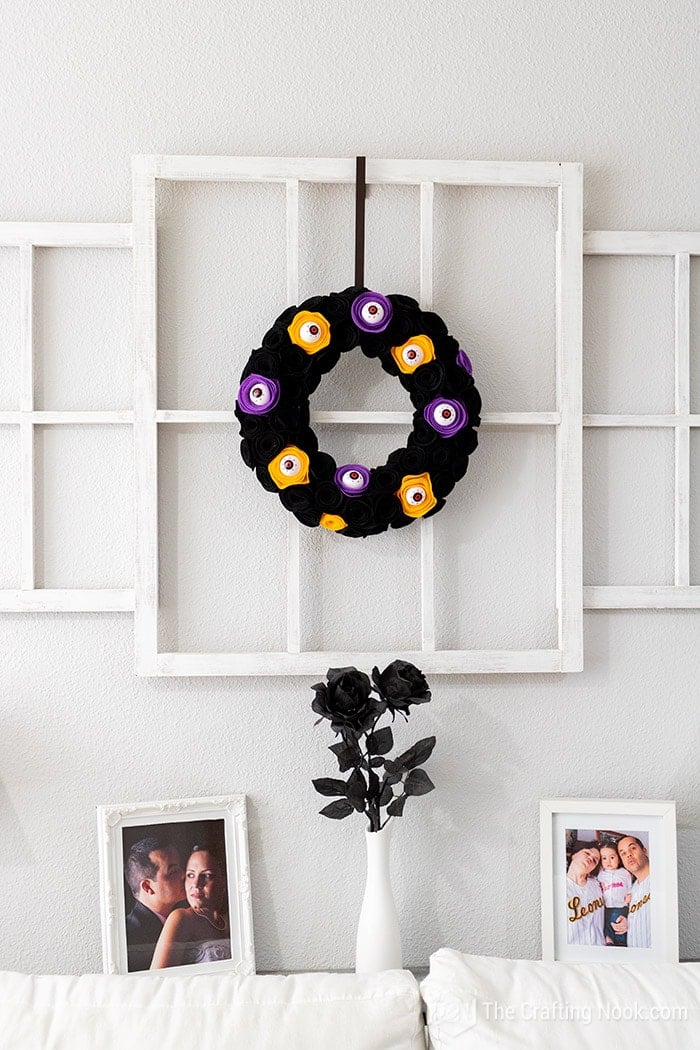
I hung it to my window frame behind the sofa and I love how it turned out.

My girl also loved it and actually asked me if she could keep it in her bedroom. I said yes, we shall see how long until she put it away LOL.
Crafting Tips
- I’ve seen many people recommending using expensive wool felt available from shops like Etsy to make felt flowers. You’re welcome to do this, but for simple designs, expensive wool felt doesn’t really make a discernible difference in the finished product. Just make sure it isn’t poor quality felt that feels cheap in your hands and pulls apart easily.
- If you’re working with kids on this type of project who are not experienced with handling hot glue guns carefully, make sure you use a low-temperature glue gun and stay with them all the time until they handle it well.
- I recommend using a good sharp pair of scissors. But if you are working with kids then use snub-nosed, classroom scissors and be with them the whole time.
Hope you find this spooky Halloween Wreath inspiring and fun to make. If you do, please tag me and let me see it! It always makes my day!
Frequently Asked Questions
To make your felt flowers you will need different colors of felt. You’ll also need a pair of scissors and a hot glue gun, fabric glue, or needle and thread.
Well, I’m tempted to say any kind, but actually, it will depend on the project. Since most of my projects are for my own home, I use normal felt (wool felt if I find it at a good price) I find in my local craft stores. Felt comes in a variety of qualities so if you are using it to sell products, I recommend higher quality for durability.
Some lightweight felt will be more stretching than the heavier ones, but compared to woven fabrics, felt tends to be quite stiffer and resistant. Felt doesn’t drape or flow, so it’s not the best choice for some fabric projects.
You can spray a light layer of starch on your felt, and using a buffer cloth, iron it as normal. Do this on both sides of the felt until you reach the desired stiffness.
You can use a foam wreath or even a grapevine wreath or even wire frame wrapping it in fabric or ribbon. Optionally, you can use a pool noodle and create your own wreath base and even make larger wreaths.
More Halloween Projects to try
If you found this spooky Halloween wreath tutorial spooky enough, you might also love these other Halloween project ideas too.
✂️ Tutorial

DIY Felt Flower Spooky Halloween Wreath
Tools
- Pencil or fabric chalk
- Sharp scissors
- Hot Glue tool.
Supplies
- About 2 yards of black felt it could be more or less depending on the diameter of your circles
- Around 1/2 yard of purple felt
- About 1/2 yard of orange felt
- Wreath foam
- 8 Plastic spooky eyeballs
Instructions
- Step 1: Start by cutting as many black circles as you can. I made around 70 felt black flowers. A few orange and purple. I used 4 of each for eyeball flowers. I used a small bowl to draw the circle shape.
- Step 2: Check out my Felt Flowers diy blog post for the detailed instructions for the regular felt flowers and start making your black flowers.
- Step 3: Let’s make the eyeball flowers. Follow the same instructions to cut the spiral on the felt circles.
- Step 4: Grab your plastic eyeball and around the middle of the ball (around the eye) start gluing the felt flower starting by the external tip. Add glue around so the felt won’t slip.
- Step 5: Make loops with the felt until you reach the end. Add glue every now and then to keep felt in place and at the end add hot glue to the edges of the felt and on the eyeball back and glue the end of the felt to cover the loops and ball.
- Step 6: Make more of these with purple and orange felt.
- Step 7: Start gluing your felt flowers and eyeball flowers to your wreath foam. I surrounded each eyeball flower with lots of black felt flowers and then added the next eyeball one and so on.
- Step 8: Keep moving along the wreath foam making sure you cover the whole thing.
- Step 9: If you get empty spaces cut smaller circles of black felt and insert them in the black spaces like in the video.
- Step 10: Once you filled the whole wreath it’s time to go and hang your awesome spooky Halloween Wreath on your door or mantel.
Some spooky Halloween projects from my favorite bloggers:
- Breathtaking Creepy Skeleton Skull Wreath by Kim over at Made in a Day!
- Black and White Halloween Mantel by Cristina over at Remodelando la Casa.
- DIY Spider Wreath by Handan and Greg over at The Navage Patch
Share and PIN ME!
Til’ next time…


FREE WORKBOOK
Keeping your Sweet Home Organized
Learn how to create intentional habits and simple routines to Keep Your Home Organized. Plus freebies, printables, exclusive content, and tips.
Disclaimer: By clicking on the “Yes” button above you are giving me your consent to collect and use your information according to the law and My Policy Privacy. Zero Spam I promise!
