Easy DIY Halloween Skeleton Wreath
This post may contain affiliate links. Please read our Disclosure Policy.
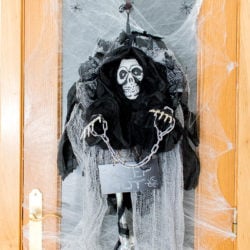
Get crafty this Halloween by making this easy DIY skeleton wreath. Not only will it look great on your front door, but it might just give that special trick-or-treater a fright! The best part is, no glue is needed to create this wreath, just lots of pins. Make yours here.
The spooky season is around the corner and this year I’m getting ready in time! I think this is my very first Halloween decoration since I moved to Spain and we are having lots of fun.

Table of Contents
a Halloween Skeleton Wreath Tutorial.
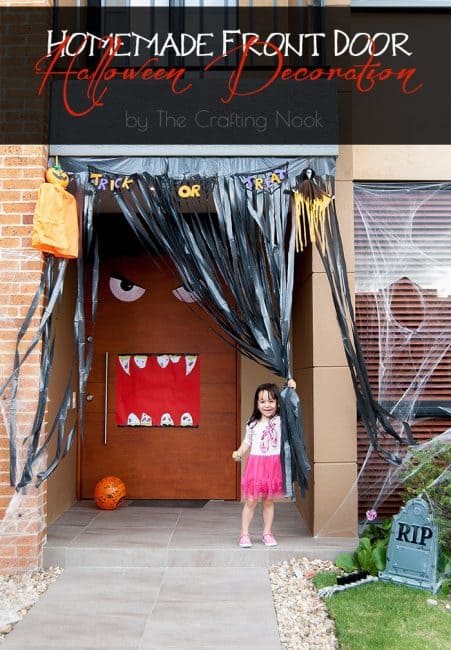
The last time I decorated for Halloween, was 3 years ago when I was living in Colombia and I decorated my mom’s house. I decorated the front door and made a cute mantel. So now it’s time to decorate our home.
I’m usually not that Halloween crazy, but I know kids love it and mine is no exception. I didn’t know kids went trick or treating until last year they knocked on our door LOL. We were like Whaaaaaaaaat!!! Haha, lesson learned we gotta be prepared for Halloween!
People say I’m cute (what I usually do) and people always expect cute things even for Halloween. This year I wanted to make something out of my comfort zone and go for something creepier.
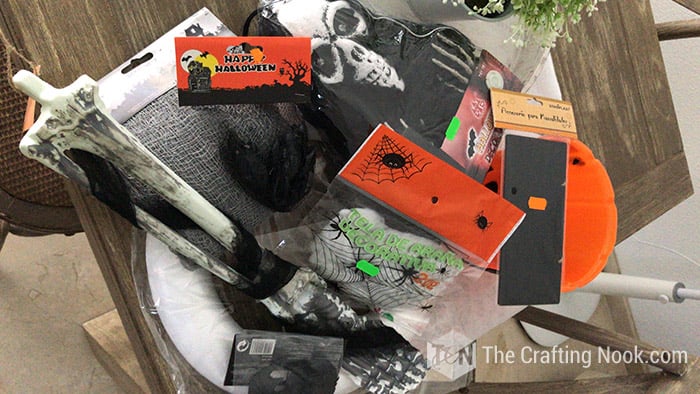
As I mentioned this is my first Halloween decoration in my new home, therefore, you can imagine I have absolutely nothing spooky at home. This being said I went hunting shopping for supplies and ideas.
The only thing I knew for sure is that I wanted to decorate my front door with a wreath, so I was looking for things that would fit that project.
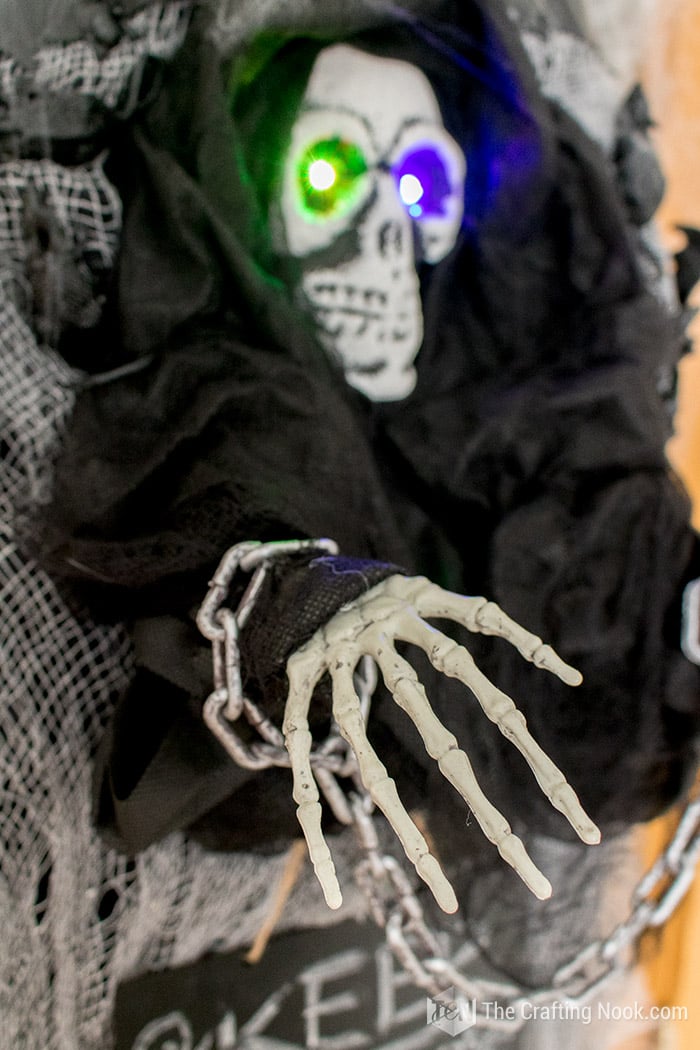
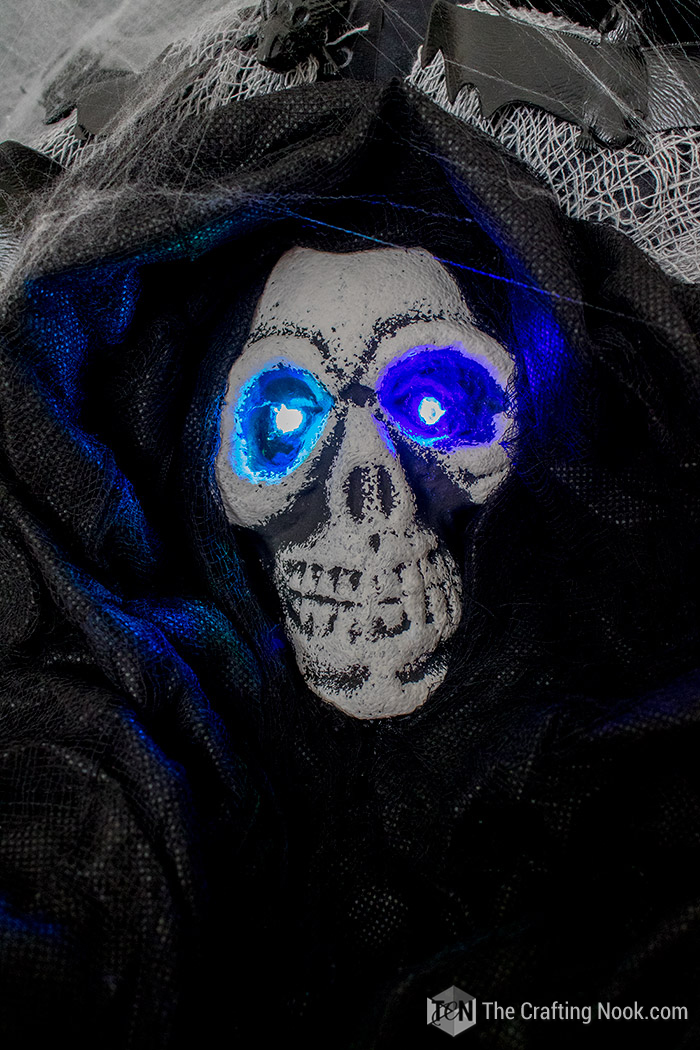
Then I saw This creepy guy in a store with led lights as the eyes. It was too much fun to let it waste.
My idea was complete! LOL
How to Make a Halloween Skeleton Wreath
This super creepy Halloween Skull Wreath is one fun and easy project to decorate your front door this year.
Supplies:
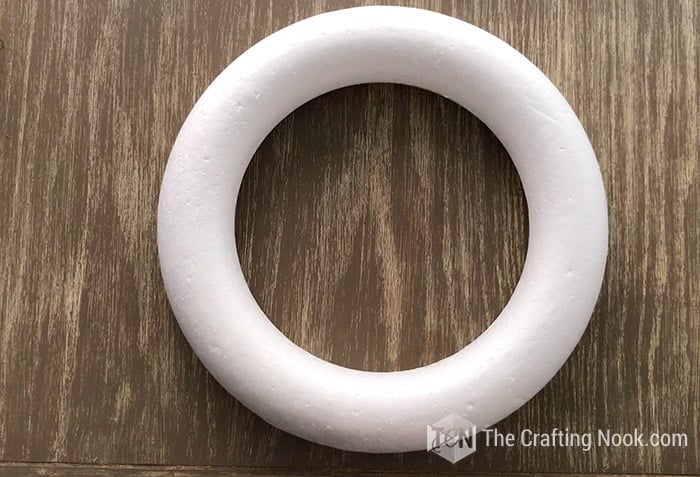
- Craft foam Wreath
- Black fabric (any type goes and enough to wrap the foam)
- Grey creepy Cloth (rags)
- Skeleton skull hanging decor – preferably those that come with a parca outfit.
- Plastic skeleton hands, feet and arms
- Bats, rats, or any other creepy plastic animal, like plastic spiders, rats, bats, bugs, ravens, etc. Even spooky eyeballs if you dare!
- Black ribbon (for hanging)
- Straight pins
- Small Chalkboard sign
Tools:
- Your hands!
- Scissors maybe.
Instructions
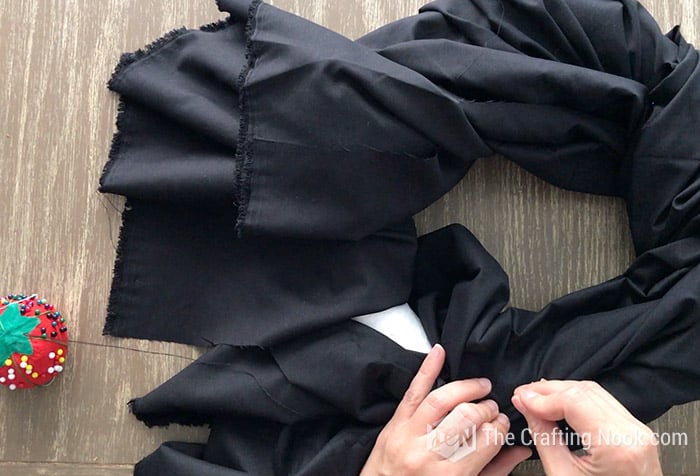
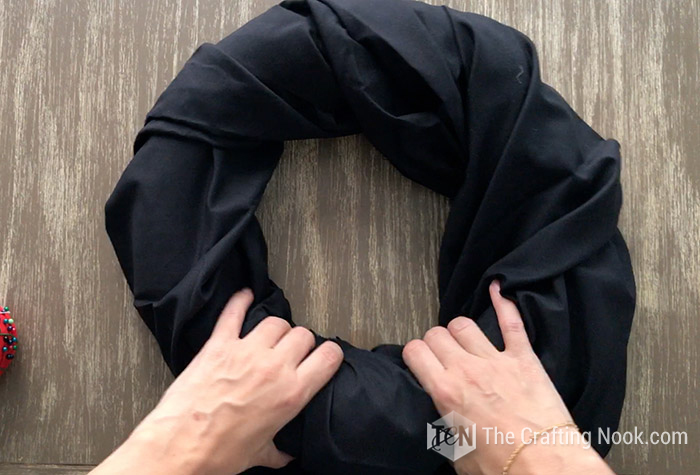
1. Take your foam wreath and wrap it with your black fabric. It doesn’t have to be perfect. Actually, the least perfect, the better.
2. Pin the fabric on the back to secure it.
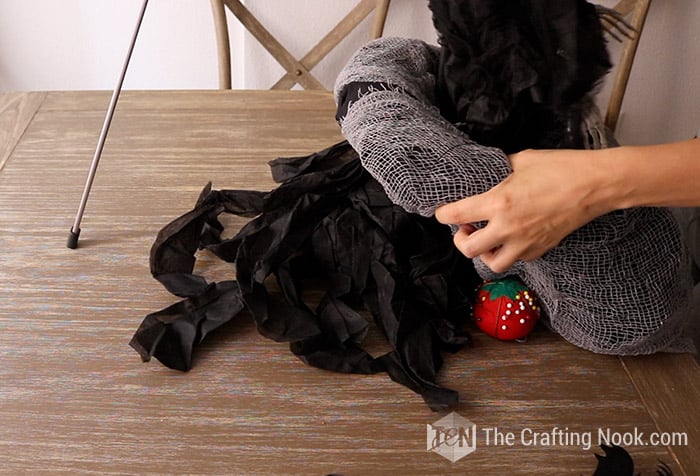
3. Once you are done, then wrap it with your creepy cloth. Here again, nothing perfect, it’s almost like where it lands, it’s fine! LOL.
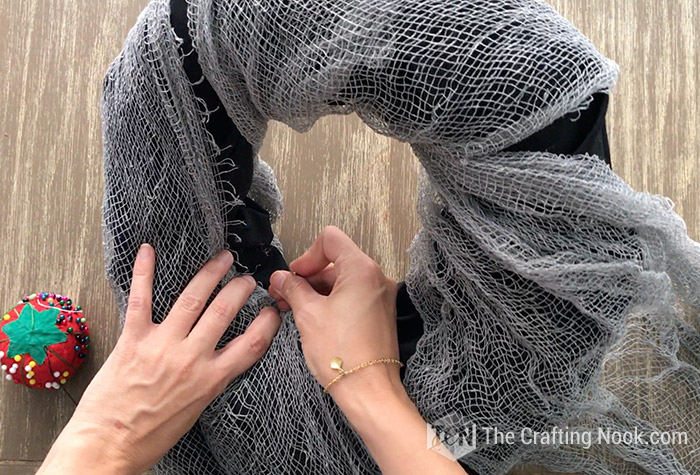
4. Add a few pins to secure.
5. Bring the skeleton!!!
6. Depending on the size of your wreath foam and your skeleton, it might fit tight or get loose. You can always secure it with pins or even with wires in the back. It all depends on your skeleton.
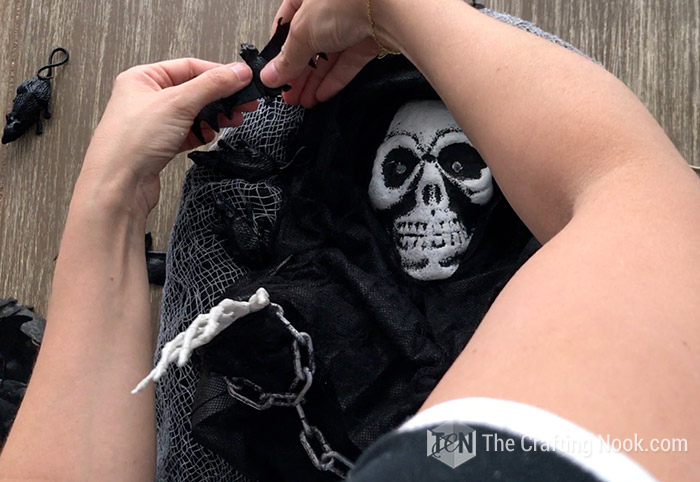
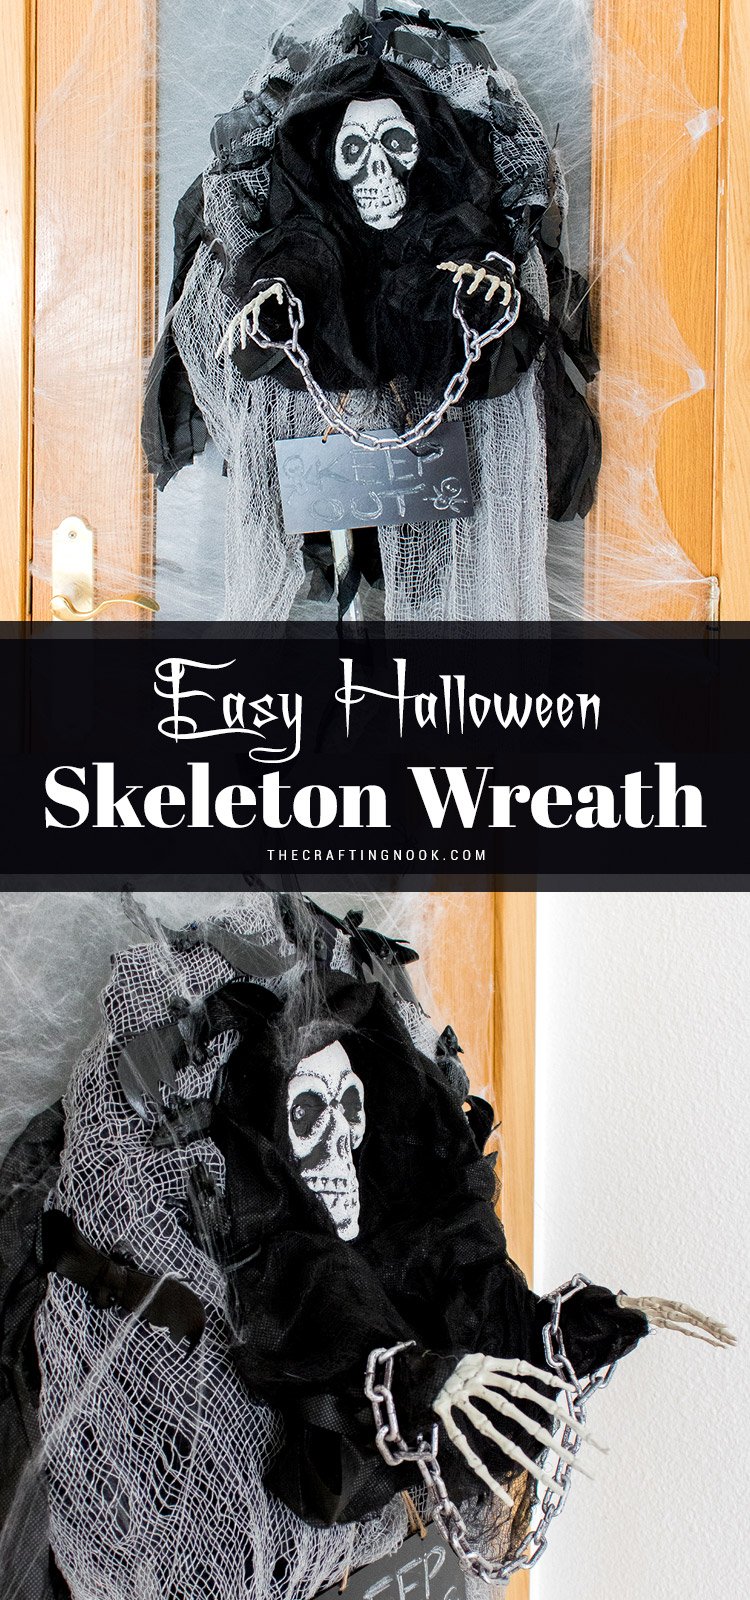
7. In my case, the skeleton was itself a decoration it had its own rags like a parca, so I inserted the rags through the wreath to the back.

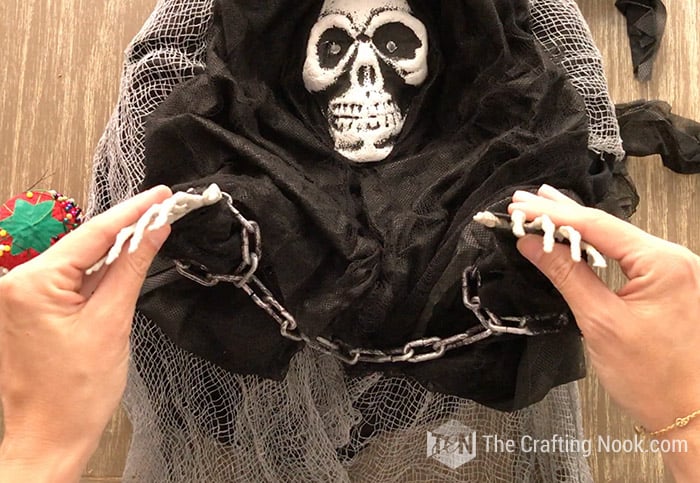
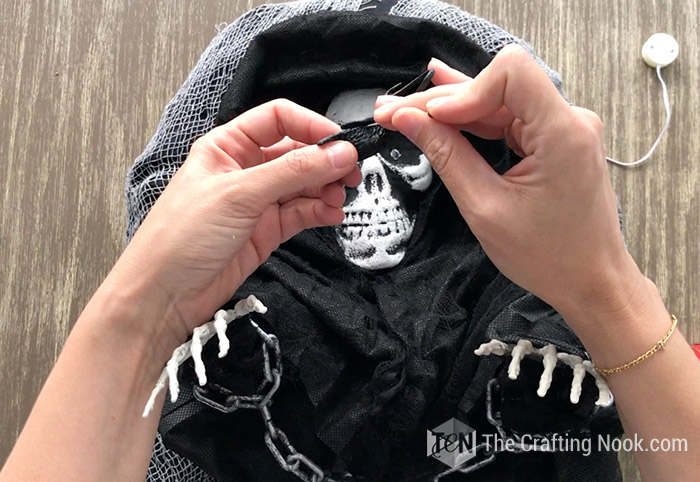
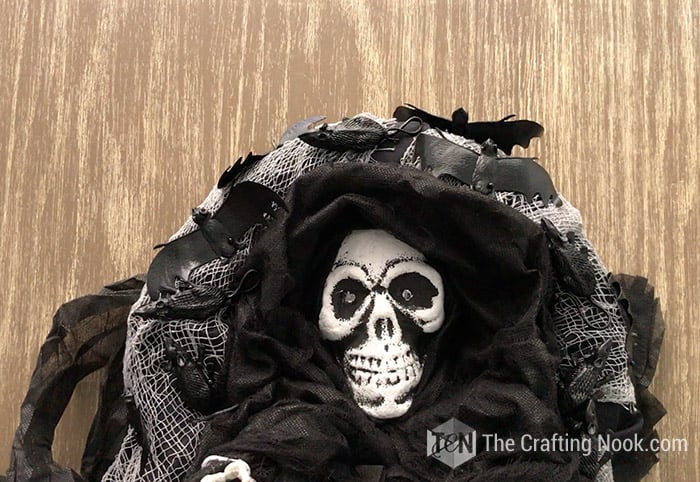
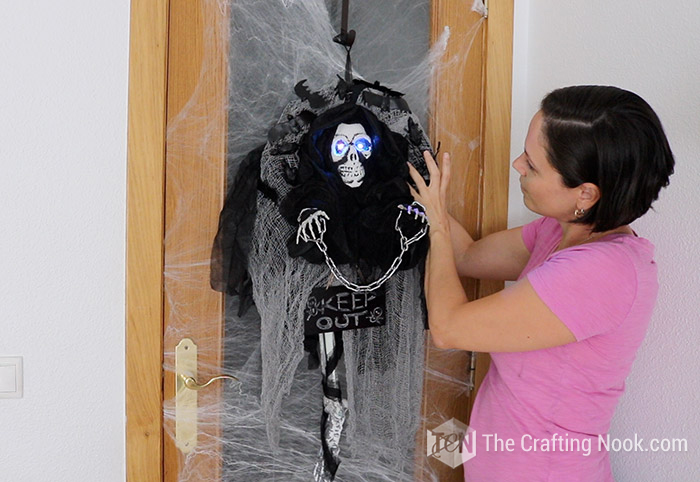
8. Fit your skeleton inside the wreath and fix all the rags around the head. Secure with pins in different places.

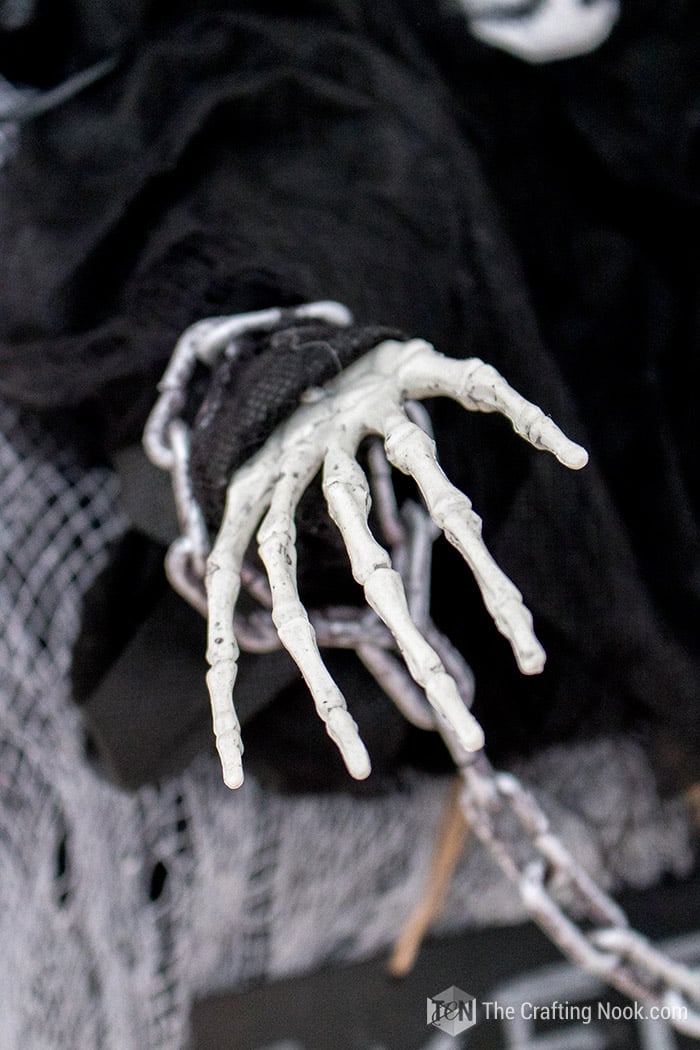
9. Adjust the skeleton’s hand position as desired. Most of these decor has its parts made with wires so you should be able to adjust them too.
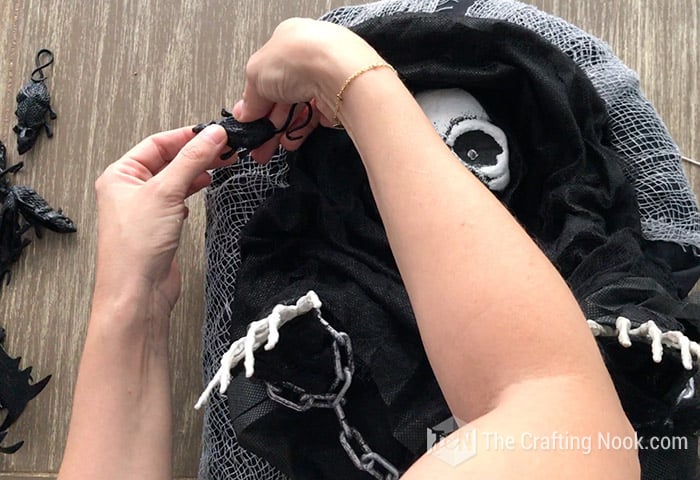
10. Time to add some creepy animals.
11. If your plastic rats and bats are hollow, you might be able to pin them to the wreath. What I did was to find one hidden place between a leg and the belly and inserted the pin there.
12. Then I pin it to the wreath.
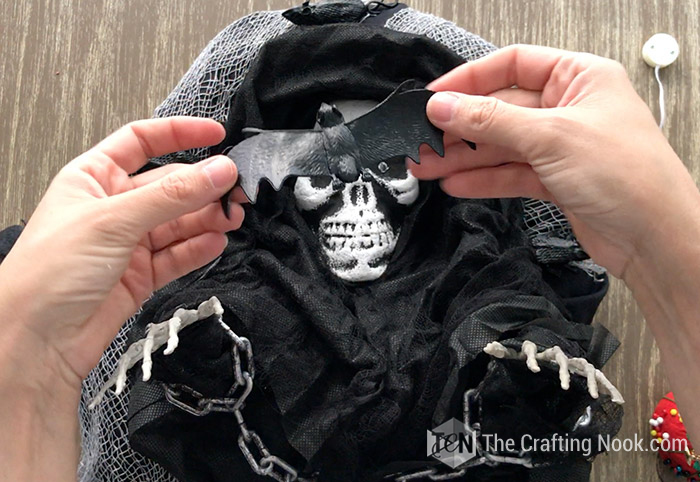
13. The same with the bats, but in this case, there was no hidden place so I used black pins.
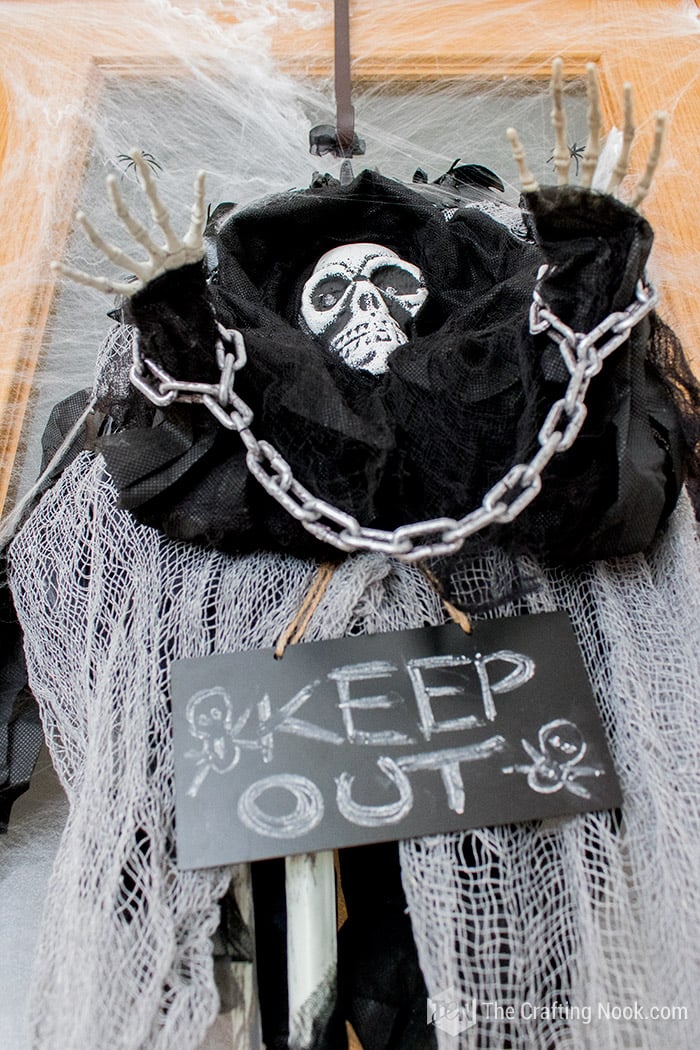
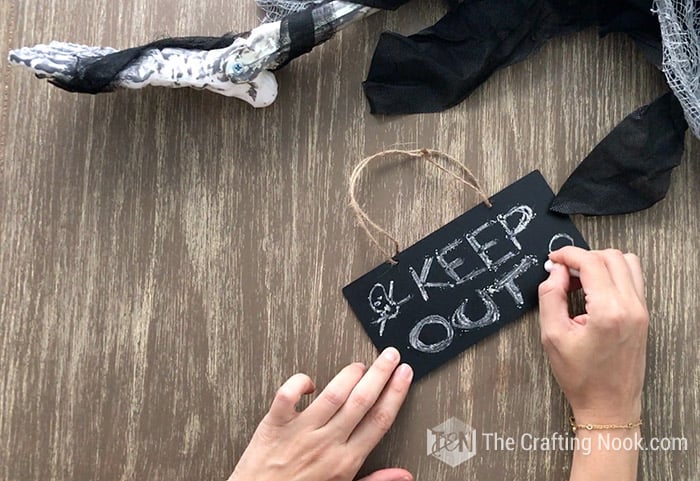
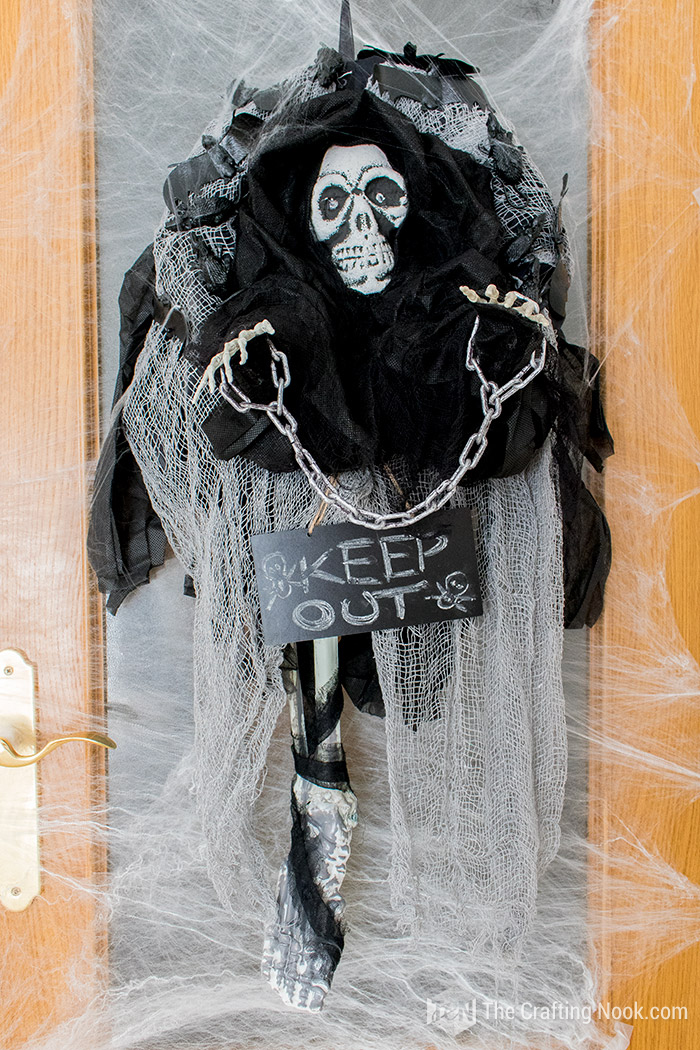
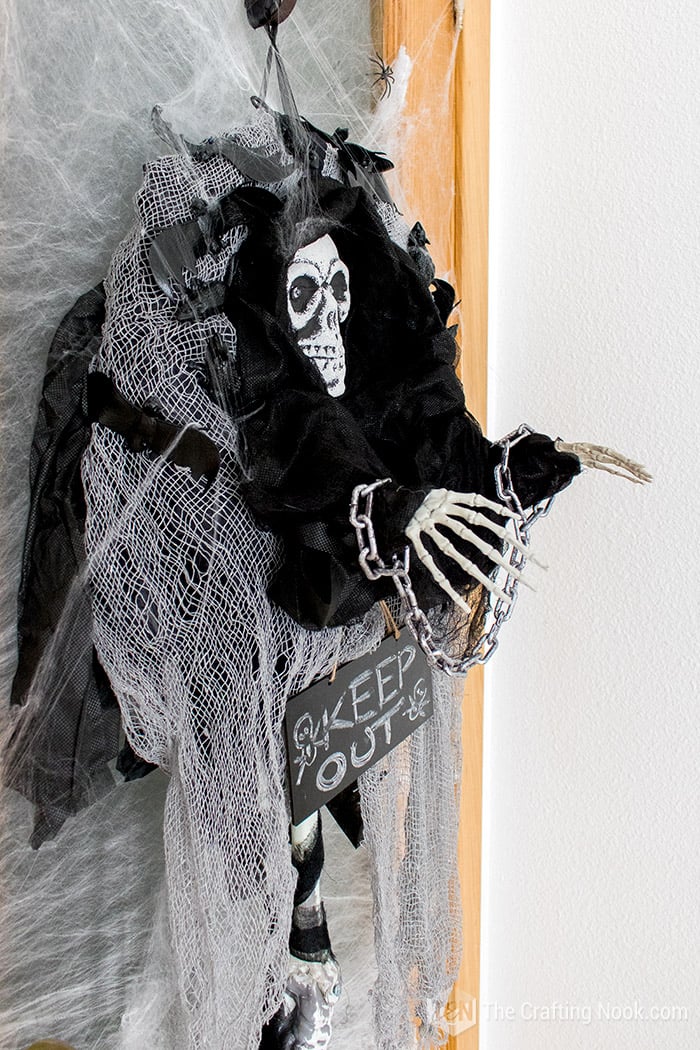
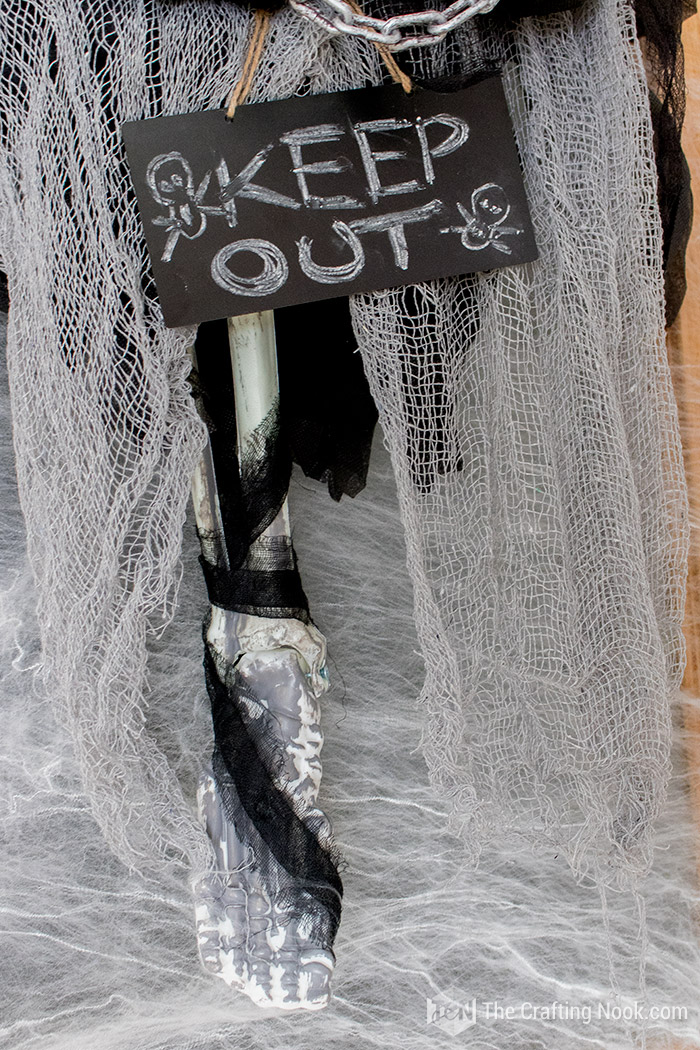
14. Then you can add more spooky details, like skeleton legs, or more hands, spiderwebs. In this case, I put a skeleton leg and a chalkboard sign saying keep out.
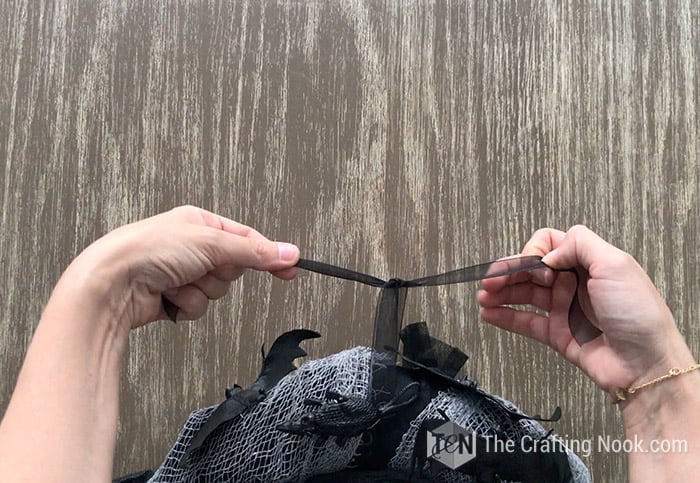
15. The last detail is the hanger. I used a black ribbon to make the hanger.
There you go!
You got yourself a spooky, creepy Halloween skeleton wreath for your door!
If your skeleton has lights in the eyes turn them on and let’s have fun!!!
Crafting Tips
- When making wreaths, whenever possible, use pins instead of glue. That way you can reuse many times the same wreath form.
- If a Glue or hot glue gun is needed consider wrapping the wreath form with cheap ribbons or fabric scraps so you can glue things and be able to remove them later.
- Always visit thrift stores and dollar trees, you might find really good items to help you create an amazing wreath.
My Finished diy Halloween wreath

Frequently Asked Questions
Well, there are so many options. One of them is a skeleton mask. You can fill it with paper or anything to have the shape and pin them in place inside the wreath. A Skeleton toy. Same as before, make sure it fits and then pin them in place or secure with wire or yarn. A plastic skeleton head. You can wrap it in back fabric or black creepy cloth and then secure it inside the wreath. Alternatively, you can use other type of decoration, Witch hats, jack-o lanterns, and so much more.
Most craft stores are likely to have them specially as Halloween approaches. Thirft stores, costume stores, dollar store or dollar tree, amazon and maybe even on etsy but it won’t be as inexpensive.
You can use a foam wreath form or even a grapevine wreath or even wire frame wrapping it in fabric. Optionally, you can use a pool noodle and create your own wreath base and even make larger wreaths.
More Halloween projects to Try
If you enjoyed this Halloween Skeleton Wreath Tutorial, you might also love these other Halloween project ideas too:
✂️ Tutorial
Easy DIY Halloween Skeleton Wreath
Tools
- Your hands!
- Scissors maybe.
Supplies
- Craft foam Wreath
- Black fabric any type goes and enough to wrap the foam
- Grey creepy Cloth rags
- Skeleton skull hanging decor – preferably those that come with a parca outfit.
- Plastic skeleton hands feet and arms
- Bats rats, or any other creepy plastic animal, like plastic spiders, rats, bats, bugs, ravens, etc. Even spooky eyeballs if you dare!
- Black ribbon for hanging
- Straight pins
- Small Chalkboard sign
Instructions
- Take your foam wreath and wrap it with your black fabric. It doesn’t have to be perfect. Actually, the least perfect, the better.
- Pin the fabric on the back to secure it.
- Once you are done, then wrap it with your creepy cloth. Here again, nothing perfect, it’s almost like where it lands, it’s fine! LOL.
- Add a few pins to secure.
- Bring the skeleton!!!
- Depending on the size of your wreath foam and your skeleton, it might fit tight or get loose. You can always secure it with pins or even with wires in the back. It all depends on your skeleton.
- In my case, the skeleton was itself a decoration it had its own rags like a parca, so I inserted the rags through the wreath to the back.
- Fit your skeleton inside the wreath and fix all the rags around the head. Secure with pins in different places.
- Adjust the skeleton’s hand position as desired. Most of these decor has its parts made with wires so you should be able to adjust them too.
- Time to add some creepy animals.
- If your plastic rats and bats are hollow, you might be able to pin them to the wreath. What I did was to find one hidden place between a leg and the belly and inserted the pin there.
- Then I pin it to the wreath.
- The same with the bats, but in this case, there was no hidden place so I used black pins.
- Then you can add more spooky details, like skeleton legs, or more hands, spiderwebs. In this case, I put a skeleton leg and a chalkboard sign saying keep out.
- The last detail is the hanger. I used a black ribbon to make the hanger.
- There you go! You got yourself a spooky, creepy Halloween skeleton wreath for your door!
What other Halloween wreath ideas would you suggest?
I have quite some awesome creepy Halloween wreath ideas from fellow bloggers
- Wicked Witch Halloween Wreath by Made in a Day.
- Skeleton Creepy Wreath by Home Made.
- Black Cat Wreath by Shaken Together.
- Spider Web Halloween Wreath by A Pumpkin & a Princess
Share and PIN ME!
Til’ next time…


FREE WORKBOOK
Keeping your Sweet Home Organized
Learn how to create intentional habits and simple routines to Keep Your Home Organized. Plus freebies, printables, exclusive content, and tips.
Disclaimer: By clicking on the “Yes” button above you are giving me your consent to collect and use your information according to the law and My Policy Privacy. Zero Spam I promise!
Que linda te quedo, jamas pense que lo iniciastes con una corona. Mi hija se volveria loca con este adorno de puertas, porque, le fascina este tipo de decoracion. Eresmuy creativa. Recibe un abrazo!!
Fabiiiiiiii, que de tiempos!!! Que rico tenerte por aqui!
Pues mira que fue tan facil de hacer aun cuando se ve compleja desde afuera. Todo lo consegui en tiendas economicas por lo que tampoco fue un proyecto costoso!
Me algrea que te guste y a ver si tu hija se anima :D
Besitos y abrazos!
Cami