Fun Crafts and DIY Projects for a Crafty & Creative Life.
This is your DIY and crafting destination for creative projects. From simple seasonal and year-round craft ideas to decorating and organizing DIY tutorials that add a personal touch and functionality to your home and life.


In the mood for…
Or try searching for a fun project
Trending Projects

DIY Sofa slipcover
A new sofa is expensive, premade slipcovers do not always fit so this DIY Sofa slipcover is the best option to have a brand new-looking sofa on a budget.


FREE GUIDE
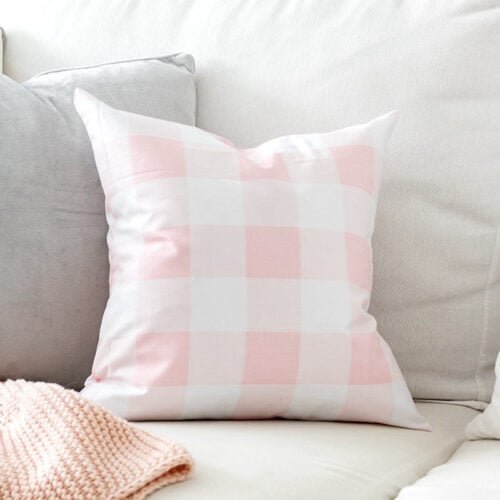
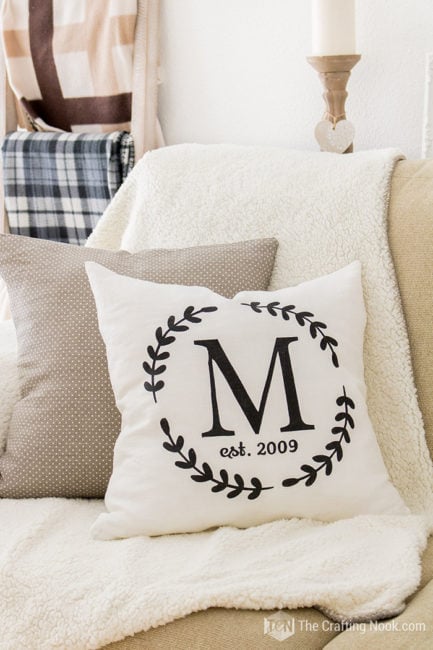
5 Simple Pillow Covers to Transform Your Home
Get one pillow cover inspiration a day for the next 5 days! Learn how to make gorgeous, personalized pillow covers with easy-to-follow tutorials sent straight to your inbox.
Plus new content, freebies, printables, tips, and lots of goodies!


Want more projects? Browse Our Project Gallery Index!
Meet The Author
Happy to have you here!
Feel free to call me Cami, I’m a lifestyle blogger and a passionate Graphic & Web designer. This blog is my happy place where I share my love for all things handmade and homemade while creating a cozy and happy home. Love all types of crafts, especially the easy ones. Grab a cup of coffee (or glass of wine) and take a look around!